
▶︎動画でも話してるので、文章読むのが面倒な方はこちらをみてもらえればと思います。
今回は、DiffUsersでIPAdapterを利用する方法について解説します。

これを読めば誰でも簡単にクオリティーの高いAI美女が作れるようになっているので興味がある人は、下のバナーをクリックして購入してみてね🎶

DiffUsersでIPAdapterを利用する方法について
解説では、Google Colabを利用してDiffUsersとIPAdapterを実行します。
もしもGoogle Colabについて分からない場合は、詳細を解説した記事を以下に貼っておきますので、そちらをご確認ください。
Google Colabの画面を表示したら、まずランタイムのタイプを変更します。
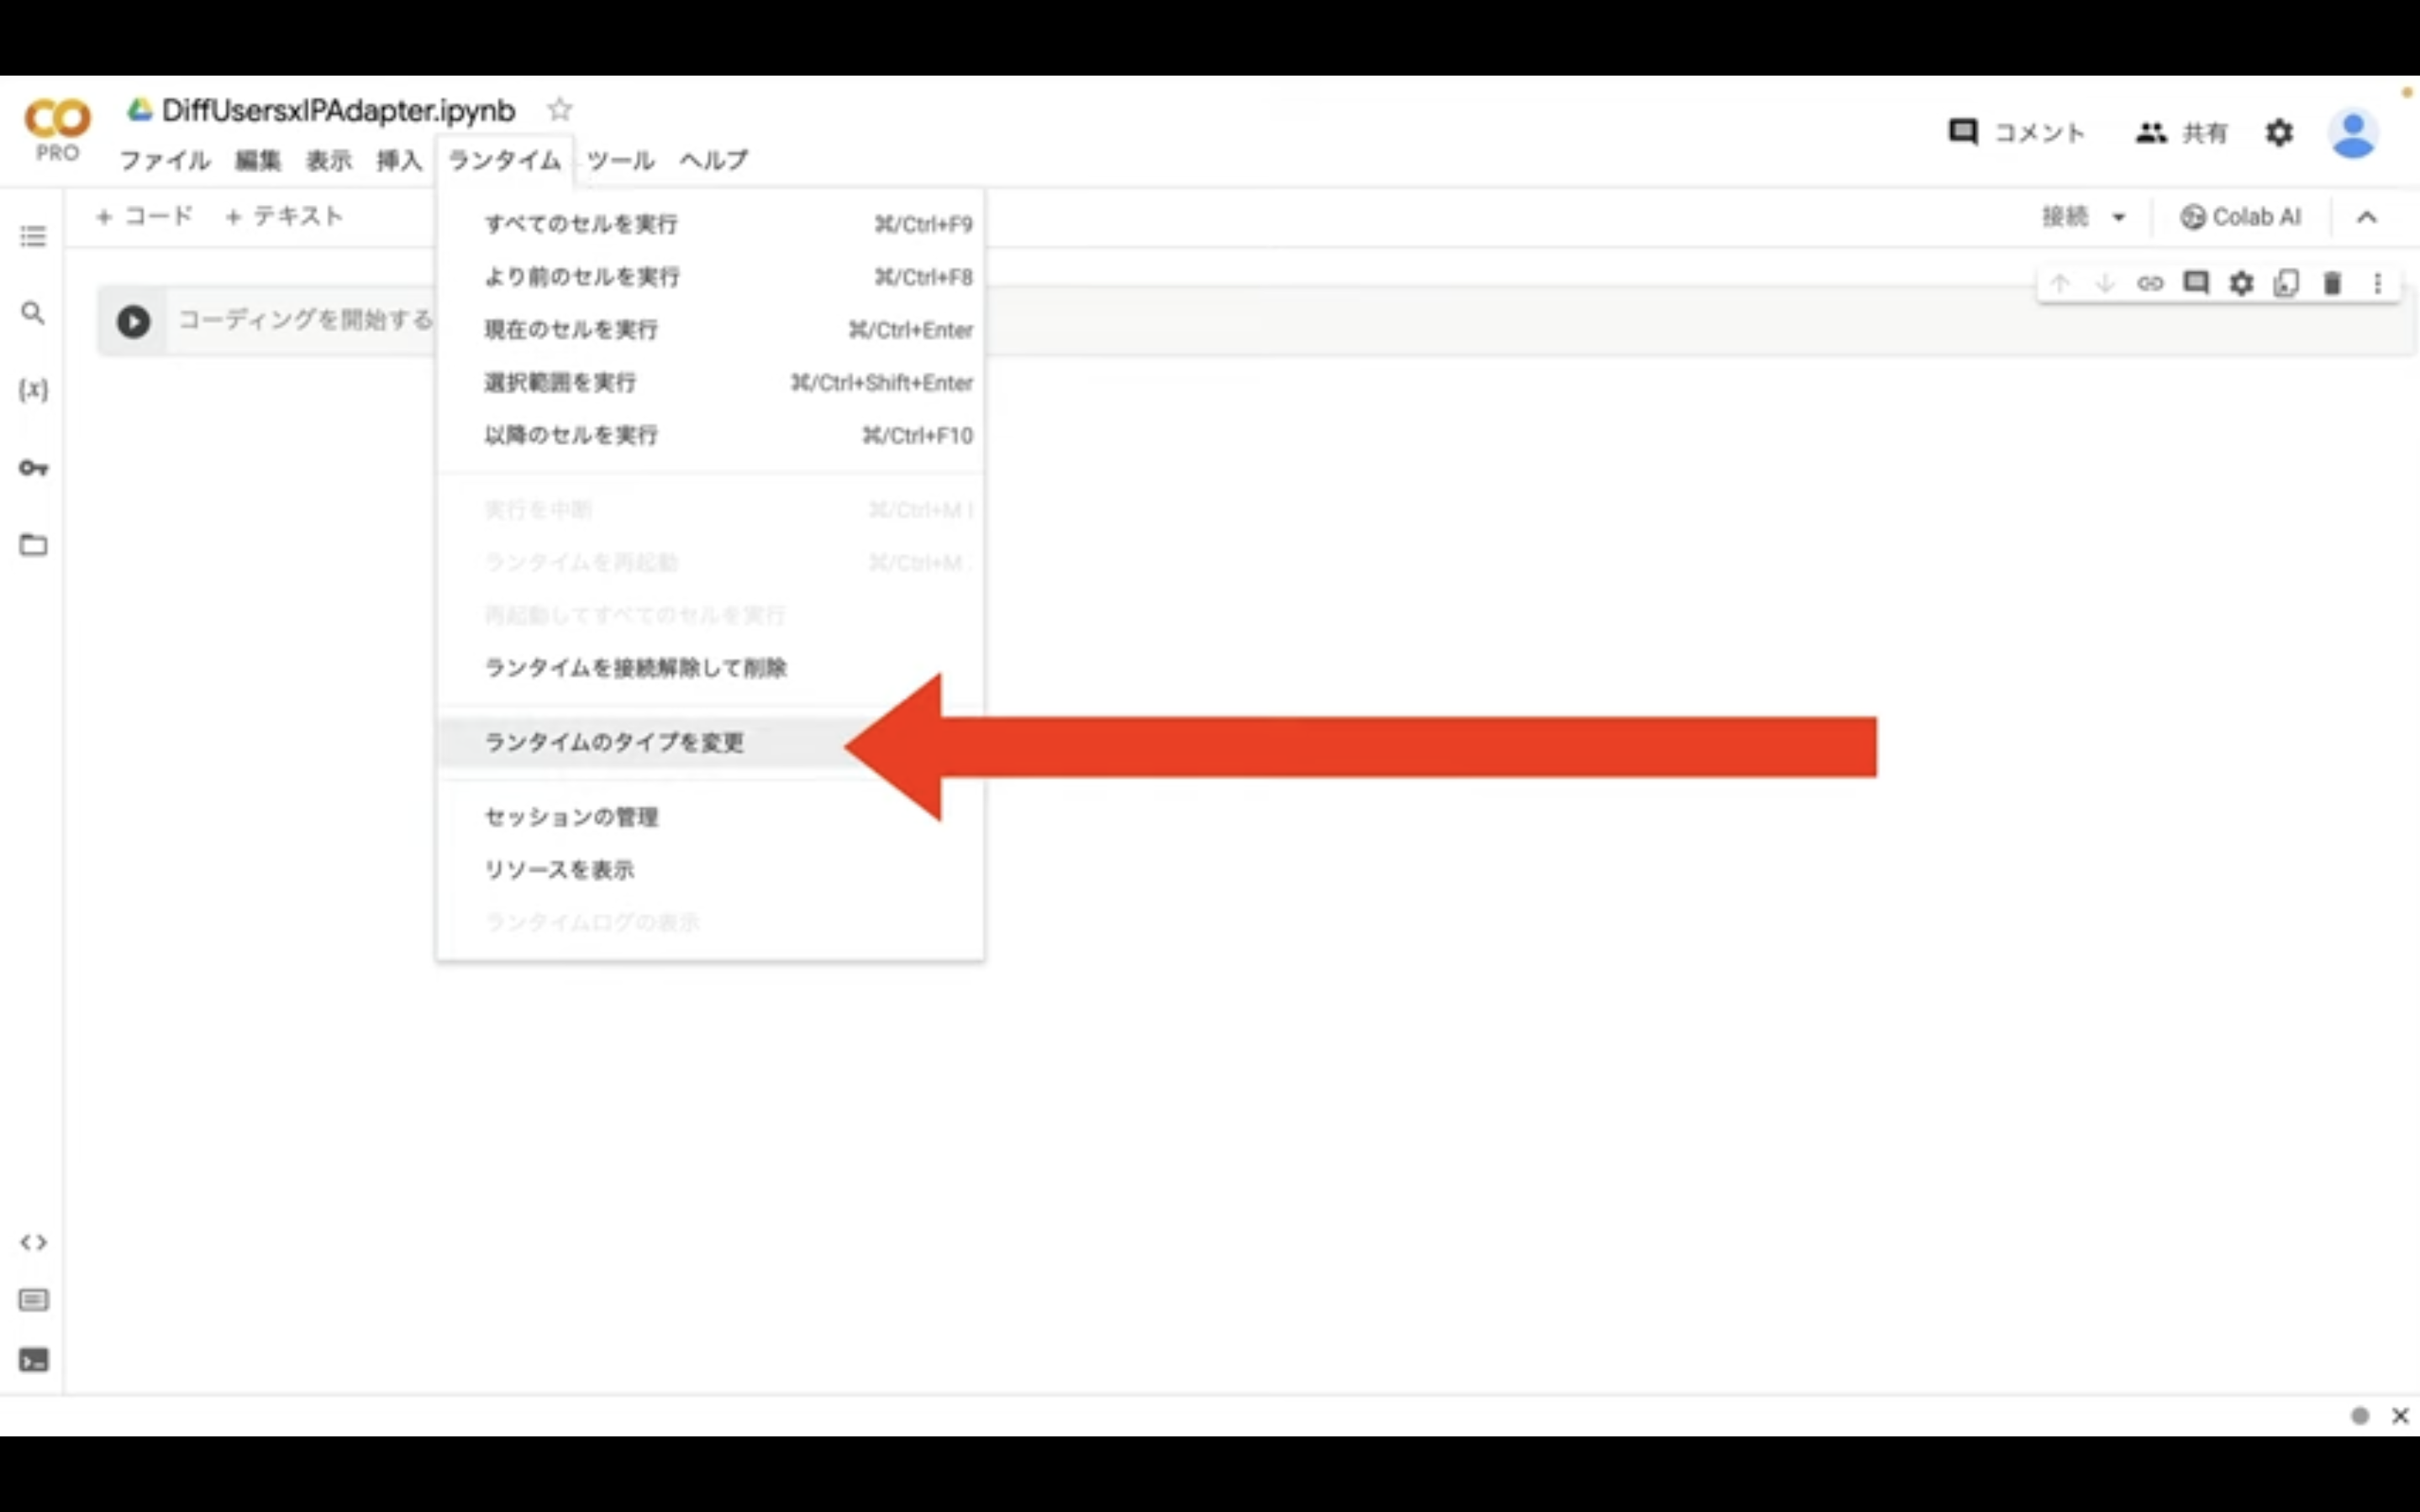
メニューからランタイムを選択し、表示されたメニューの中から「ランタイムのタイプを変更」という項目を選択します。
ランタイムのタイプはPython 3のままにしておきます。
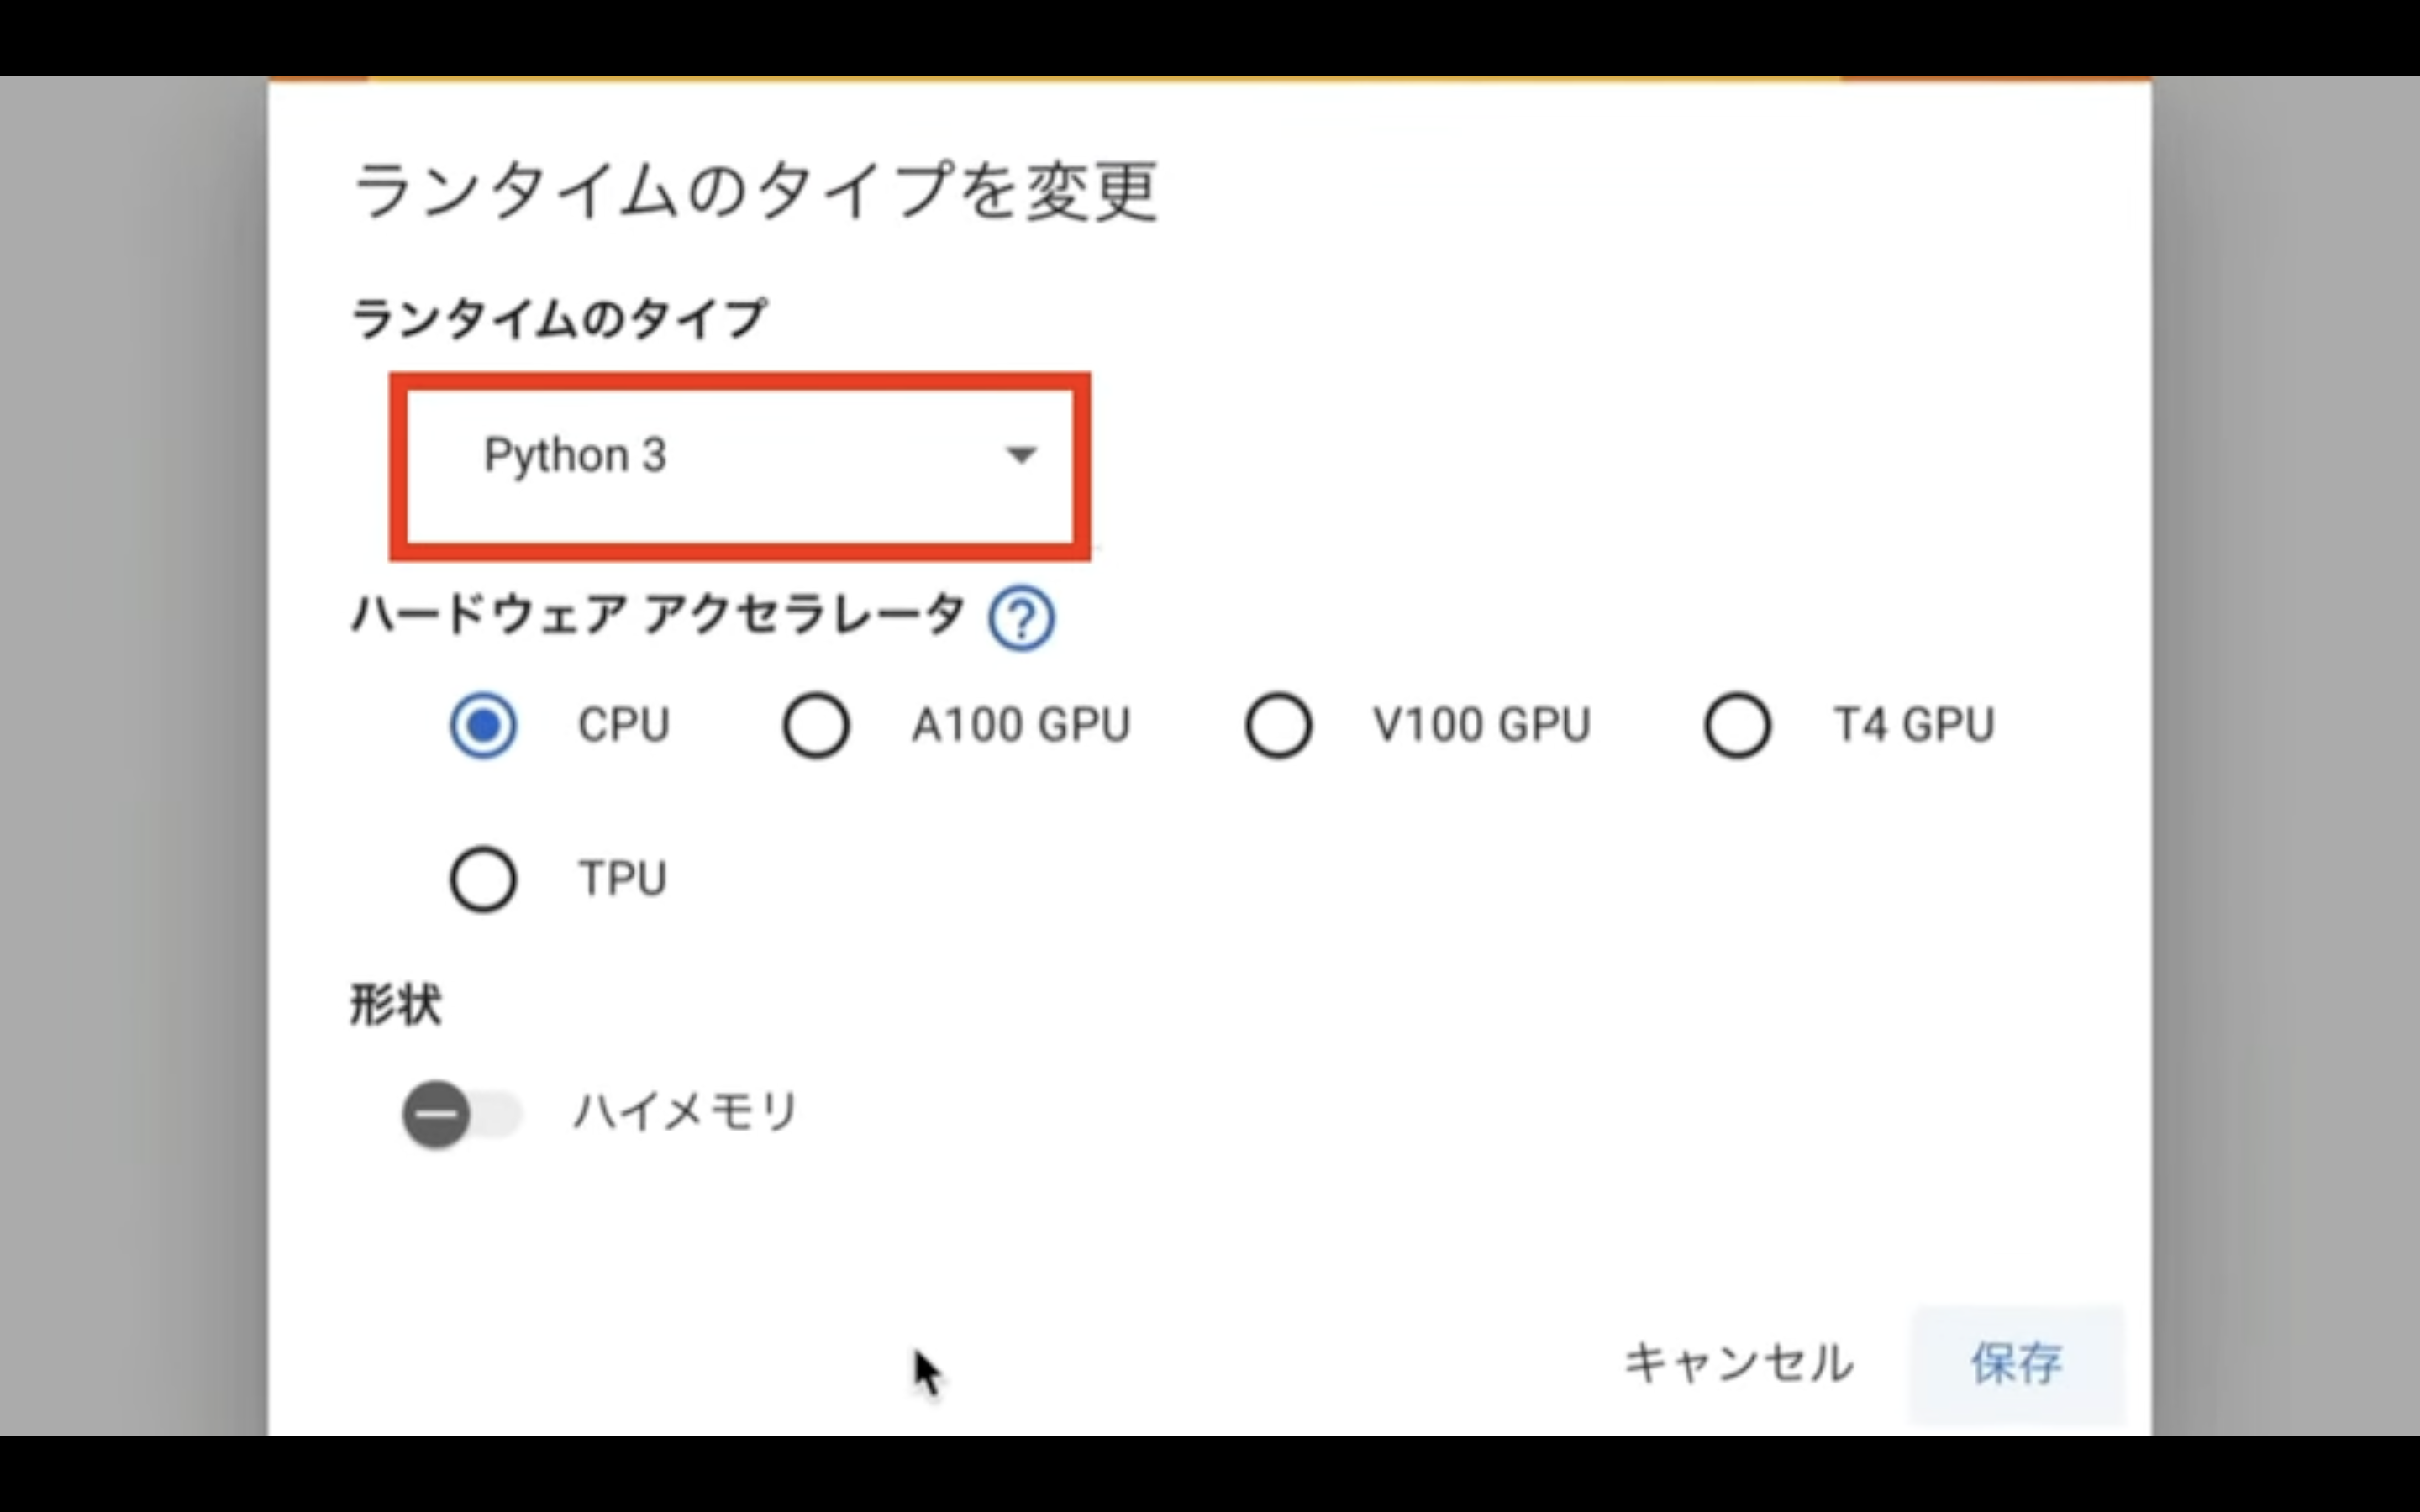
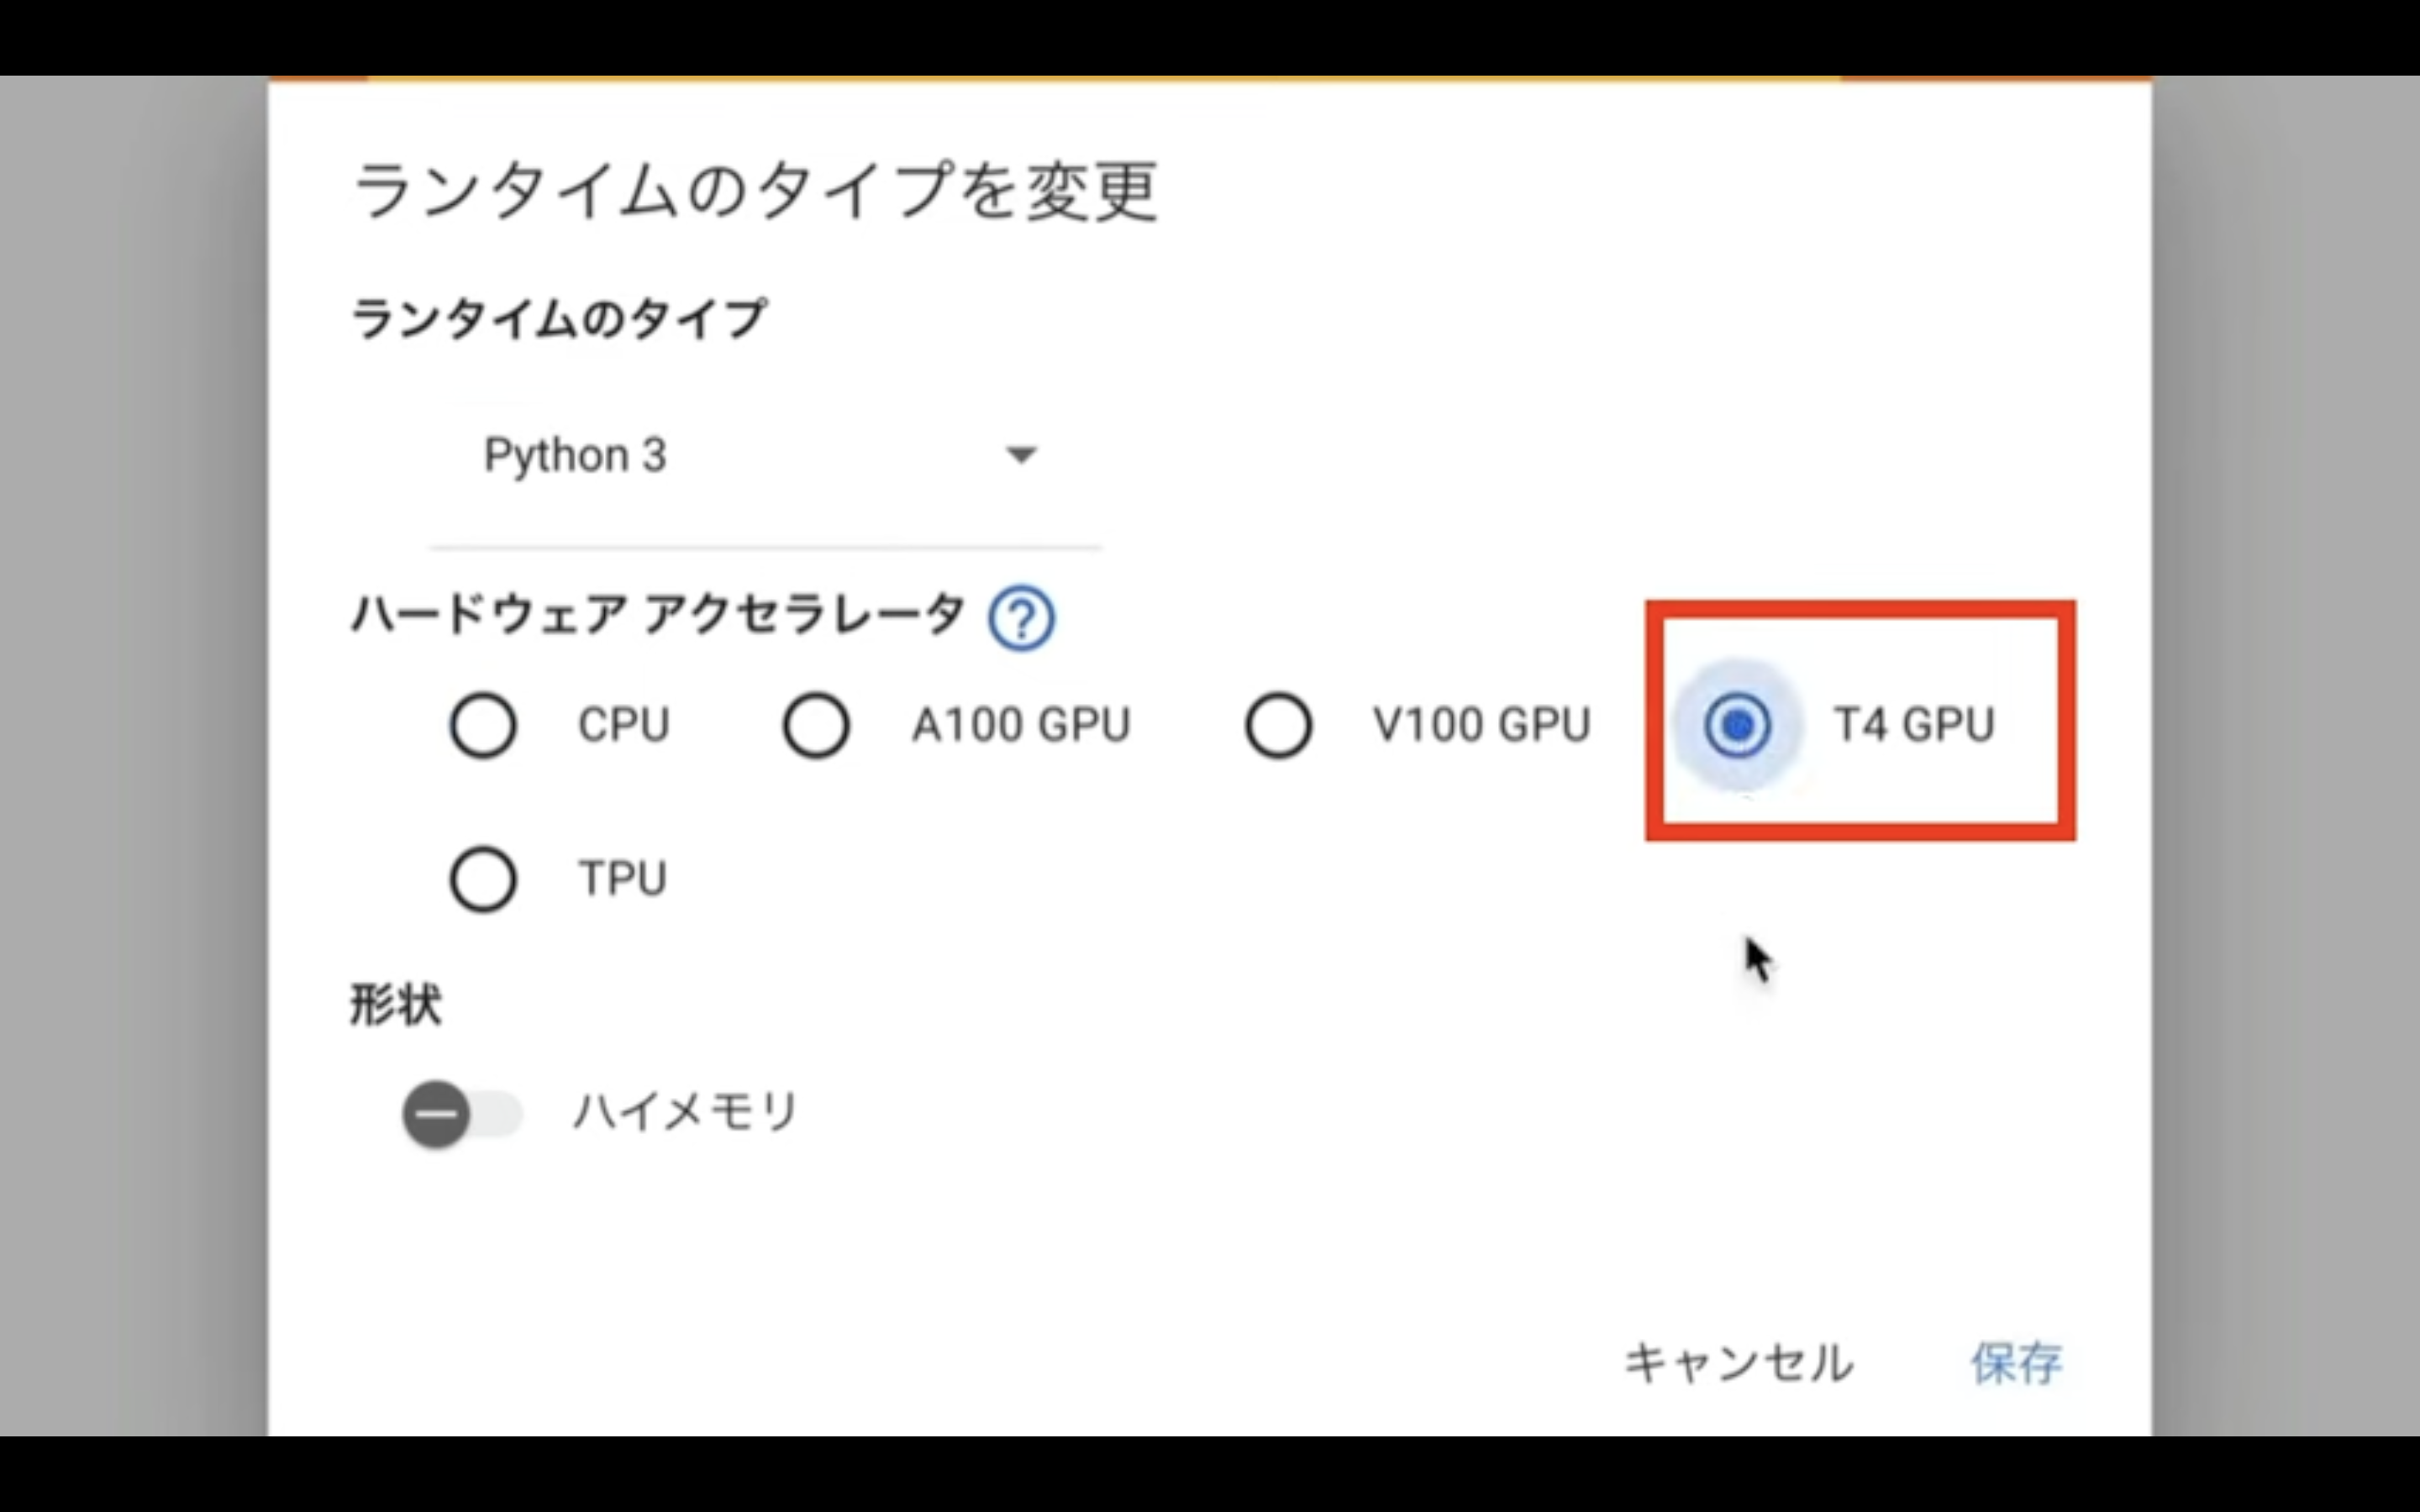
ハードウェアアクセラレーターはT4 GPUを選択します。
T4 GPUはGoogle Colabの無料版でも利用できますが、無料版の場合はリソースの割り当てが保証されていないため、処理の途中で強制終了されてしまう可能性があります。
そのため、強制終了を防ぐためには有料プランへの切り替えが必要です。
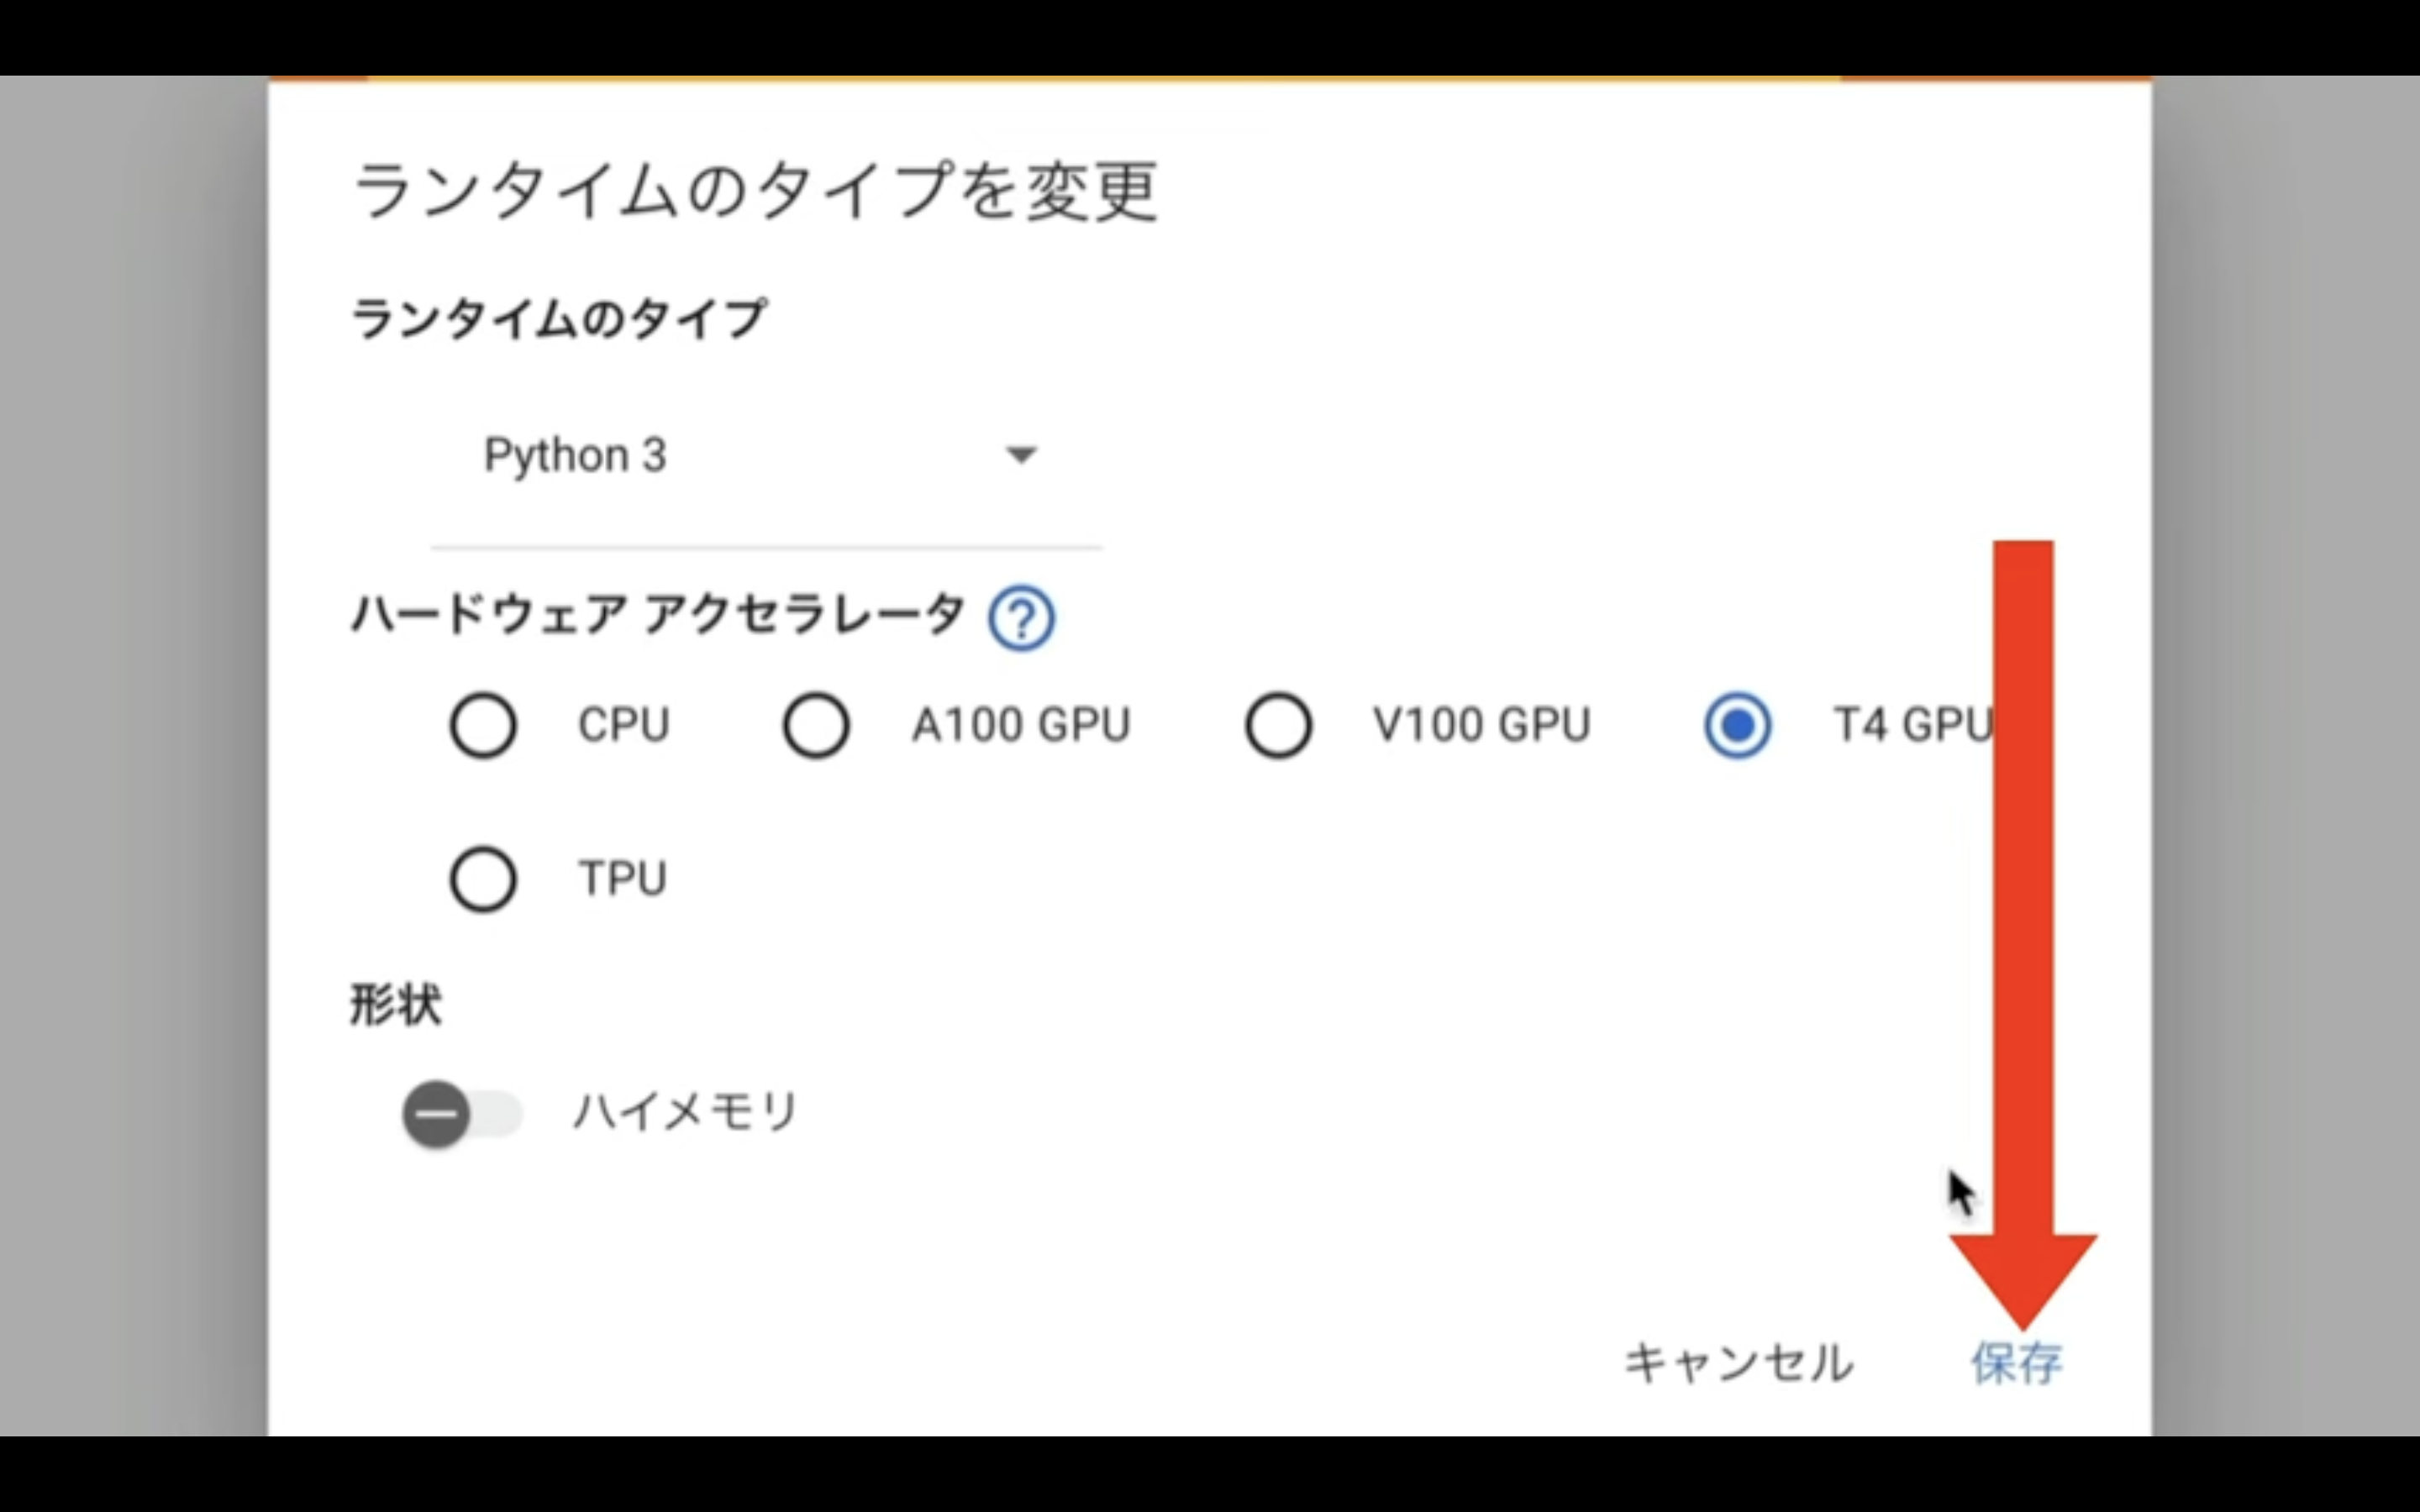
ランタイムのタイプをこのように変更したら、保存ボタンをクリックします。
これでDiffUsersを実行するための準備が整いました。
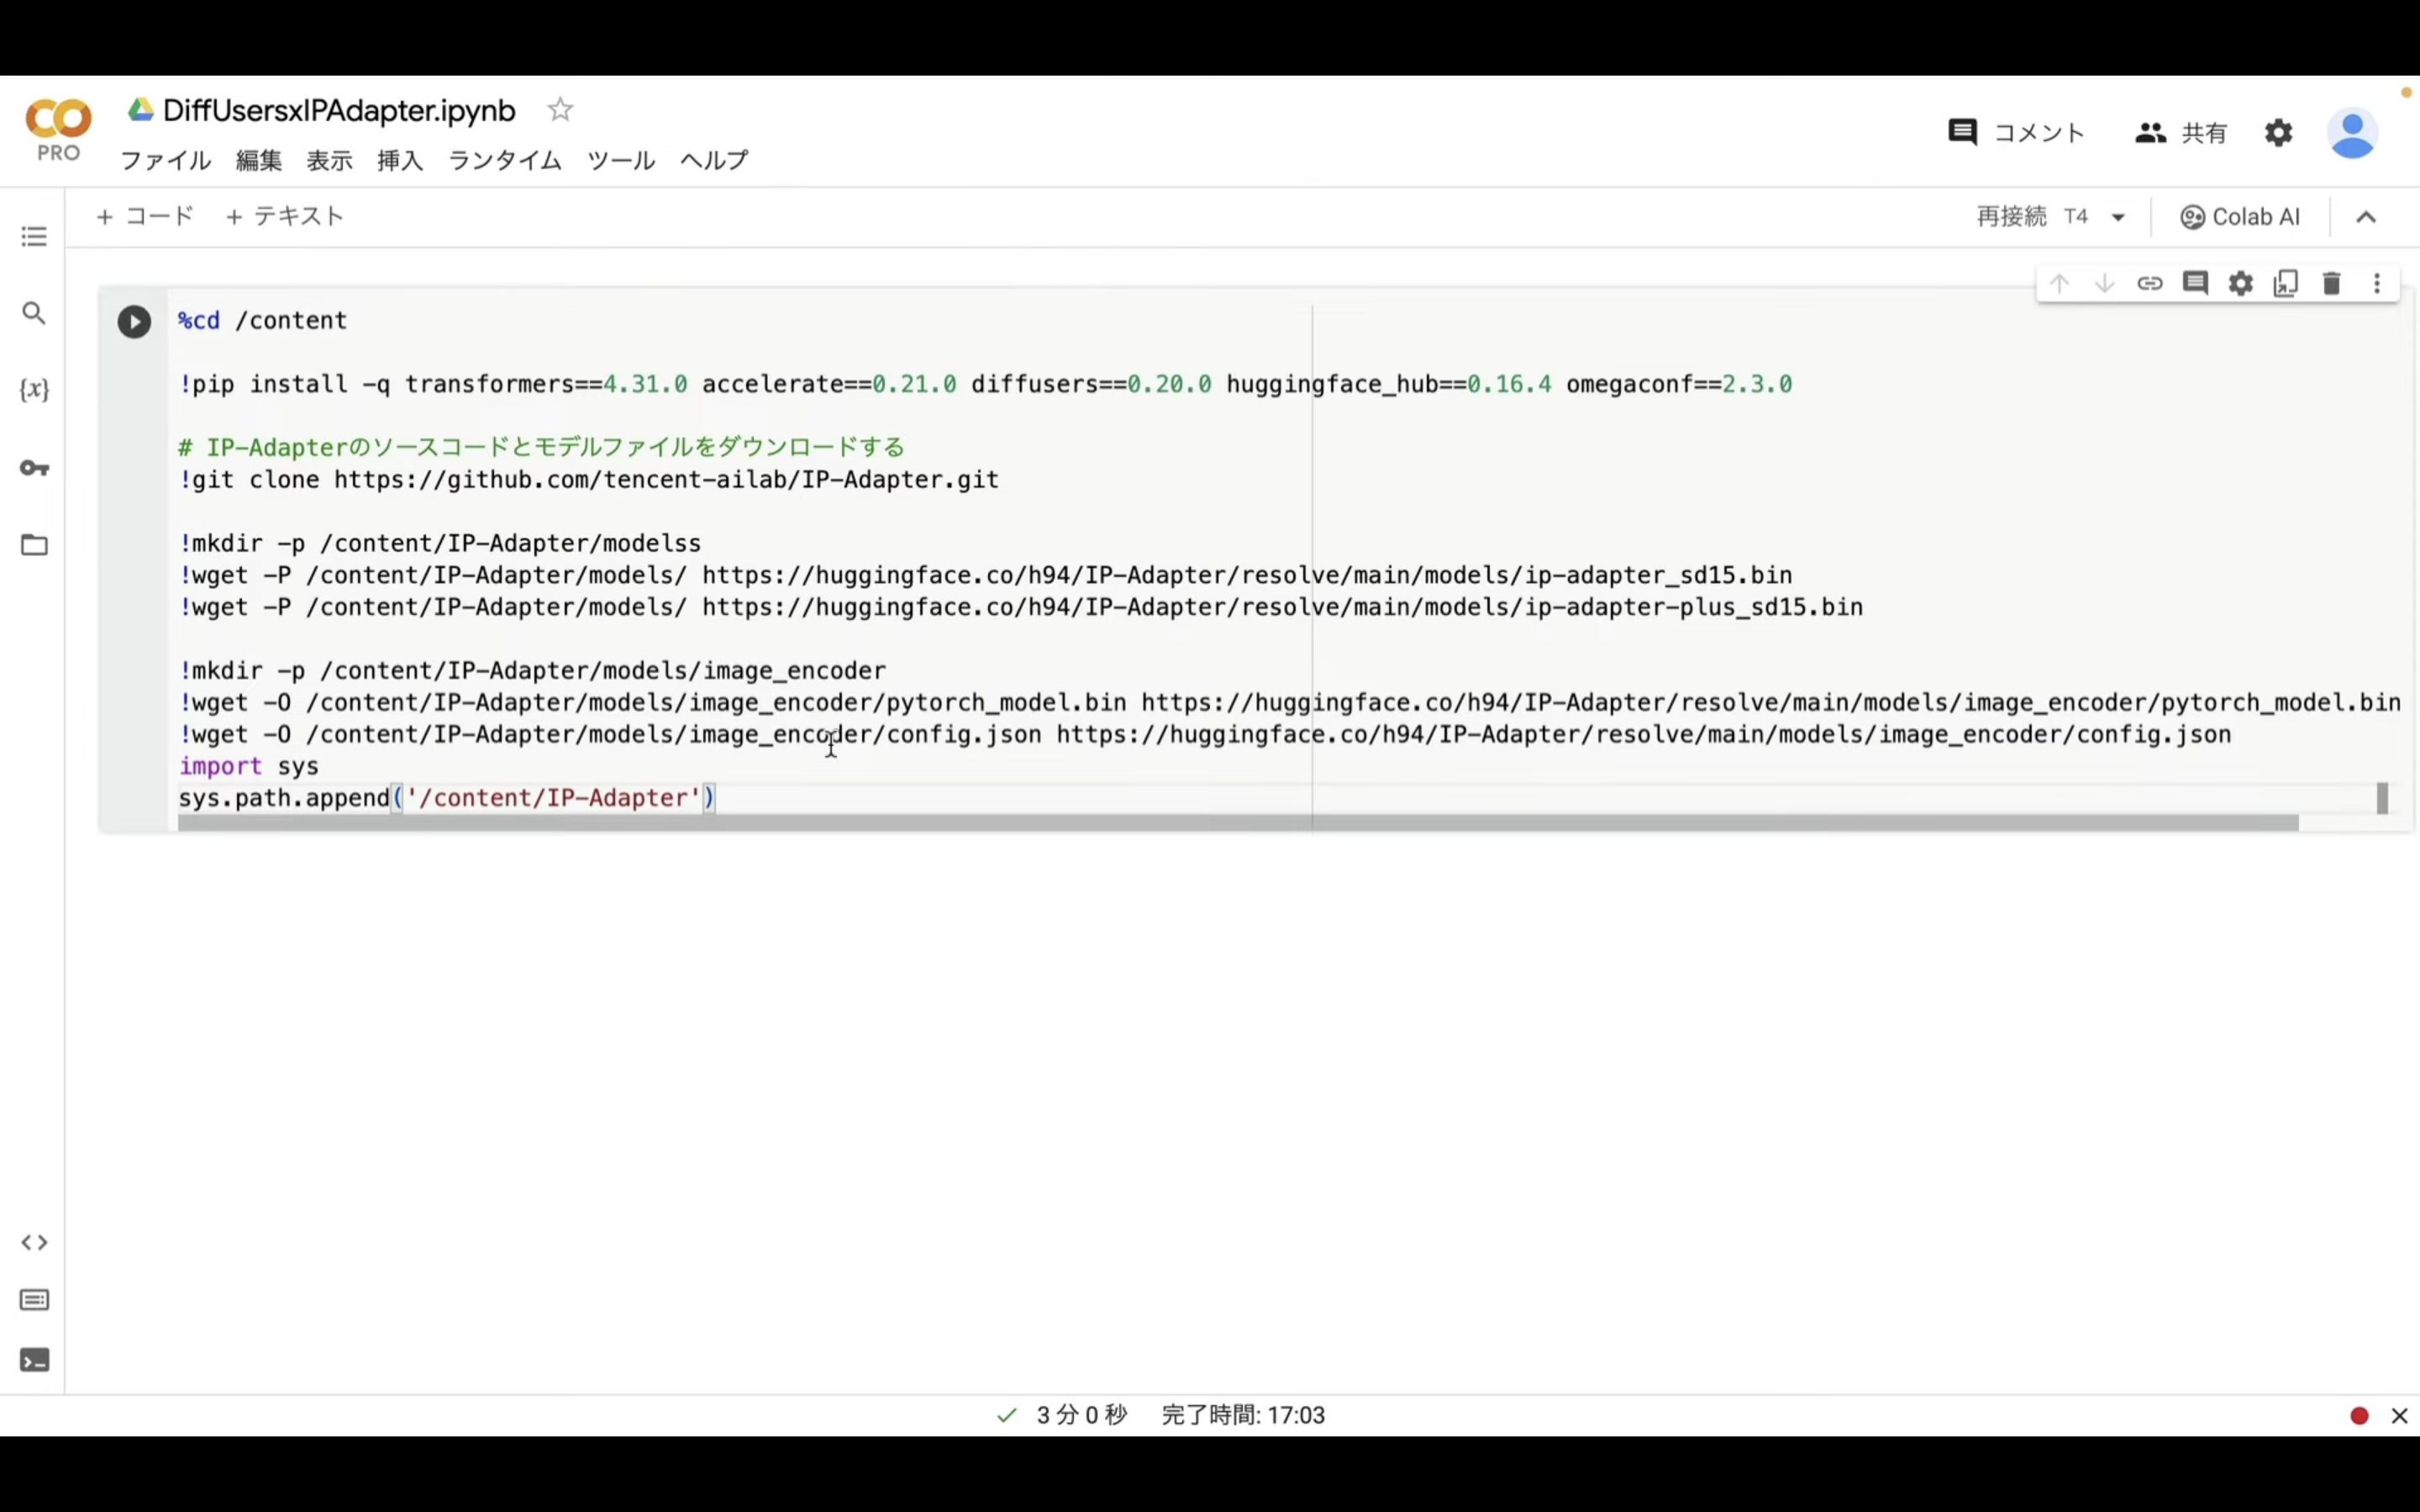
Google Colabの準備ができたら、以下のテキストをコピーします。
%cd /content
!pip install -q transformers==4.31.0 accelerate==0.21.0 diffusers==0.20.0 huggingface_hub==0.16.4 omegaconf==2.3.0
# IP-Adapterのソースコードとモデルファイルをダウンロードする
!git clone https://github.com/tencent-ailab/IP-Adapter.git
!mkdir -p /content/IP-Adapter/modelss
!wget -P /content/IP-Adapter/models/ https://huggingface.co/h94/IP-Adapter/resolve/main/models/ip-adapter_sd15.bin
!wget -P /content/IP-Adapter/models/ https://huggingface.co/h94/IP-Adapter/resolve/main/models/ip-adapter-plus_sd15.bin
!mkdir -p /content/IP-Adapter/models/image_encoder
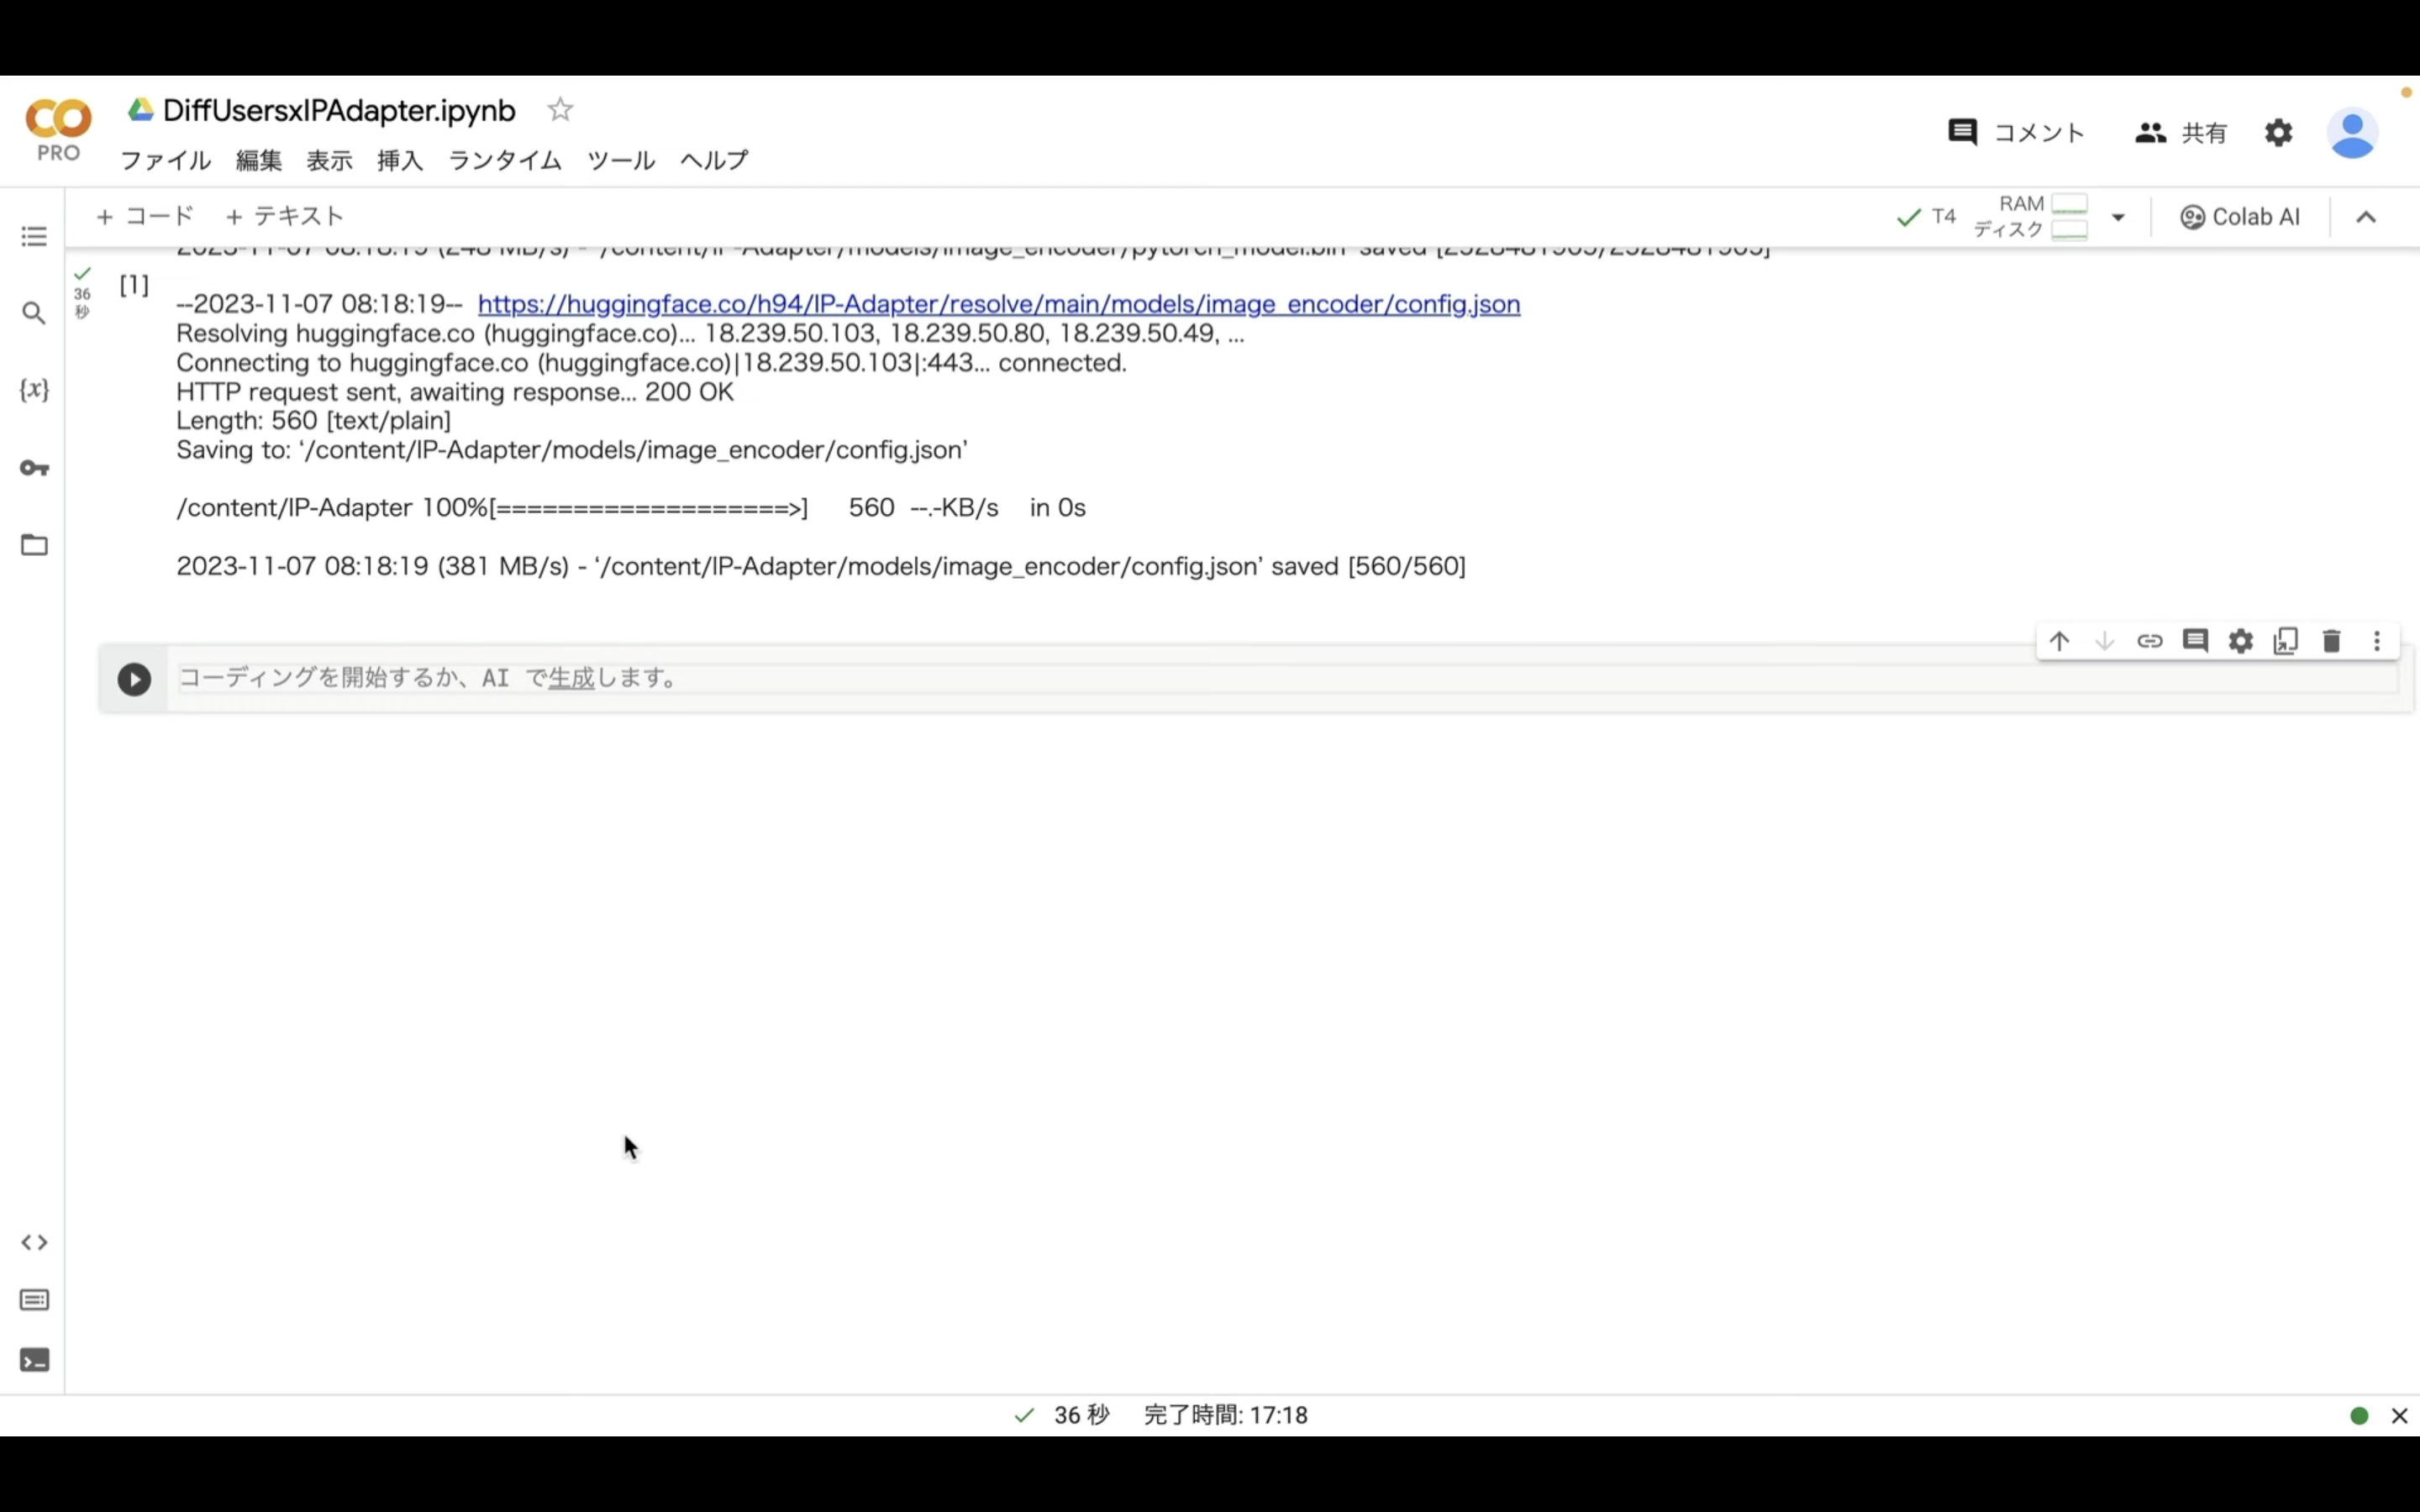
!wget -O /content/IP-Adapter/models/image_encoder/pytorch_model.bin https://huggingface.co/h94/IP-Adapter/resolve/main/models/image_encoder/pytorch_model.bin
!wget -O /content/IP-Adapter/models/image_encoder/config.json https://huggingface.co/h94/IP-Adapter/resolve/main/models/image_encoder/config.json
import sys
sys.path.append('/content/IP-Adapter')
テキストをコピーしたら、Google Colabの画面に戻ります。
そしてテキストボックスに先ほどコピーしたテキストを貼り付けます。
テキストを貼り付けたら、左上の再生ボタンをクリックします。
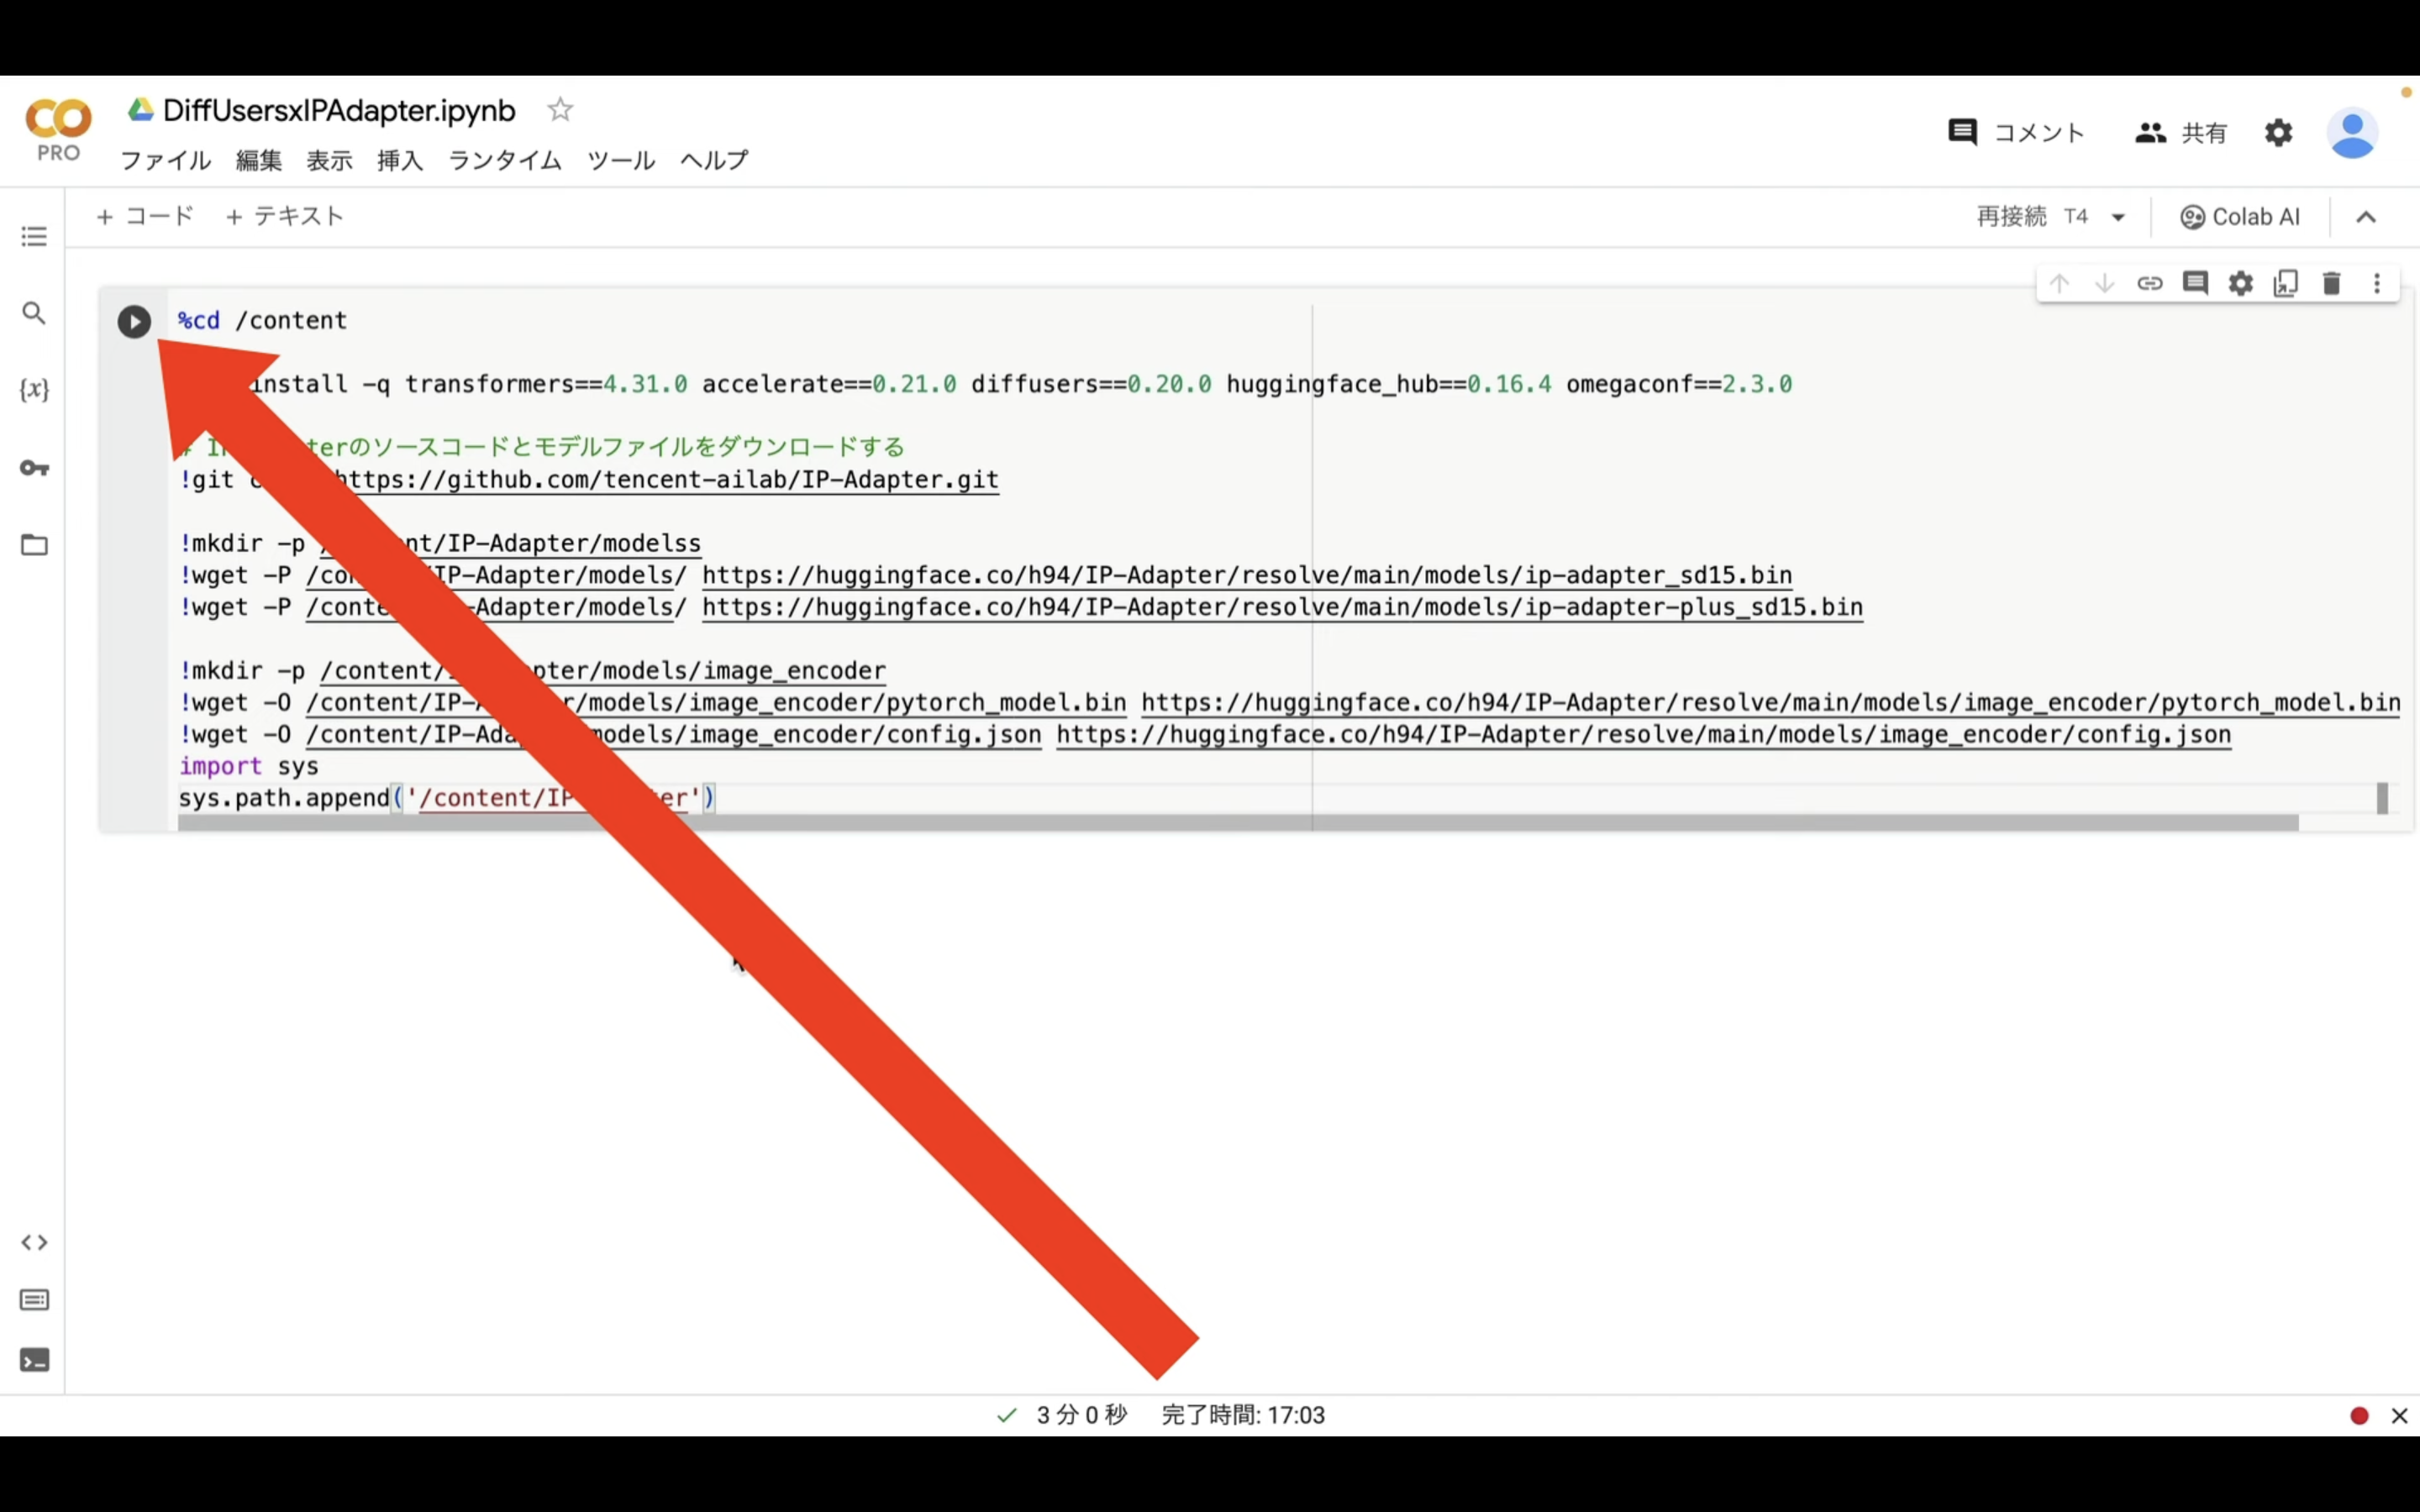
これで貼り付けたコマンドが実行されます。
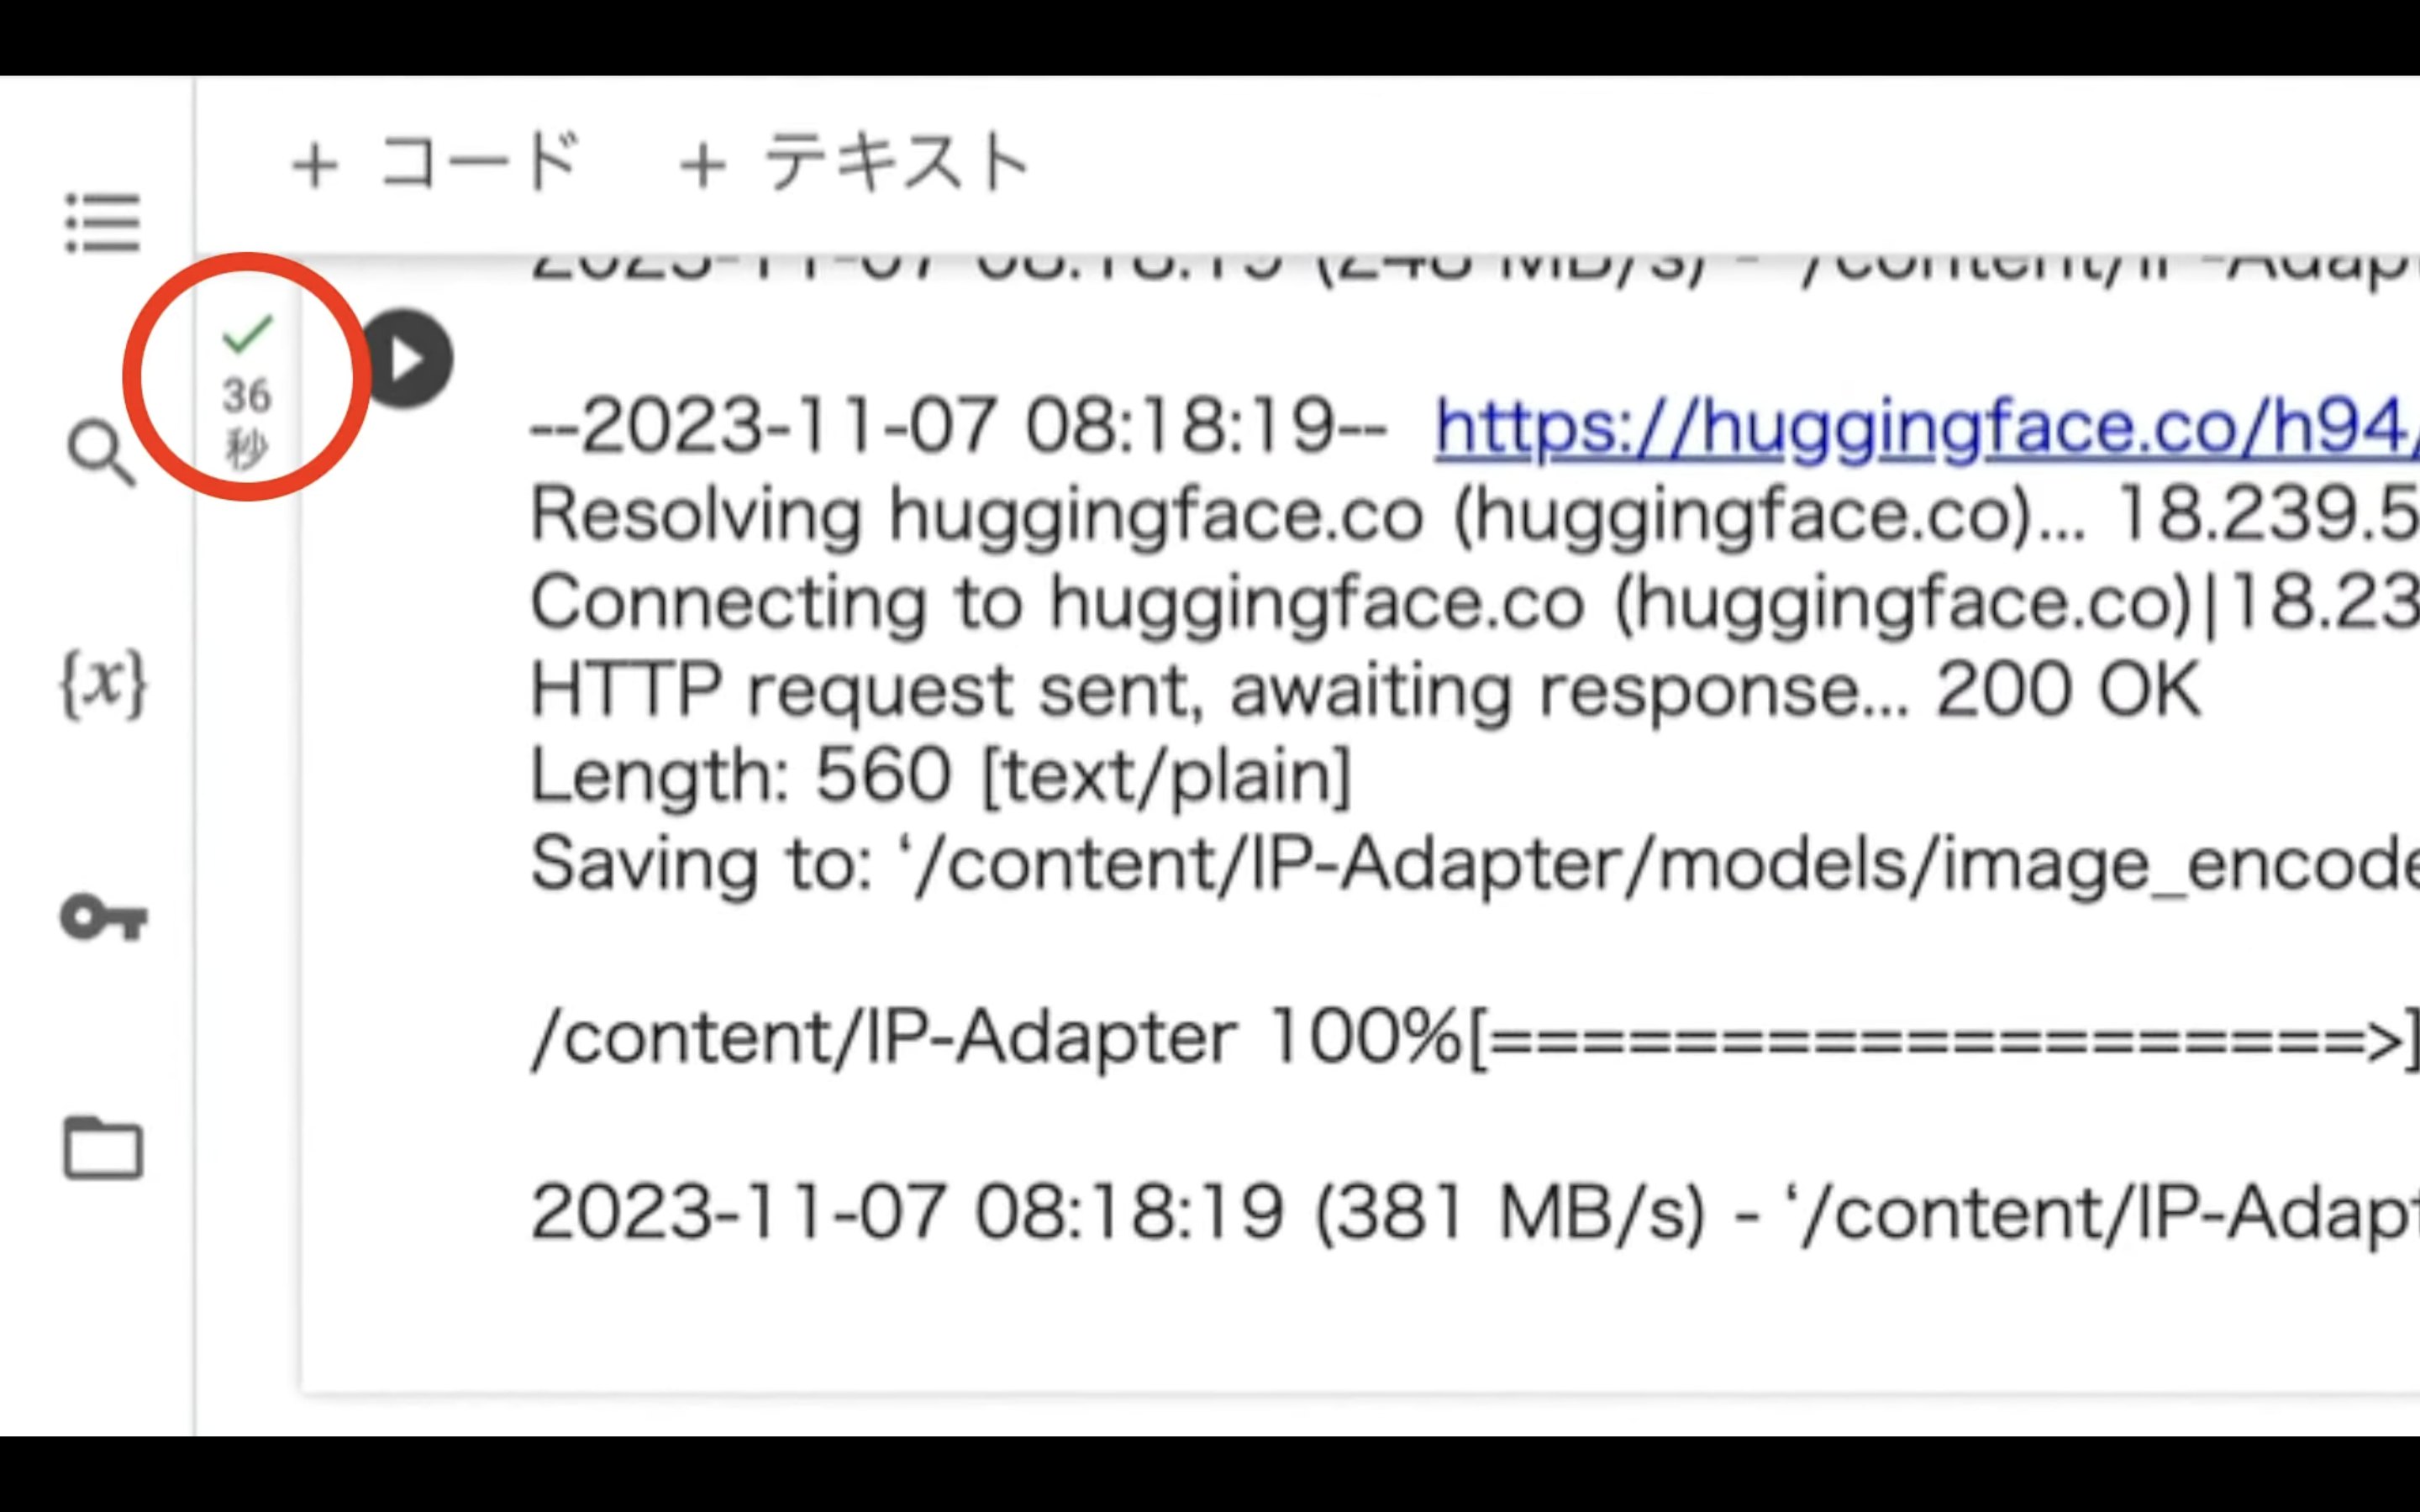
しばらく待っていると、処理が完了します。
処理が完了したら、再生ボタンの左側に緑色のチェックマークが表示されます。
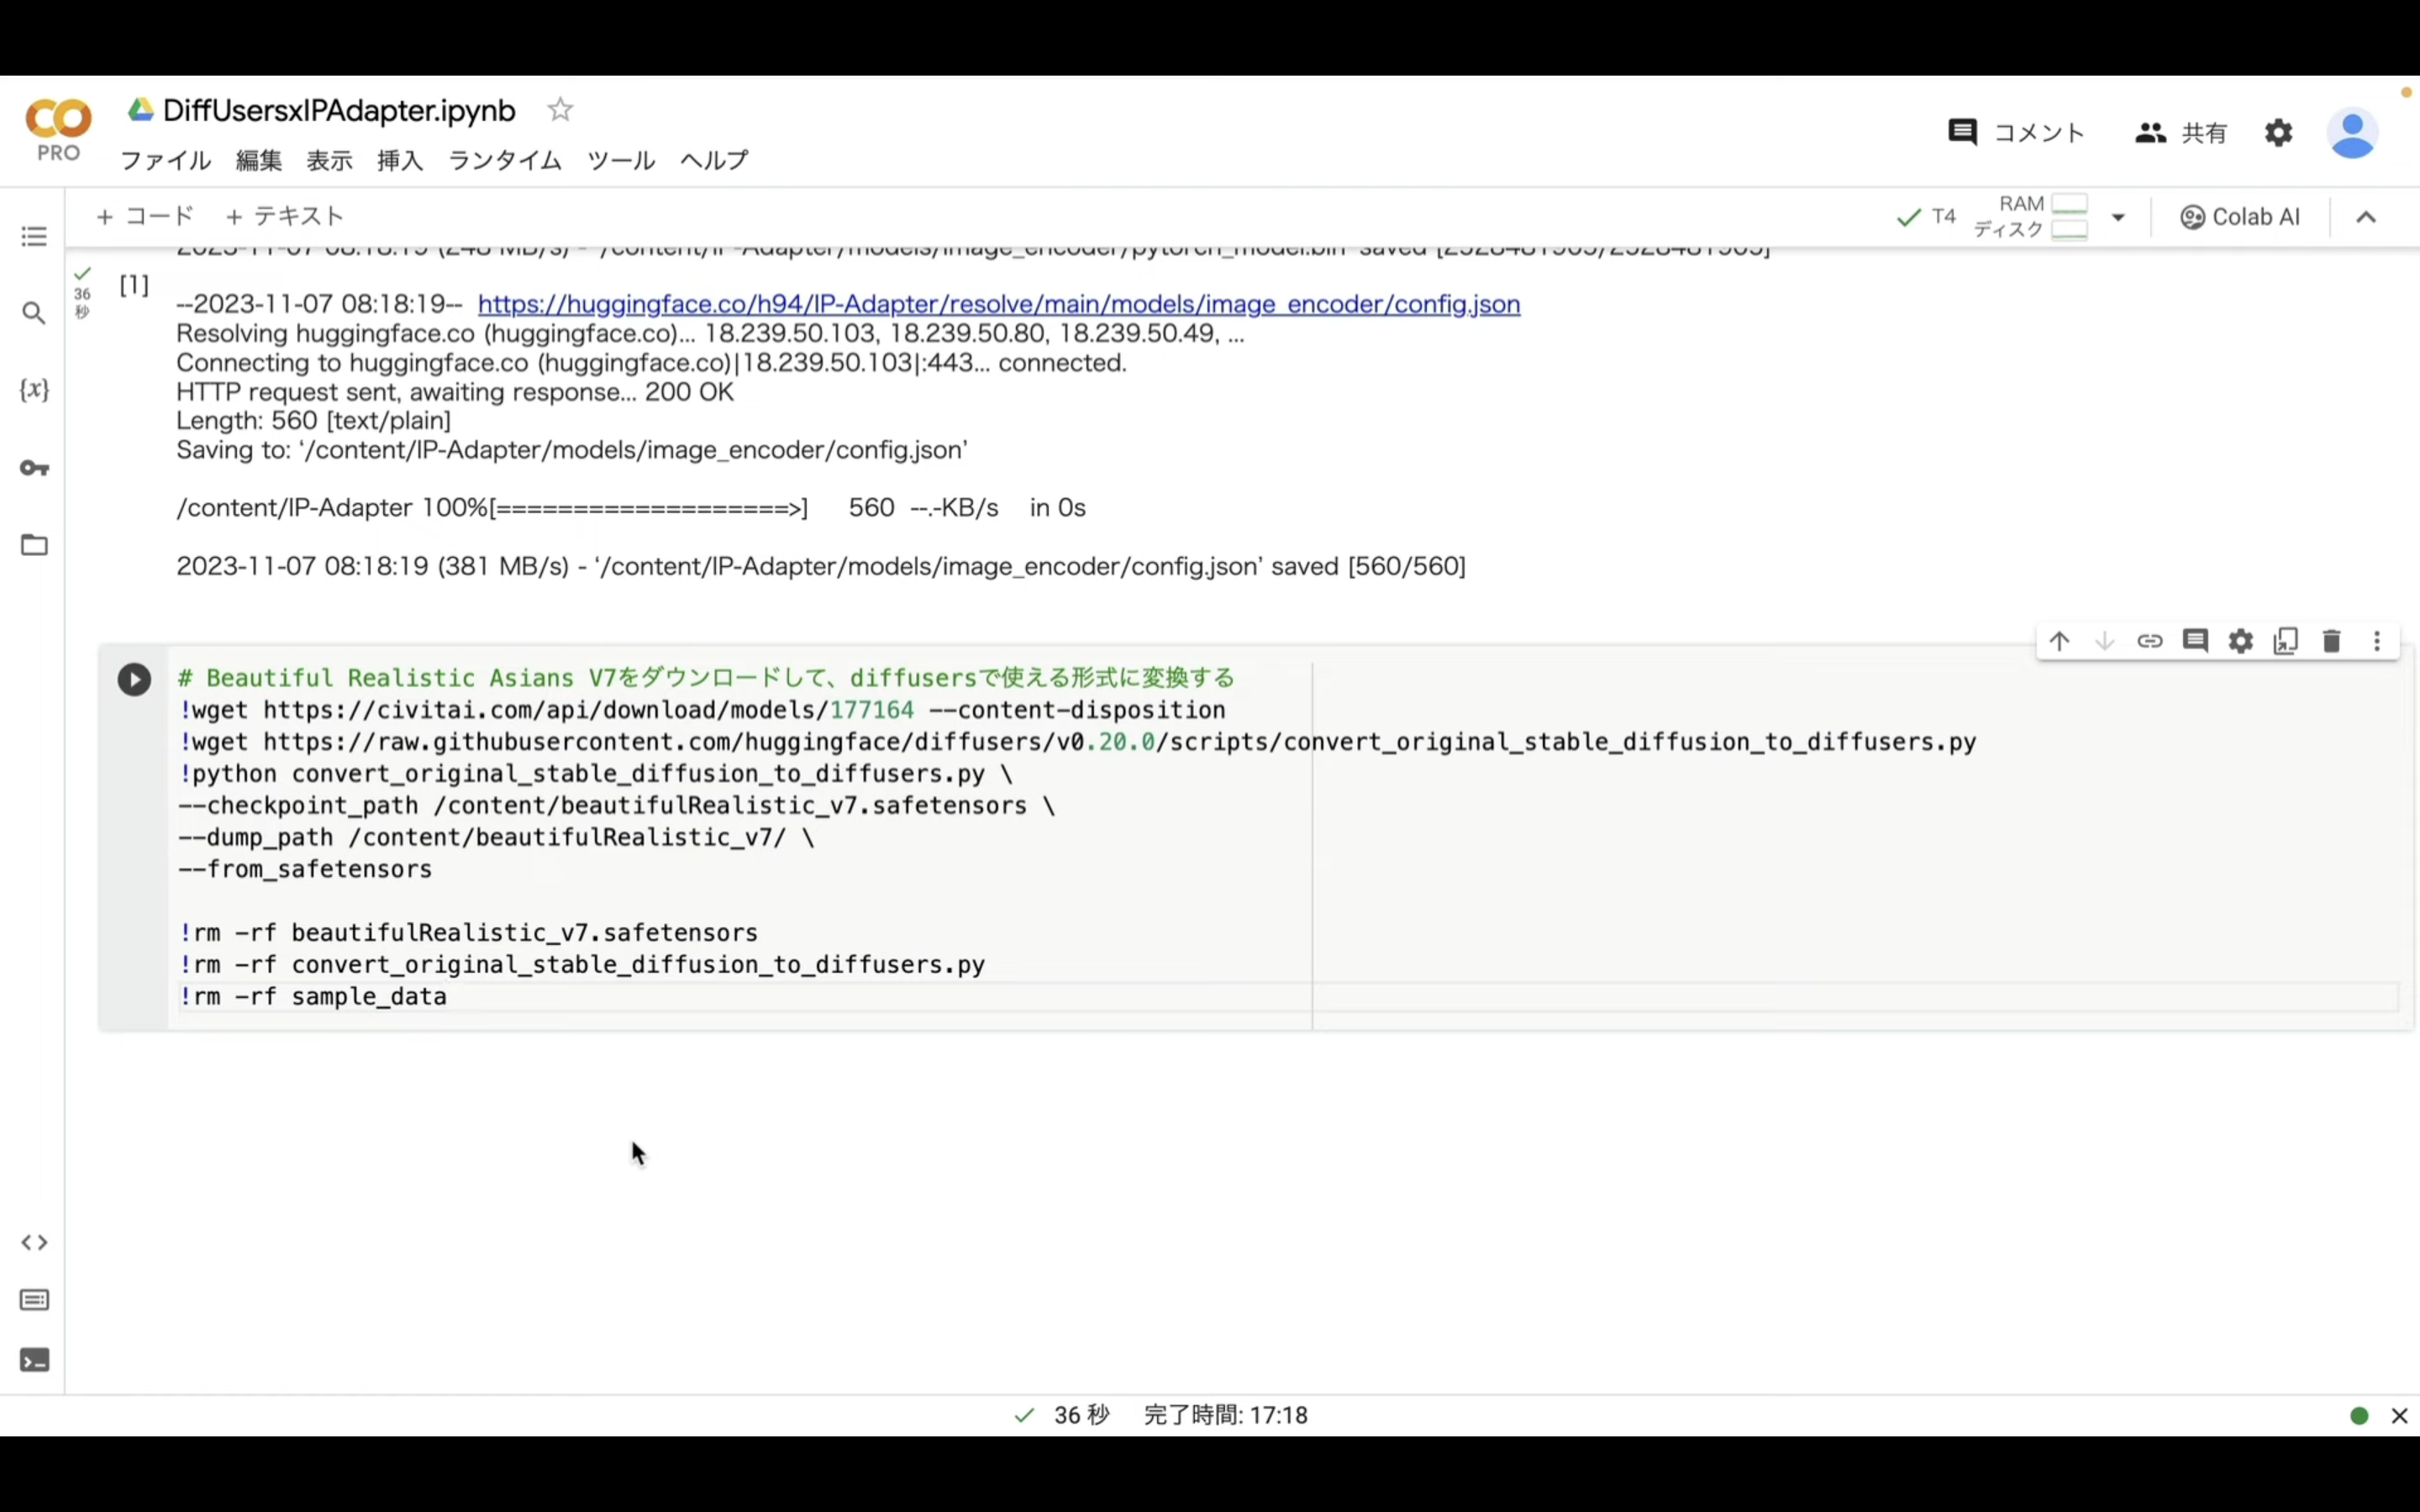
この処理が完了したら、以下のテキストをコピーします。
# Beautiful Realistic Asians V7をダウンロードして、diffusersで使える形式に変換する
!wget https://civitai.com/api/download/models/177164 --content-disposition
!wget https://raw.githubusercontent.com/huggingface/diffusers/v0.20.0/scripts/convert_original_stable_diffusion_to_diffusers.py
!python convert_original_stable_diffusion_to_diffusers.py \
--checkpoint_path /content/beautifulRealistic_v7.safetensors \
--dump_path /content/beautifulRealistic_v7/ \
--from_safetensors

!rm -rf beautifulRealistic_v7.safetensors
!rm -rf convert_original_stable_diffusion_to_diffusers.py
!rm -rf sample_data
テキストをコピーしたら、Google Colabの画面に戻ります。
Google Colabの画面に戻ったら、「コード」と書かれているテキストをクリックします。
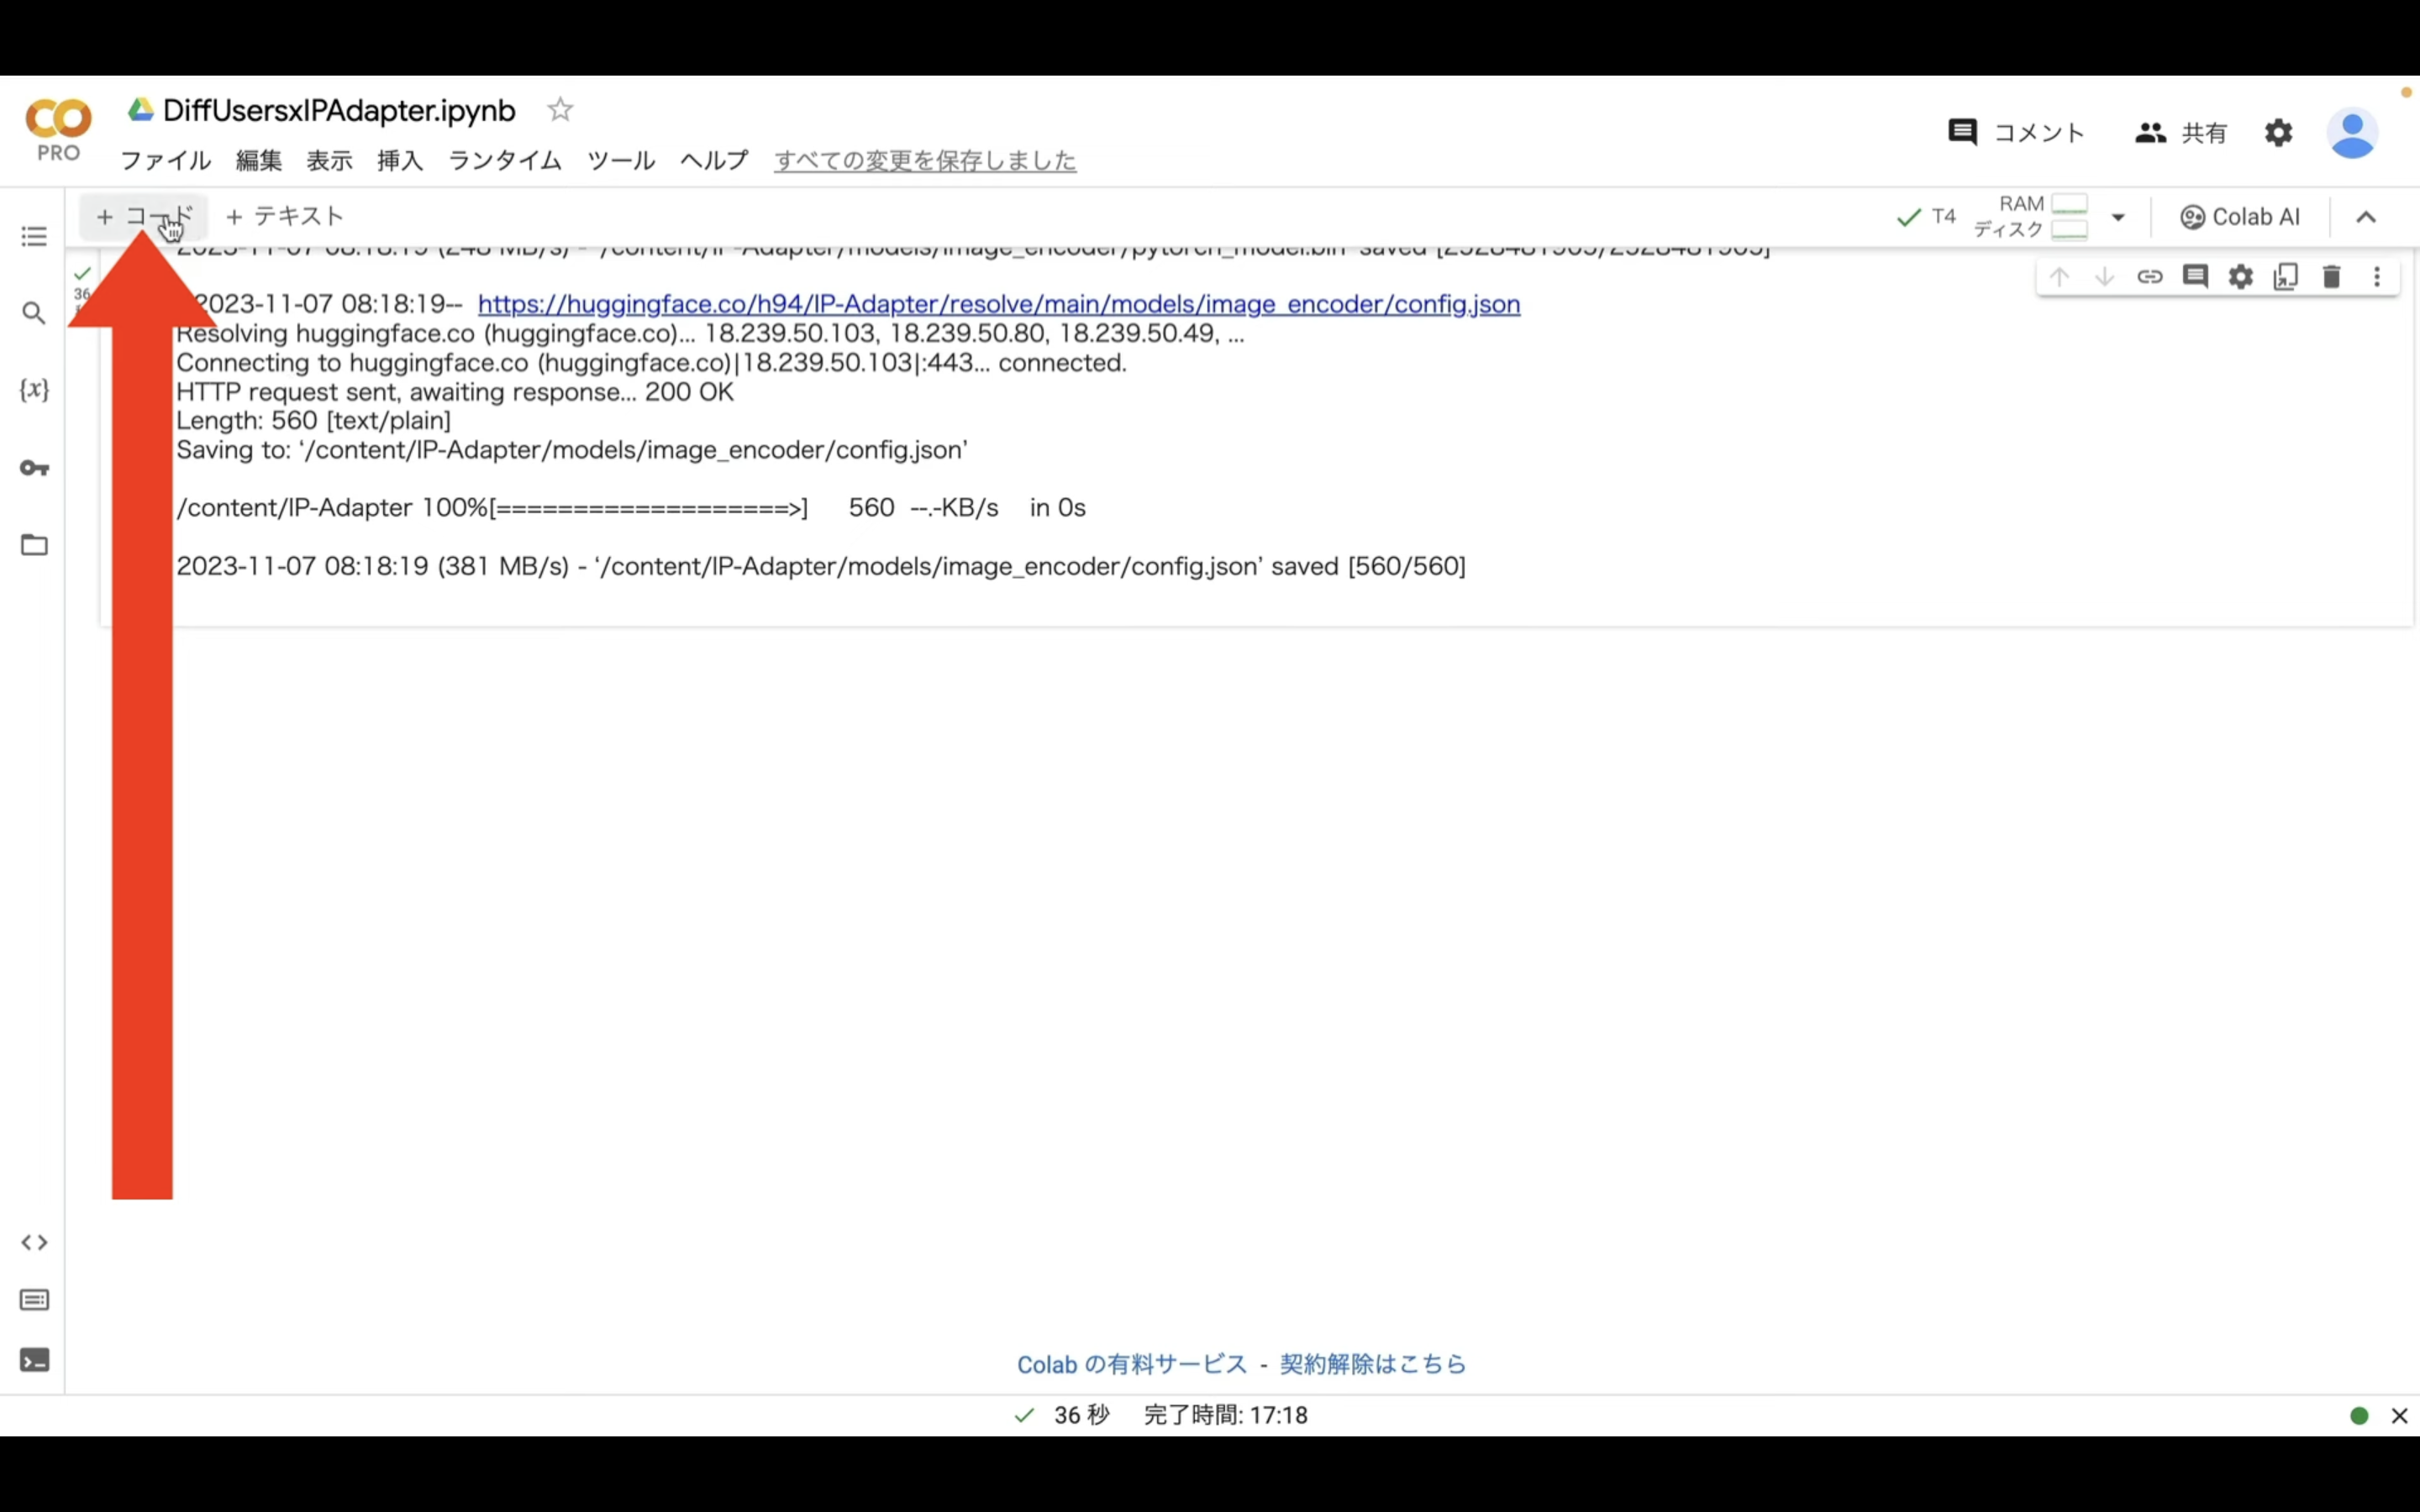
そうするとテキストボックスが追加されます。
追加されたテキストボックスに先ほどコピーしたテキストを貼り付けます。
そして、再生ボタンをクリックします。
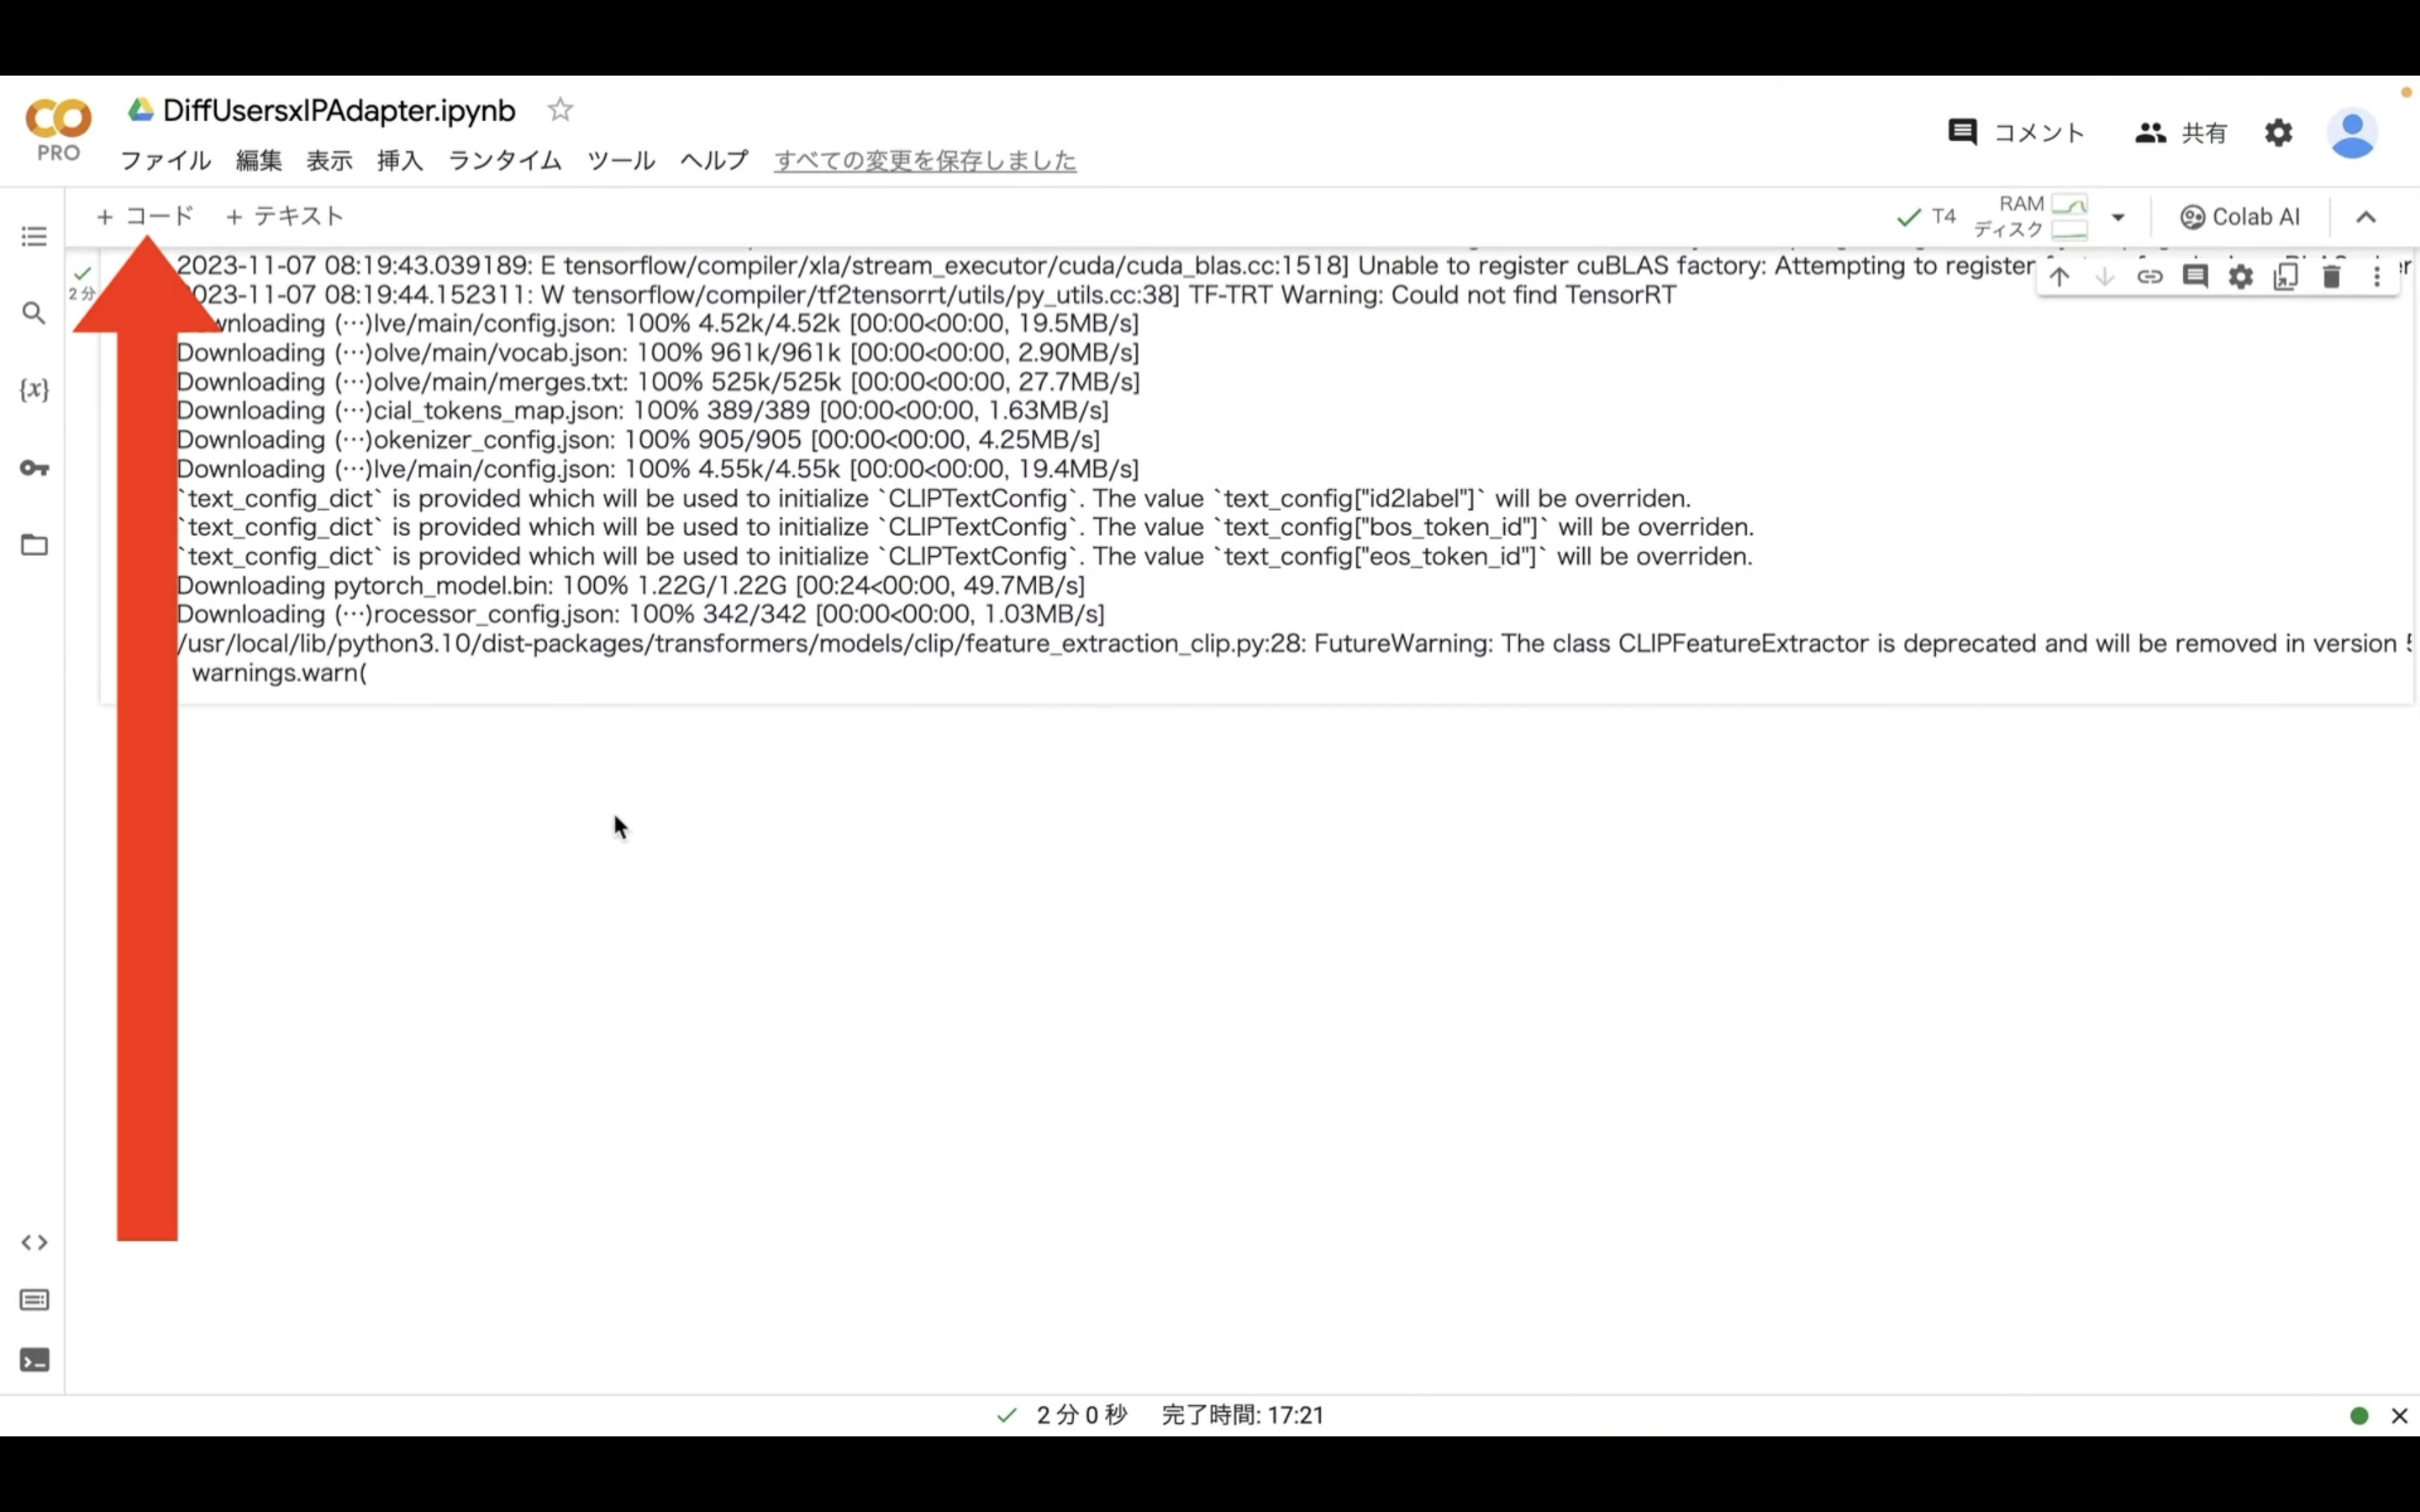
実行が完了するまでしばらく待ちます。
この処理には数分程度かかります。
実行が完了したら、以下のテキストをコピーします。
%cd /content/IP-Adapter
import torch
from diffusers import StableDiffusionPipeline, StableDiffusionImg2ImgPipeline, StableDiffusionInpaintPipelineLegacy, DDIMScheduler, AutoencoderKL
from PIL import Image
import base64, os
from IPython.display import HTML
from google.colab.output import eval_js
from base64 import b64decode
import matplotlib.pyplot as plt
import numpy as np
from shutil import copyfile, rmtree
import shutil
from google.colab import files
from ip_adapter import IPAdapter
base_model_path = "/content/beautifulRealistic_v7"
vae_model_path = "stabilityai/sd-vae-ft-mse"
image_encoder_path = "models/image_encoder/"
ip_ckpt = "models/ip-adapter_sd15.bin"
device = "cuda"
images_dir = "/content/images"
vae = AutoencoderKL.from_pretrained(vae_model_path).to(dtype=torch.float16)
noise_scheduler = DDIMScheduler(
num_train_timesteps=1000,
beta_start=0.00085,
beta_end=0.012,
beta_schedule="scaled_linear",
clip_sample=False,
set_alpha_to_one=False,
steps_offset=1,
)
def image_grid(imgs, rows, cols):
from PIL import Image
assert len(imgs) == rows*cols
w, h = imgs[0].size
grid = Image.new('RGB', size=(cols*w, rows*h))
grid_w, grid_h = grid.size
for i, img in enumerate(imgs):
grid.paste(img, box=(i%cols*w, i//cols*h))
return grid
def using_ipadapter(noise_scheduler, vae, image_path):
from PIL import Image
## Image Variations
# load SD pipeline
pipe = StableDiffusionPipeline.from_pretrained(
base_model_path,
torch_dtype=torch.float16,
scheduler=noise_scheduler,
vae=vae,
feature_extractor=None,
safety_checker=None
)
image = Image.open(image_path)
ip_model = IPAdapter(pipe, image_encoder_path, ip_ckpt, device)
return ip_model.generate(pil_image=image, num_samples=4, num_inference_steps=50, seed=42)
def create_optical_illusion(image_path1, image_path2):
torch.cuda.empty_cache()
pipe = StableDiffusionImg2ImgPipeline.from_pretrained(
base_model_path,
torch_dtype=torch.float16,
scheduler=noise_scheduler,
vae=vae,
feature_extractor=None,
safety_checker=None
)
image = Image.open(image_path1)
g_image = Image.open(image_path2)
ip_model = IPAdapter(pipe, image_encoder_path, ip_ckpt, device)
return ip_model.generate(pil_image=image, num_samples=4, num_inference_steps=50, seed=42, image=g_image, strength=0.6)
def create_like_deepfakes(face_path, original_path, masked_path):
image = Image.open(face_path)
image.resize((256, 256))
masked_image = Image.open(original_path).resize((512, 768))
mask = Image.open(masked_path).resize((512, 768))
pipe = StableDiffusionInpaintPipelineLegacy.from_pretrained(
base_model_path,
torch_dtype=torch.float16,
scheduler=noise_scheduler,
vae=vae,
feature_extractor=None,
safety_checker=None
)
ip_model = IPAdapter(pipe, image_encoder_path, ip_ckpt, device)
return ip_model.generate(pil_image=image, num_samples=4, num_inference_steps=50,
seed=42, image=masked_image, mask_image=mask, strength=0.7, )
def download_files(images):
import zipfile
import os
from google.colab import files
from datetime import datetime
image_paths = []
for index, img in enumerate(images):
save_path = f"{images_dir}/image{(index+1):02d}.png"
img.save(save_path)
image_paths.append(save_path)
# 現在の日付と時刻を 'YYYYMMDDHHMM' の形式で取得
current_time = datetime.now().strftime('%Y%m%d%H%M')
# ZIPファイル名を 'ip_adapter_YYYYMMDDHHMM.zip' の形式で生成
zip_filename = f'ip_adapter_{current_time}.zip'
# もし既存のZIPファイルがあれば削除
if os.path.exists(zip_filename):
os.remove(zip_filename)
# すべての画像ファイルを新しいZIPファイルにまとめます。
with zipfile.ZipFile(zip_filename, 'w') as zipf:
for img_path in image_paths:
# ZIPアーカイブに画像ファイルを追加
zipf.write(img_path)
# 元の画像ファイルを削除
os.remove(img_path)
# ZIPファイルをダウンロードします。
files.download(zip_filename)
canvas_html = """
<style>
.button {
background-color: #4CAF50;
border: none;
color: white;
padding: 15px 32px;
text-align: center;
text-decoration: none;
display: inline-block;
font-size: 16px;
margin: 4px 2px;
cursor: pointer;
}
</style>
<canvas1 width=%d height=%d>
</canvas1>
<canvas width=%d height=%d>
</canvas>
<button class="button">Finish</button>
<script>
var canvas = document.querySelector('canvas')
var ctx = canvas.getContext('2d')
var canvas1 = document.querySelector('canvas1')
var ctx1 = canvas.getContext('2d')
ctx.strokeStyle = 'red';
ctx.lineJoin = 'round';
ctx.lineCap = 'round';
ctx.lineWidth = 5;
var img = new Image();
img.src = "data:image/%s;charset=utf-8;base64,%s";
console.log(img)
img.onload = function() {
ctx1.drawImage(img, 0, 0);
};
img.crossOrigin = 'Anonymous';
ctx.clearRect(0, 0, canvas.width, canvas.height);
ctx.lineWidth = %d
var button = document.querySelector('button')
var mouse = {x: 0, y: 0}
canvas.addEventListener('mousemove', function(e) {
mouse.x = e.pageX - this.offsetLeft
mouse.y = e.pageY - this.offsetTop
})
canvas.onmousedown = ()=>{
ctx.beginPath()
ctx.moveTo(mouse.x, mouse.y)
canvas.addEventListener('mousemove', onPaint)
}
canvas.onmouseup = ()=>{
canvas.removeEventListener('mousemove', onPaint)
}
var onPaint = ()=>{
ctx.lineTo(mouse.x, mouse.y)
ctx.stroke()
}
var data = new Promise(resolve=>{
button.onclick = ()=>{
resolve(canvas.toDataURL('image/png'))
}
})
</script>
"""
def draw(imgm, filename='drawing.png', w=400, h=200, line_width=1):
display(HTML(canvas_html % (w, h, w,h, filename.split('.')[-1], imgm, line_width)))
data = eval_js("data")
binary = b64decode(data.split(',') )
with open(filename, 'wb') as f:
f.write(binary)
def upload_files():
from google.colab import files
uploaded_files = files.upload()
fnames = list(uploaded_files.keys())
rmtree(images_dir, ignore_errors=True)
os.makedirs(images_dir, exist_ok=True)
current_directory = os.getcwd()
result = []
for fn in fnames:
dest_path = os.path.join(images_dir, fn)
src_path = os.path.join(current_directory, fn)
copyfile(src_path, dest_path)
if os.path.exists(src_path):
os.remove(src_path)
result.append(dest_path)
return result
def find_target_file(file_path_list, target_filename="target.png"):
# os.path.basenameを使用してファイル名のみを取得し、比較する
target_file_path = next((fp for fp in file_path_list if os.path.basename(fp) == target_filename), None)
if not target_file_path:
# ファイルが見つからない場合はメッセージを表示し、Noneを返す
print(f"{target_filename}がアップロードされていません。")
return None
# ファイルが見つかった場合はそのパスを返す
return target_file_path
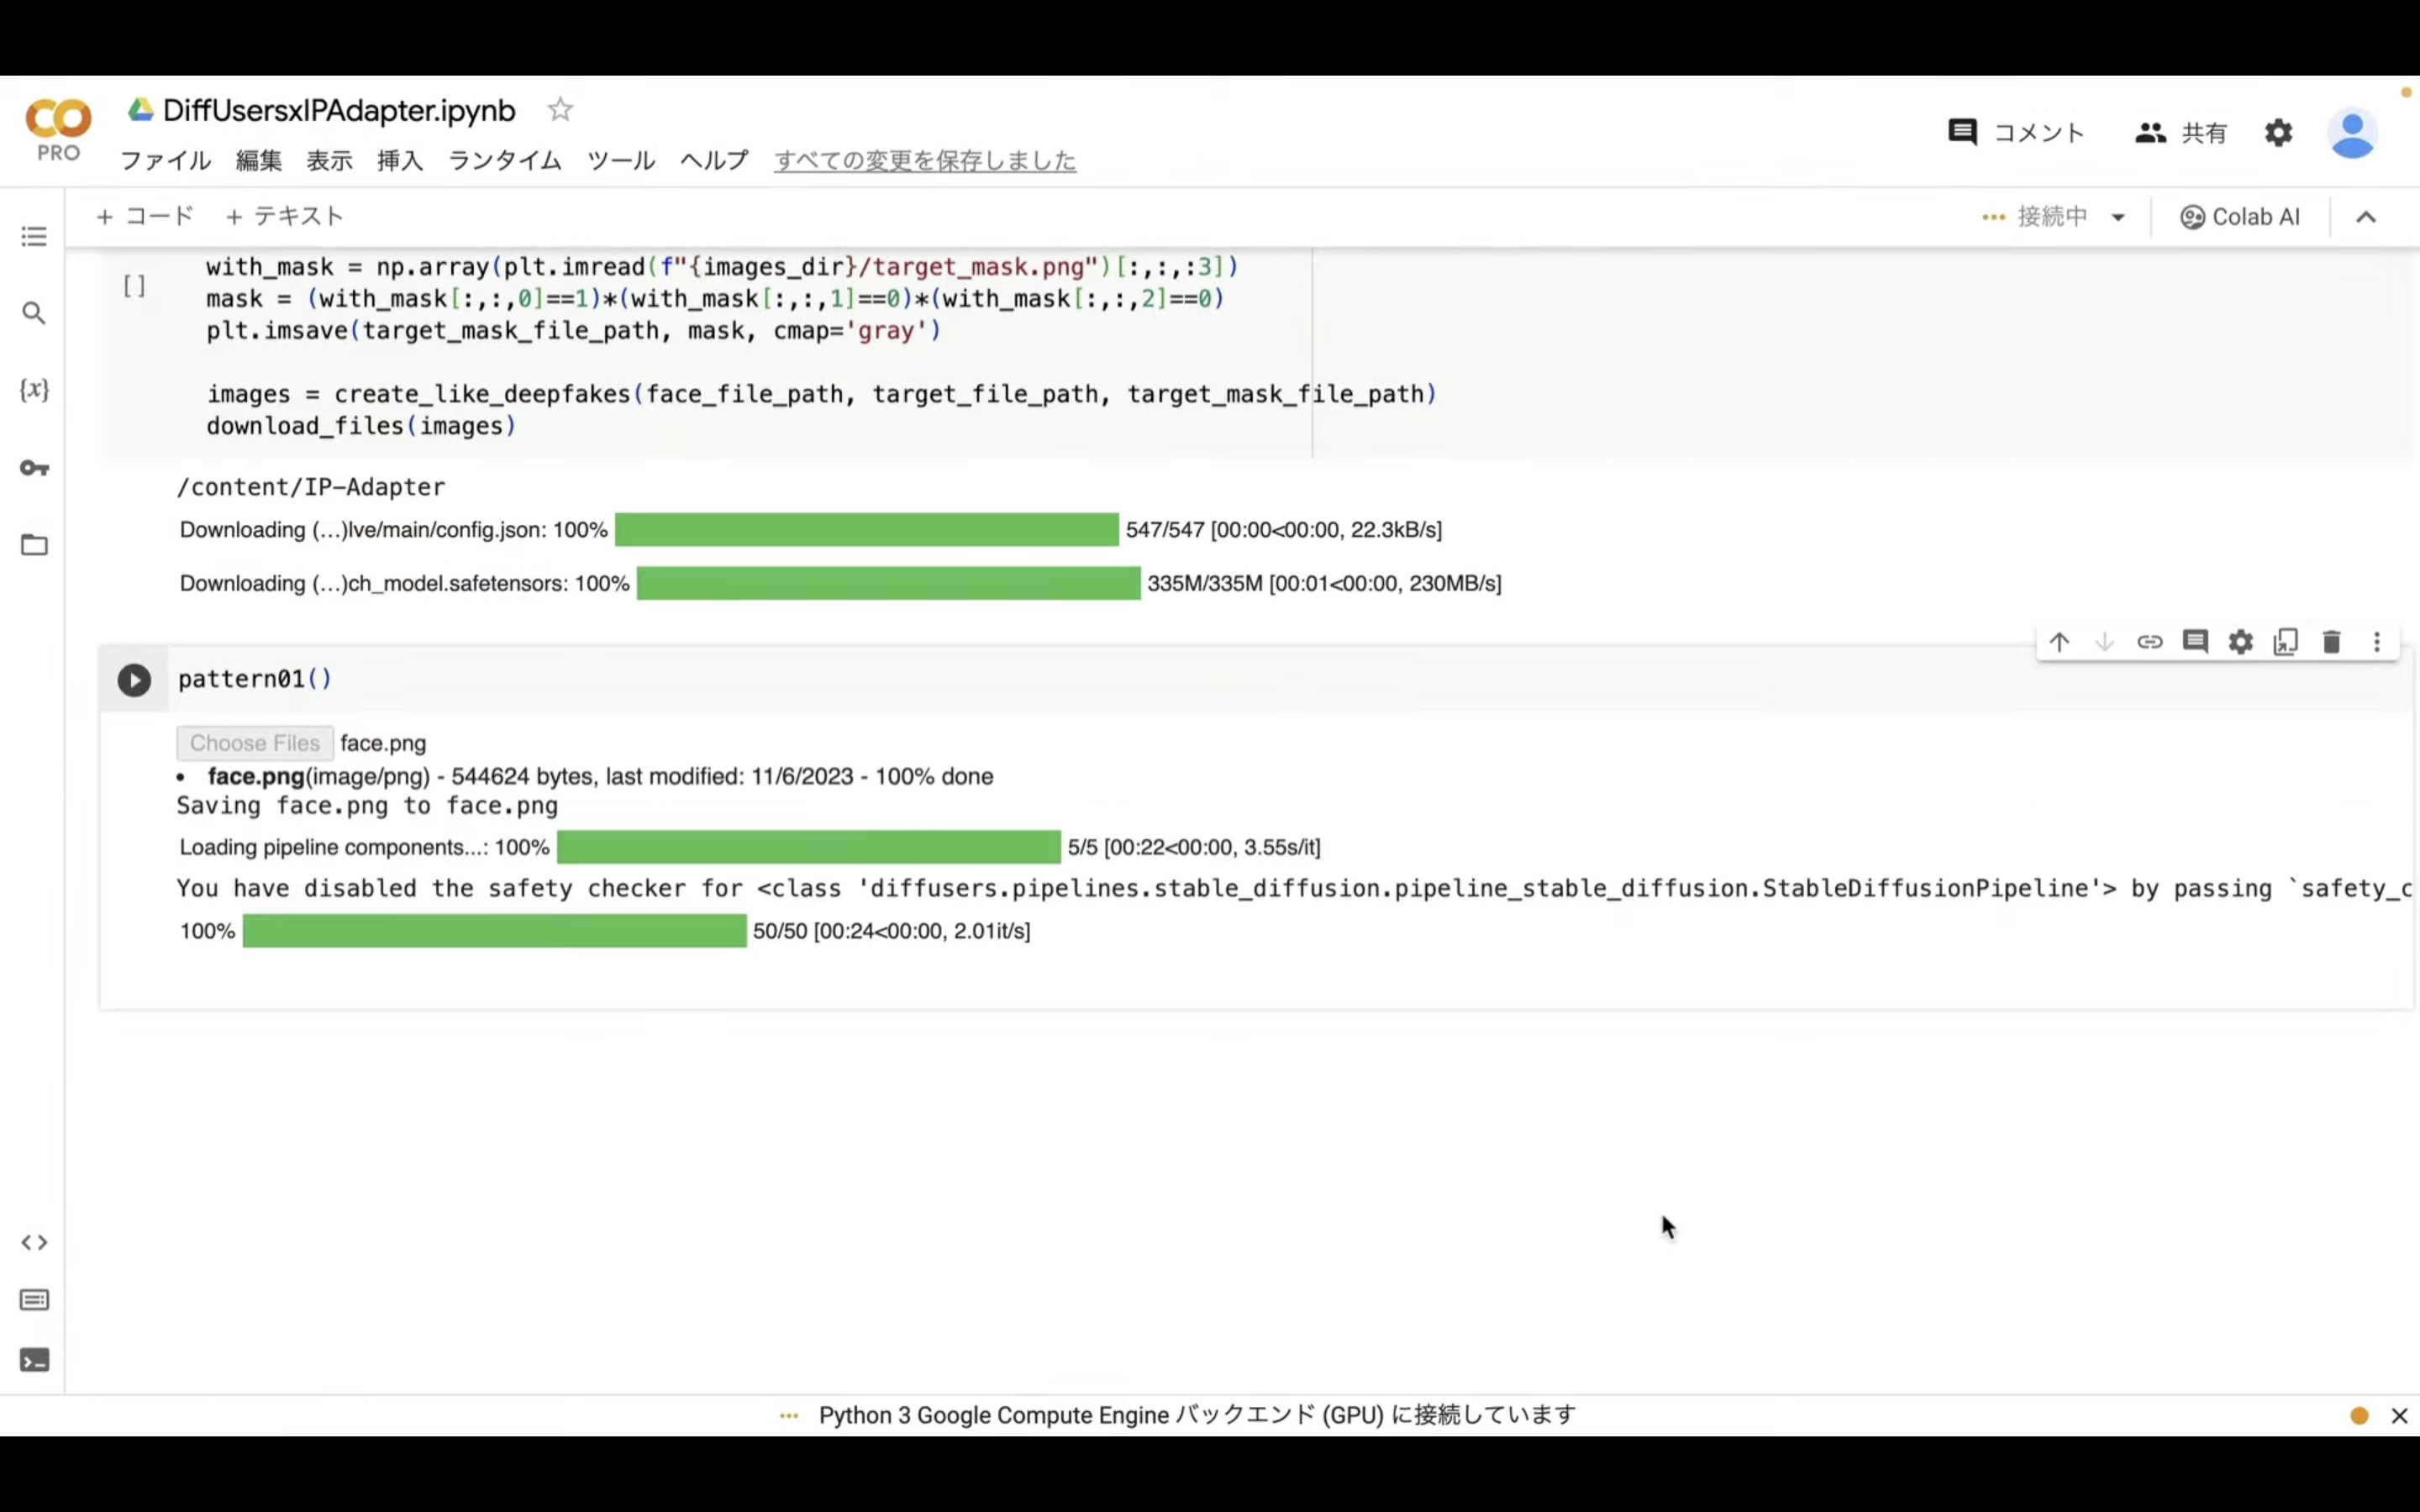
def pattern01():
file_path_list = upload_files()
target_file_path = find_target_file(file_path_list, "face.png")
if not target_file_path:
return
images = using_ipadapter(noise_scheduler, vae, target_file_path)
download_files(images)
def pattern02():
file_path_list = upload_files()
background_file_path = find_target_file(file_path_list, "background.png")
if not background_file_path:
return
target_file_path = find_target_file(file_path_list, "target.jpg")
if not target_file_path:
return
images = create_optical_illusion(background_file_path, target_file_path)
download_files(images)
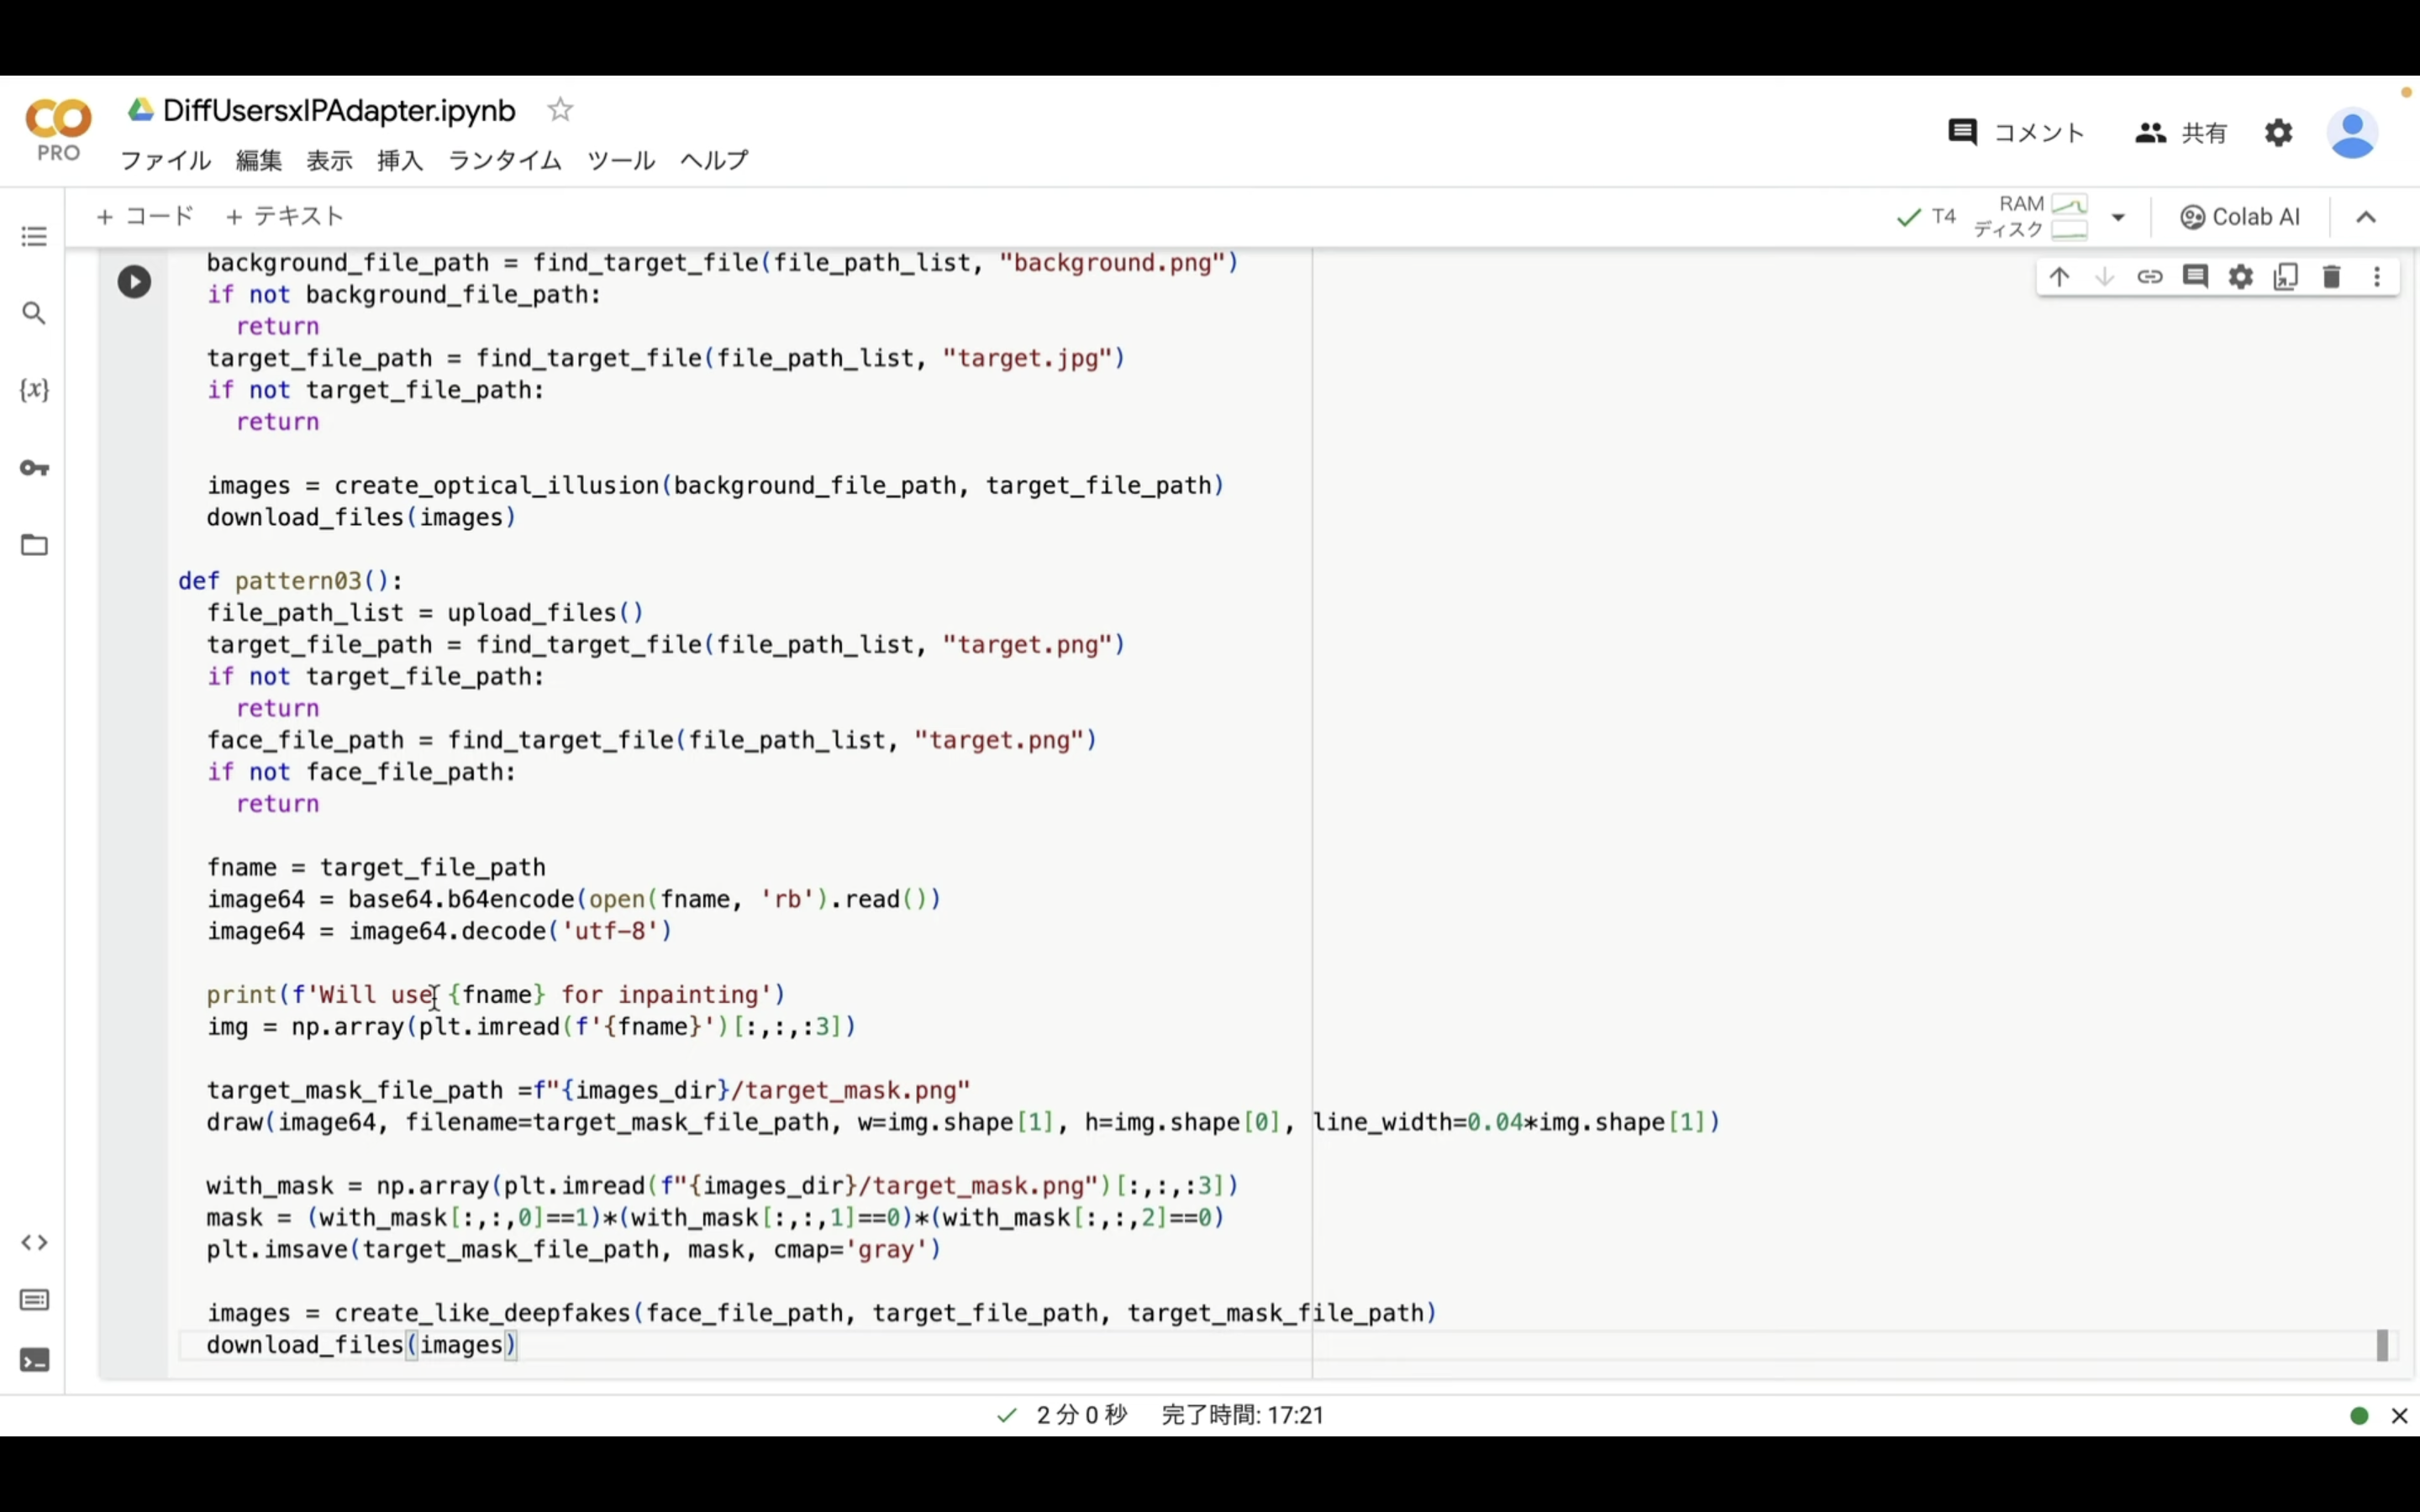
def pattern03():
file_path_list = upload_files()
target_file_path = find_target_file(file_path_list, "target.png")
if not target_file_path:
return
face_file_path = find_target_file(file_path_list, "target.png")
if not face_file_path:
return
fname = target_file_path
image64 = base64.b64encode(open(fname, 'rb').read())
image64 = image64.decode('utf-8')
print(f'Will use {fname} for inpainting')
img = np.array(plt.imread(f'{fname}')[:,:,:3])
target_mask_file_path =f"{images_dir}/target_mask.png"
draw(image64, filename=target_mask_file_path, w=img.shape, h=img.shape[0], line_width=0.04*img.shape)
with_mask = np.array(plt.imread(f"{images_dir}/target_mask.png")[:,:,:3])
mask = (with_mask[:,:,0]==1)*(with_mask[:,:,1]==0)*(with_mask[:,:,2]==0)
plt.imsave(target_mask_file_path, mask, cmap='gray')
images = create_like_deepfakes(face_file_path, target_file_path, target_mask_file_path)
download_files(images)
)
with open(filename, 'wb') as f:
f.write(binary)
def upload_files():
from google.colab import files
uploaded_files = files.upload()
fnames = list(uploaded_files.keys())
rmtree(images_dir, ignore_errors=True)
os.makedirs(images_dir, exist_ok=True)
current_directory = os.getcwd()
result = []
for fn in fnames:
dest_path = os.path.join(images_dir, fn)
src_path = os.path.join(current_directory, fn)
copyfile(src_path, dest_path)
if os.path.exists(src_path):
os.remove(src_path)
result.append(dest_path)
return result
def find_target_file(file_path_list, target_filename="target.png"):
# os.path.basenameを使用してファイル名のみを取得し、比較する
target_file_path = next((fp for fp in file_path_list if os.path.basename(fp) == target_filename), None)
if not target_file_path:
# ファイルが見つからない場合はメッセージを表示し、Noneを返す
print(f"{target_filename}がアップロードされていません。")
return None
# ファイルが見つかった場合はそのパスを返す
return target_file_path
def pattern01():
file_path_list = upload_files()
target_file_path = find_target_file(file_path_list, "face.png")
if not target_file_path:
return
images = using_ipadapter(noise_scheduler, vae, target_file_path)
download_files(images)
def pattern02():
file_path_list = upload_files()
background_file_path = find_target_file(file_path_list, "background.png")
if not background_file_path:
return
target_file_path = find_target_file(file_path_list, "target.jpg")
if not target_file_path:
return
images = create_optical_illusion(background_file_path, target_file_path)
download_files(images)
def pattern03():
file_path_list = upload_files()
target_file_path = find_target_file(file_path_list, "target.png")
if not target_file_path:
return
face_file_path = find_target_file(file_path_list, "target.png")
if not face_file_path:
return
fname = target_file_path
image64 = base64.b64encode(open(fname, 'rb').read())
image64 = image64.decode('utf-8')
print(f'Will use {fname} for inpainting')
img = np.array(plt.imread(f'{fname}')[:,:,:3])
target_mask_file_path =f"{images_dir}/target_mask.png"
draw(image64, filename=target_mask_file_path, w=img.shape, h=img.shape[0], line_width=0.04*img.shape)
with_mask = np.array(plt.imread(f"{images_dir}/target_mask.png")[:,:,:3])
mask = (with_mask[:,:,0]==1)*(with_mask[:,:,1]==0)*(with_mask[:,:,2]==0)
plt.imsave(target_mask_file_path, mask, cmap='gray')
images = create_like_deepfakes(face_file_path, target_file_path, target_mask_file_path)
download_files(images)
テキストをコピーしたら、Google Colabの画面に戻ります。
Google Colabの画面に戻ったら、「コード」と書かれているテキストをクリックします。
テキストボックスが追加されるので、先ほどコピーしたテキストを貼り付けます。
再生ボタンをクリックします。
コマンドが実行されるので、完了するまでしばらく待ちます。
この処理にも数分程度かかるかもしれません。
しばらく待っていると、処理が完了します。
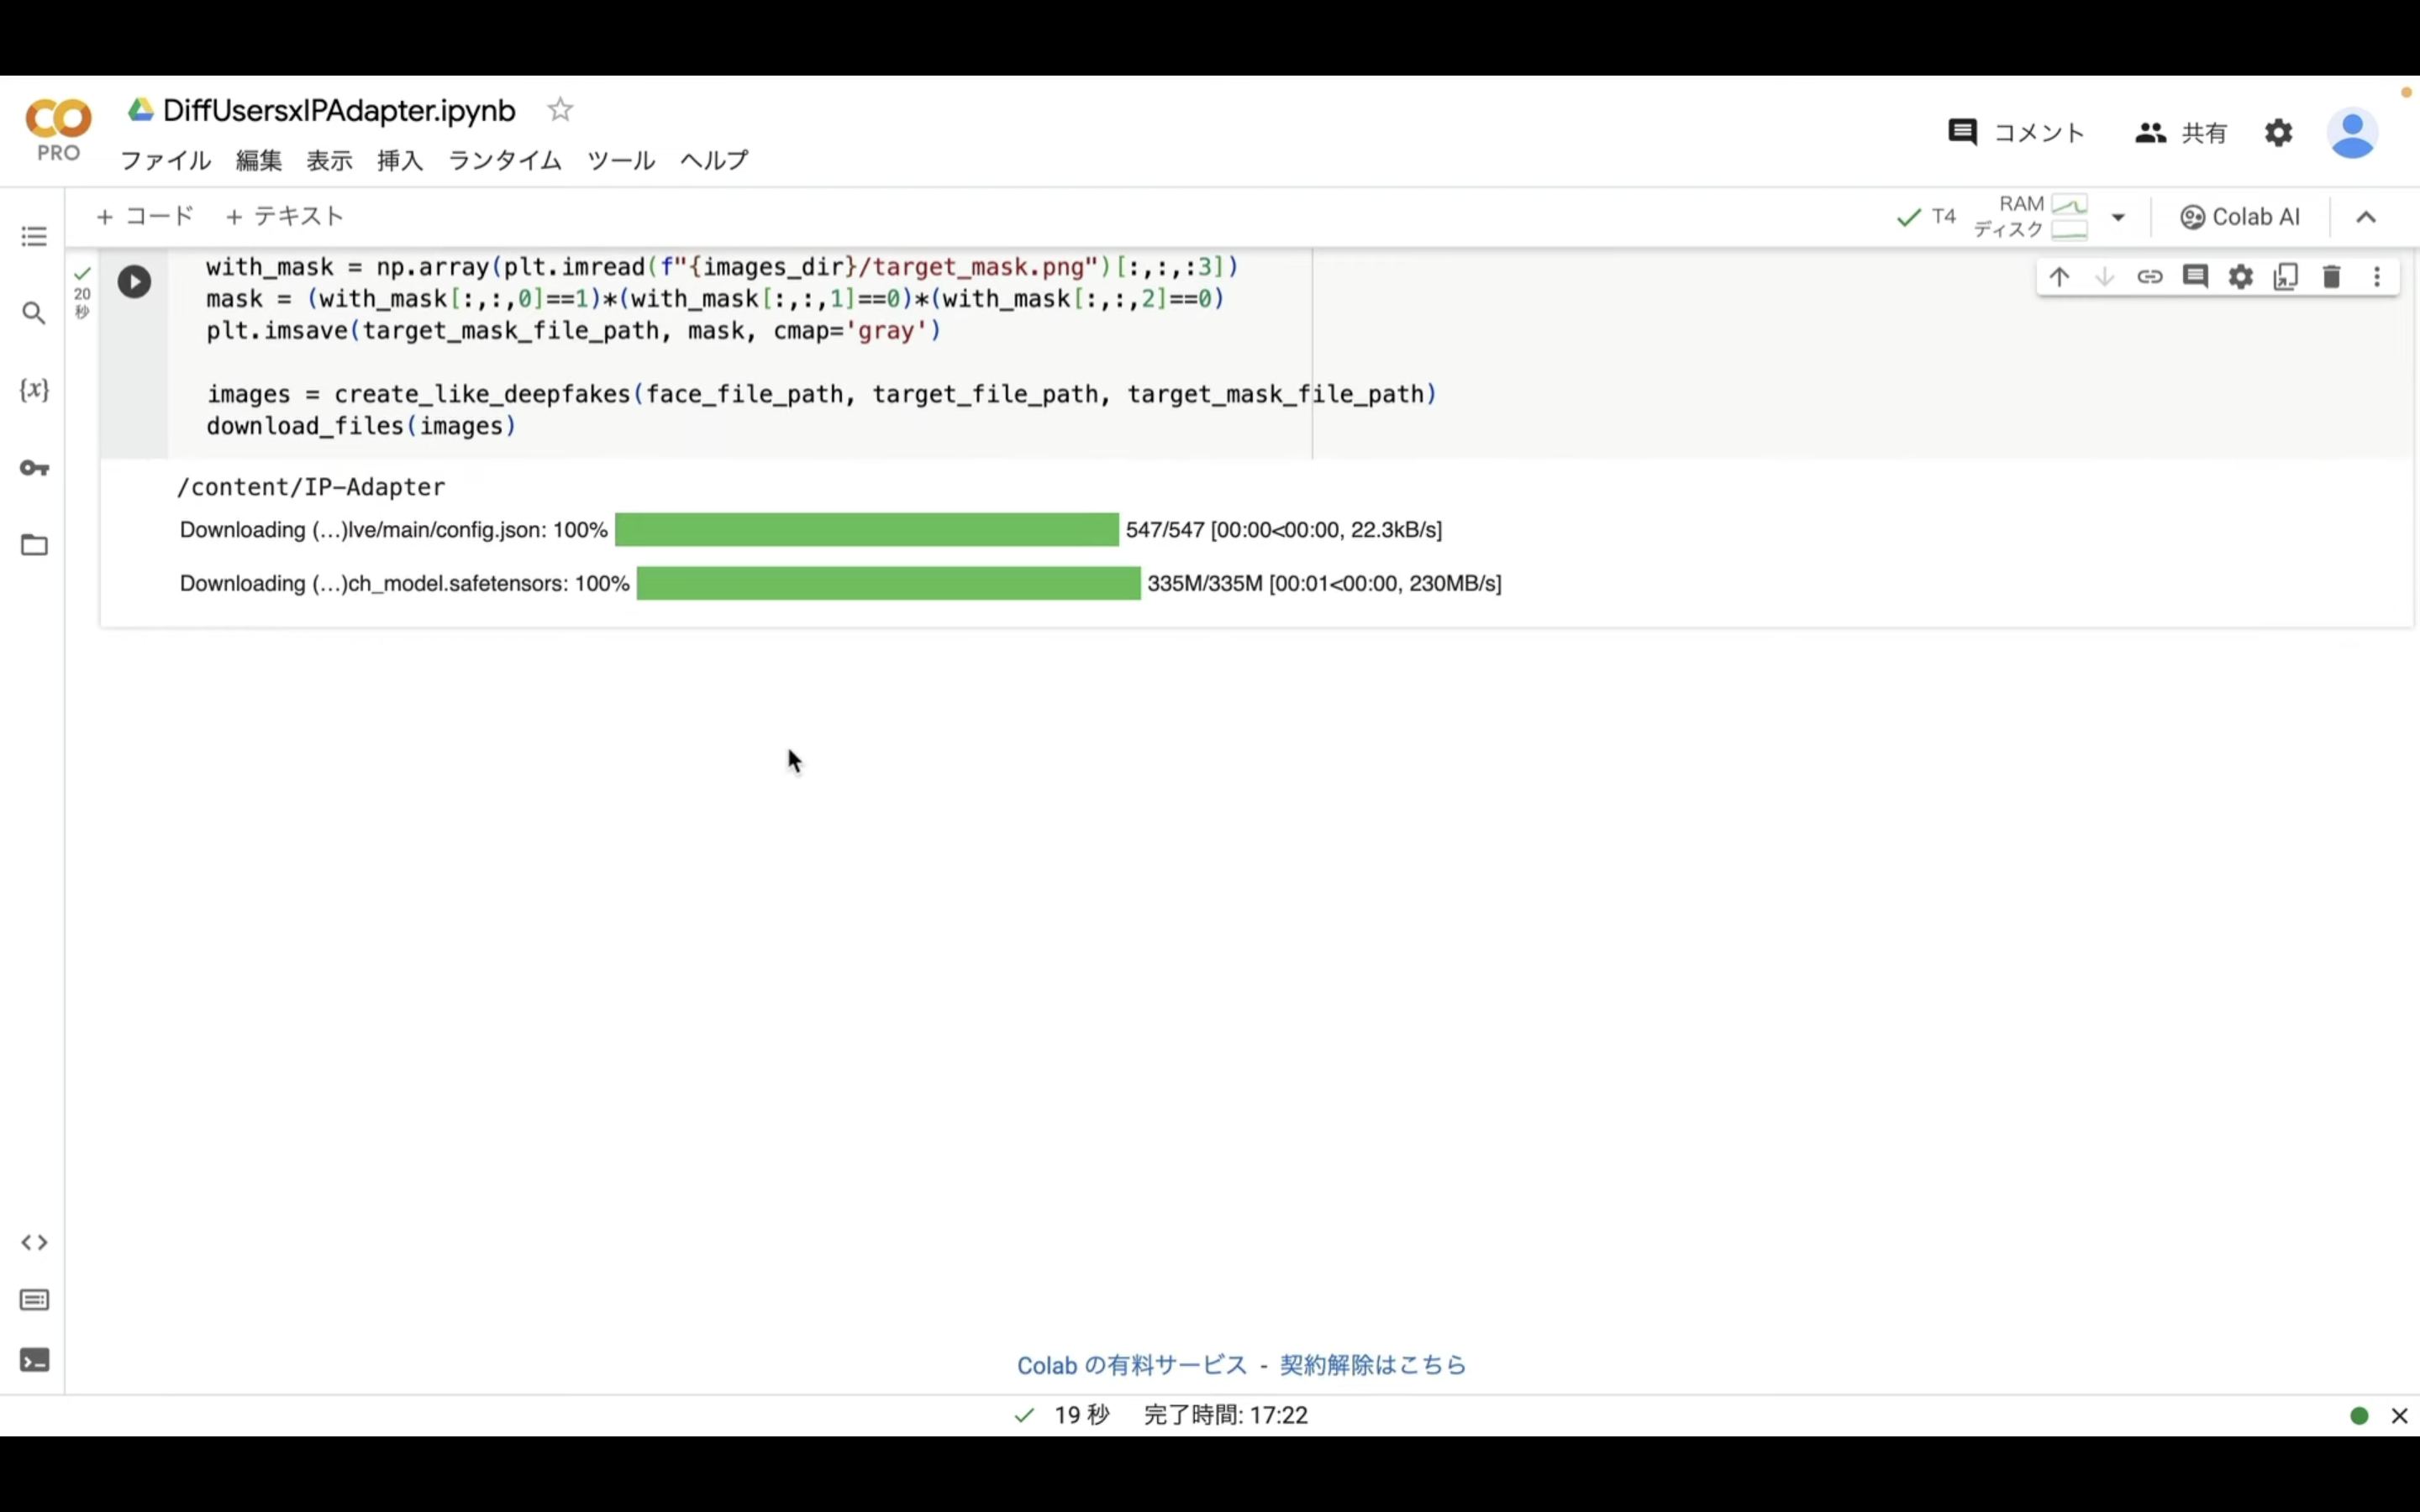
これでDiffUsersでIPAdapterを利用するための準備が整いました。
それでは、早速実行していきましょう。
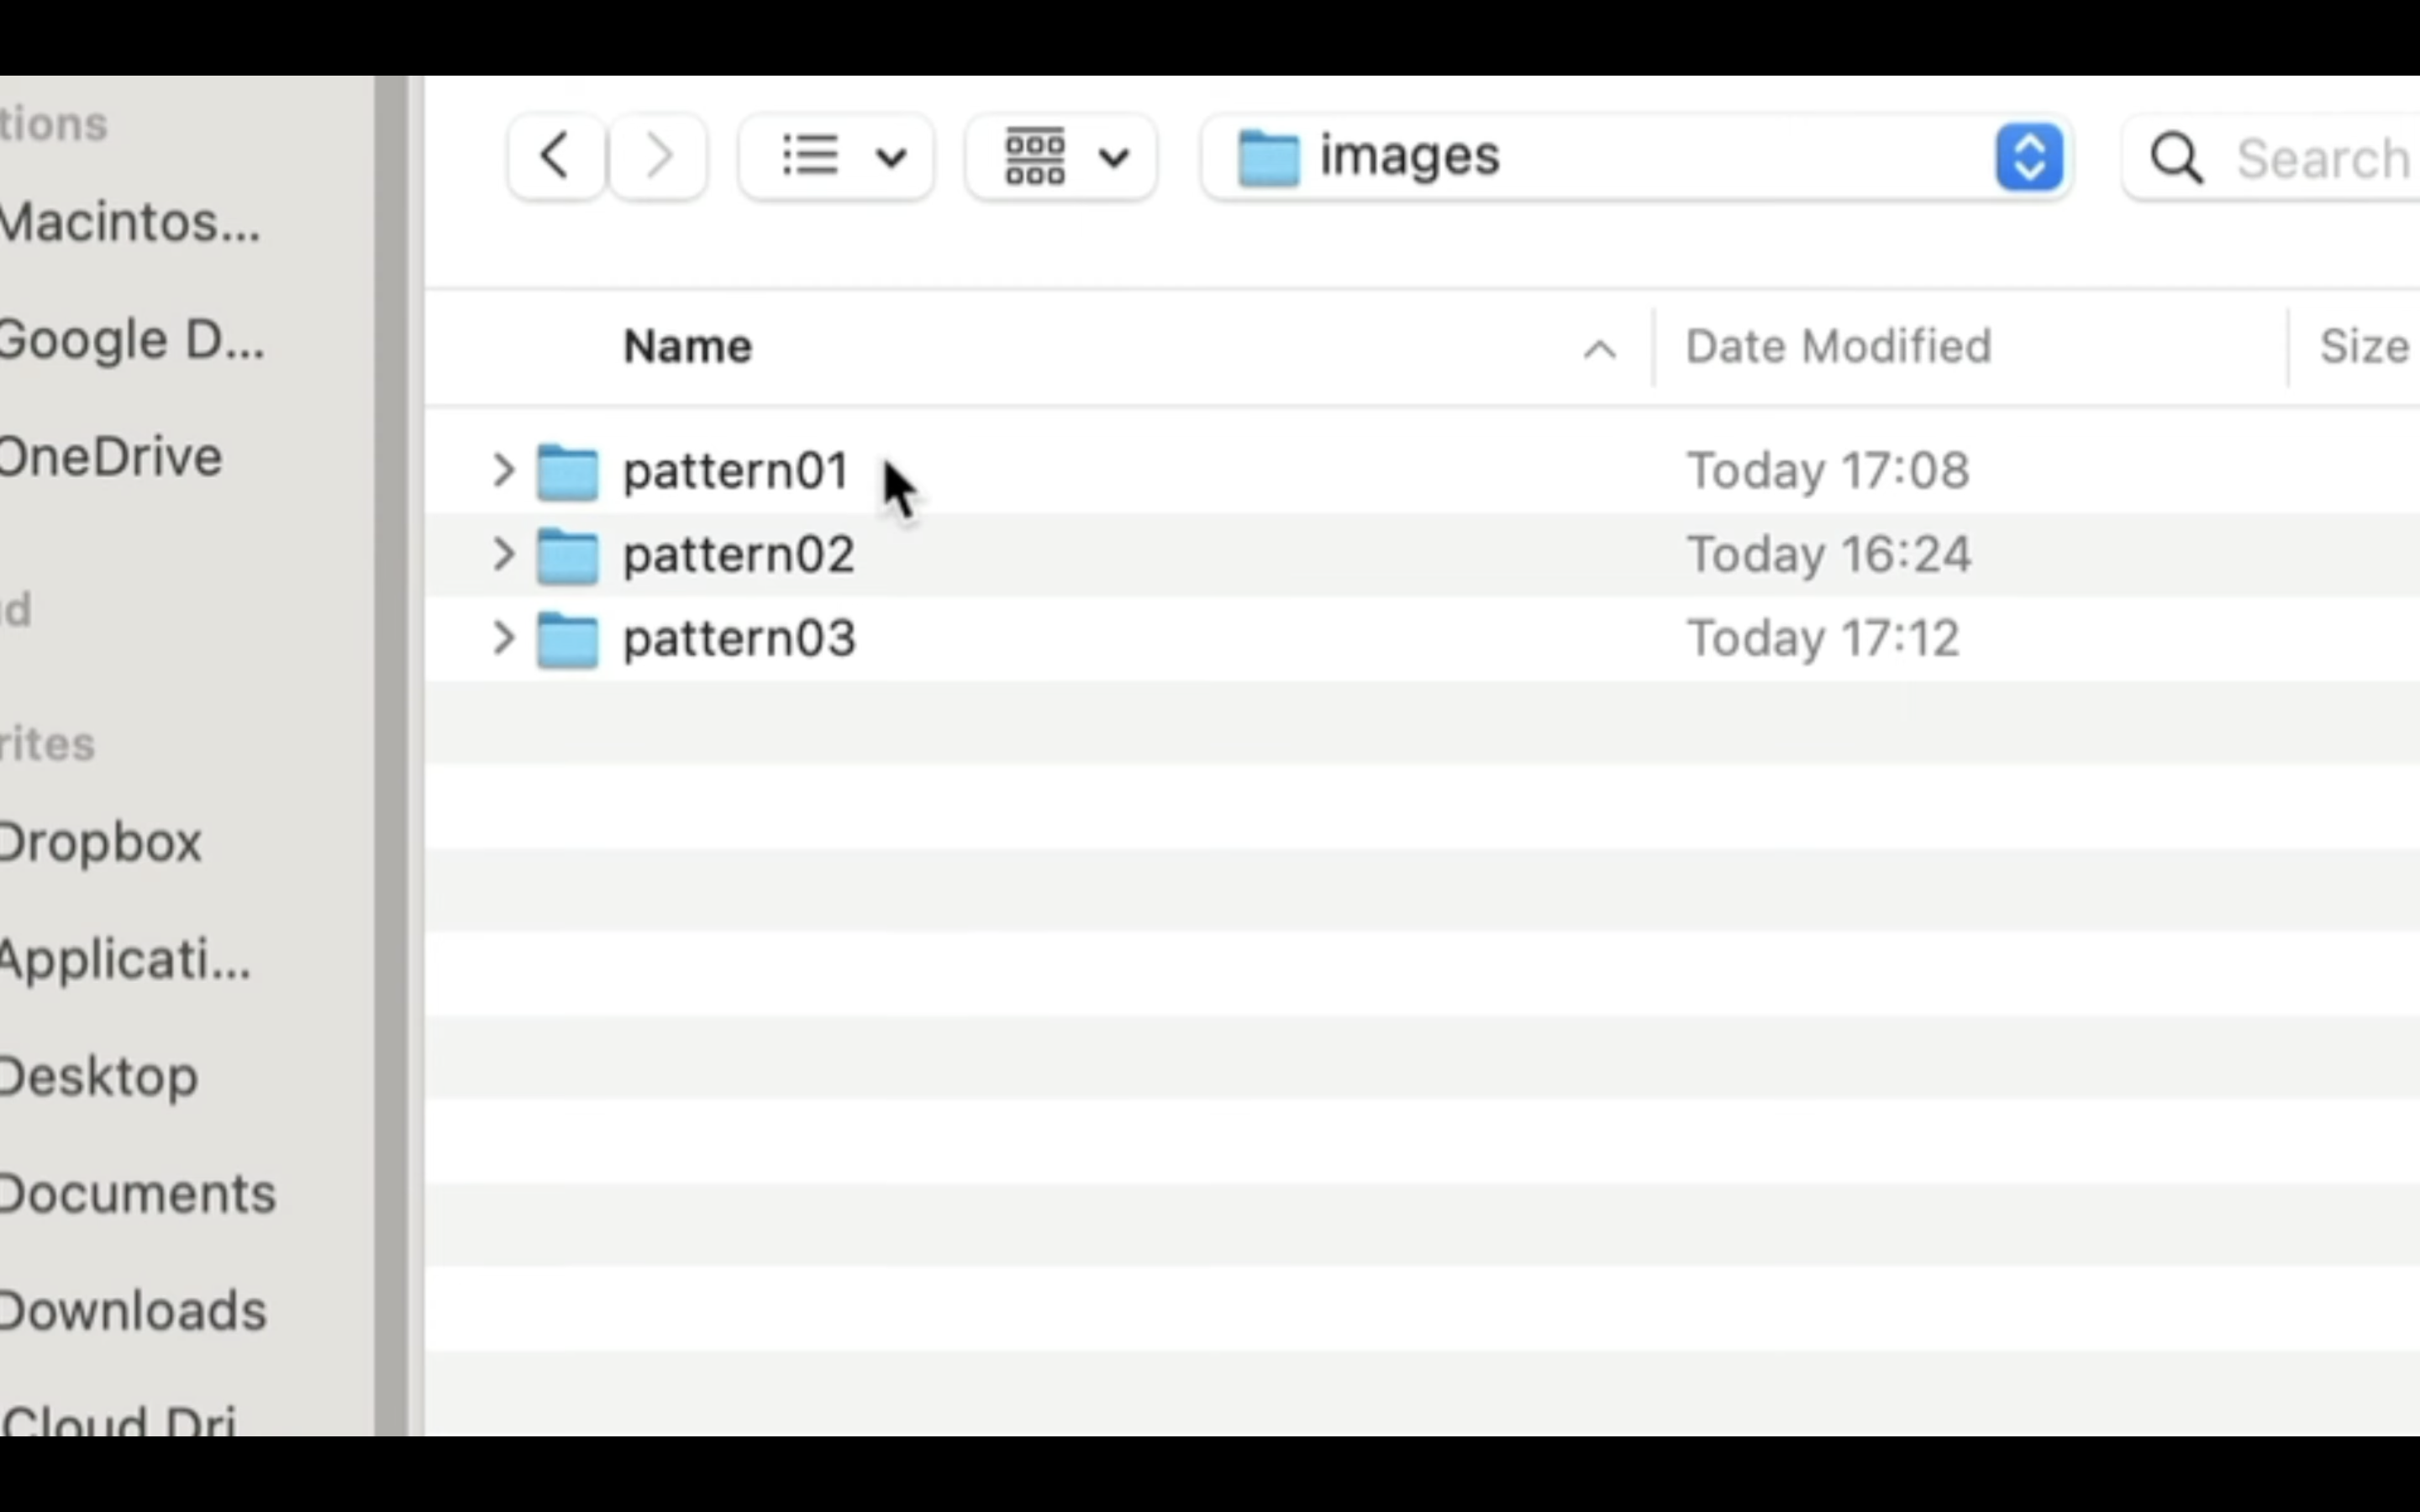
まずはpattern01、pattern02、pattern03という名前のフォルダをそれぞれ作成しましょう。
次に以下の画像を「fase.png」という名前でpattern01のフォルダに保存しておいてください。

pattern02には、以下の画像を「target.jpg」として保存してください。
そして以下の画像を「background.png」という名前で保存しておいてください。
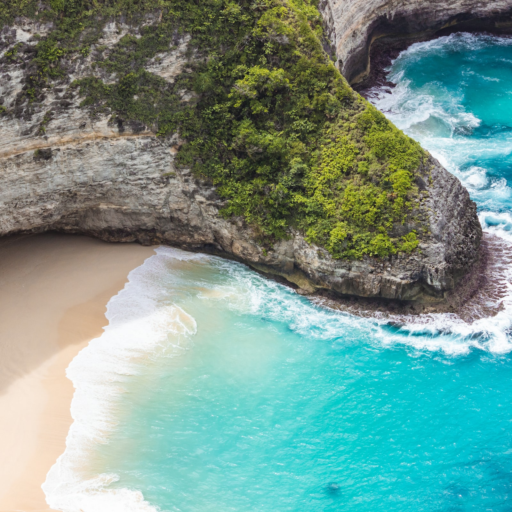
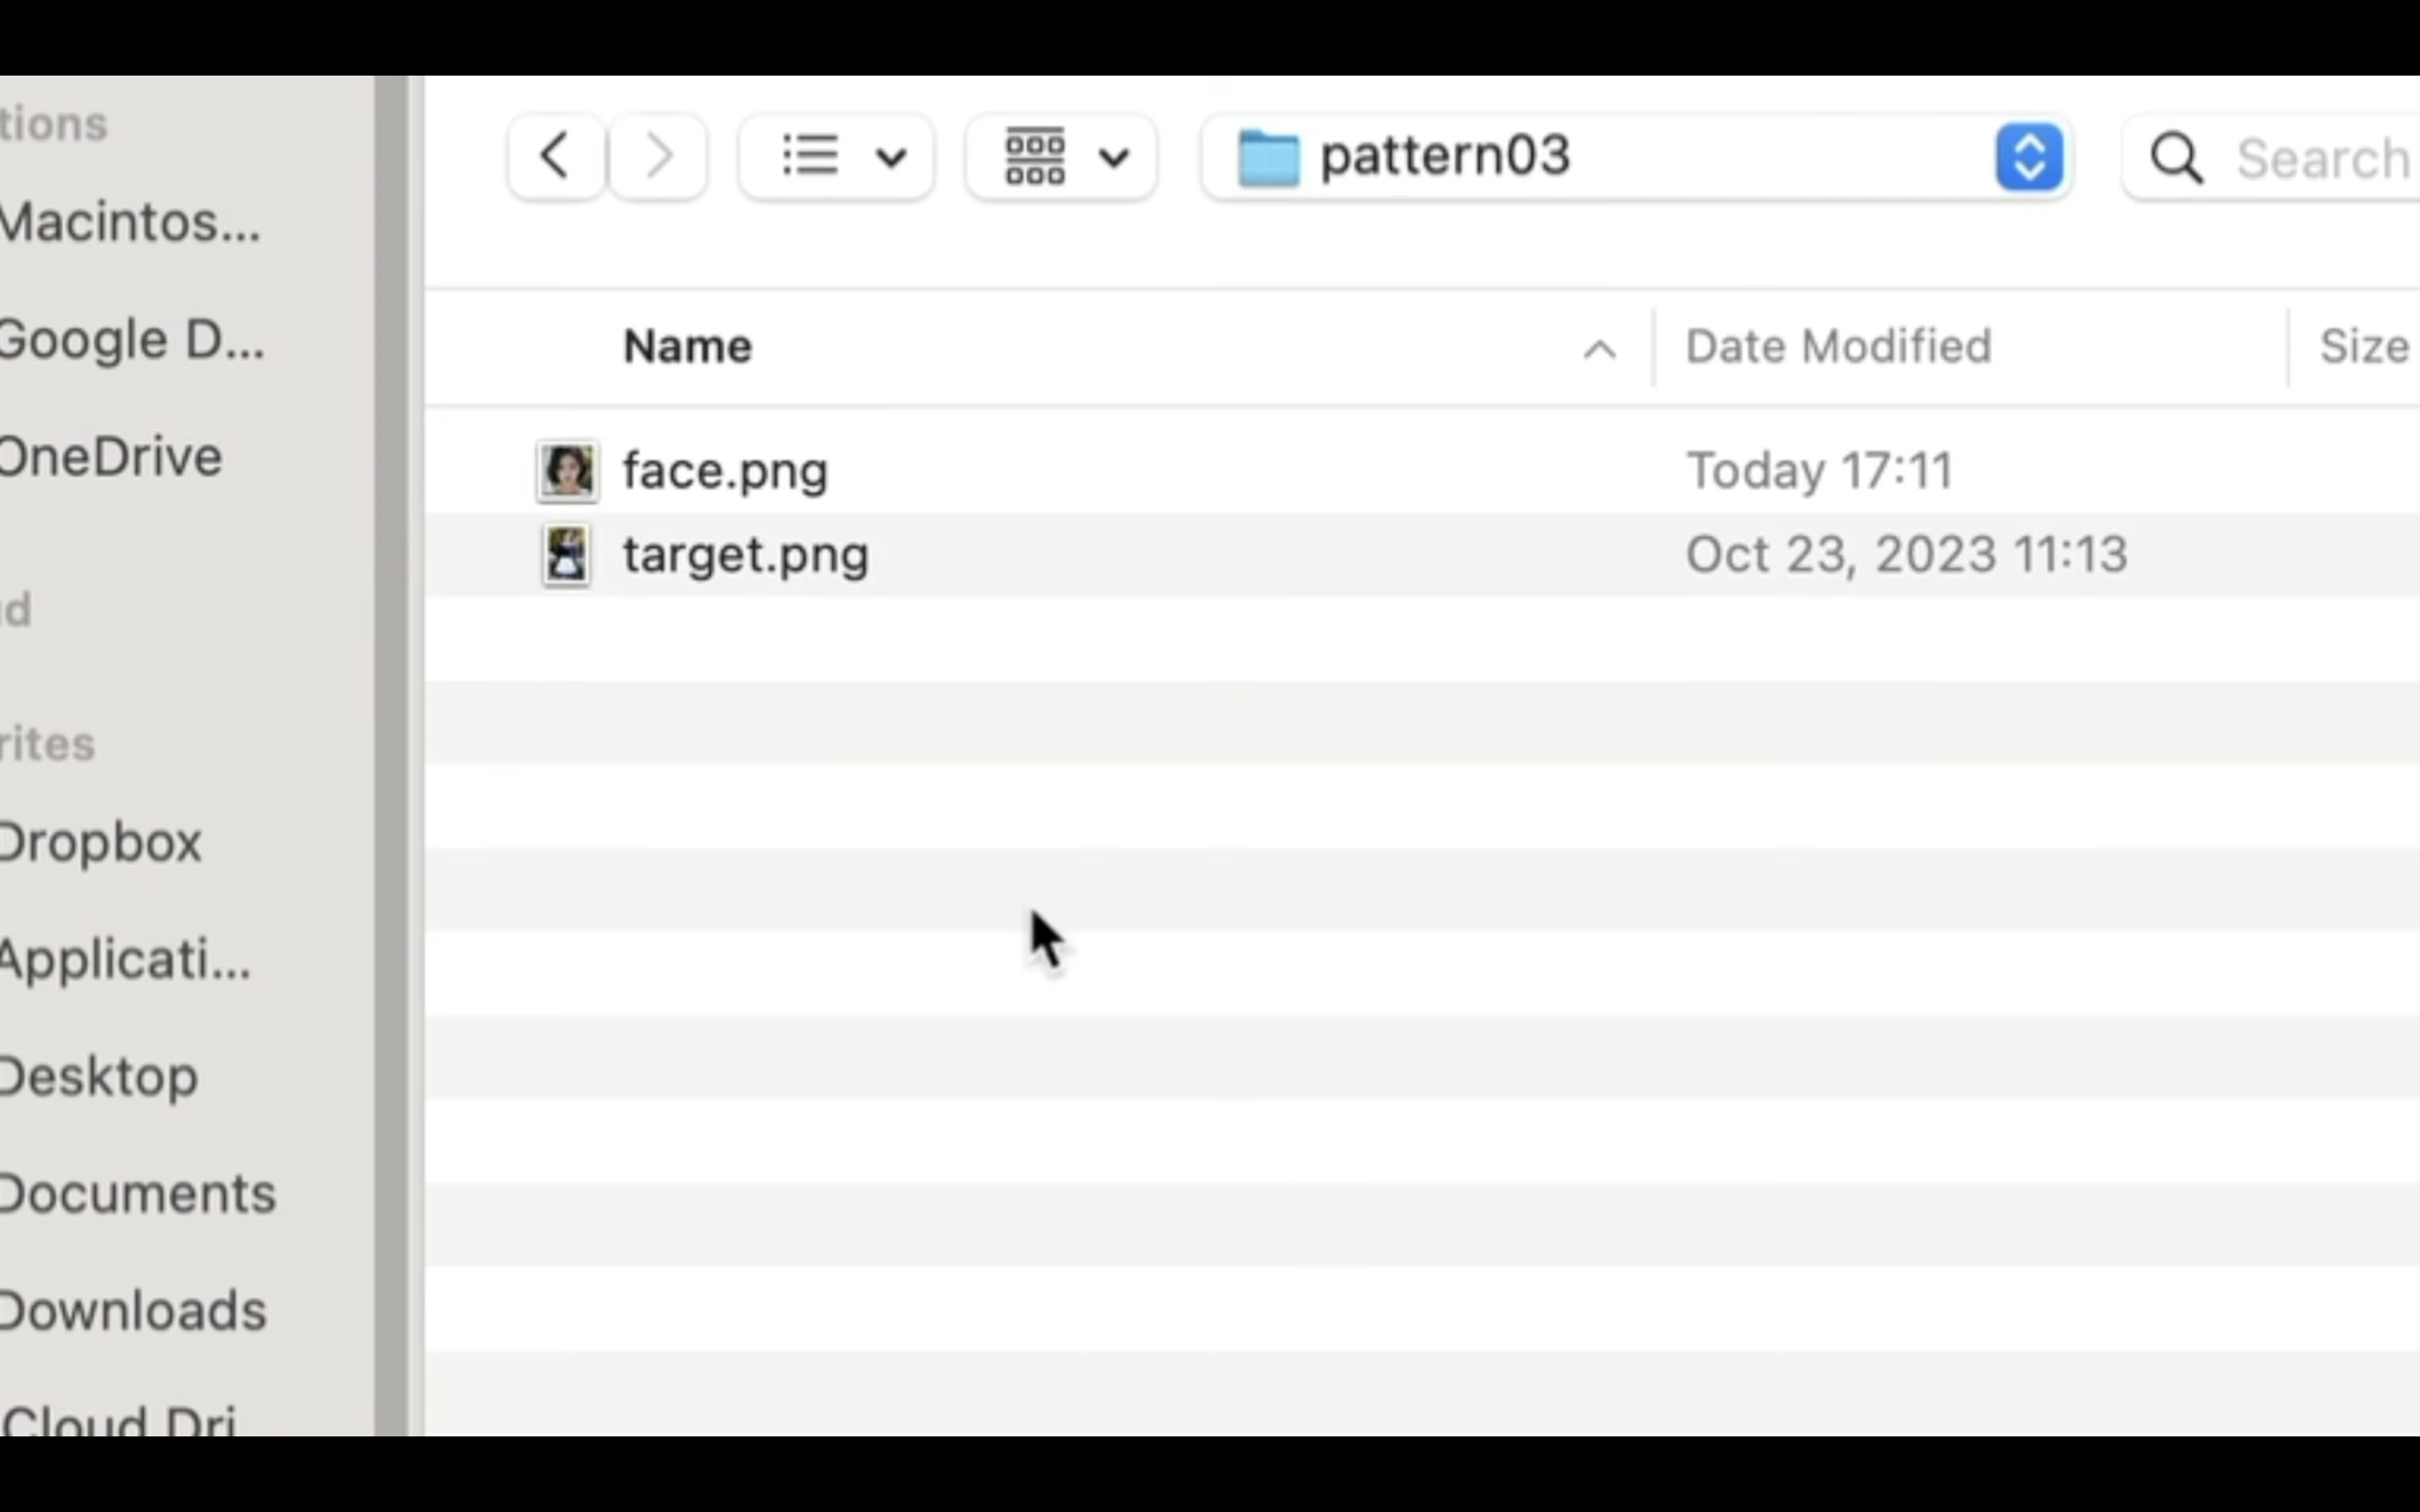
pattern03には、以下の画像を「target.png」として保存してください。

そして以下の画像を「face.png」という名前で保存しておいてください。
pattern01の「fase.png」のサンプル画像を用意したら、Google Colabの画面に戻ります。
コードと書かれているテキストをクリックします。
追加された新しいテキストボックスにPythonの実行コードを入力していきます。
今回はPattern01と入力して、その後カッコを指定します。
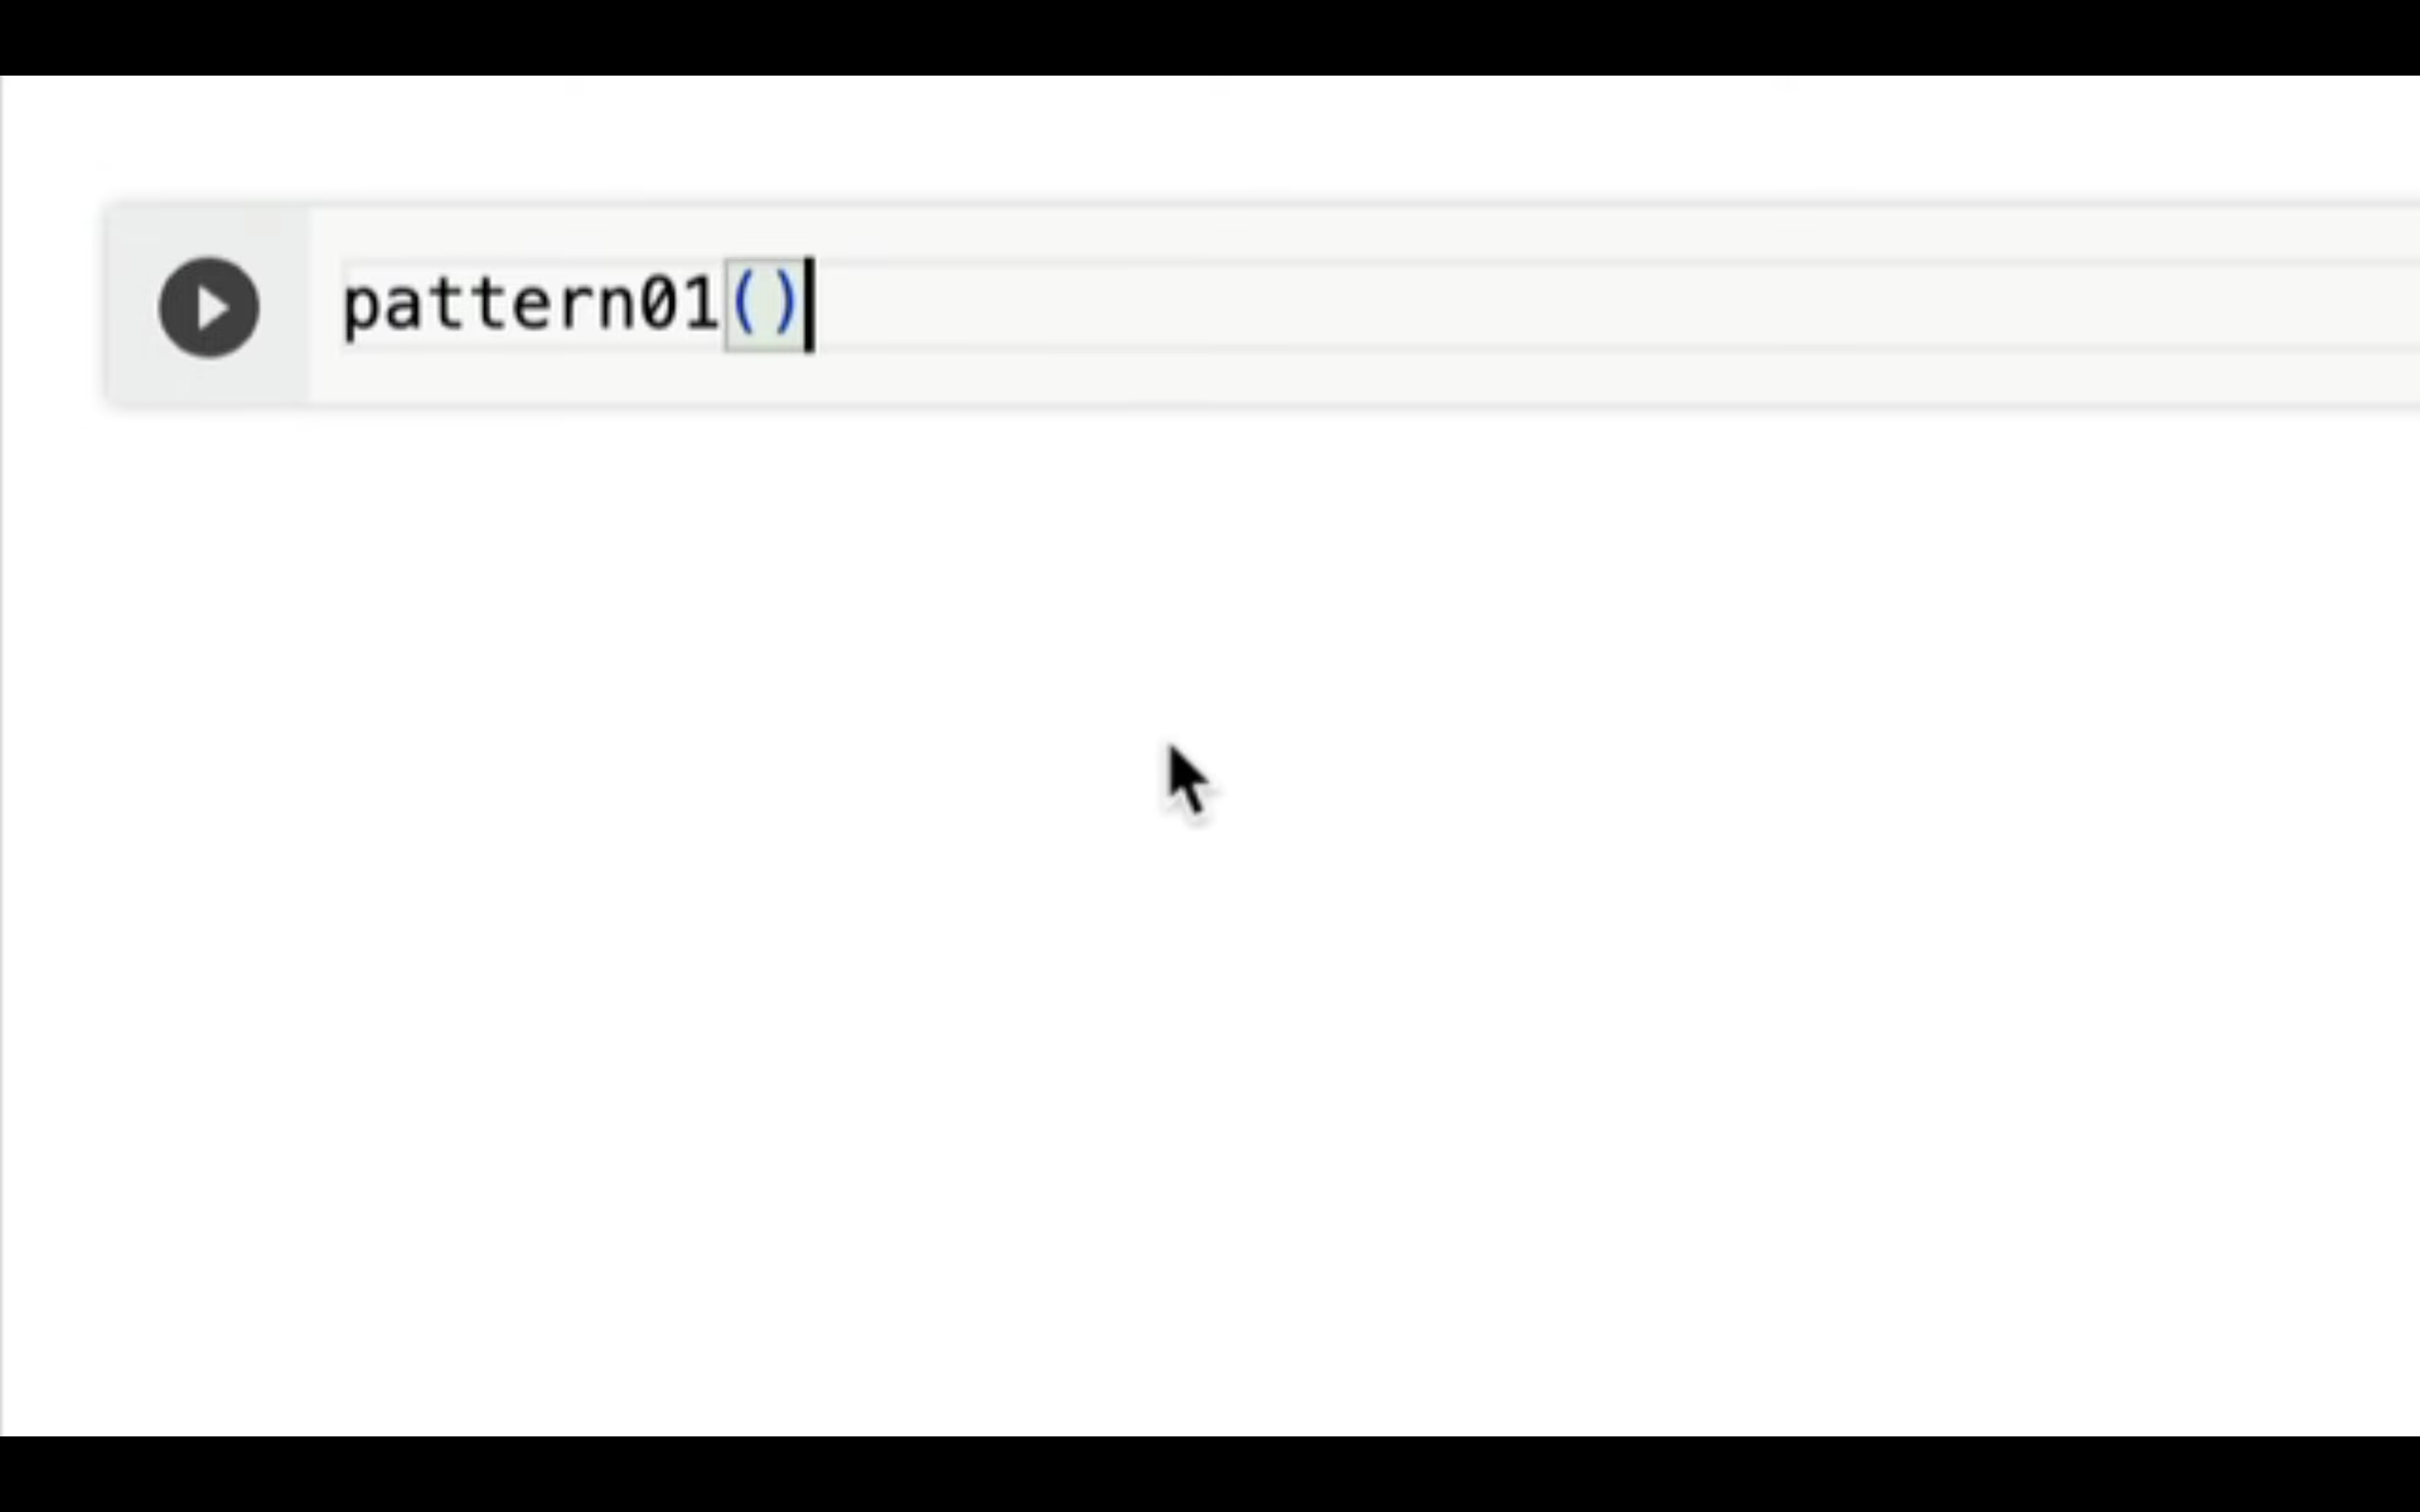
実行コードを入力したら、再生ボタンをクリックします。
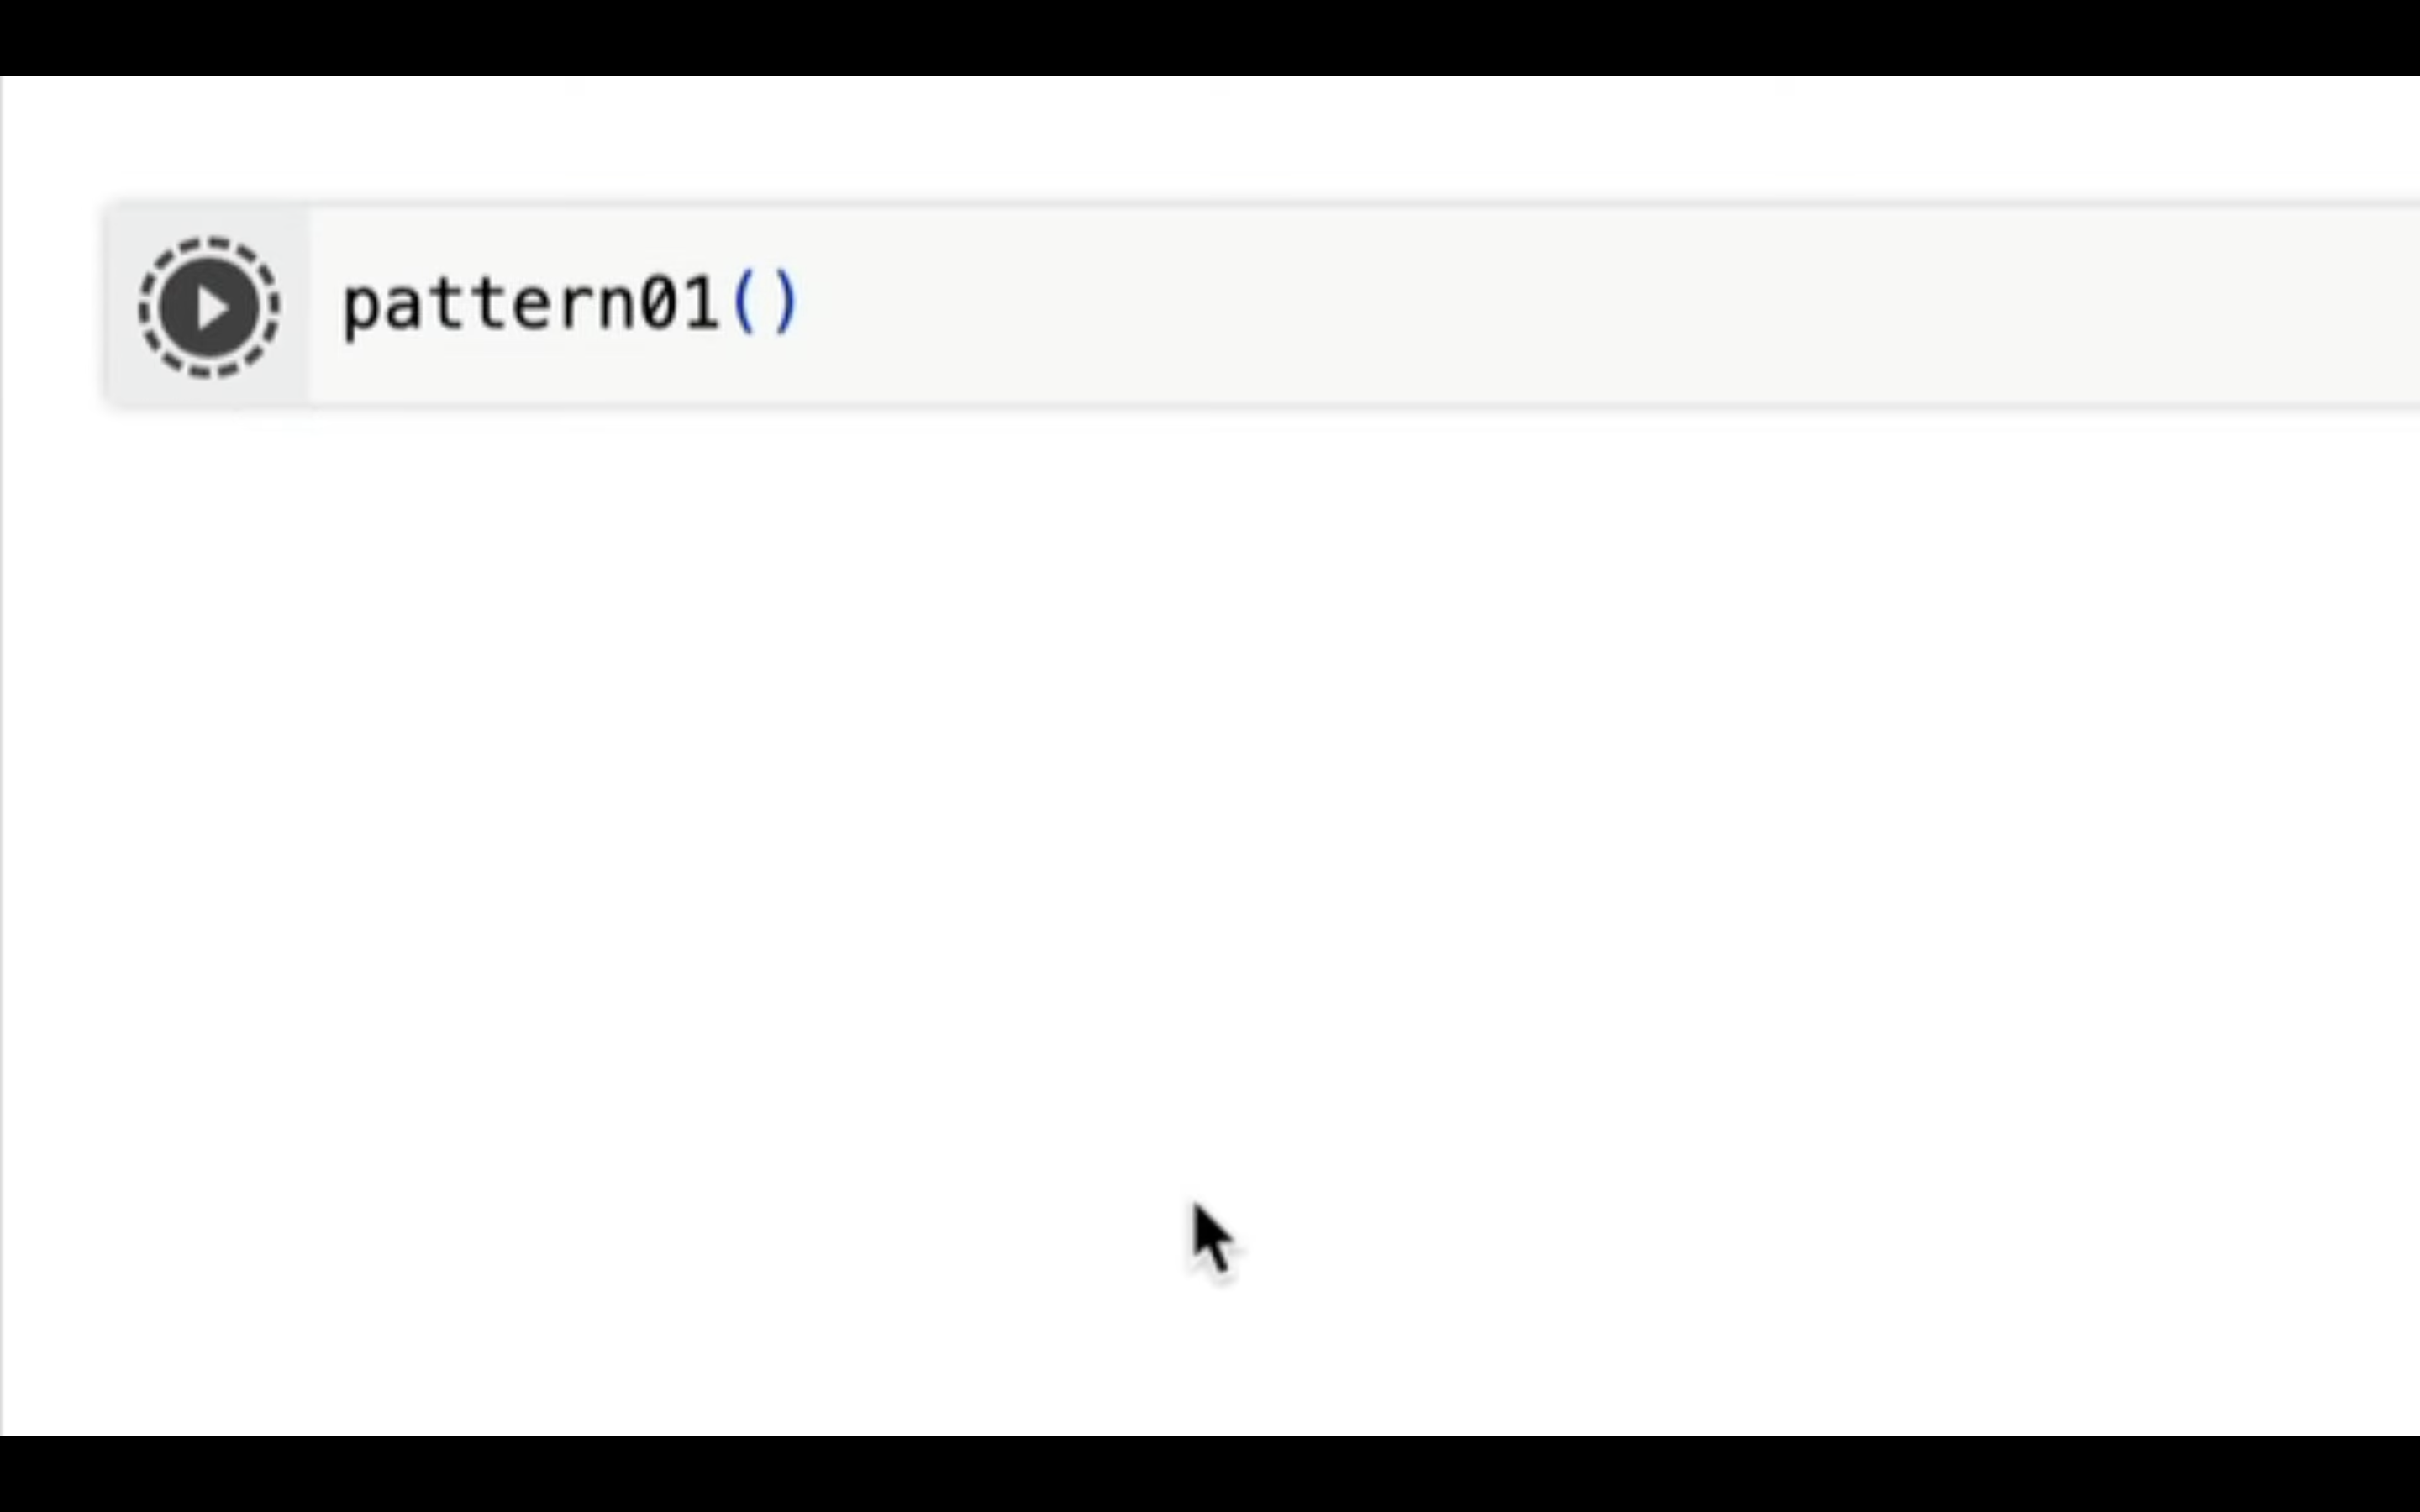
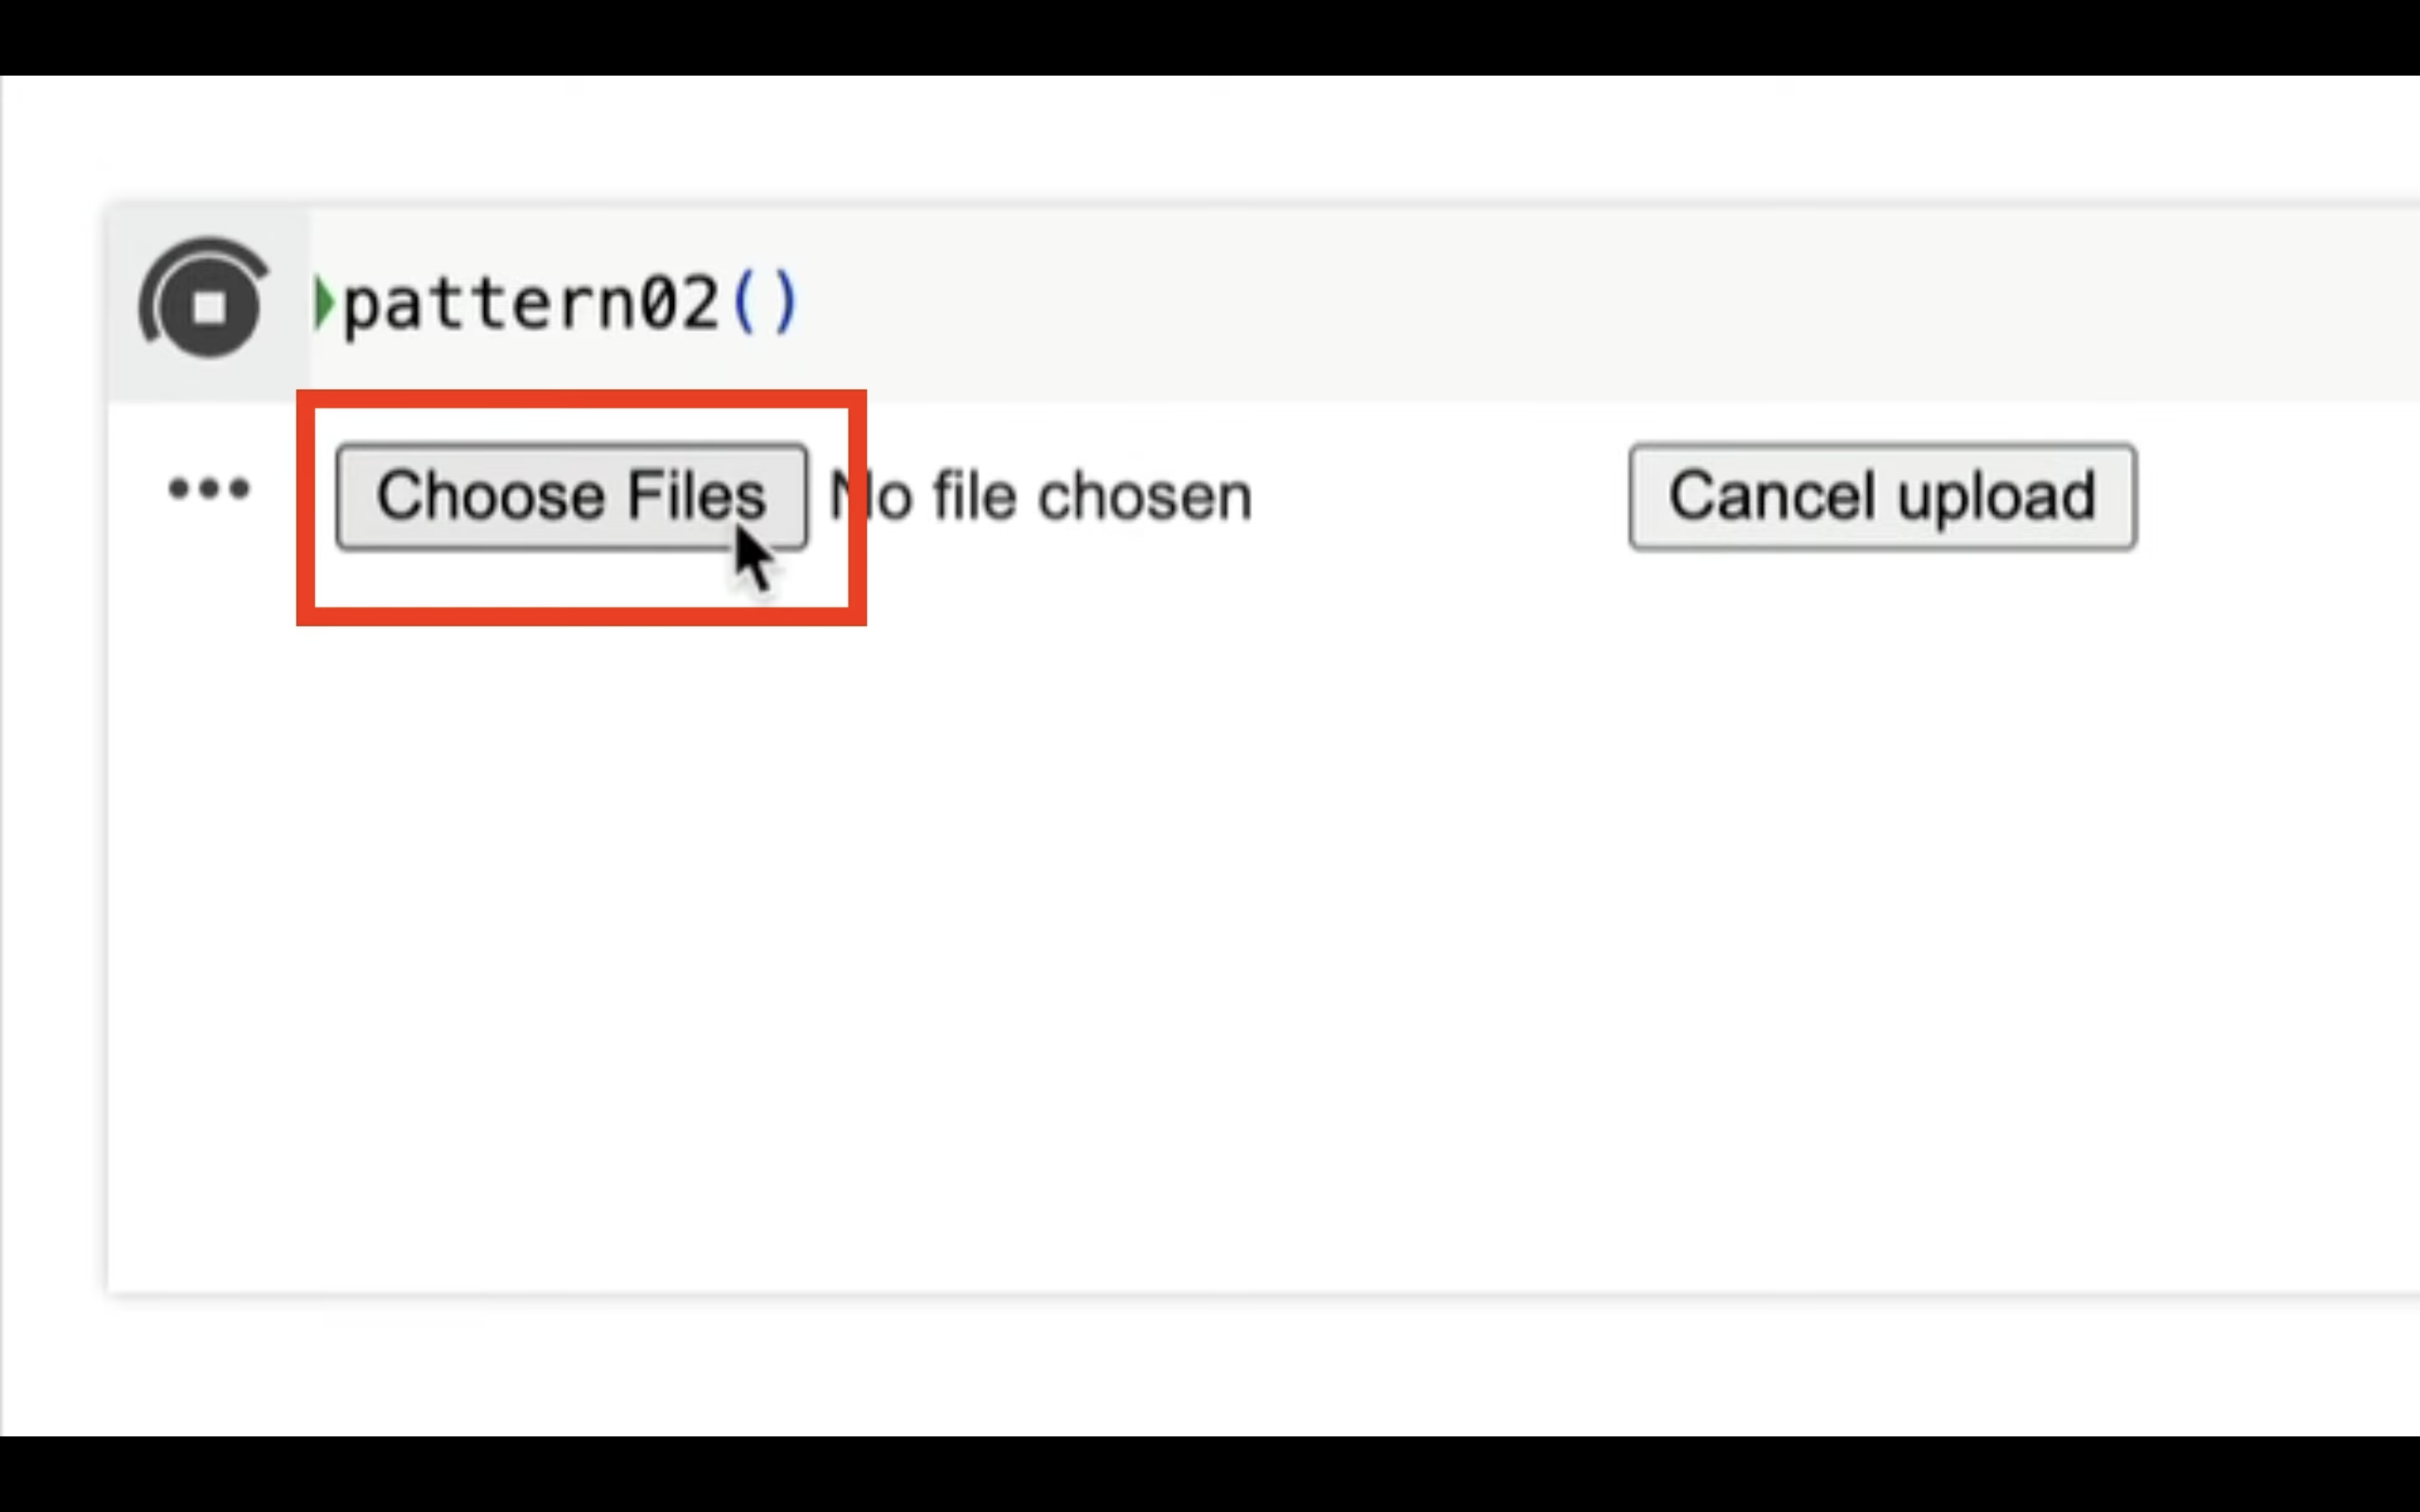
そうすると、アップロードボタンが表示されます。
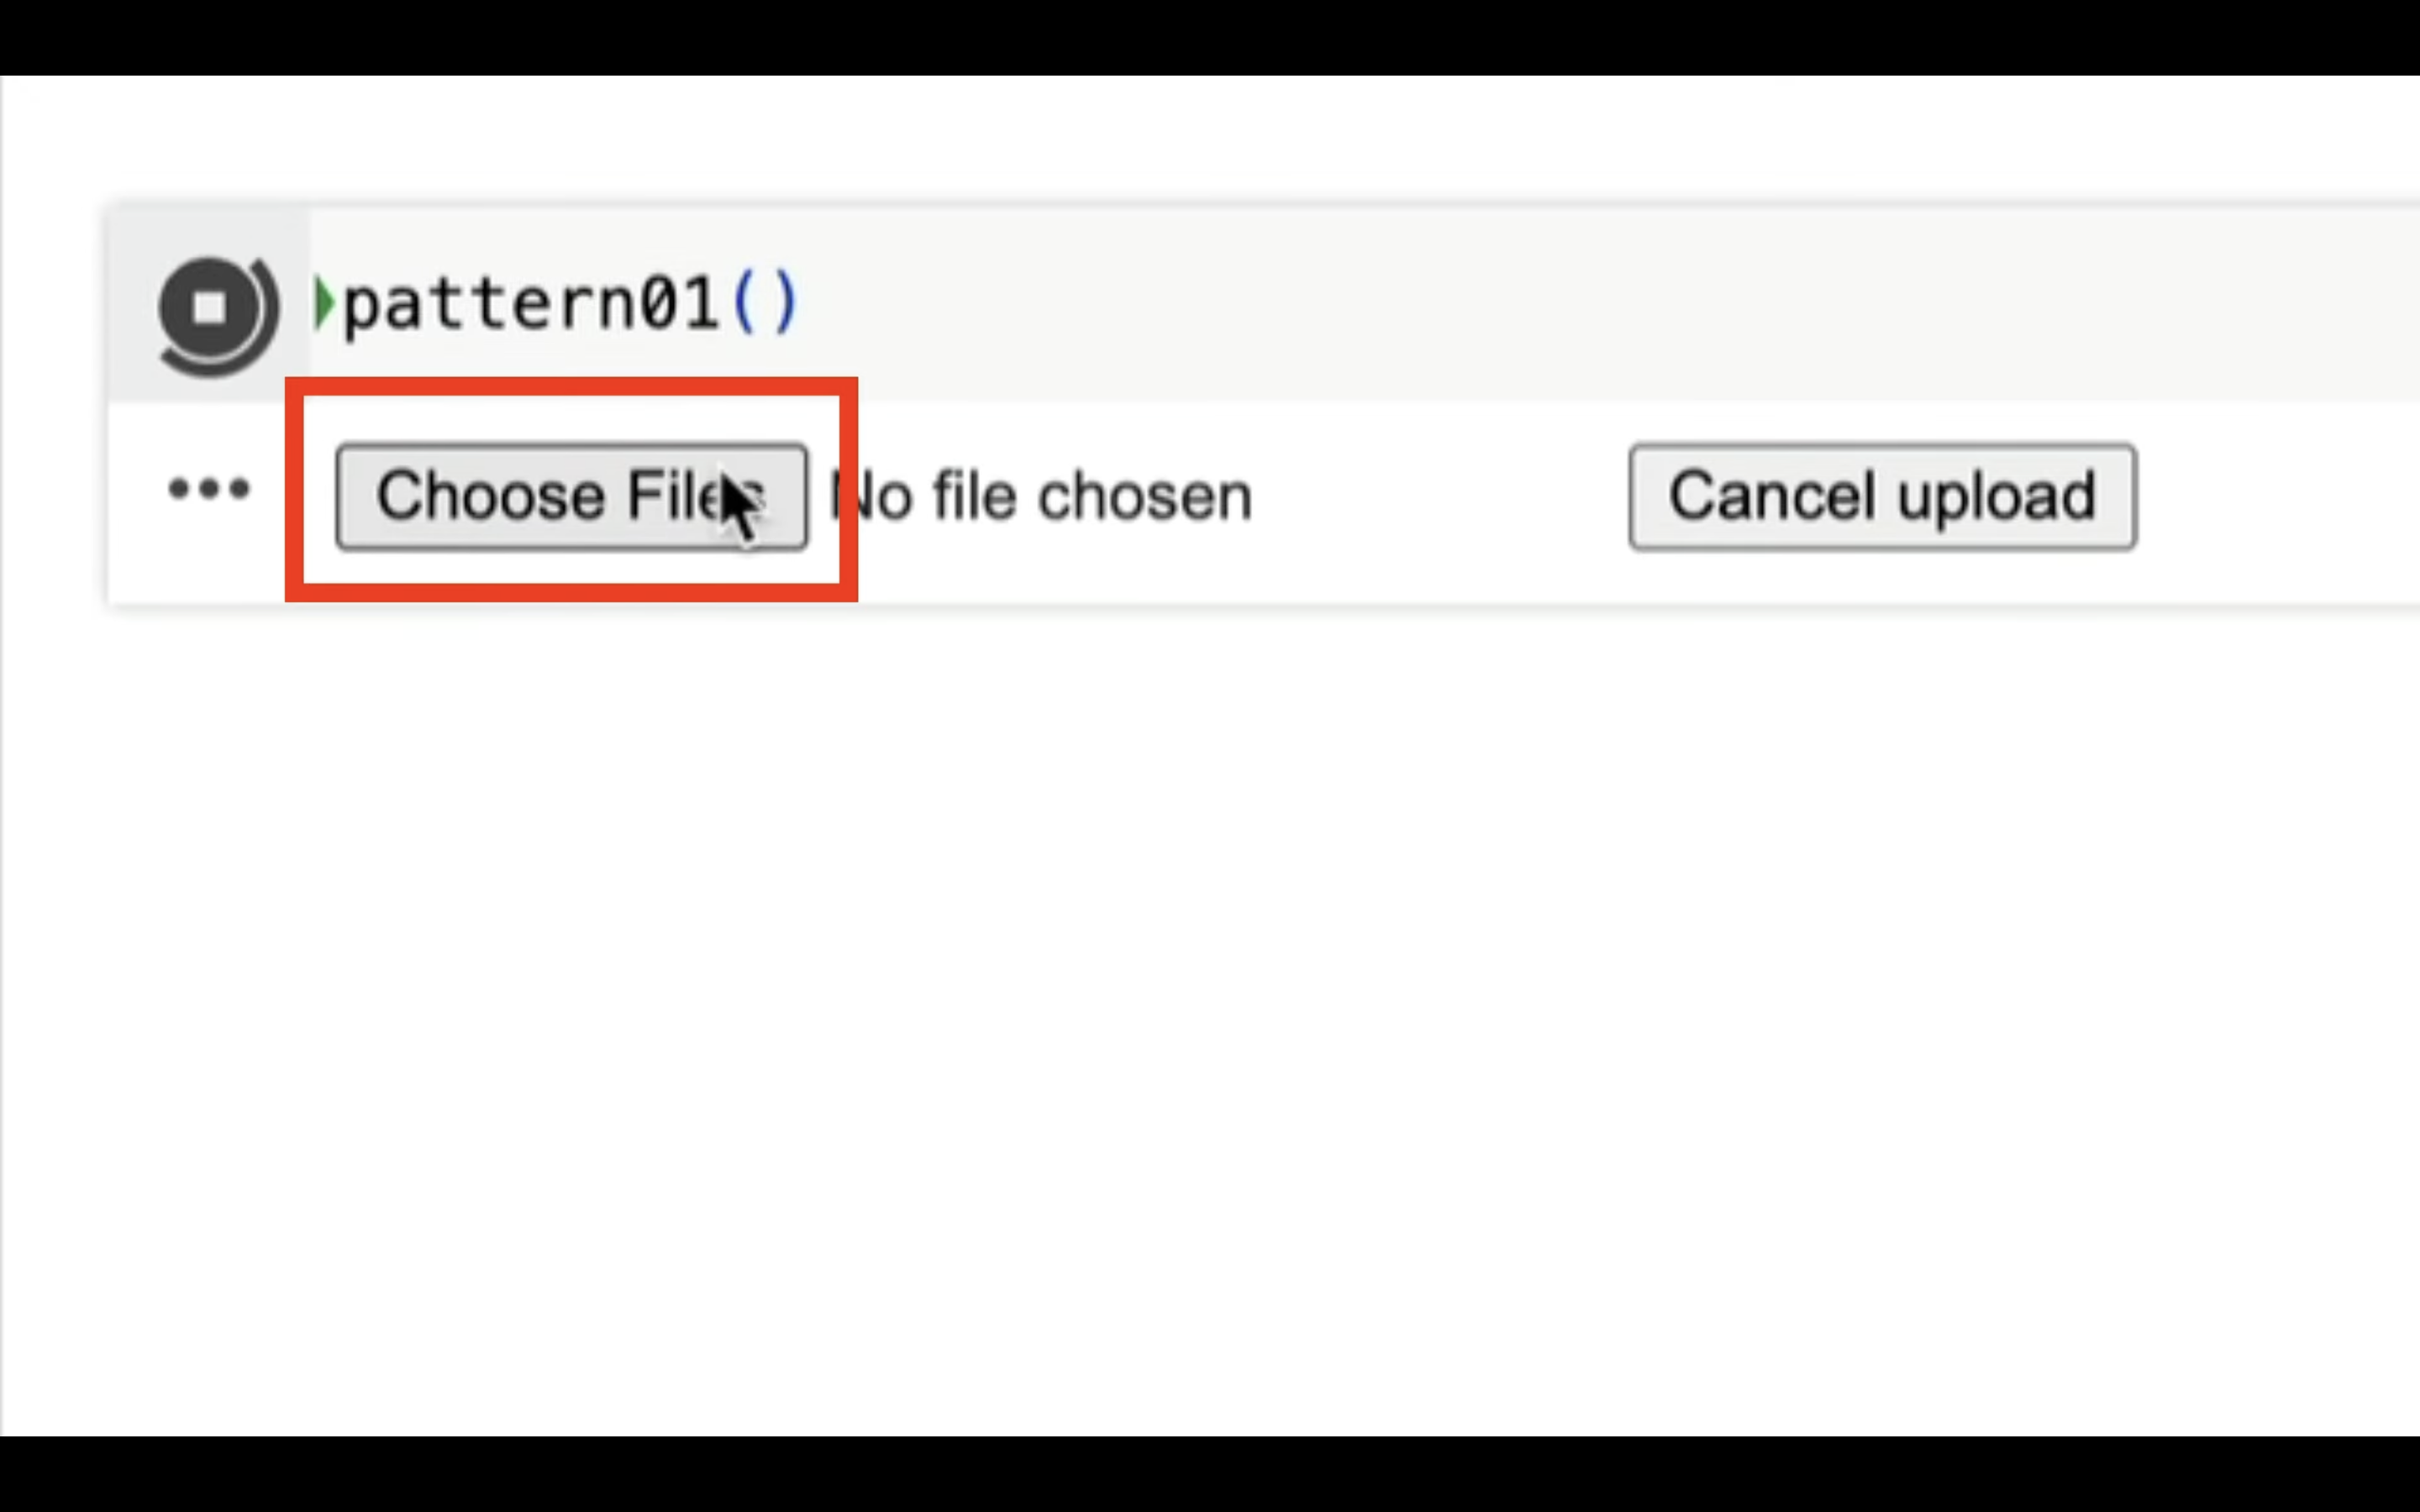
このボタンをクリックします。
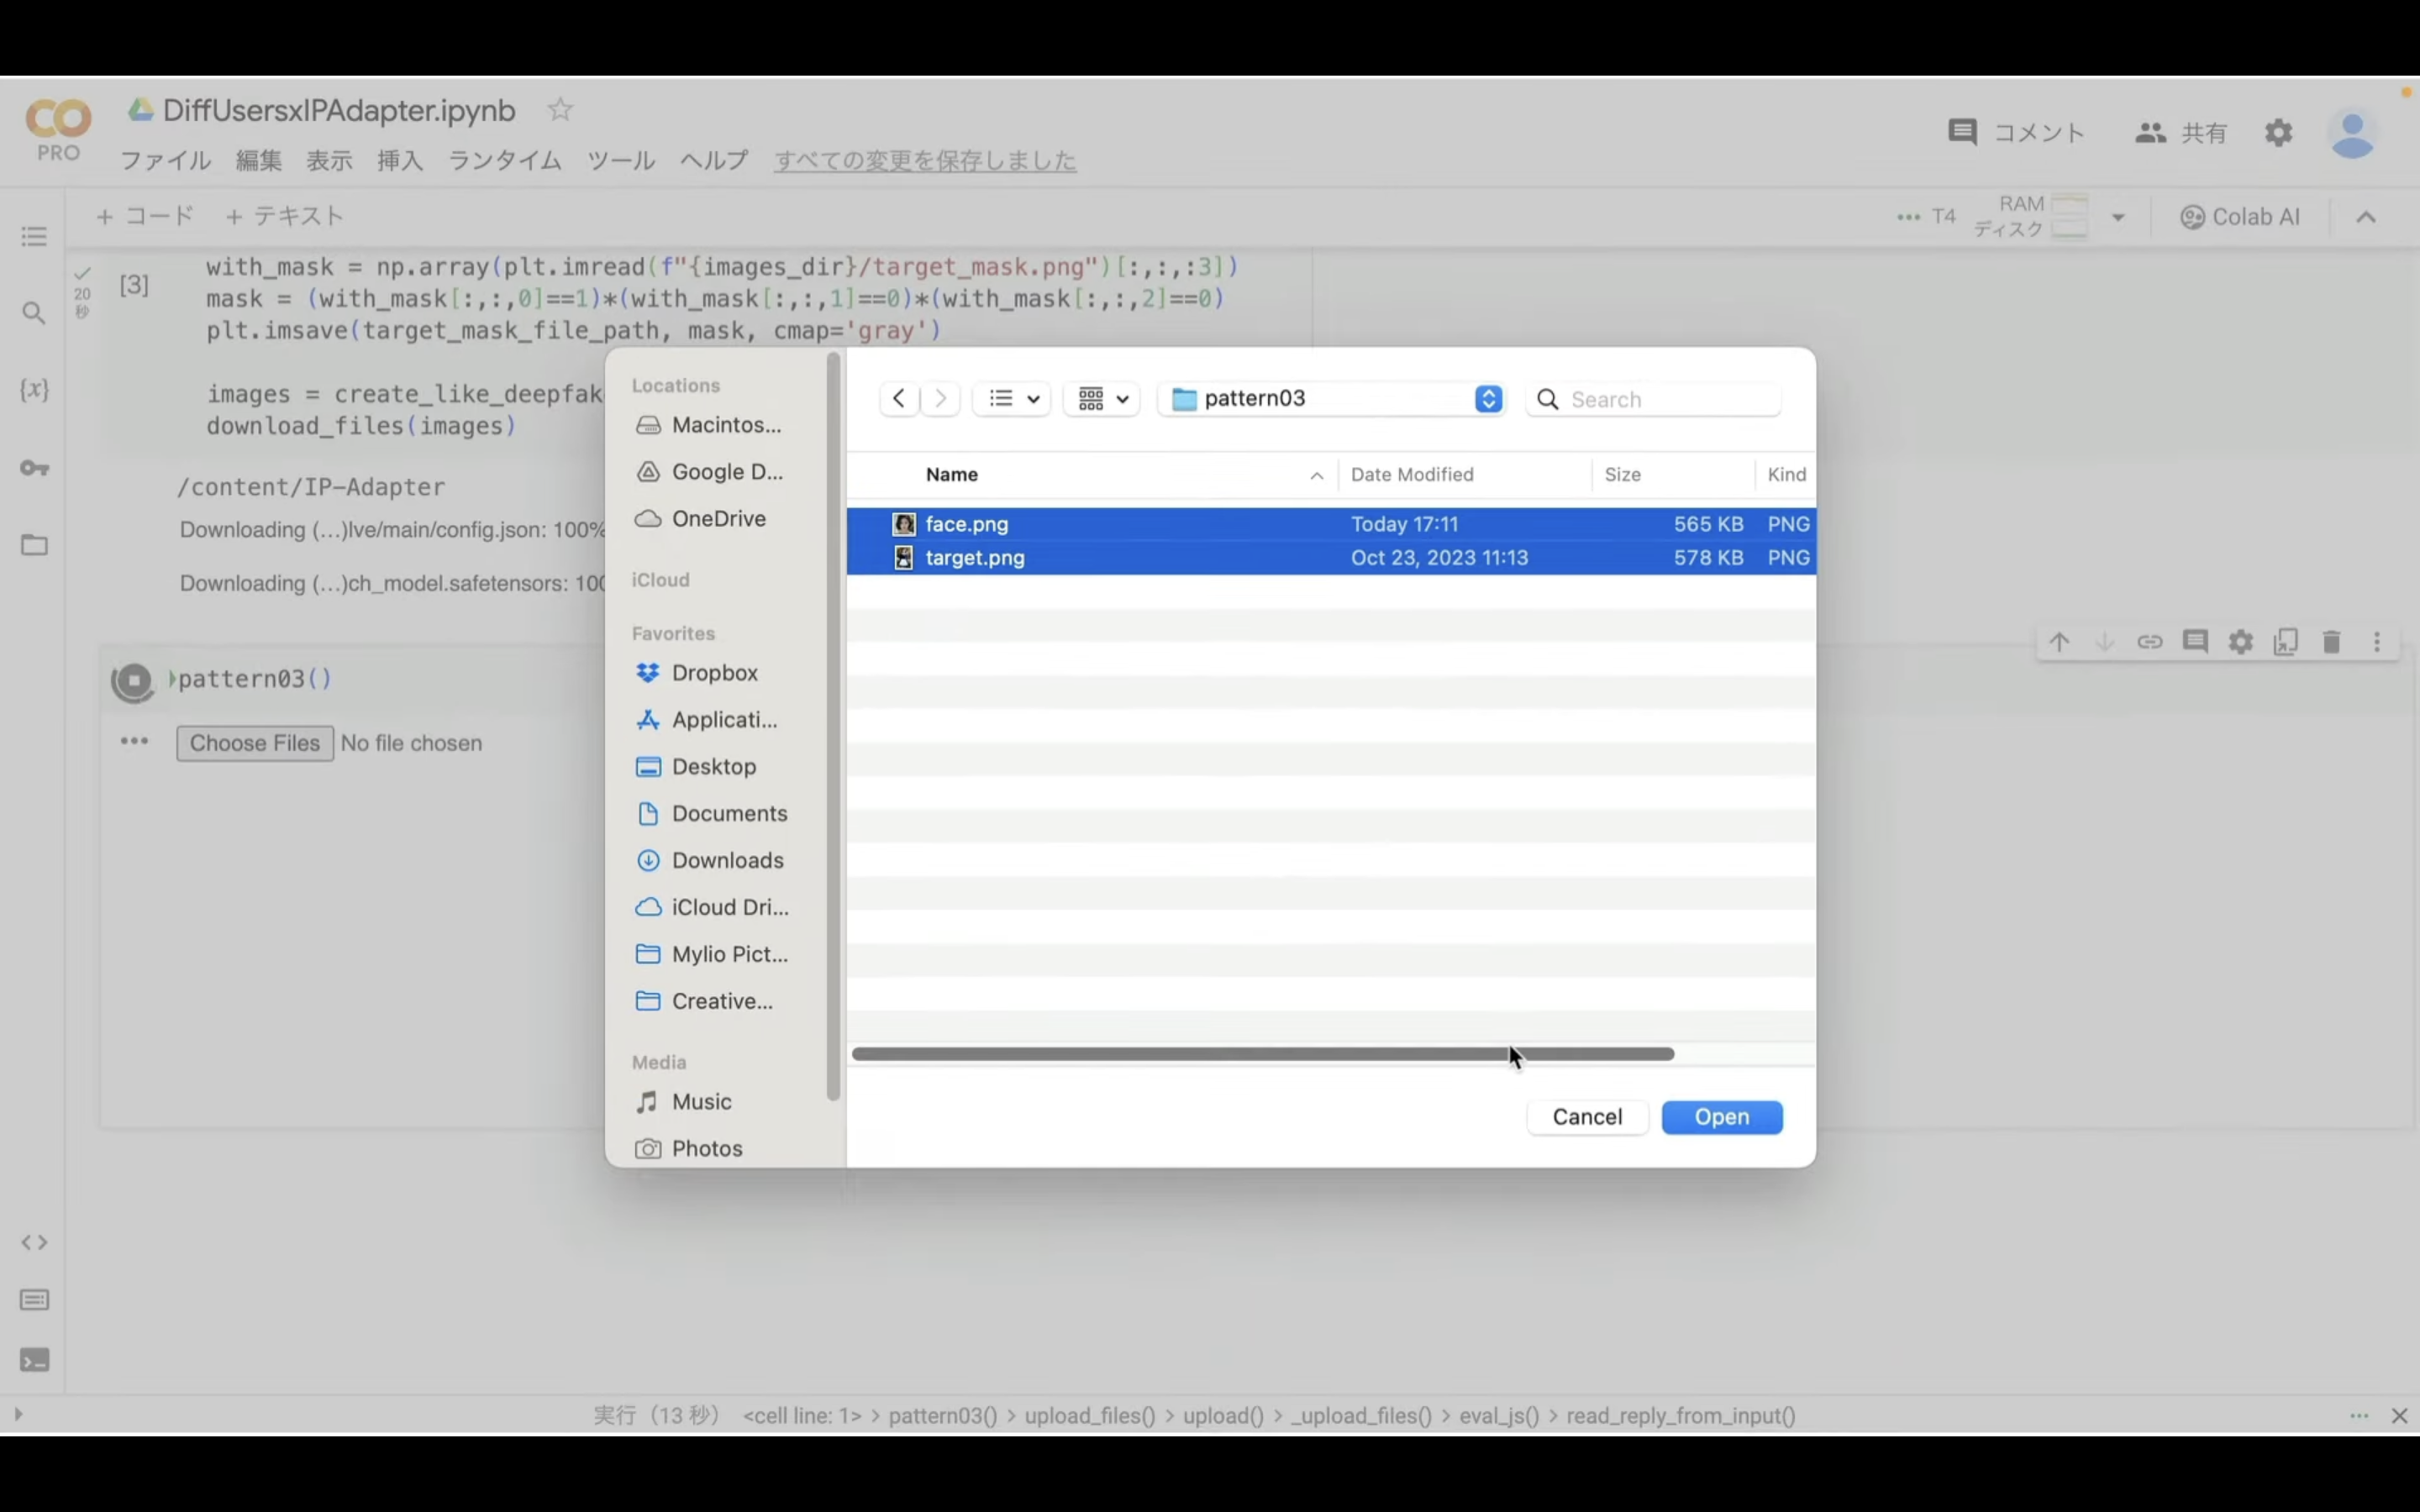
表示されたダイアログボックスの中からアップロードする画像を選択します。
アップロードする画像は「fase.png」という名前でなければエラーになります。
今回はサンプル画像のpattern01フォルダーにあるファイルを選択します。
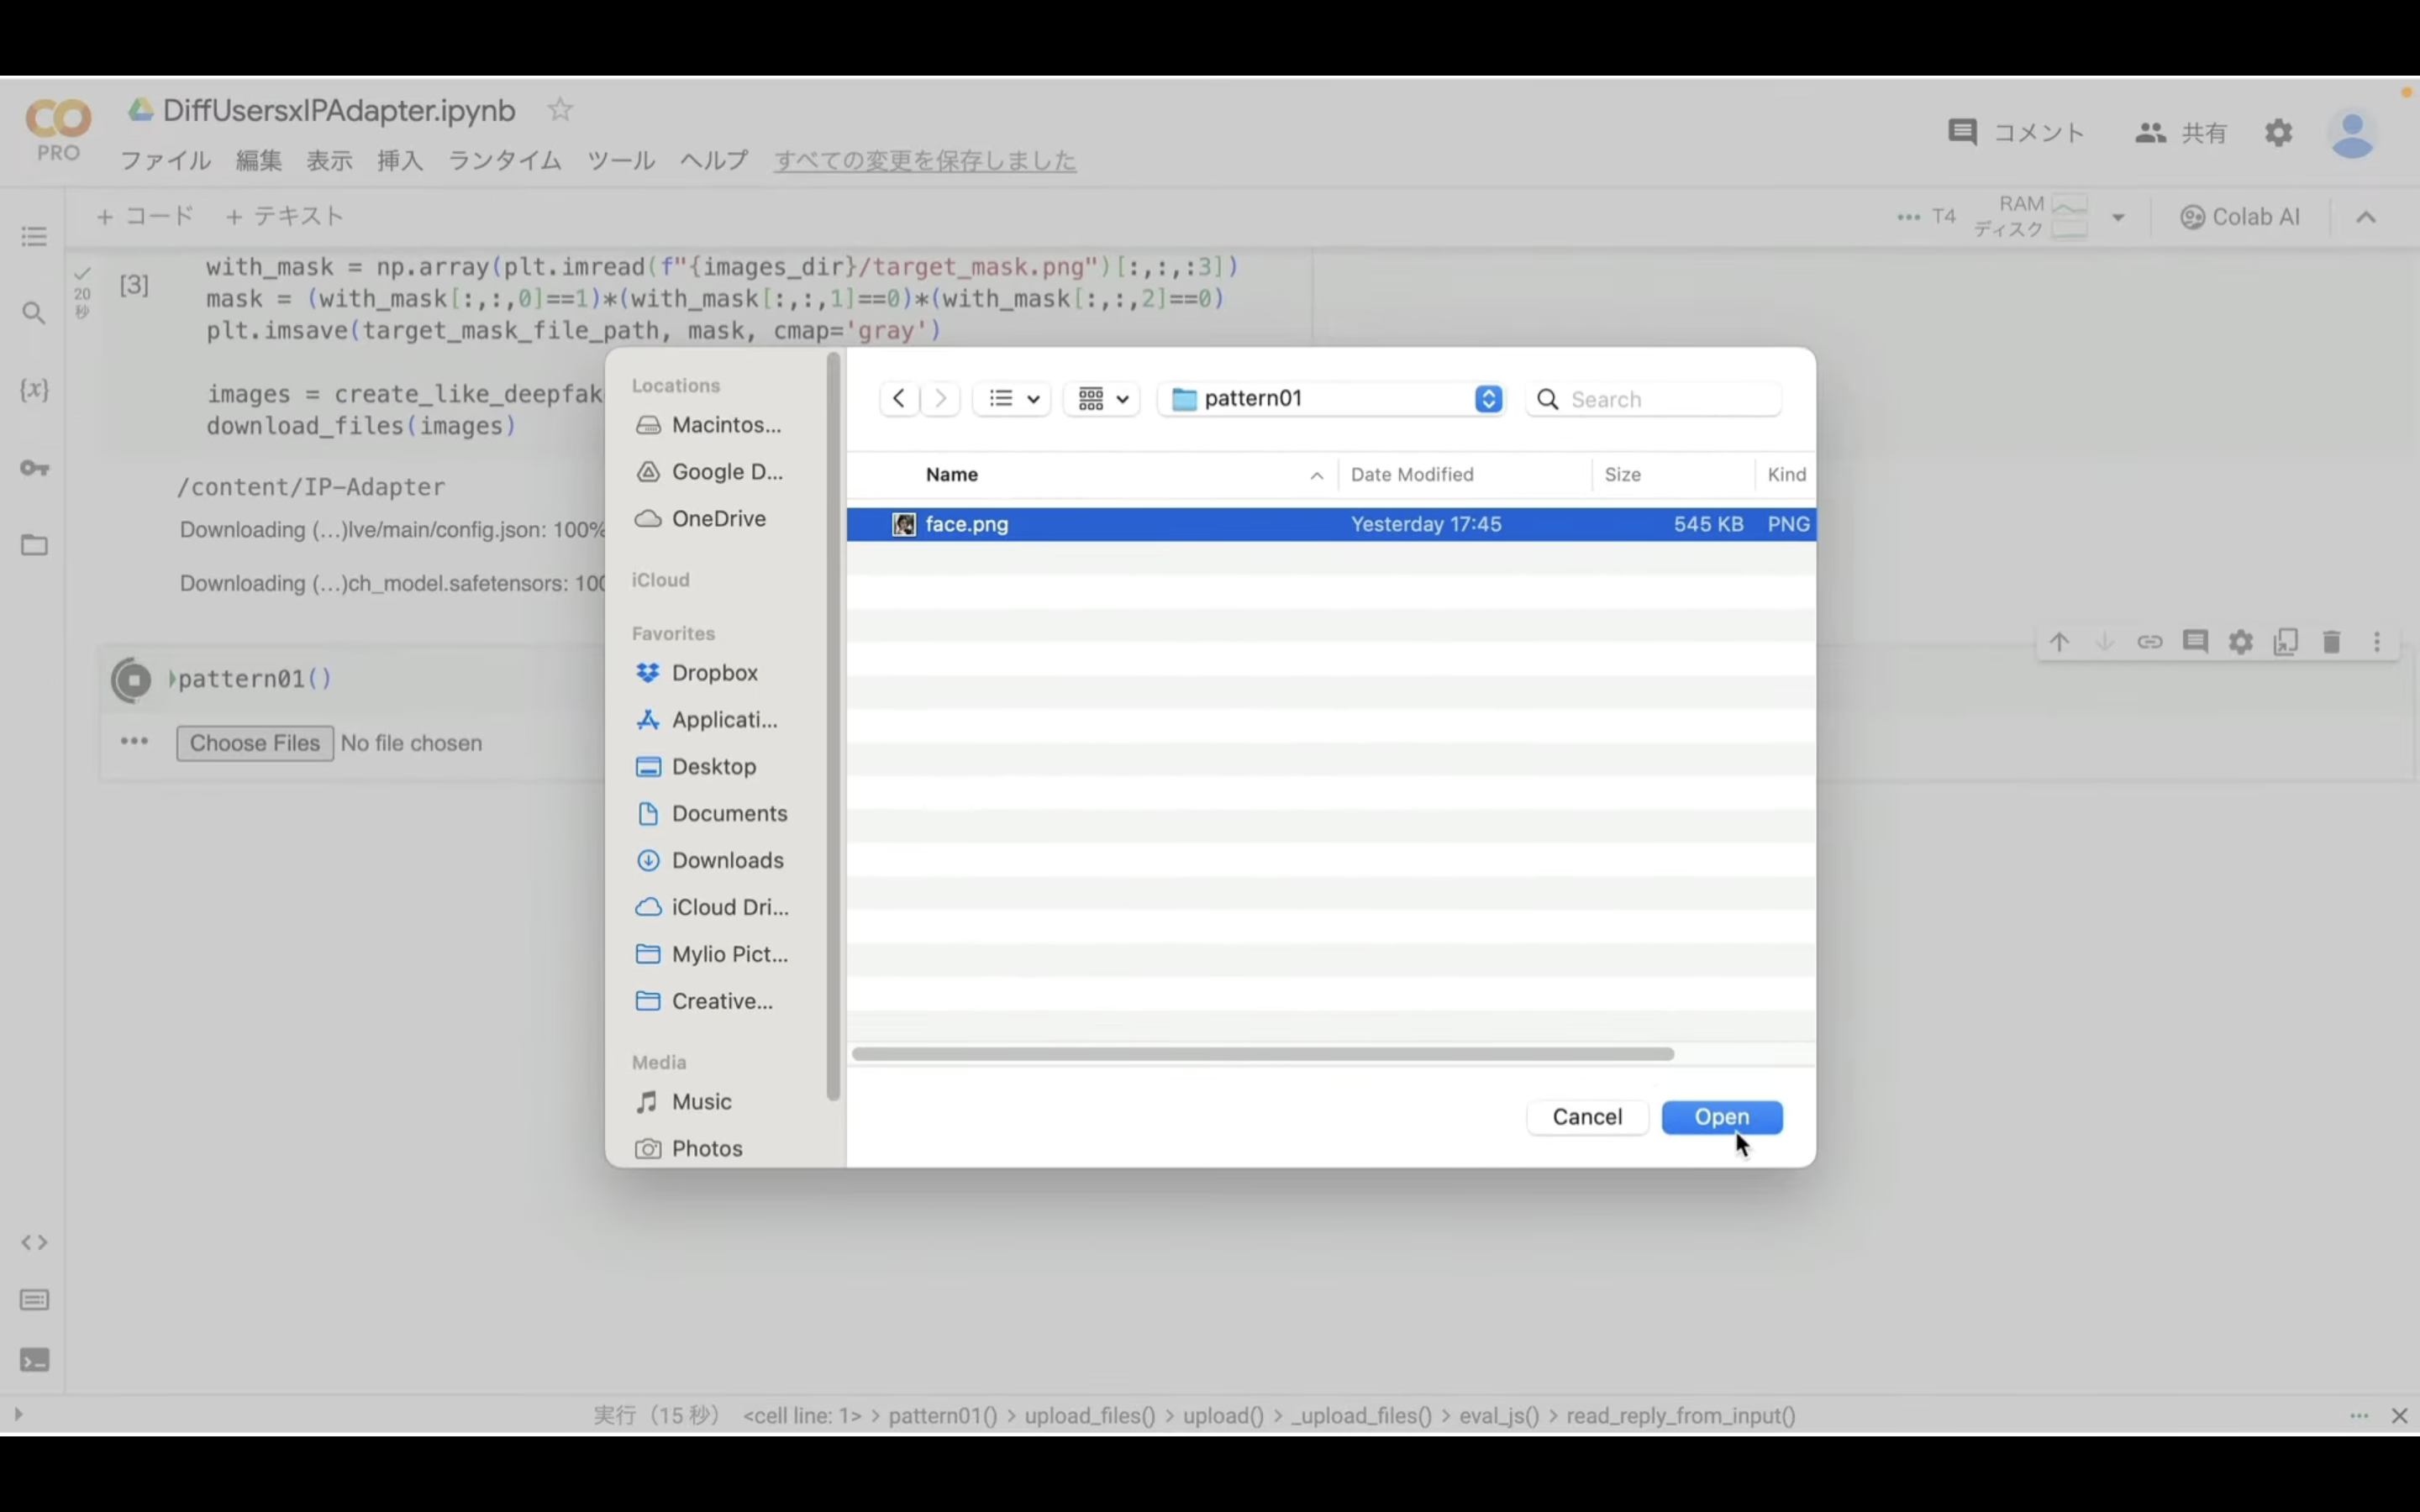
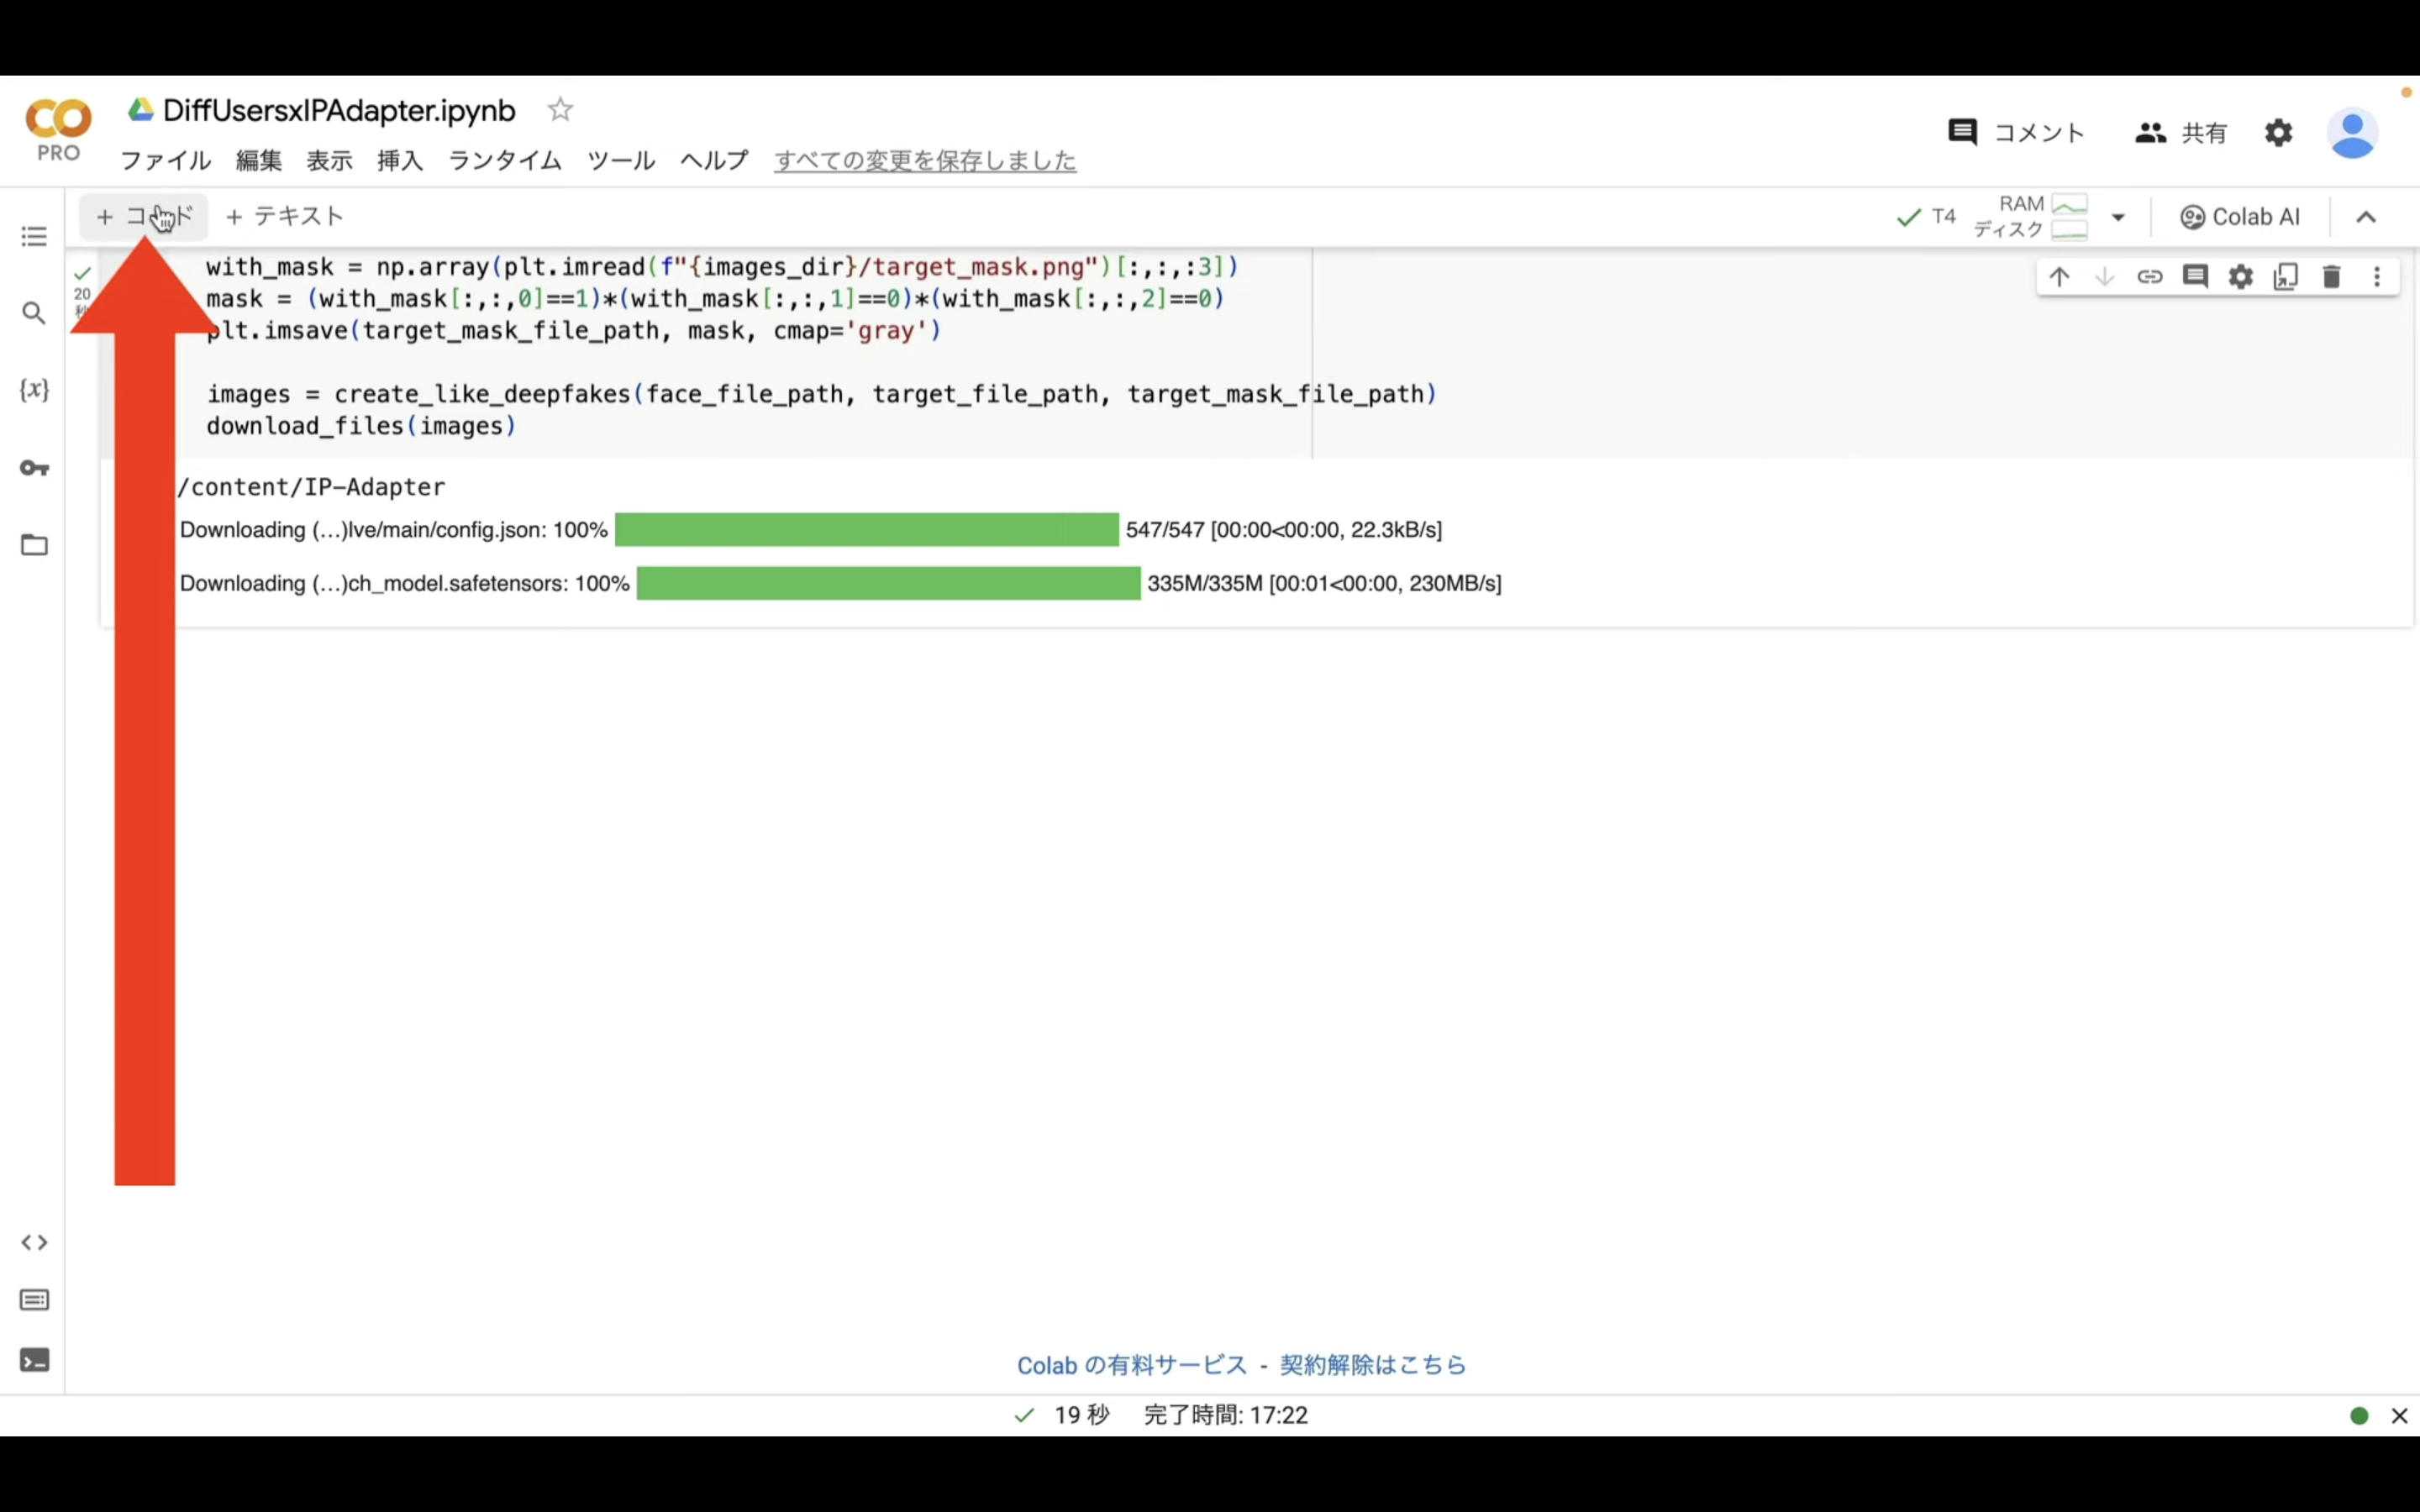
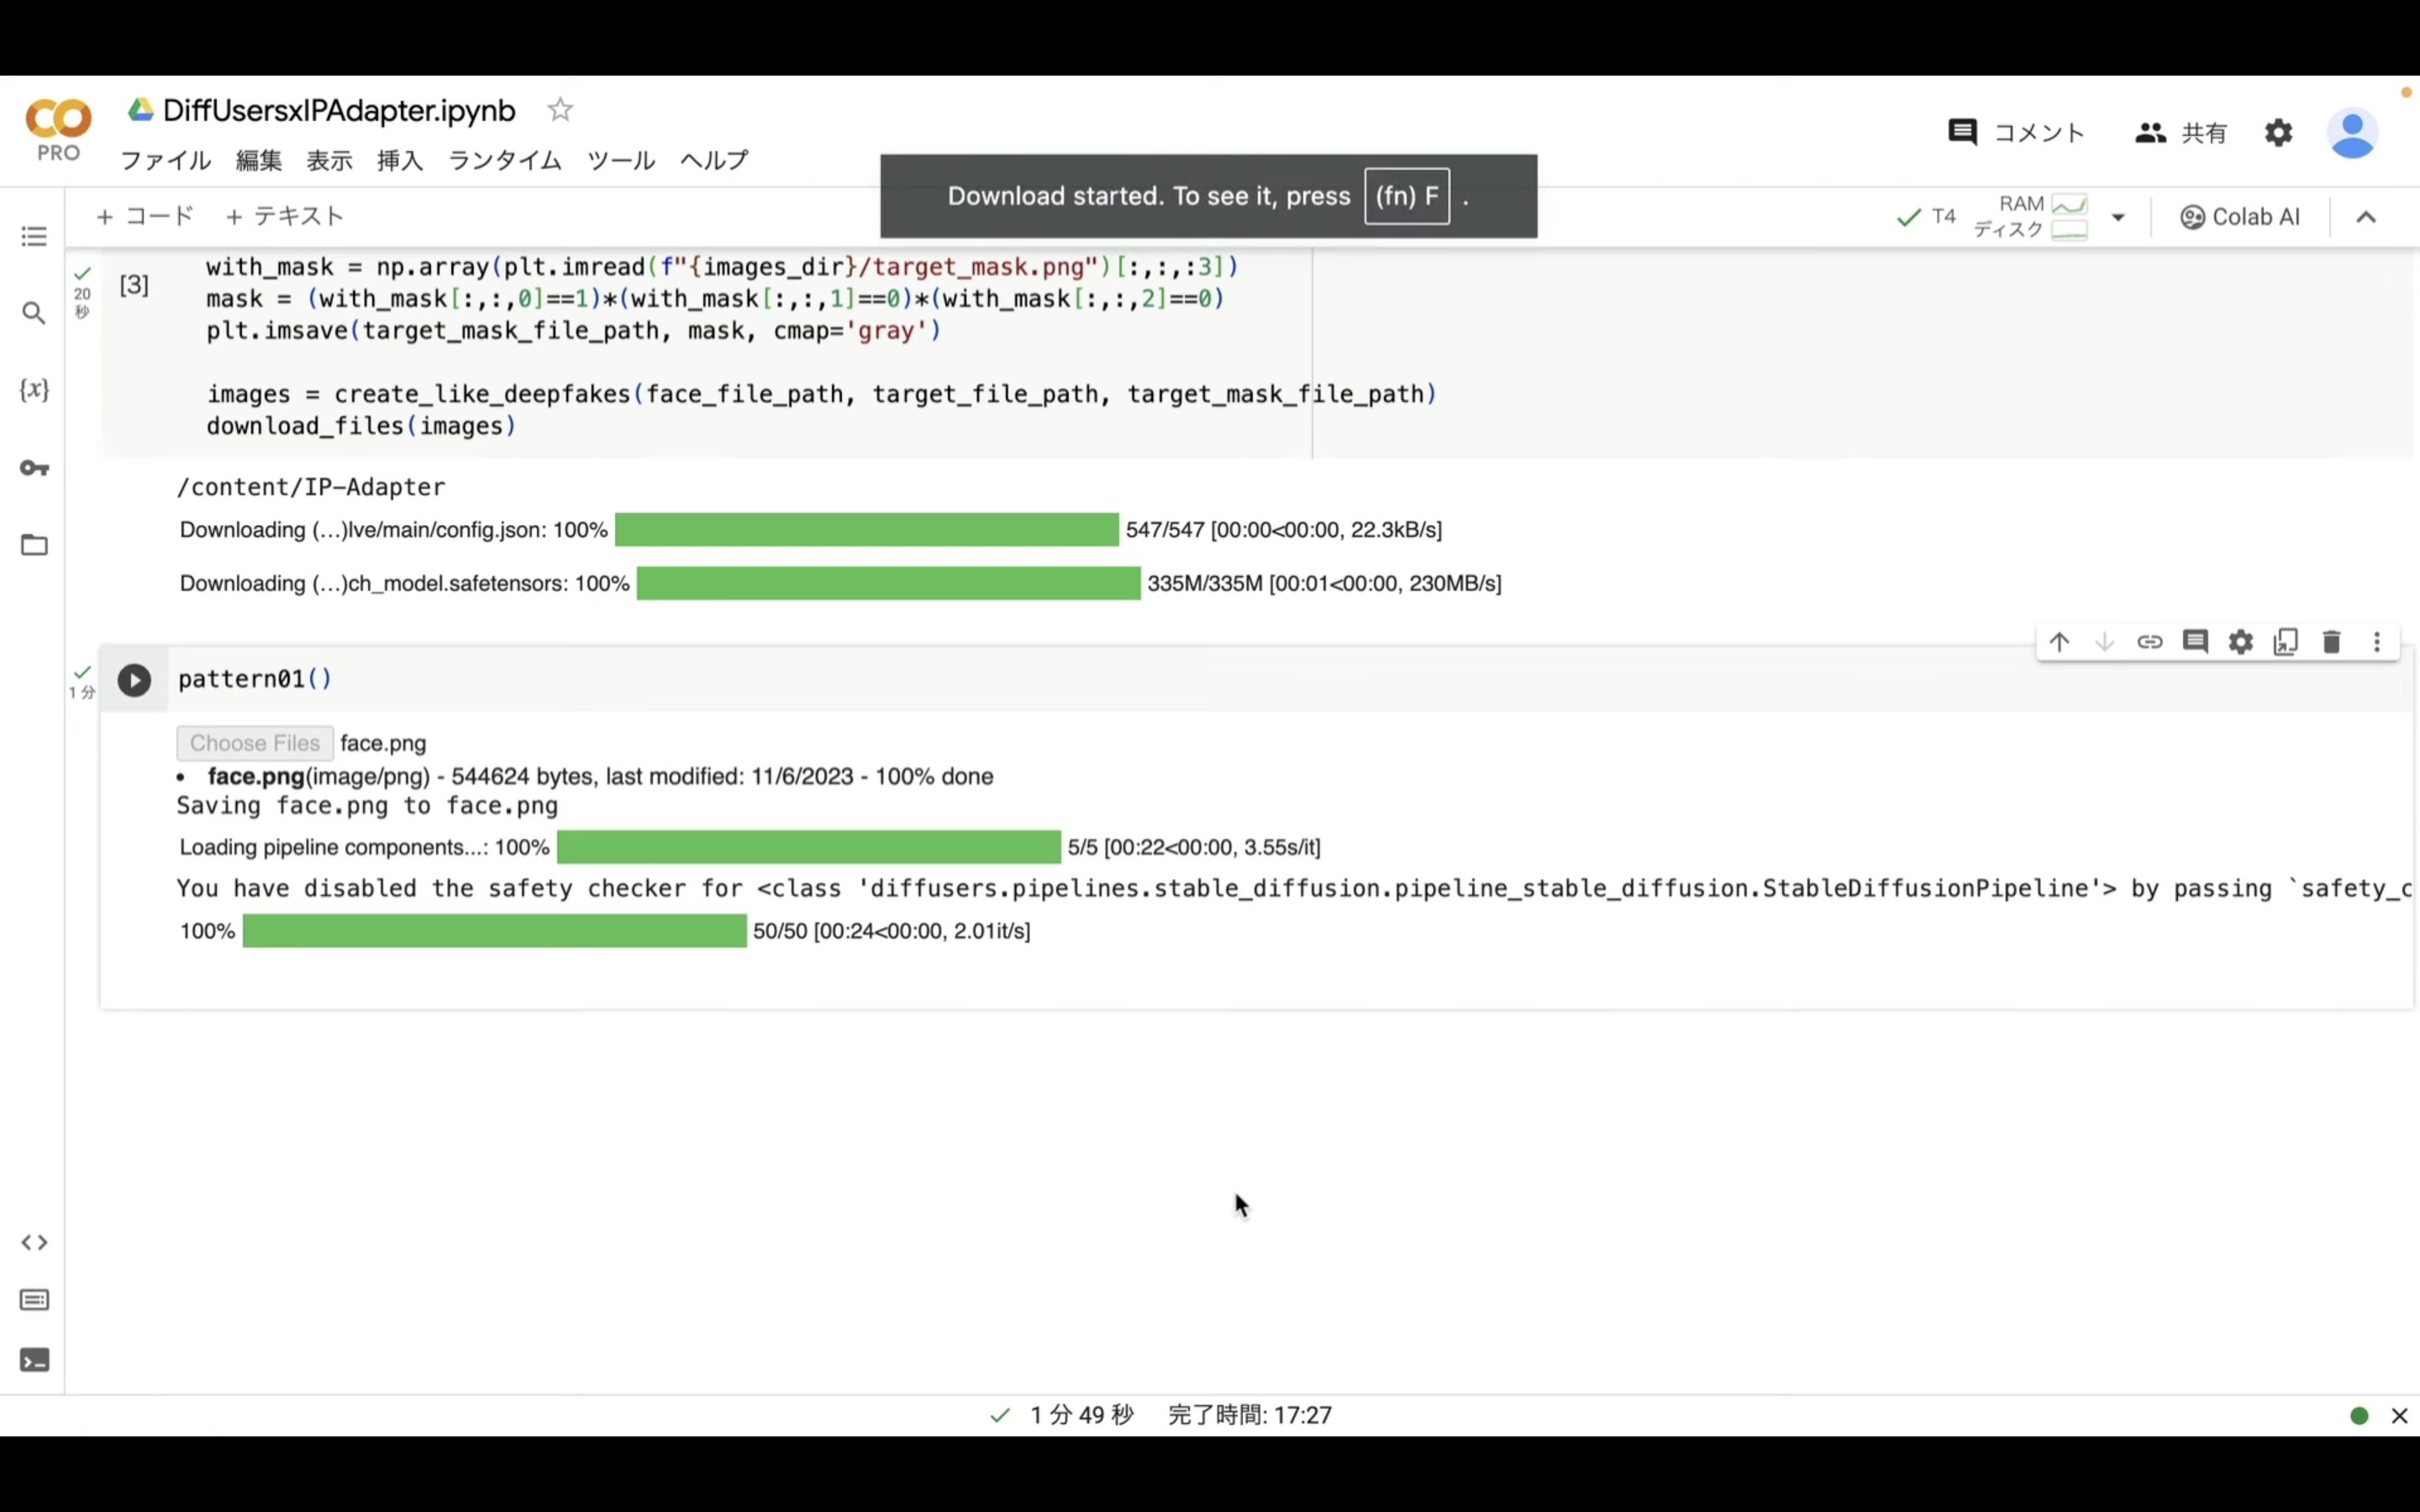
ファイルを選択したら、処理が開始されます。
この処理には数分程度かかります。
今回は4件の画像ファイルを生成するように設定してあります。
これらのファイルが生成されたら、1つのZIPファイルにまとめて自動的にダウンロードされます。
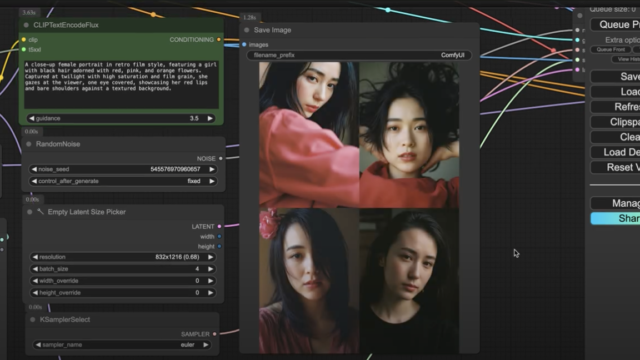
ダウンロードされたZIPファイルを解凍すると、このようなファイルがあると思います。
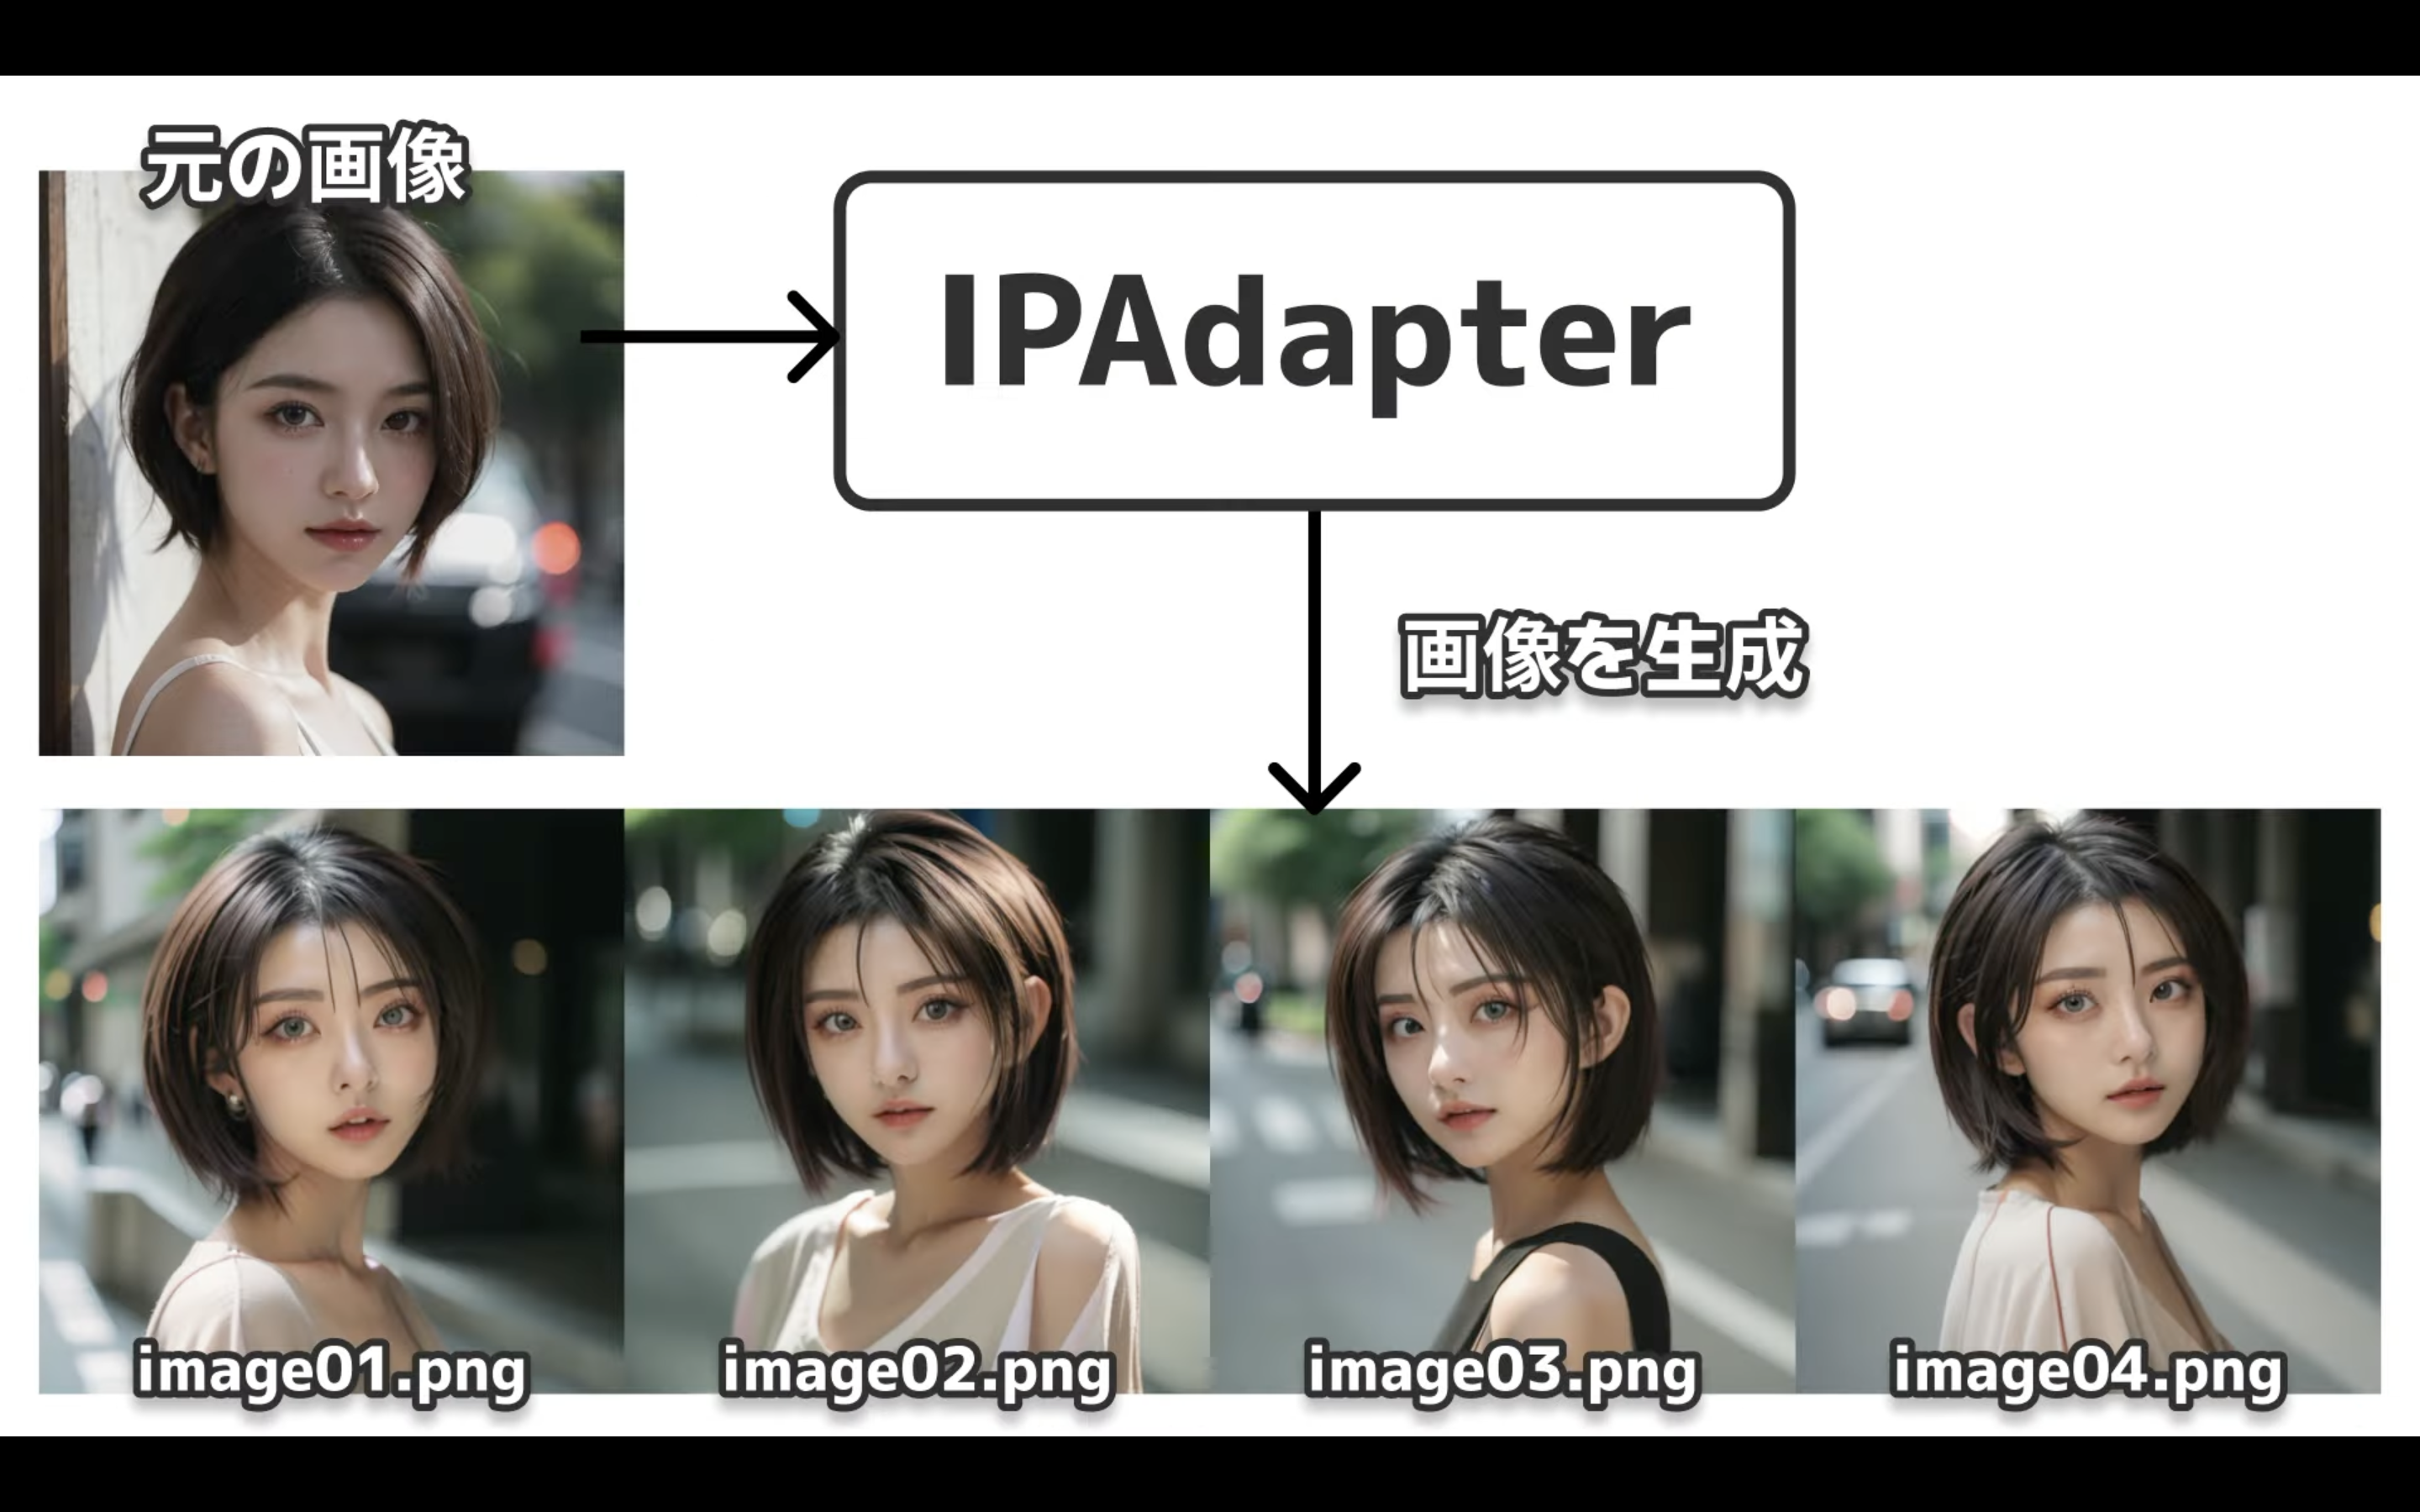
このように元の画像を元に似たような雰囲気の画像を生成できるのがIPAdapterです。
1枚の画像からいろんなバリエーションを生成できるのは便利ですね。
それでは、IPAdapterを利用して生成する別のパターンの画像も見ていきましょう。
Google Colabの画面に切り替えます。
そして、先ほど入力したpattern01を02に変更します。
実行コードを変更したら、再生ボタンを押します。
そうするとアップロードボタンが表示されます。
このボタンをクリックします。
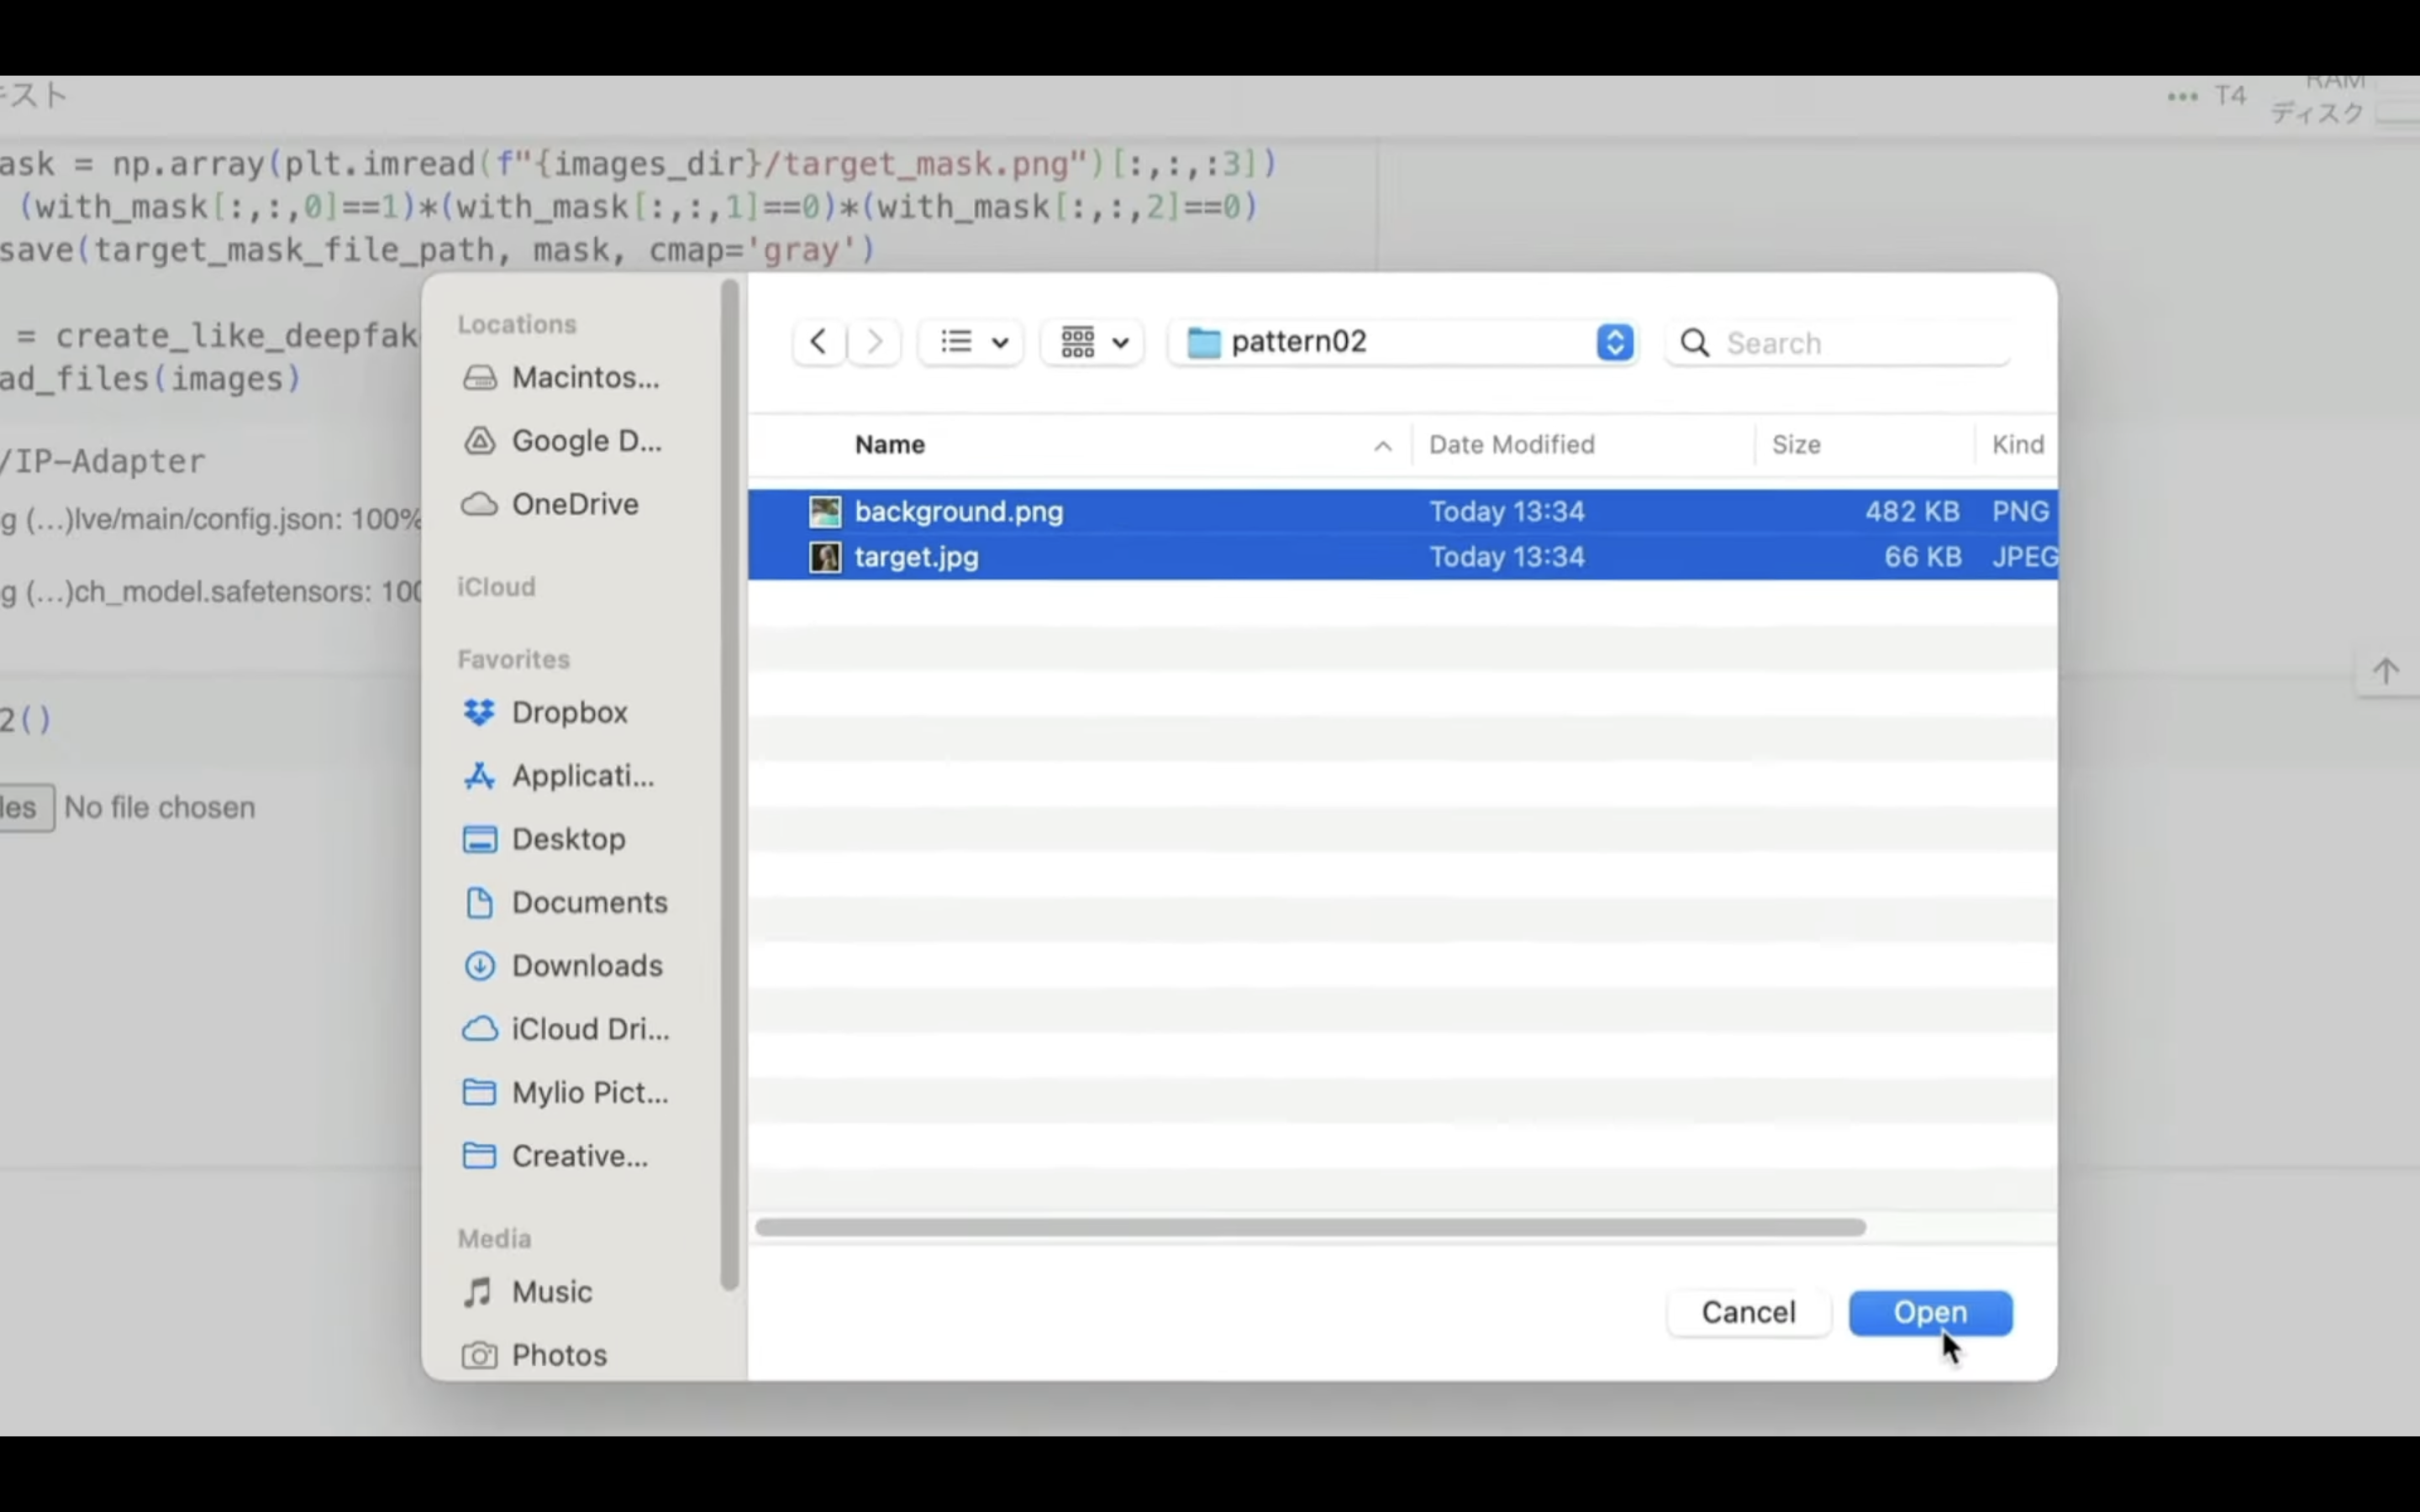
表示されたダイアログボックスの中からアップロードする画像を選択します。
アップロードする画像は「background.png」と「target.jpg」でなければエラーになります。
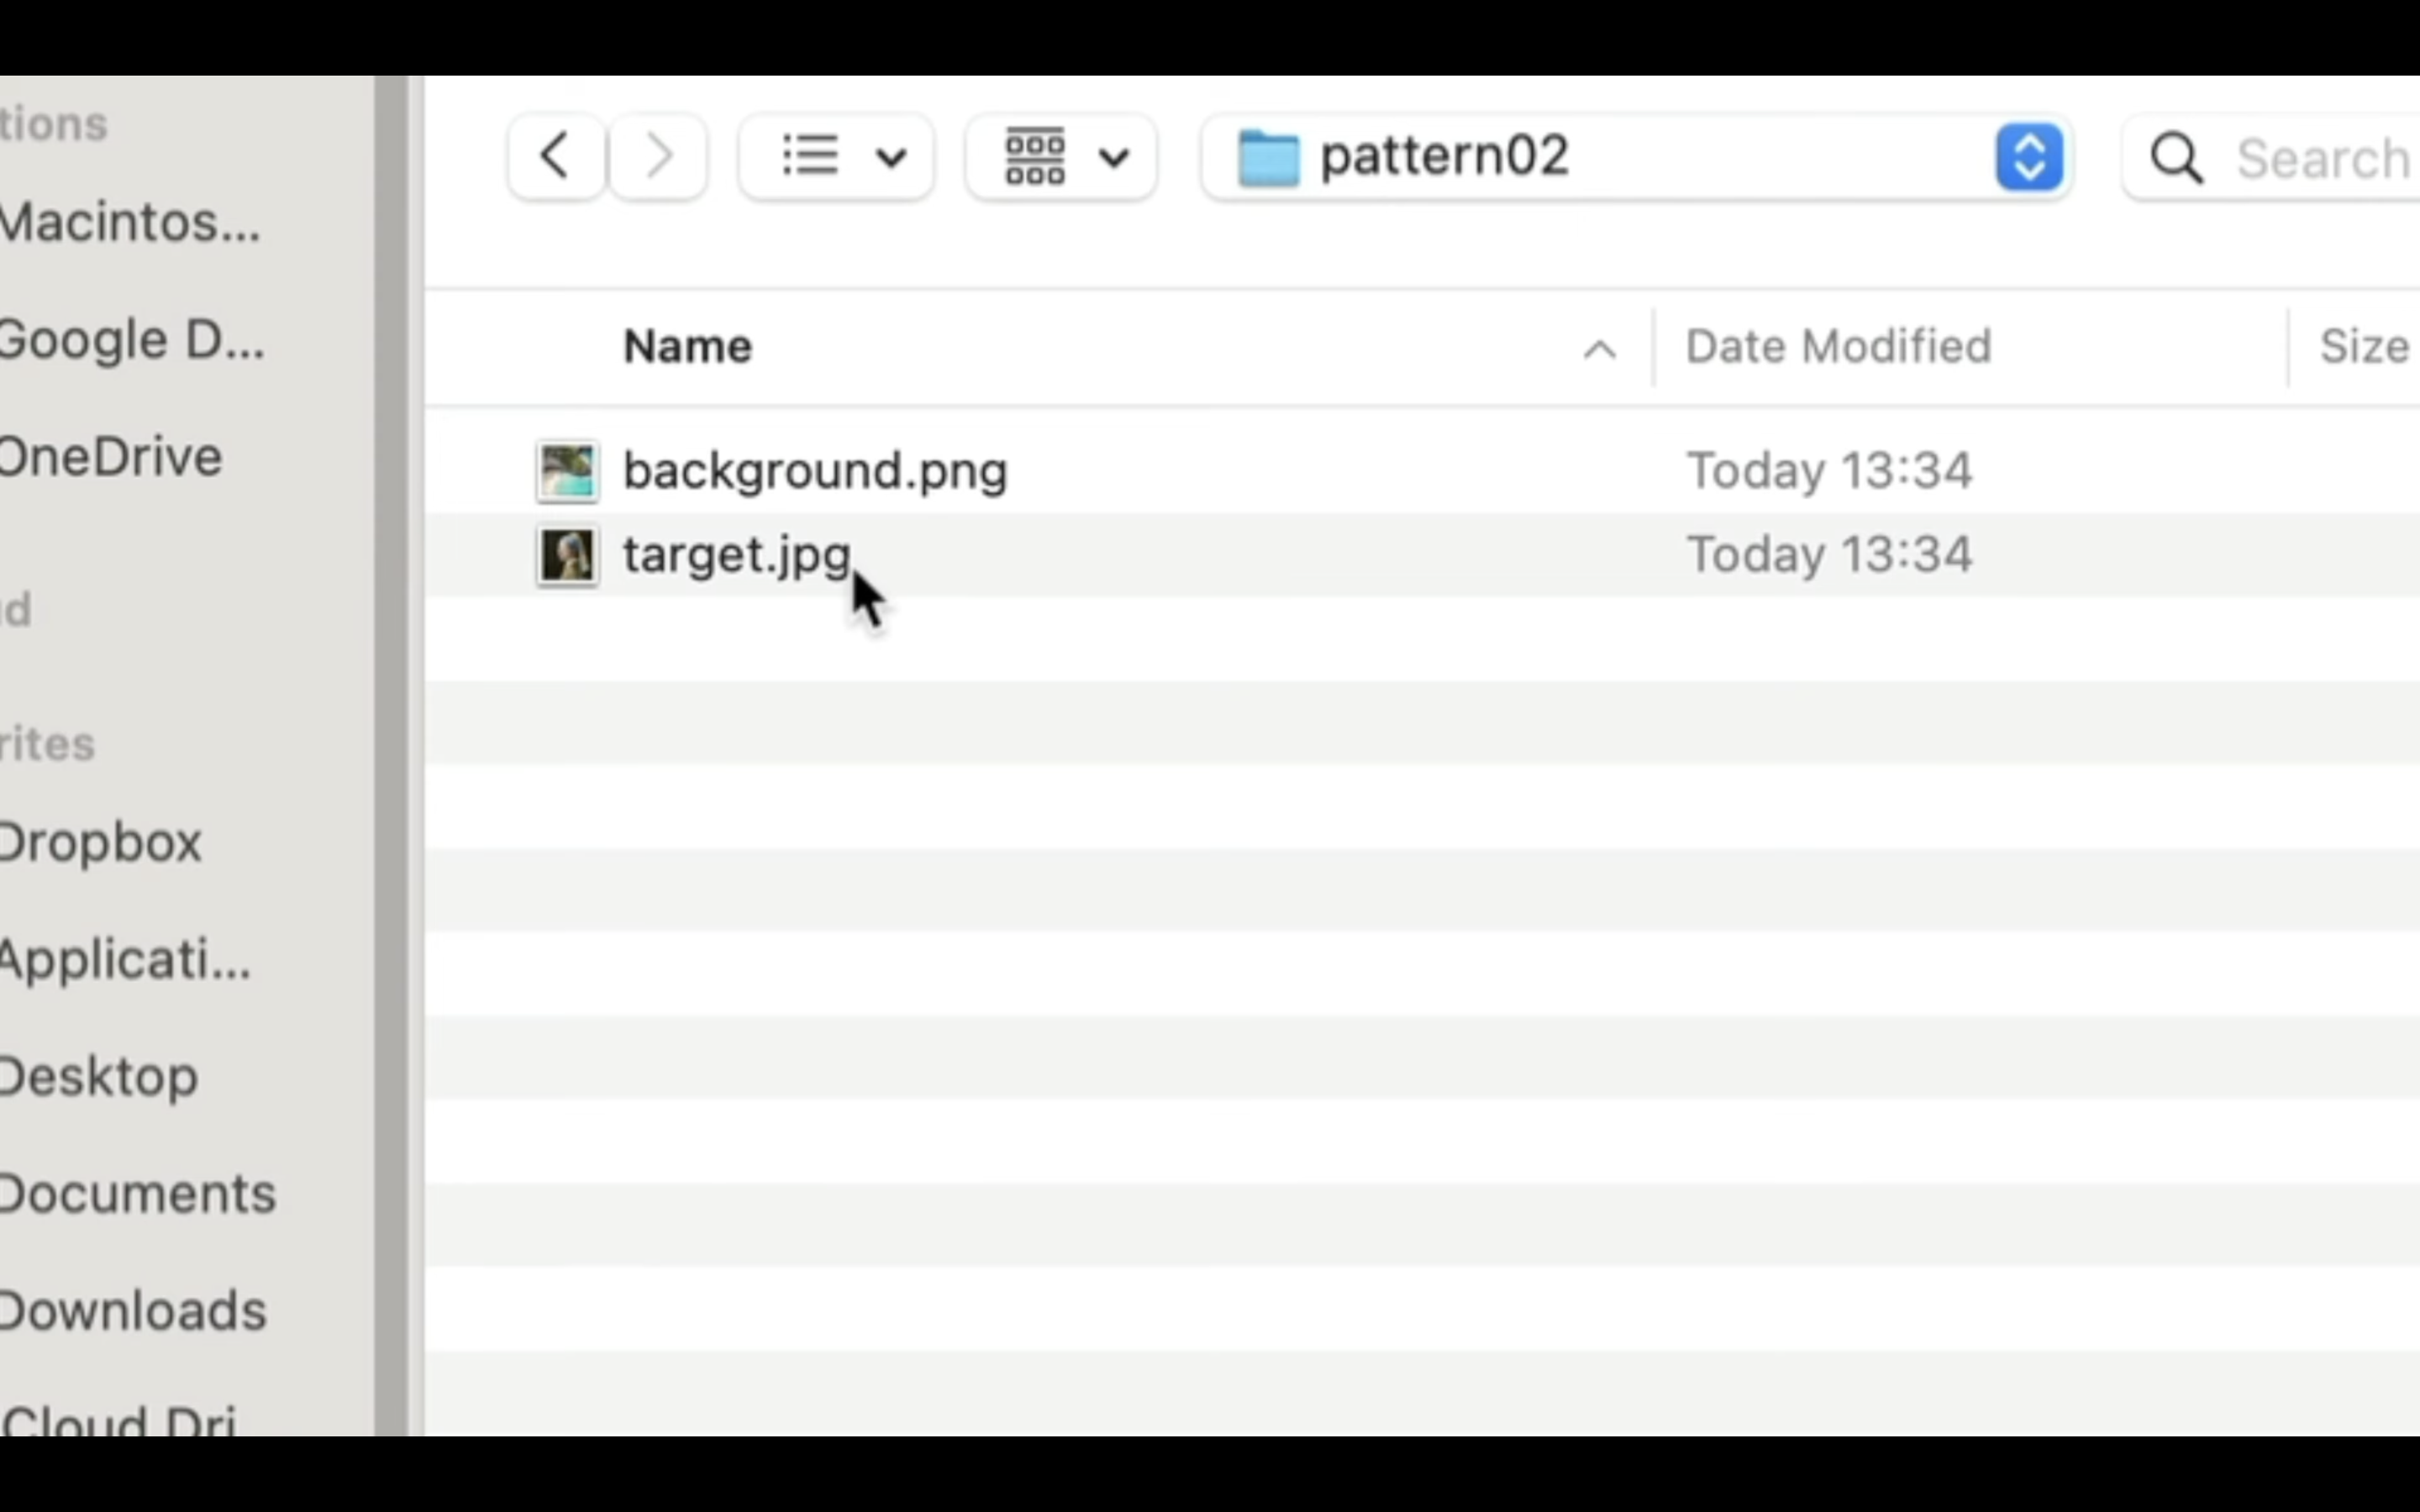
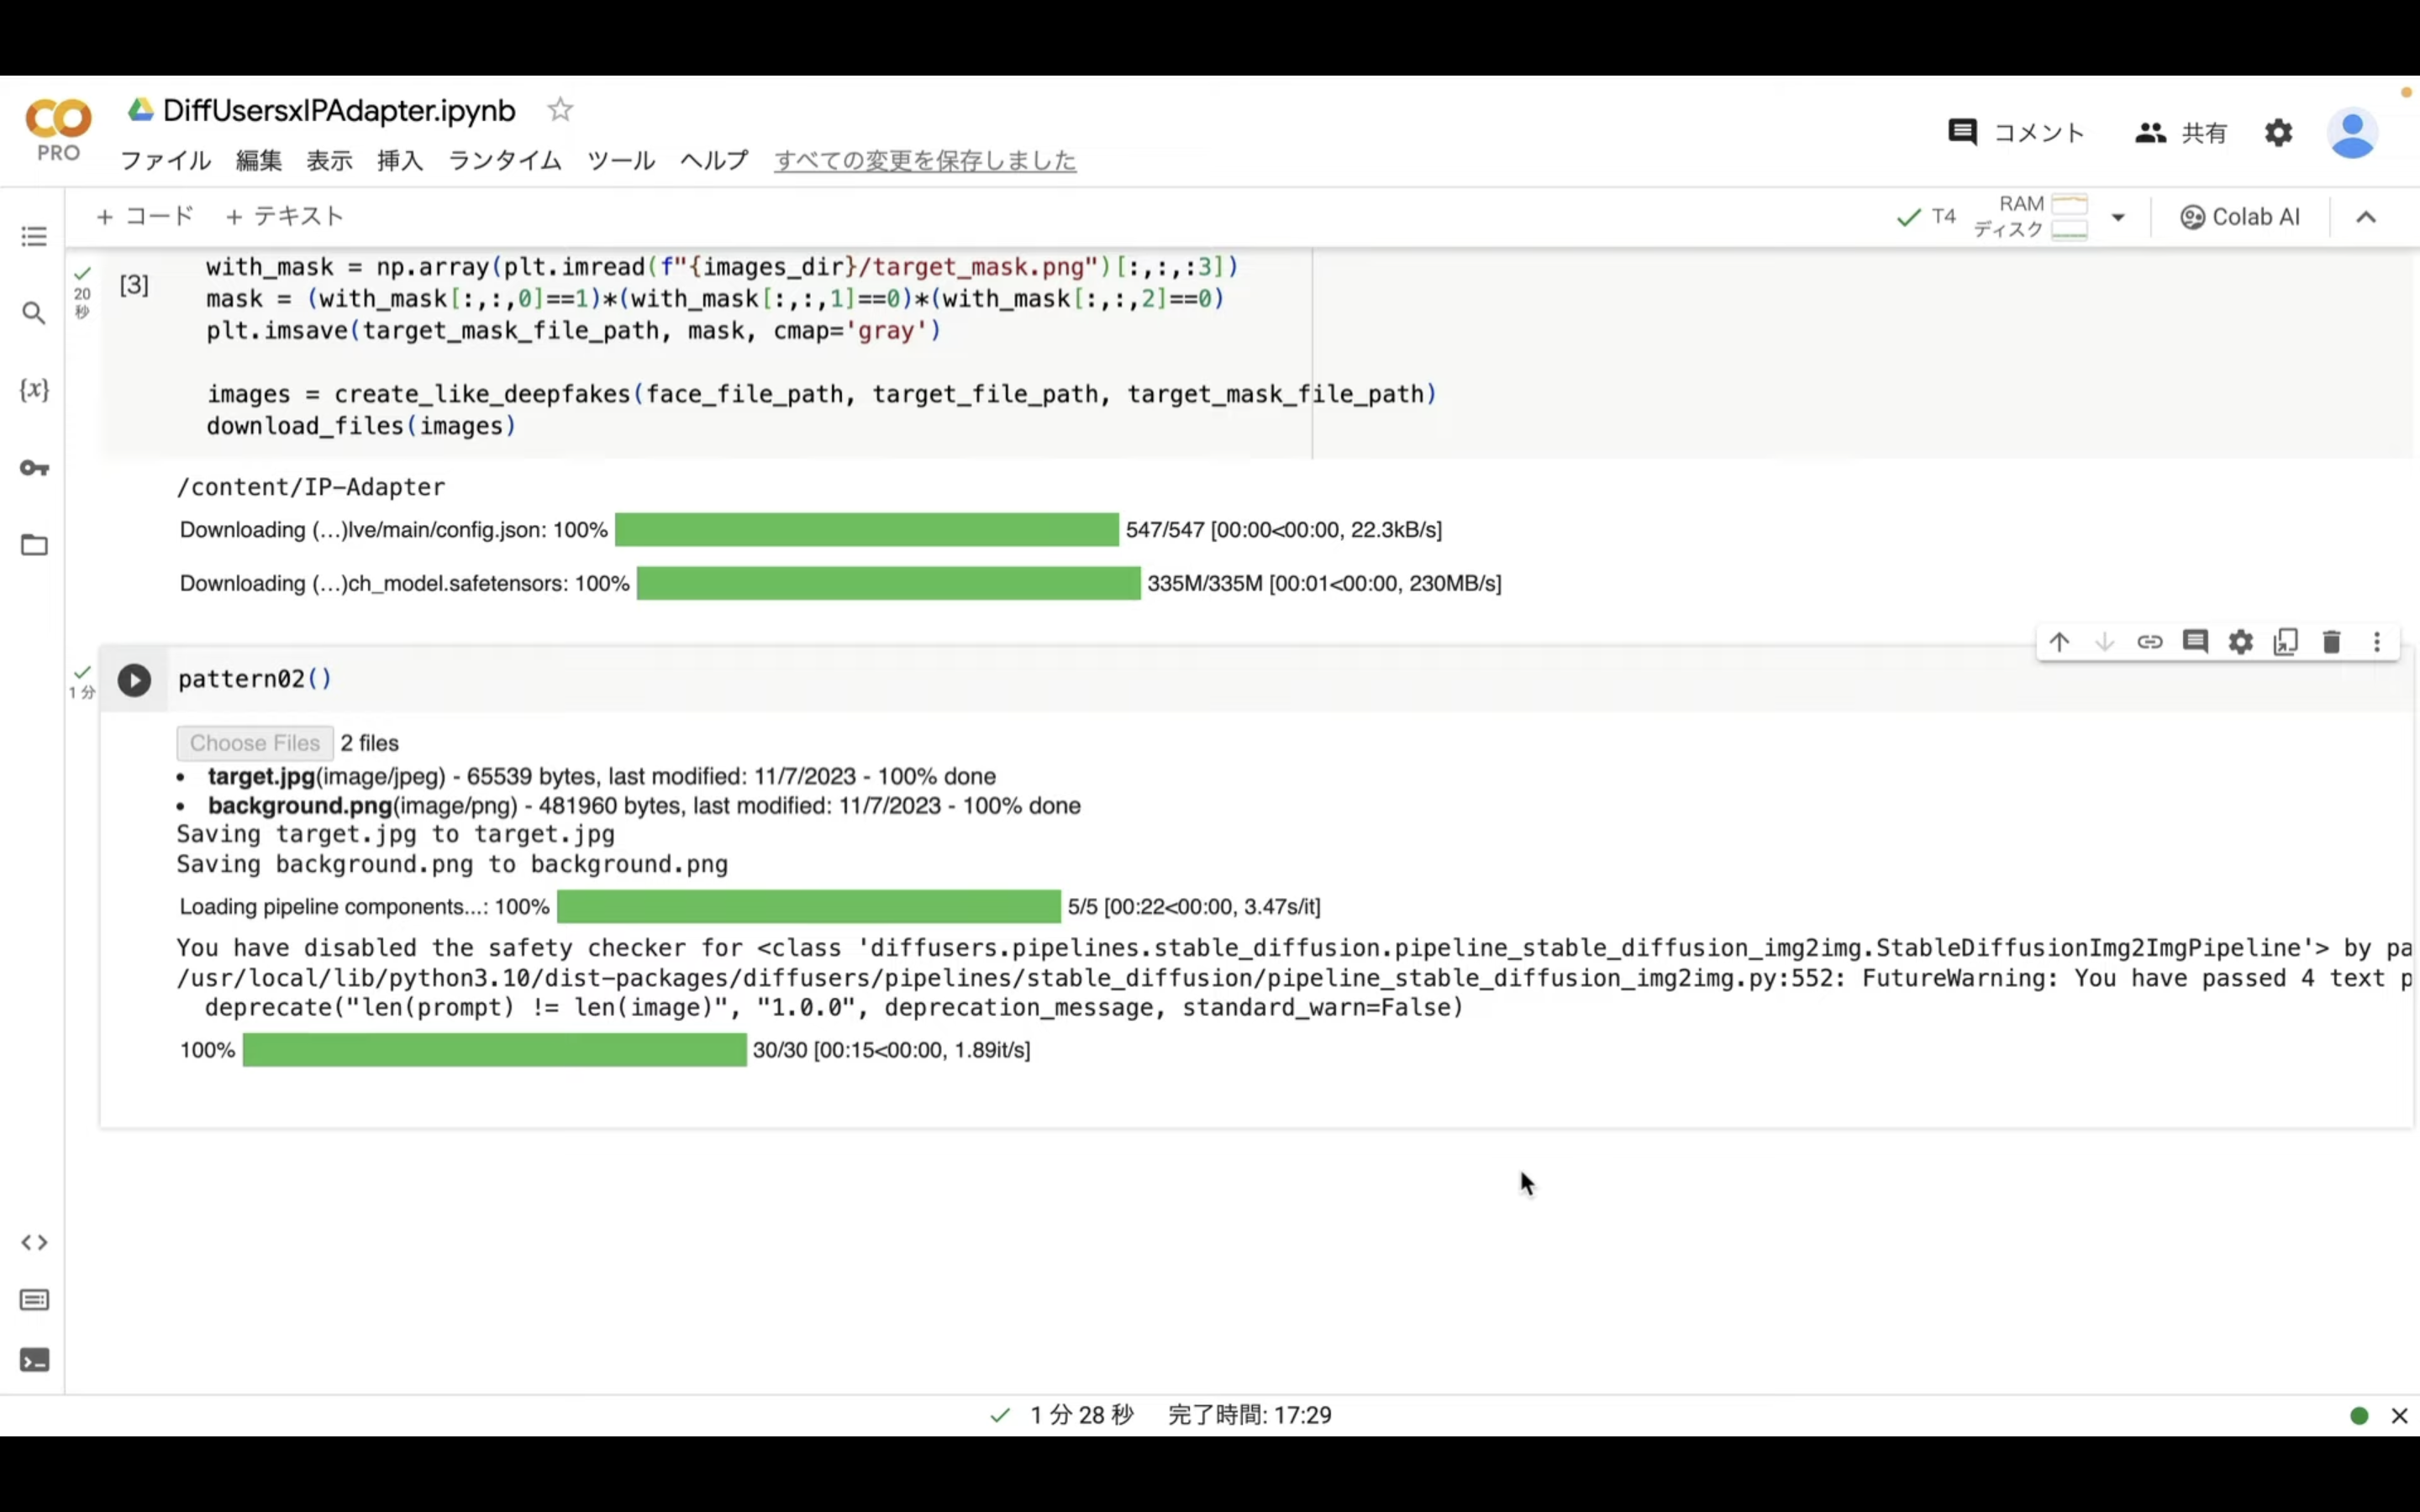
今回はpattern02のフォルダーにあるサンプル画像を選択します。
ファイルを選択したら、処理が開始されます。
この処理には数分程度かかります。
今回は4件の画像ファイルを生成するように設定してあります。
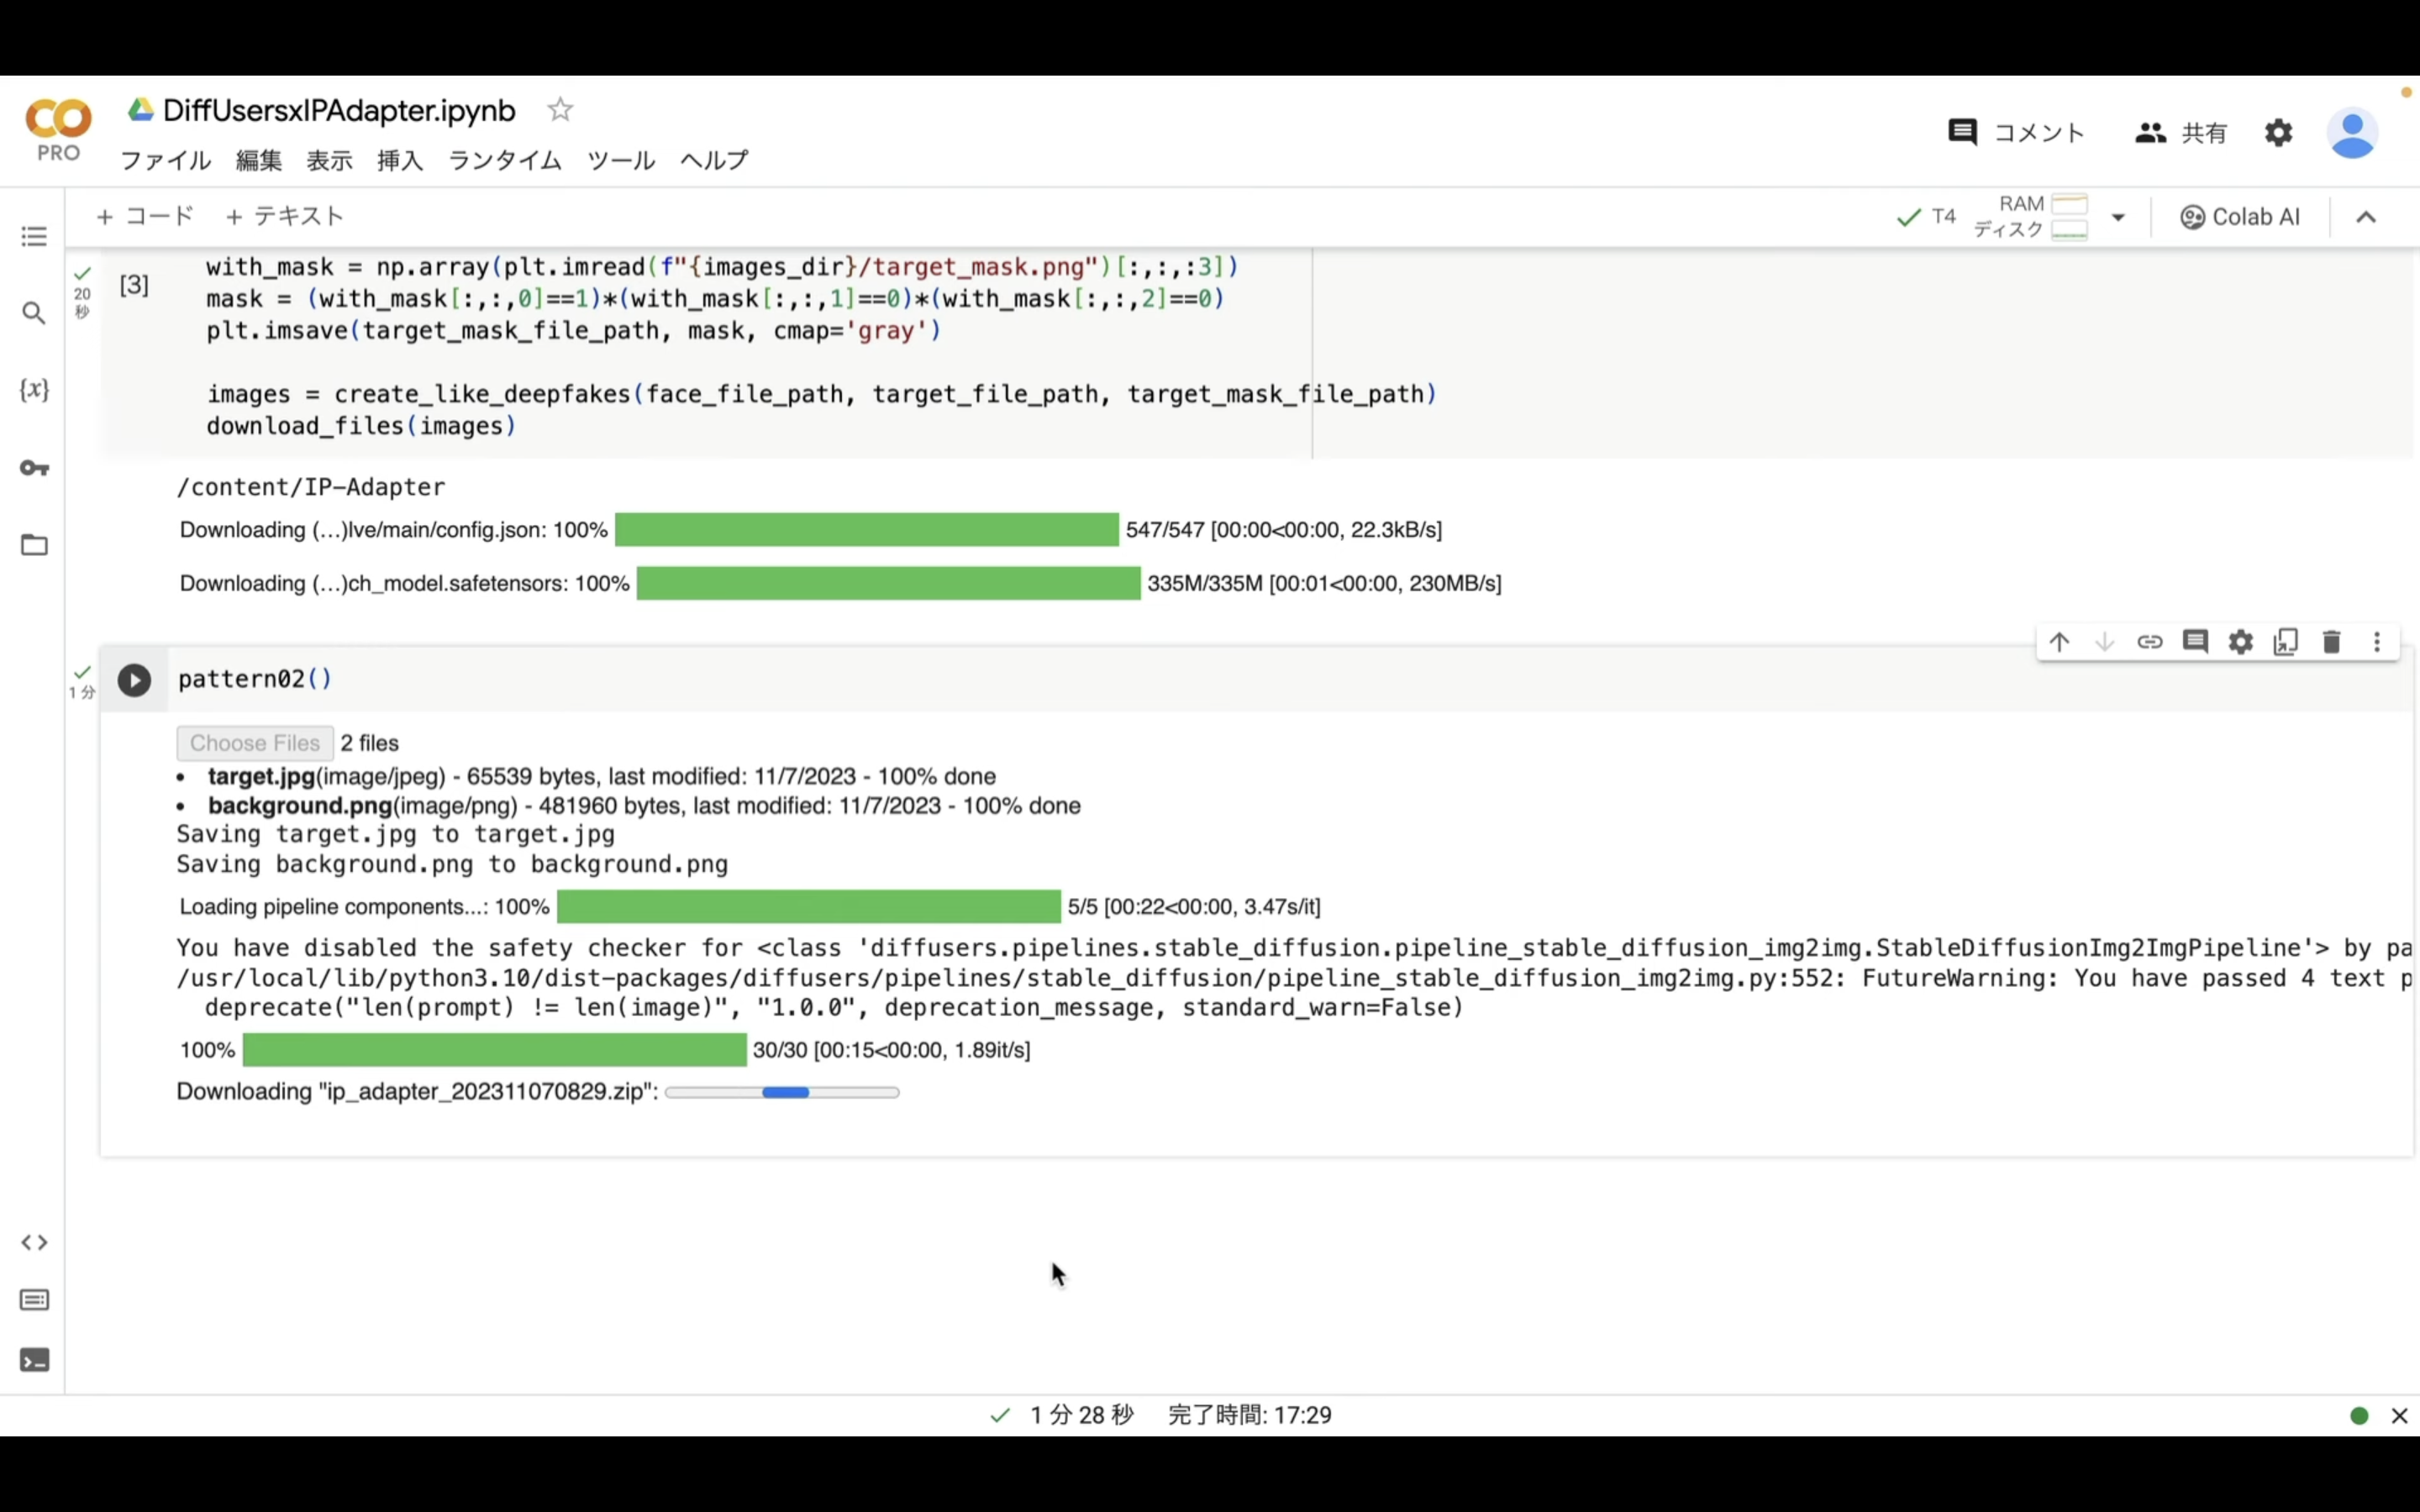
これらのファイルが生成されたら、1つのZIPファイルにまとめて自動的にダウンロードされます。
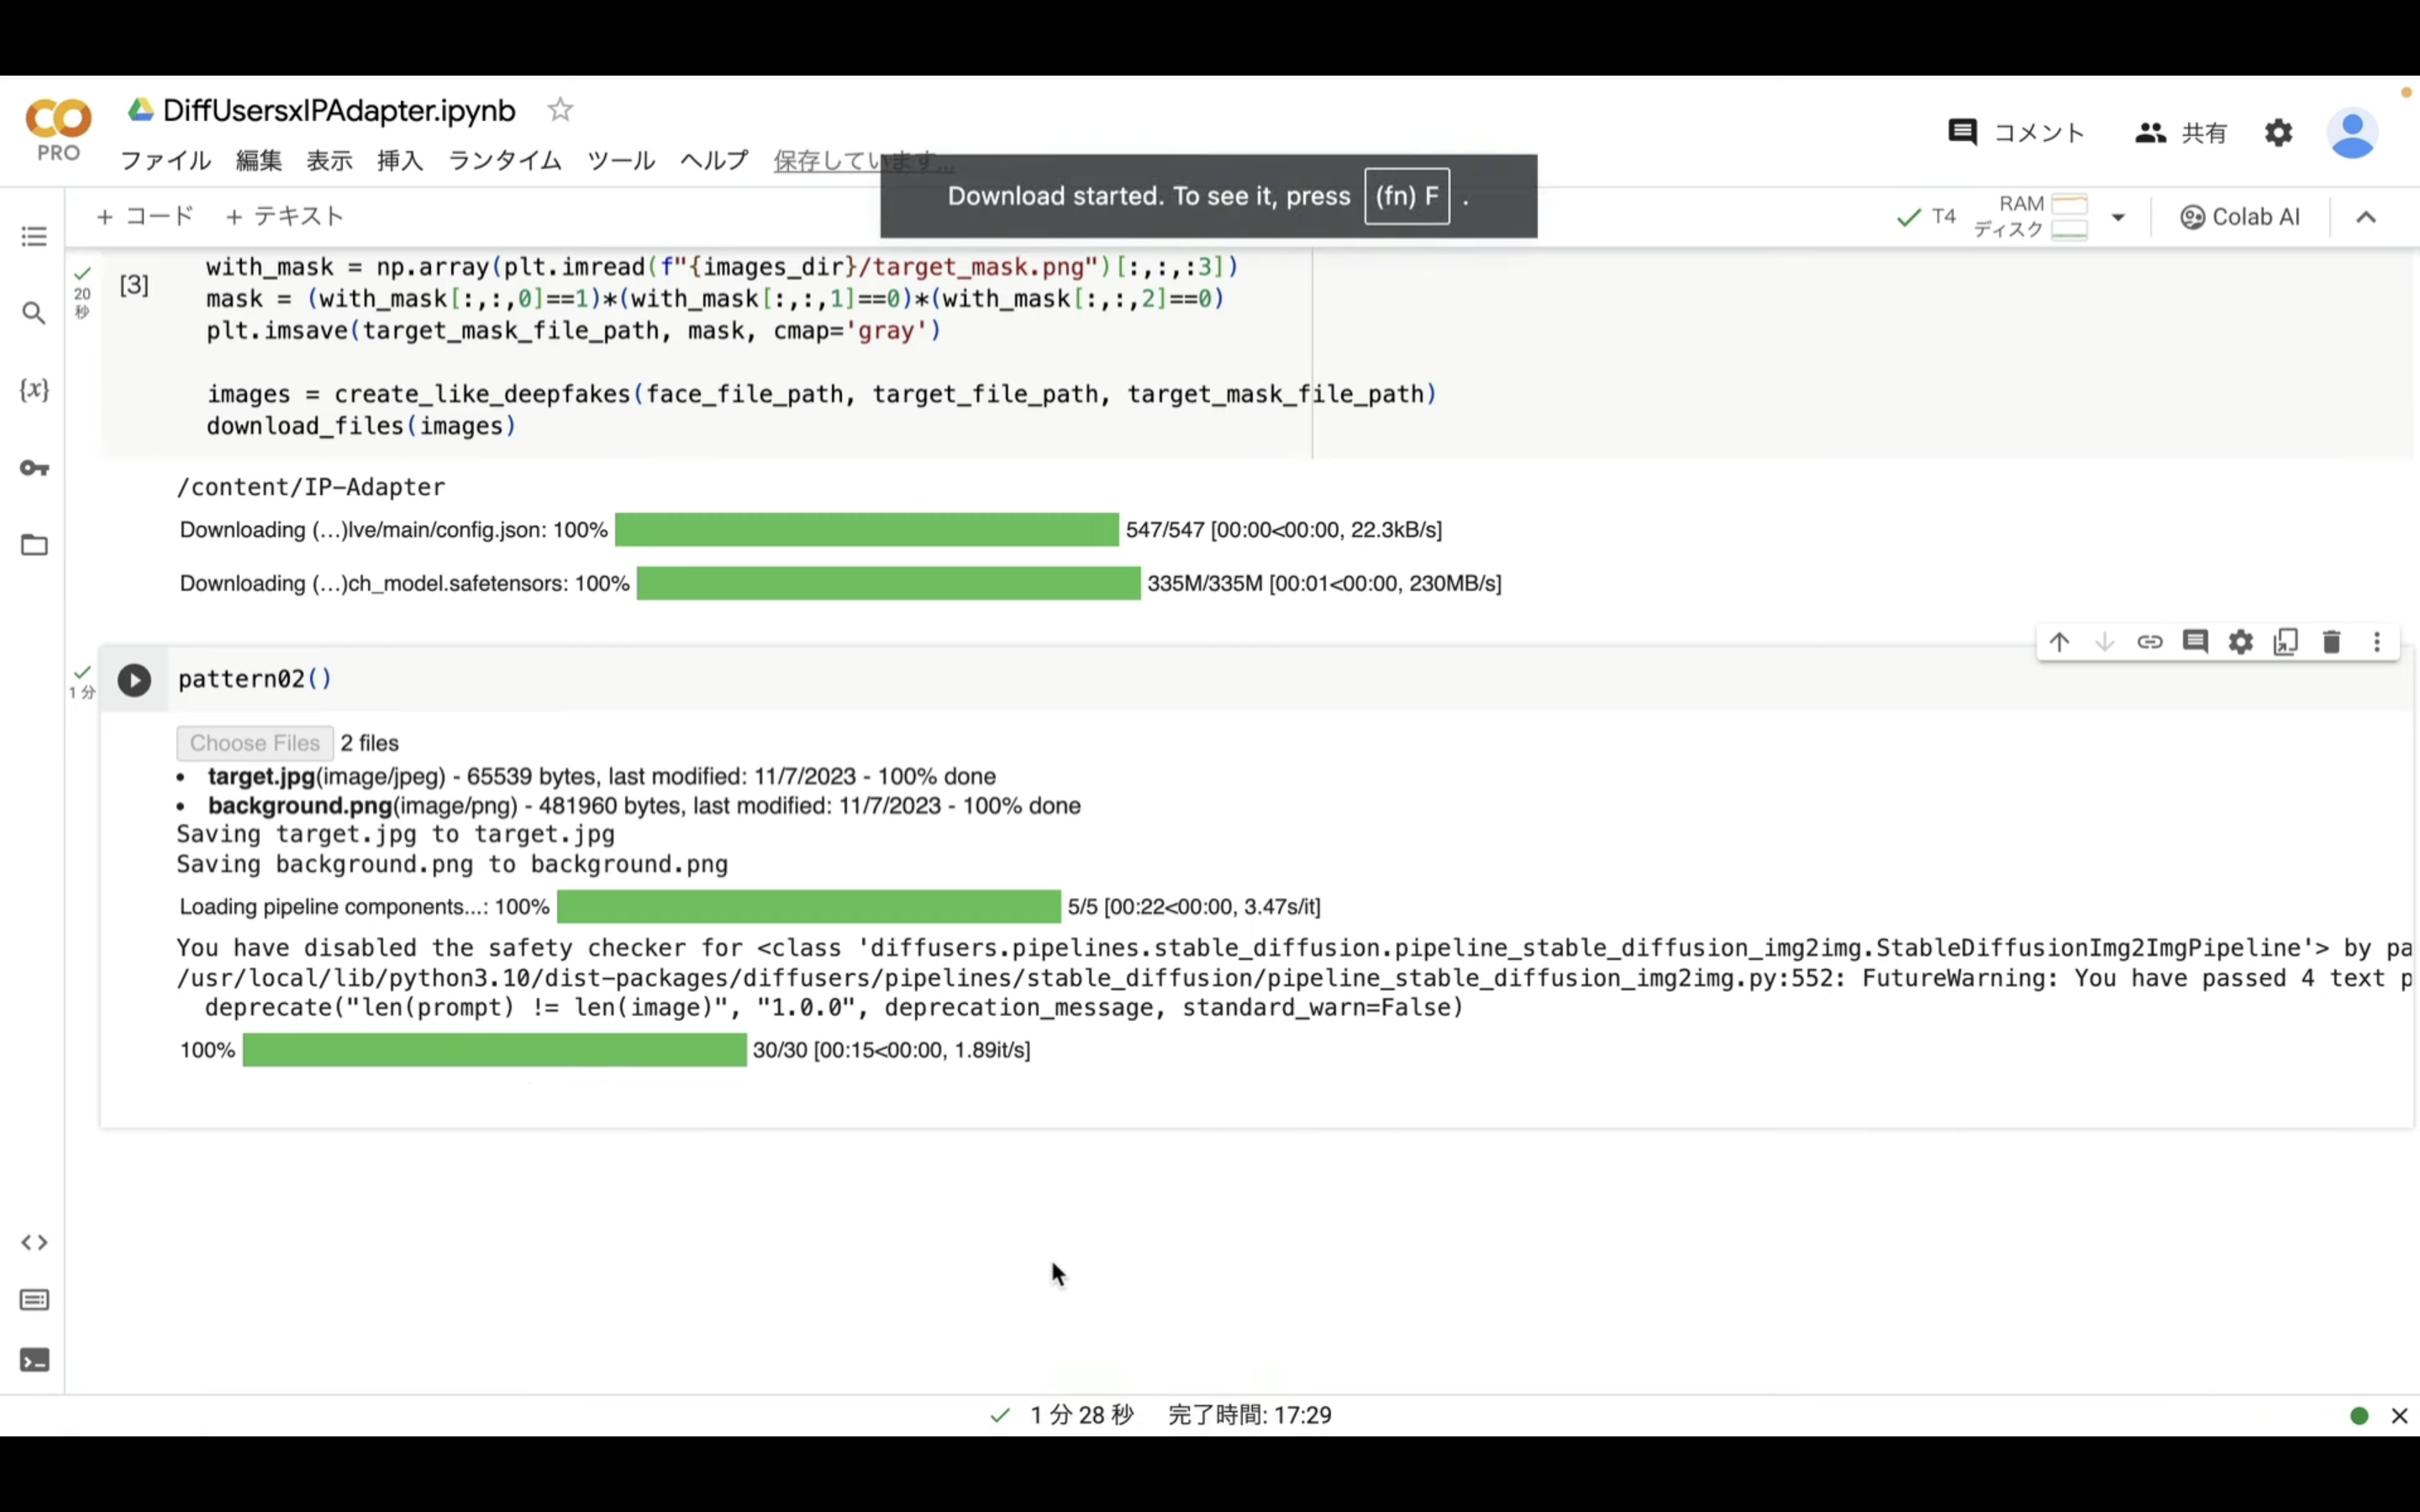
ダウンロードされたZIPファイルを解凍すると、このようなファイルがあると思います。
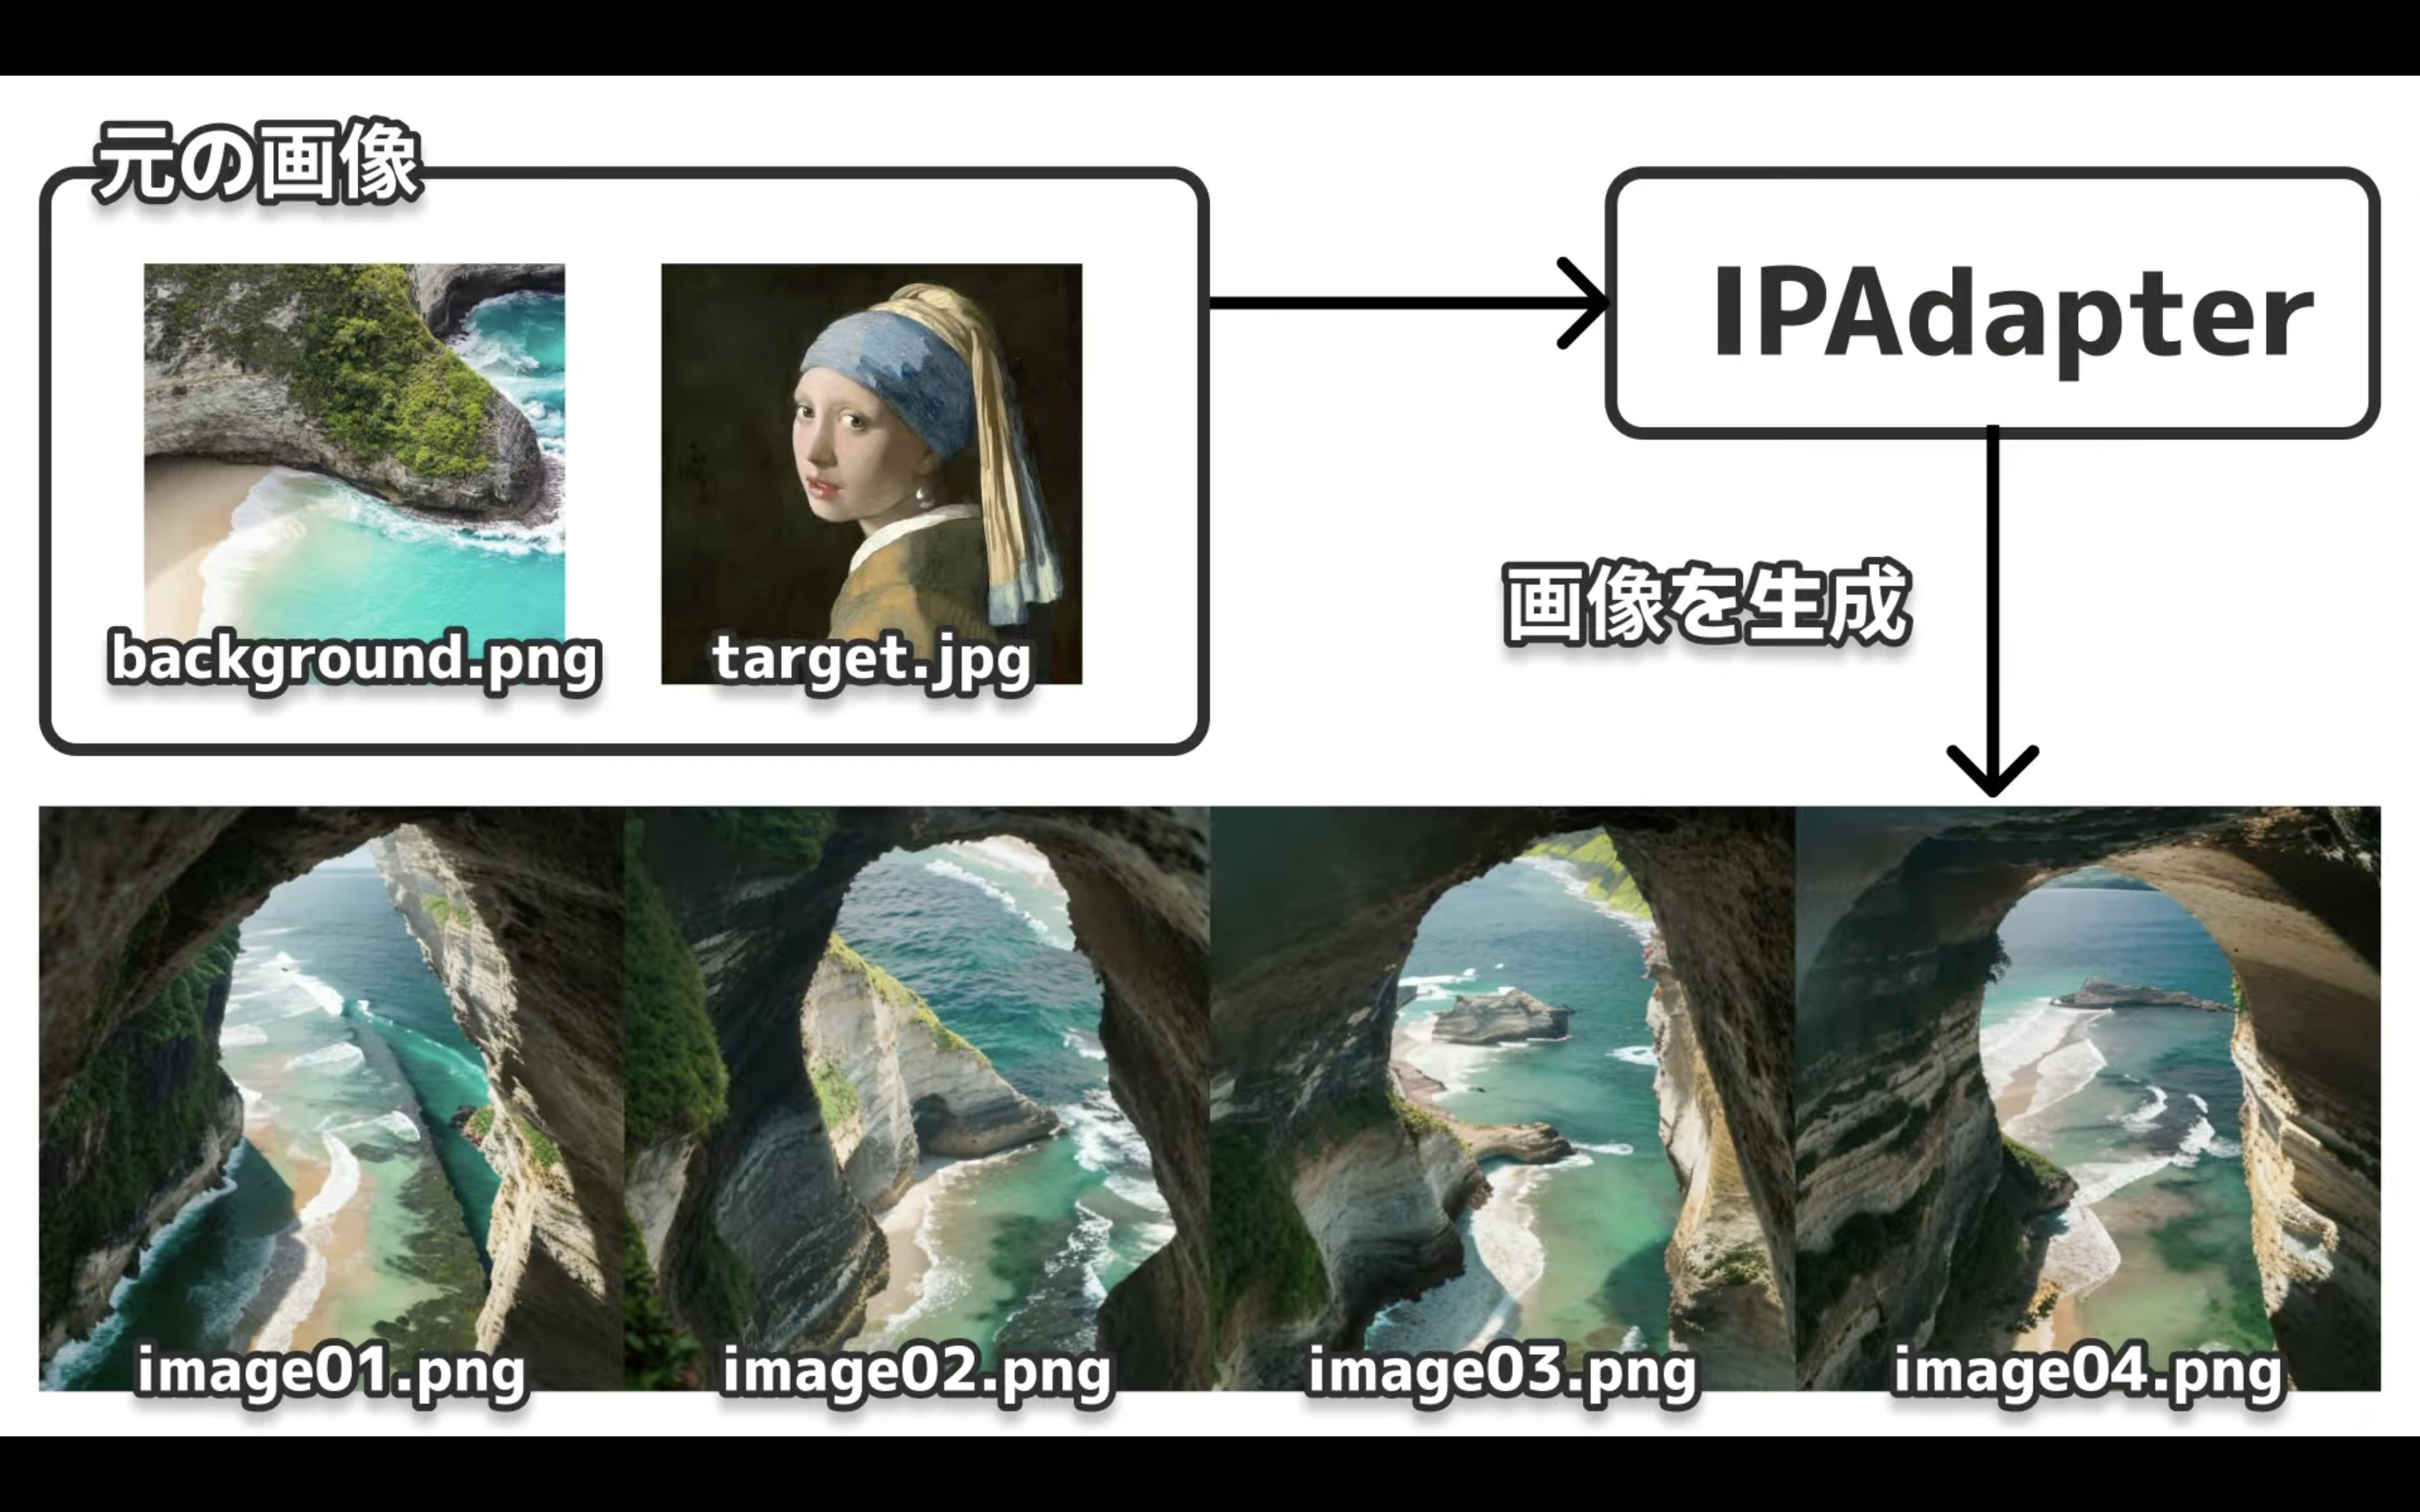
このように、IPAdapterを利用すると、様々な画像も生成することができます。
このような画像も生成できるのはとても便利ですね。
それでは次に、別の利用方法も確認しておきましょう。
Google Colabの画面に切り替えます。
そして、先ほど入力した実行コードのpattern02をpattern03に変更します。
実行コードを変更したら、再生ボタンを押します。

そうすると、アップロードボタンが表示されるので、クリックします。

表示されたダイアログボックスの中からアップロードする画像を選択します。
アップロードする画像は「face.png」と「target.png」でなければエラーになります。
今回はpattern03フォルダーにあるサンプル画像を選択します。
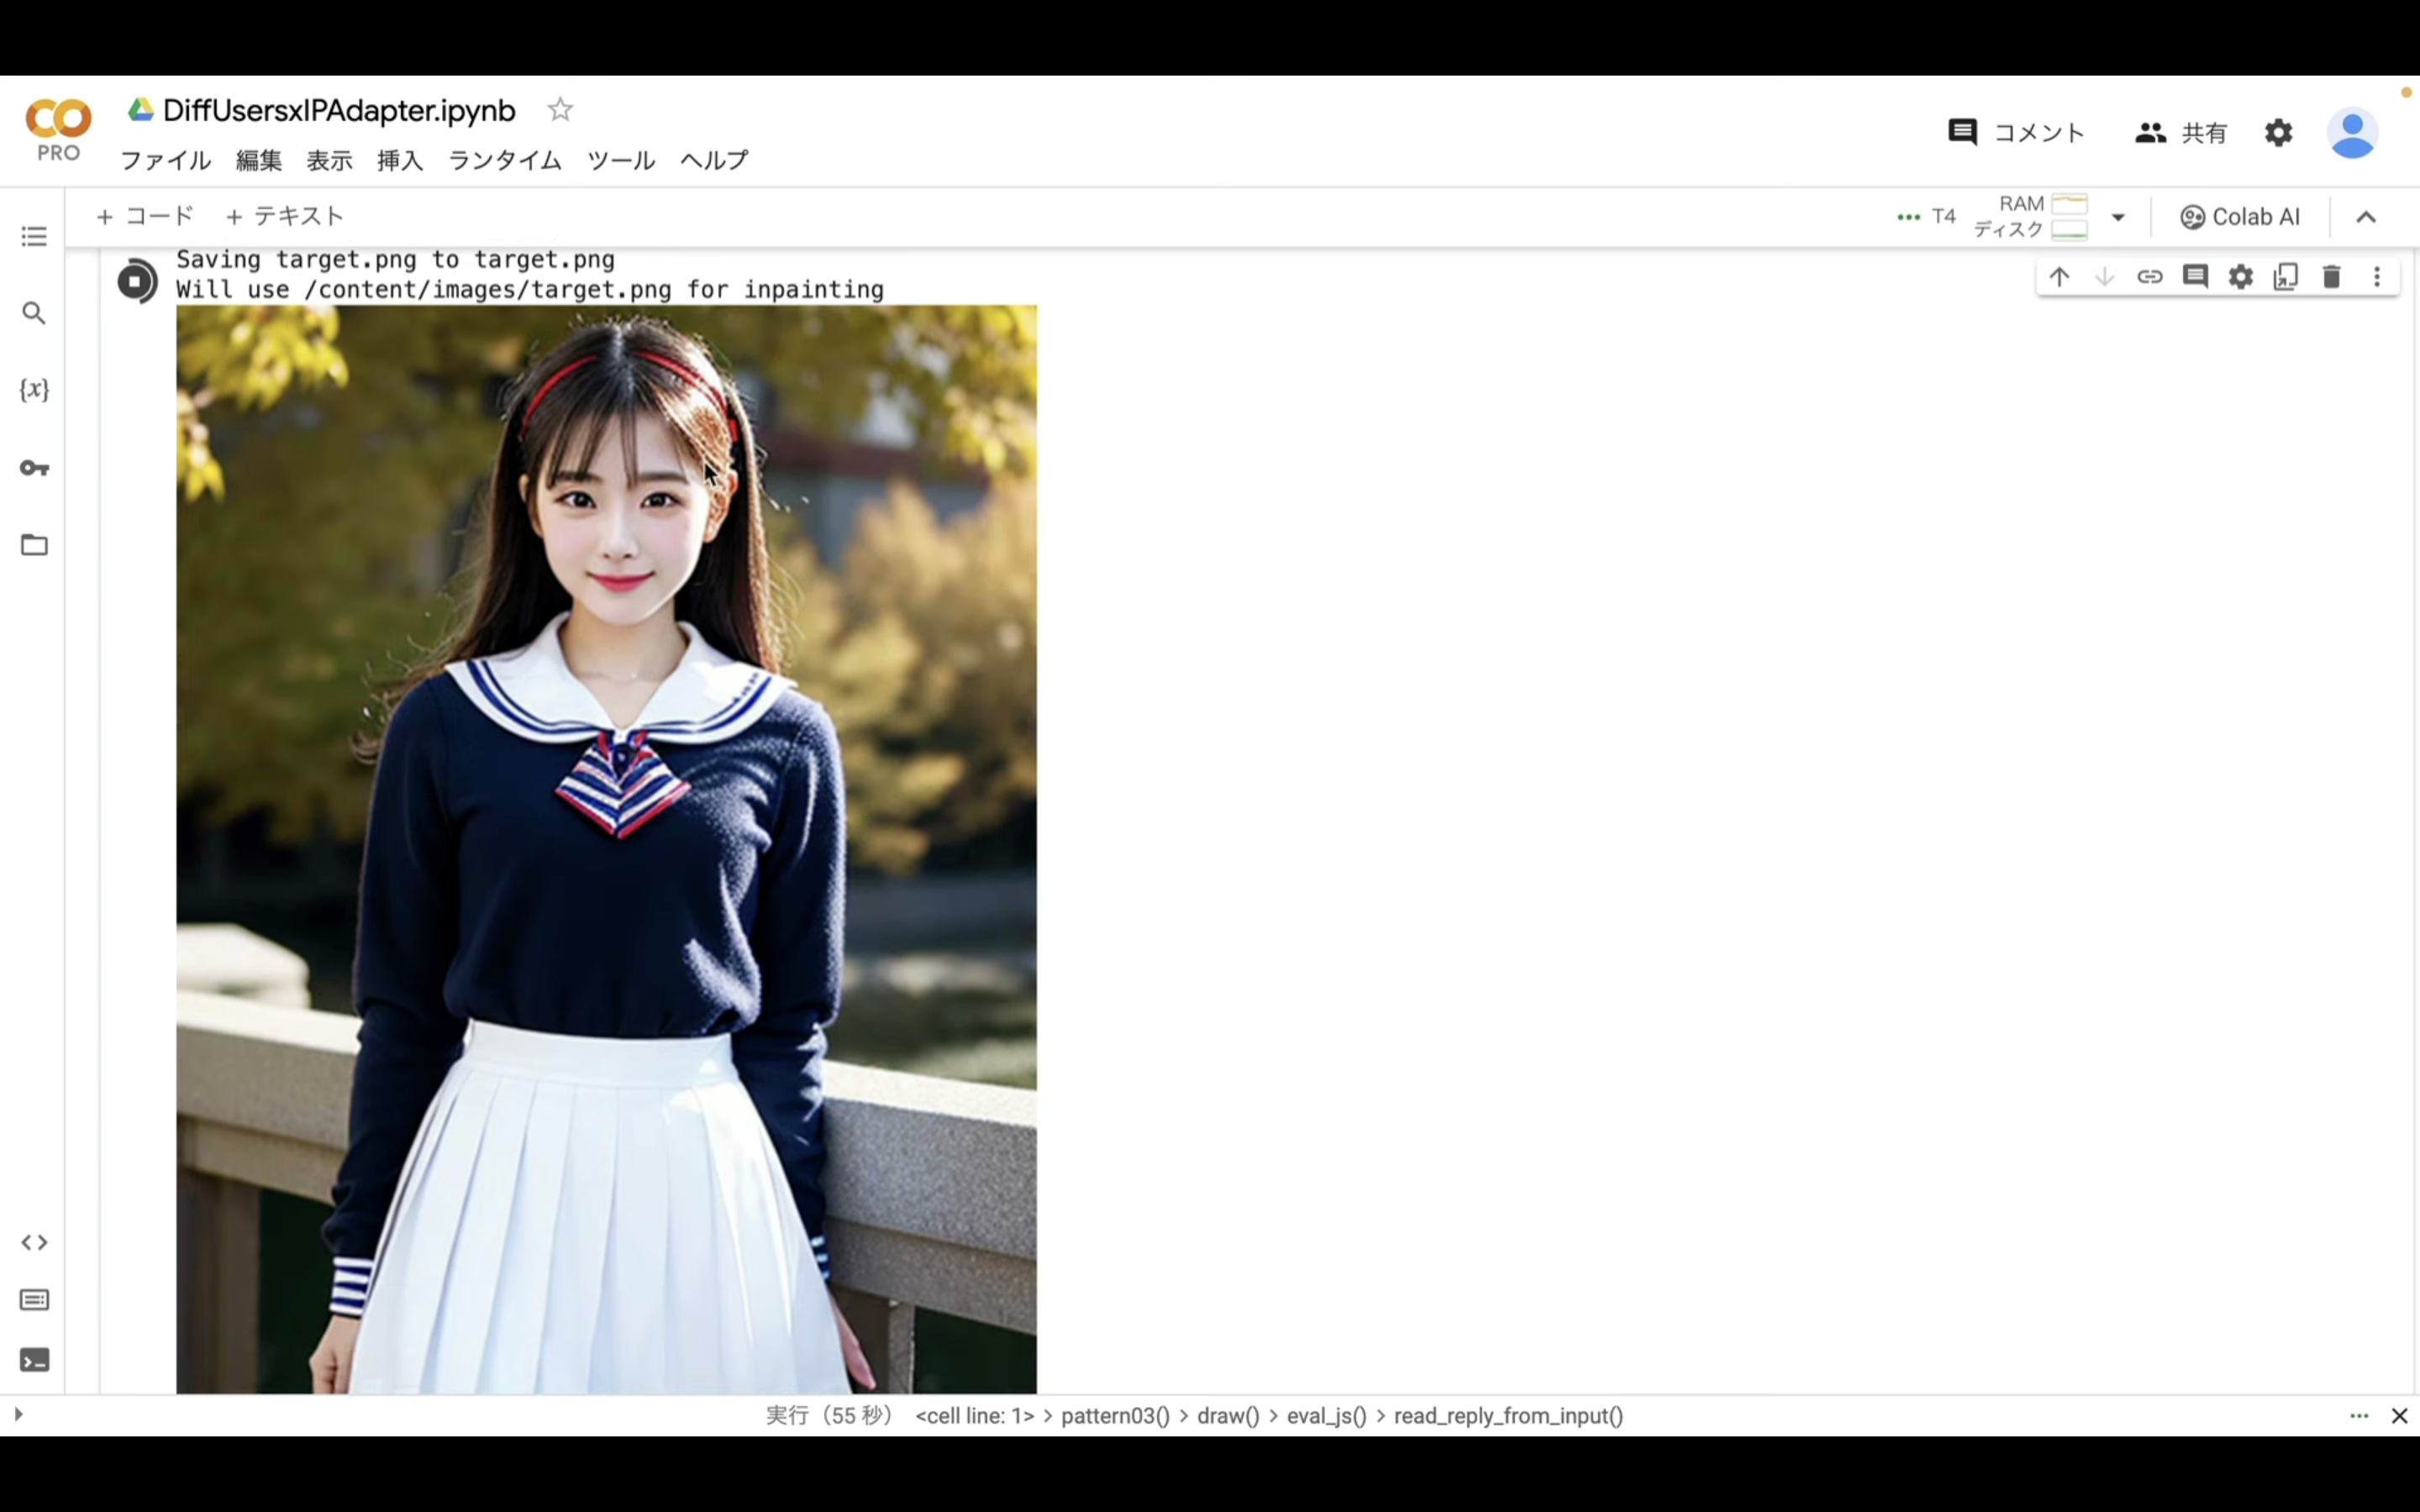
ファイルを選択したら、アップロードが完了するまでしばらく待ちます。
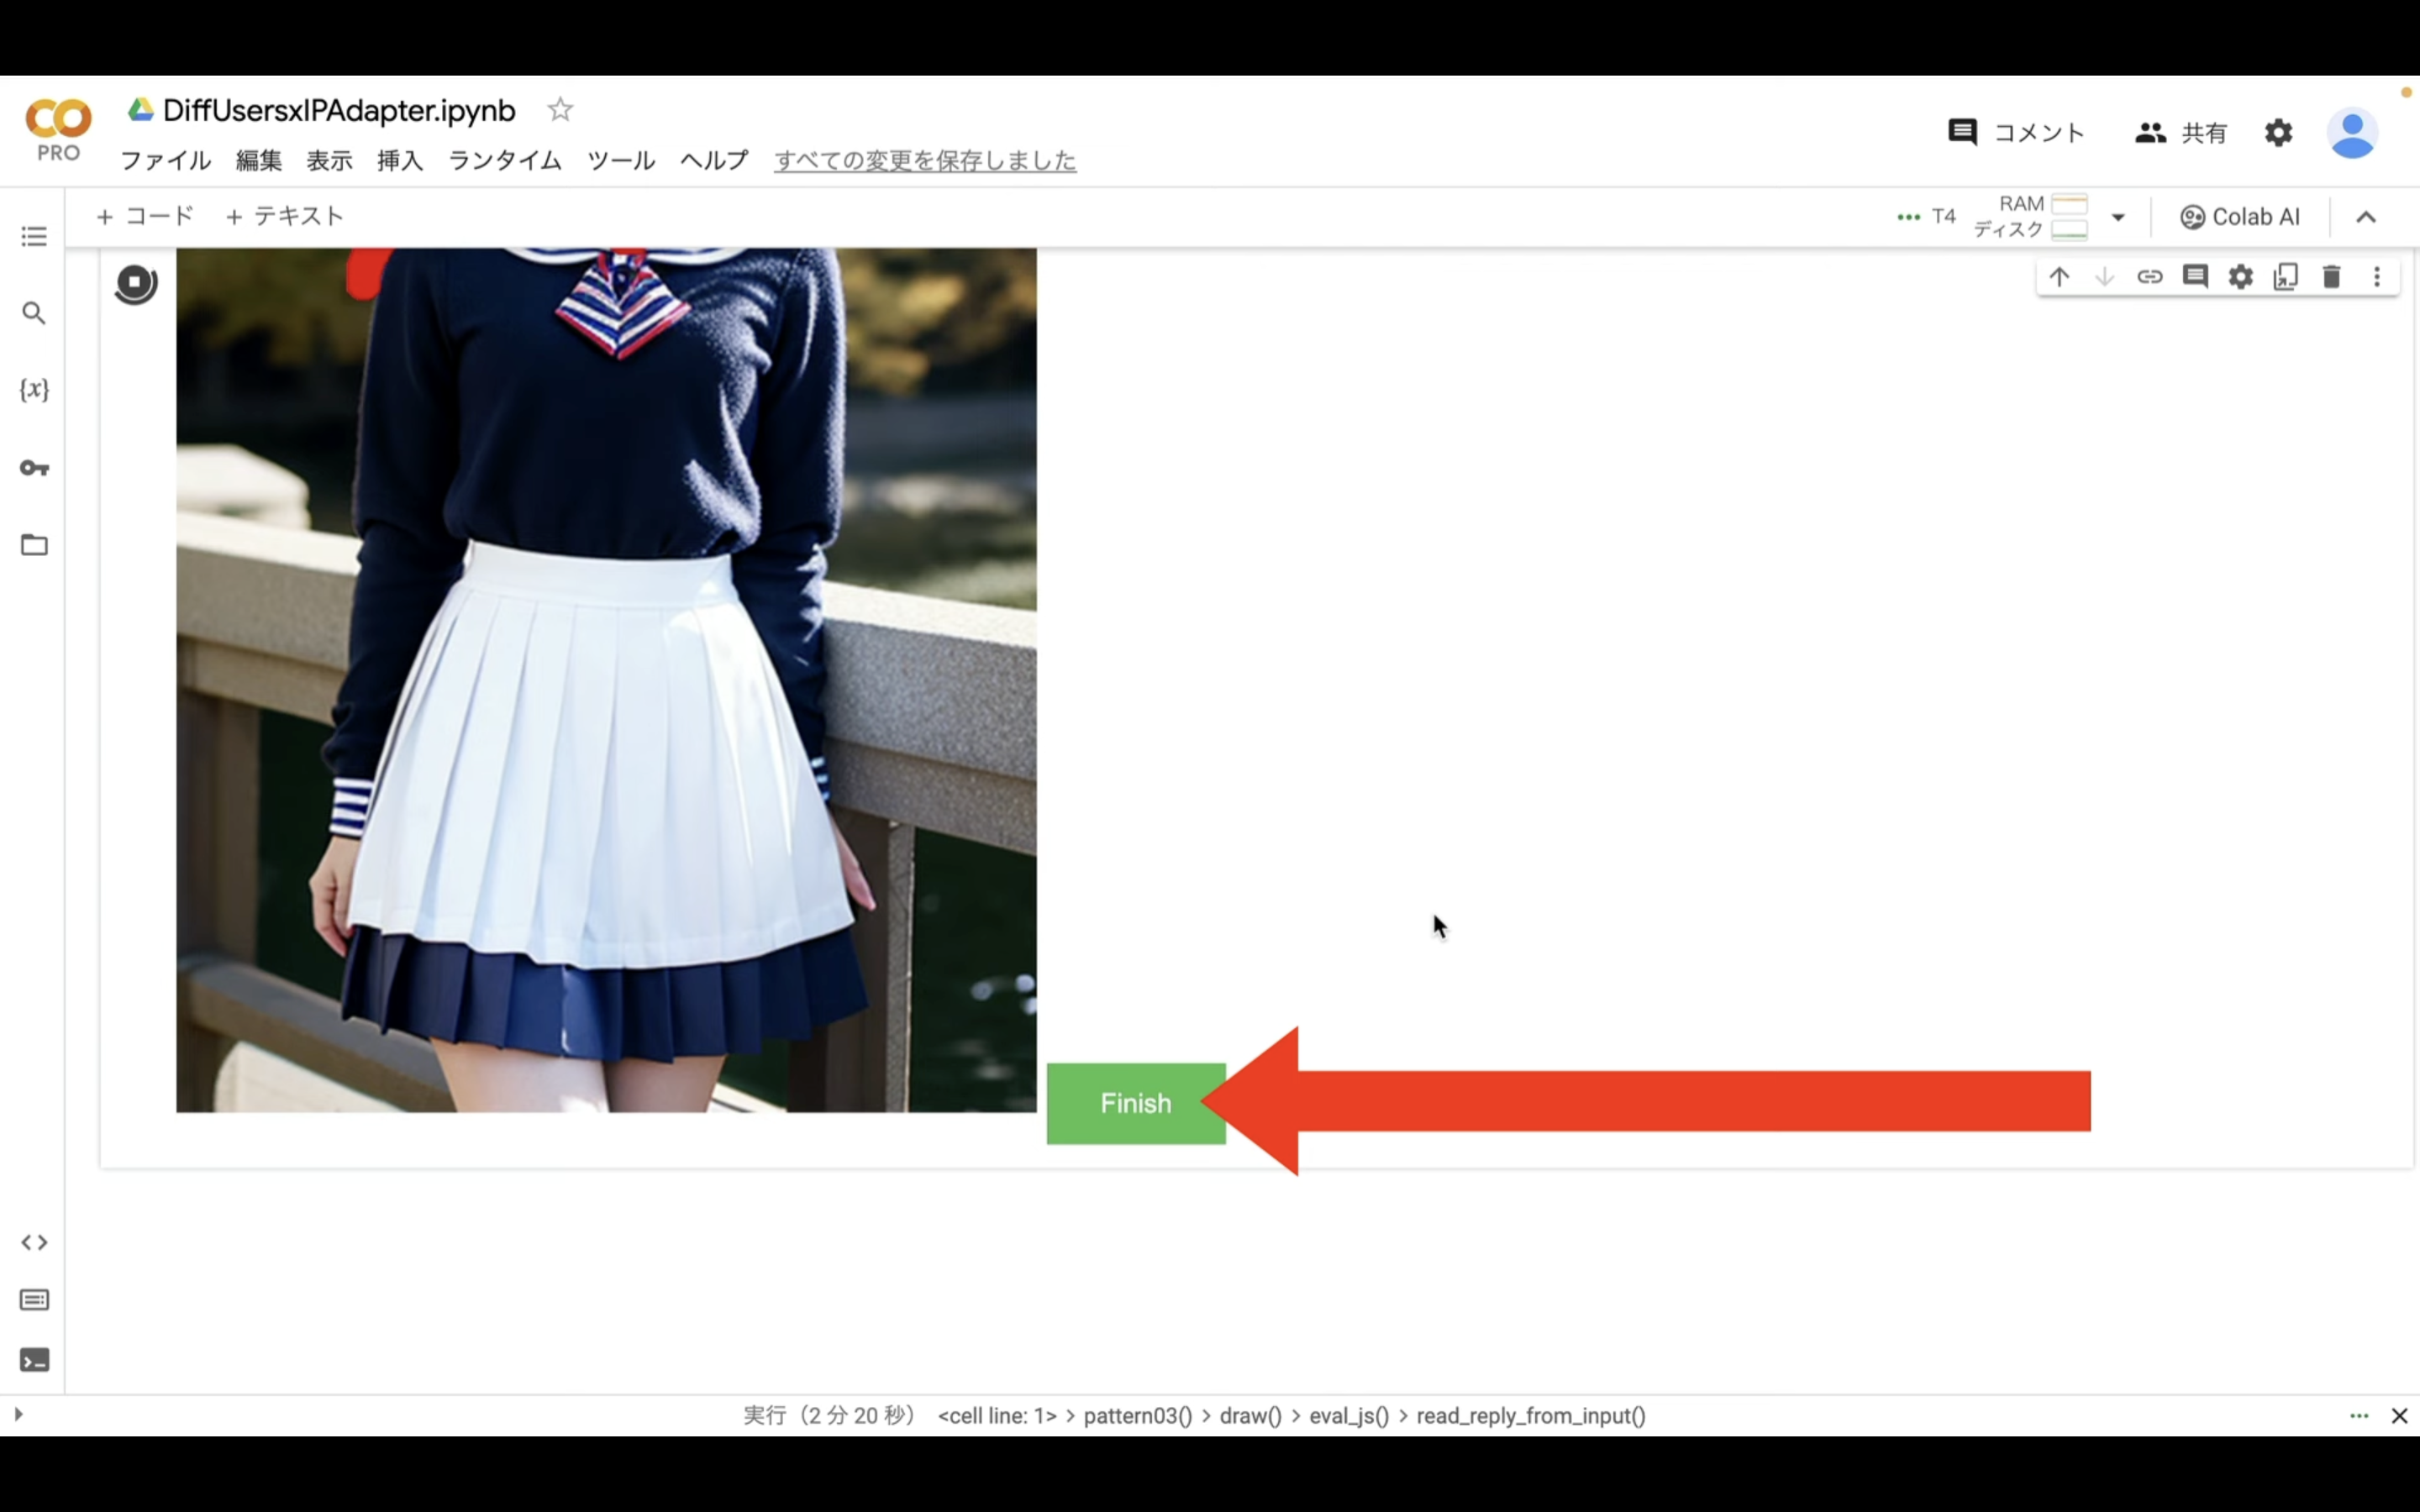
アップロードが完了したら、「target.png」の画像が表示されます。
このように画像が表示されたら、変更する部分を赤く塗りつぶします。
今回は顔と背景の部分を赤く塗りつぶしていきます。
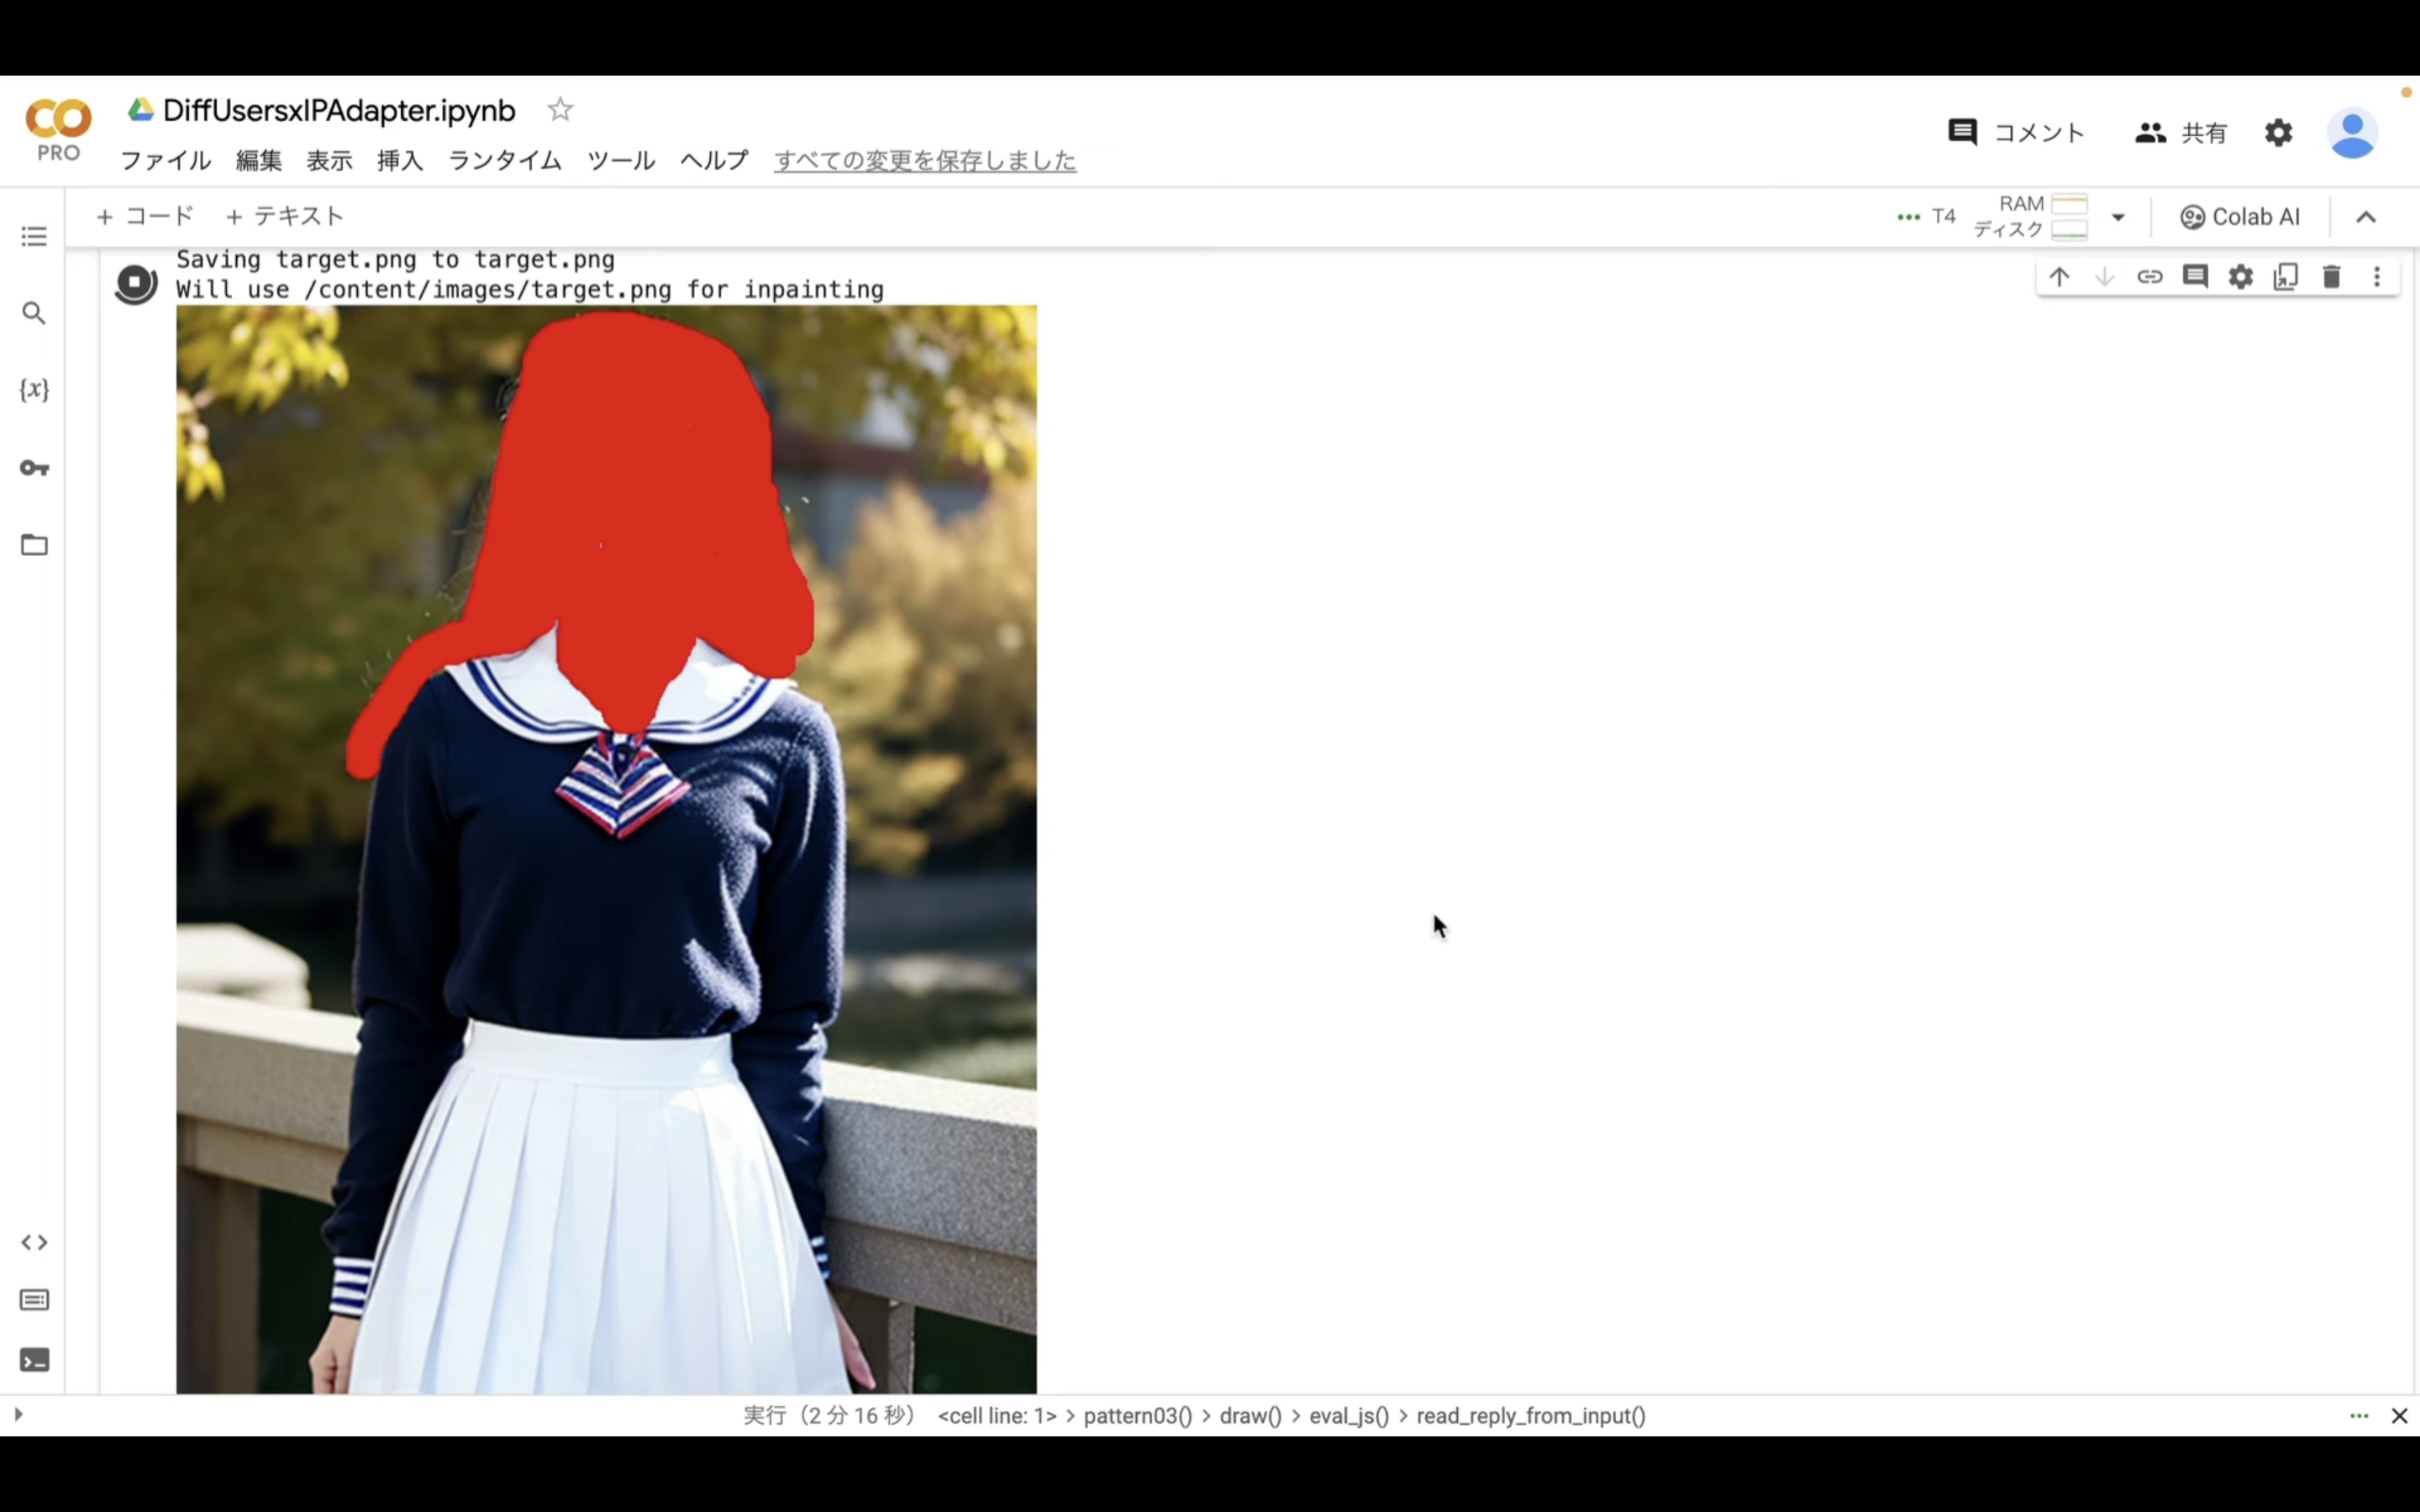
このように対象の箇所を塗りつぶしたら、右下にある「Finish」と書かれているボタンをクリックします。
そうすると処理が開始されます。
処理が開始されたメッセージが表示されるまで少し時間がかかるので、フィニッシュボタンを何回も押さないように注意してください。
この処理には数分程度かかります。
今回は4件の画像ファイルを生成するように設定してあります。
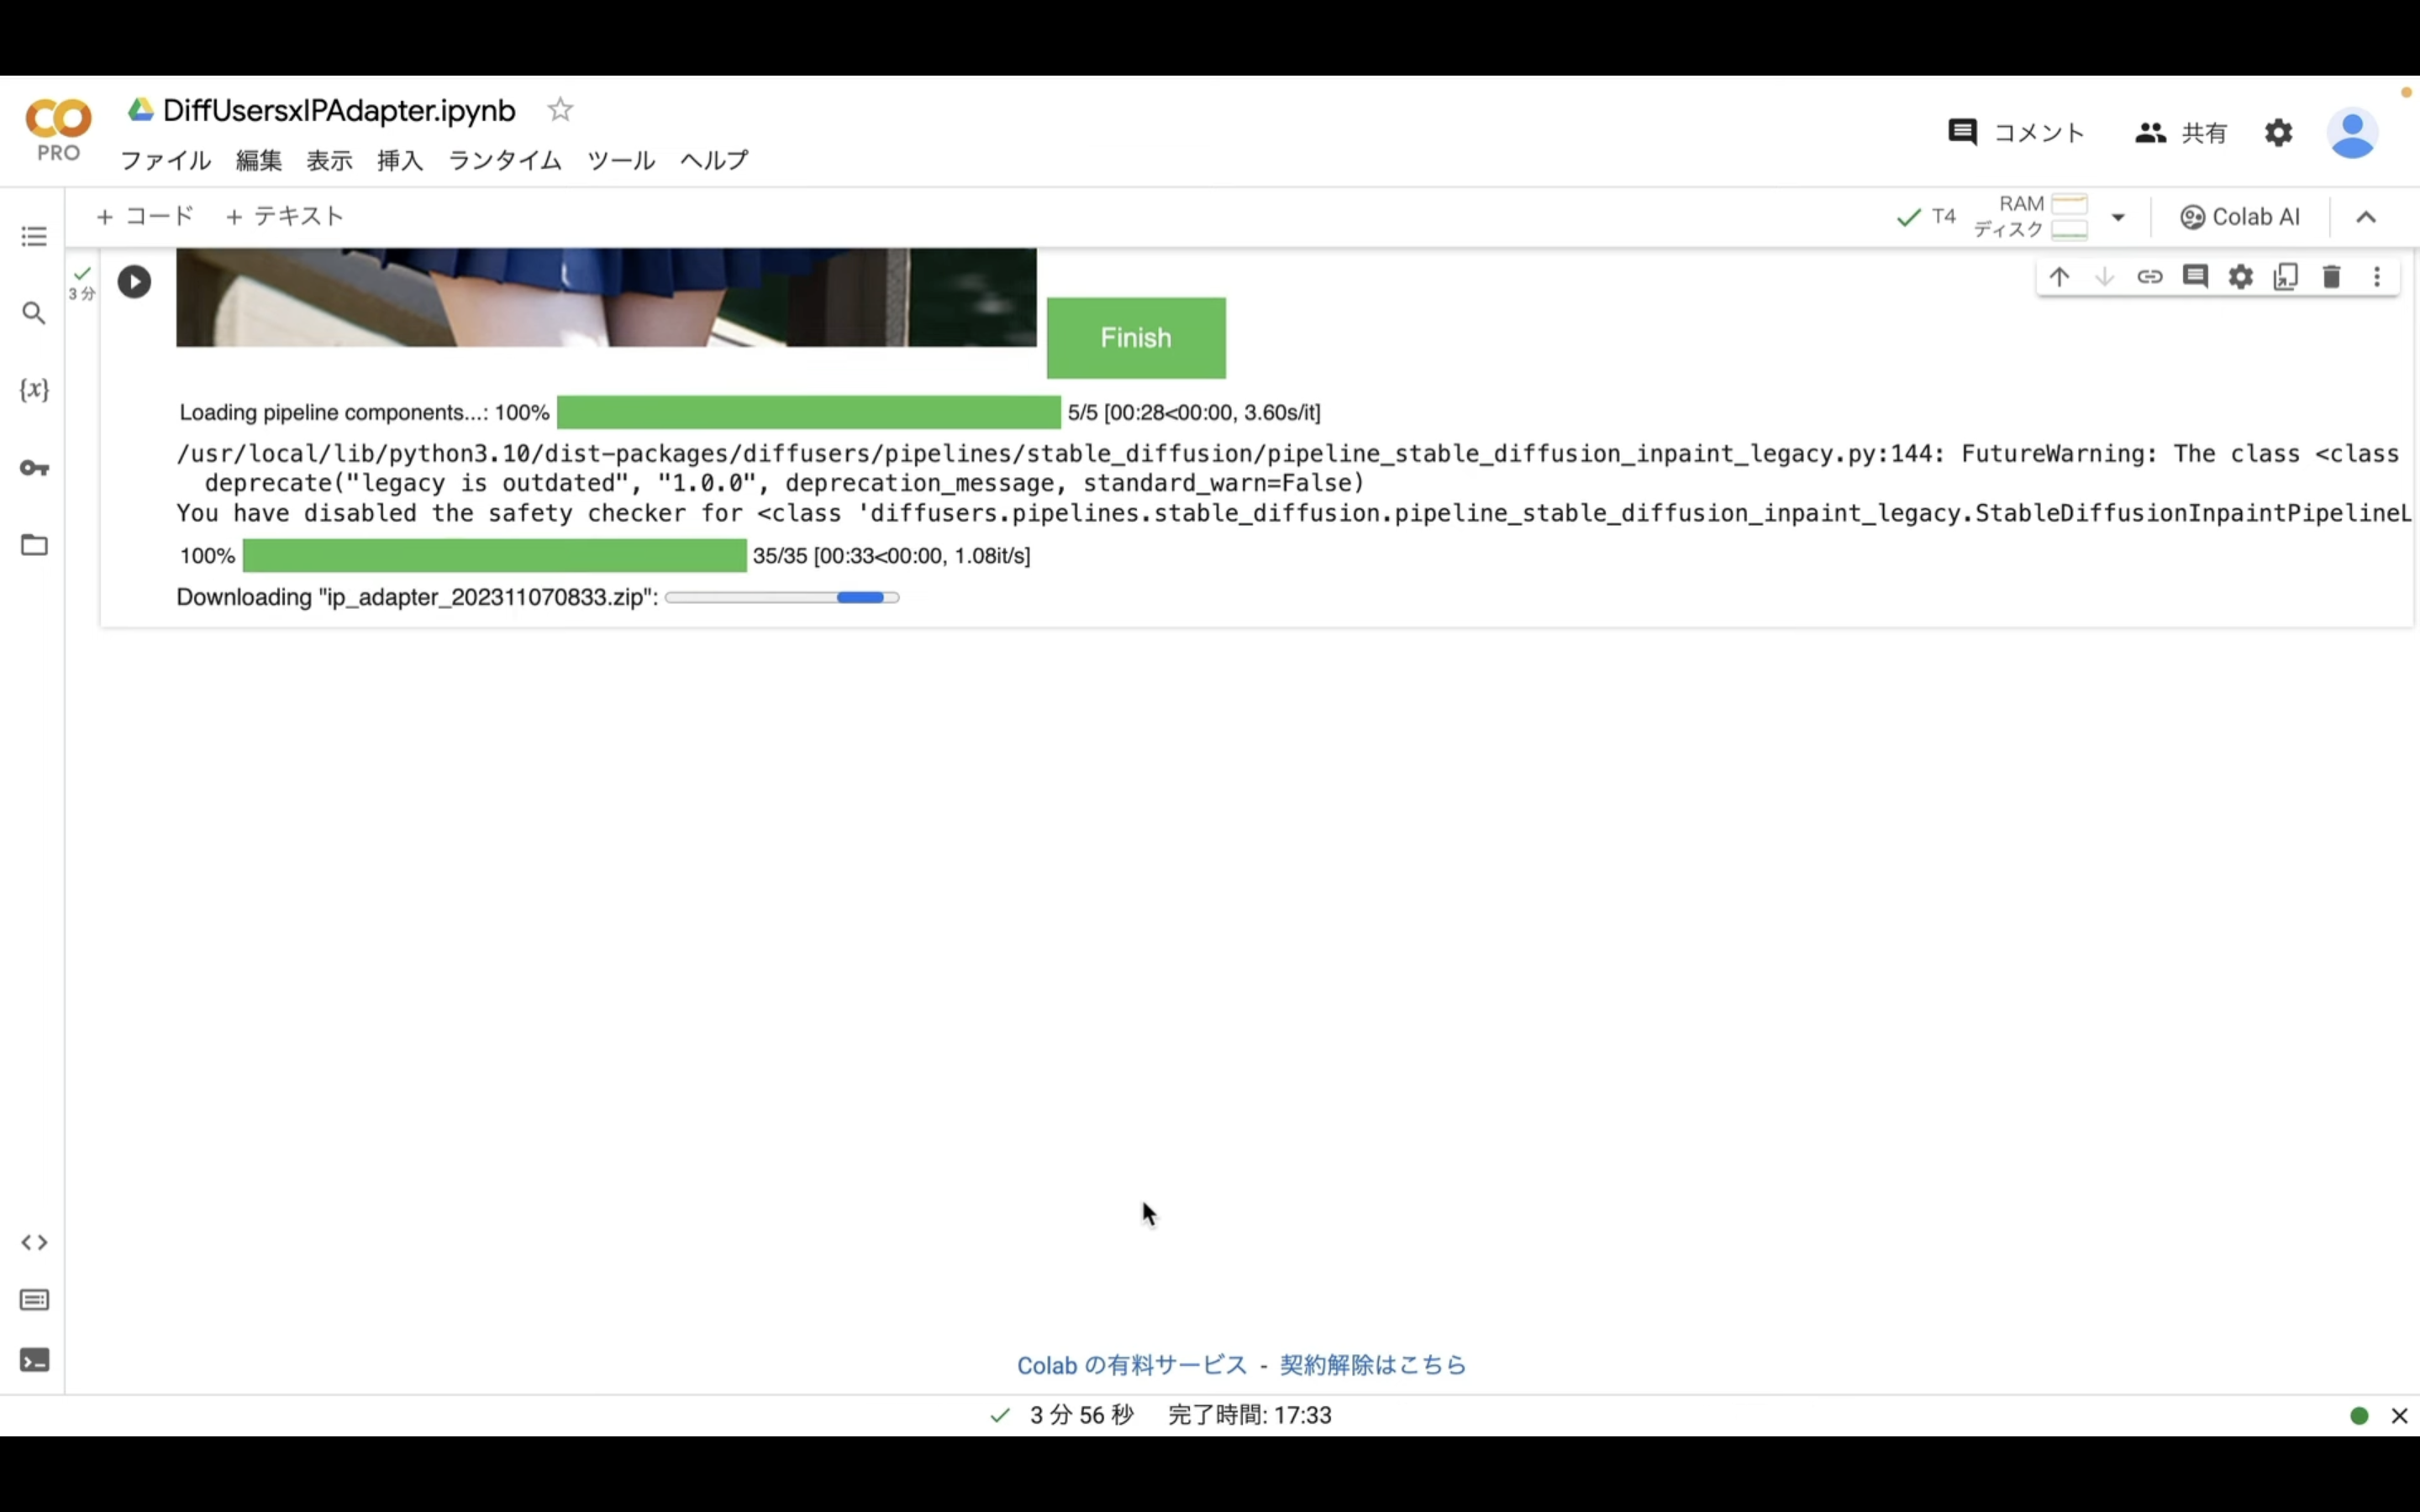
これらのファイルが生成されたら、1つのZIPファイルにまとめて自動的にダウンロードされます。
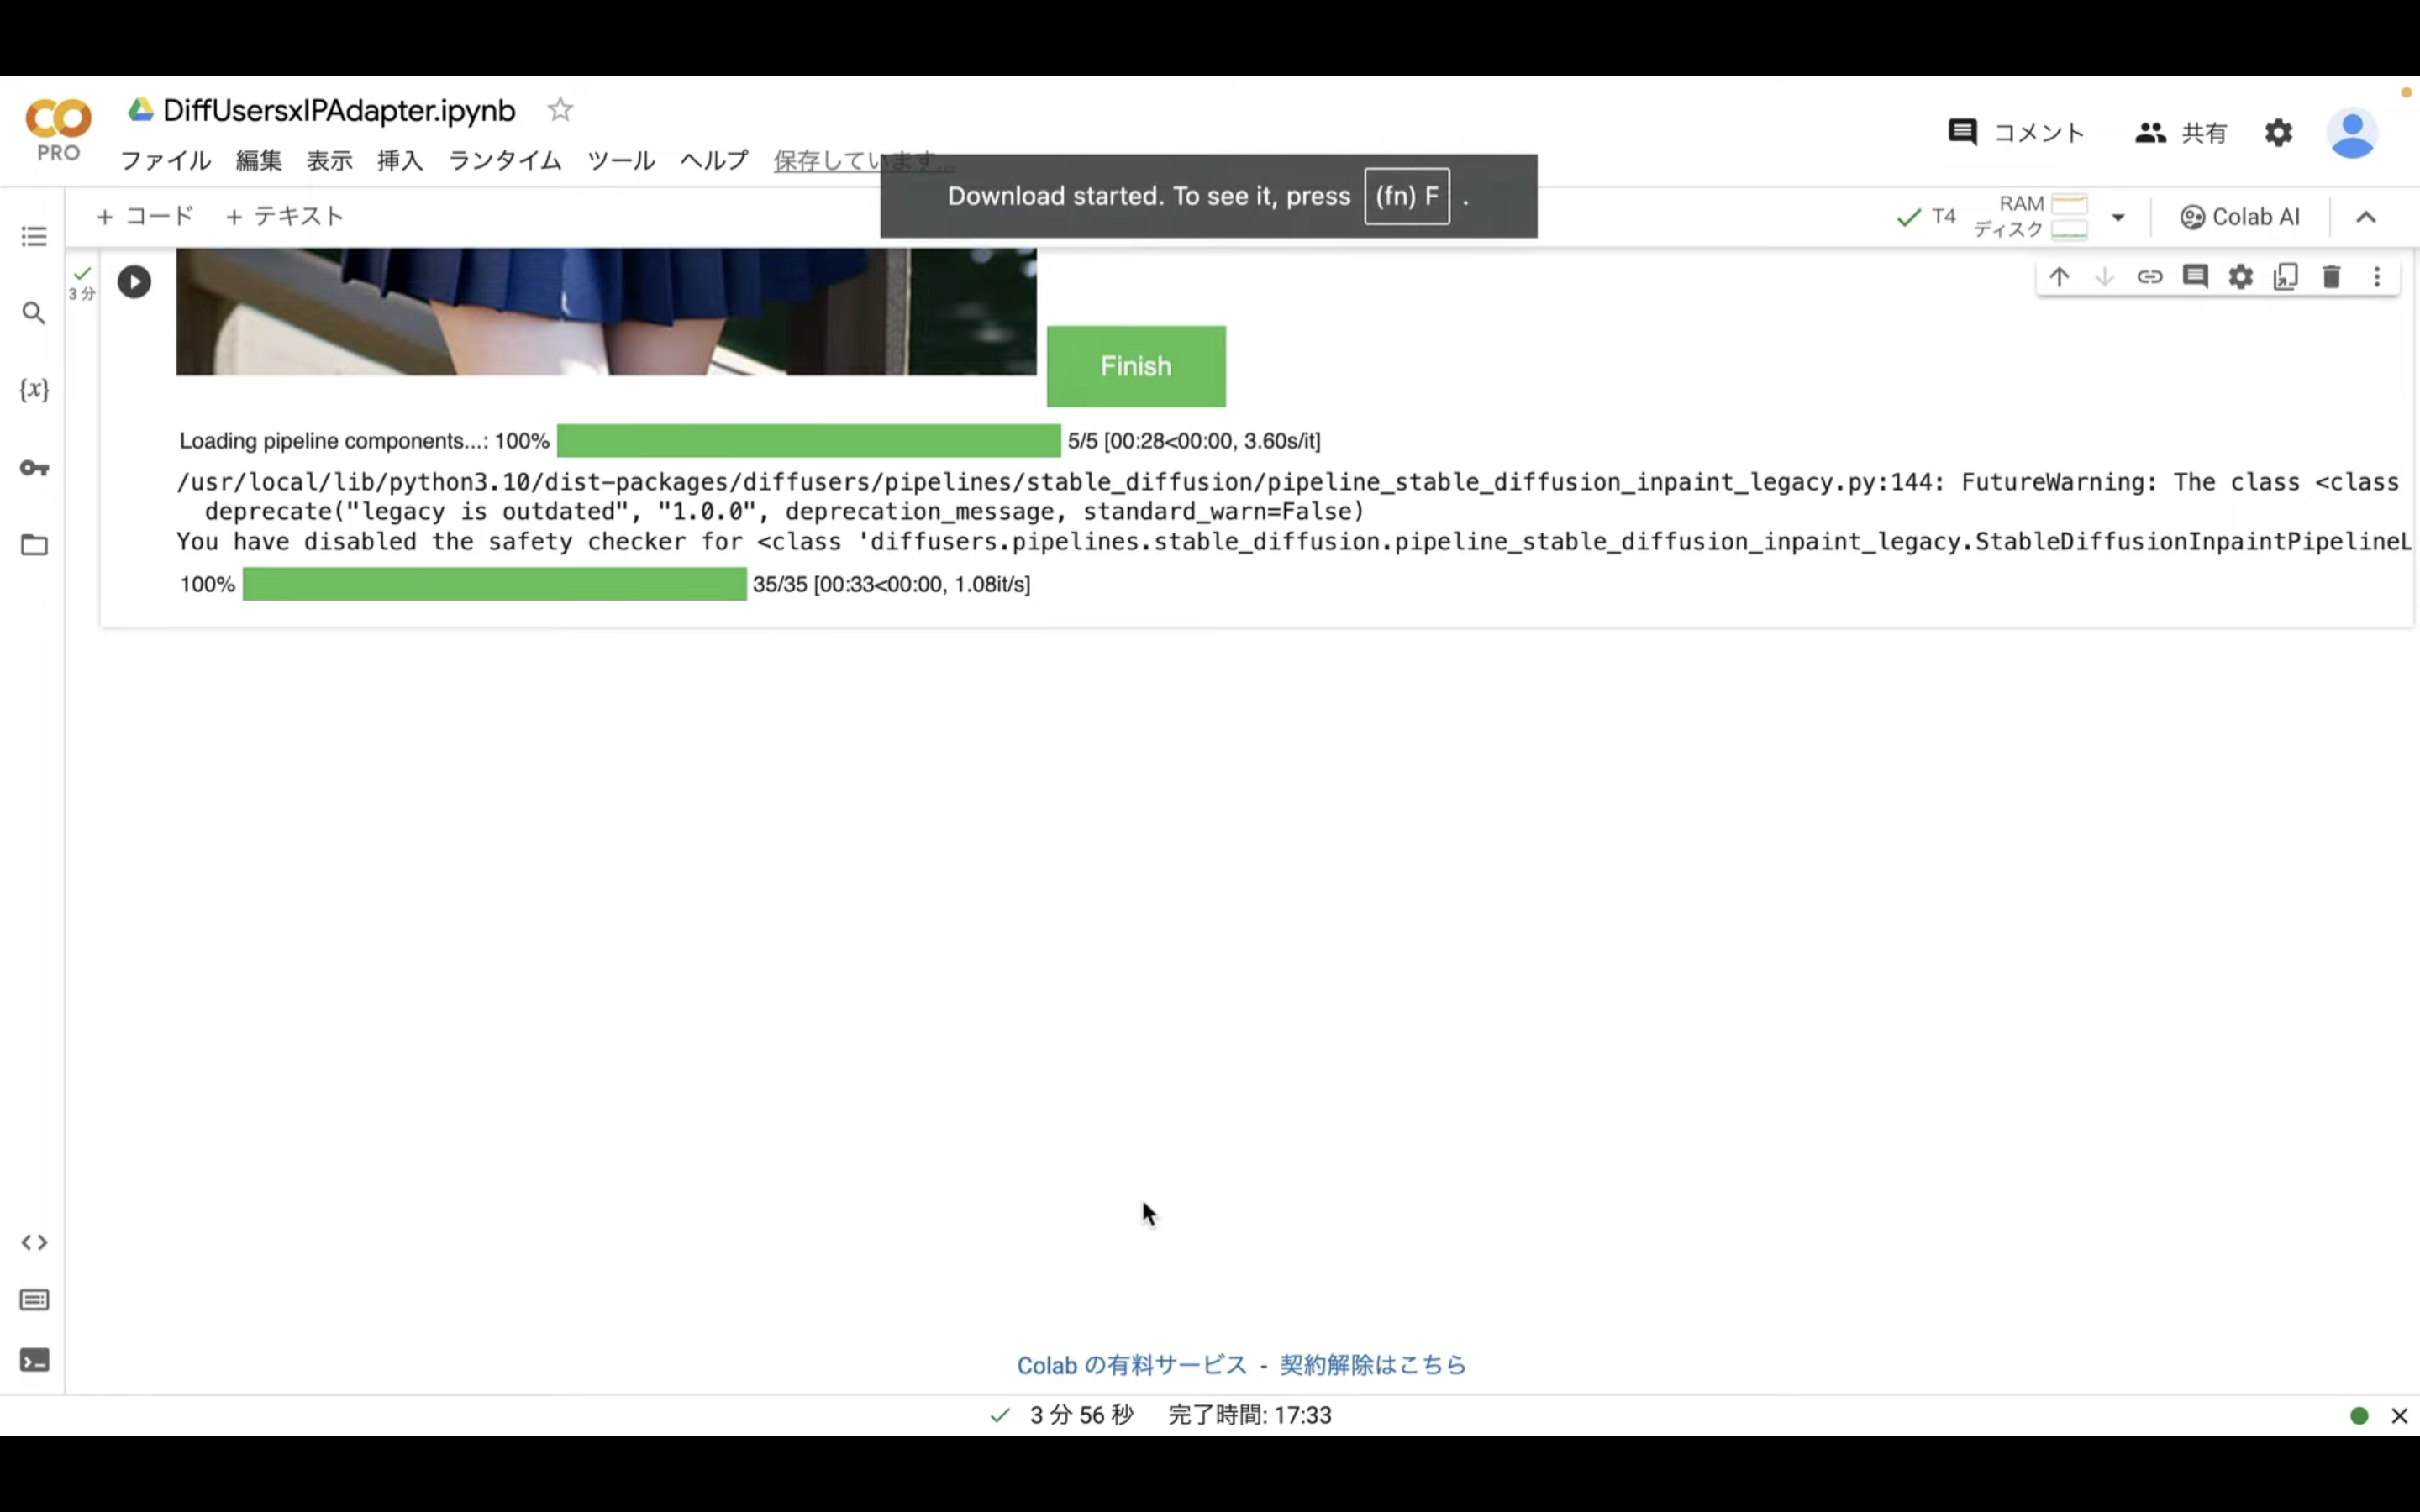
ダウンロードしたZIPファイルを解凍すると、このようなファイルになっていると思います。
変更する箇所を指定することで、このようにDeepFakeのような画像も生成することができます。
ただし、DeepFakeの画像を生成したい場合は他の方法でも作成することが可能です。
もしも気になる方は、解説している記事のリンクを以下に貼っておきますので、そちらをご確認ください。
このように、IPAdapterを利用すると、いろんな画像を生成することができます。
是非お試しください。