

▶︎動画でも話してるので、文章読むのが面倒な方はこちらをみてもらえればと思います。
今回はAutomatic1111のインペイント機能で範囲を指定する作業を効率化できるinpaint anythingについて解説します。

これを読めば誰でも簡単にクオリティーの高いAI美女が作れるようになっているので興味がある人は、下のバナーをクリックして購入してみてね🎶

Automatic1111のインペイント機能で範囲を指定する作業を効率化できるinpaint anythingについて

この動画ではAutomatic1111をGoogle Colabにインストールします。
この解説ではAutomatic1111をGoogle Colabで起動します。
Google Colabはクラウド上でプログラミングを実行することができるGoogleが提供しているツールです。
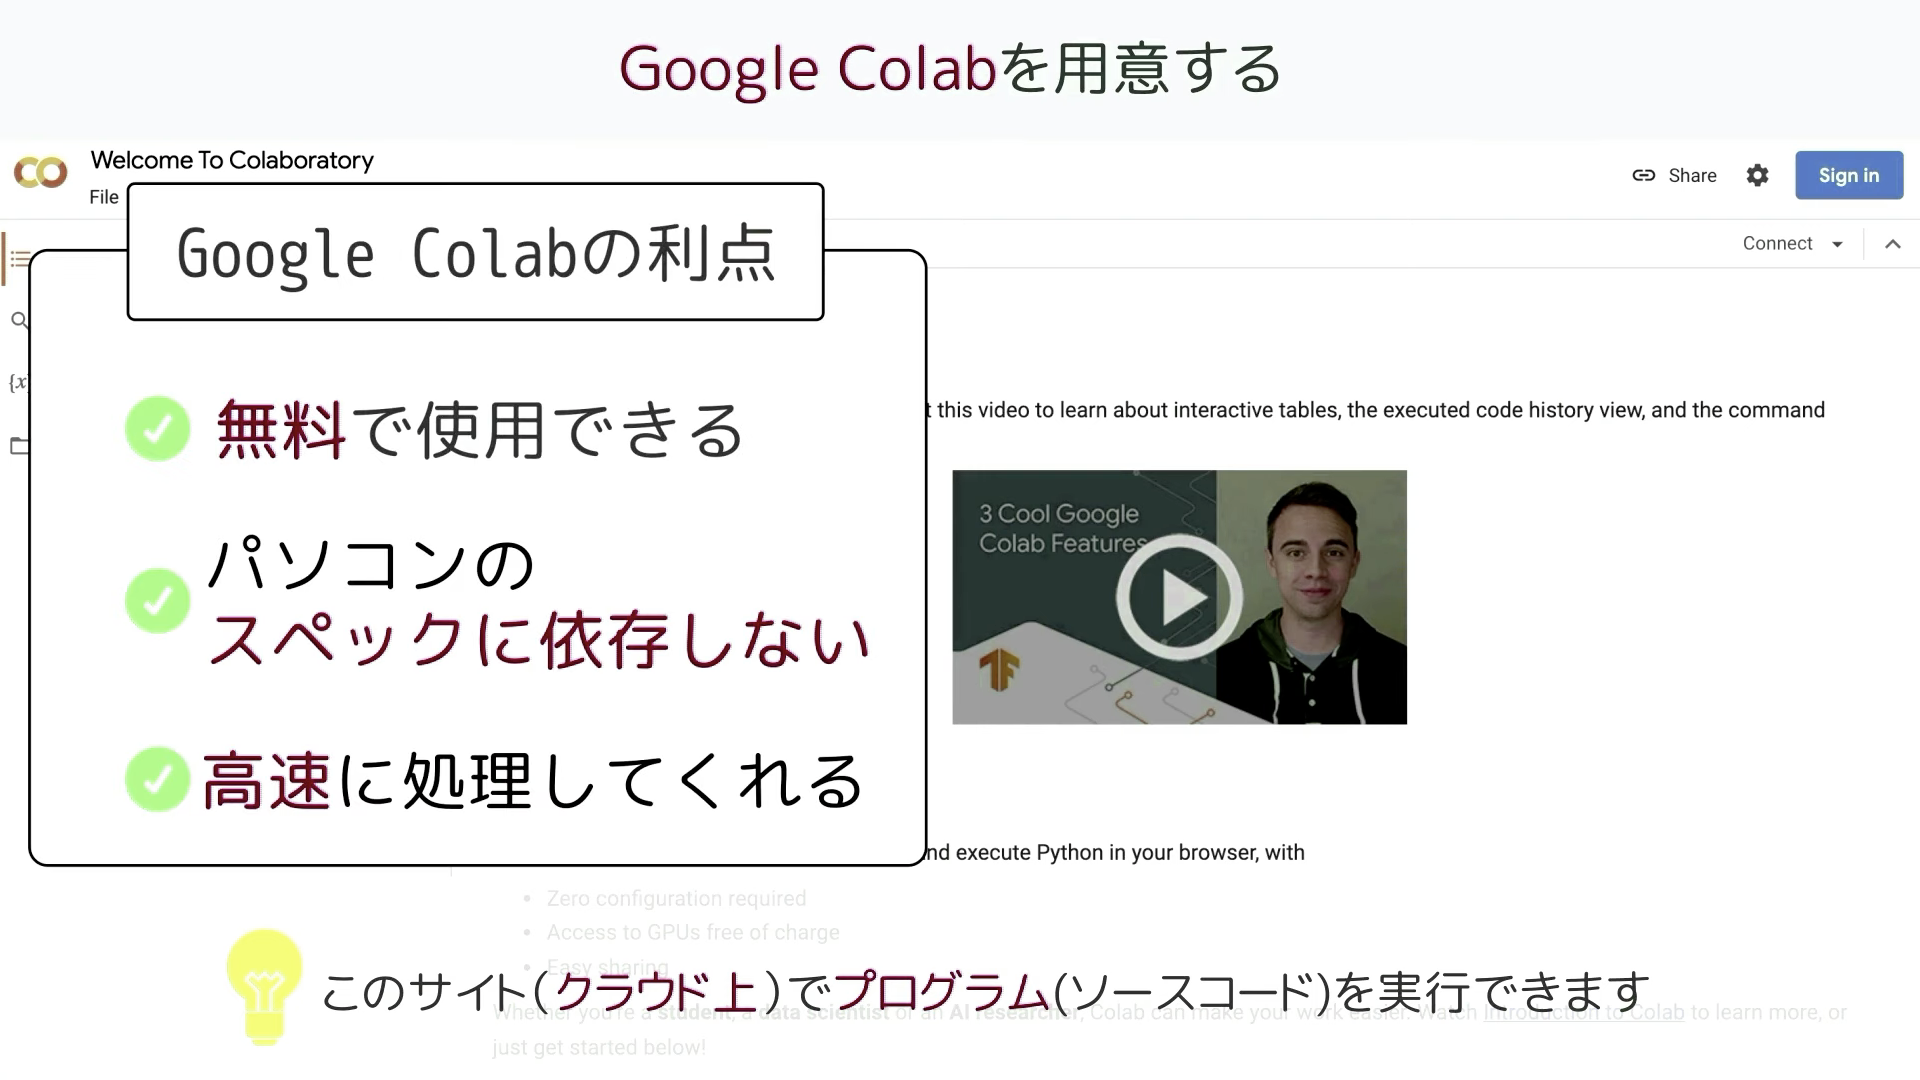
無料で使用することができ、自分のパソコンのスペックに依存せず高速な処理を行うことができるのが大きな利点です。
Googleアカウントを持っていれば、誰でもGoogleコラボを使用することができます。
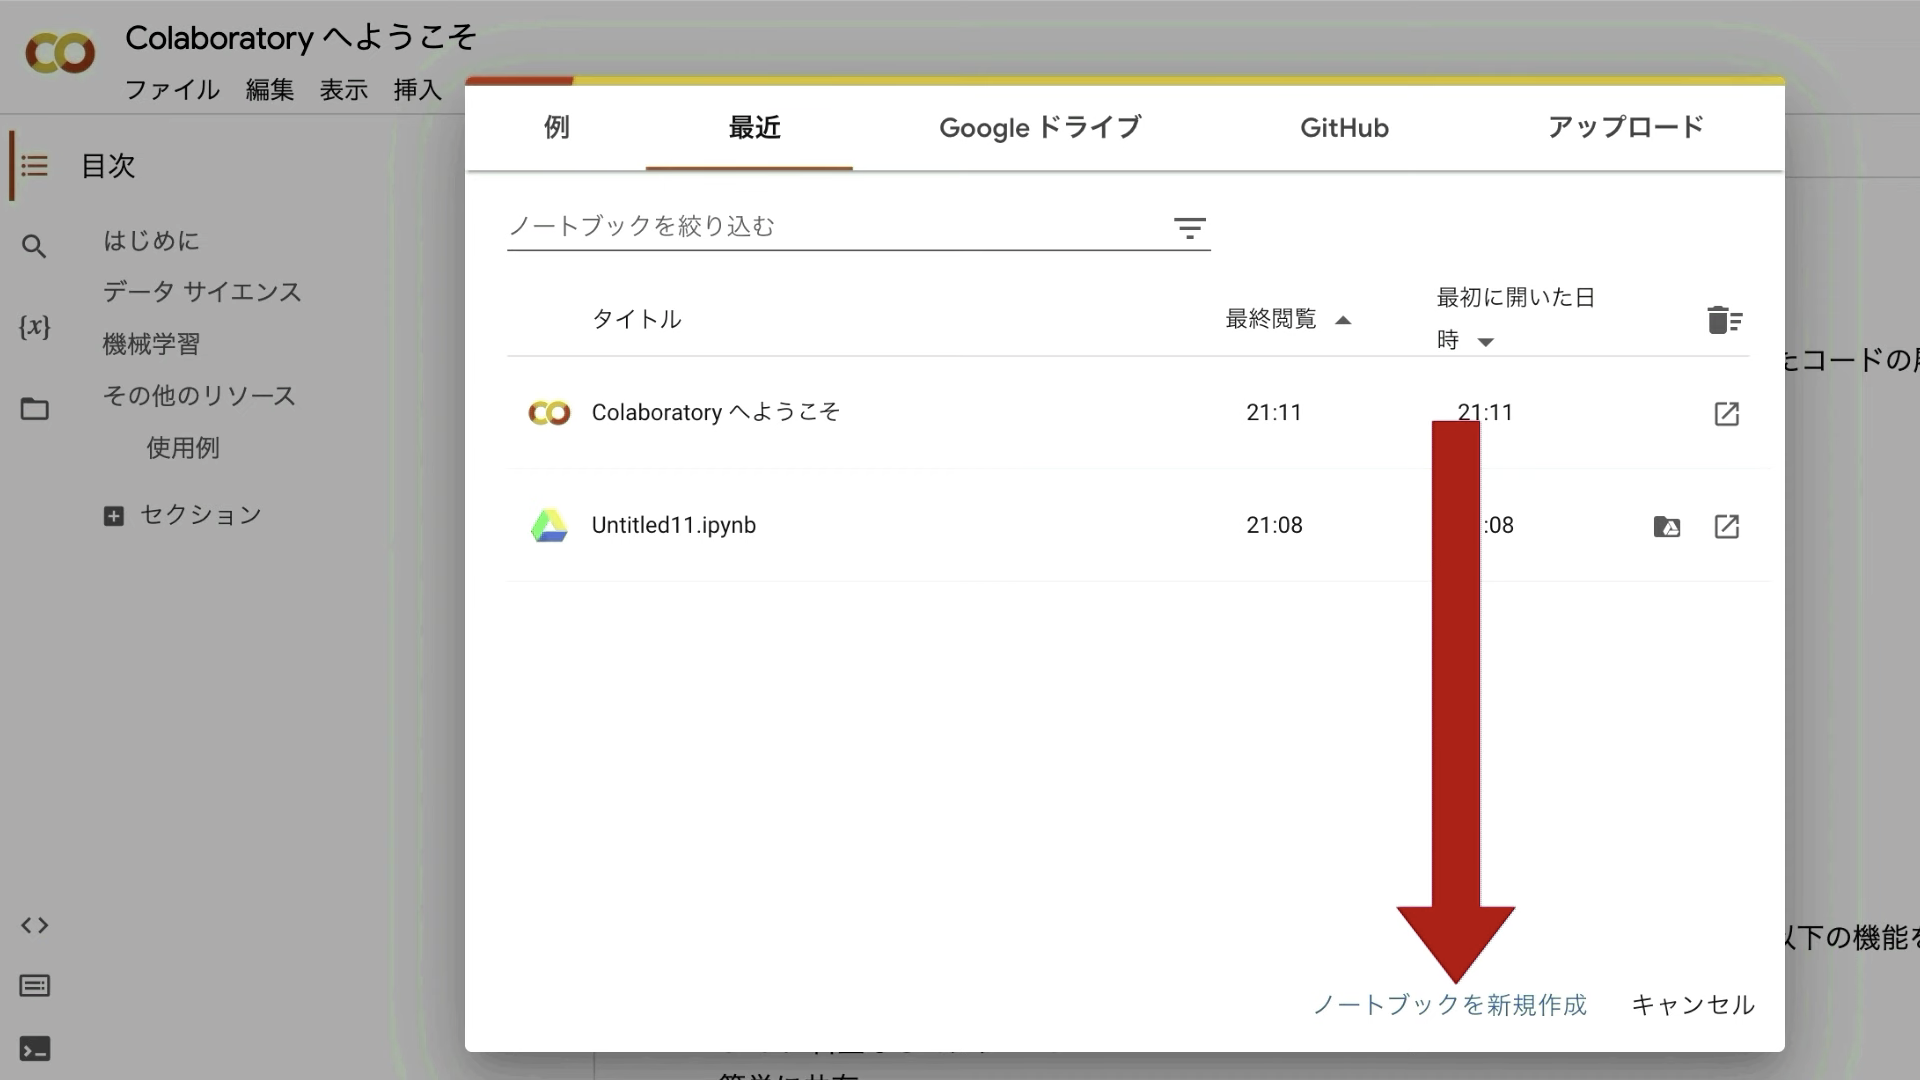
Googleコラボのサイトにアクセスしたら、このような画面が表示されると思います。

表示されているポップアップ画面の右下にある「ノートブックを新規作成」と書かれているテキストをクリックします。
次にランタイムのボタンをクリックし、ランタイムのタイプを変更をクリックします。
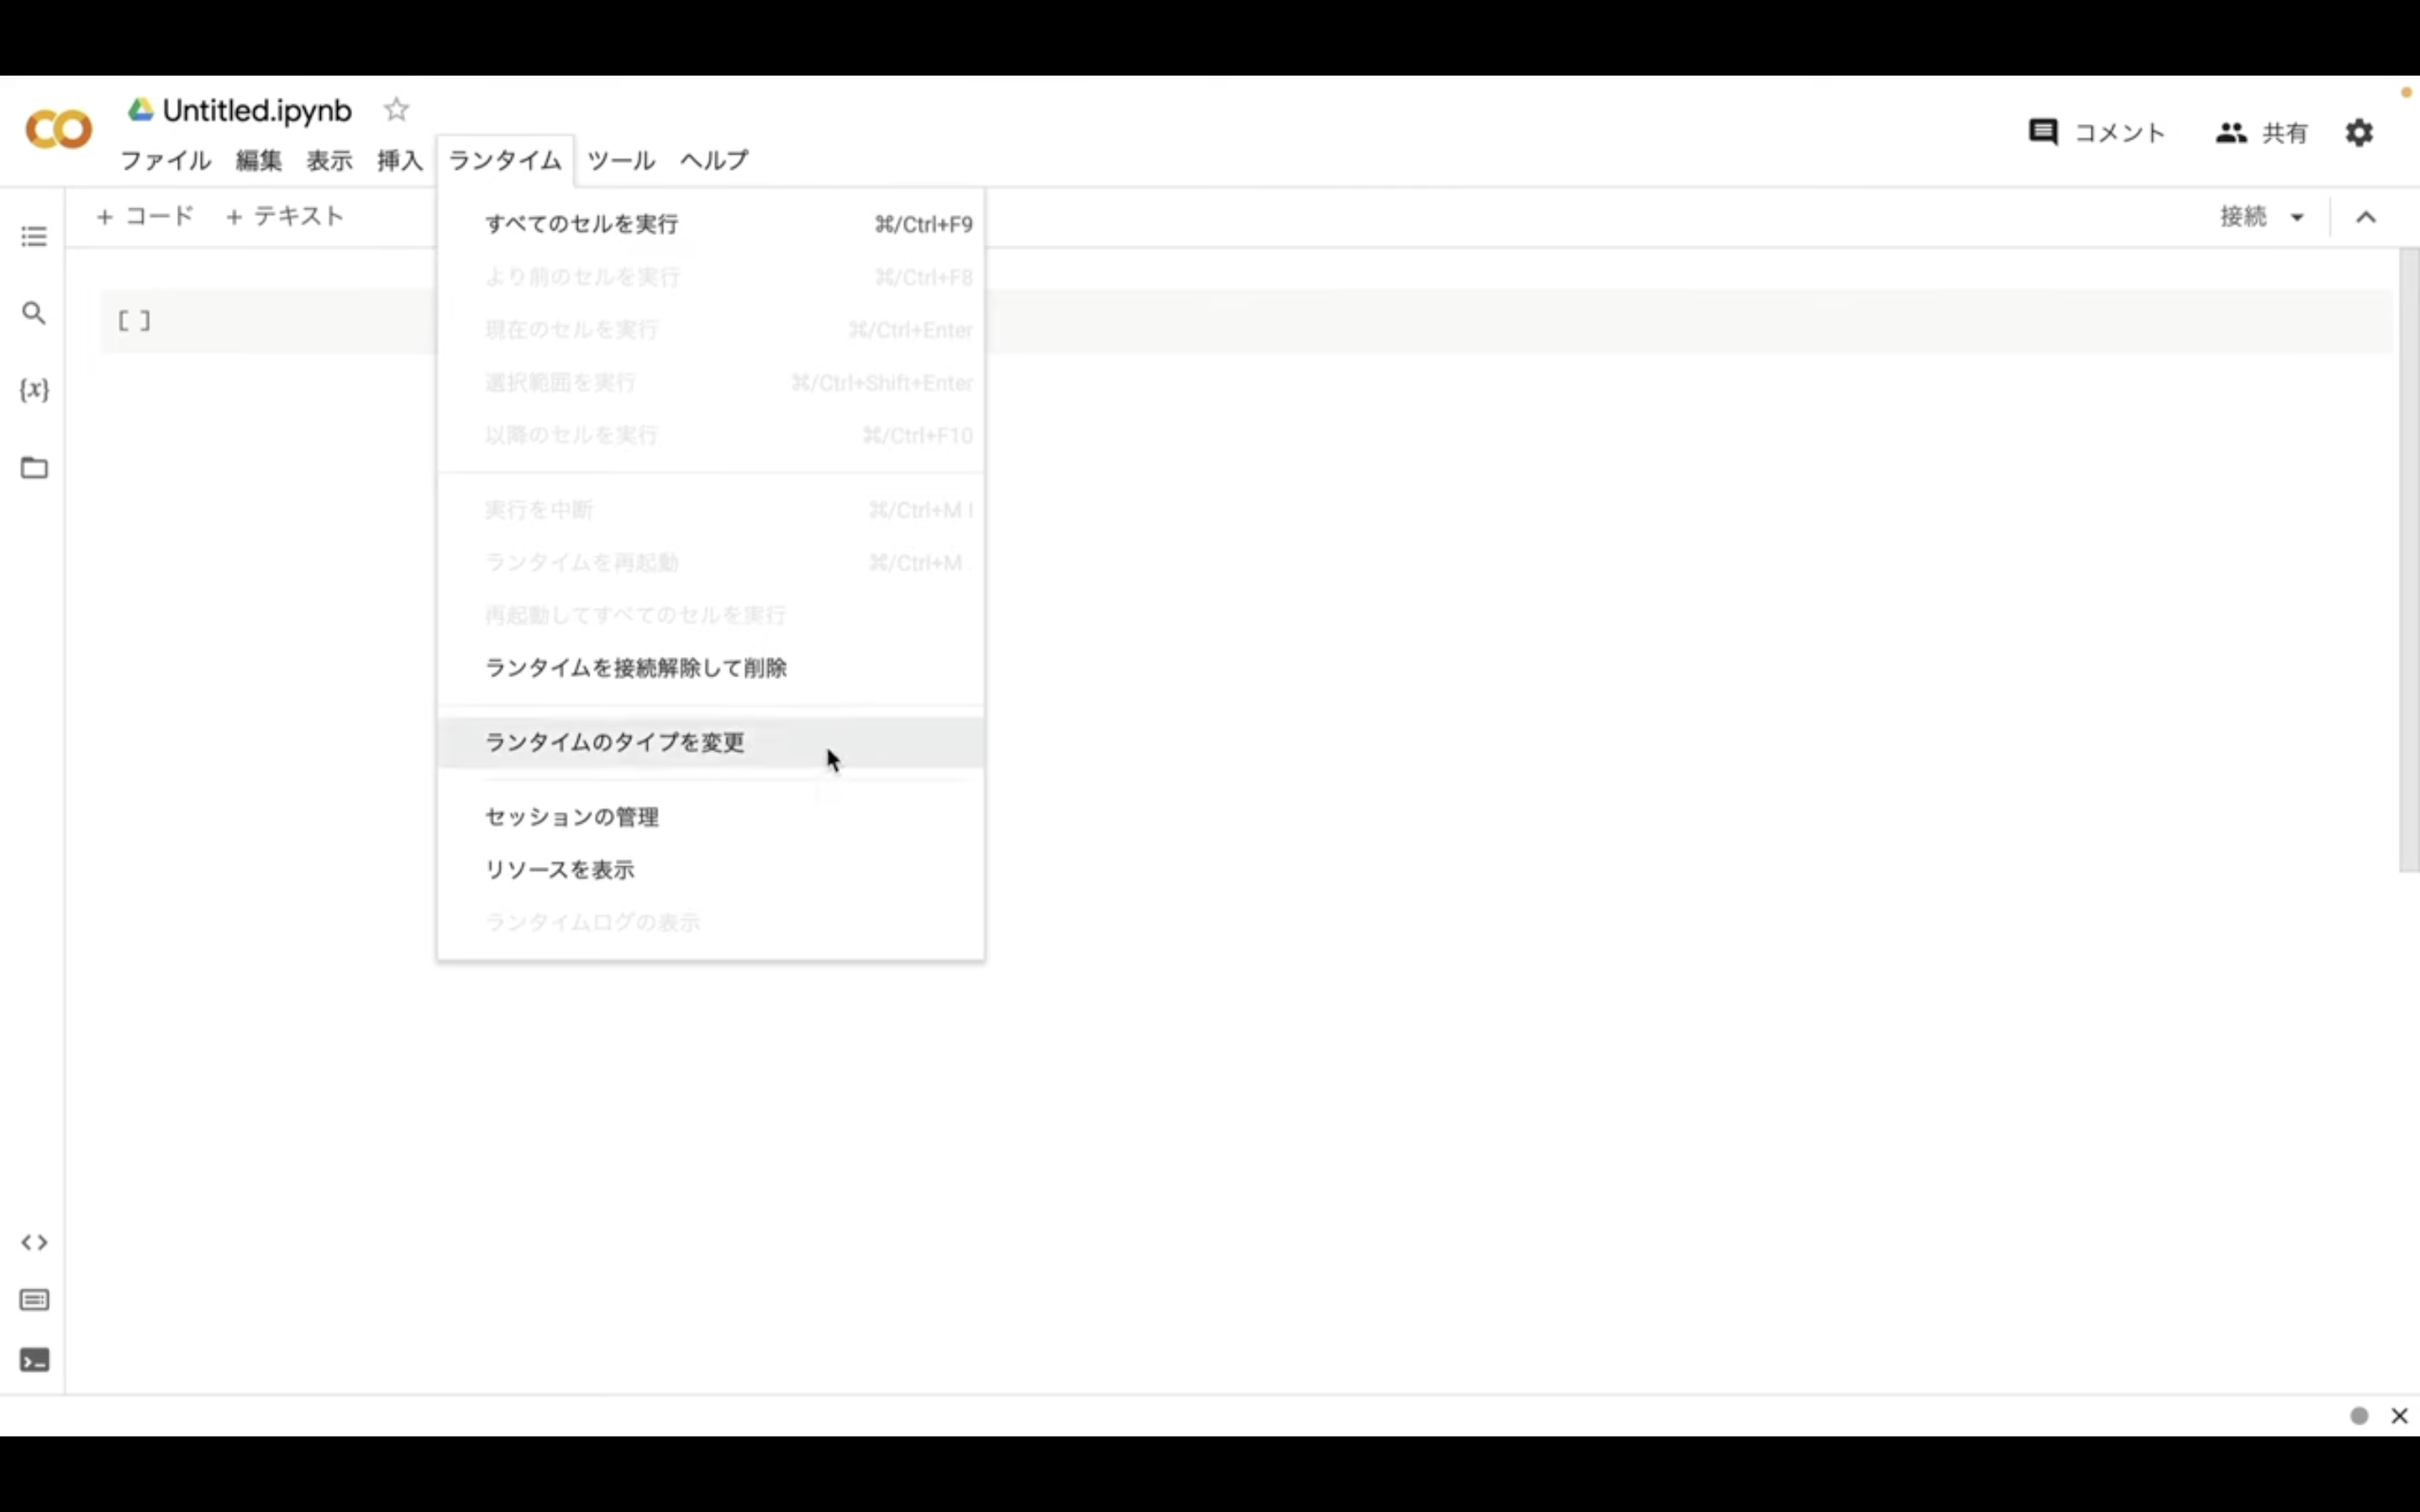
ランタイムのタイプはPython3のままで大丈夫です。
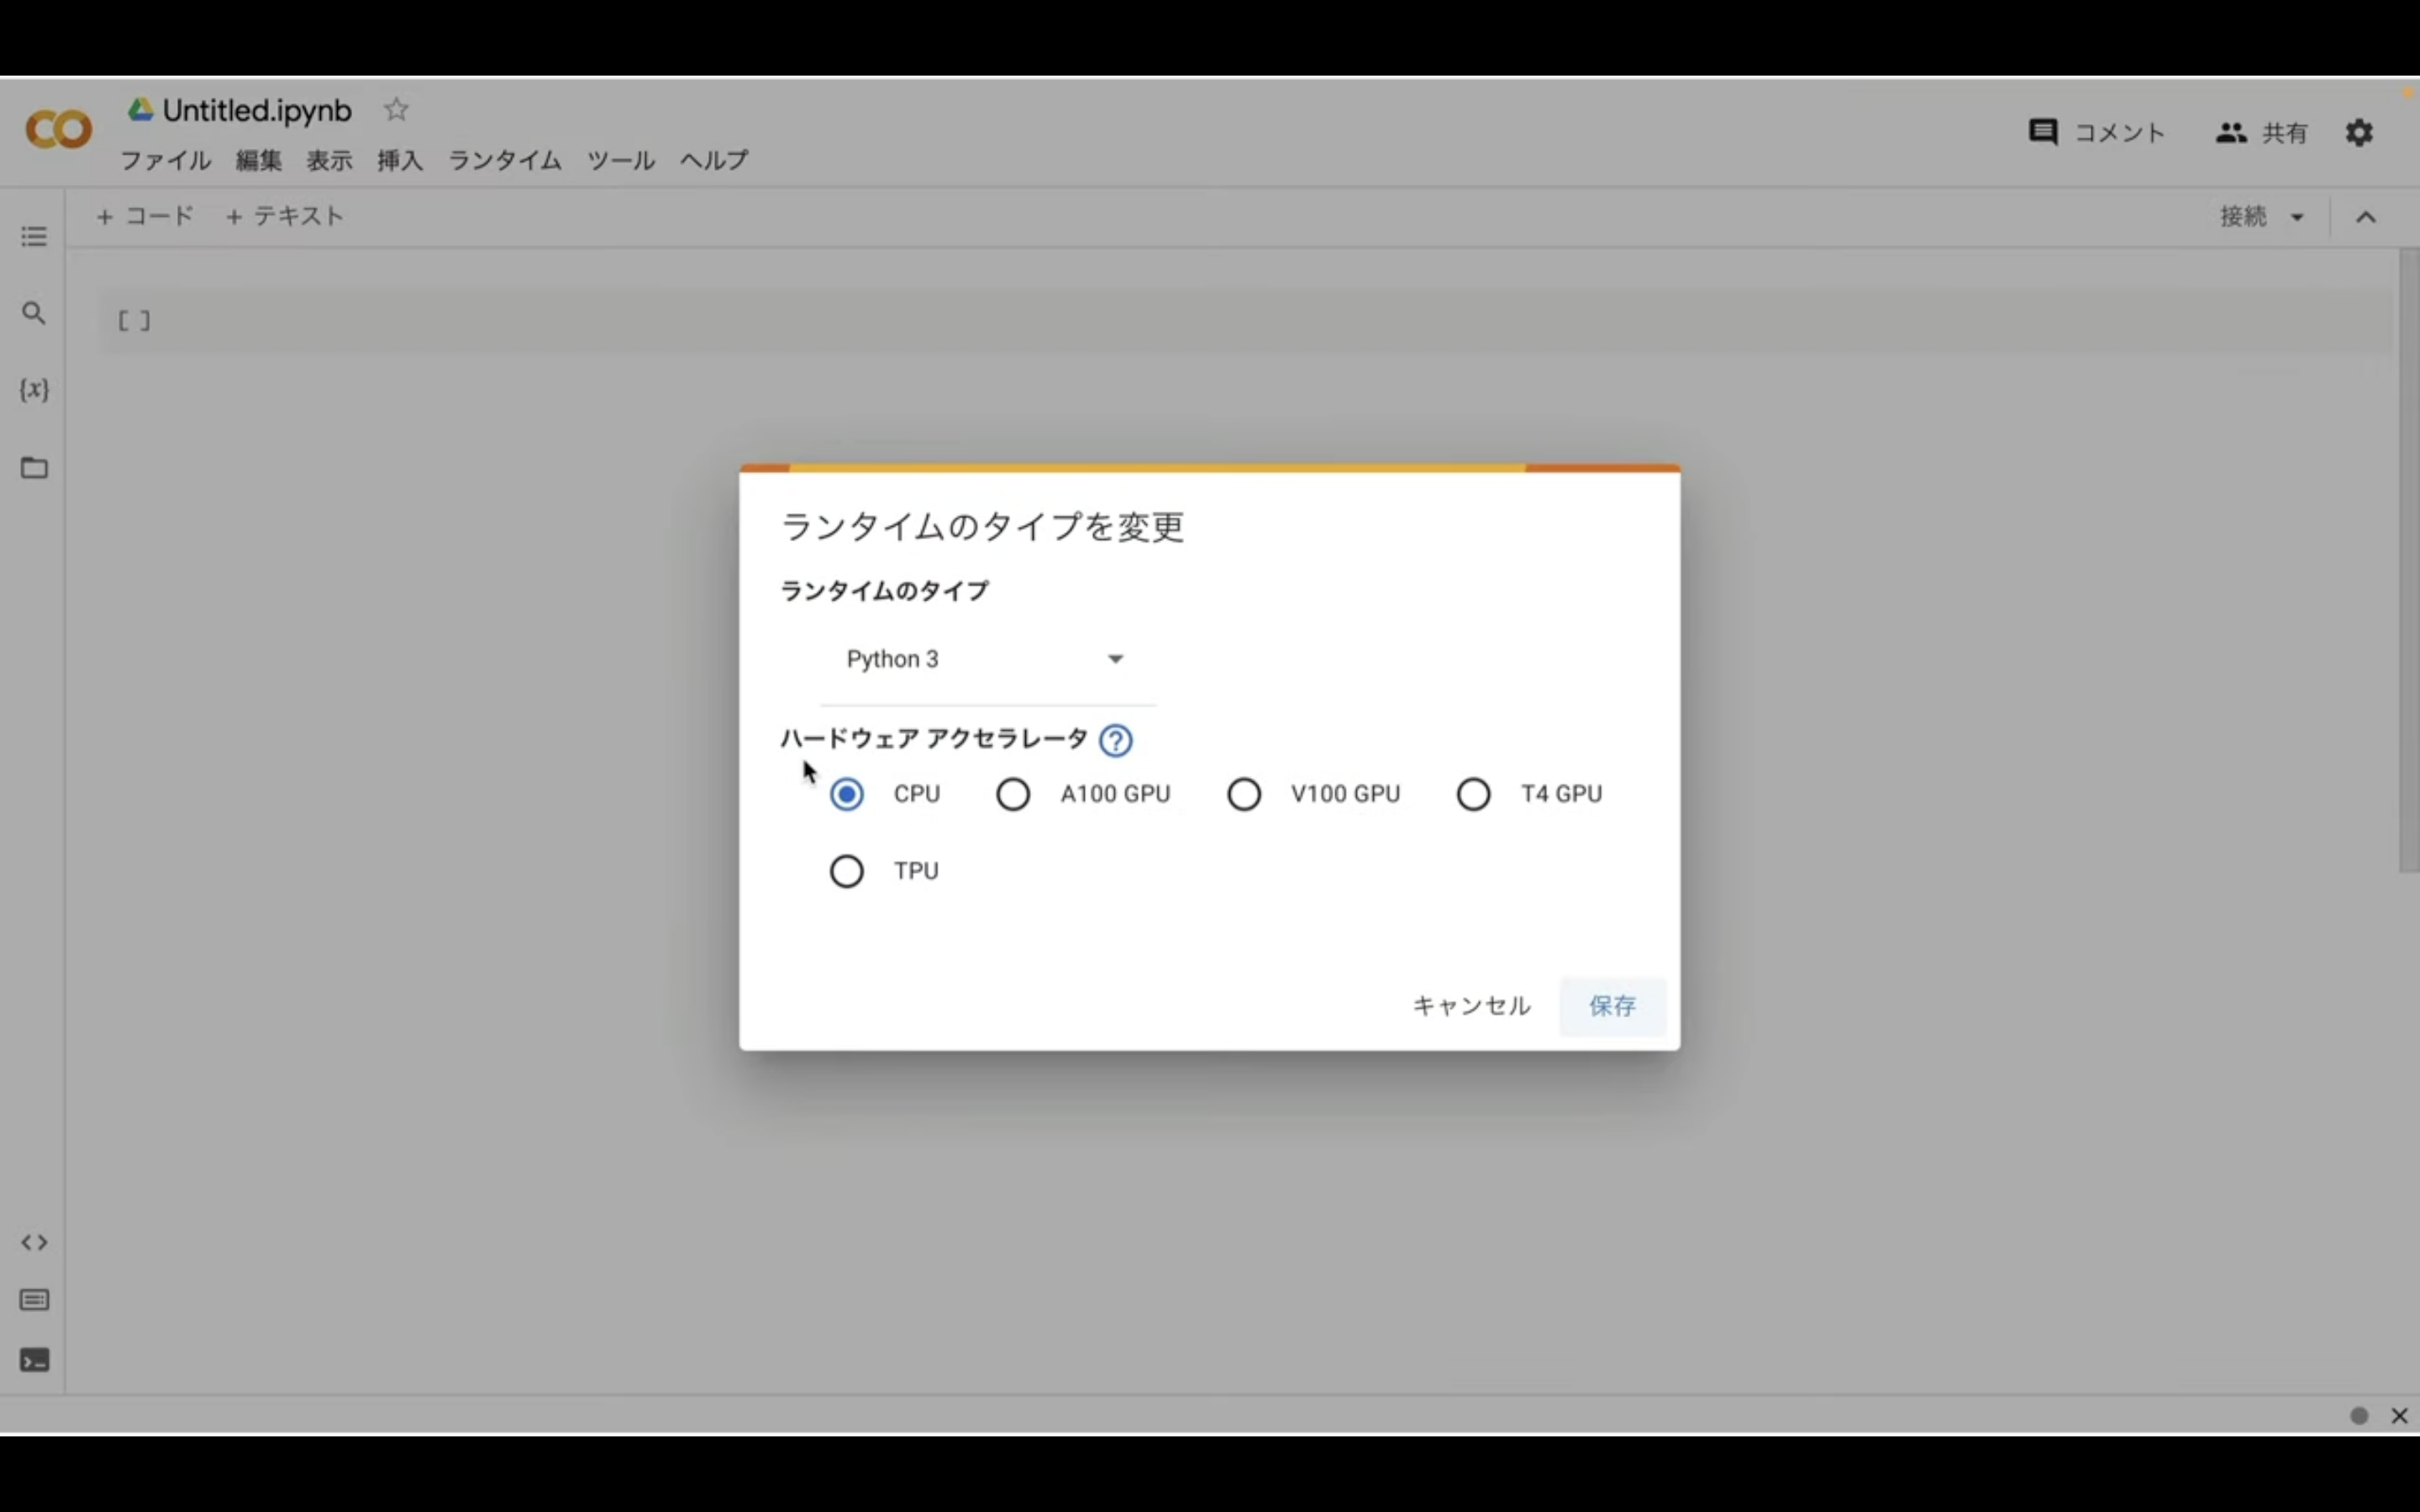
ハードウェアアクセラレーターはT4GPUを選択しておきましょう。
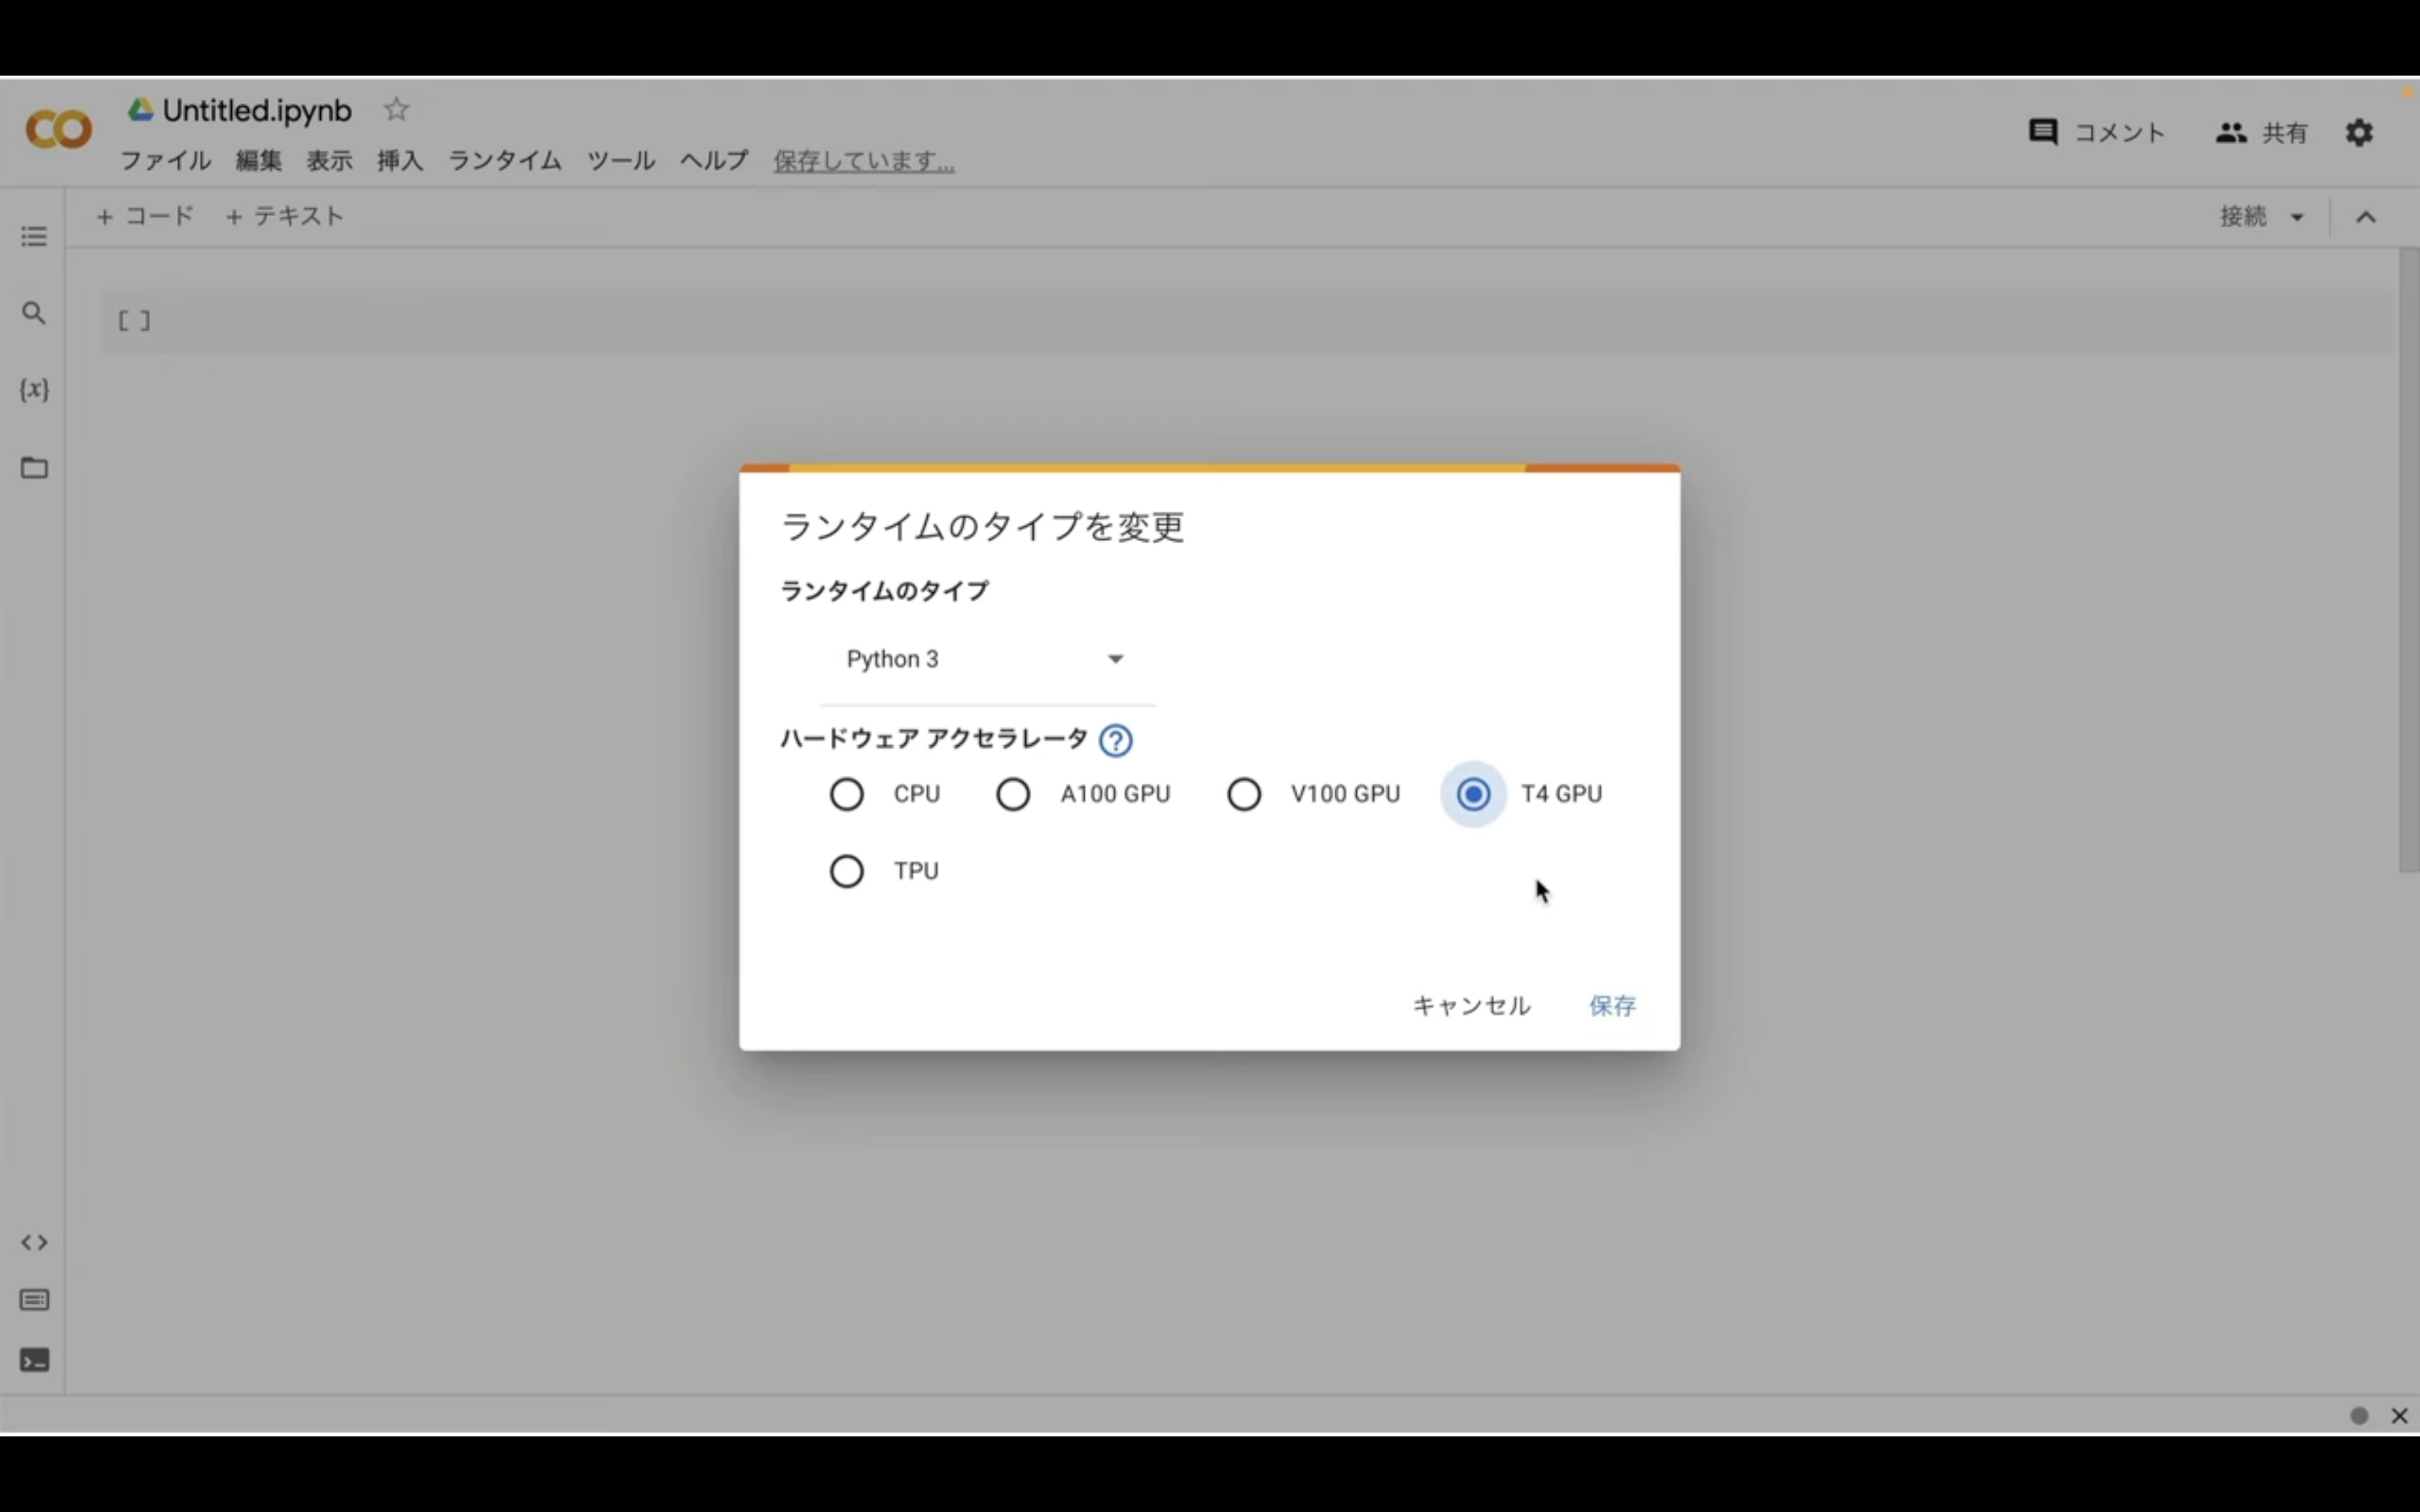
ノートブックの設定を指定したら右下の保存ボタンをクリックします。
これでGoogle ColabでAutomatic1111のソースコードを実行するための準備が整いました。
先ほどGoogle Colabは無料で利用できると説明しましたが、ただし無料版だとリソースの割当てが保証されていません。
そのため強制的にコードを終了されてしまうことがあります。
最近はGoogle Colabを利用するユーザーが増えていますので、無料版に割り当てられるGoogle Colabのリソースが減ってしまっています。

その結果、無料版では以前より実行中のコードが強制終了されてしまうことが多くなってきました。
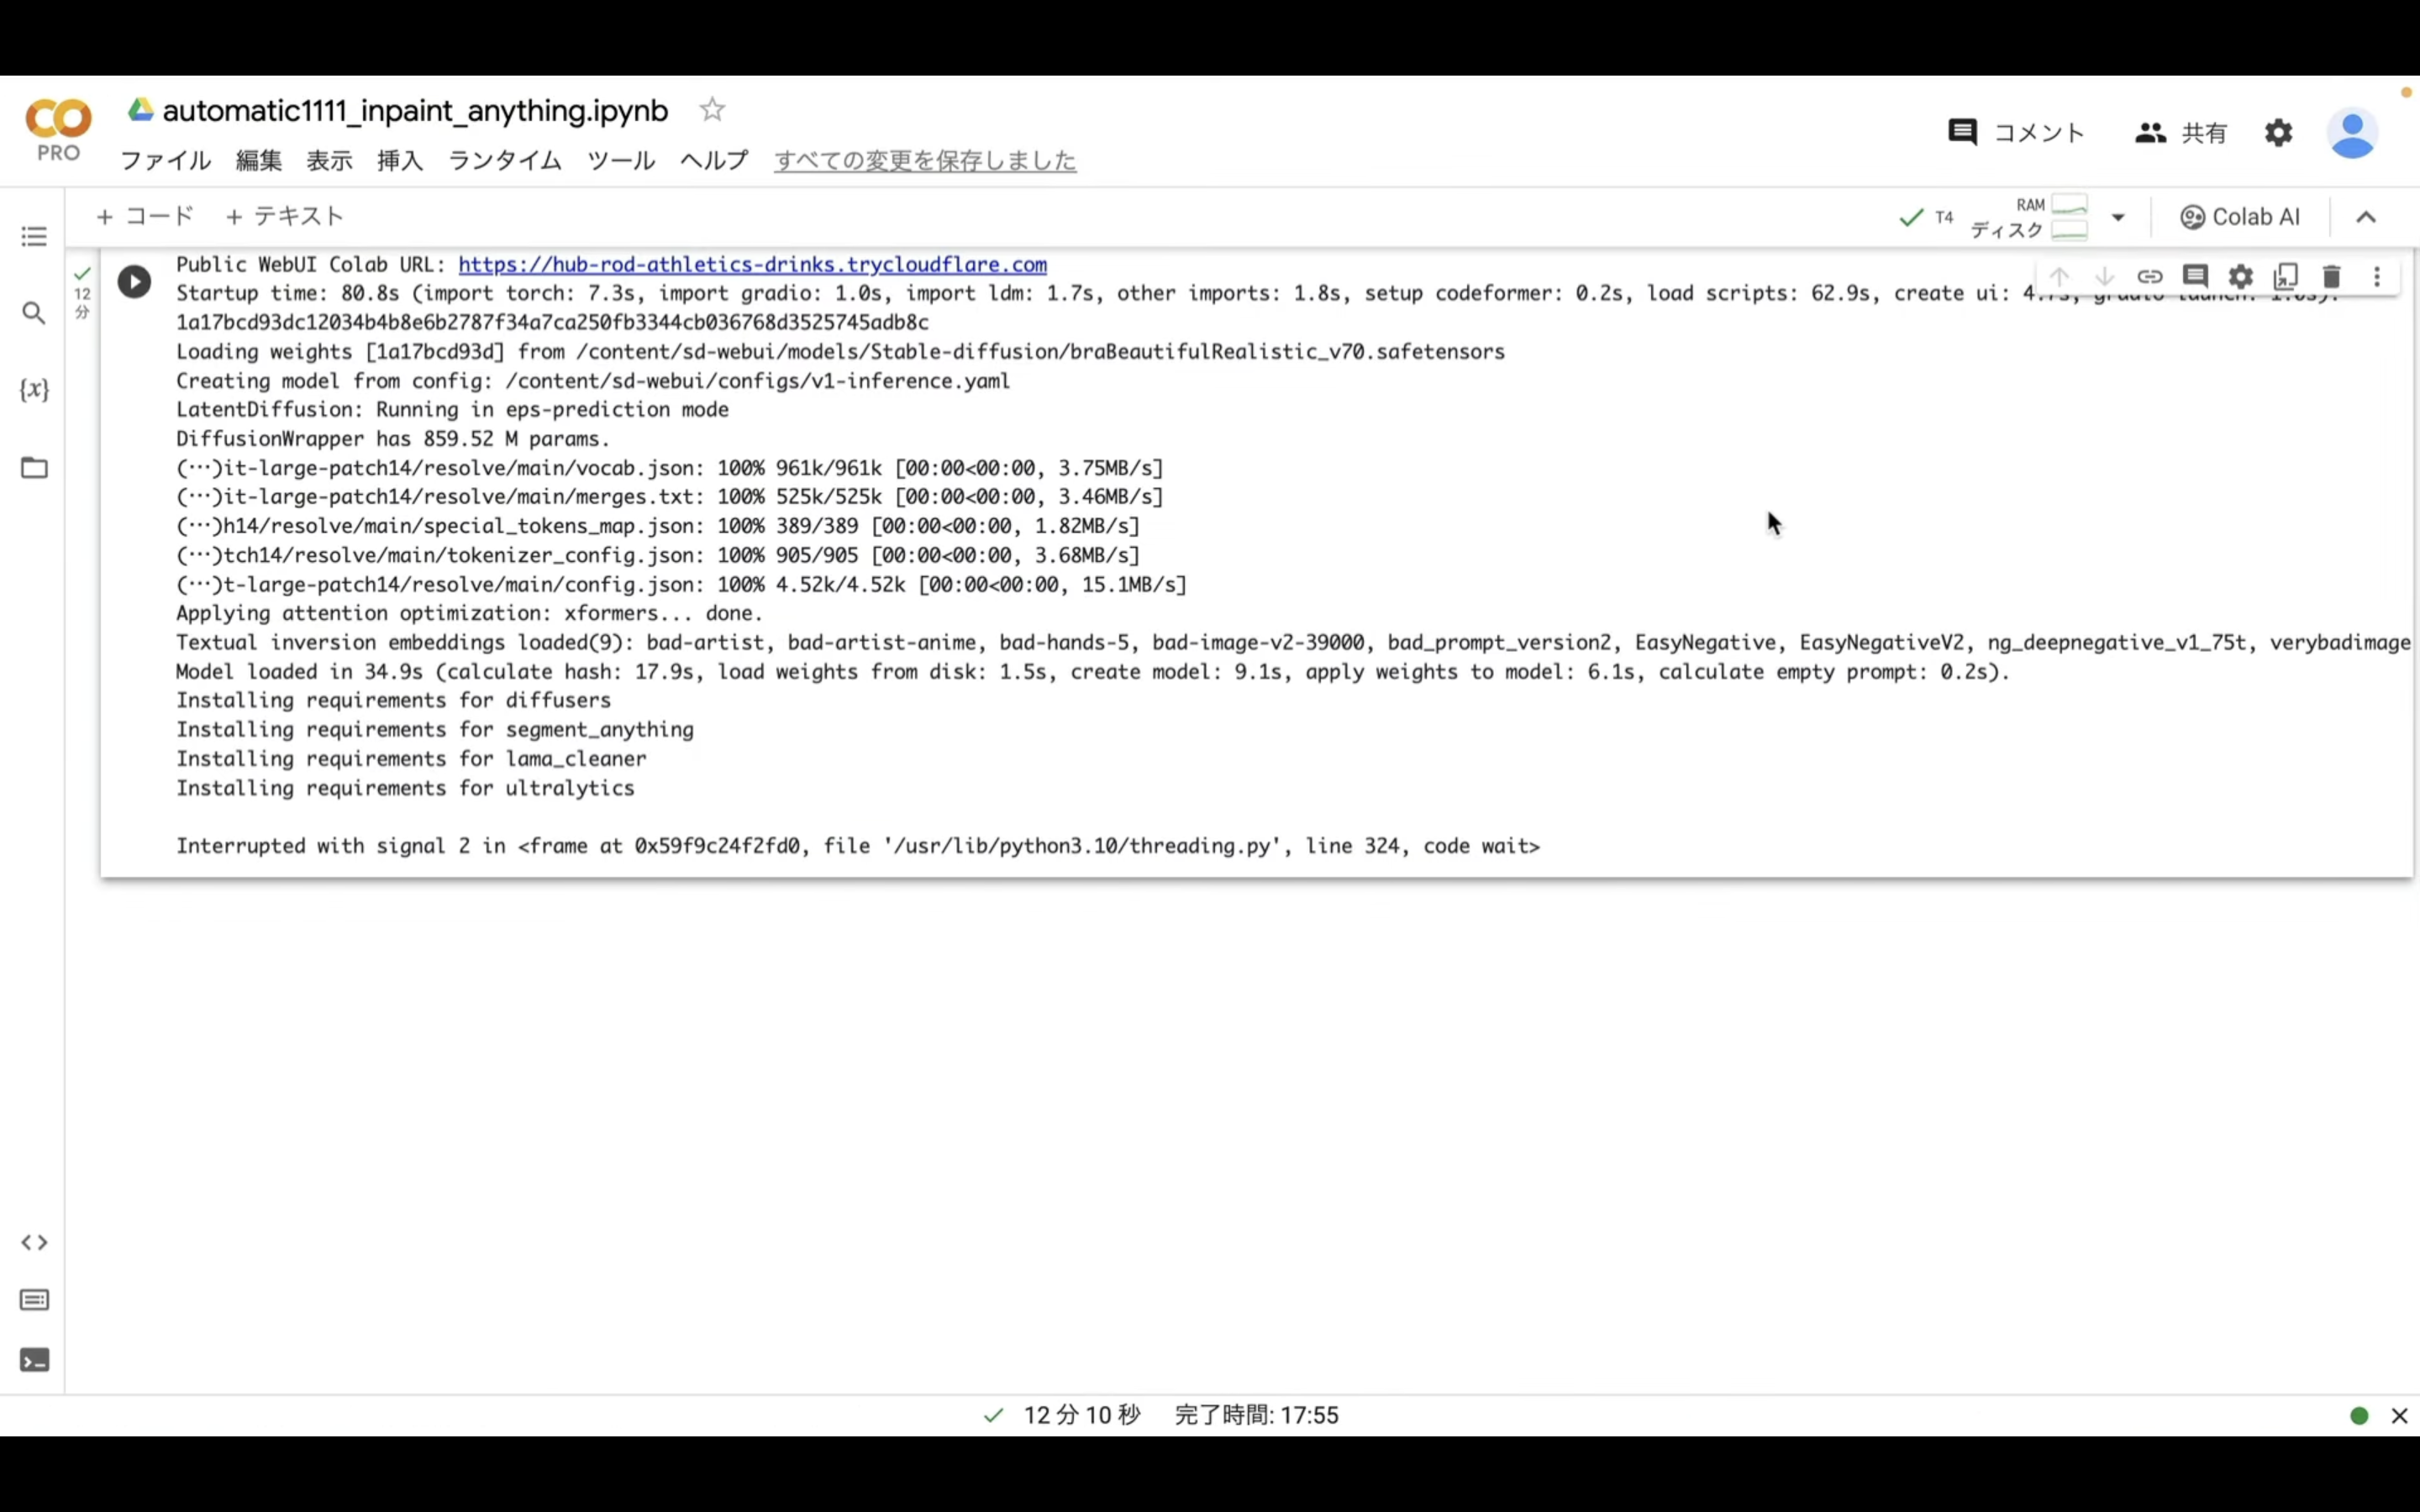
具体的には、コードの実行が強制的に終了された場合はこのような画面になります。
再生ボタンの部分が赤くなっている、もしくは赤いびっくりマークのアイコンが表示されているこのような場合は、コードが強制的に中断されたと判断していいと思います。
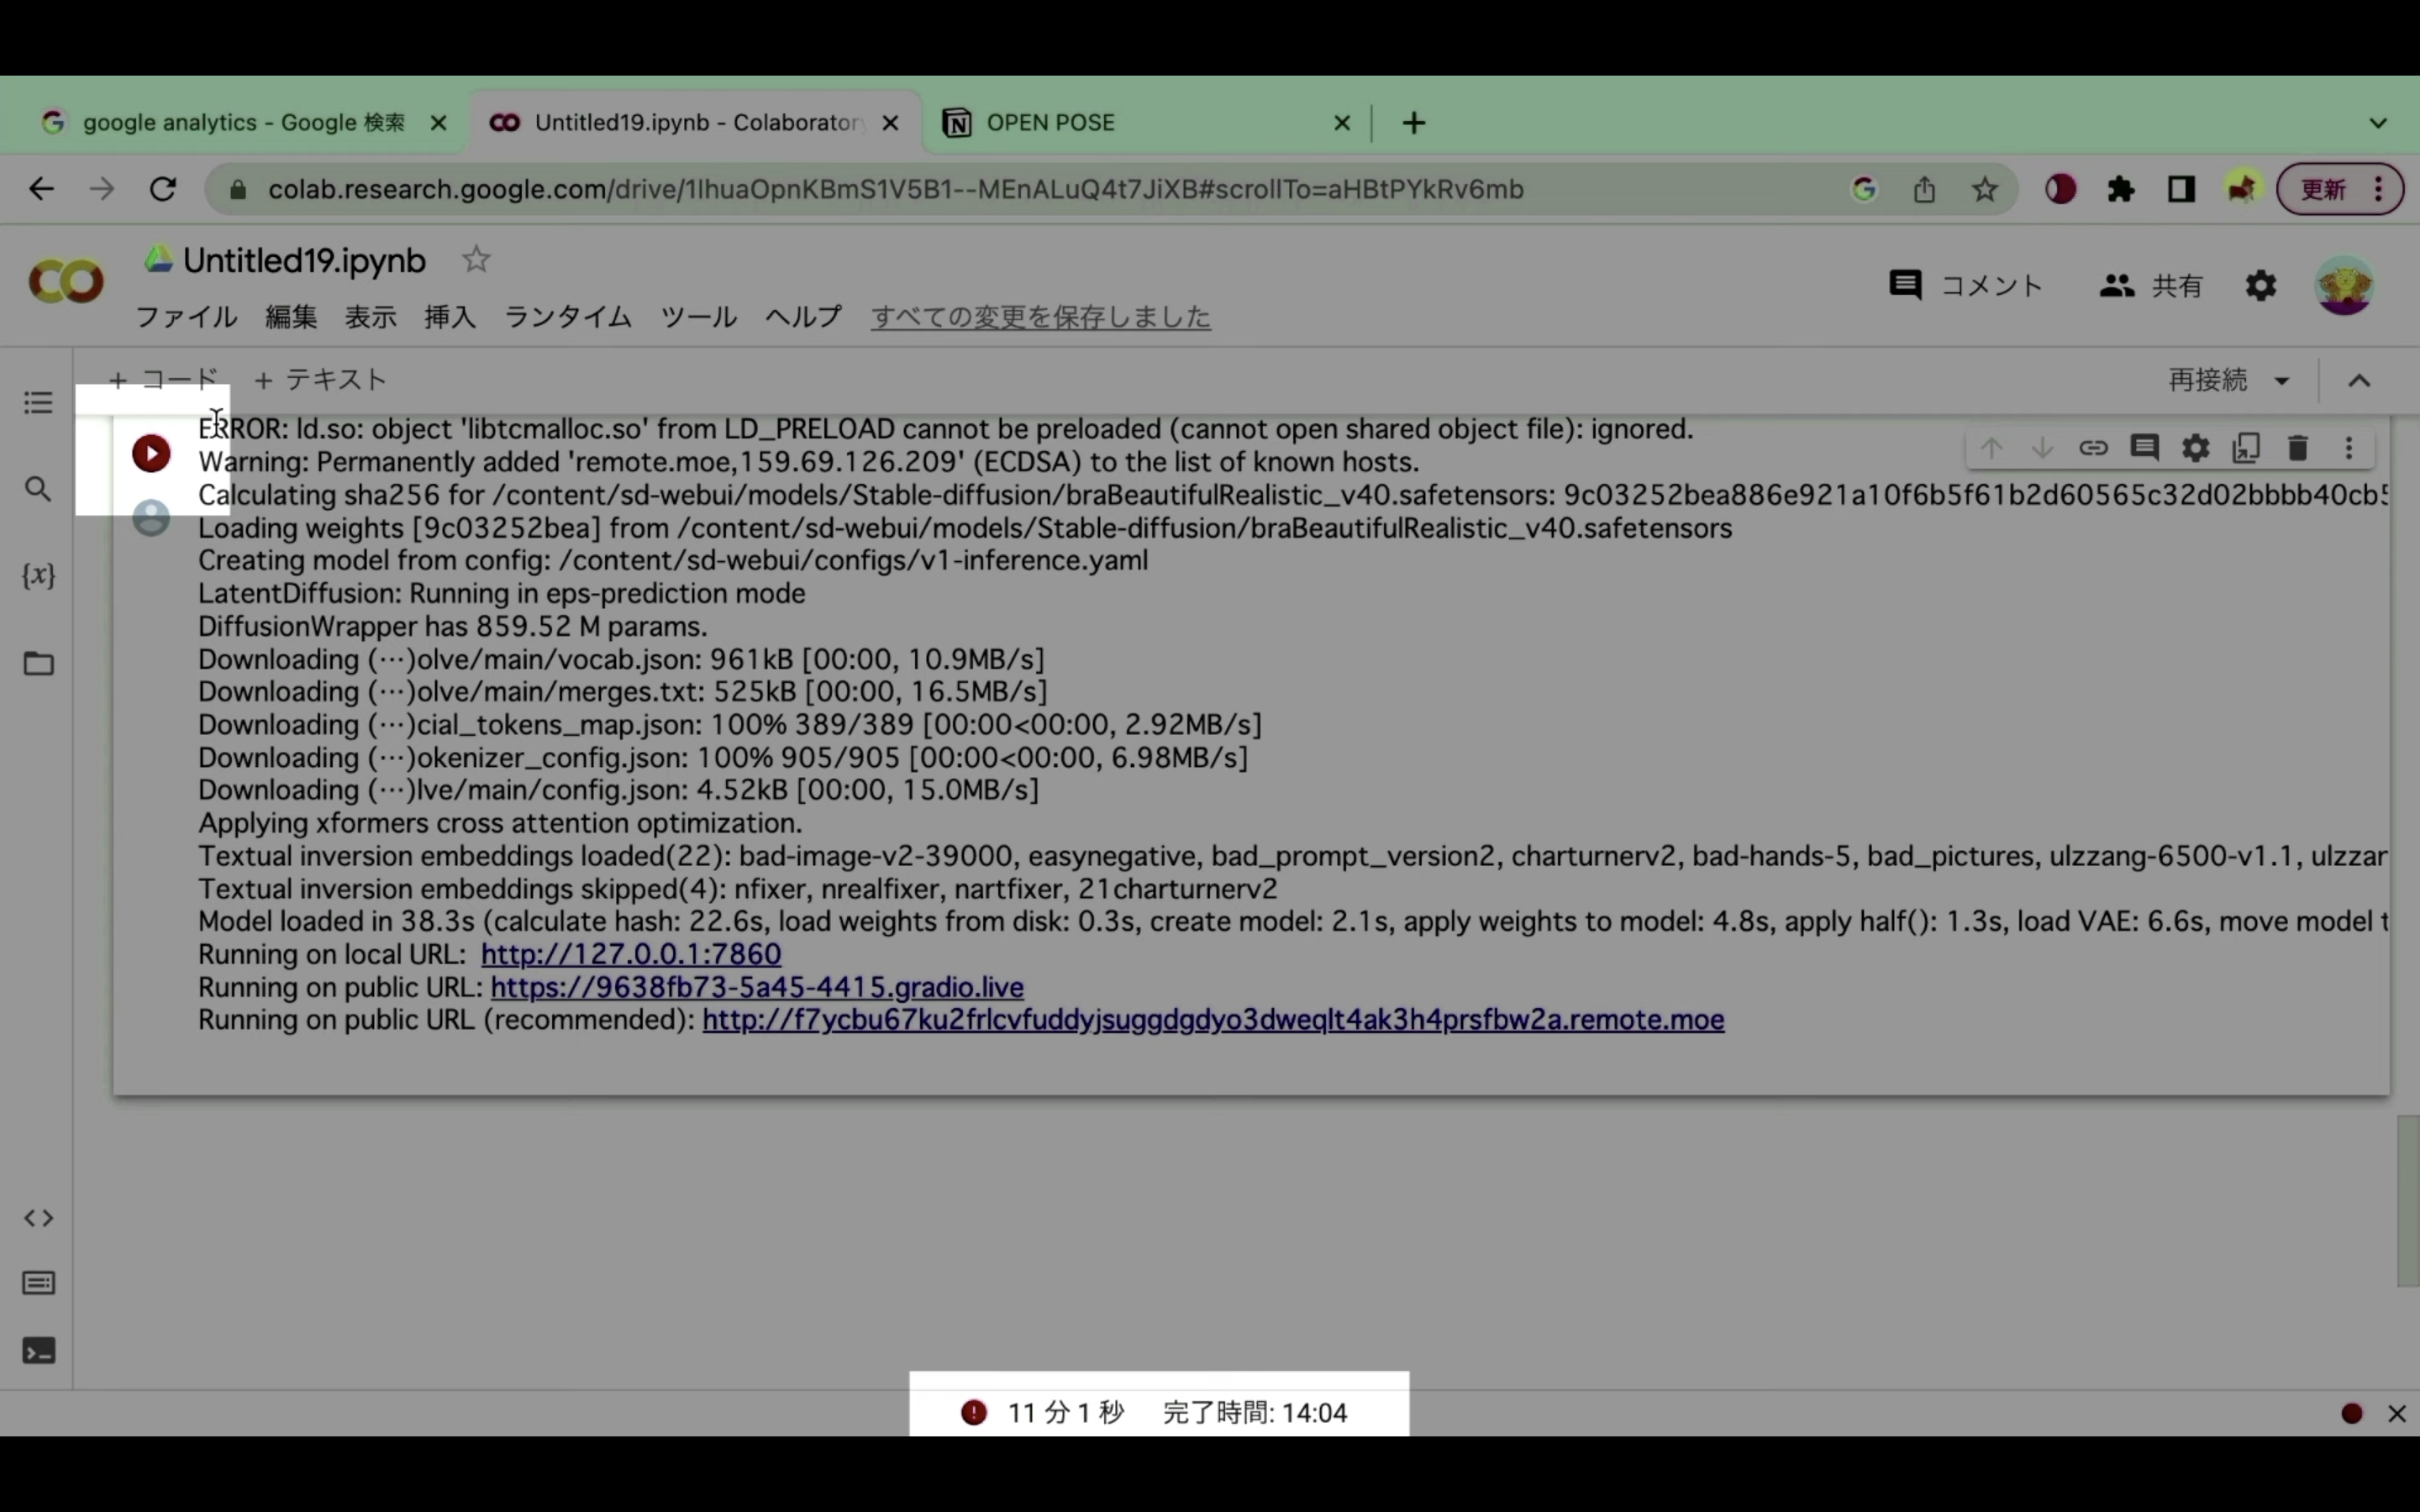
強制的に中断されてしまう状況が続くようであれば、有料プランへの切り替えをお勧めします。
有料プランへの切り替え方法については詳細を解説している動画を以下のリンクに貼っておきますので、そちらをご確認ください。
なお、ここからは有料版に切り替えた状態で解説を進めます。
有料版に切り替えた状態で解説
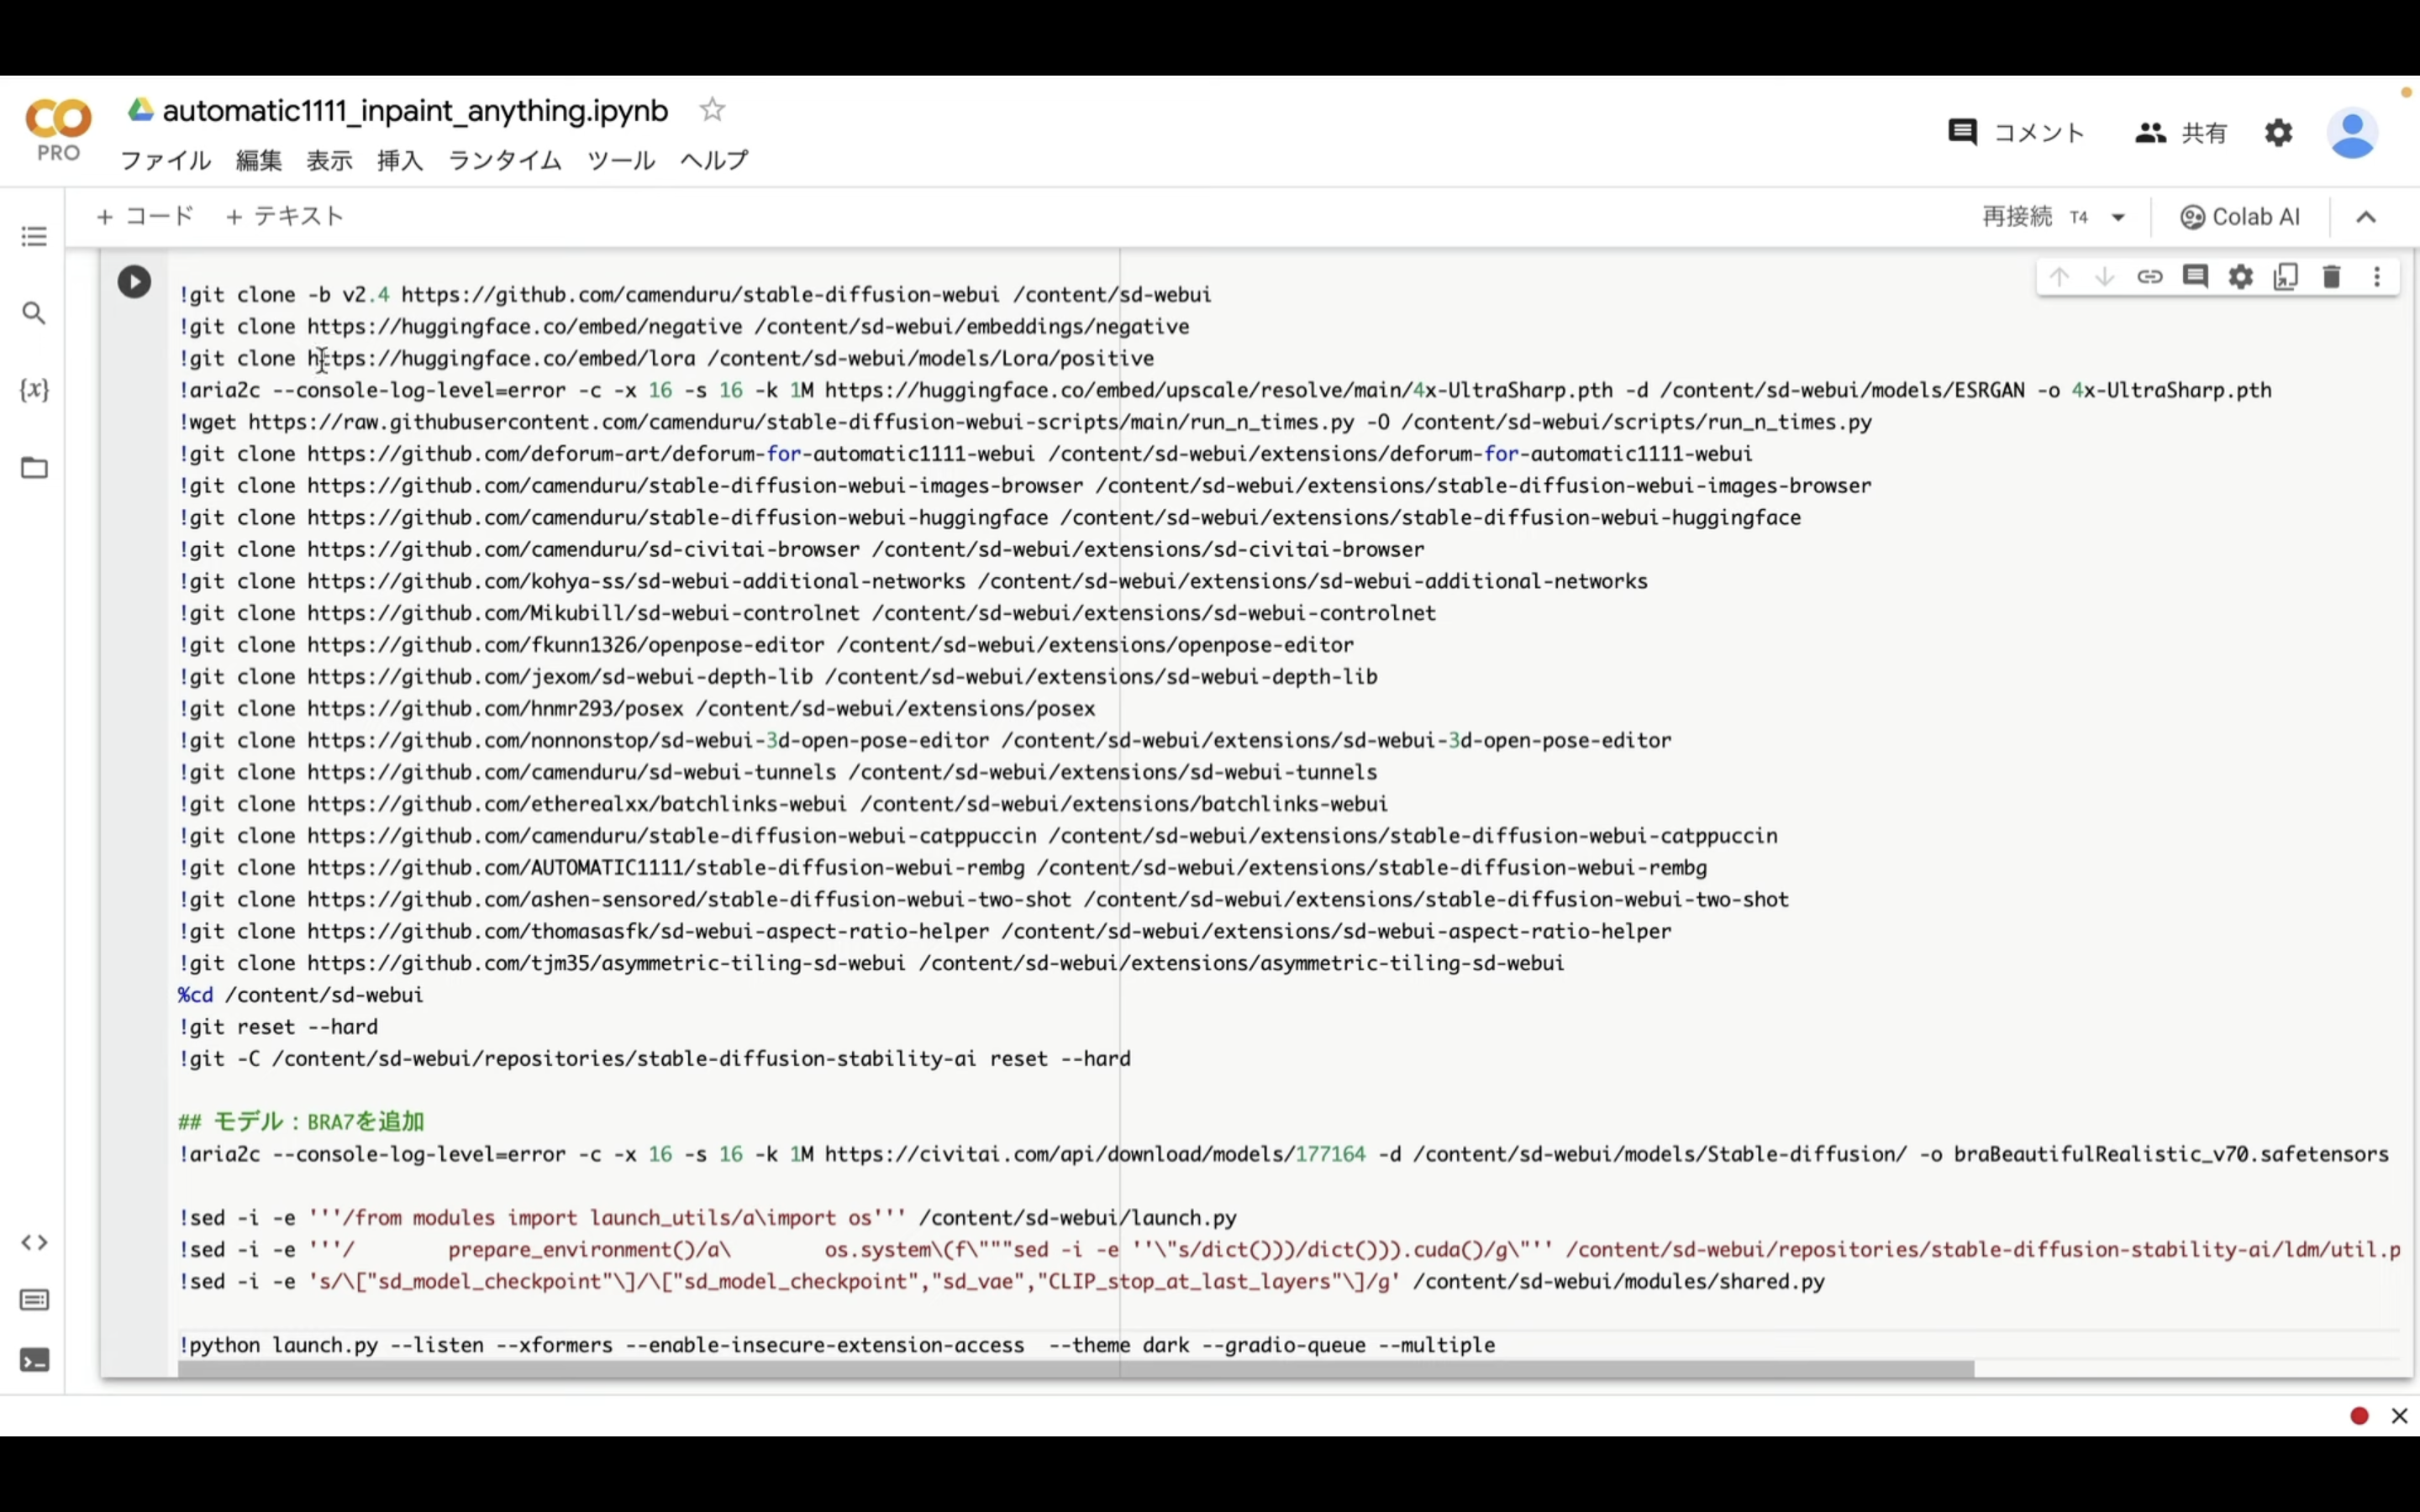
それでは早速、Stable Diffusionを動かしていきましょう。
以下に貼ってあるテキストをコピーします。
%cd /content
%env TF_CPP_MIN_LOG_LEVEL=1
!apt -y update -qq
!wget https://github.com/camenduru/gperftools/releases/download/v1.0/libtcmalloc_minimal.so.4 -O /content/libtcmalloc_minimal.so.4
%env LD_PRELOAD=/content/libtcmalloc_minimal.so.4
!apt -y install -qq aria2 libcairo2-dev pkg-config python3-dev
!pip install -q torch==2.0.1+cu118 torchvision==0.15.2+cu118 torchaudio==2.0.2+cu118 torchtext==0.15.2 torchdata==0.6.1 --extra-index-url https://download.pytorch.org/whl/cu118 -U
!pip install -q xformers==0.0.20 triton==2.0.0 gradio_client==0.2.7 -U
!git clone -b v2.4 https://github.com/camenduru/stable-diffusion-webui /content/sd-webui
!git clone https://huggingface.co/embed/negative /content/sd-webui/embeddings/negative
!git clone https://huggingface.co/embed/lora /content/sd-webui/models/Lora/positive
!aria2c --console-log-level=error -c -x 16 -s 16 -k 1M https://huggingface.co/embed/upscale/resolve/main/4x-UltraSharp.pth -d /content/sd-webui/models/ESRGAN -o 4x-UltraSharp.pth
!wget https://raw.githubusercontent.com/camenduru/stable-diffusion-webui-scripts/main/run_n_times.py -O /content/sd-webui/scripts/run_n_times.py
!git clone https://github.com/deforum-art/deforum-for-automatic1111-webui /content/sd-webui/extensions/deforum-for-automatic1111-webui
!git clone https://github.com/camenduru/stable-diffusion-webui-images-browser /content/sd-webui/extensions/stable-diffusion-webui-images-browser
!git clone https://github.com/camenduru/stable-diffusion-webui-huggingface /content/sd-webui/extensions/stable-diffusion-webui-huggingface
!git clone https://github.com/camenduru/sd-civitai-browser /content/sd-webui/extensions/sd-civitai-browser
!git clone https://github.com/kohya-ss/sd-webui-additional-networks /content/sd-webui/extensions/sd-webui-additional-networks
!git clone https://github.com/Mikubill/sd-webui-controlnet /content/sd-webui/extensions/sd-webui-controlnet
!git clone https://github.com/fkunn1326/openpose-editor /content/sd-webui/extensions/openpose-editor
!git clone https://github.com/jexom/sd-webui-depth-lib /content/sd-webui/extensions/sd-webui-depth-lib
!git clone https://github.com/hnmr293/posex /content/sd-webui/extensions/posex
!git clone https://github.com/nonnonstop/sd-webui-3d-open-pose-editor /content/sd-webui/extensions/sd-webui-3d-open-pose-editor
!git clone https://github.com/camenduru/sd-webui-tunnels /content/sd-webui/extensions/sd-webui-tunnels
!git clone https://github.com/etherealxx/batchlinks-webui /content/sd-webui/extensions/batchlinks-webui
!git clone https://github.com/camenduru/stable-diffusion-webui-catppuccin /content/sd-webui/extensions/stable-diffusion-webui-catppuccin
!git clone https://github.com/AUTOMATIC1111/stable-diffusion-webui-rembg /content/sd-webui/extensions/stable-diffusion-webui-rembg
!git clone https://github.com/ashen-sensored/stable-diffusion-webui-two-shot /content/sd-webui/extensions/stable-diffusion-webui-two-shot
!git clone https://github.com/thomasasfk/sd-webui-aspect-ratio-helper /content/sd-webui/extensions/sd-webui-aspect-ratio-helper
!git clone https://github.com/tjm35/asymmetric-tiling-sd-webui /content/sd-webui/extensions/asymmetric-tiling-sd-webui
%cd /content/sd-webui
!git reset --hard
!git -C /content/sd-webui/repositories/stable-diffusion-stability-ai reset --hard
## モデル:BRA7を追加
!aria2c --console-log-level=error -c -x 16 -s 16 -k 1M https://civitai.com/api/download/models/177164 -d /content/sd-webui/models/Stable-diffusion/ -o braBeautifulRealistic_v70.safetensors
!sed -i -e '''/from modules import launch_utils/a\import os''' /content/sd-webui/launch.py
!sed -i -e '''/ prepare_environment()/a\ os.system\(f\"""sed -i -e ''\"s/dict()))/dict())).cuda()/g\"'' /content/sd-webui/repositories/stable-diffusion-stability-ai/ldm/util.py""")''' /content/sd-webui/launch.py
!sed -i -e 's/\["sd_model_checkpoint"\]/\["sd_model_checkpoint","sd_vae","CLIP_stop_at_last_layers"\]/g' /content/sd-webui/modules/shared.py
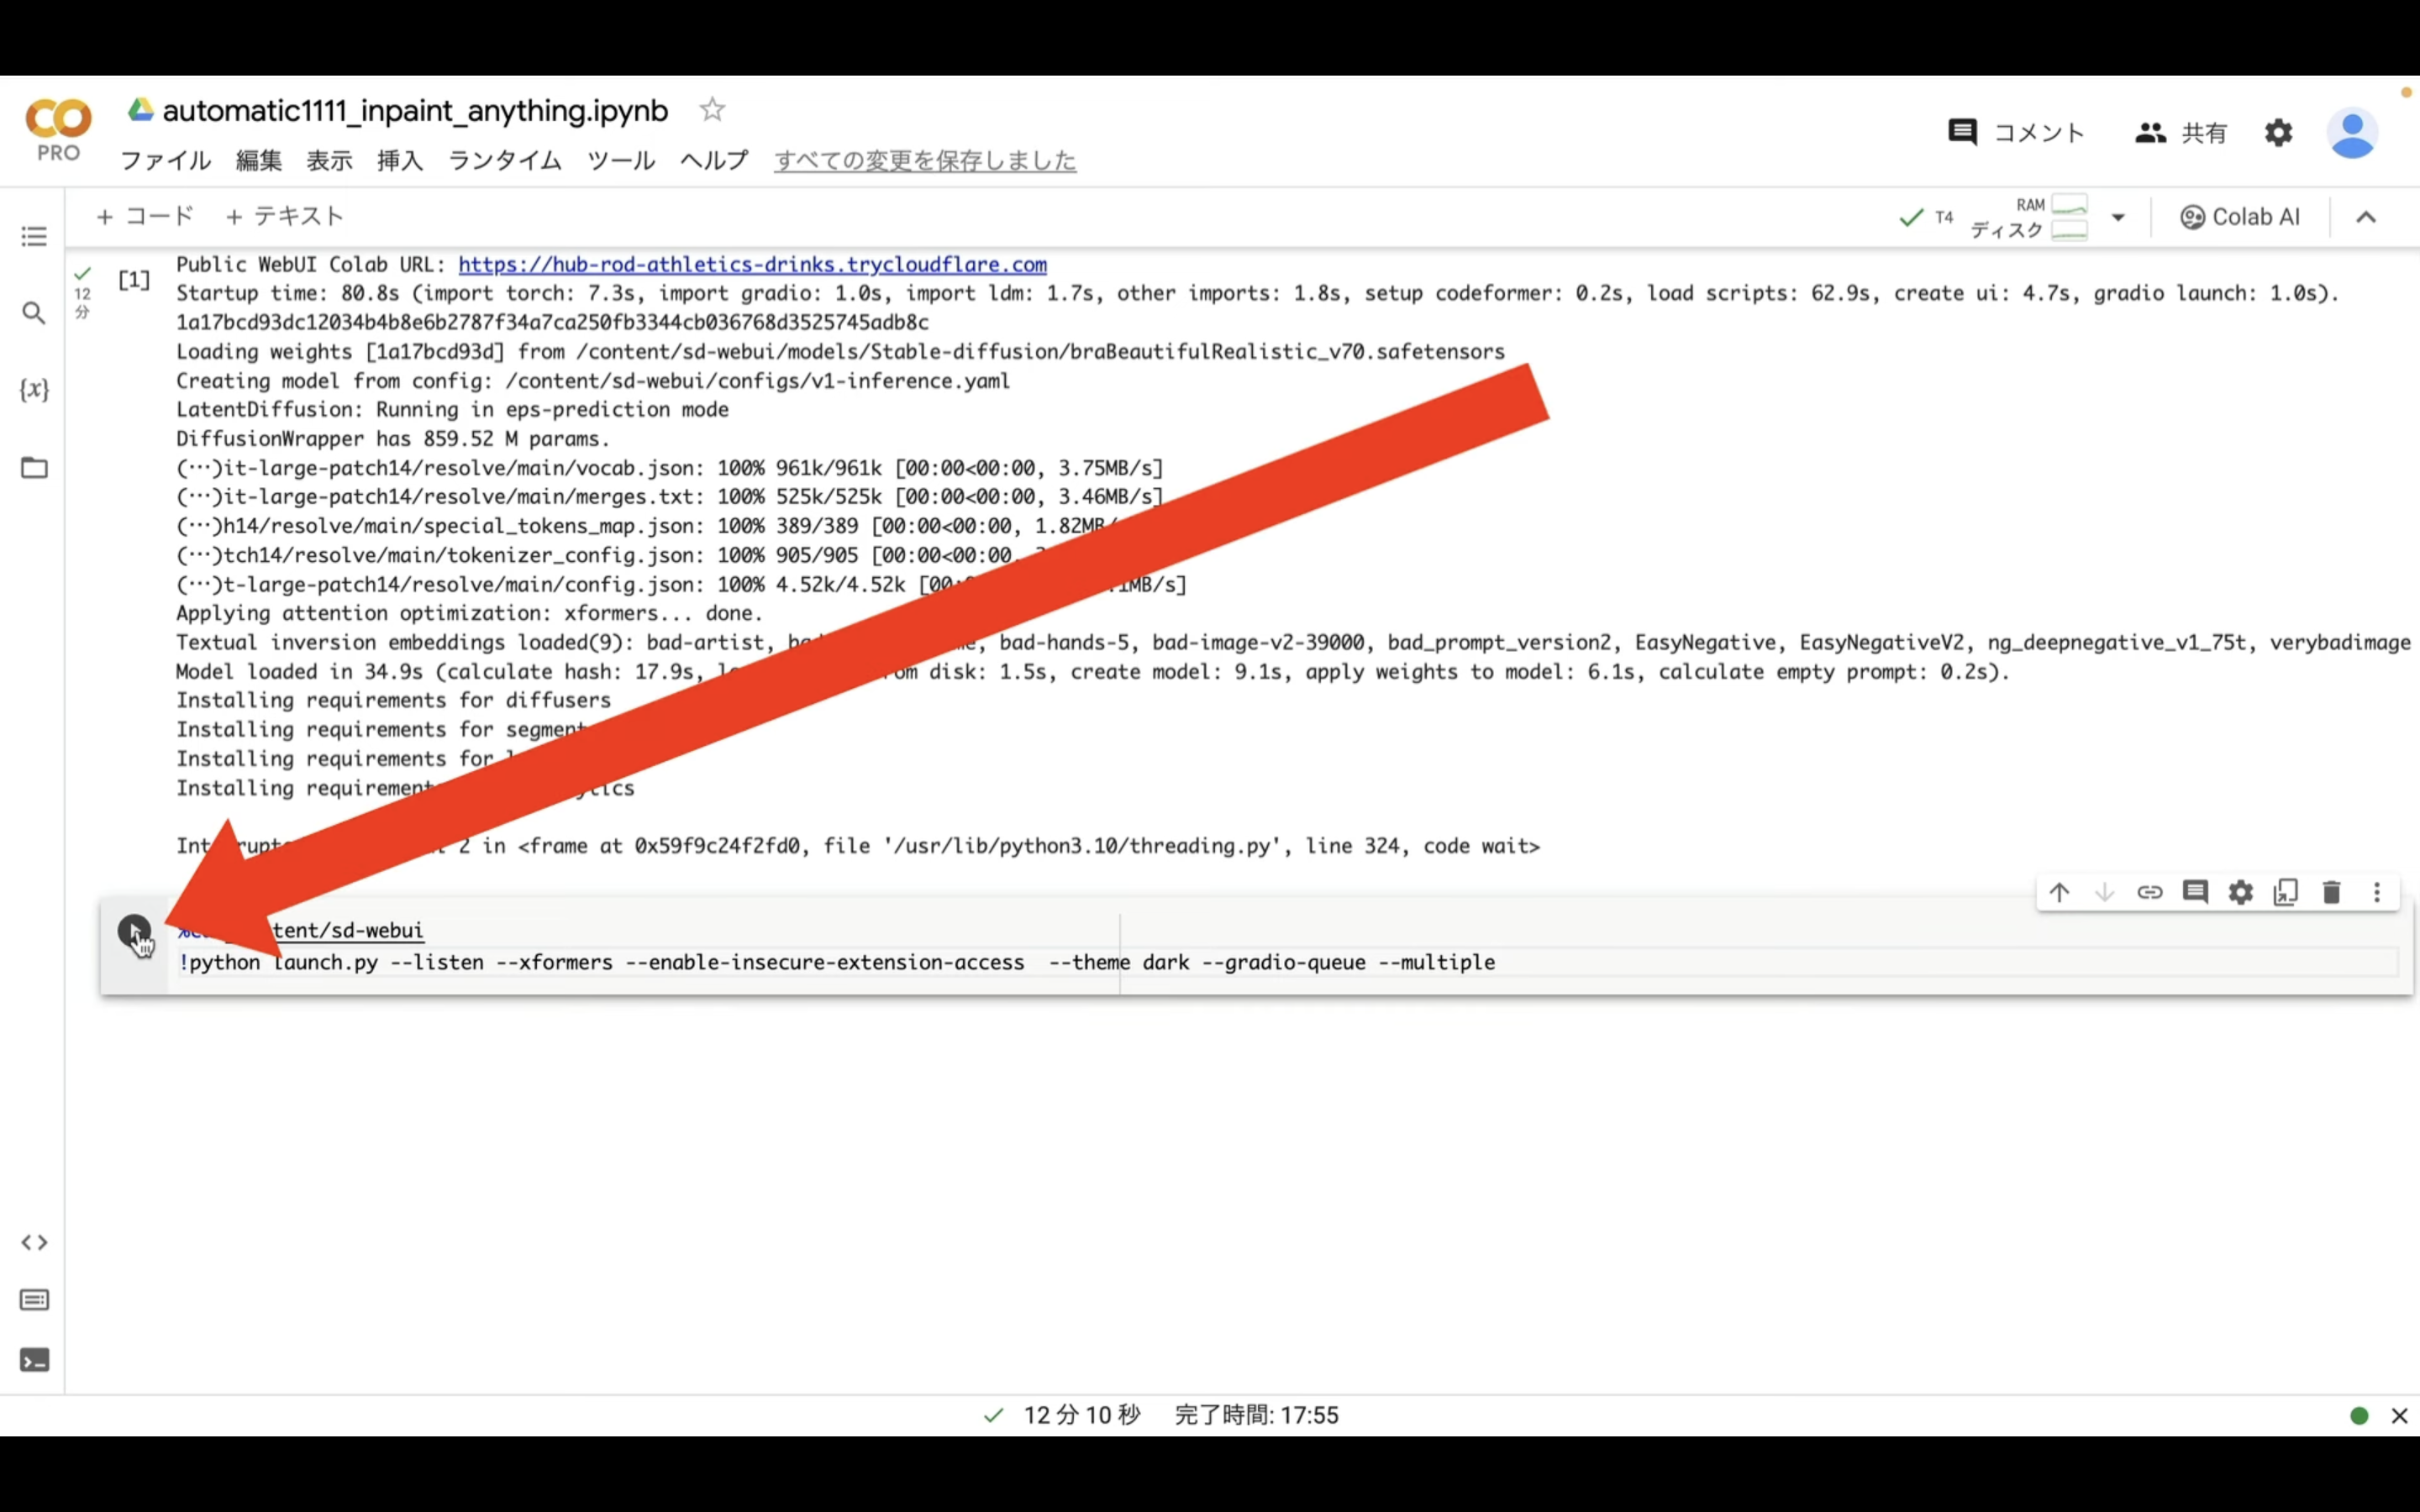
!python launch.py --listen --xformers --enable-insecure-extension-access --theme dark --gradio-queue --multiple
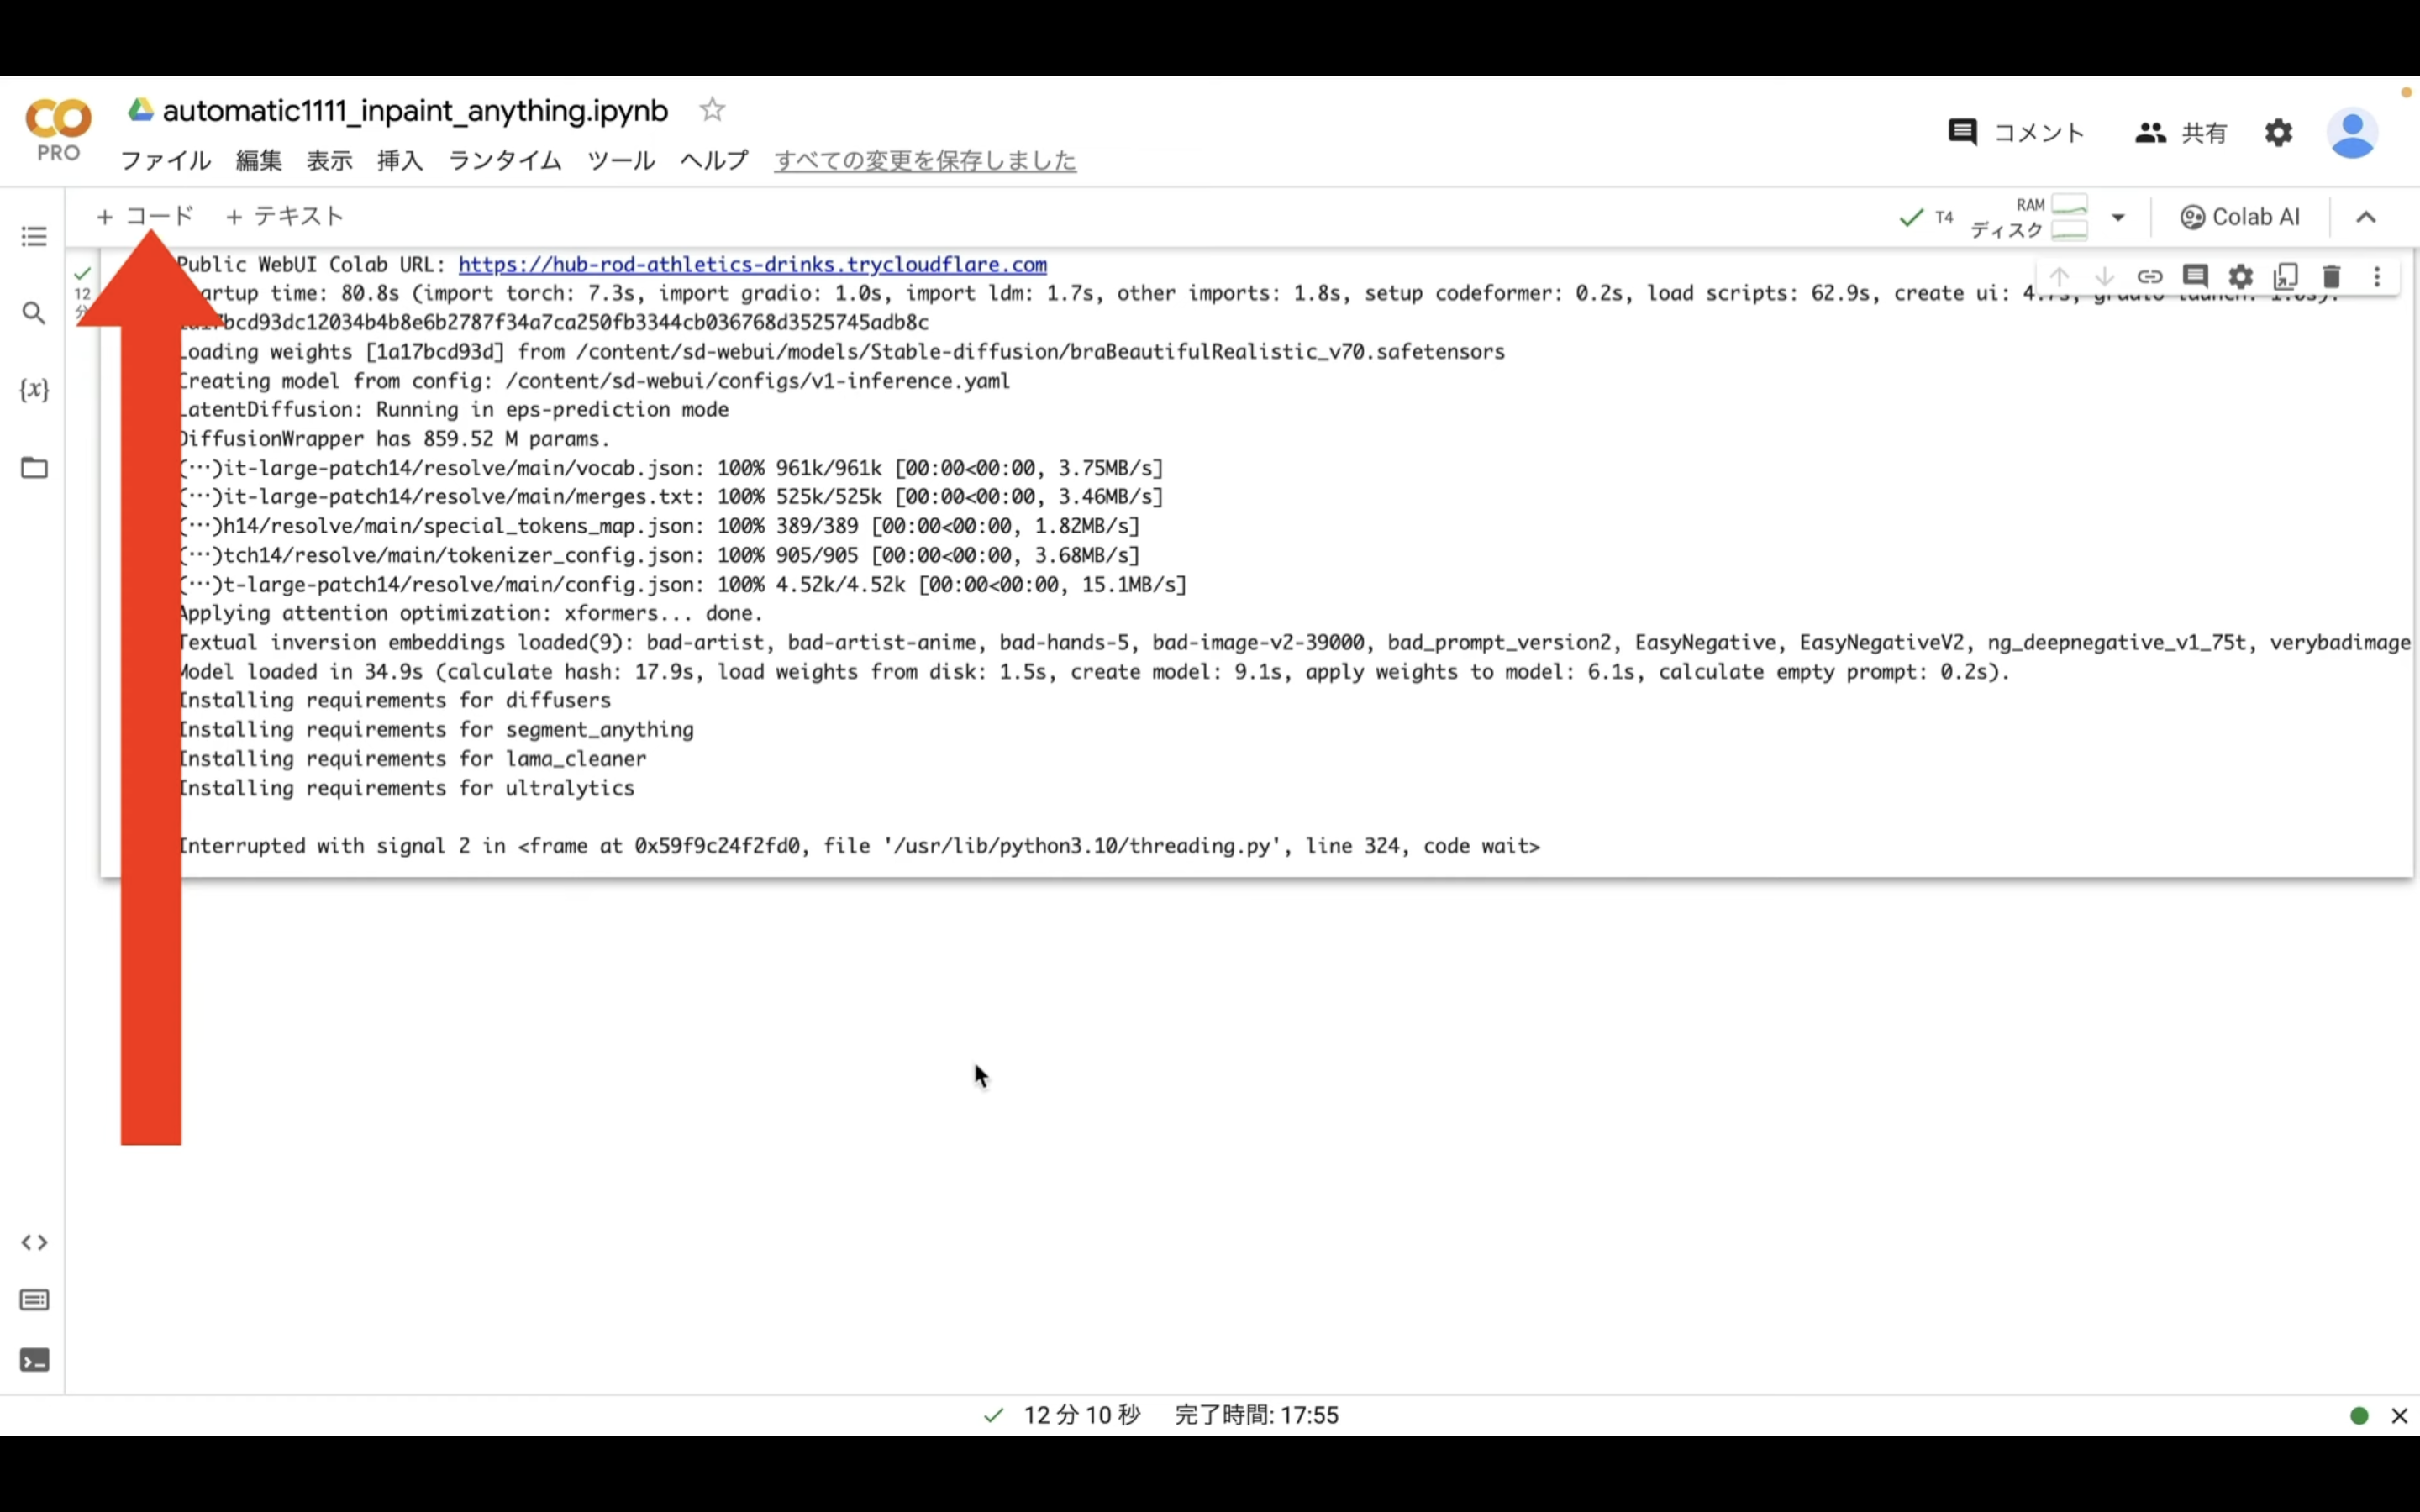
テキストをコピーしたら、Google Colabの画面に戻ります。
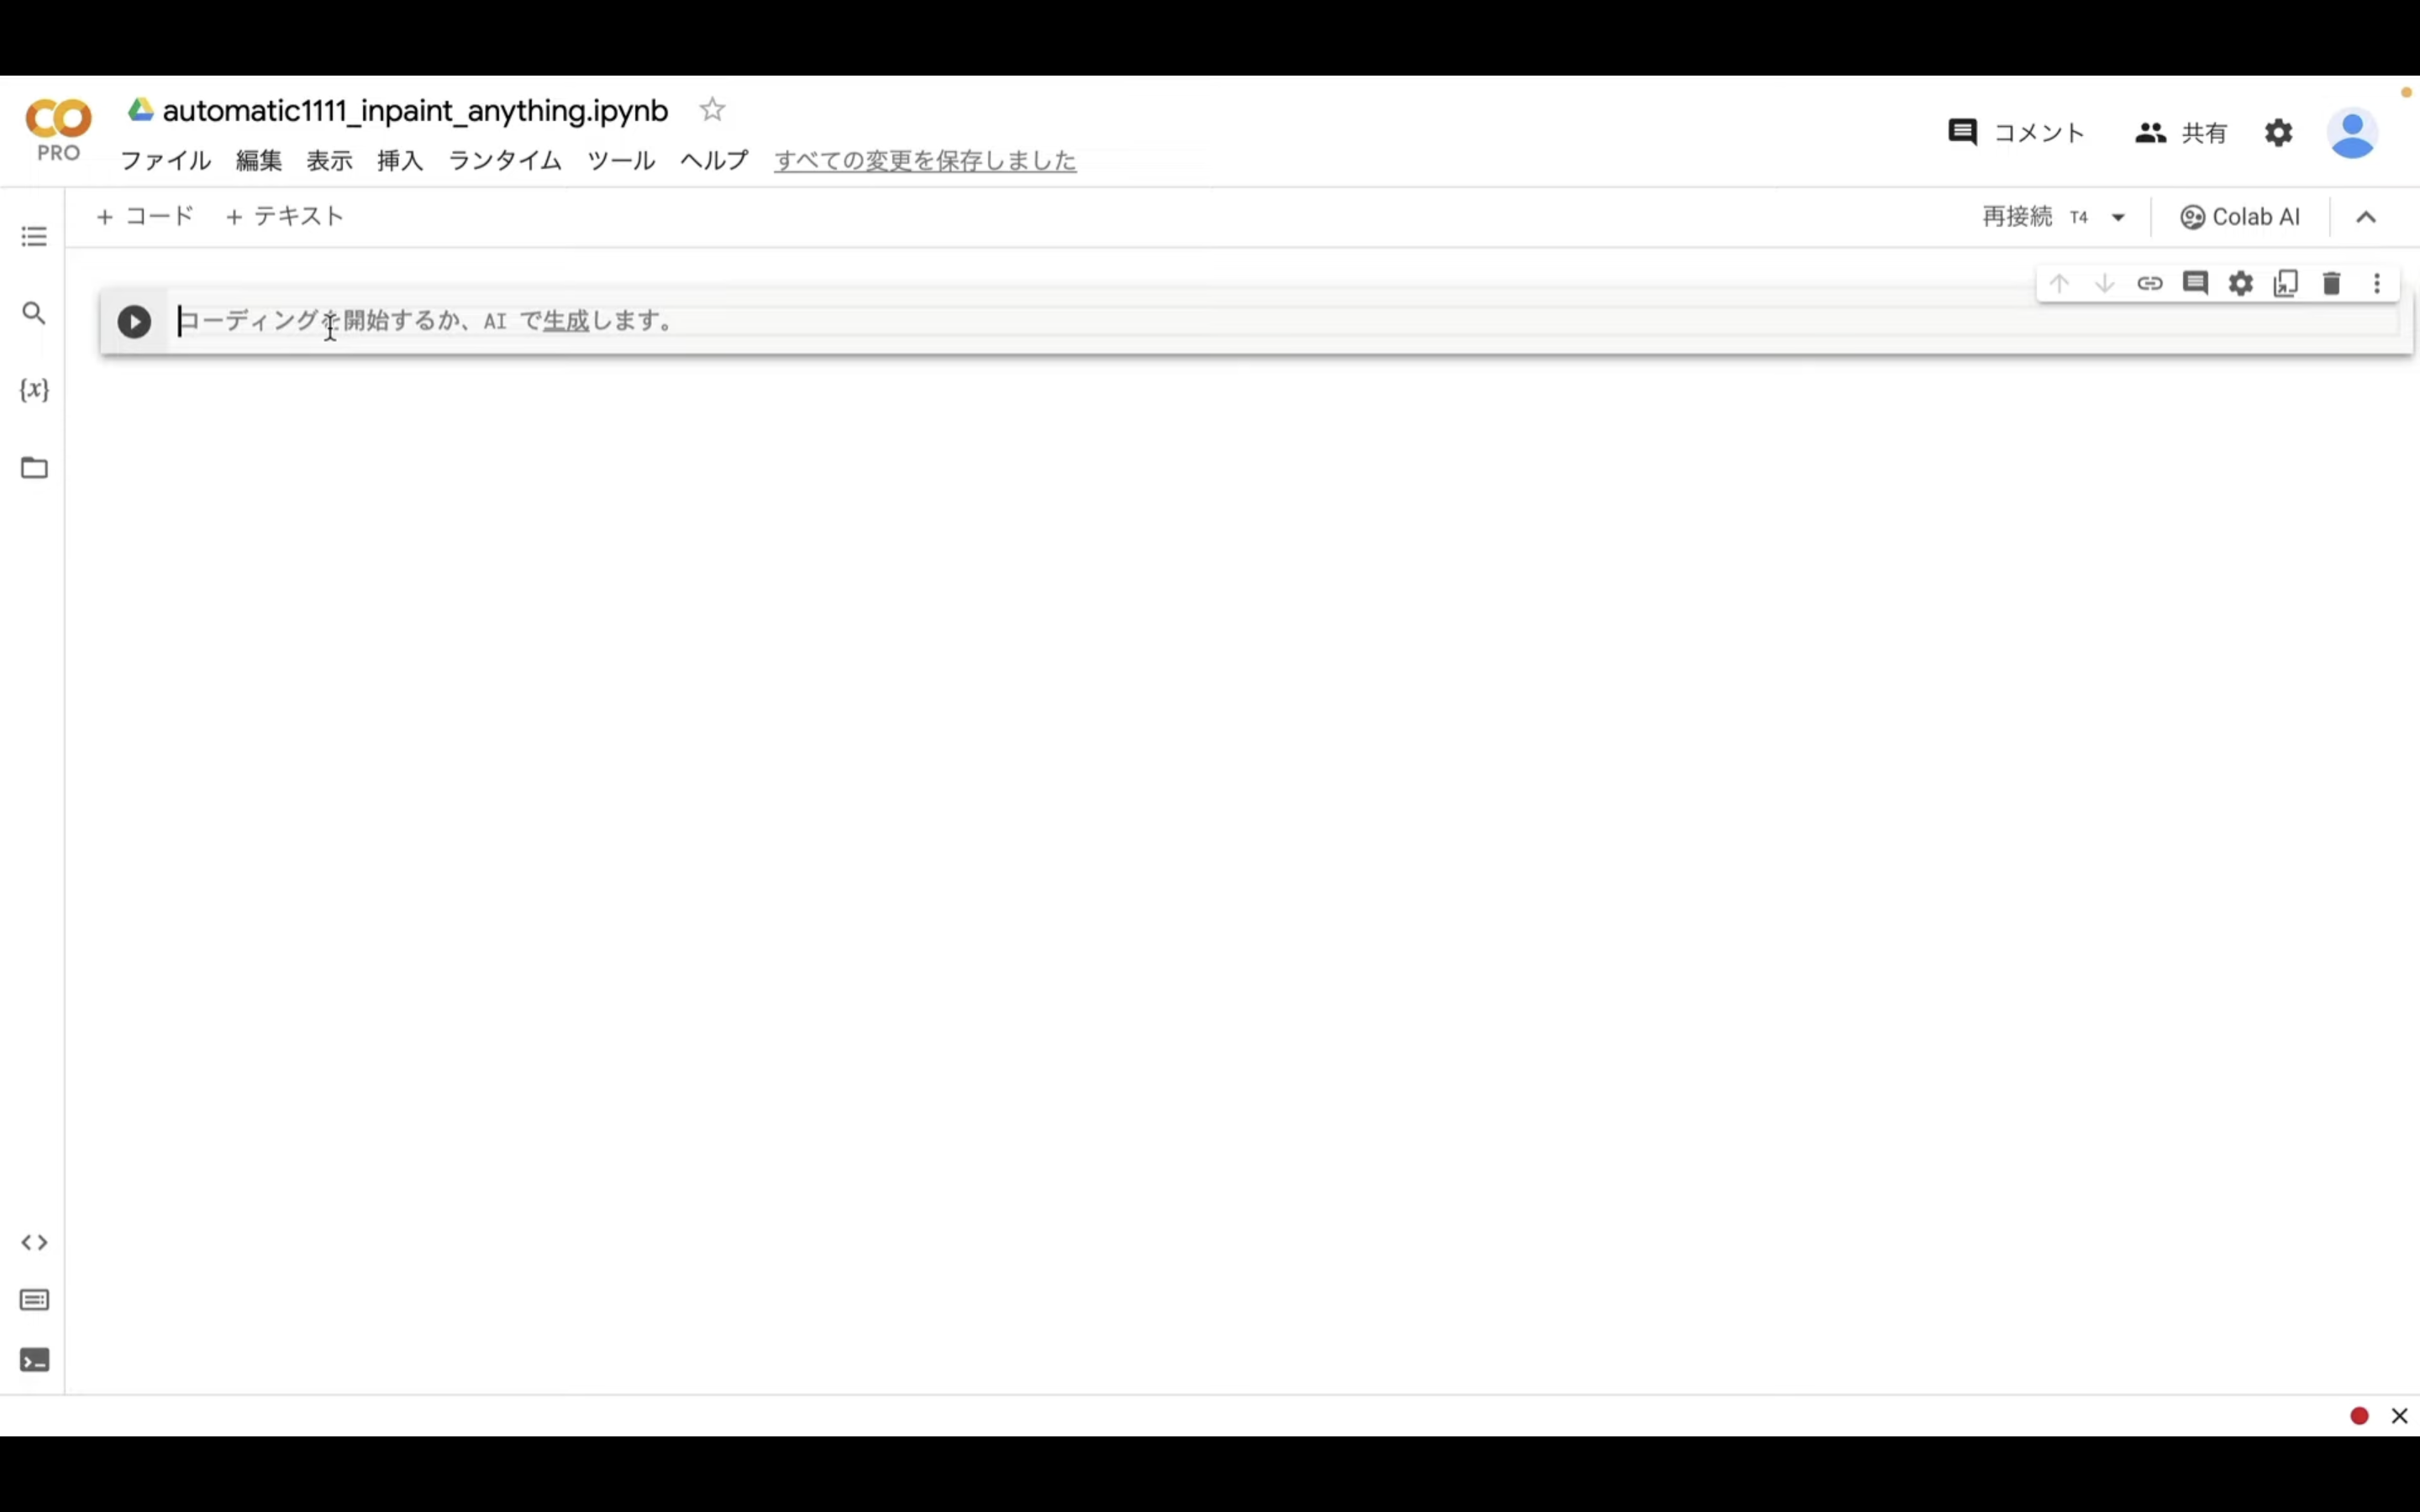
そして、テキストボックスに先ほどコピーしたテキストを貼り付けます。
テキストを貼り付けたら、左上にある再生ボタンを押します。
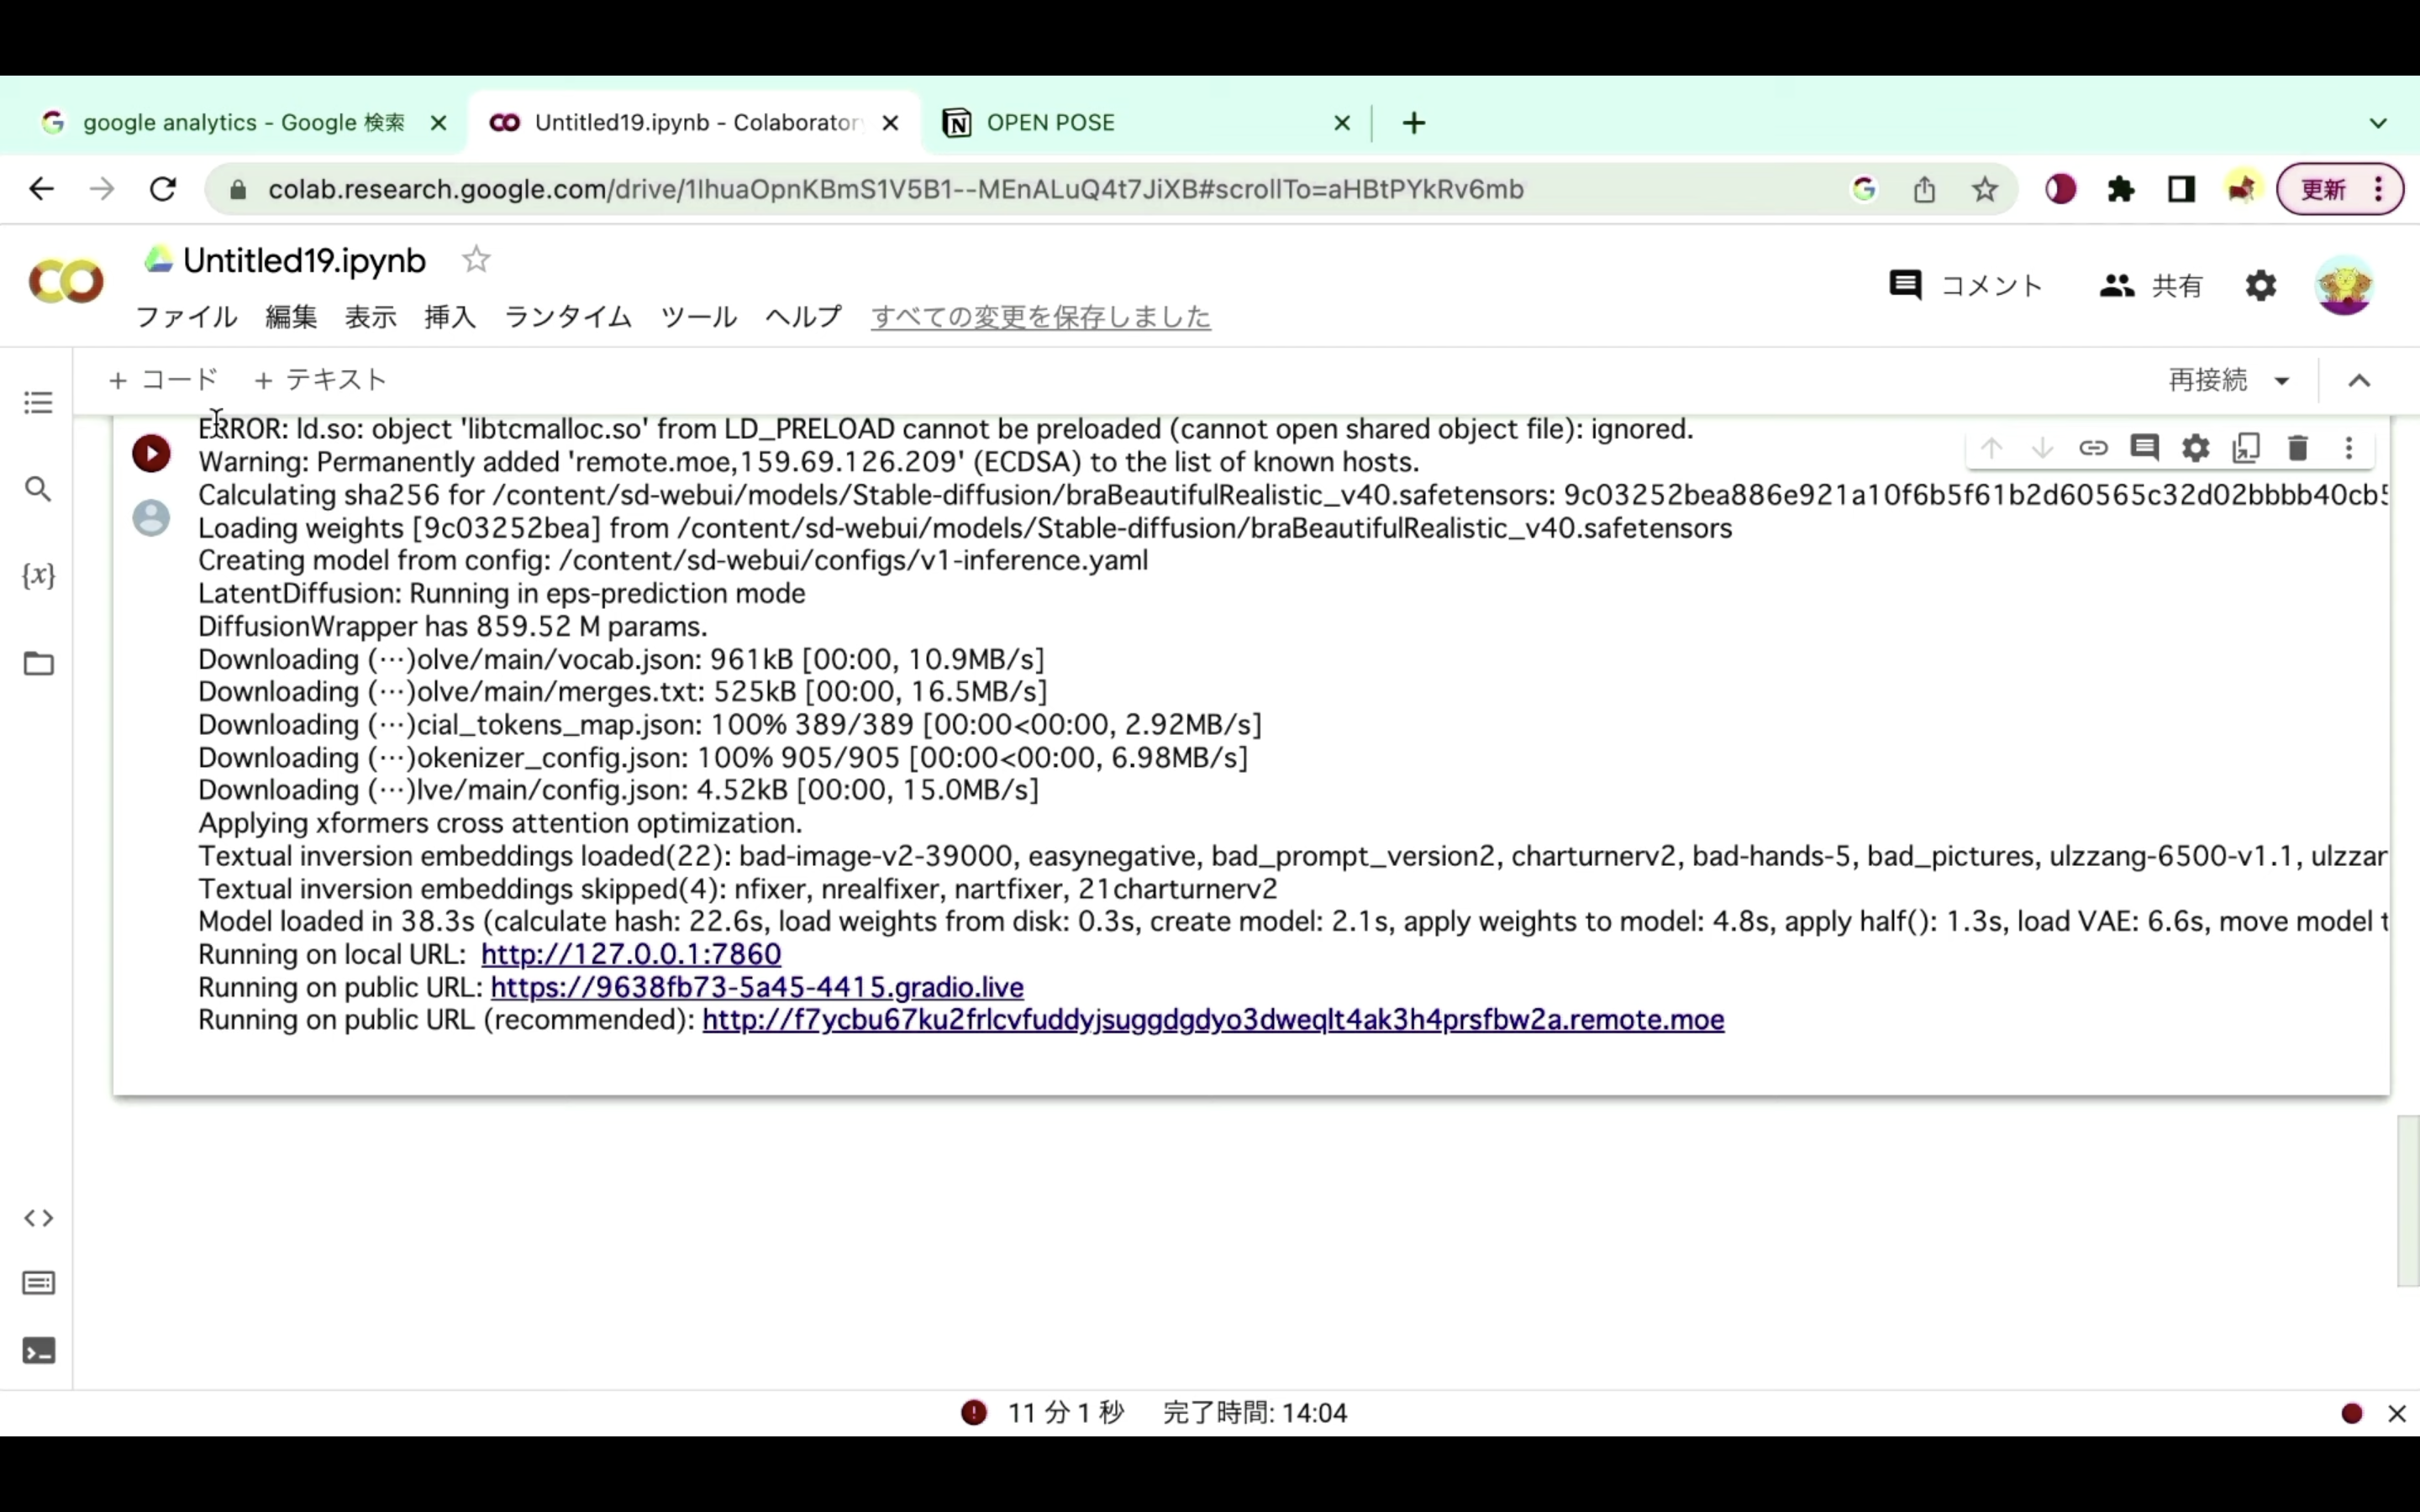
これでコマンドが実行されます。
コマンドの実行には5分以上かかると思います。
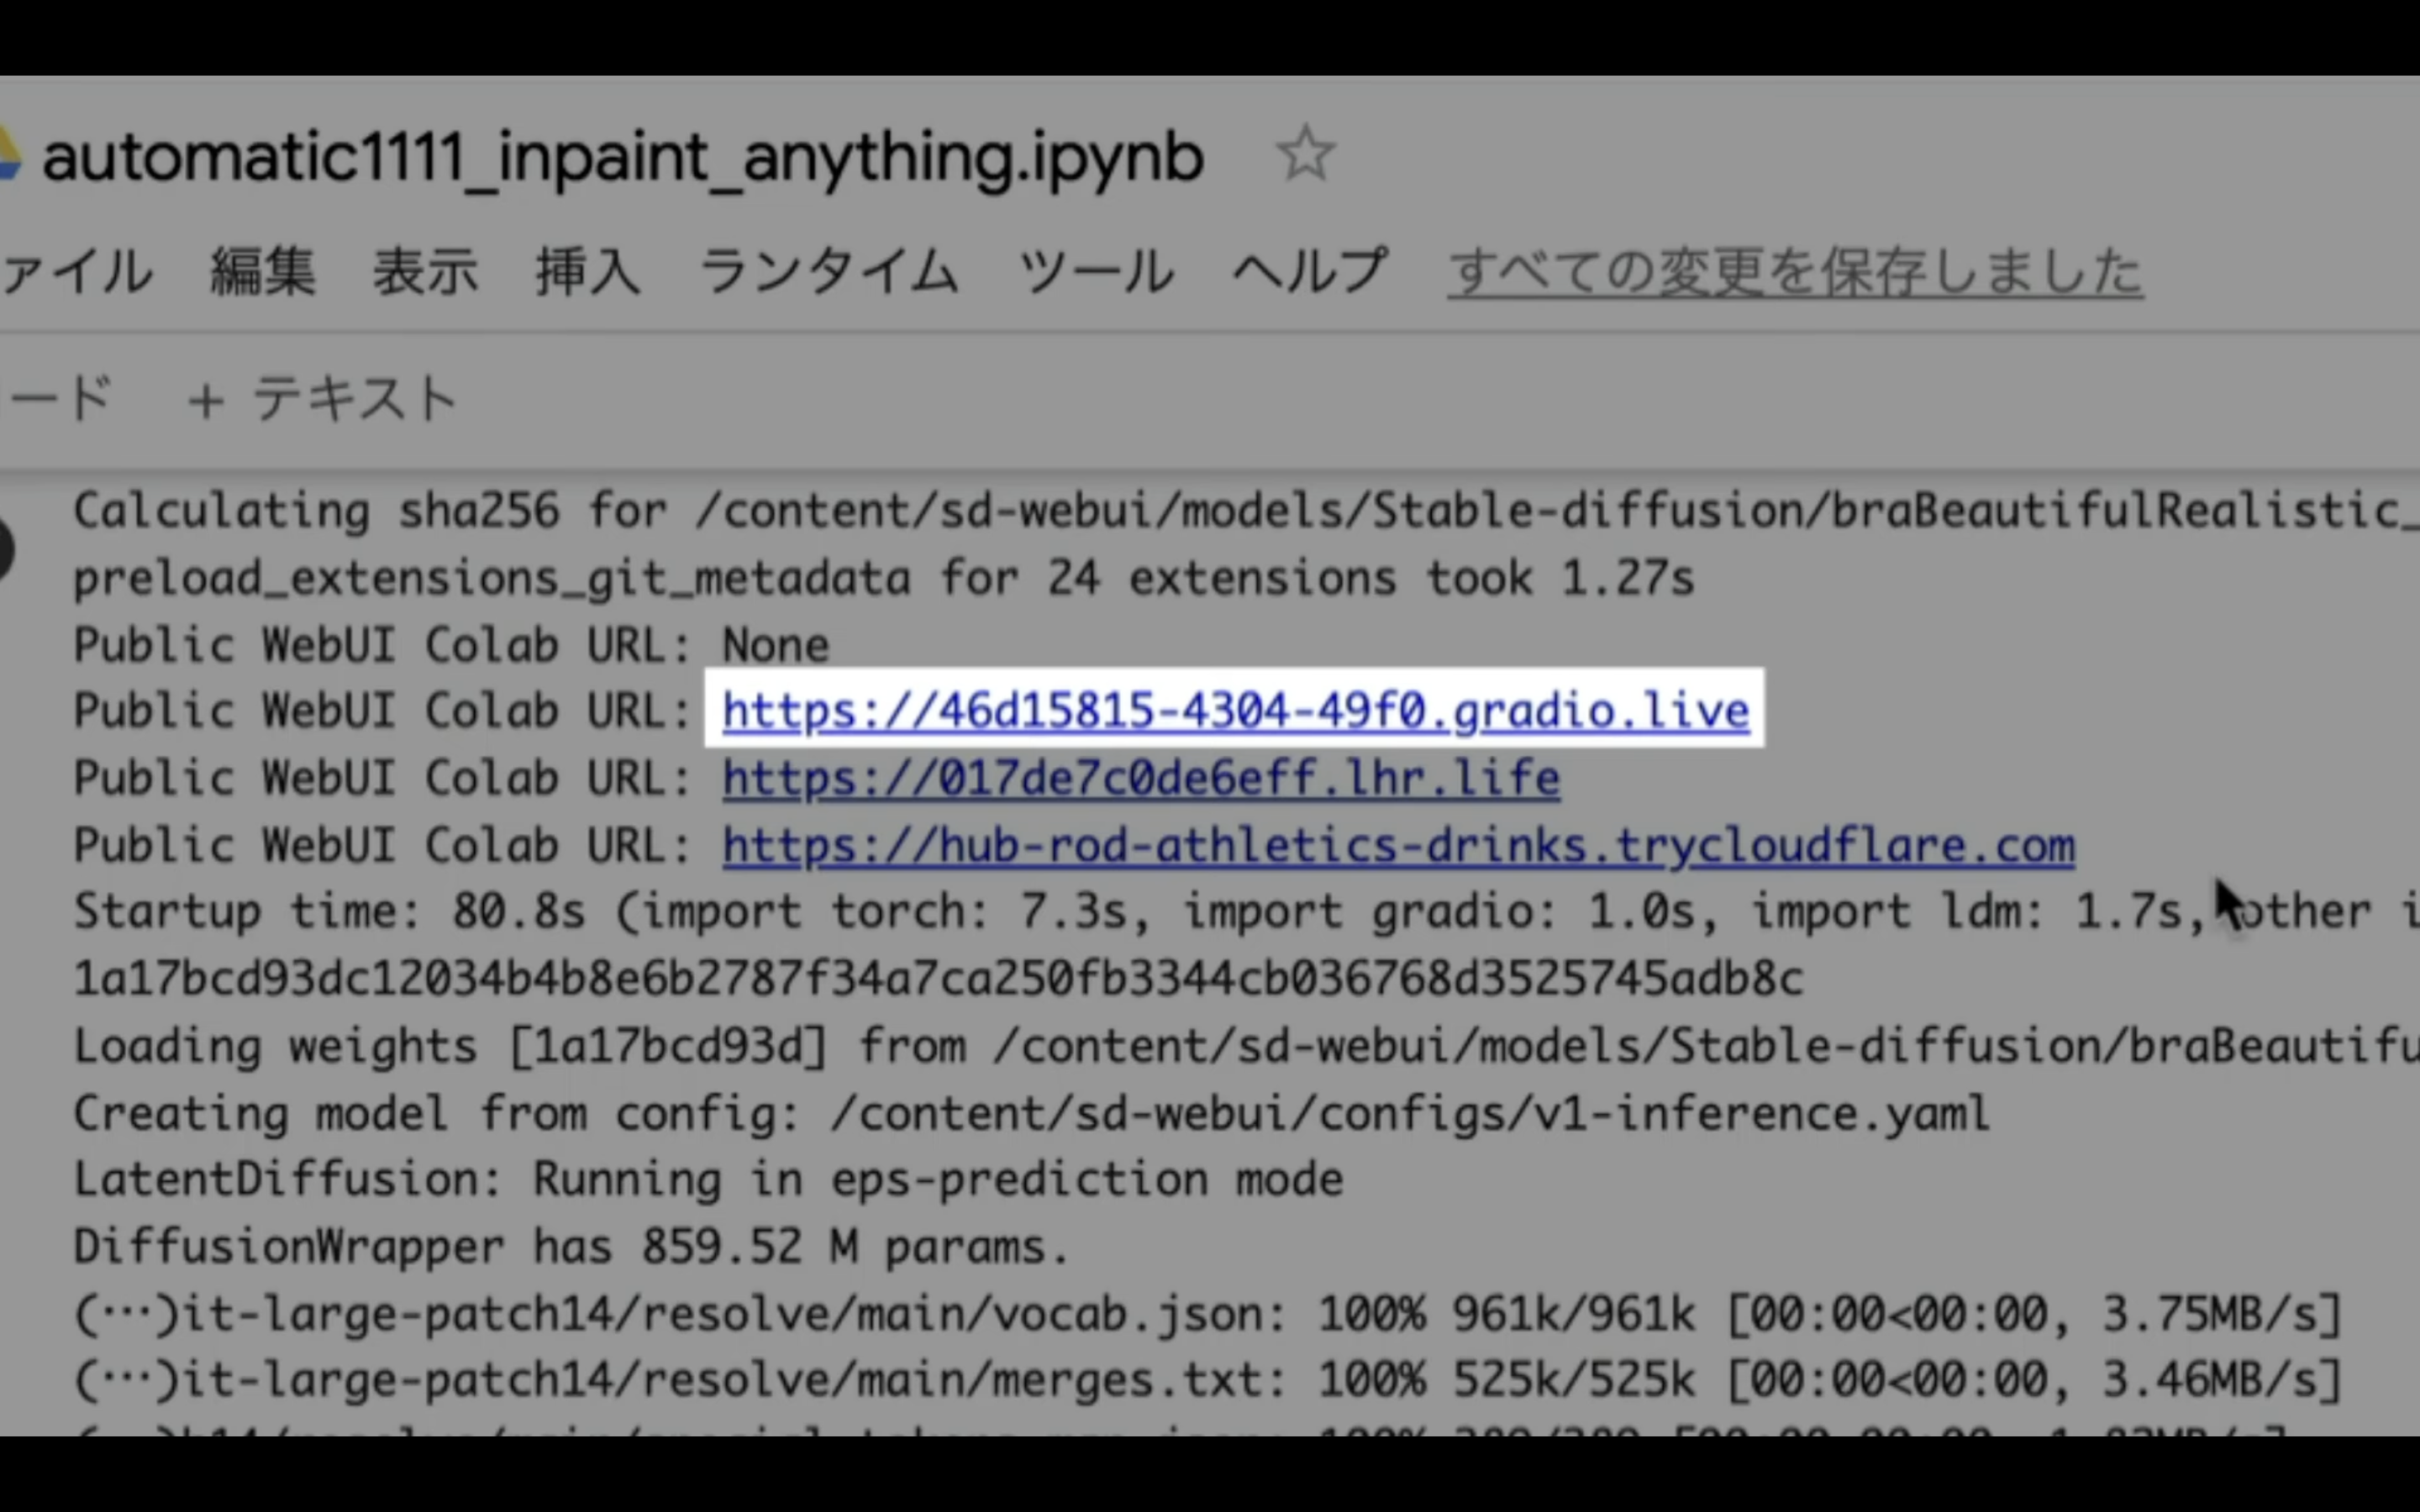
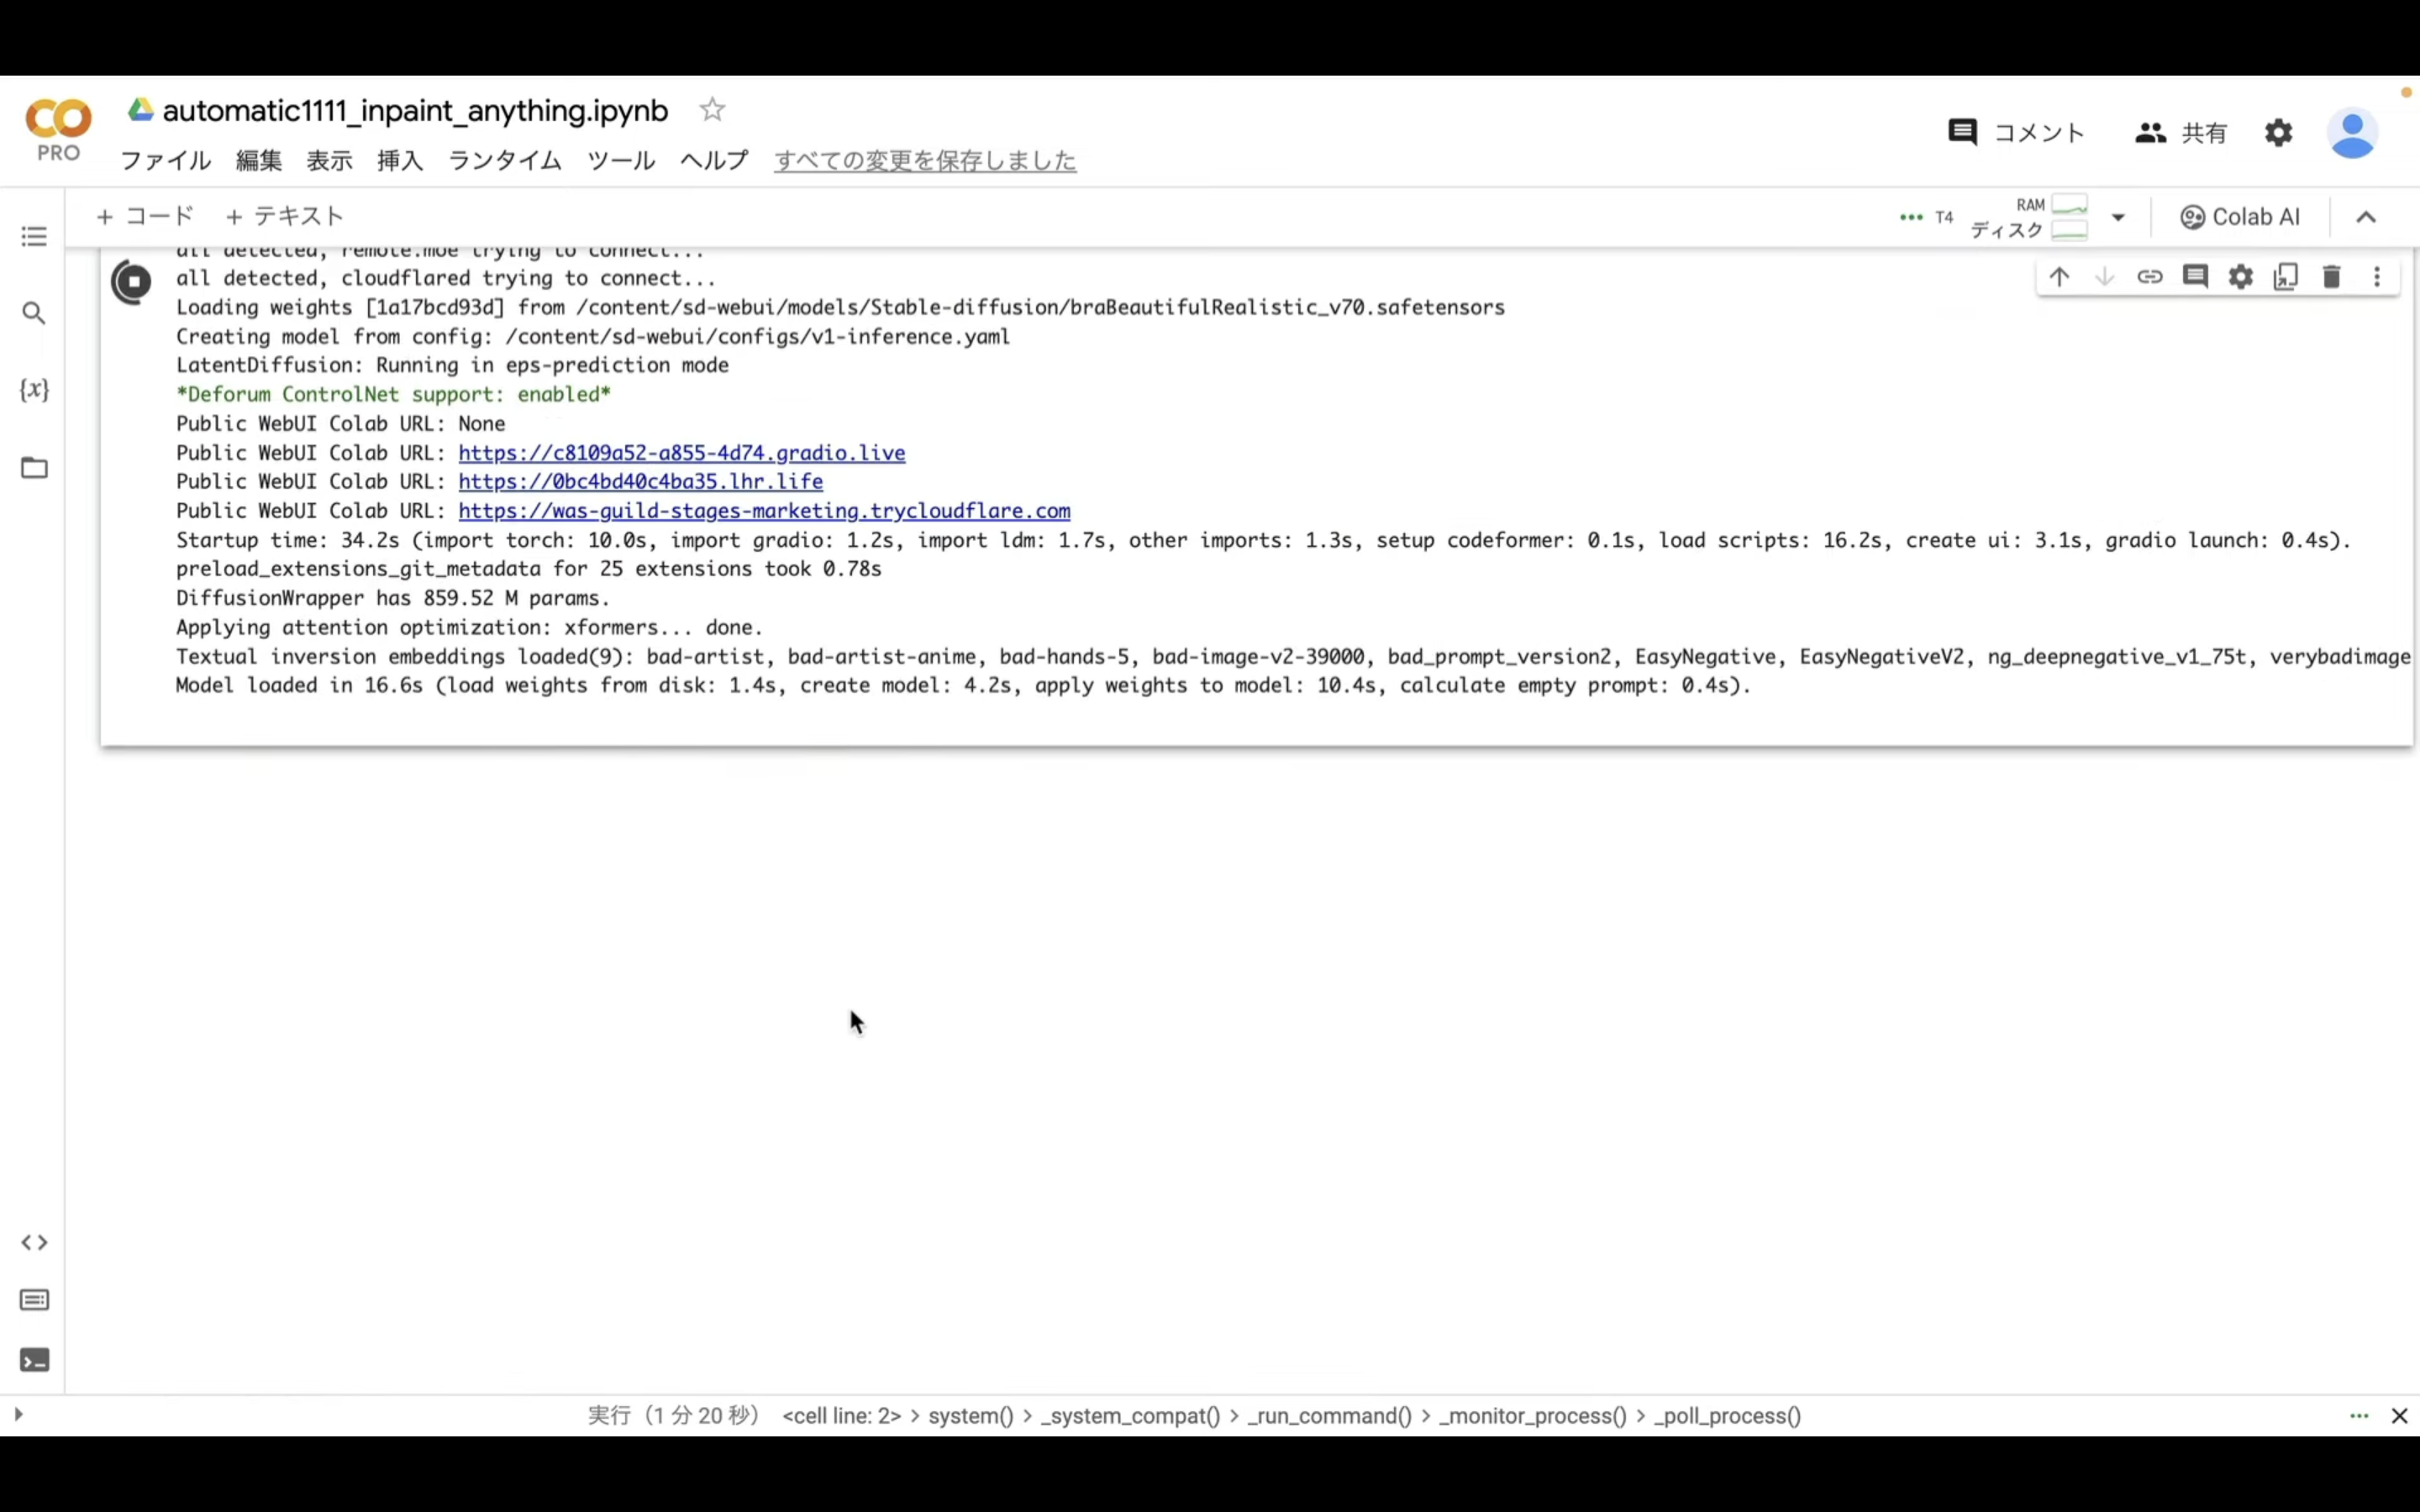
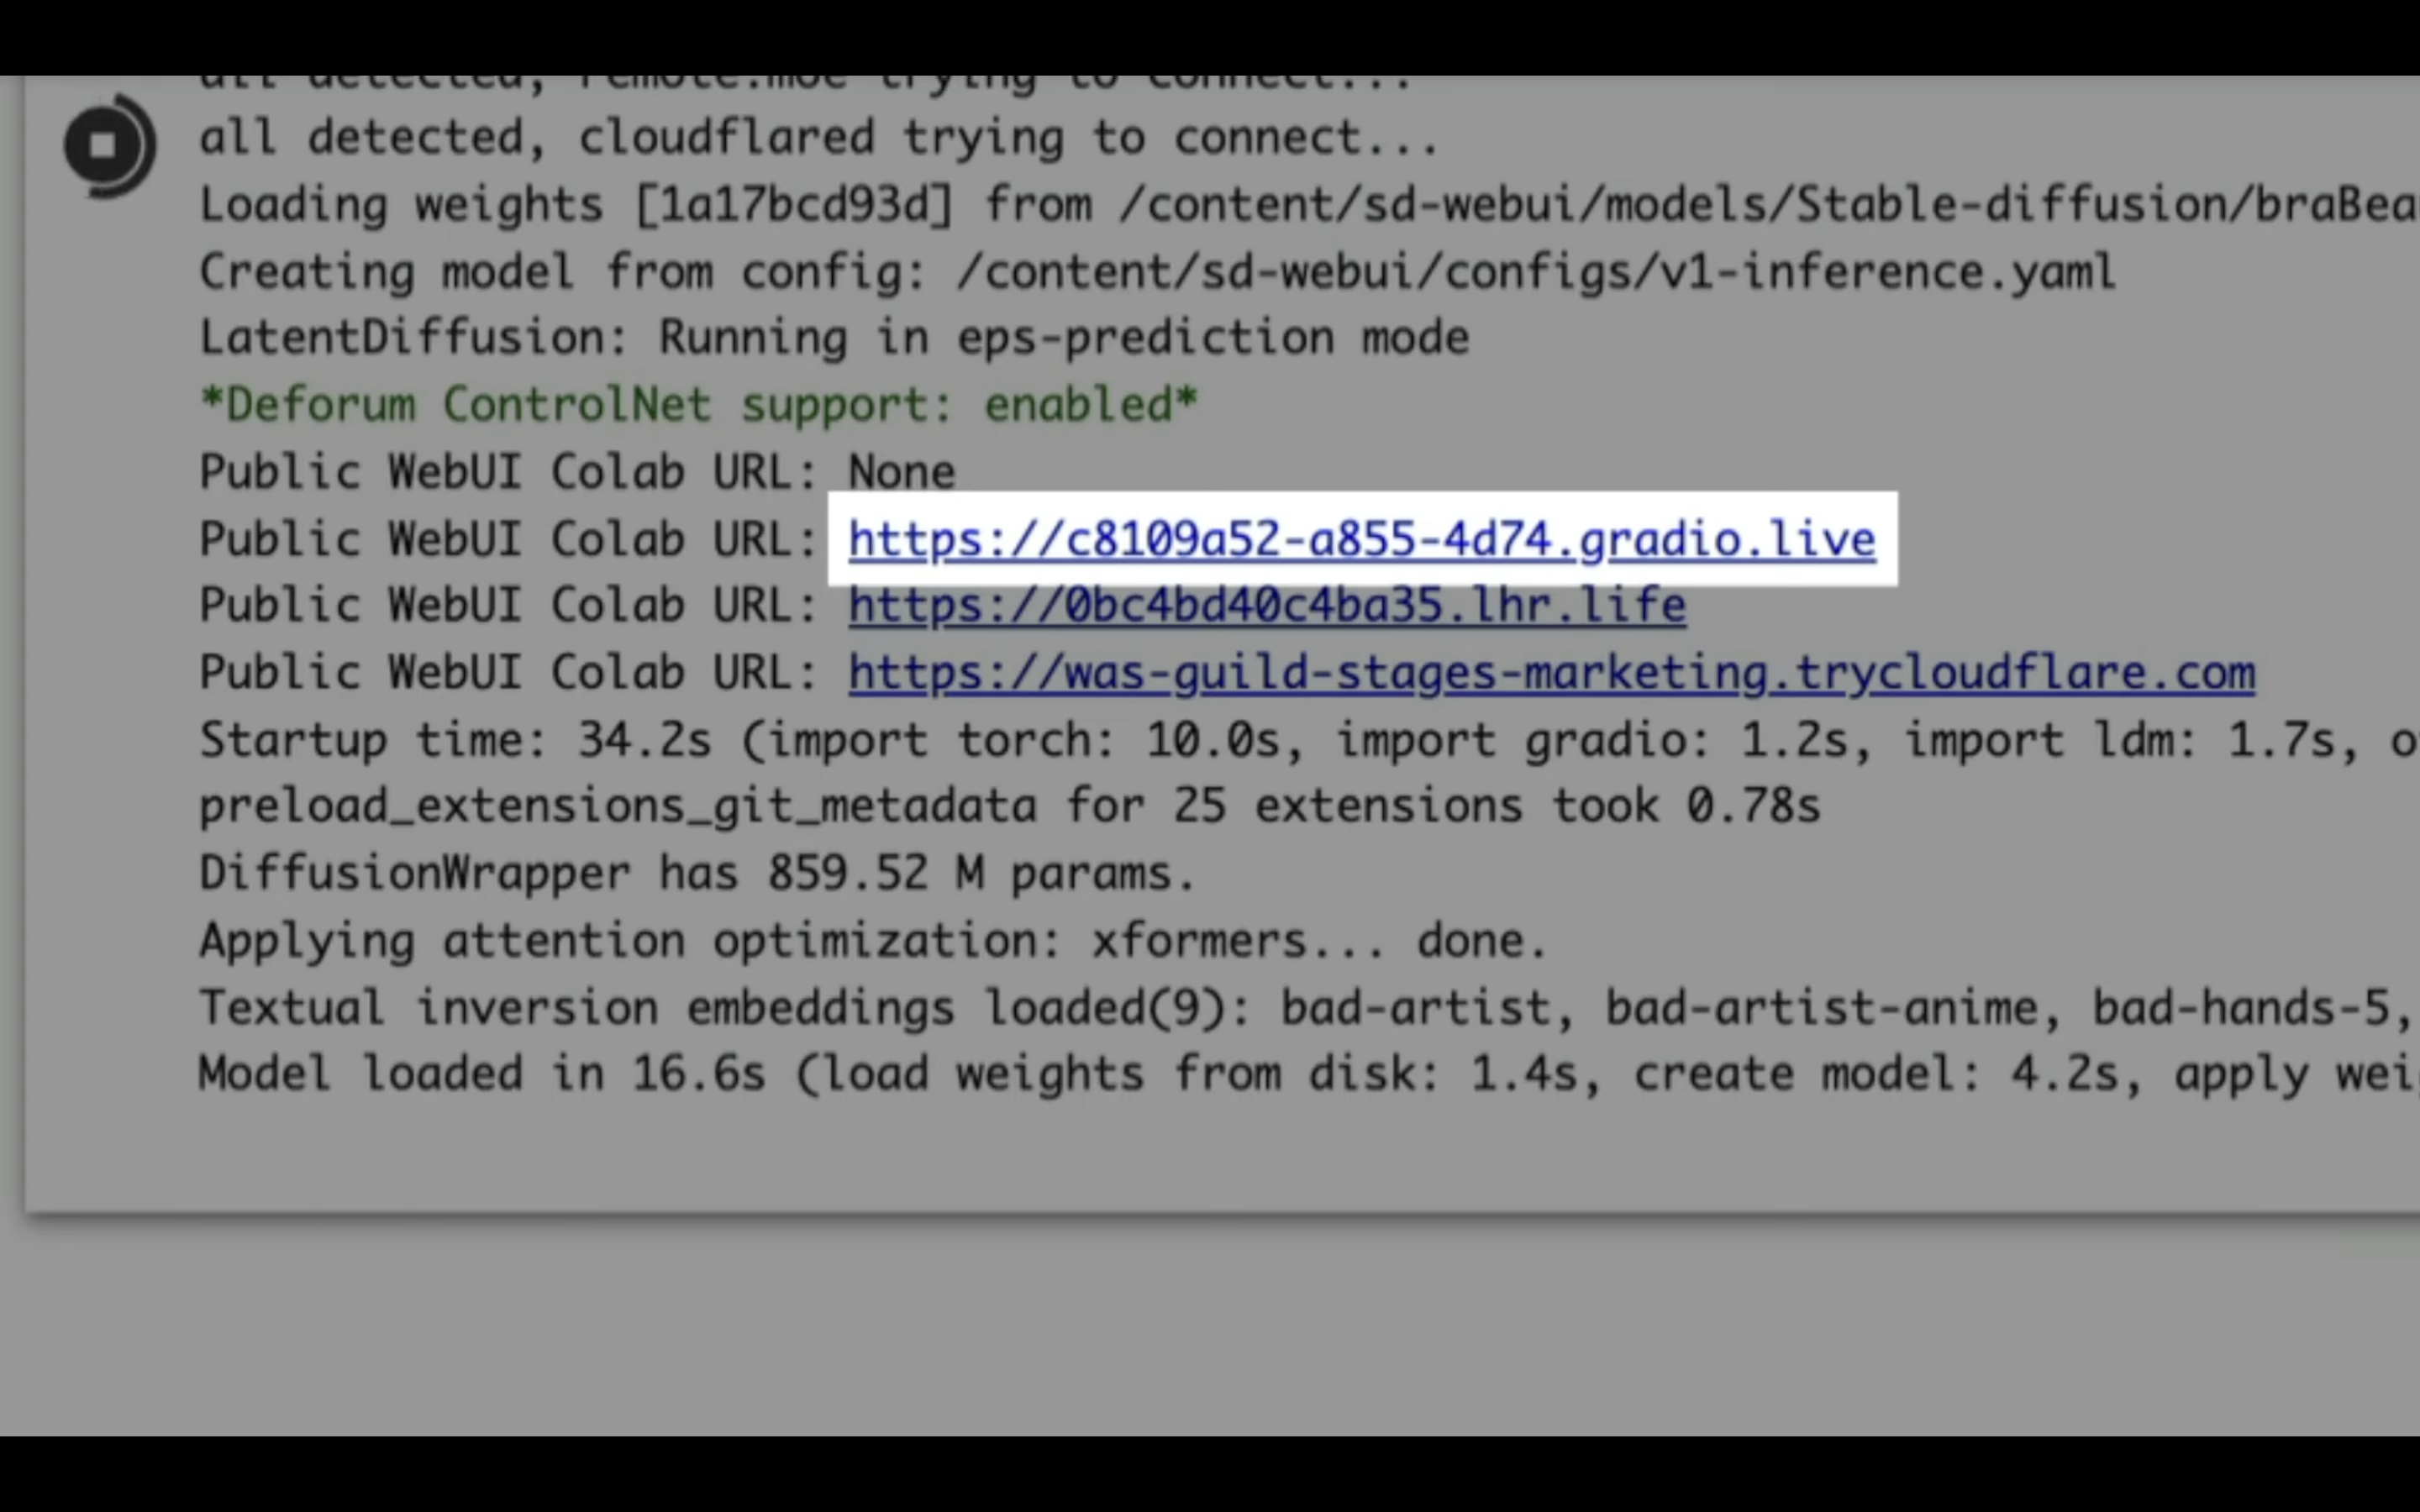
しばらく待っていると、このようなURLが表示されます。
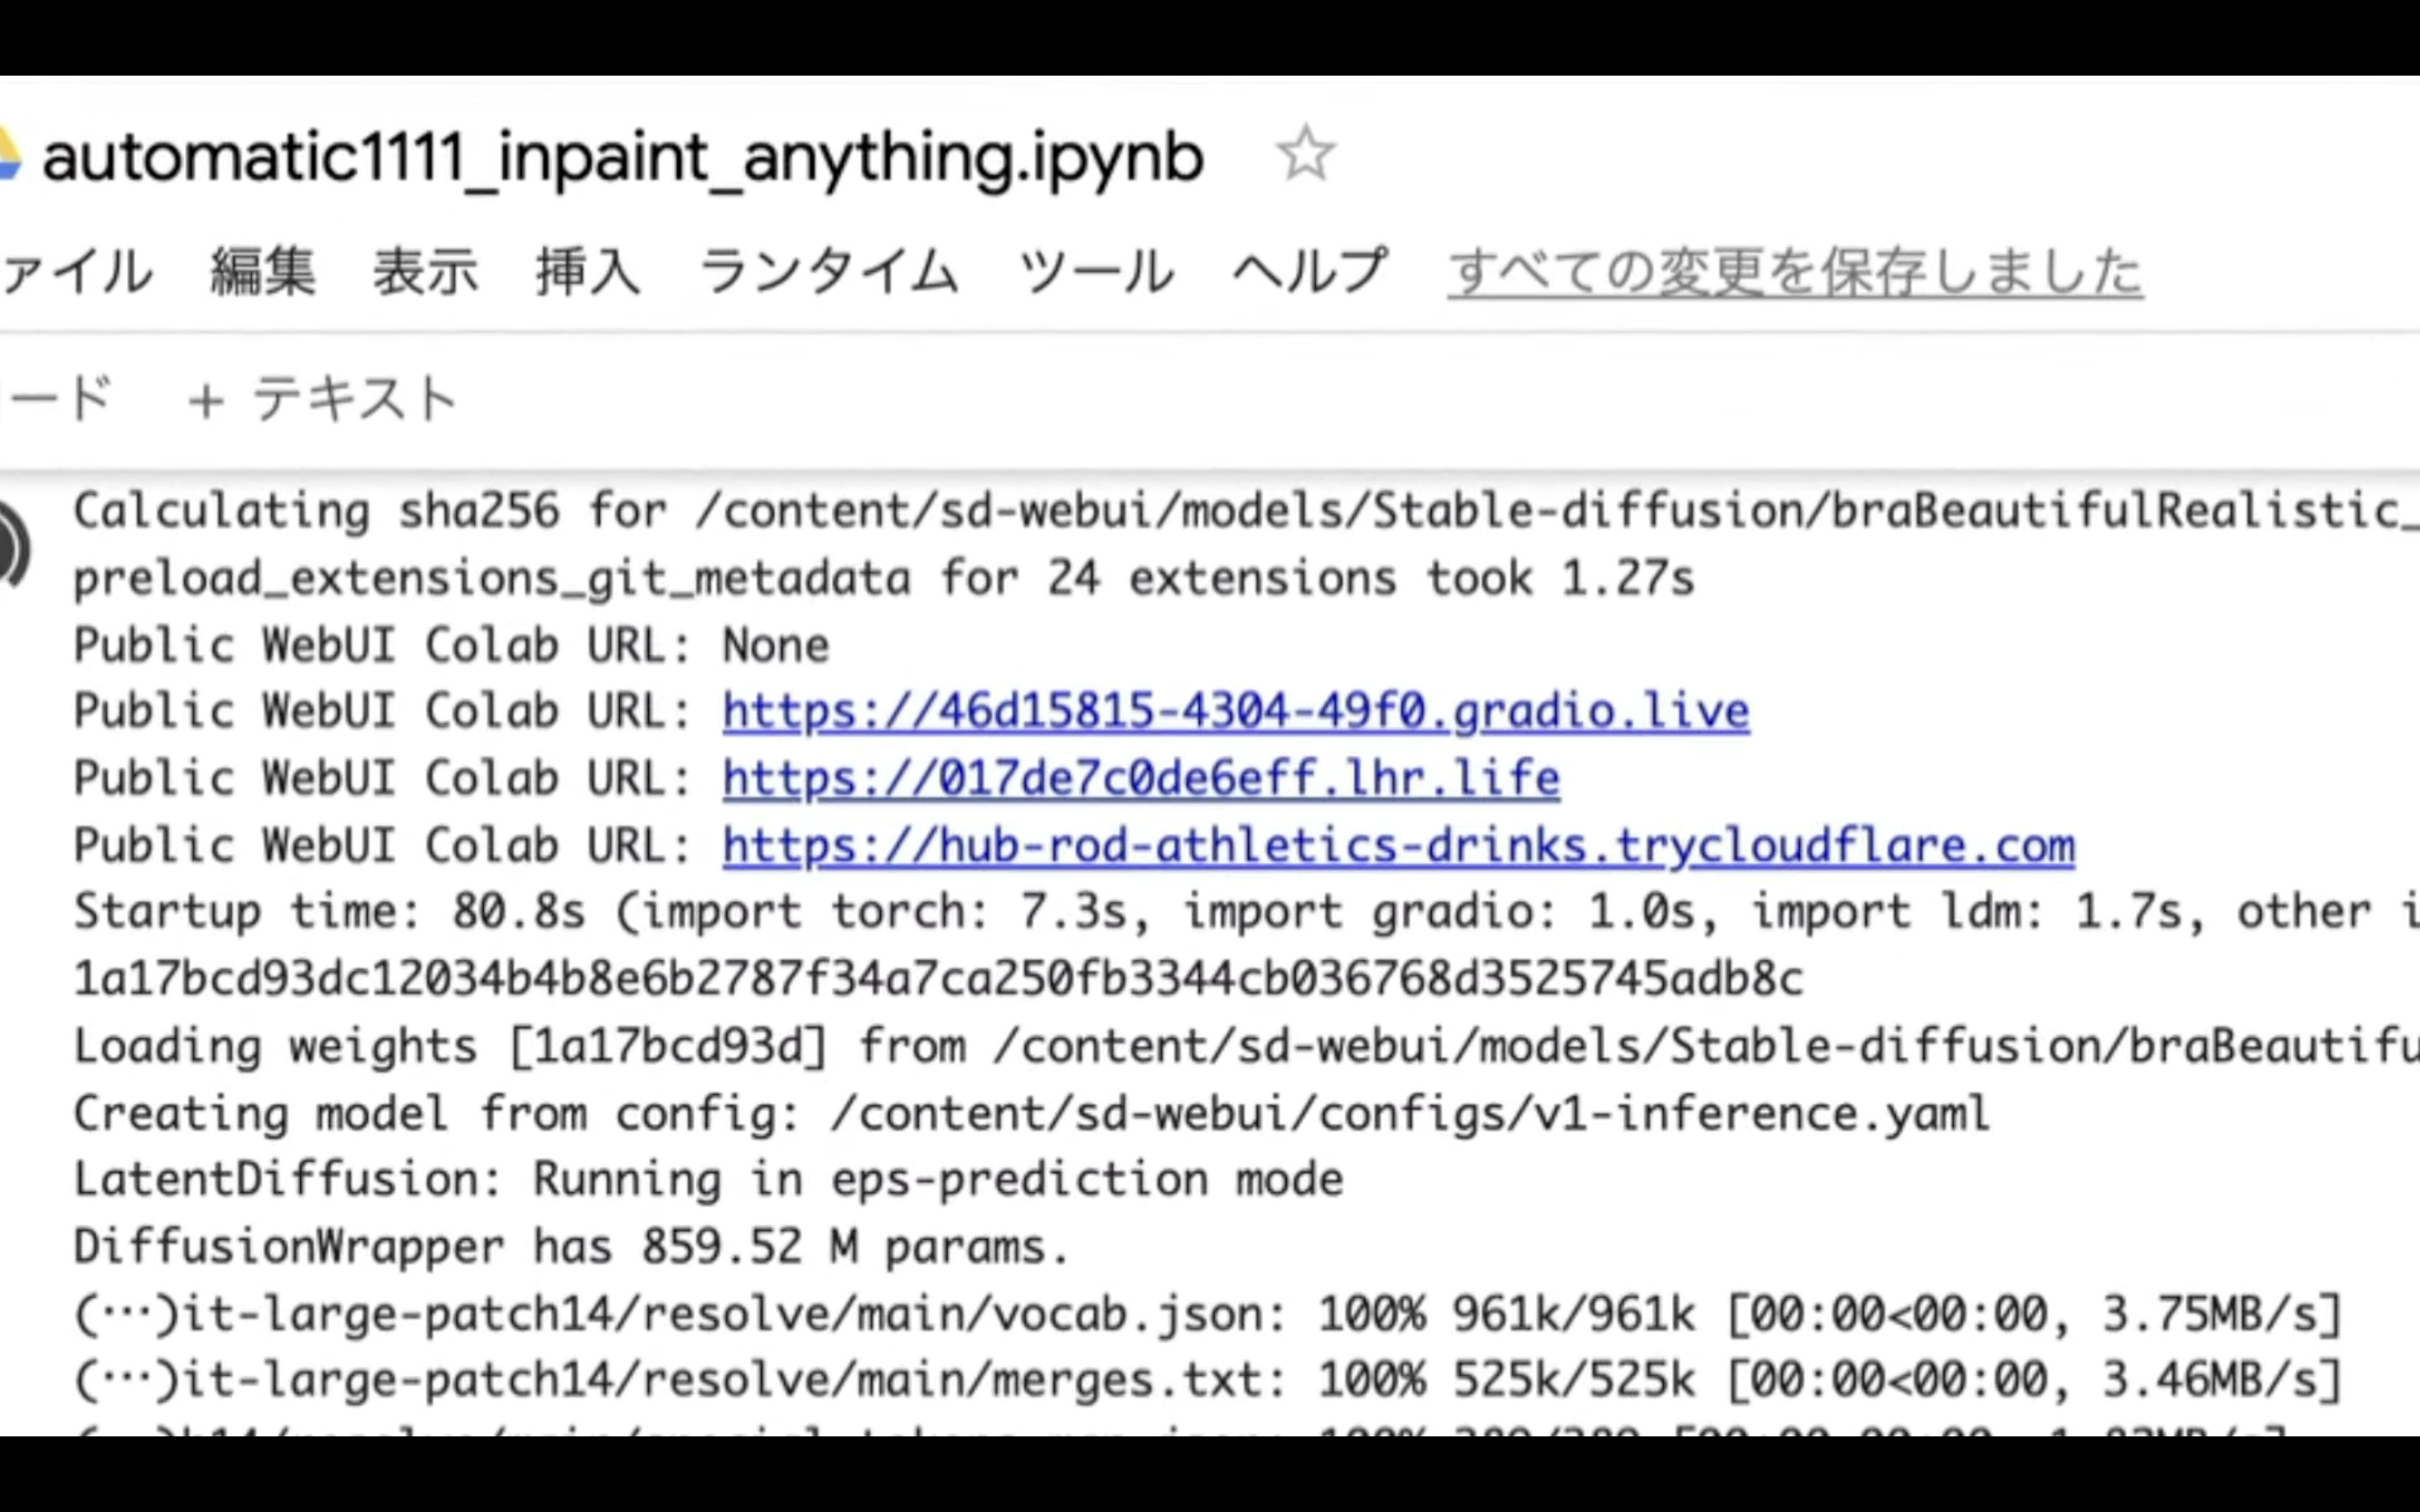
このようなリンクが表示されたら、gradioと書かれているリンクをクリックします。
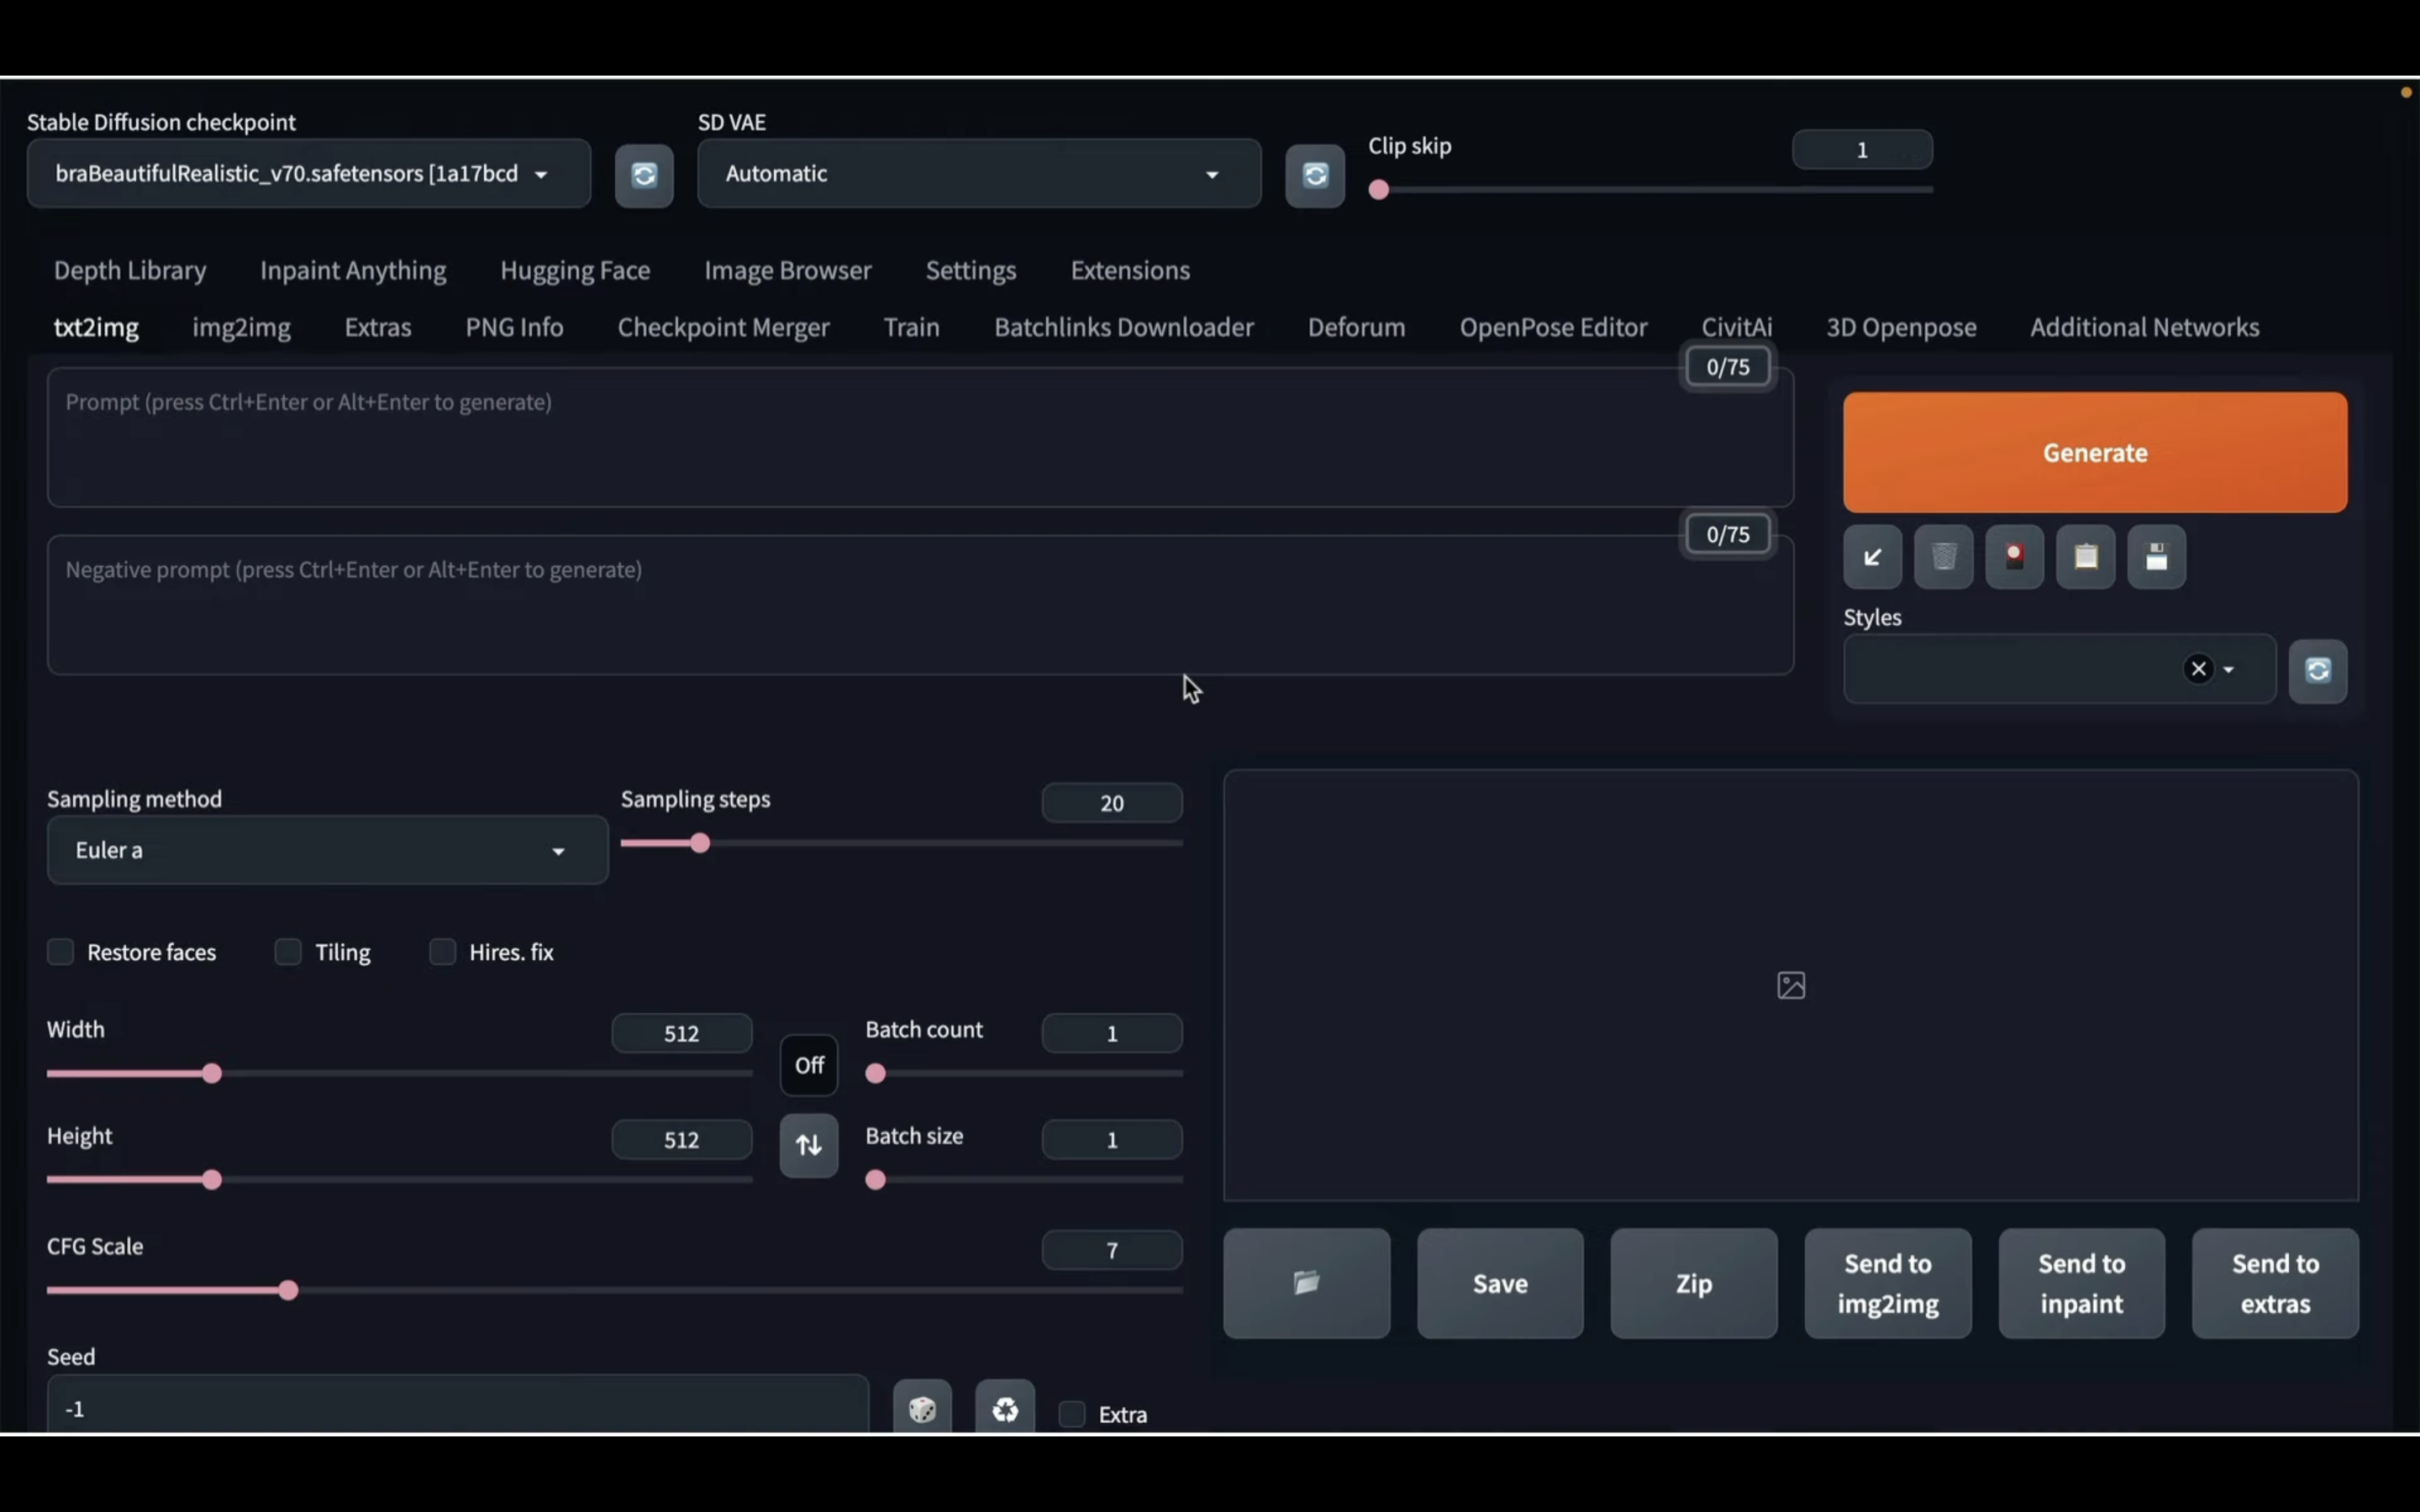
そうするとAutomatic1111の画面が表示されます。
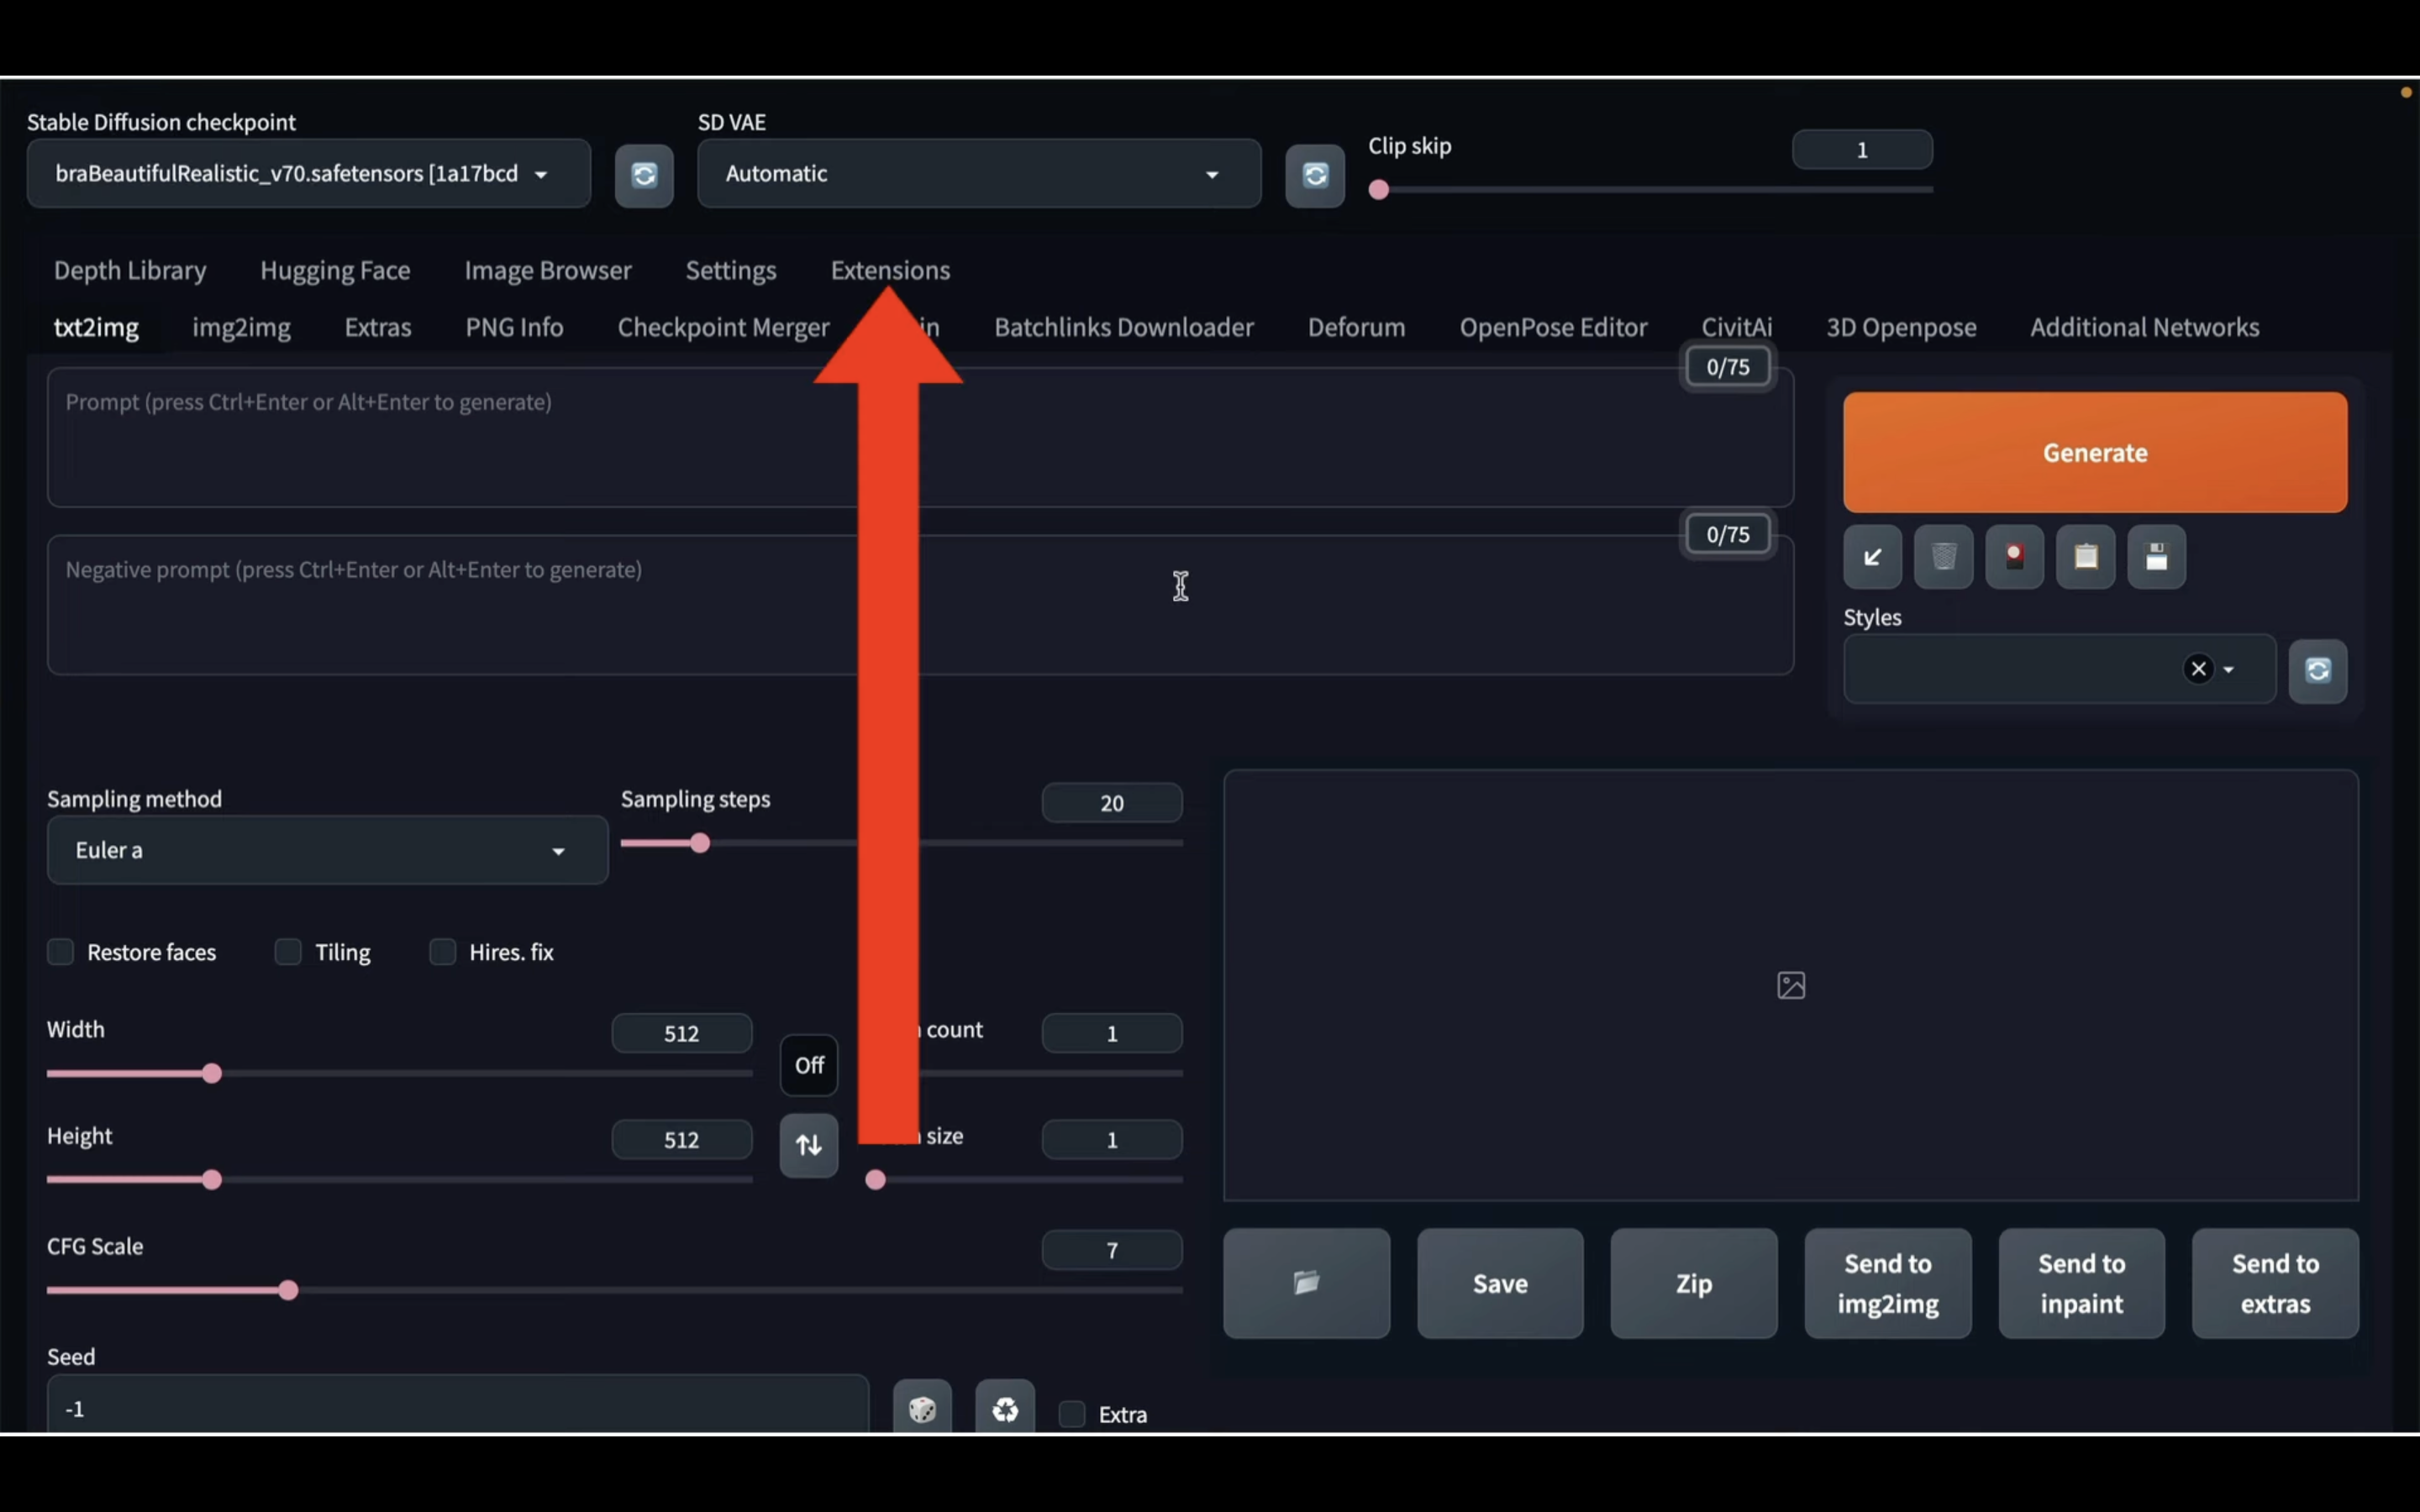
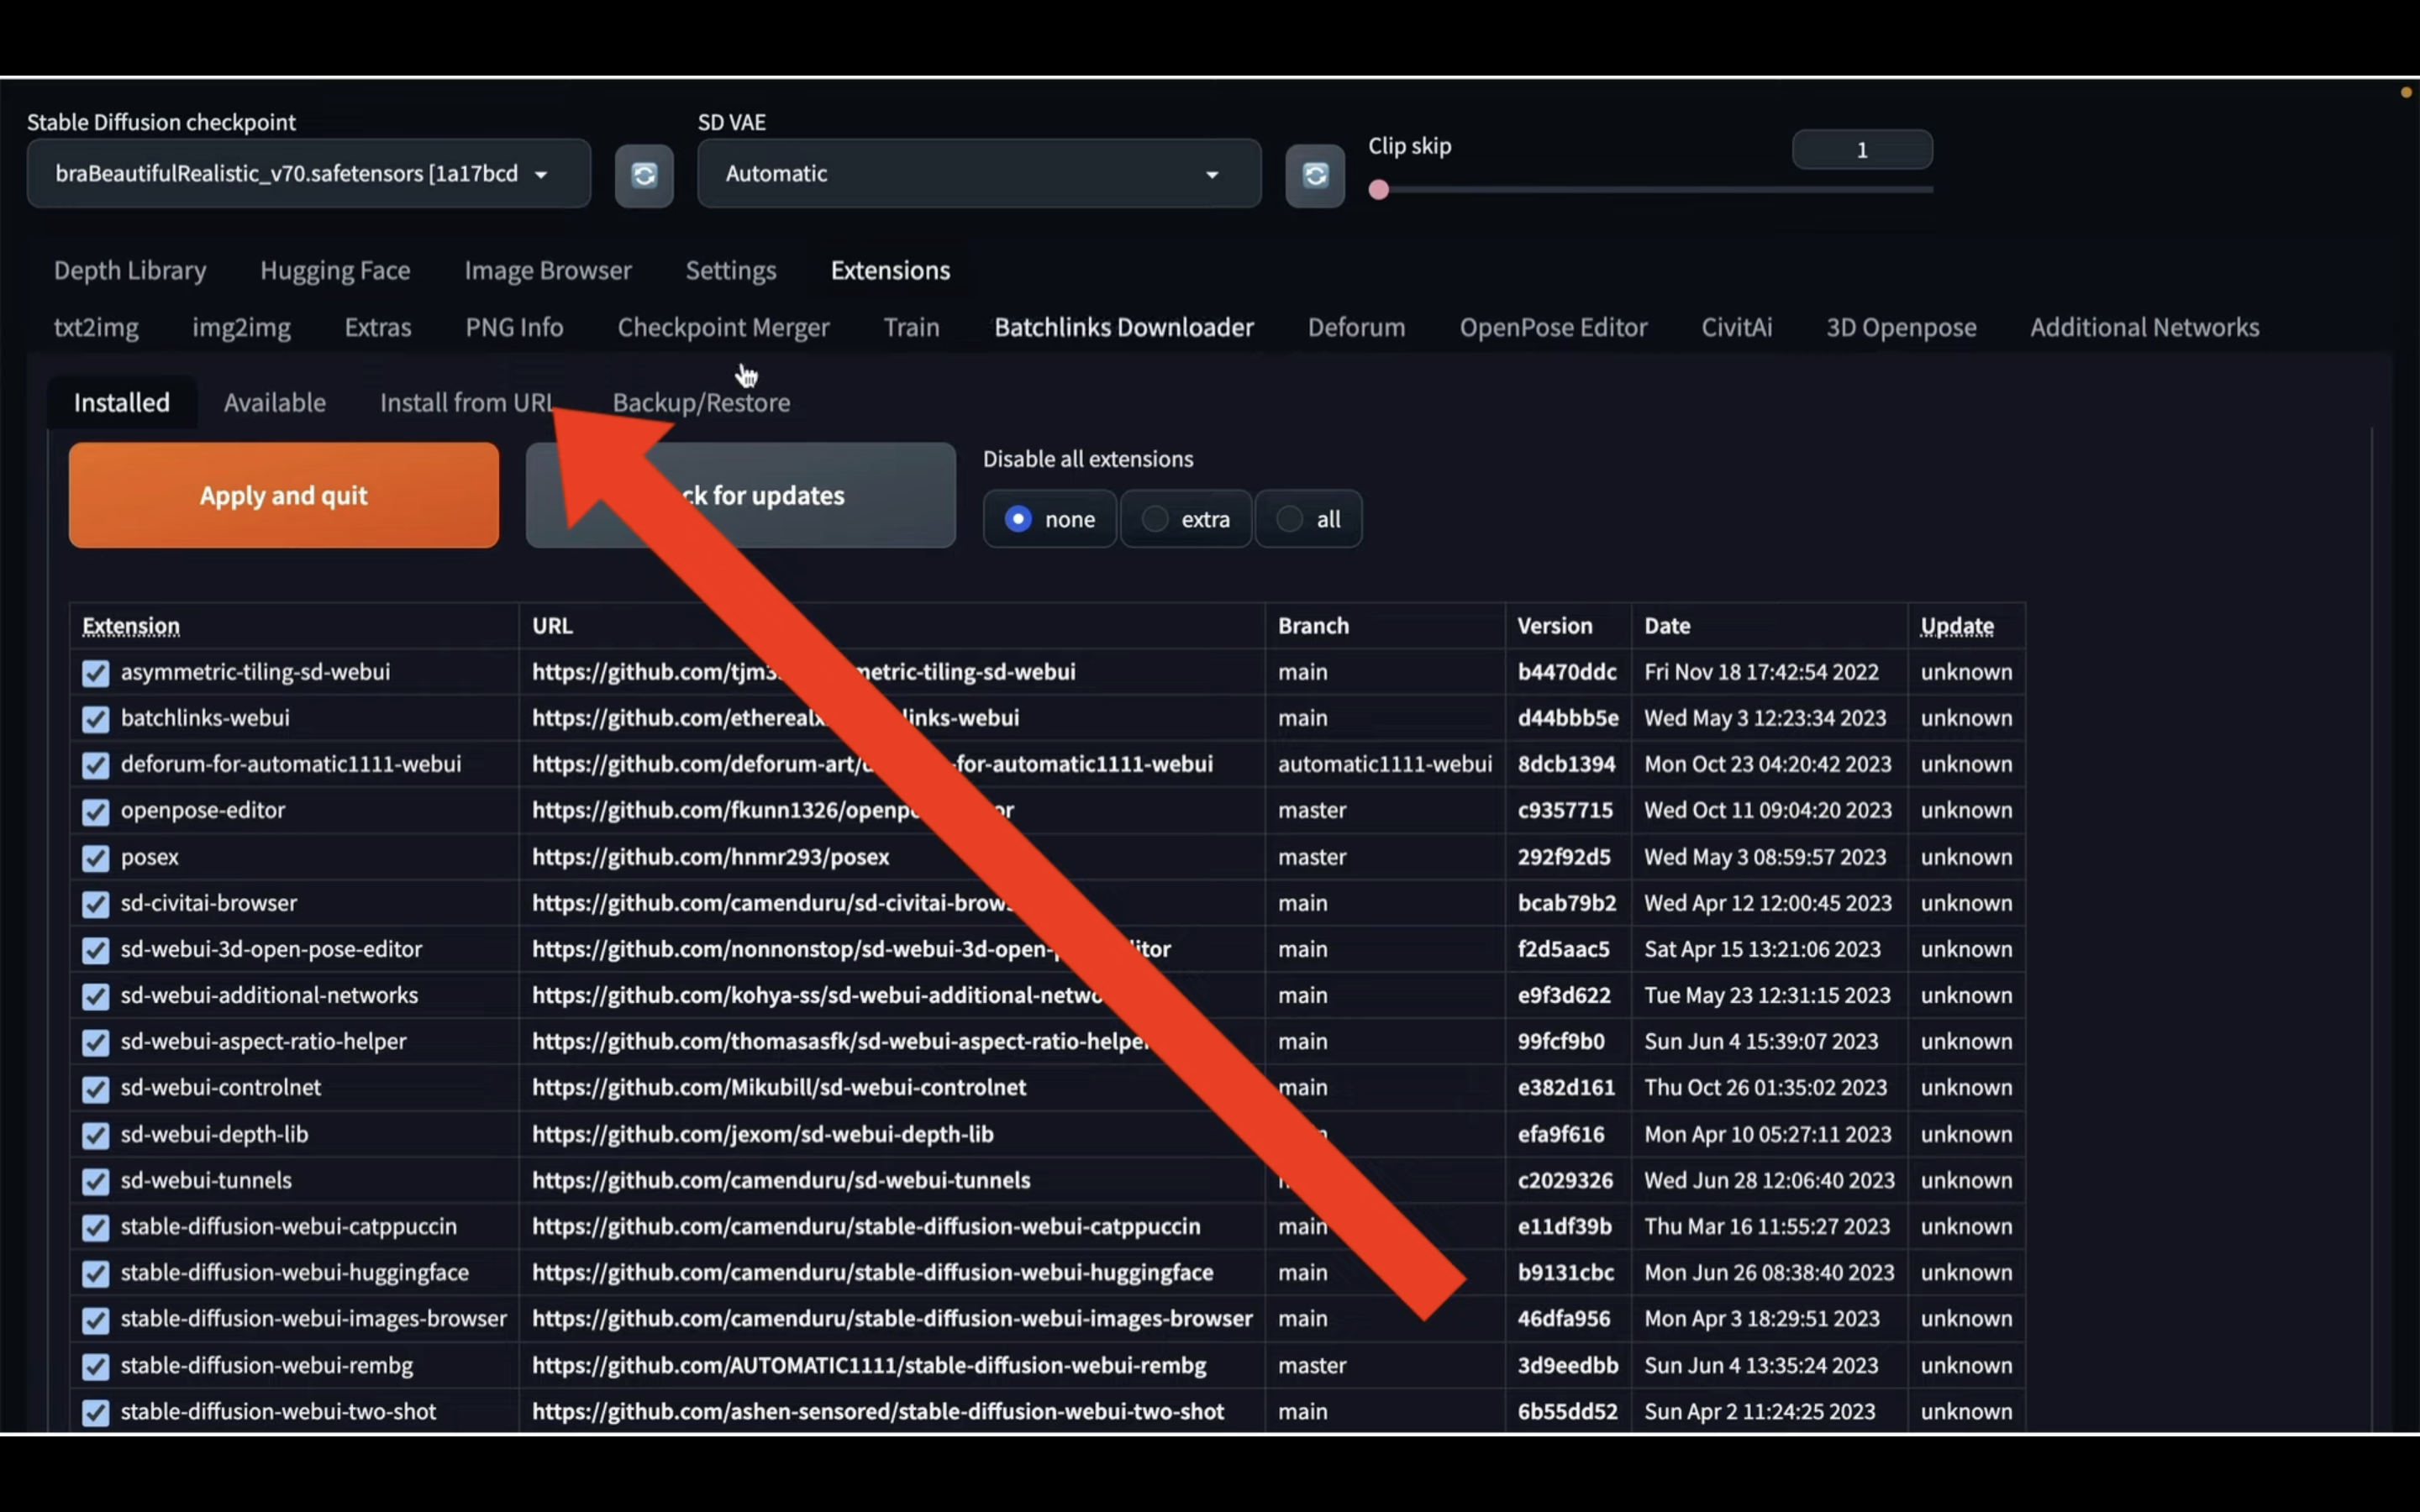
この画面が表示されたら、Extensionsと書かれているタブをクリックします。
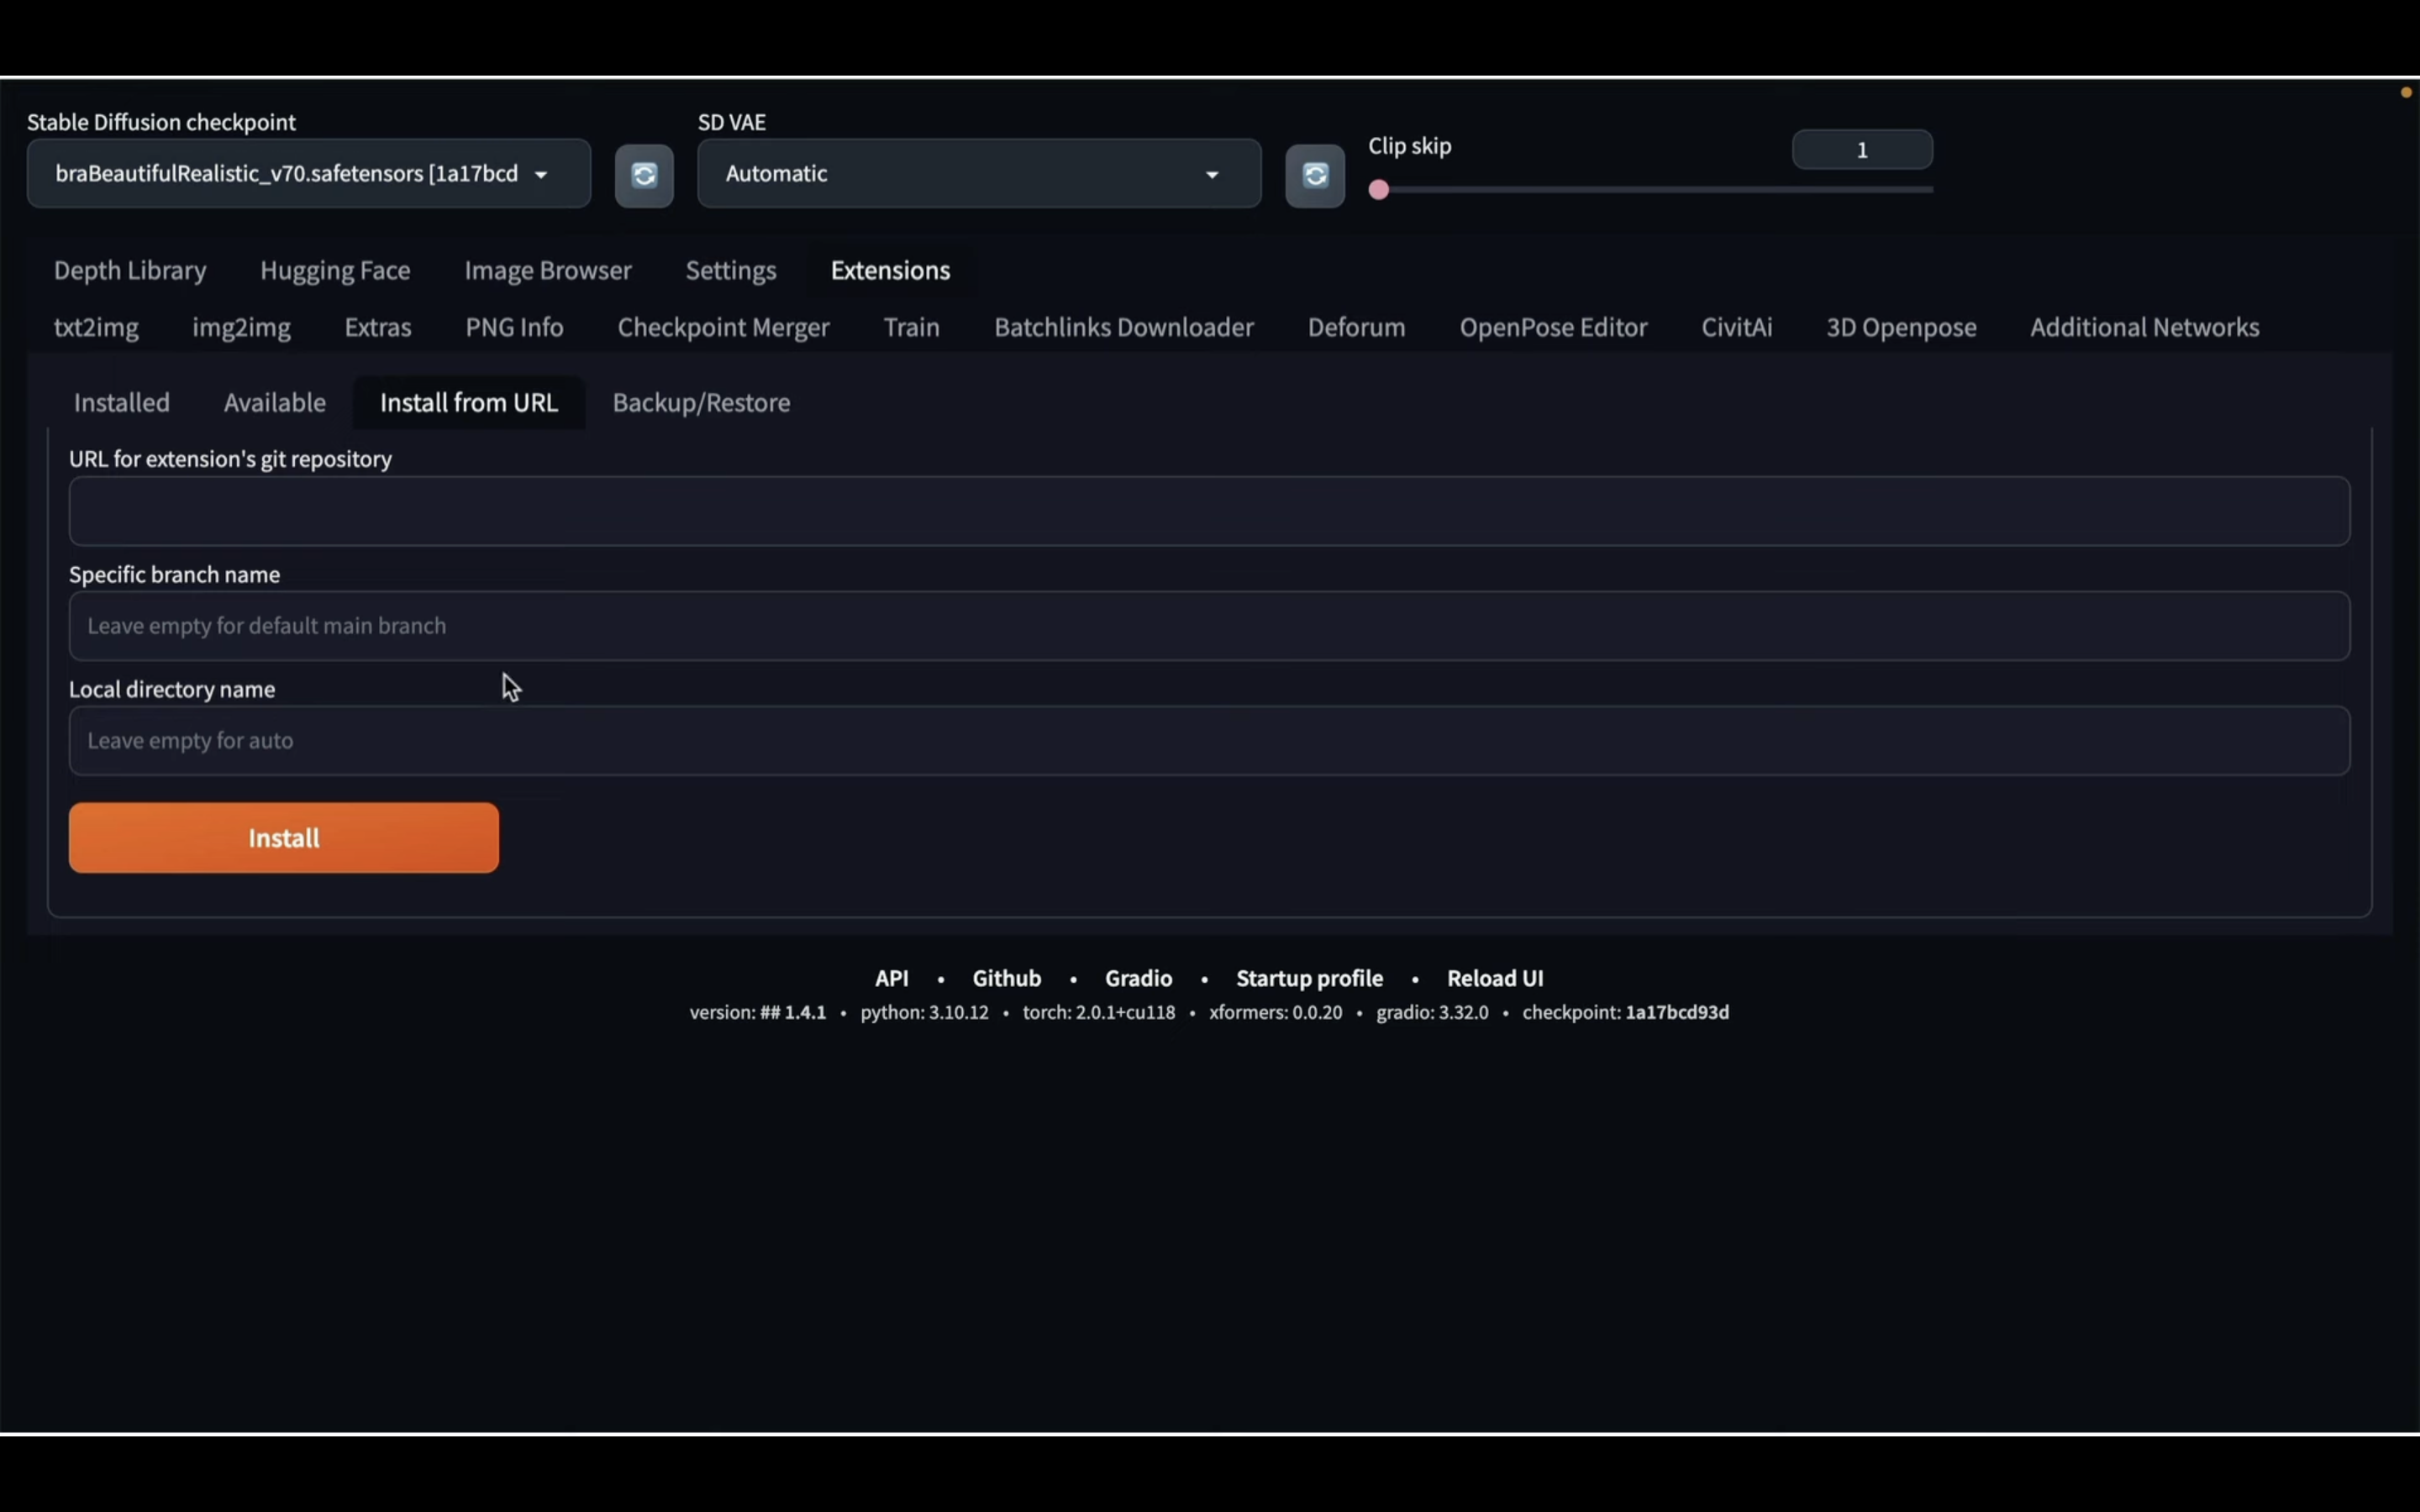
Extensionsの設定画面が表示されたら、インストールURLと書かれているタブをクリックします。

このページを表示したら、以下のURLをコピーします。
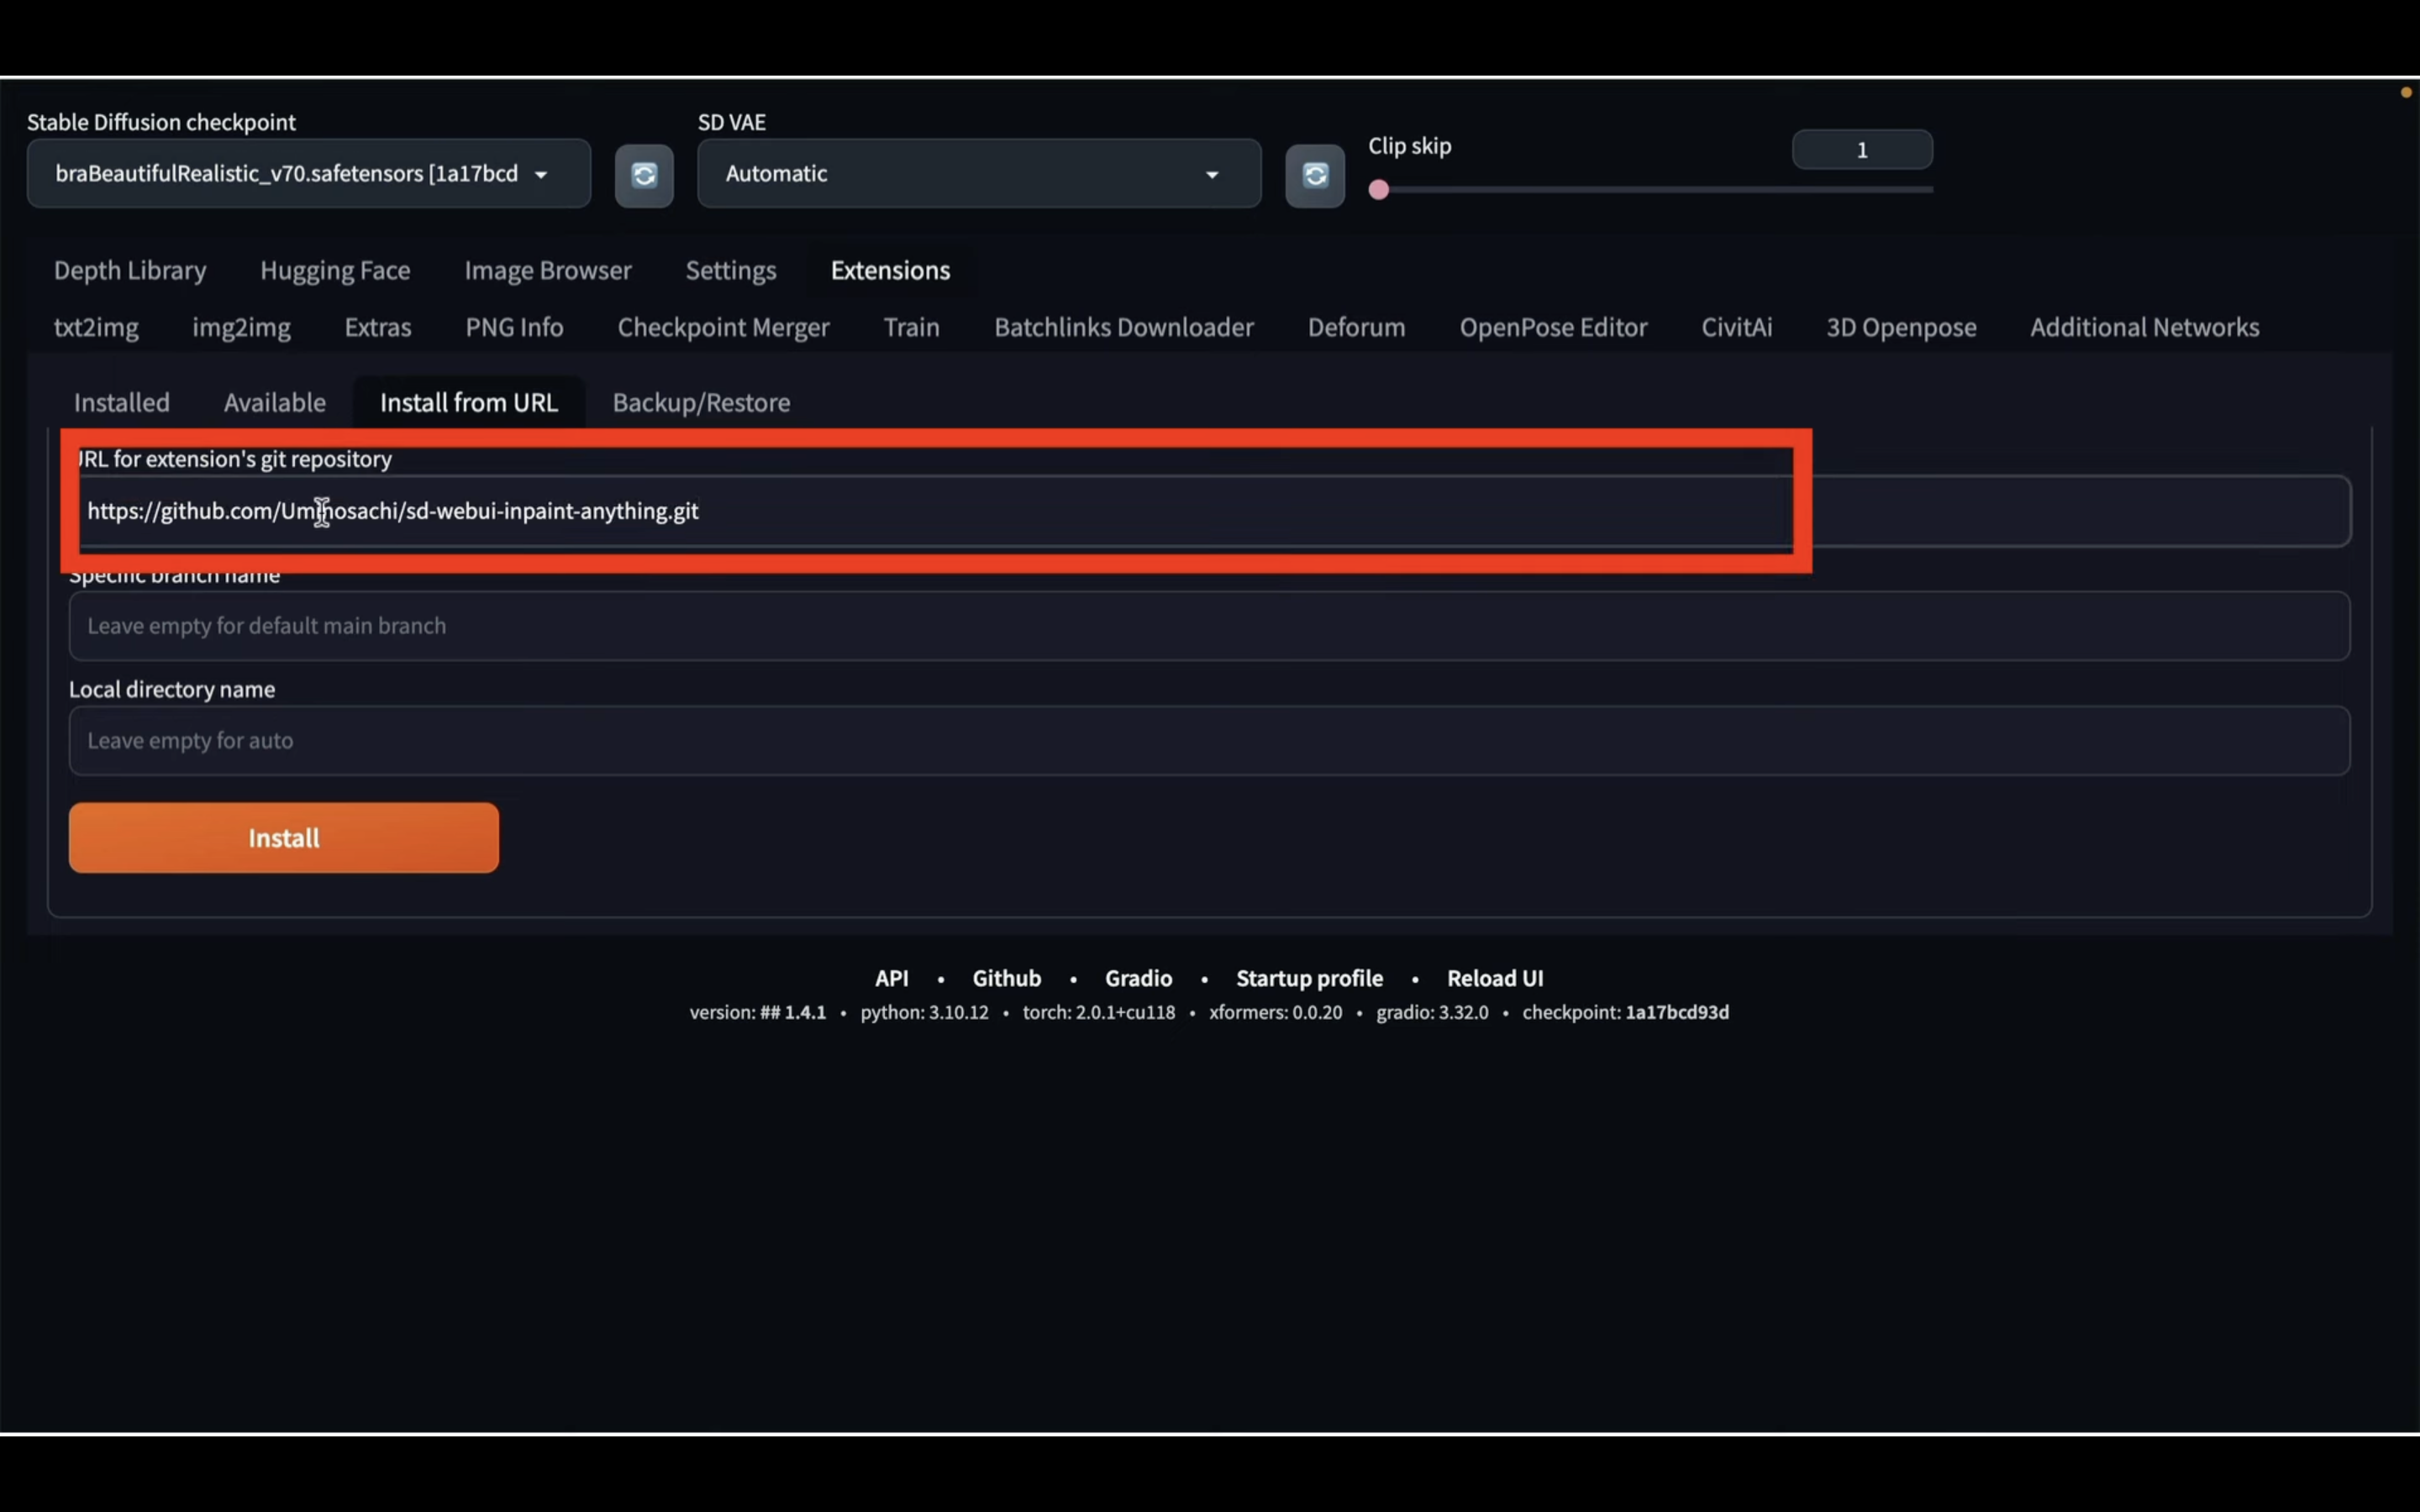
https://github.com/Uminosachi/sd-webui-inpaint-anything.git
URLをコピーしたら、Automatic1111の画面に戻ります。
そして、このテキストボックスにコピーしたURLを貼り付けます。
テキストを貼り付けたらインストールボタンをクリックします。
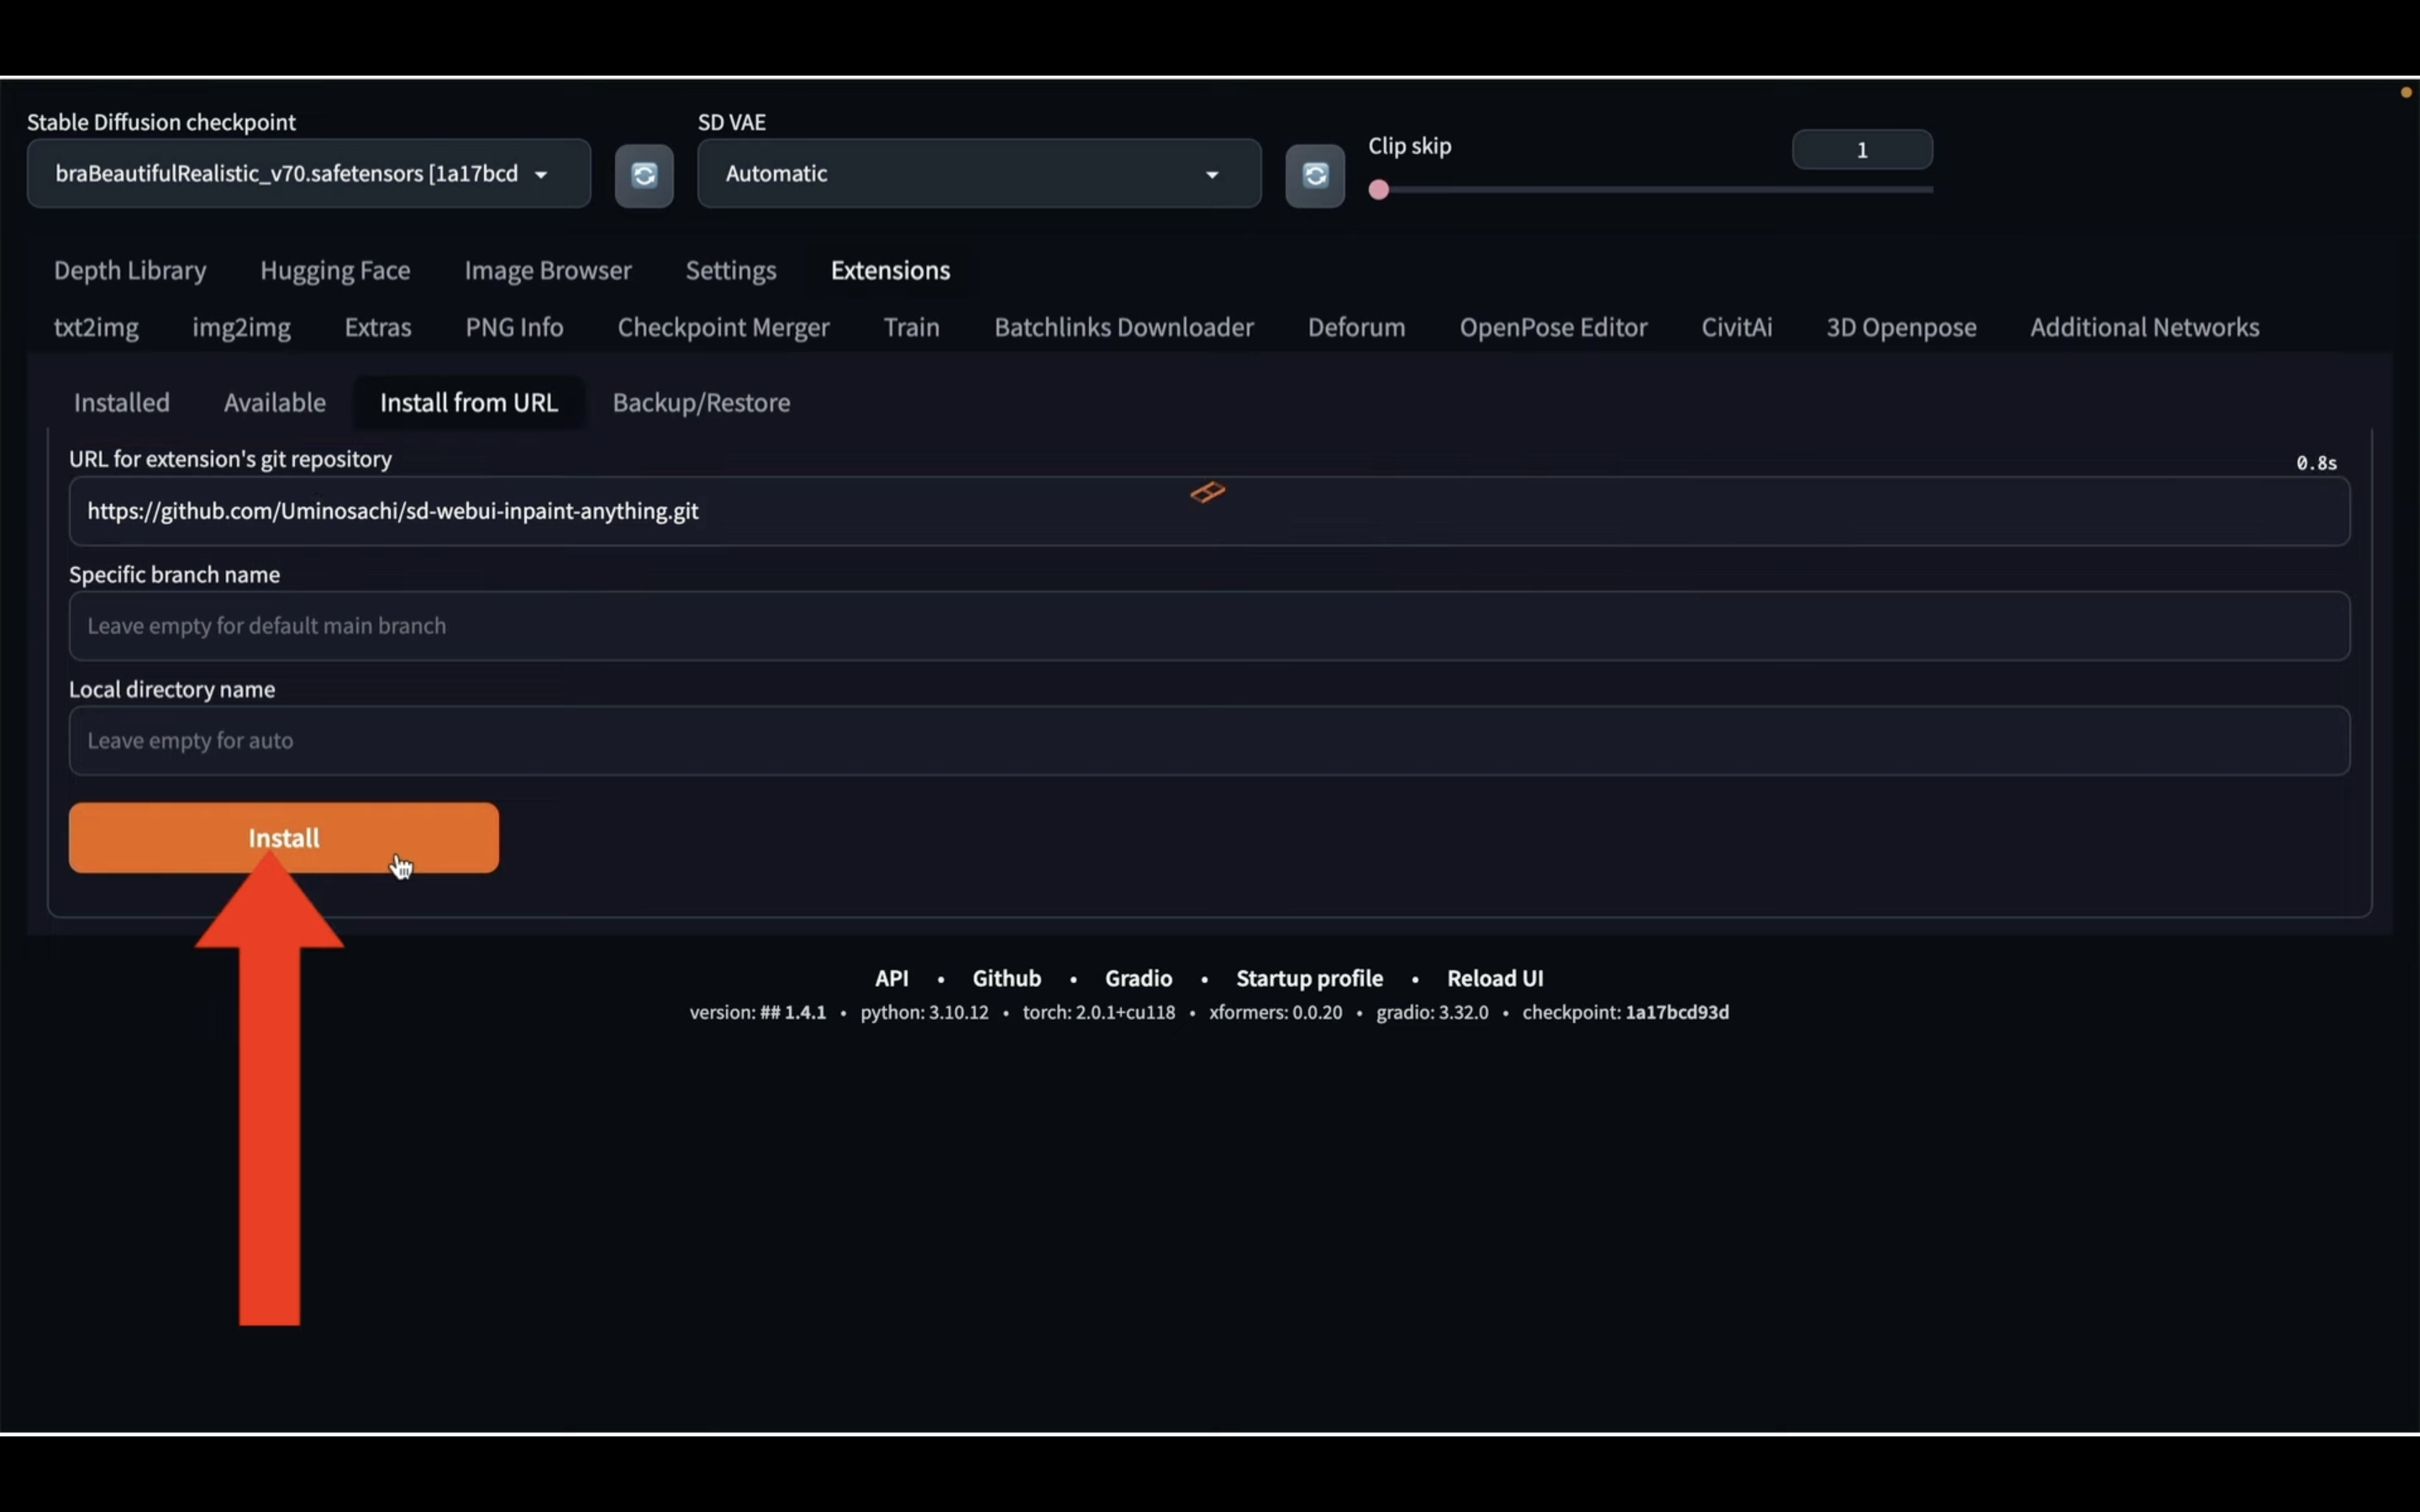
そうするとinpaint anythingのExtensionsのインストールが開始されます。
しばらく待っていると、このようなメッセージが表示されます。
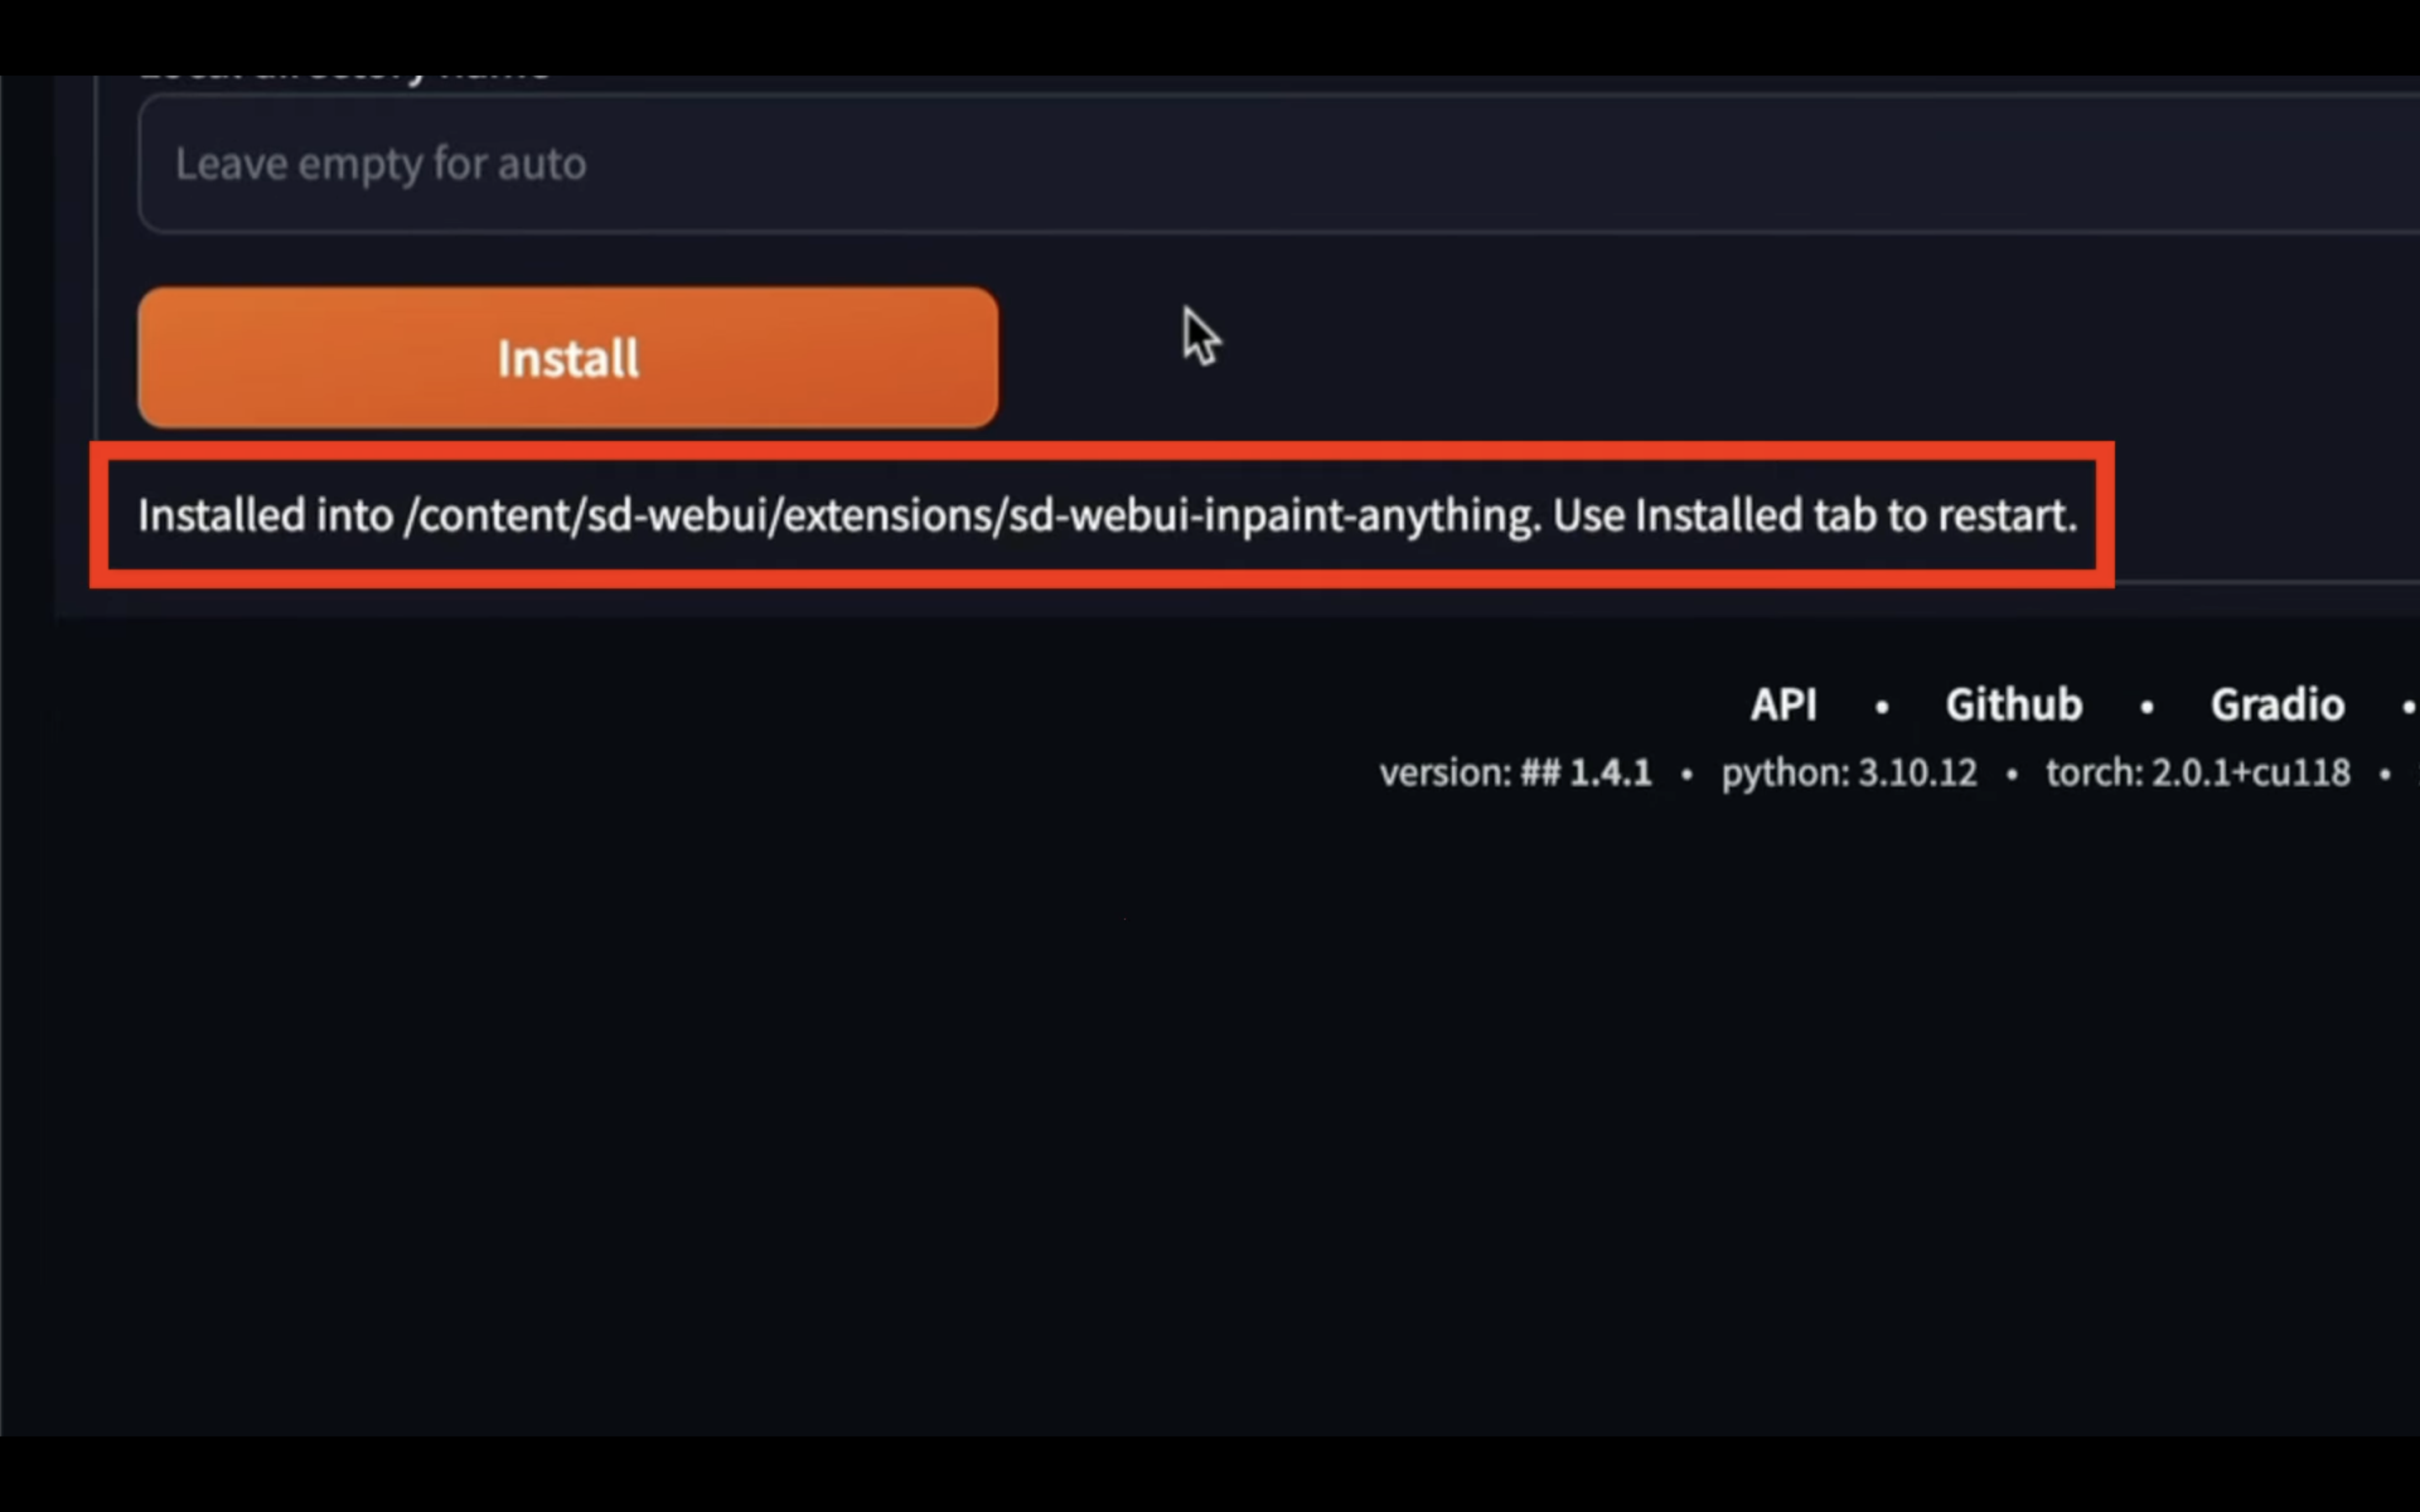
これでinpaint anythingのExtensionsのインストールが完了しました。
inpaint anythingのExtensionsを有効にするには、一旦Automatic1111を停止させます。
Google Colabの画面に切り替えます。
この画面に切り替えたら停止ボタンをクリックします。
これでAutomatic1111を停止することができました。
Automatic1111をもう1度起動するためには、以下にあるテキストをコピーします。
%cd /content/sd-webui
!python launch.py --listen --xformers --enable-insecure-extension-access  --theme dark --gradio-queue --multiple
テキストをコピーしたら、Google Colabの画面に戻ります。
Google Colabの画面に戻ったら、コードと書かれているテキストをクリックします。
そうすると新しいテキストボックスが追加されます。
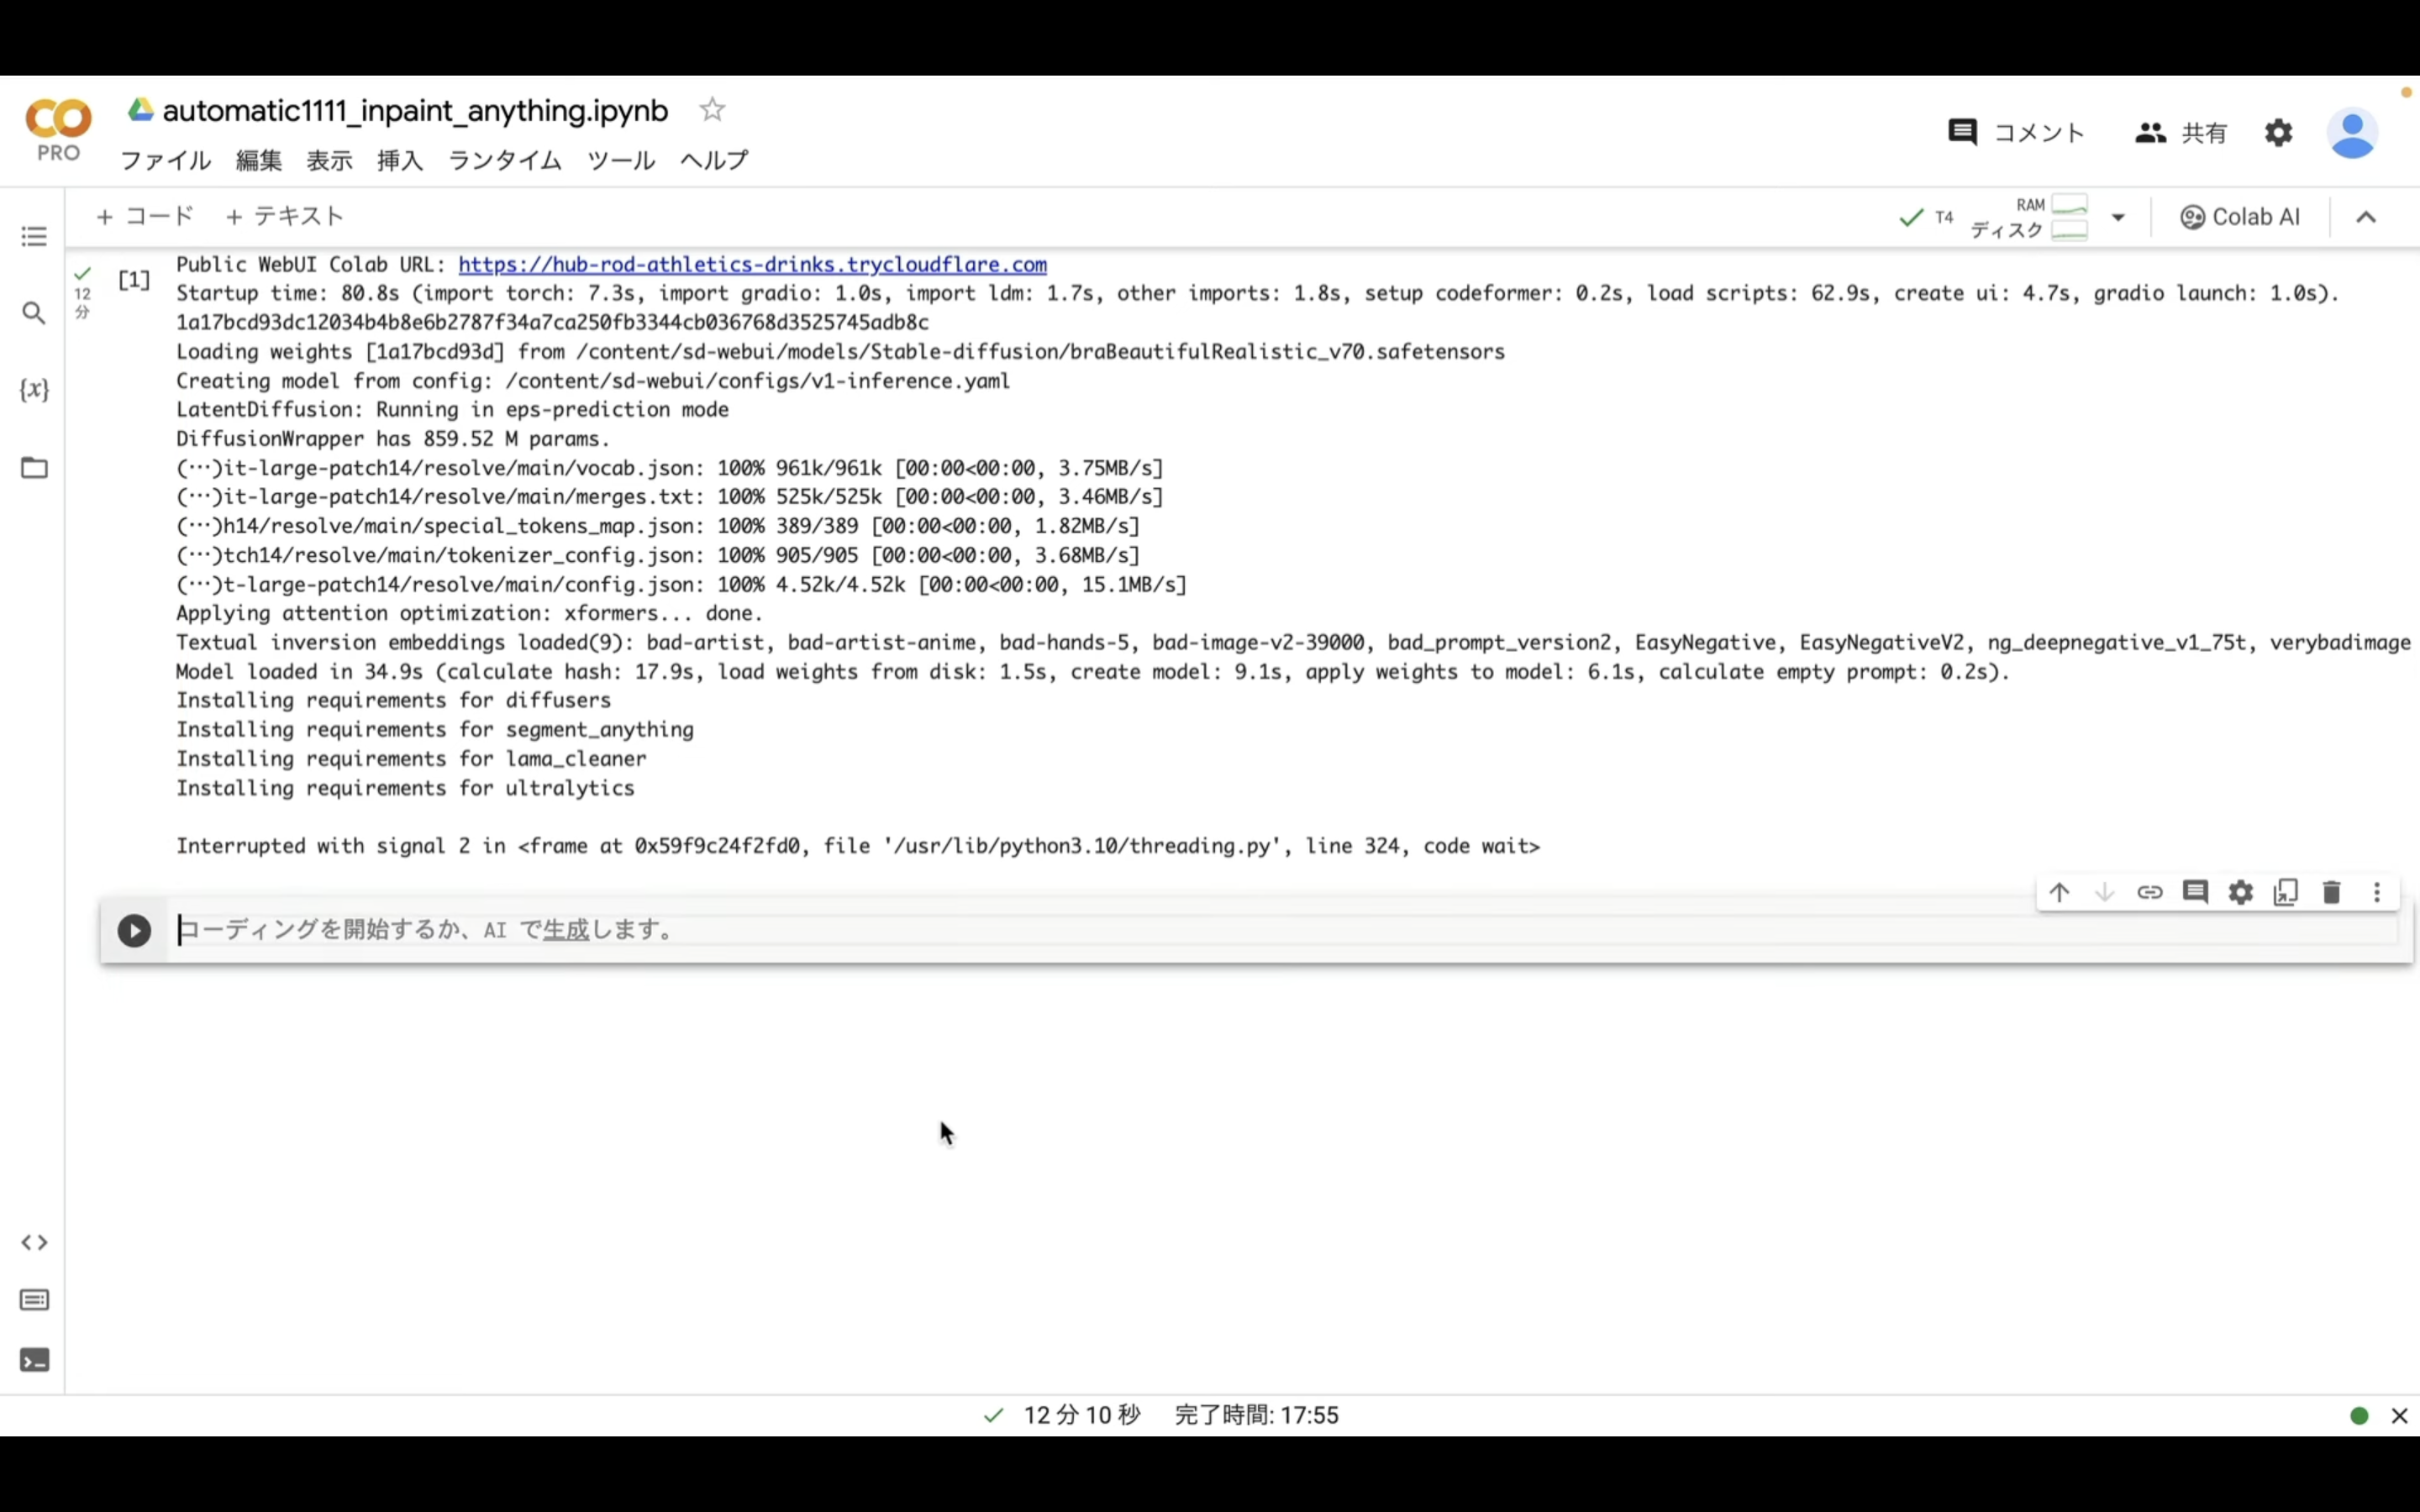
この追加されたテキストボックスに先ほどコピーしたテキストを貼り付けます。
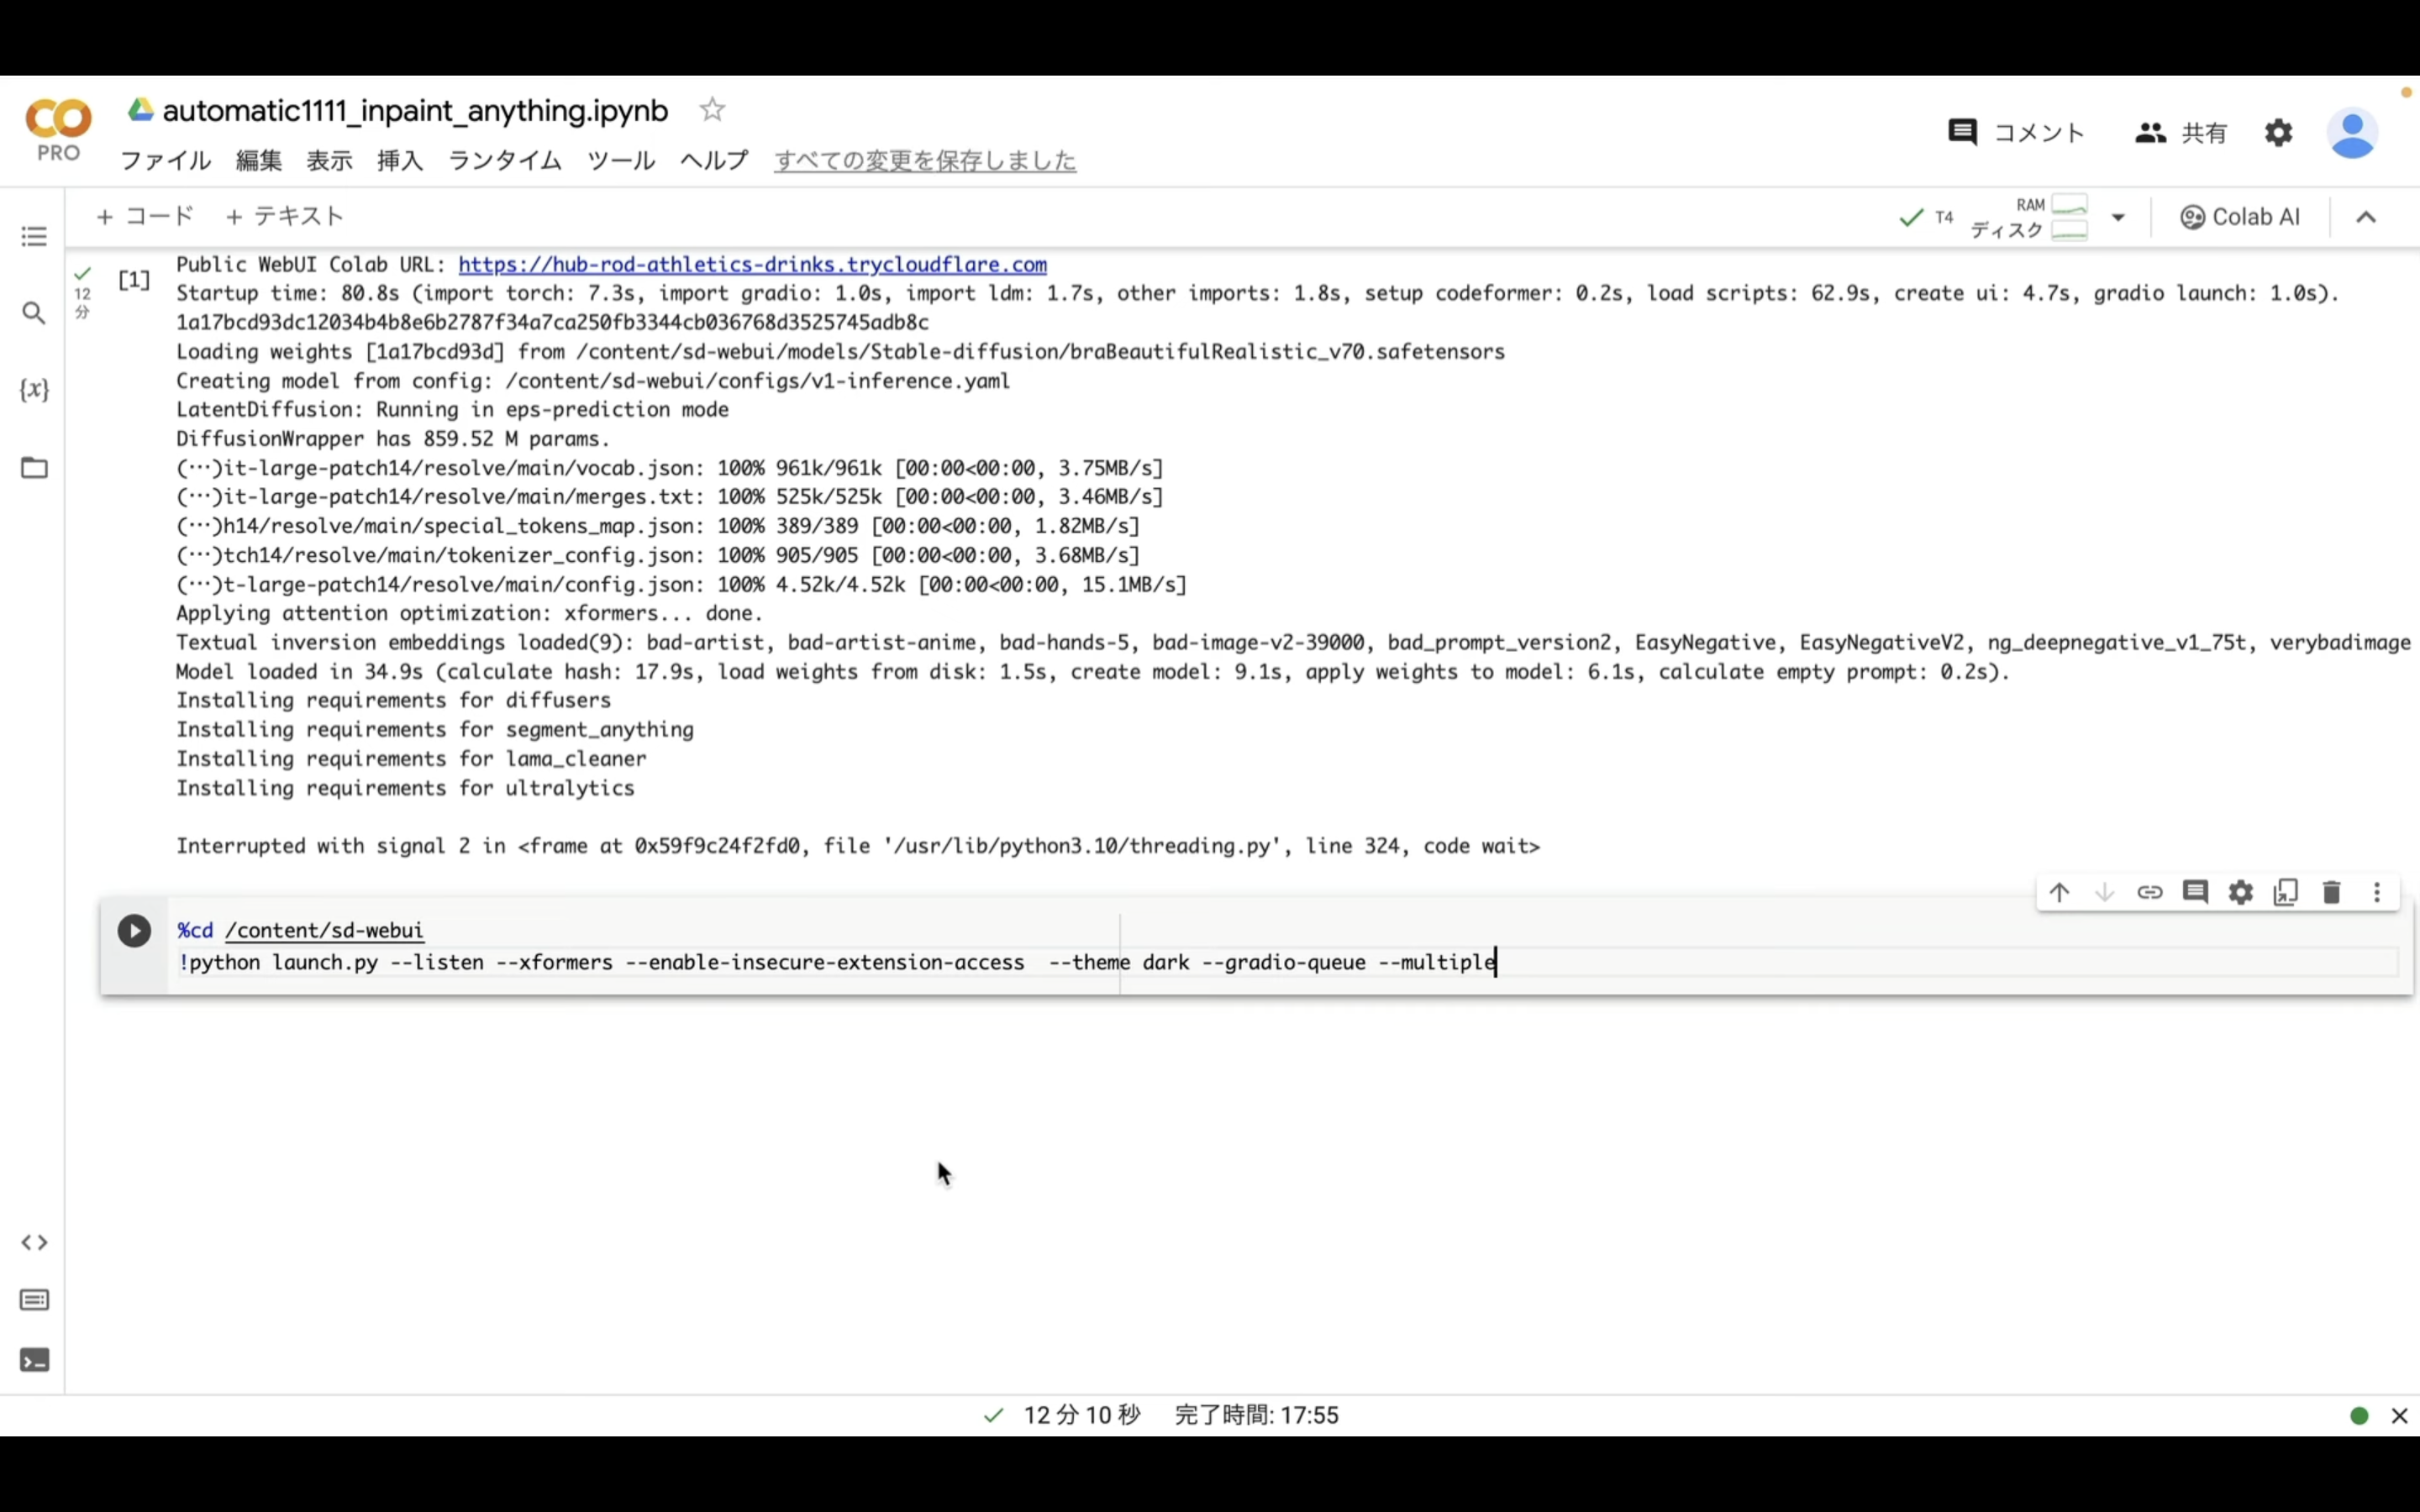
テキストを貼り付けたら再生ボタンを押します。
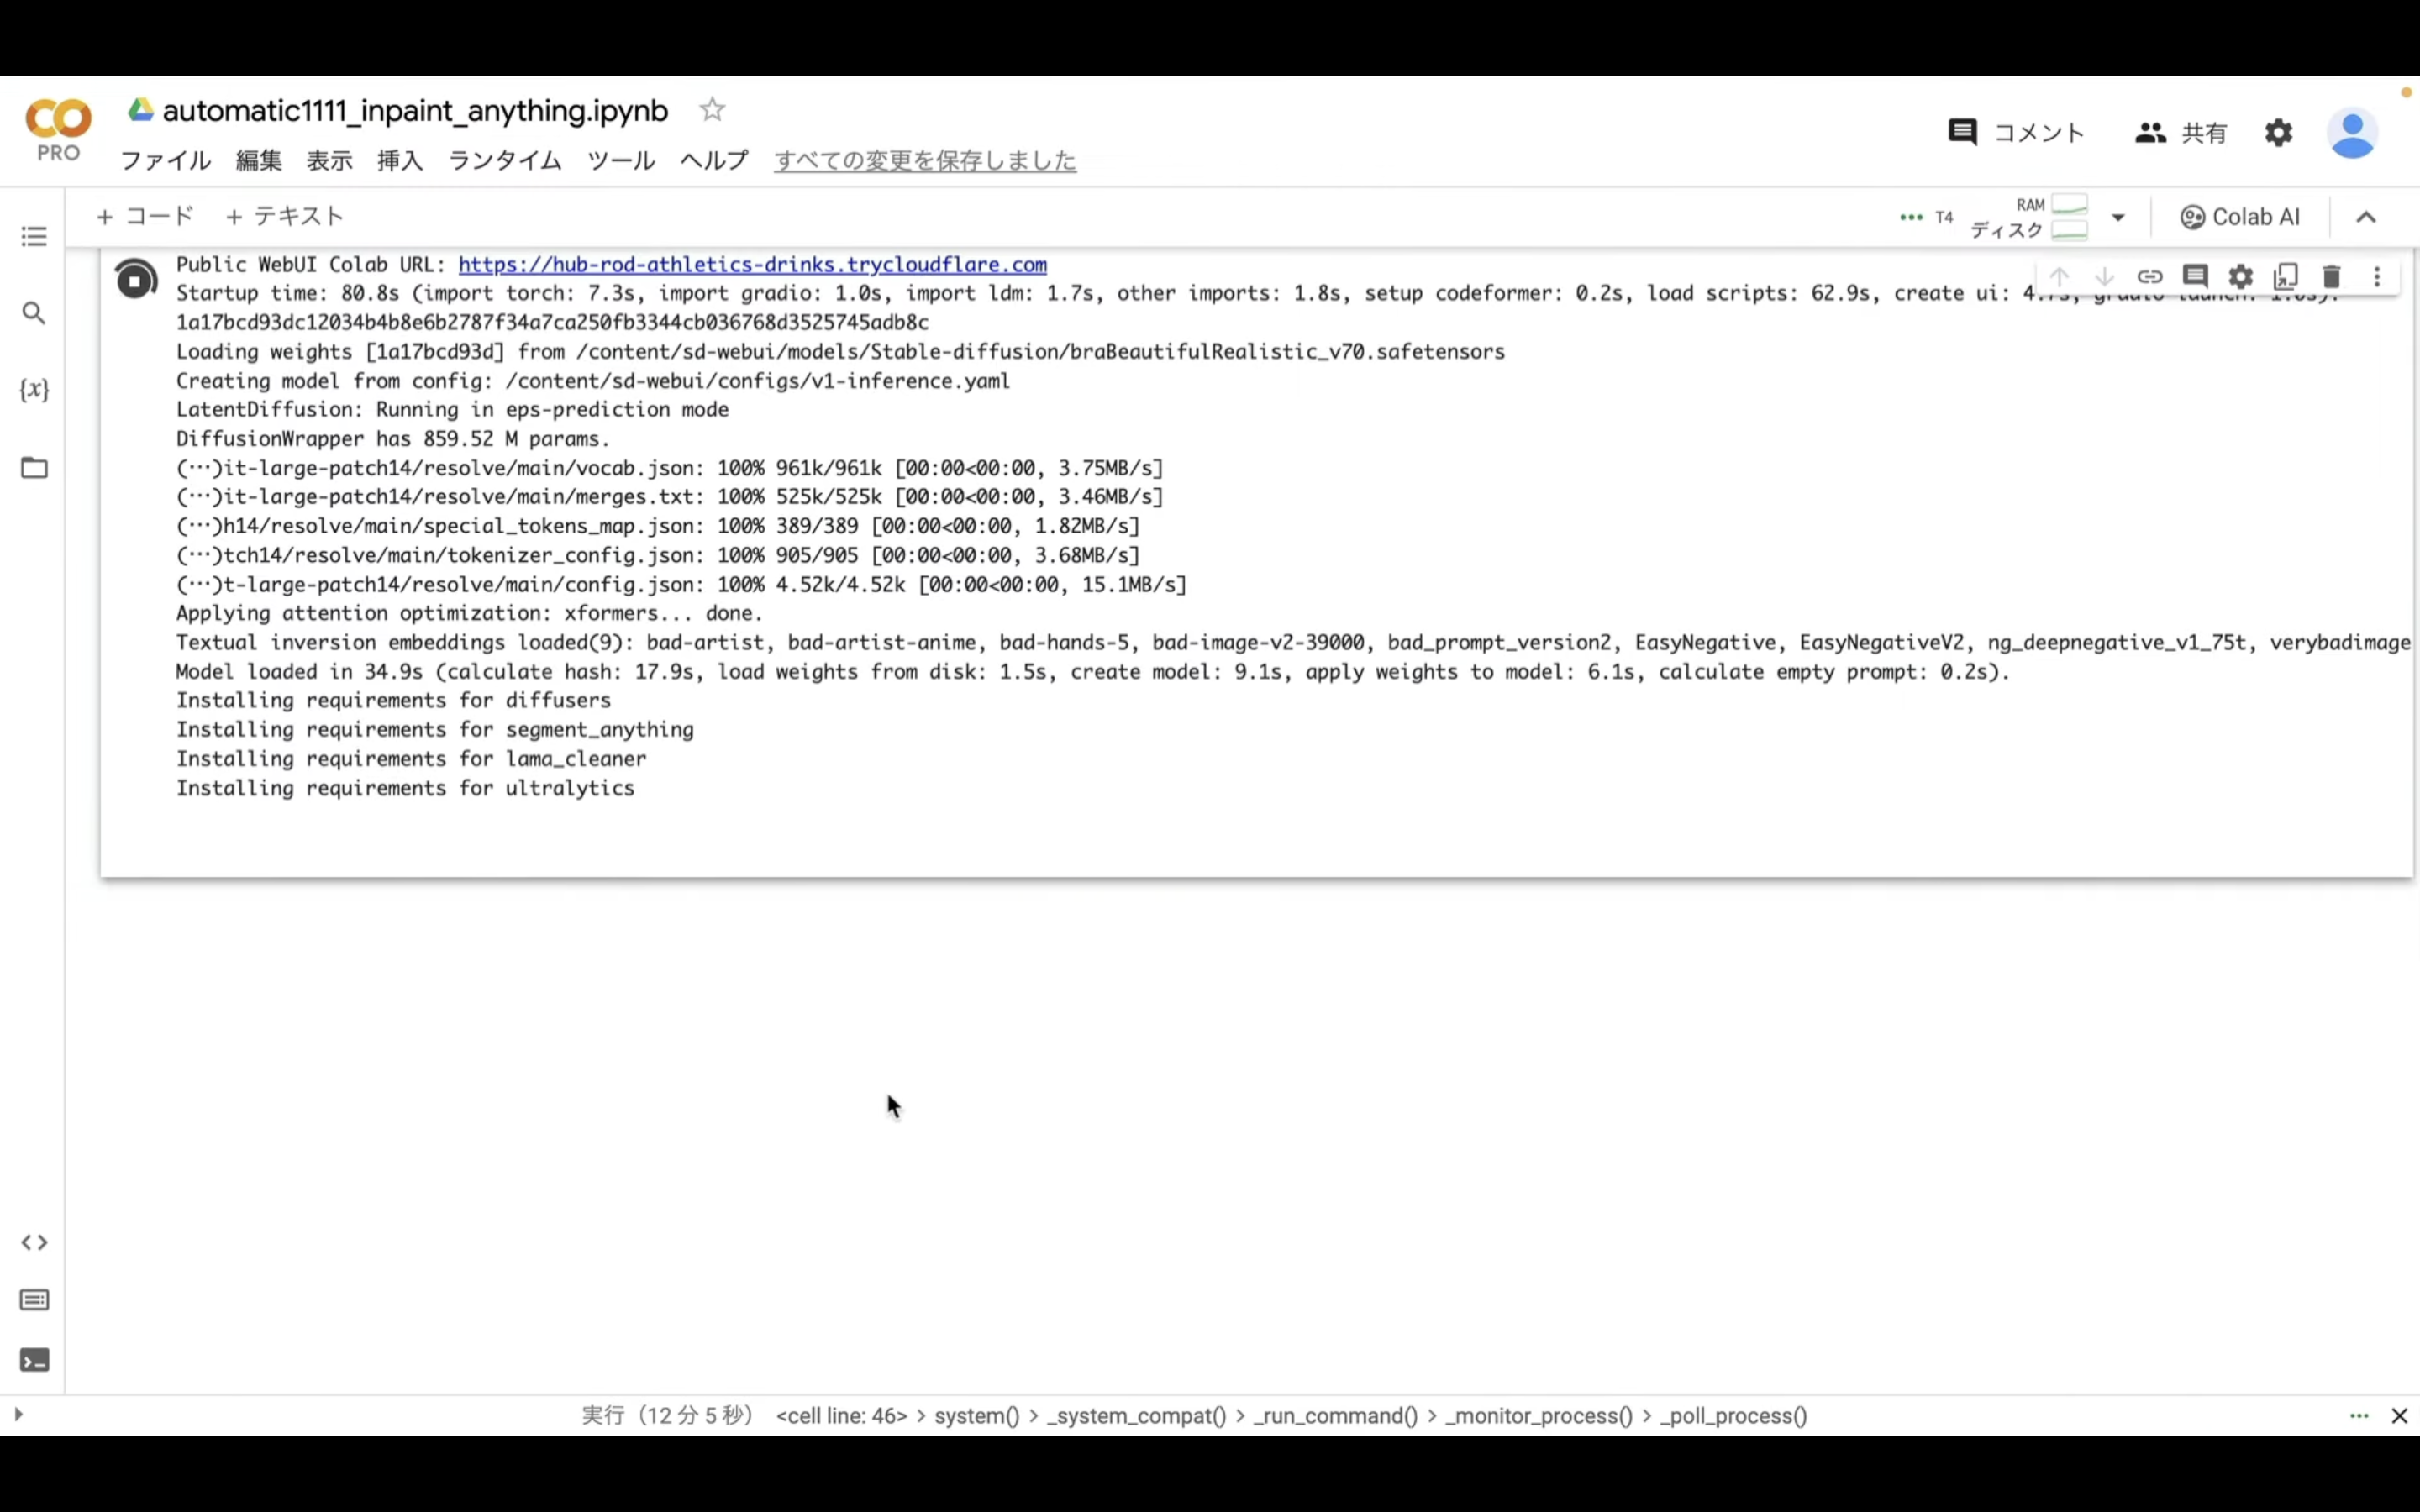
そうするとAutomatic1111の起動コマンドが実行されます。
コマンドが実行されるまでしばらく待ちます。
しばらく待っていると、このようなリンクが表示されるので、gradioと書かれているリンクをクリックします。
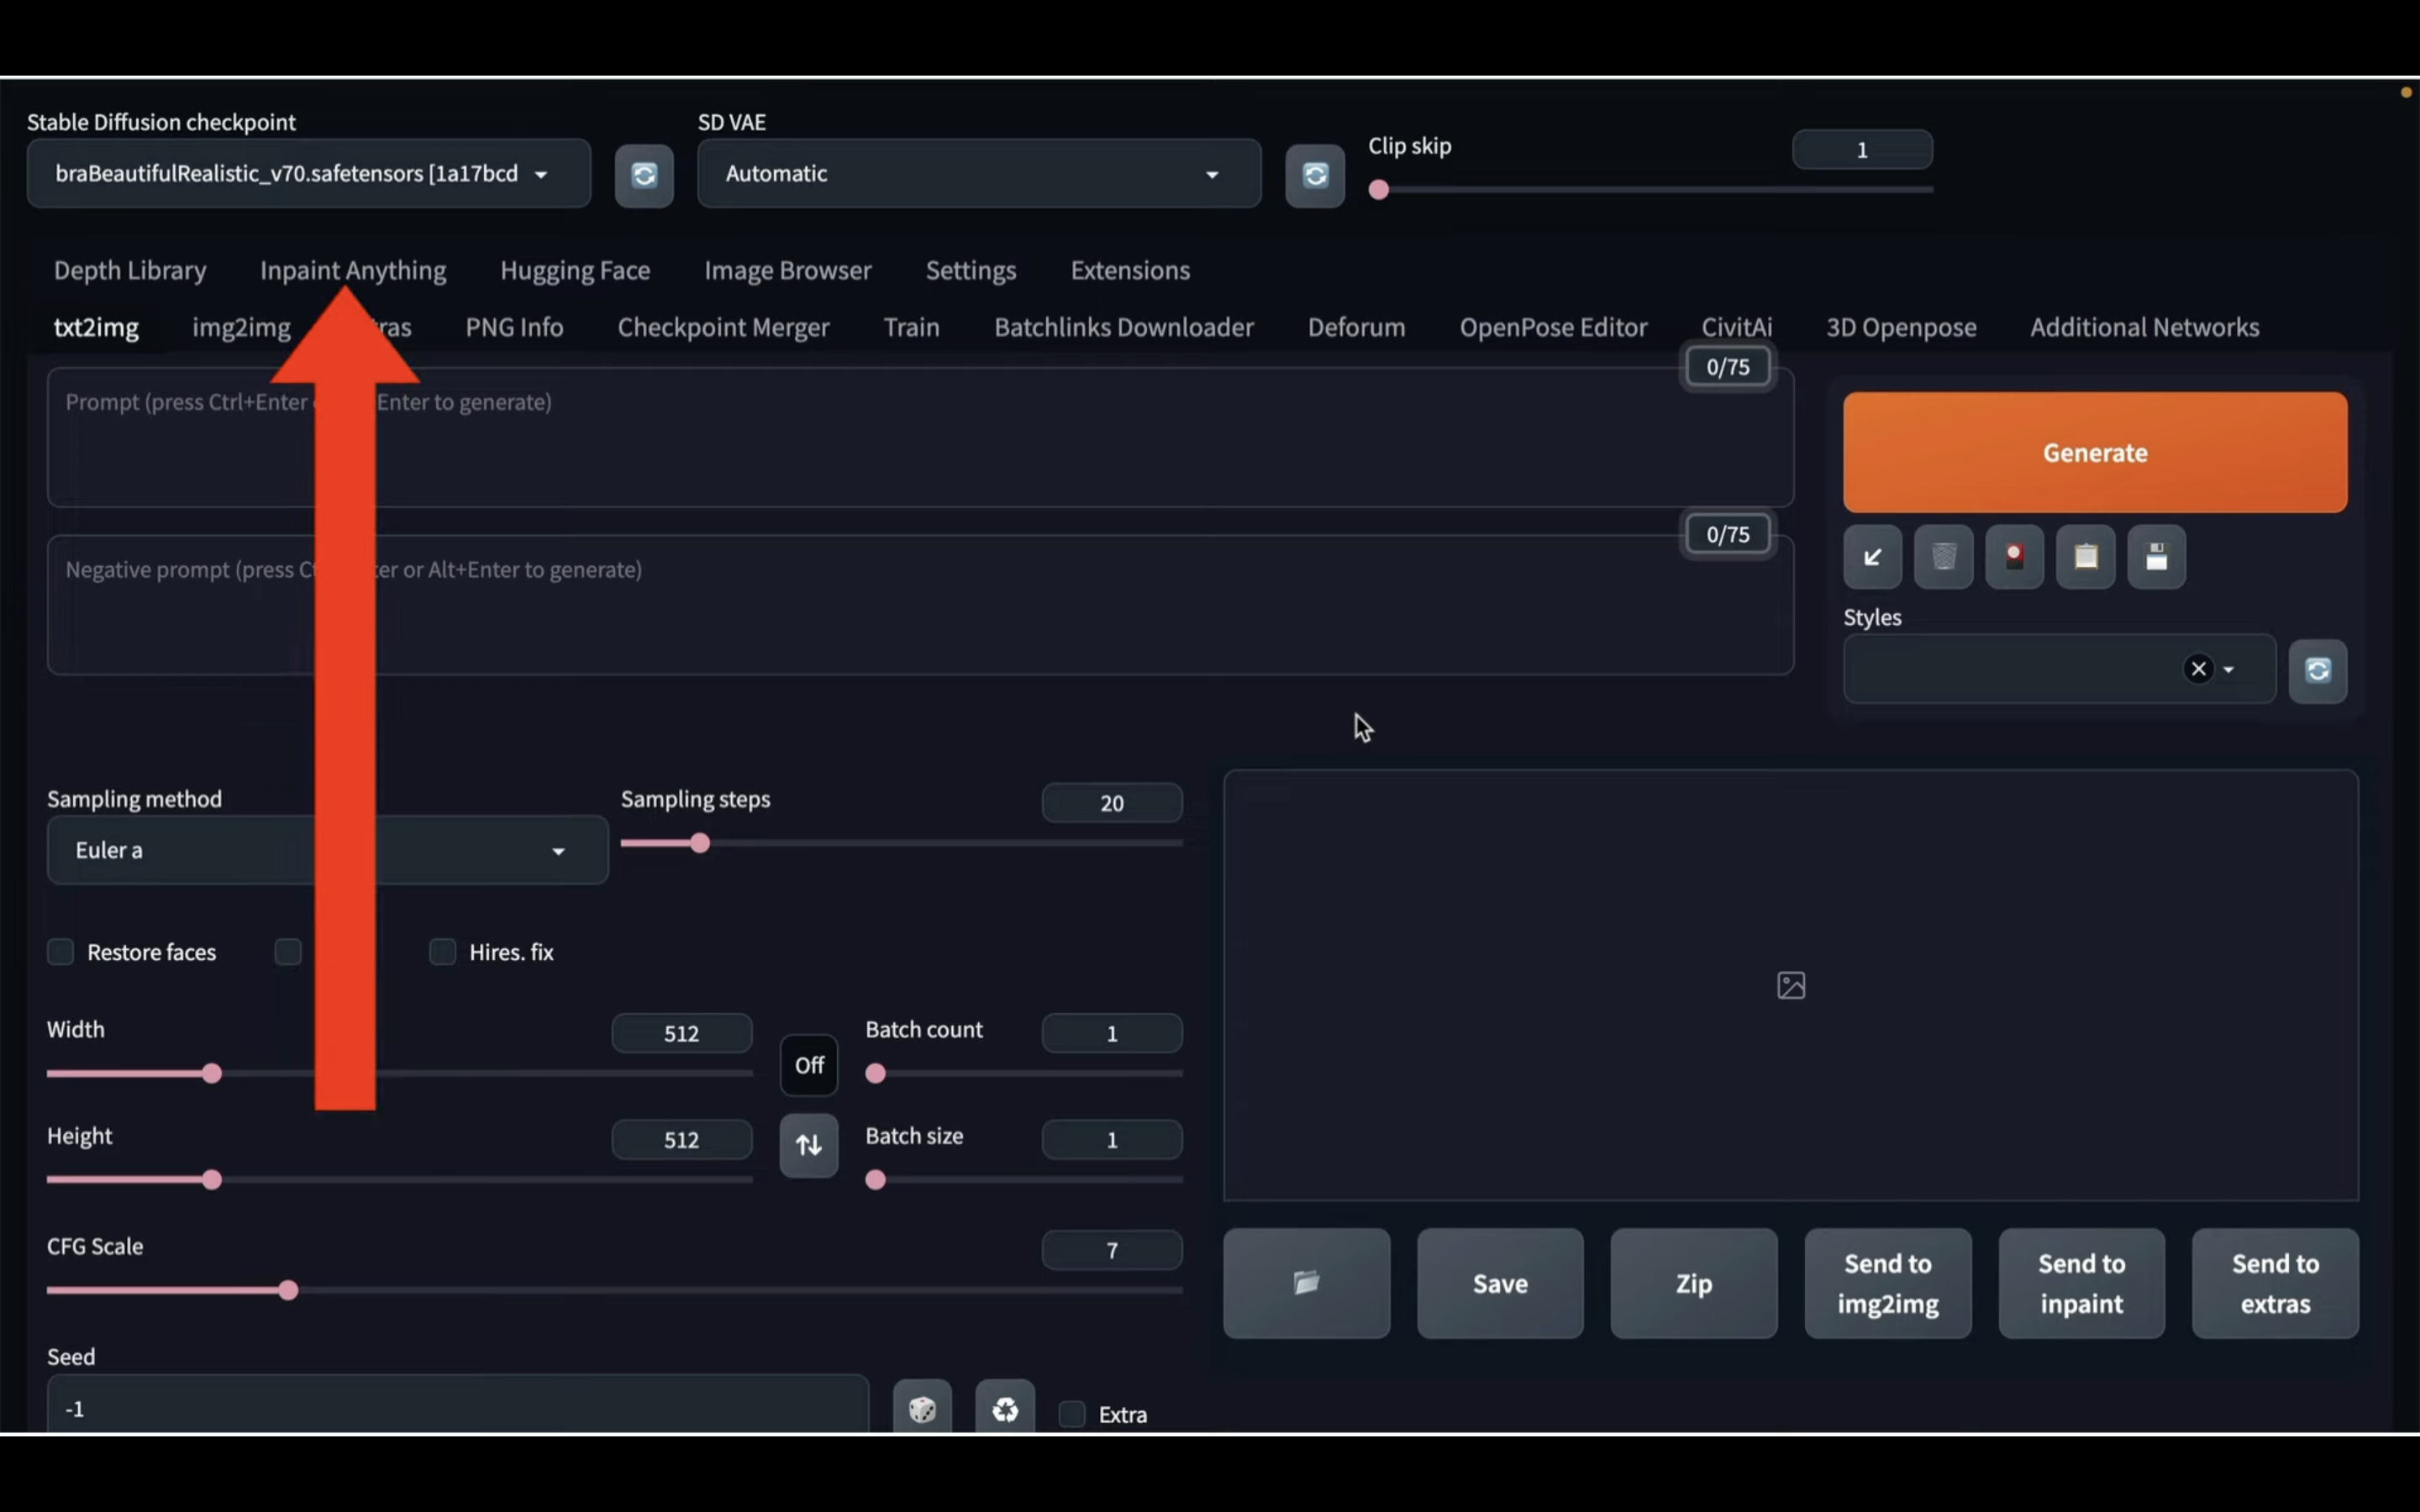
そうするとAutomatic1111の画面が表示されます。
それでは早速 inpaint anythingのExtensionsを利用していきましょう。
Inpaint Anythingと書かれているタブをクリックします。
そうするとInpaint Anythingの設定画面に切り替わります。

この画面が表示されたらまず Download modelと書かれているボタンをクリックします。
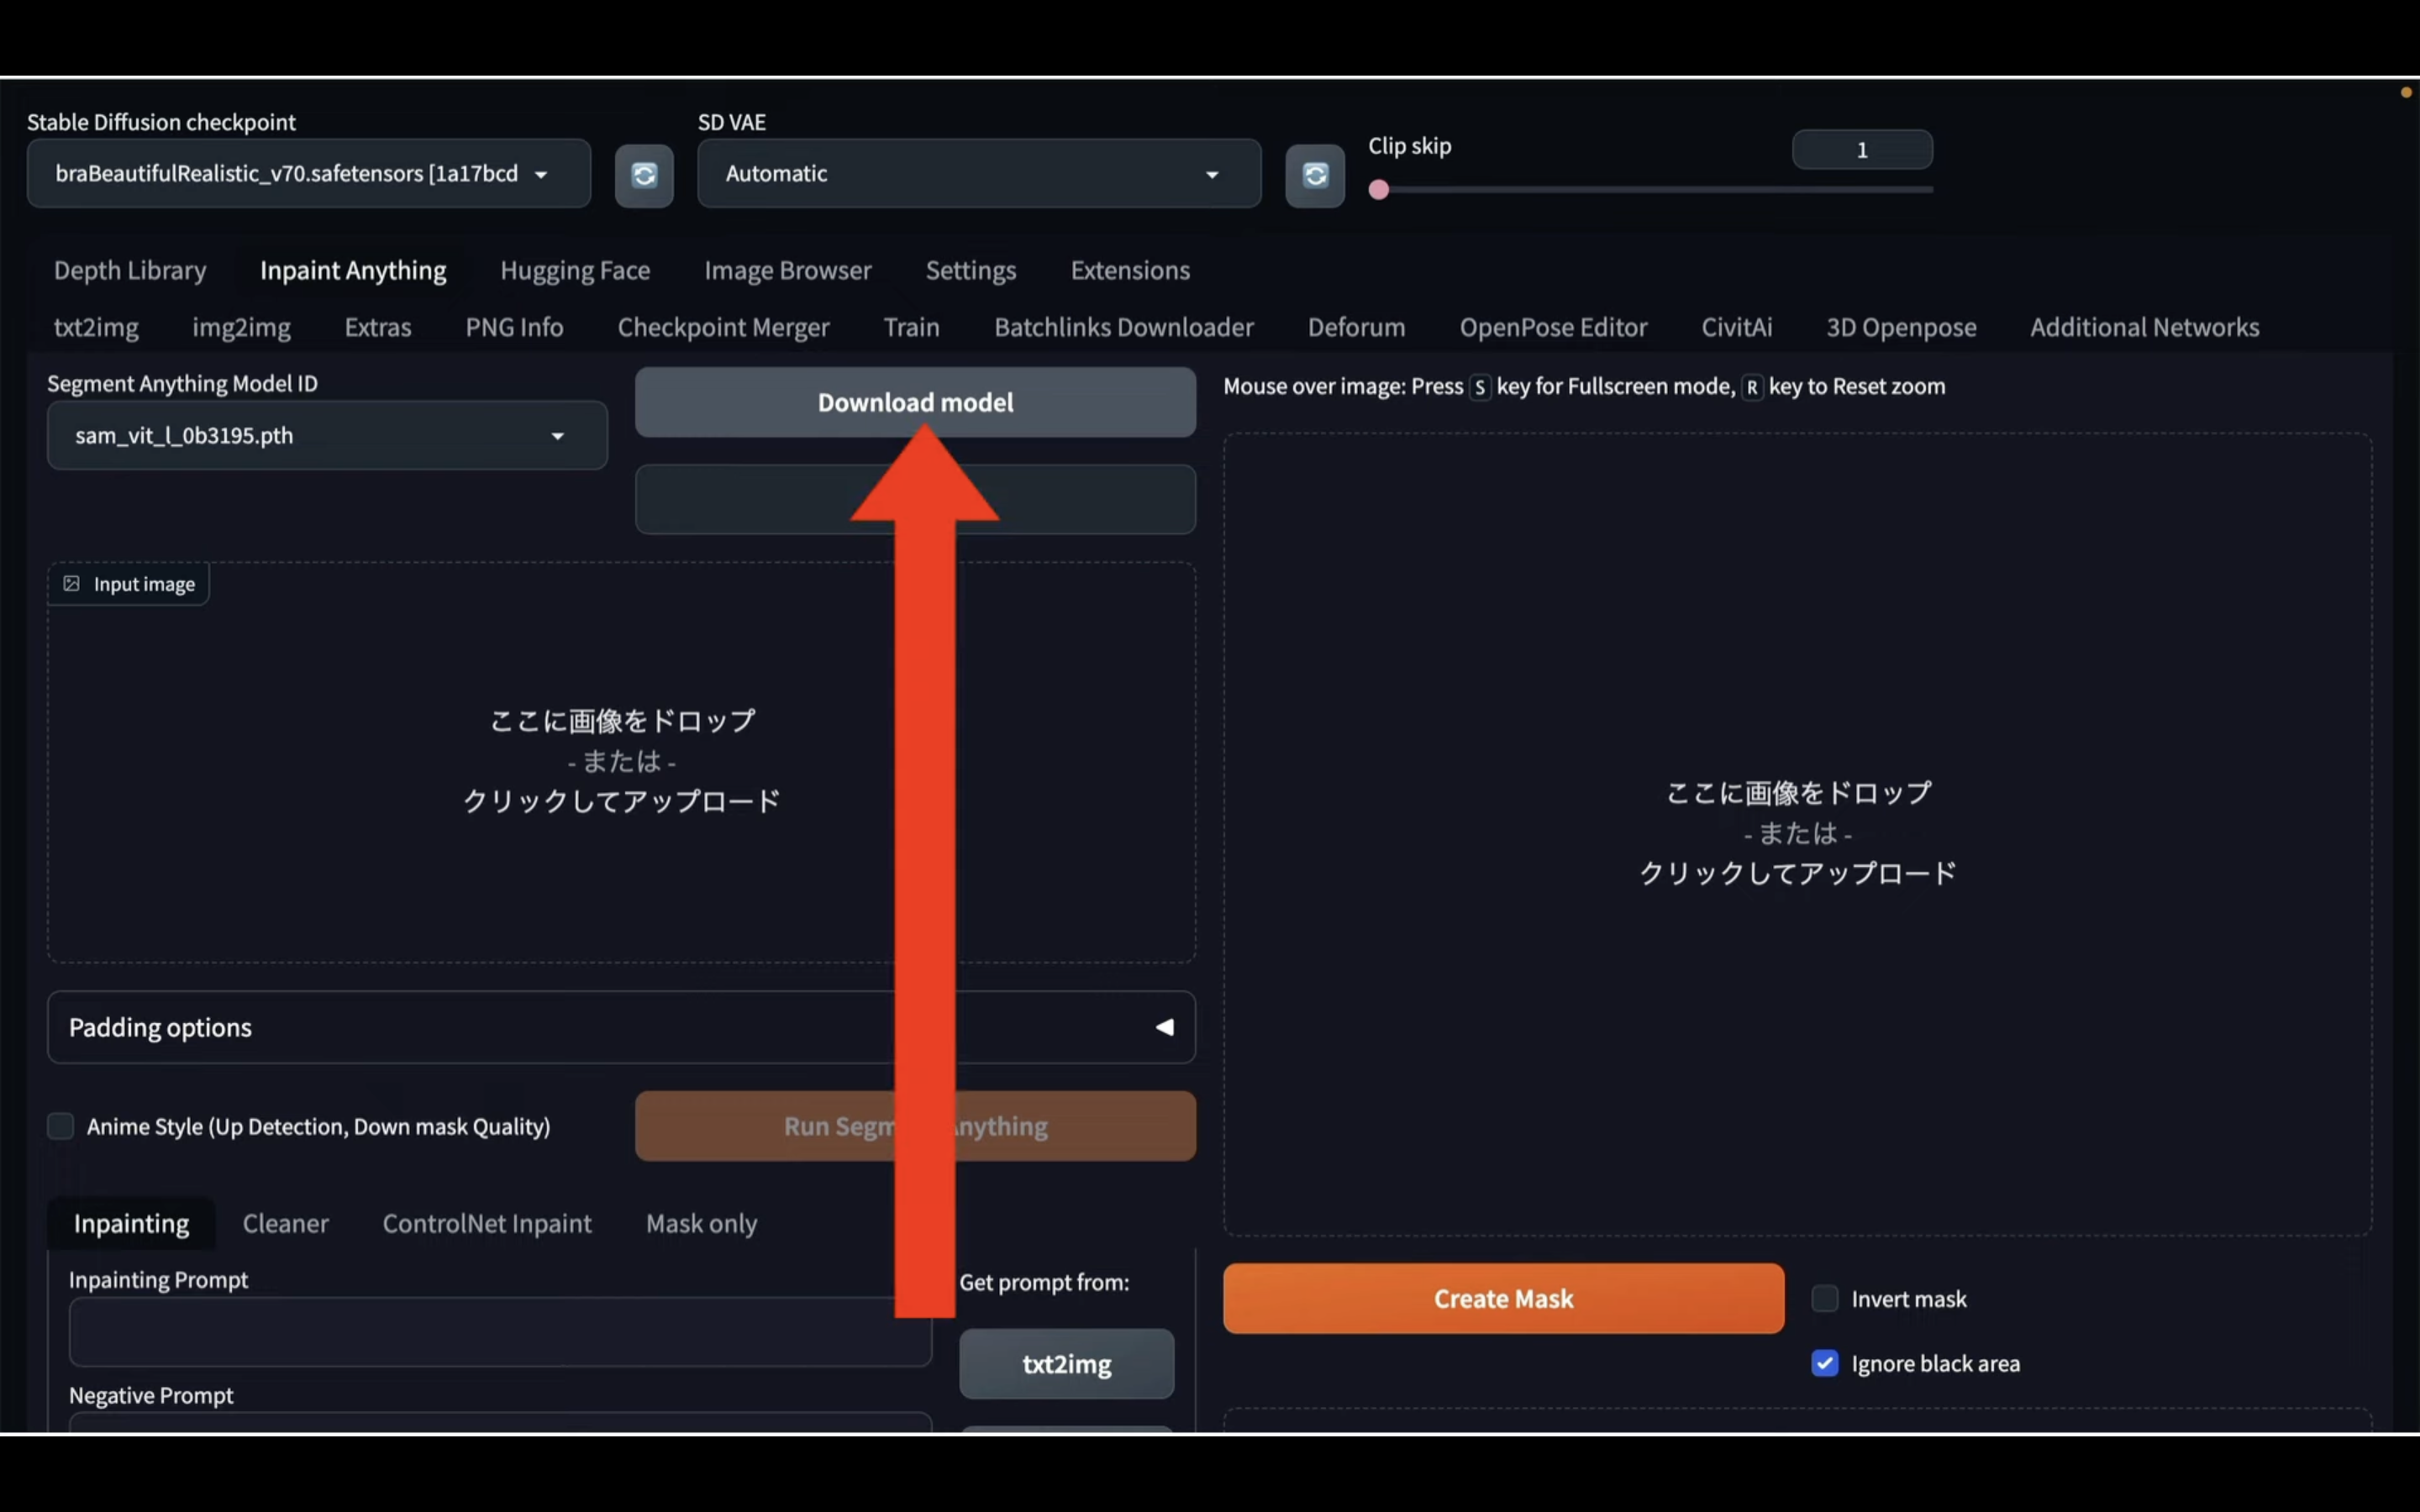
これでInpaint Anythingで利用するためのファイルのダウンロードが開始されます。
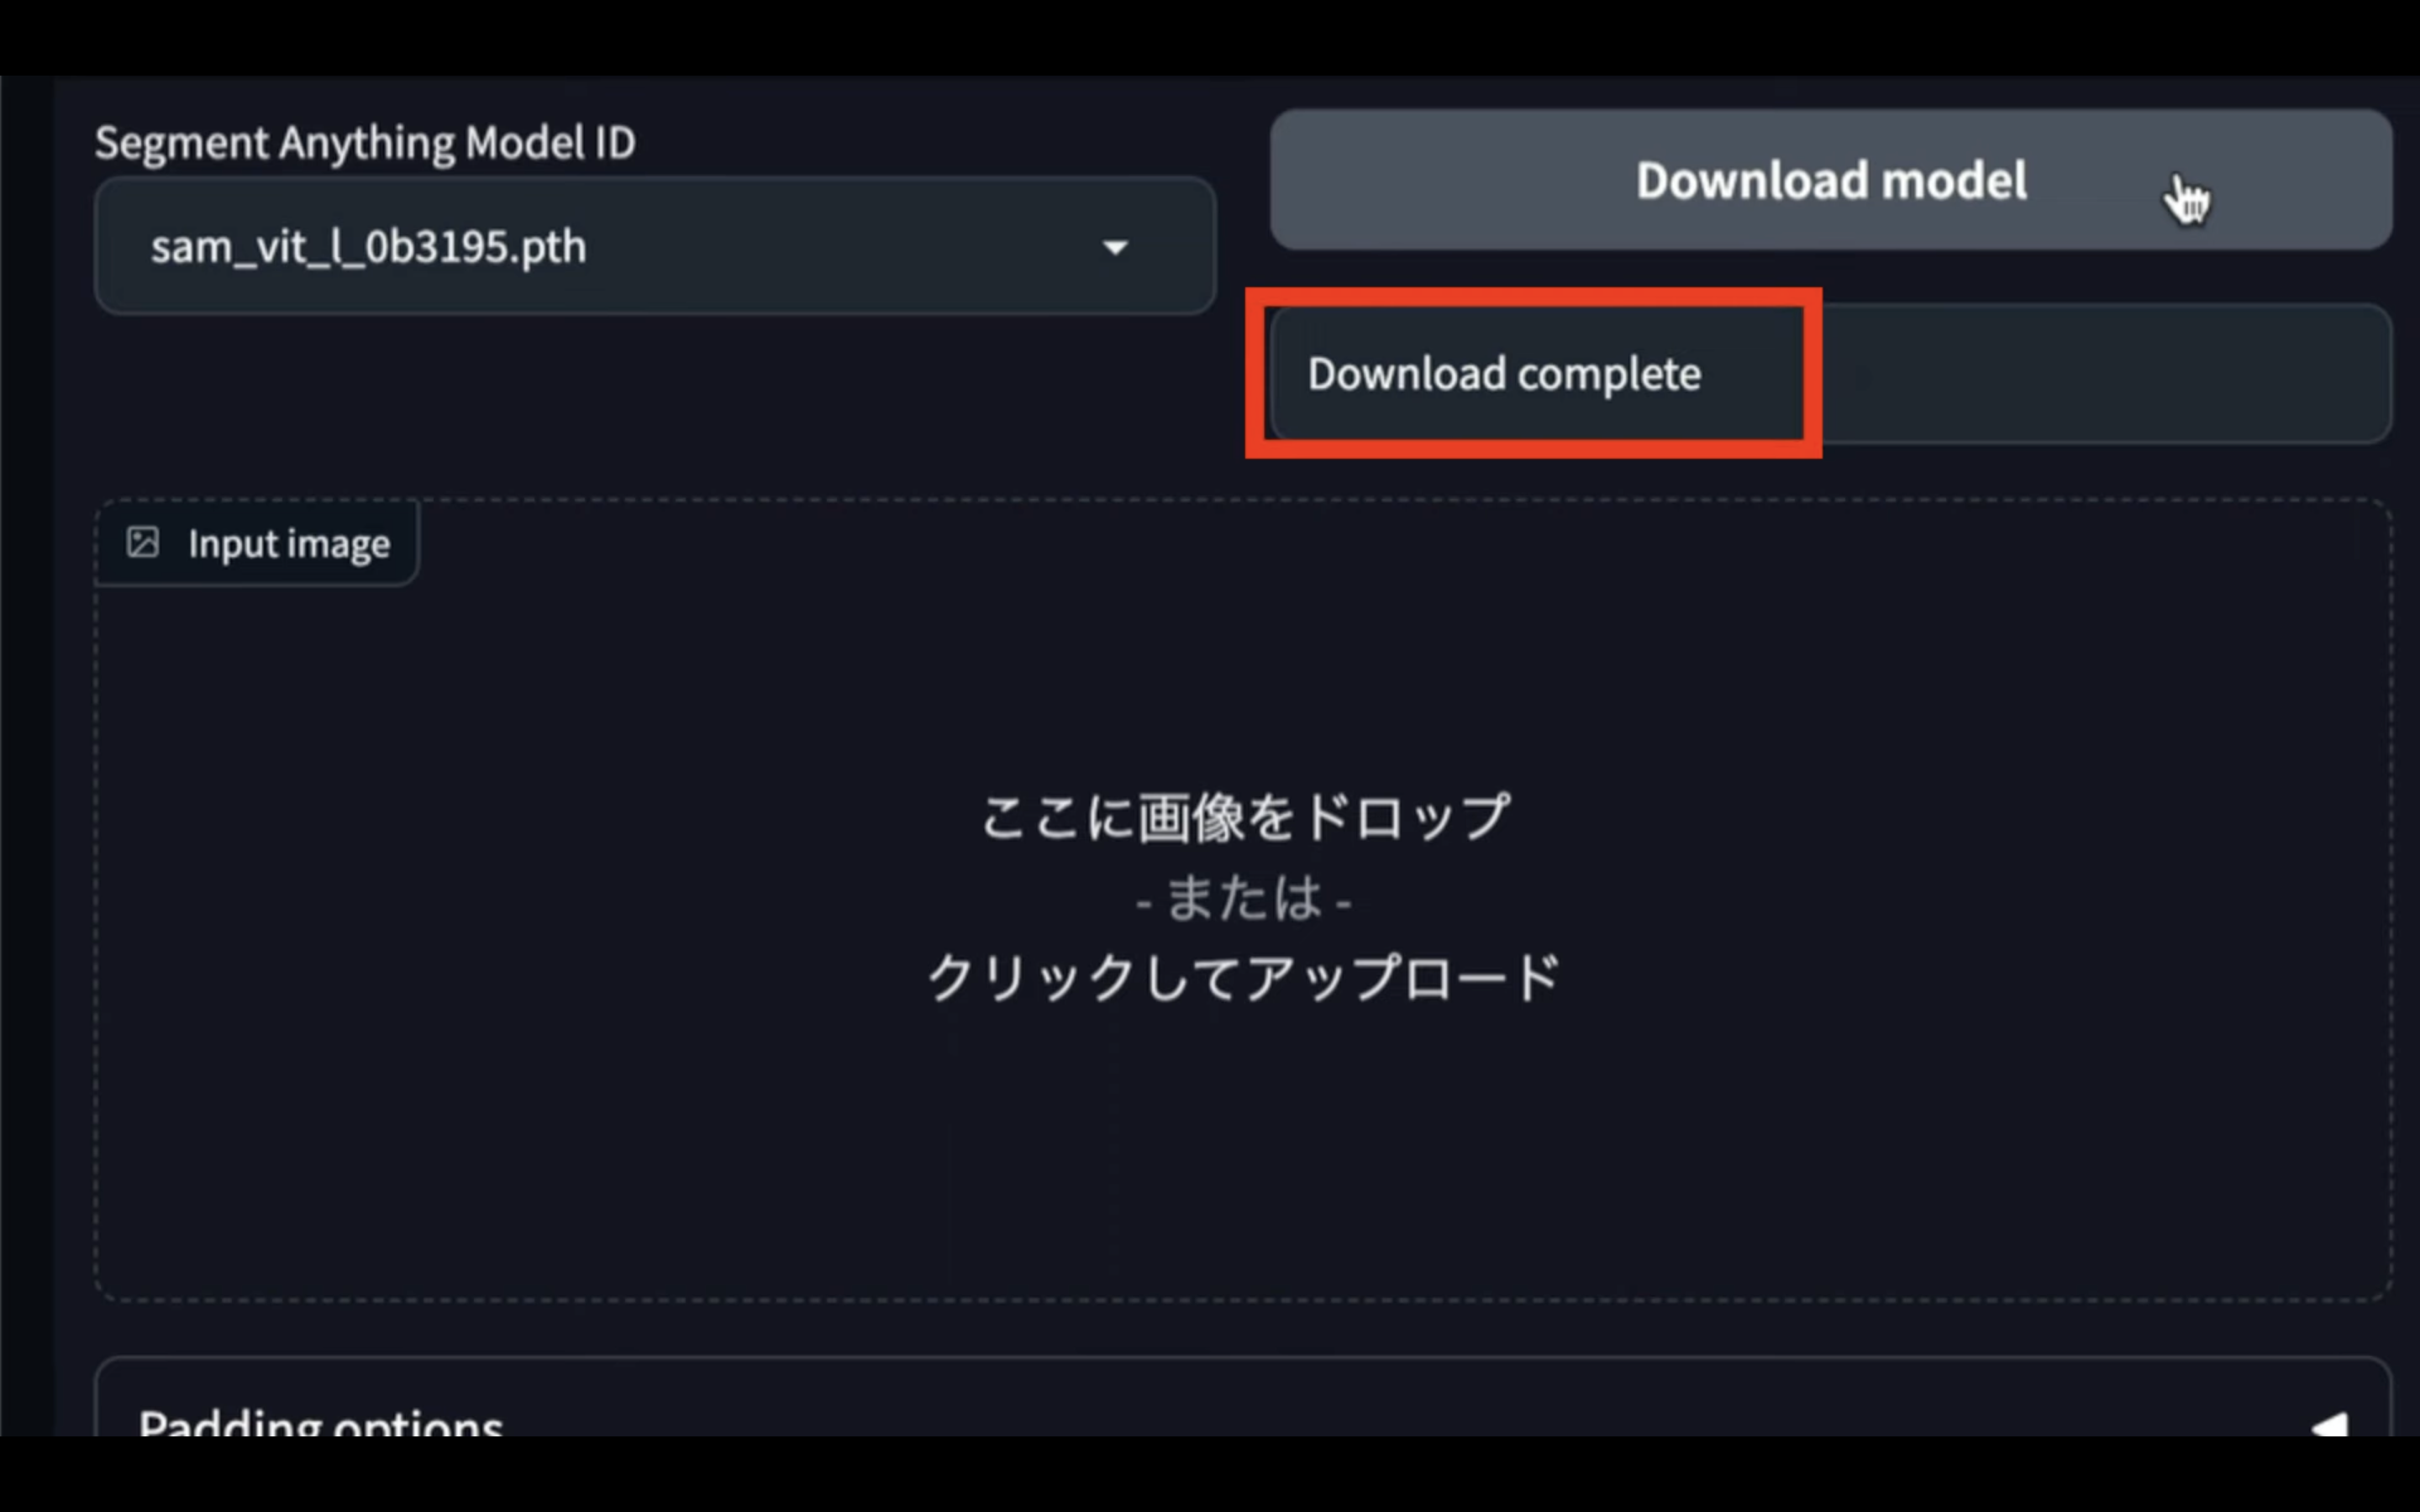
ダウンロードが完了するまでしばらく待ちます。
ダウンロードが完了すると、このようなメッセージが表示されます。
モデルのダウンロードが完了したら、Inpaint Anythingに利用する画像をこの部分にドラッグアンドドロップします。
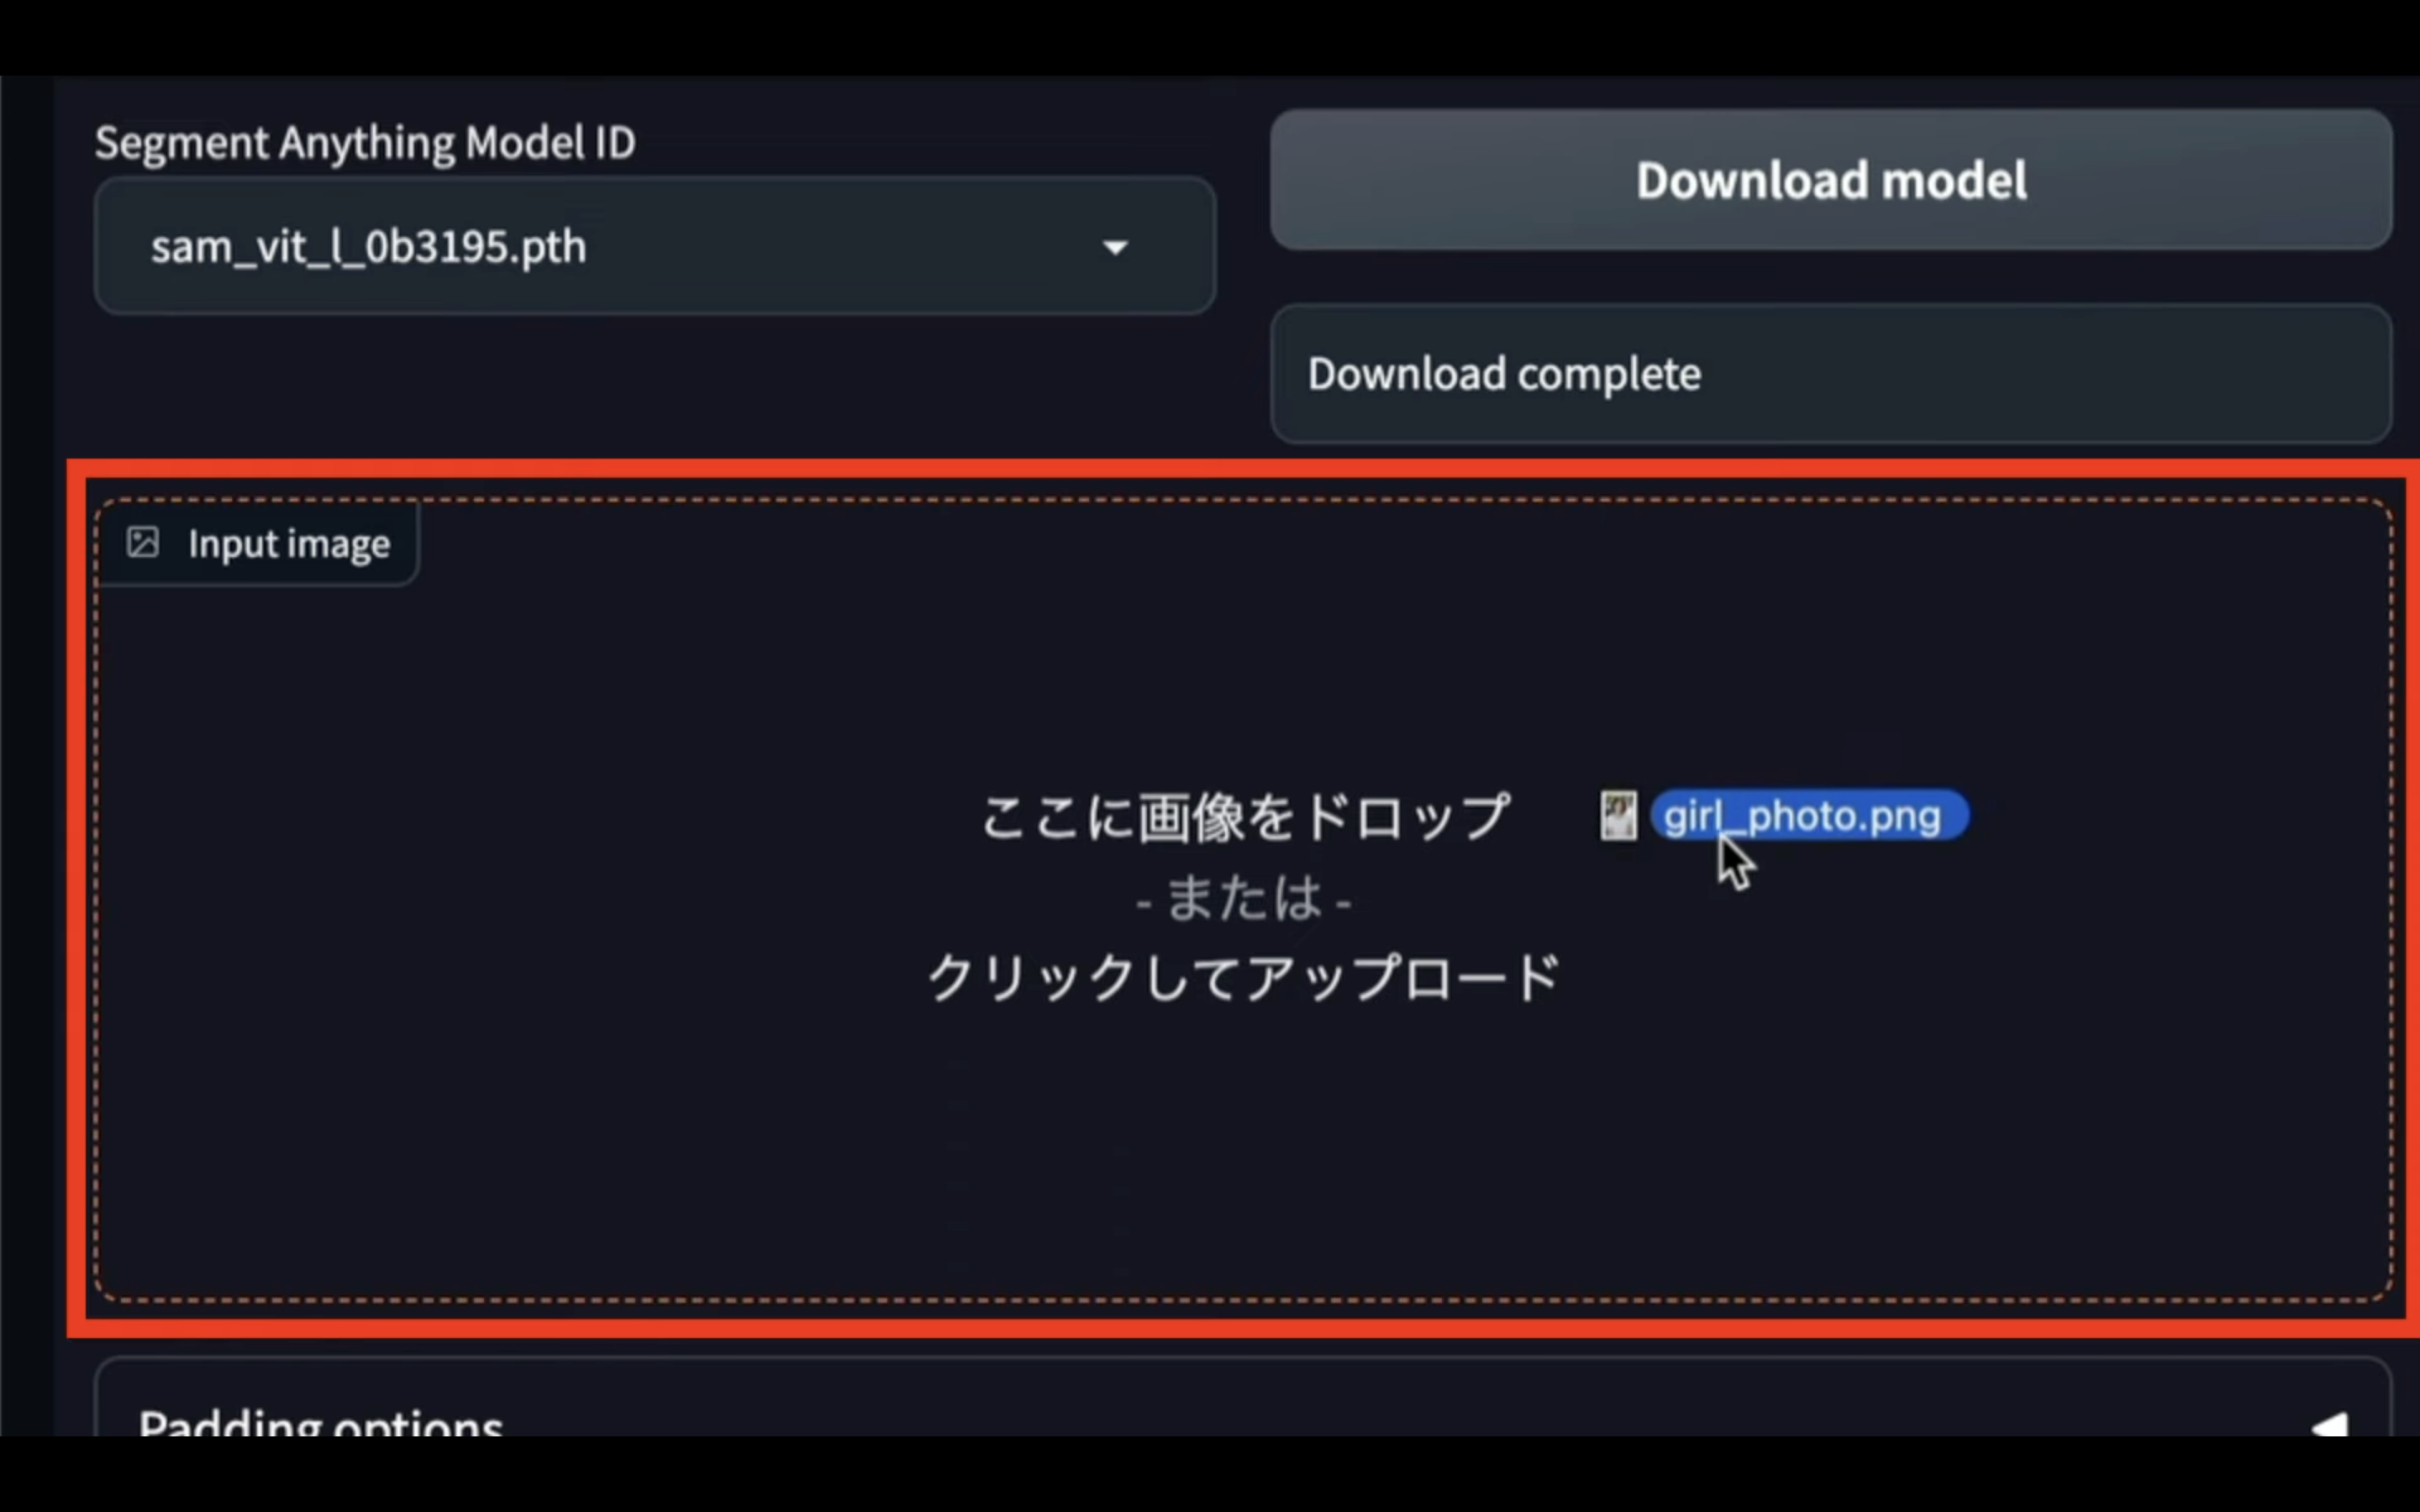
今回は、このような画像にしてみました。
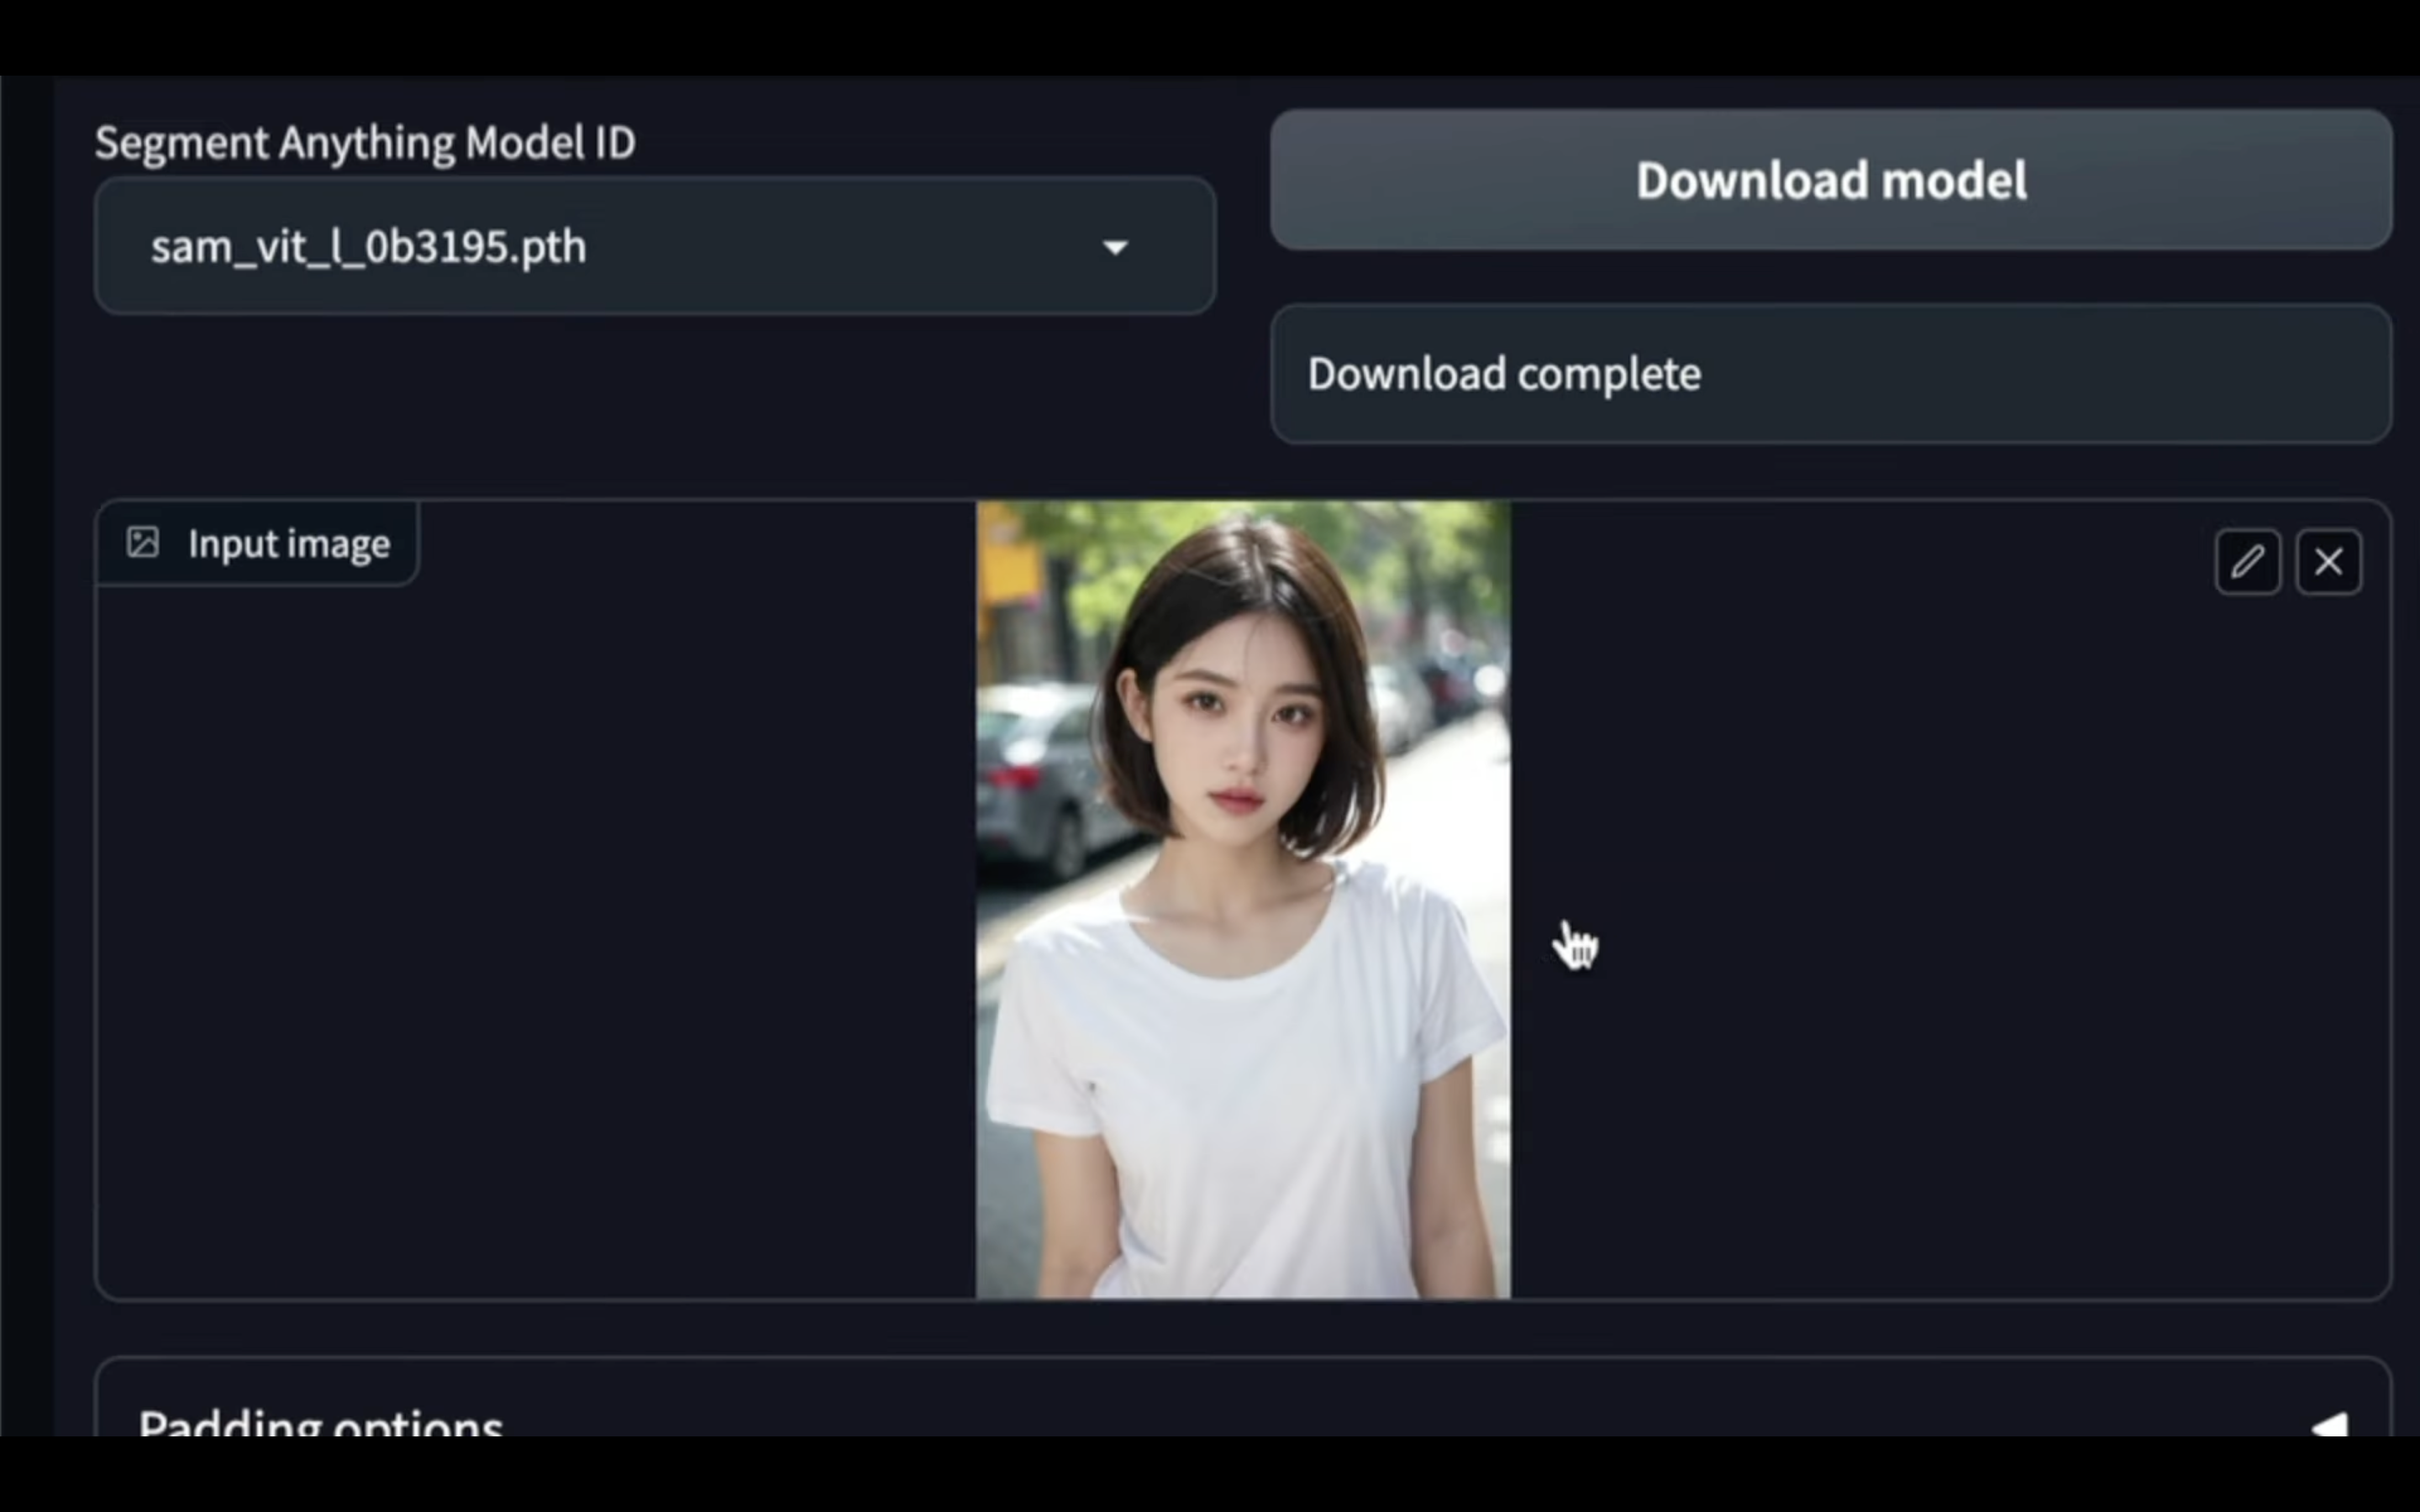
画像のアップロード処理が完了するまでしばらく待ちます。
アップロードの処理が完了したら、次にRun Segment Anythingセグメントエニシングと書かれているボタンをクリックします。
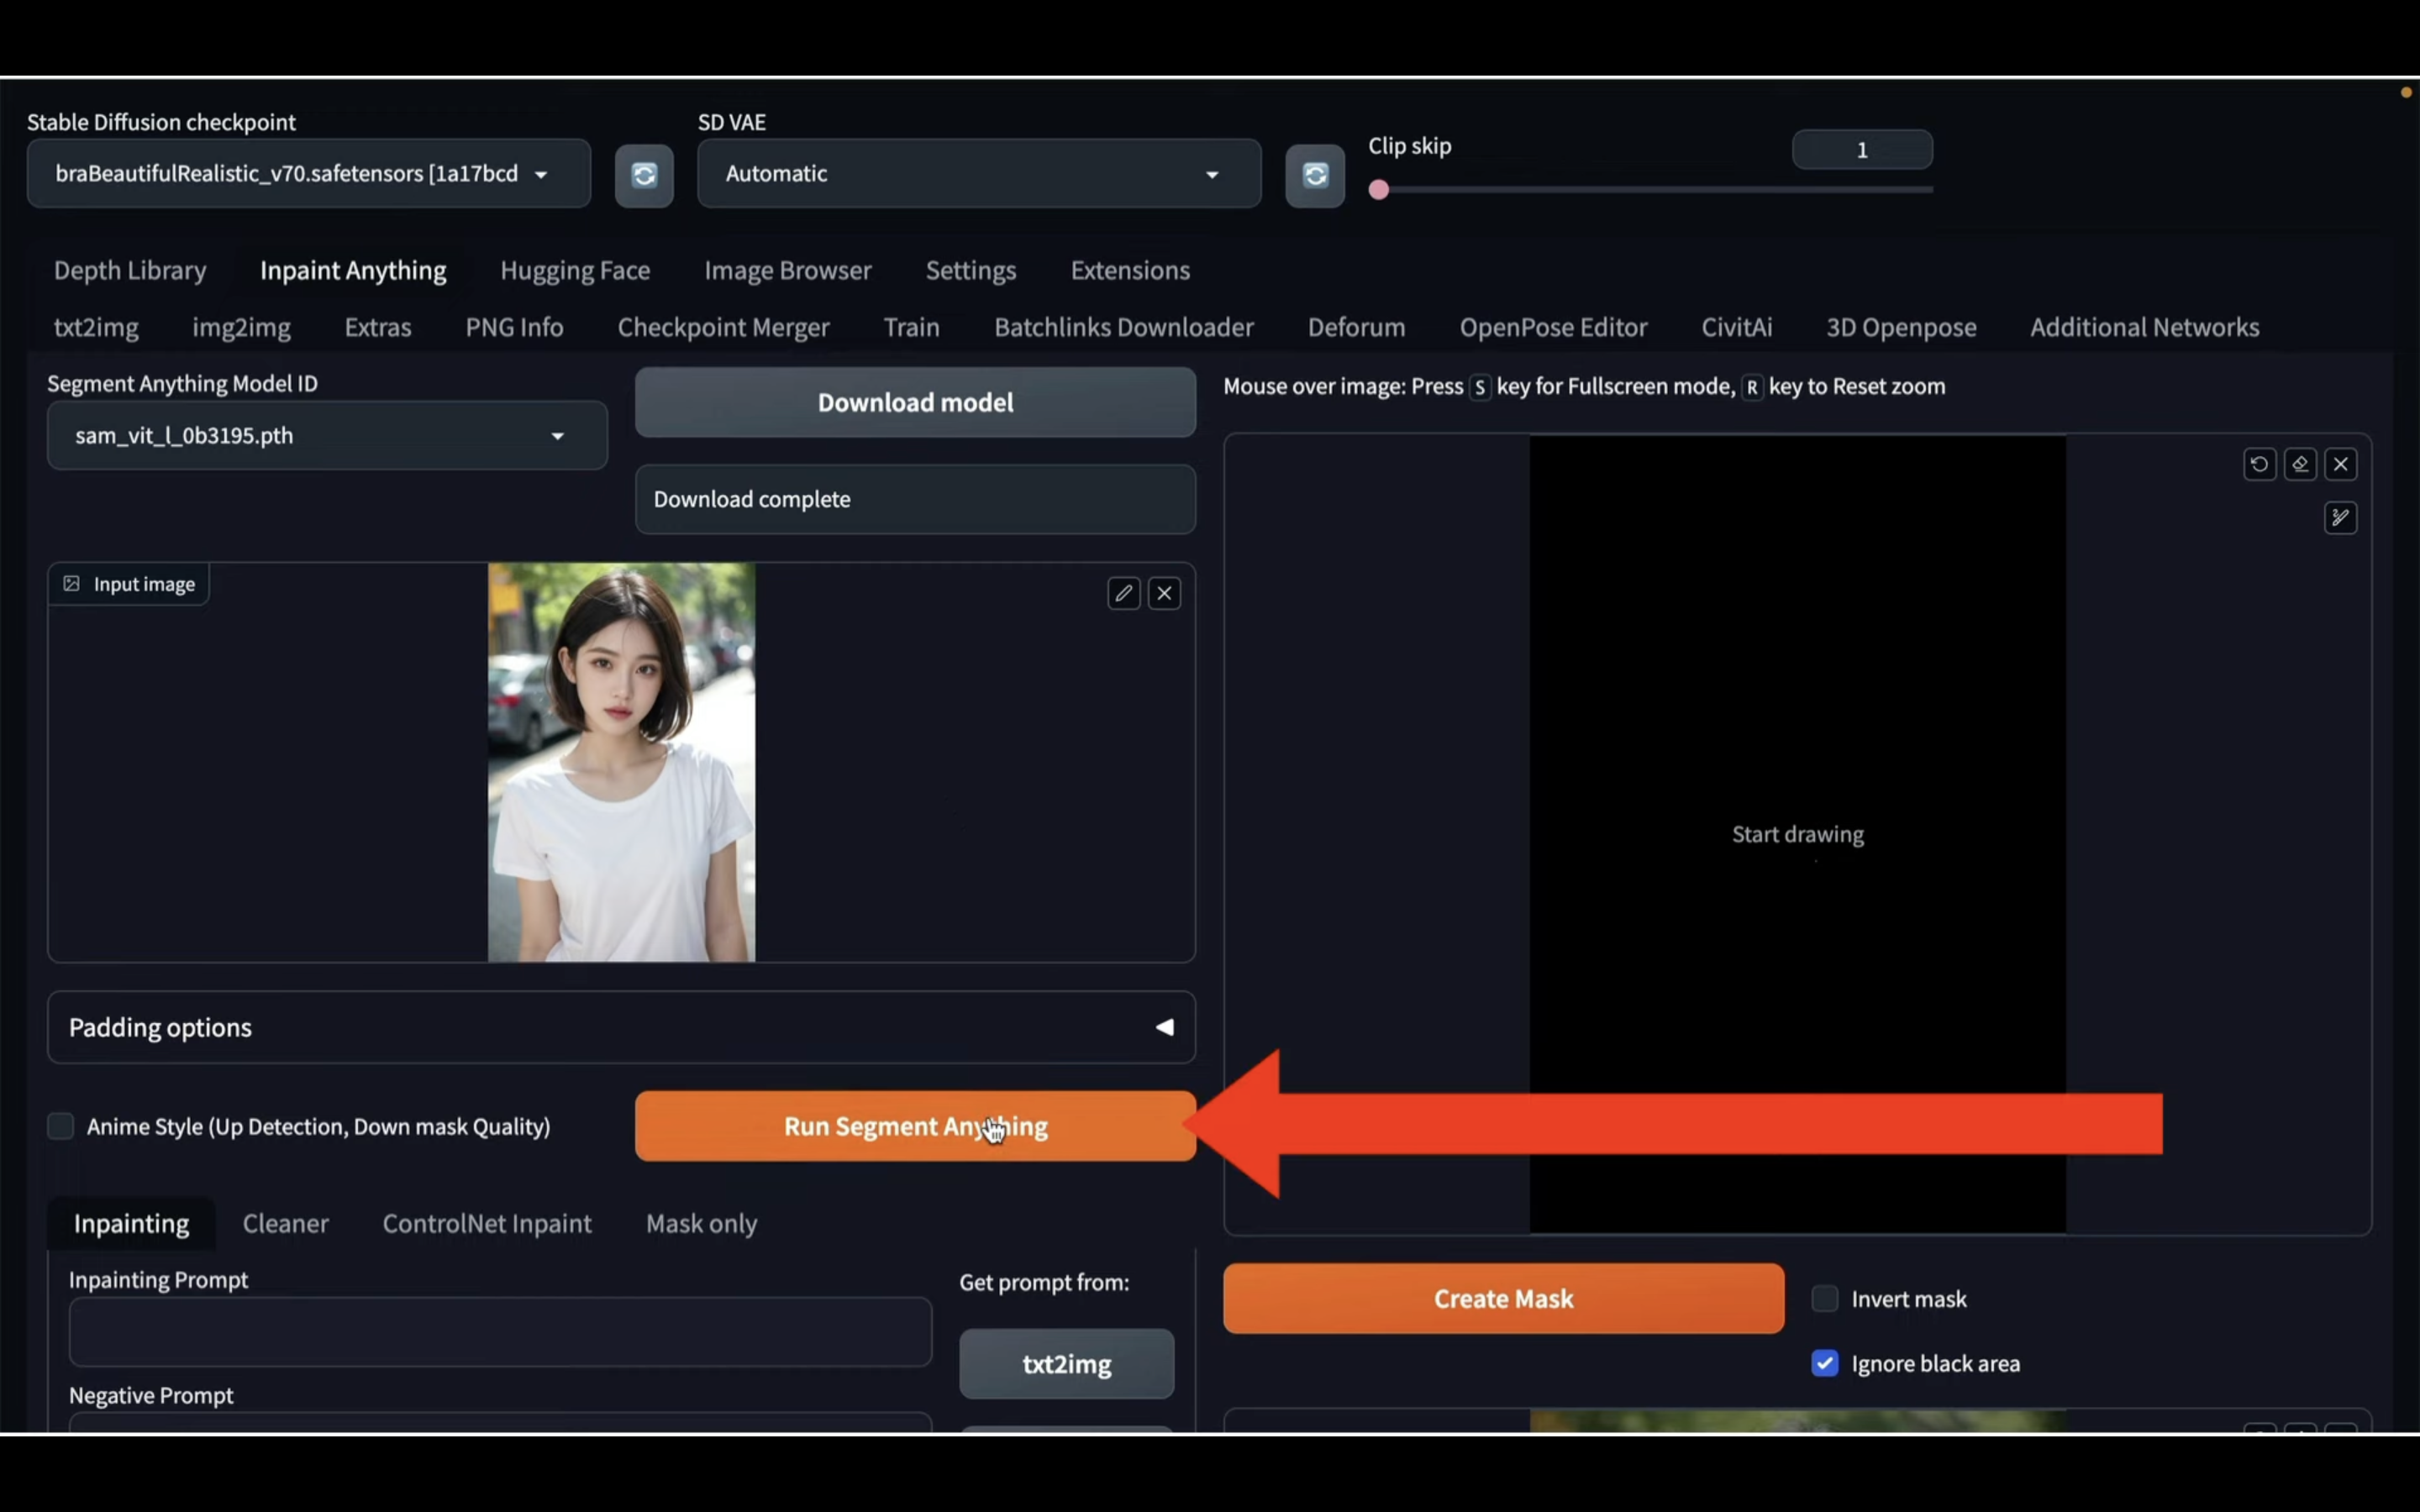
そうすると、アップロードした画像のそれぞれの部分を色分けする処理が開始されます。
この色分けする処理のことを専門用語でセグメント毎に分けると言います。
しばらく待っていると、このようにセグメントごとに分けられた状態、つまり部分ごとに色分けされている状態の画像が表示されます。
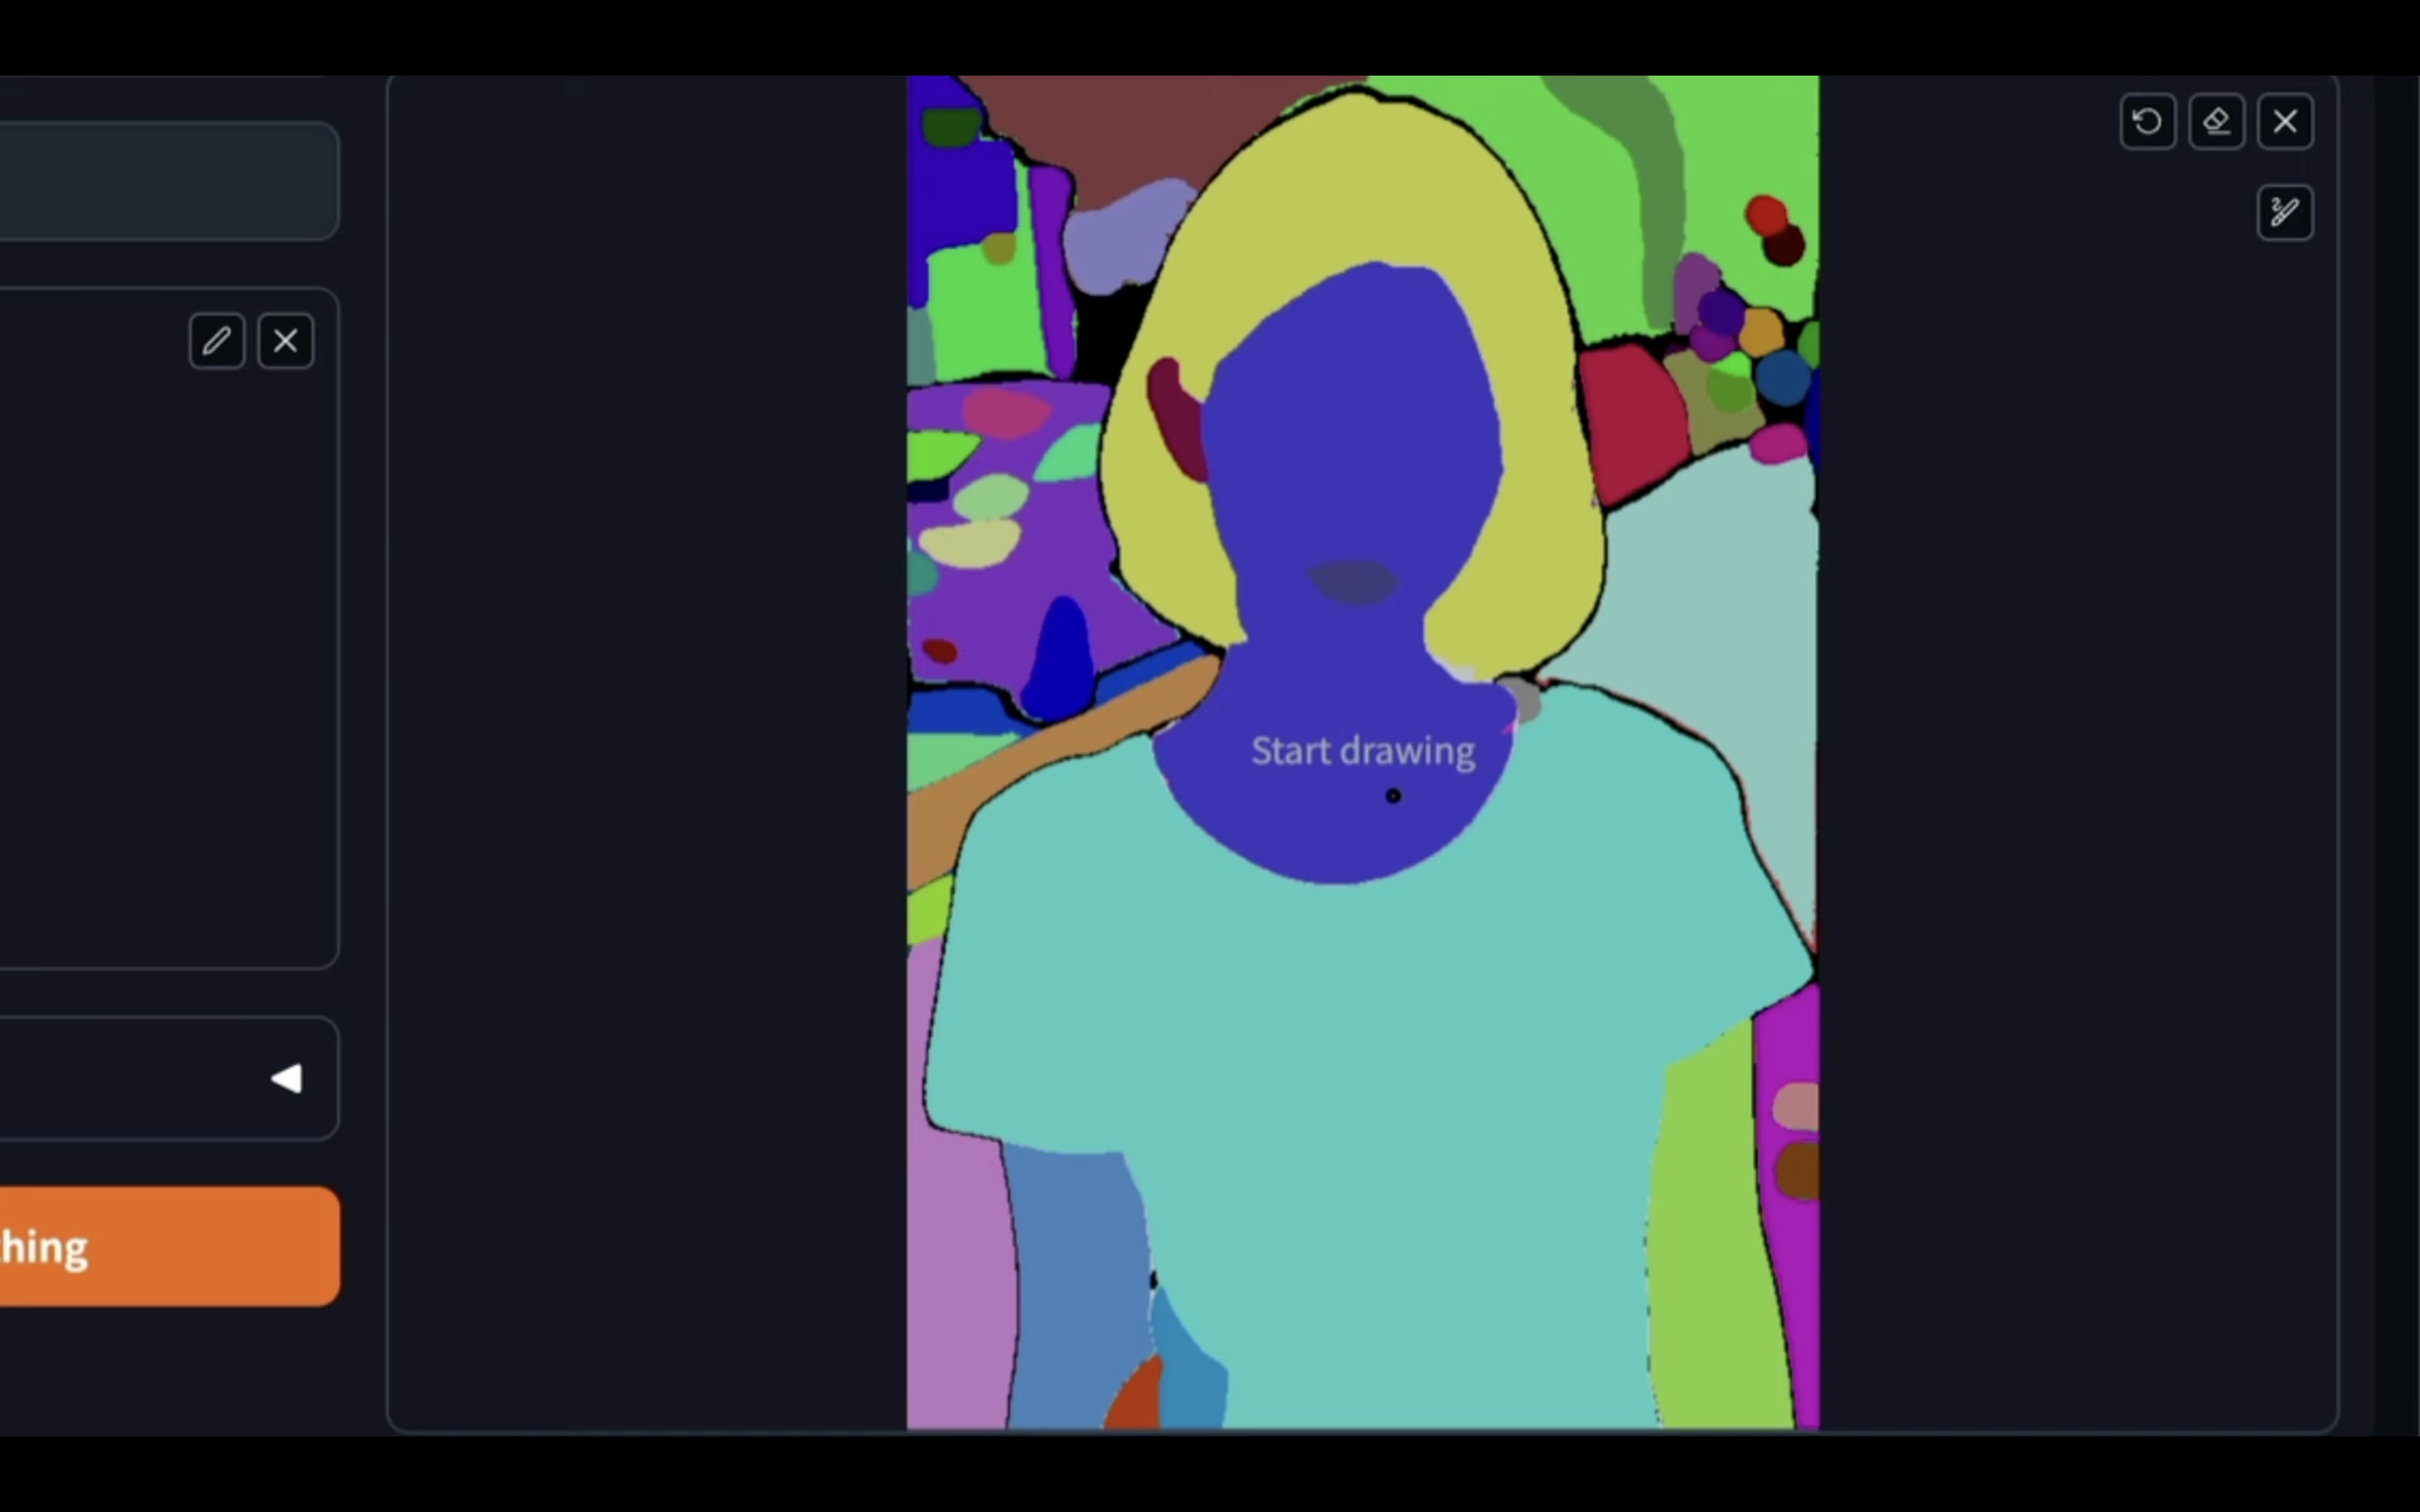
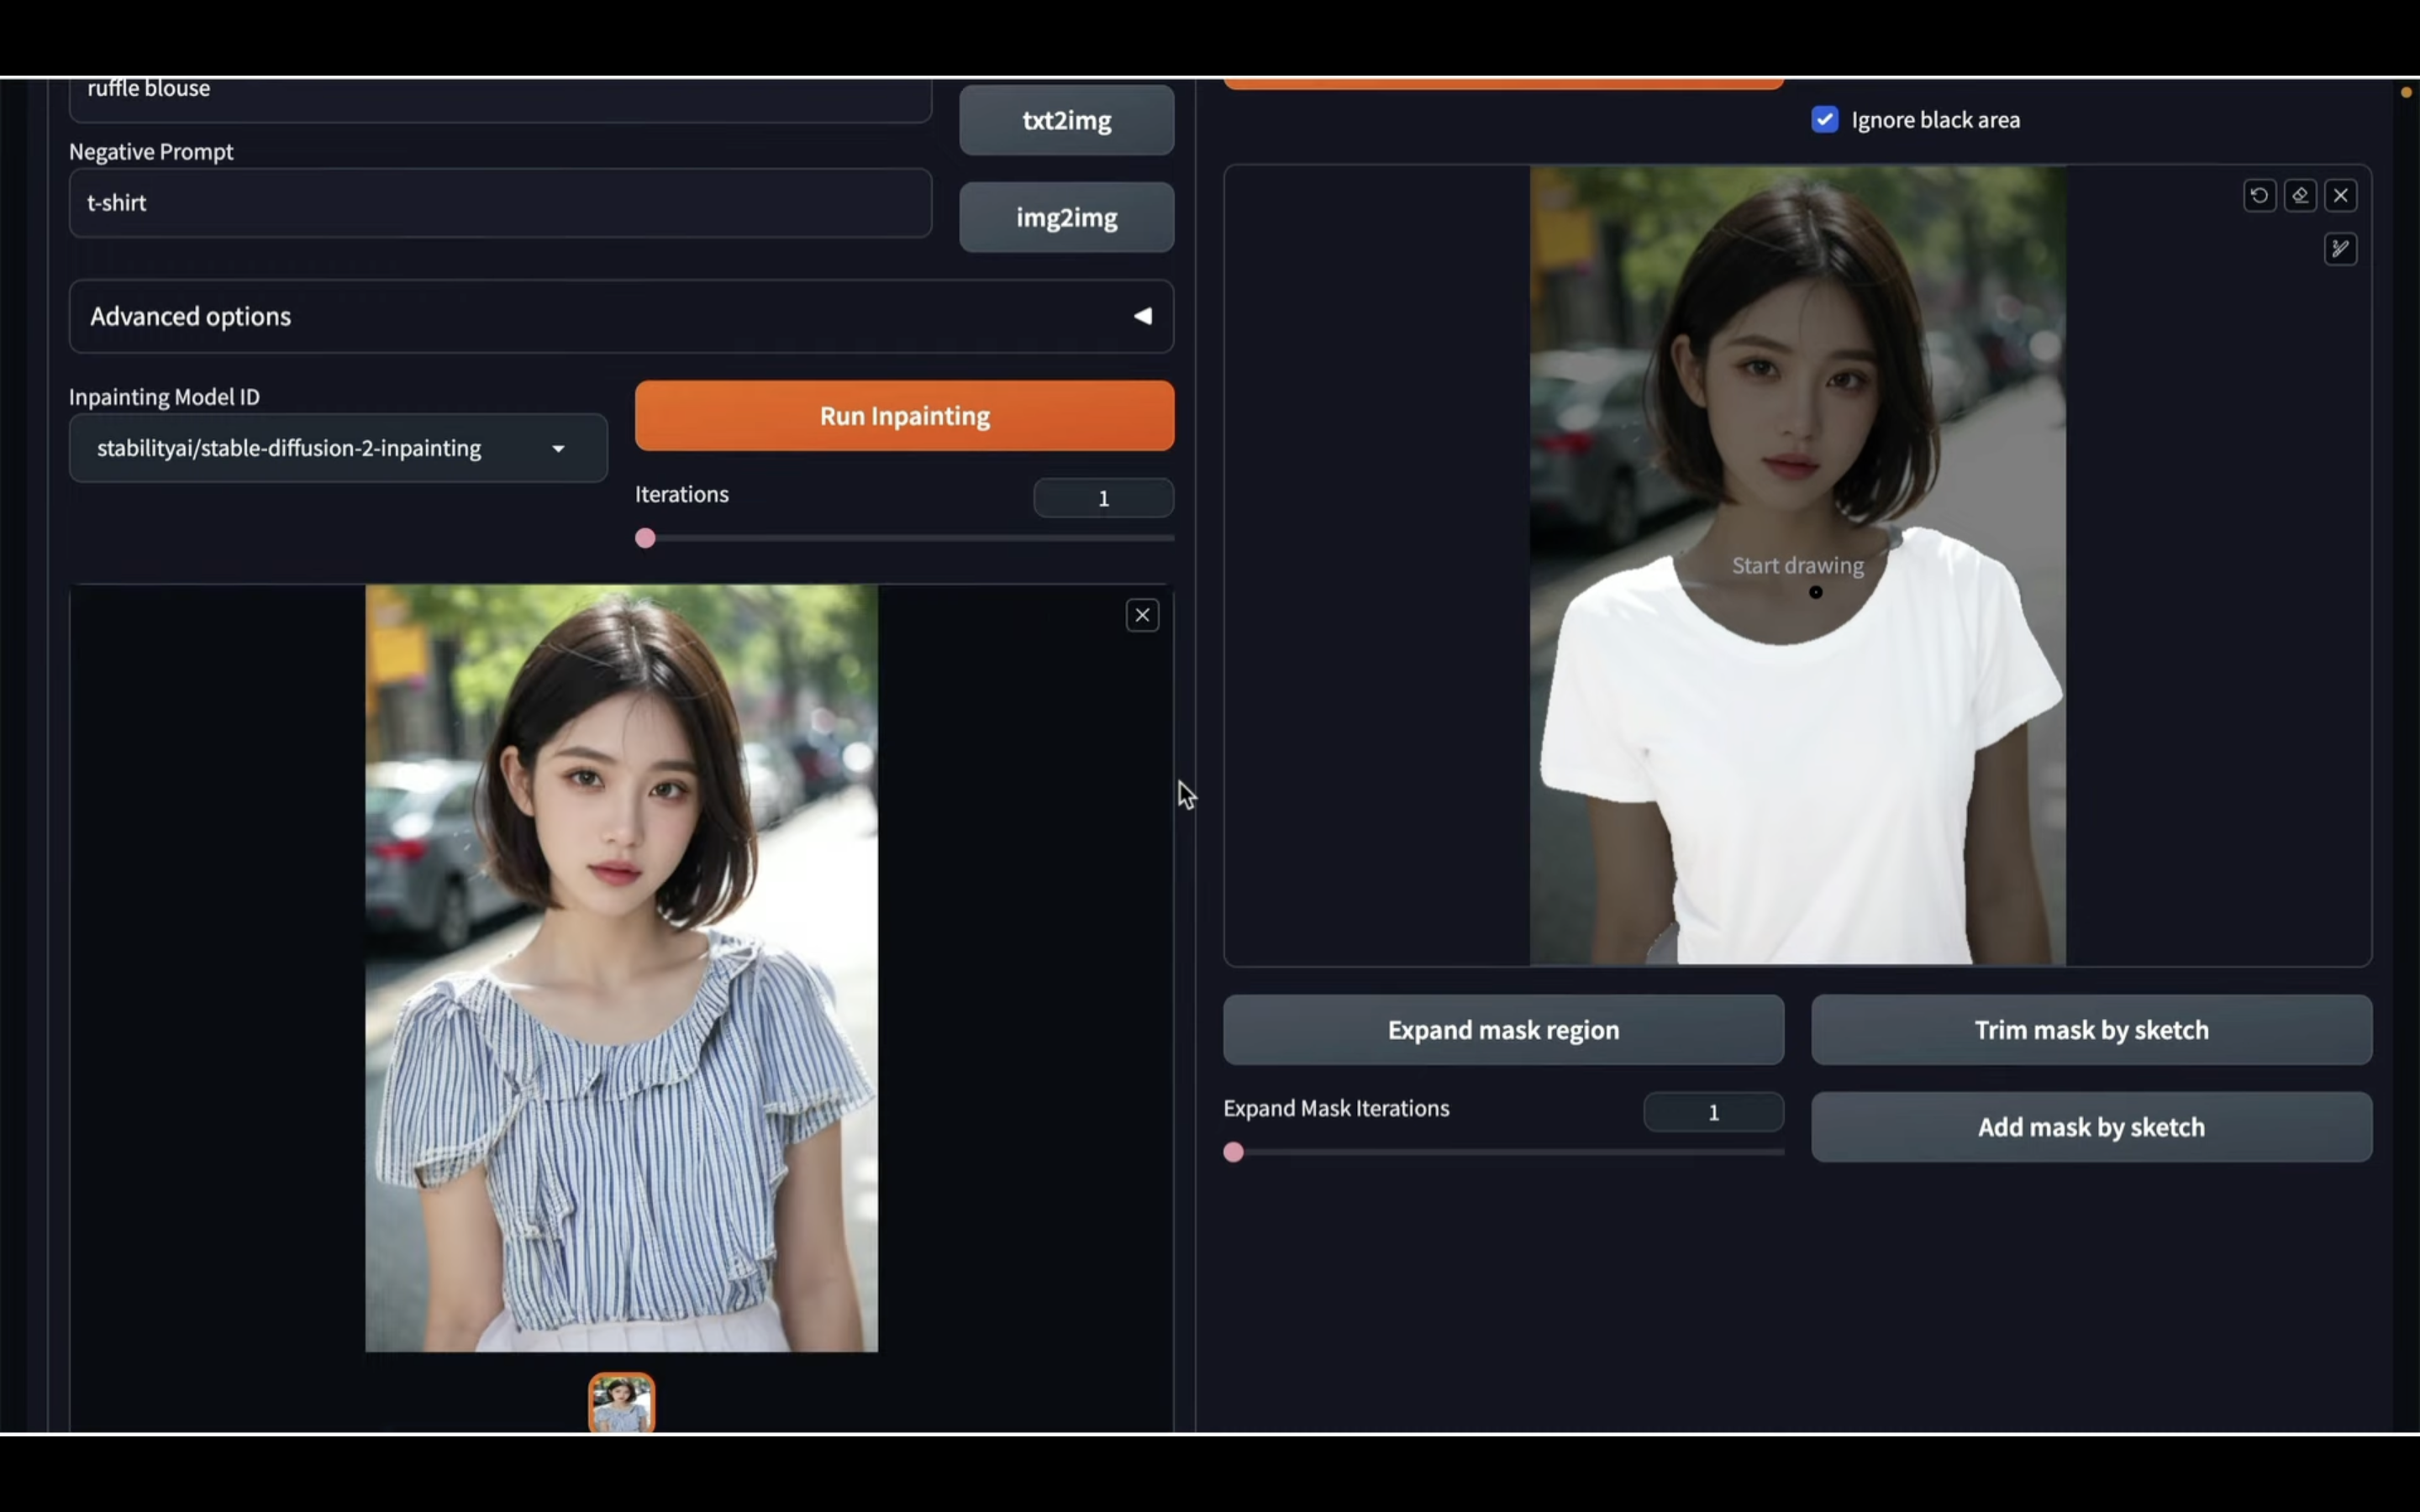
この画像に対して、インペイント機能で利用したい部分、つまり変更したい部分を指定します。
今回は服装を変更させたいので、Tシャツの部分に対してこのように線を引きます。
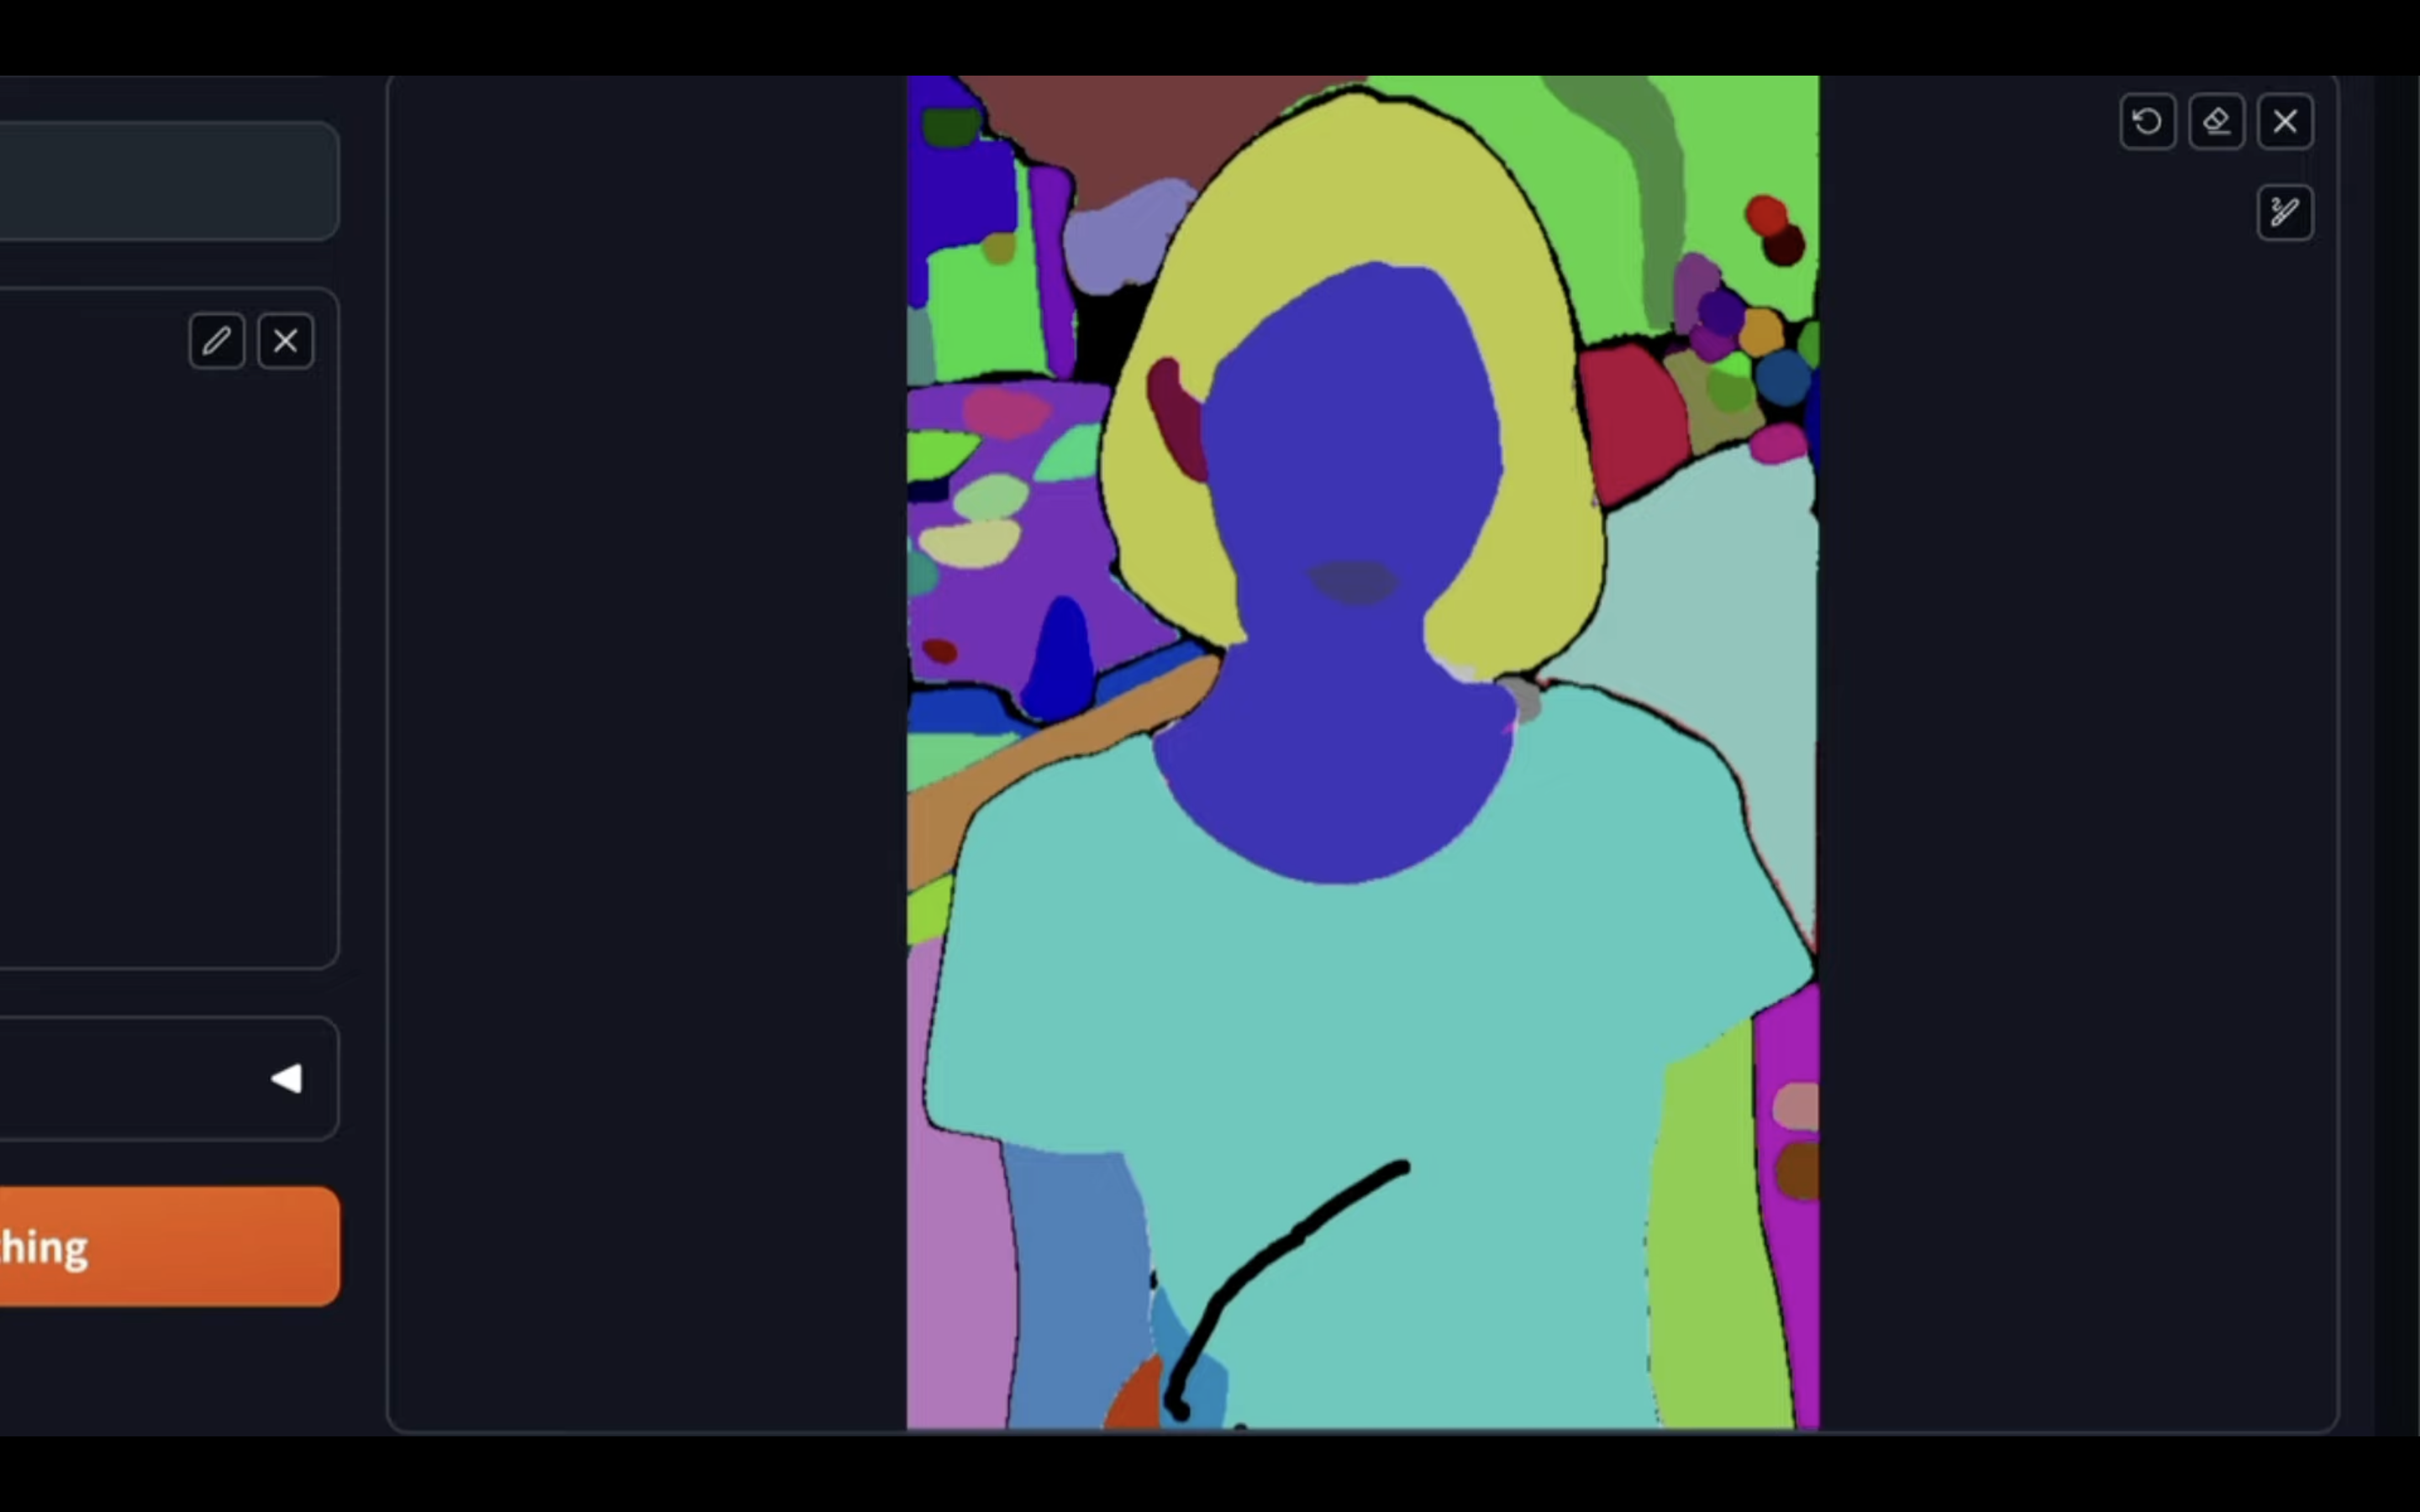
これで、この黒い線に含まれている範囲が設定されます。
範囲を指定したら、Create Maskと書かれているボタンをクリックします。
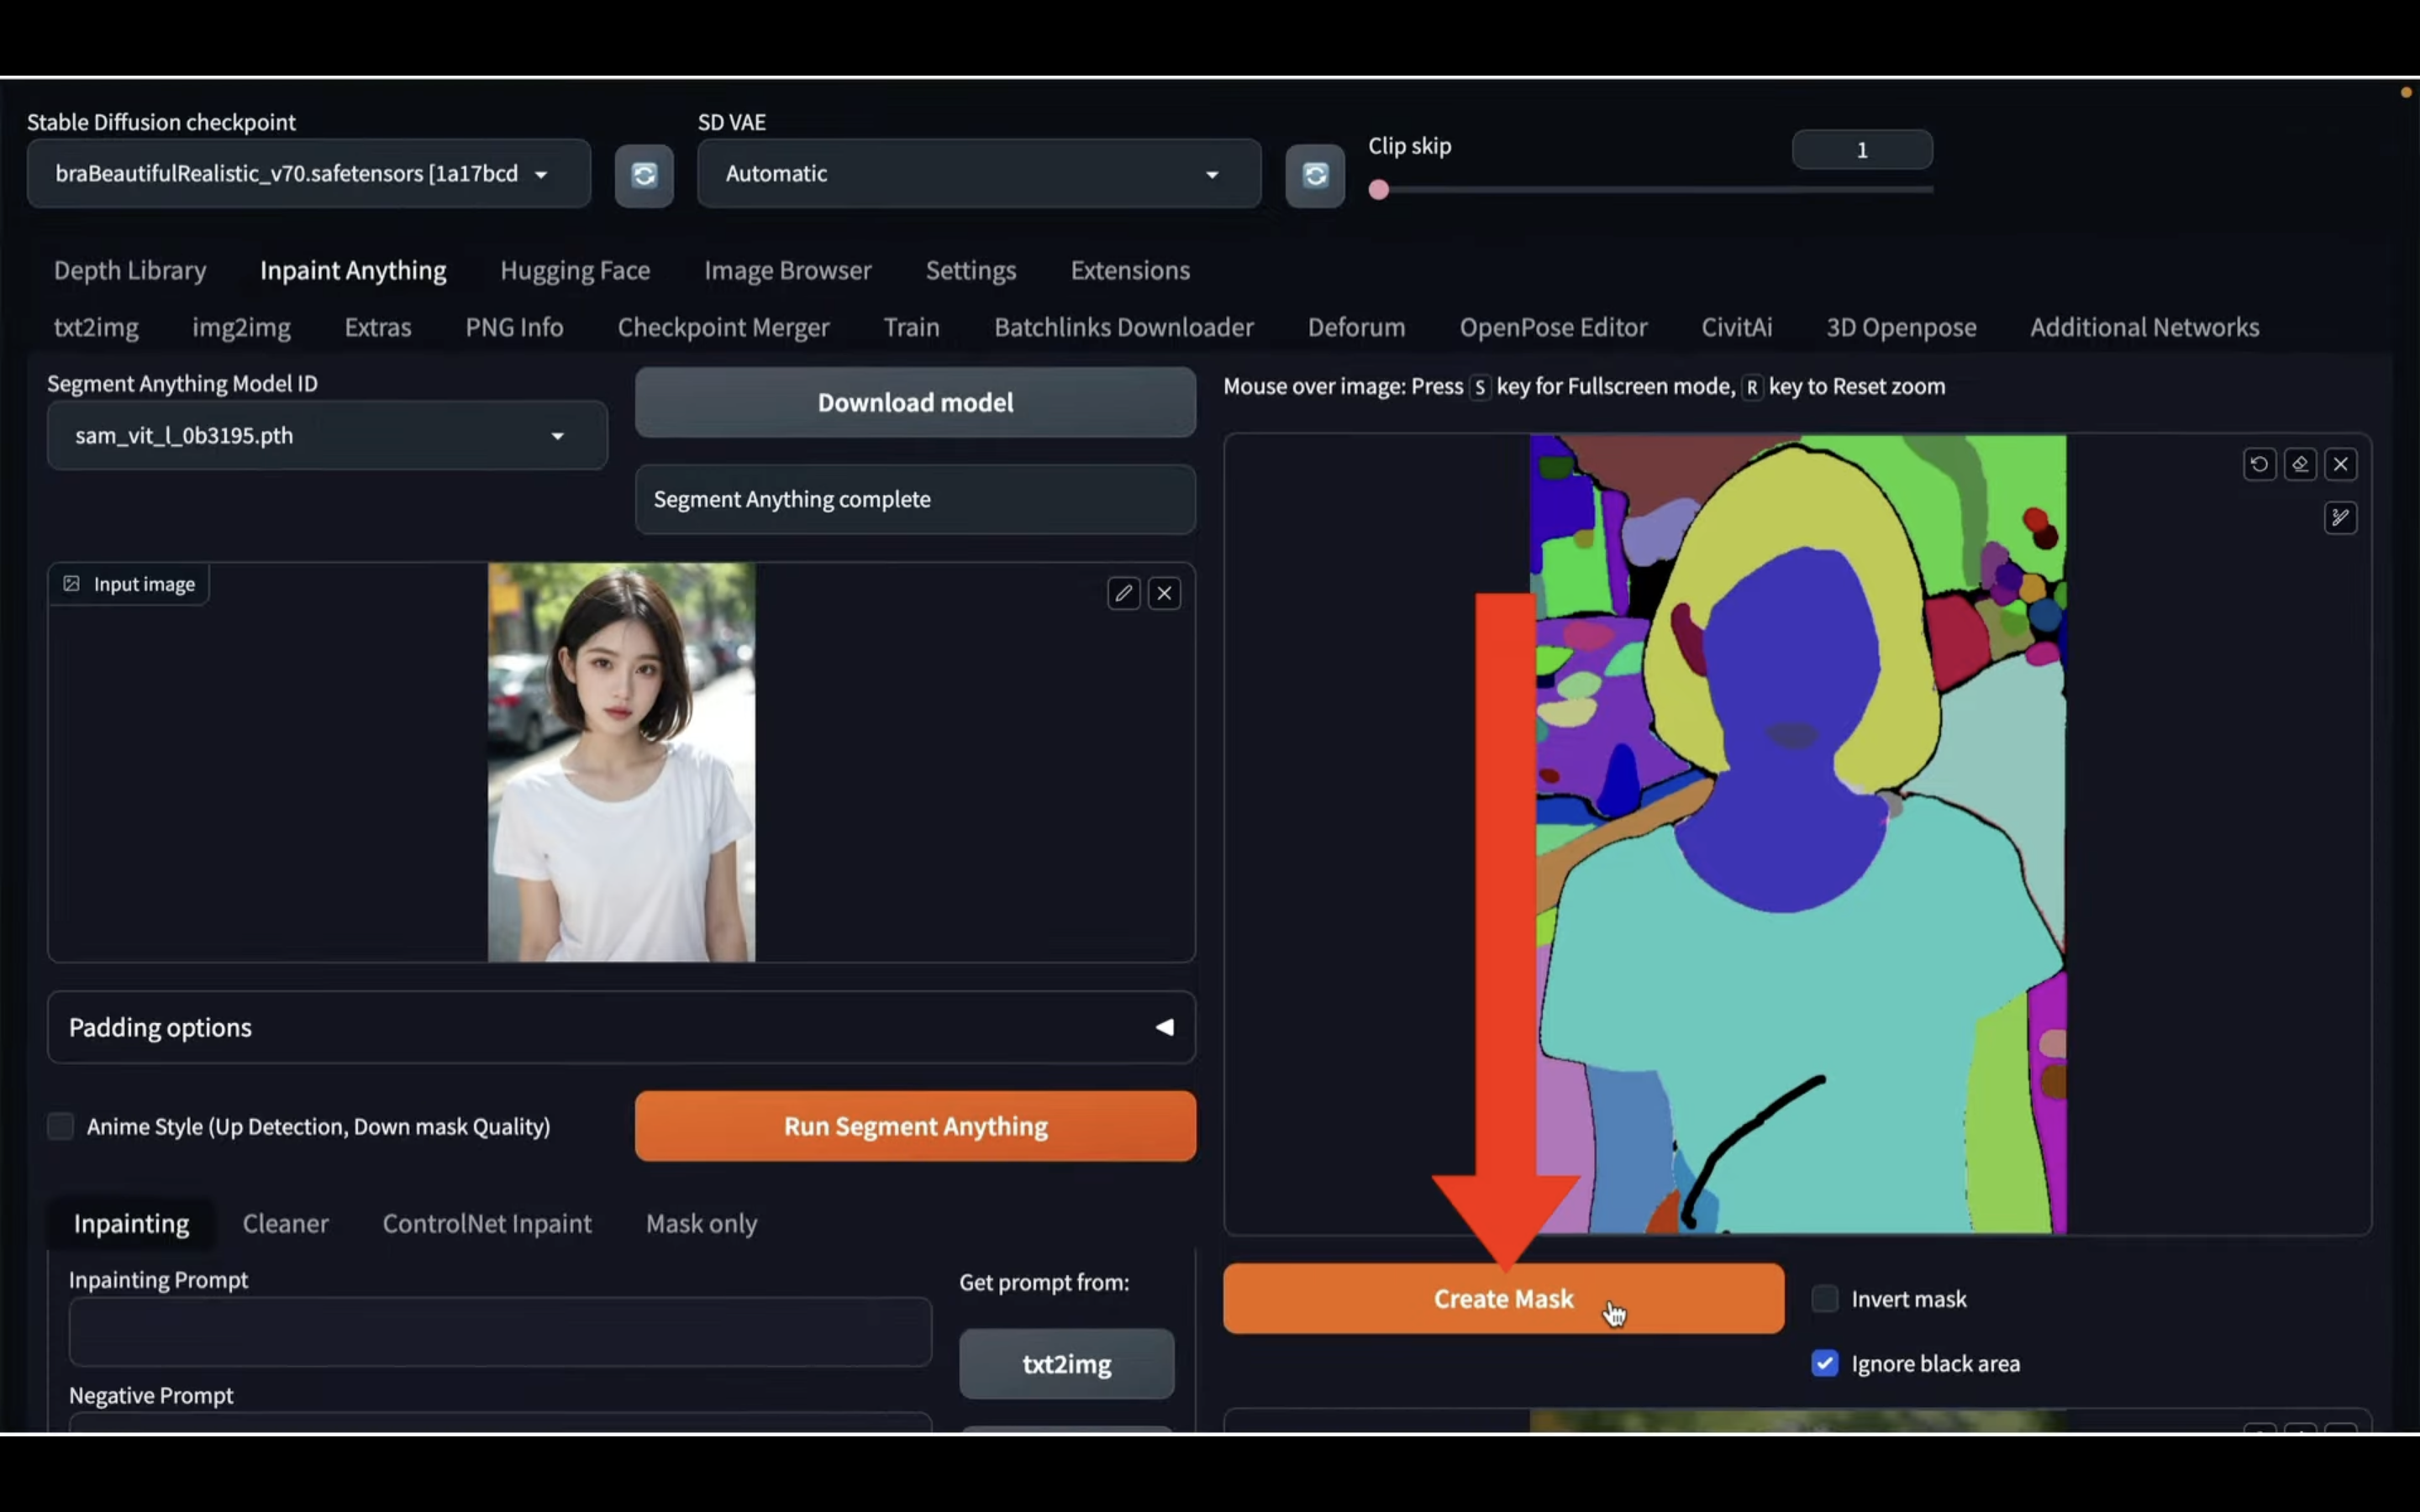
そうすると指定された範囲のプレビューが下の方に表示されます。
今回は期待した通り、Tシャツの部分だけが選択されているようです。
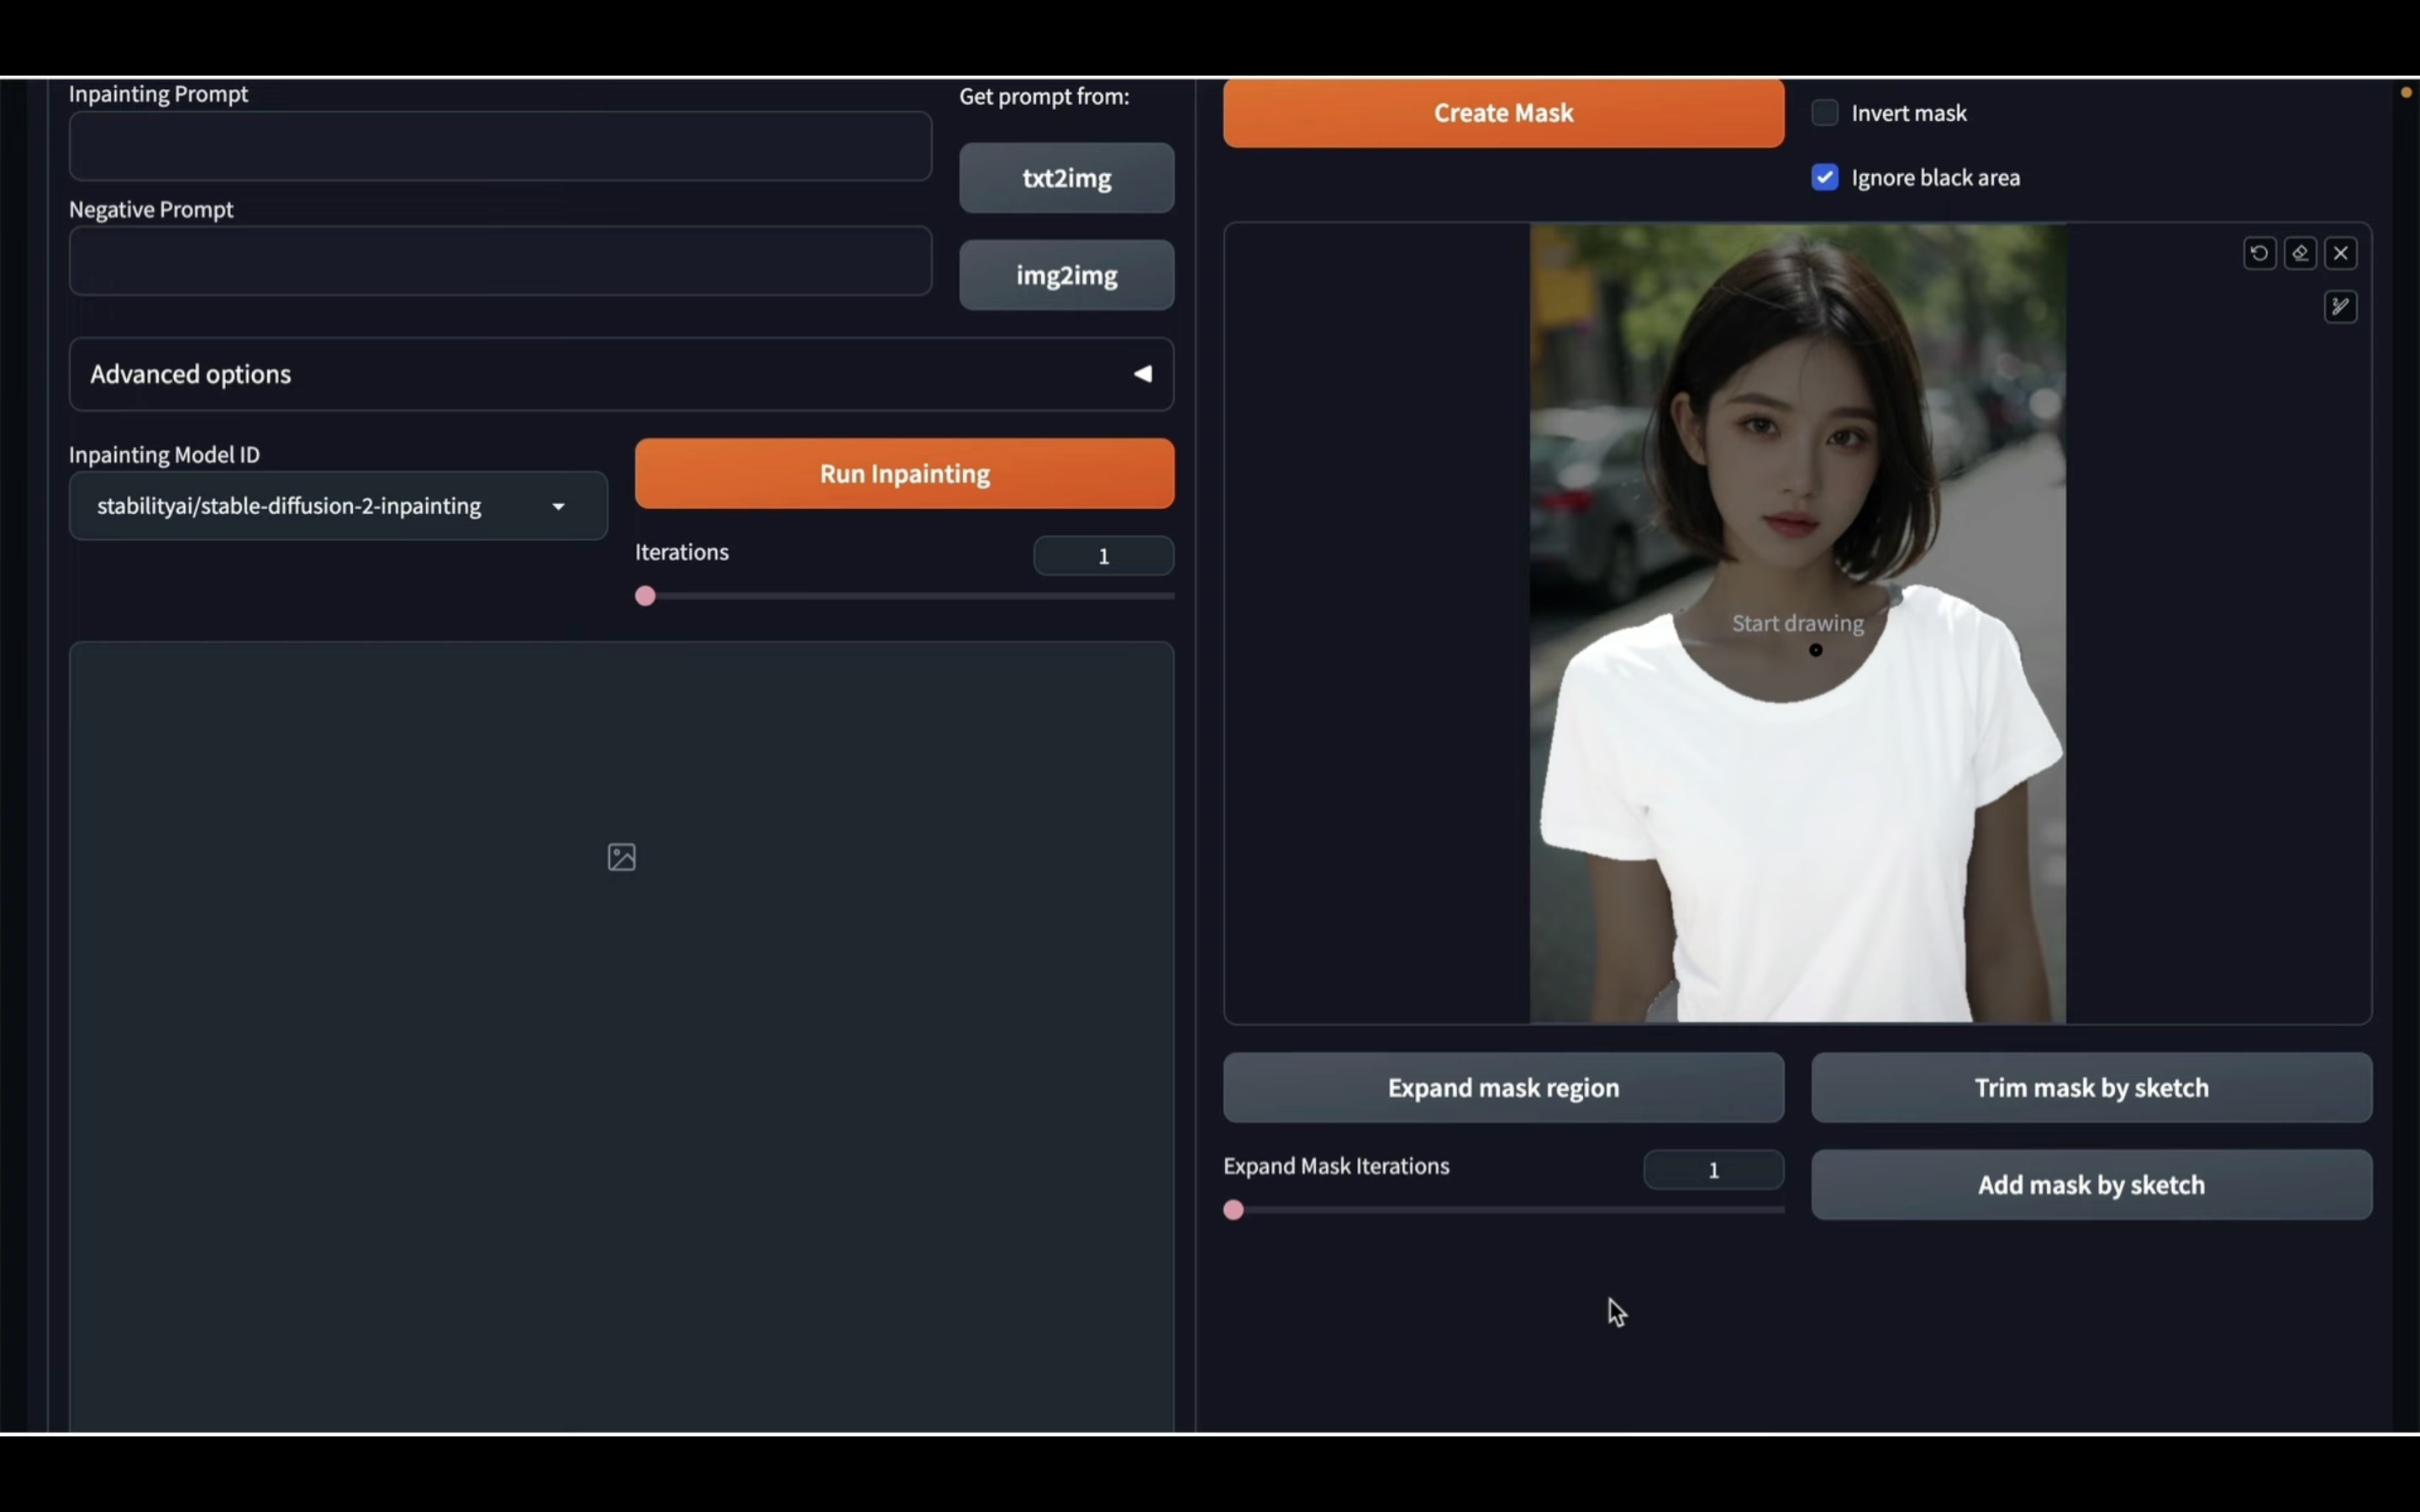
それでは早速、服装を変更してみましょう。
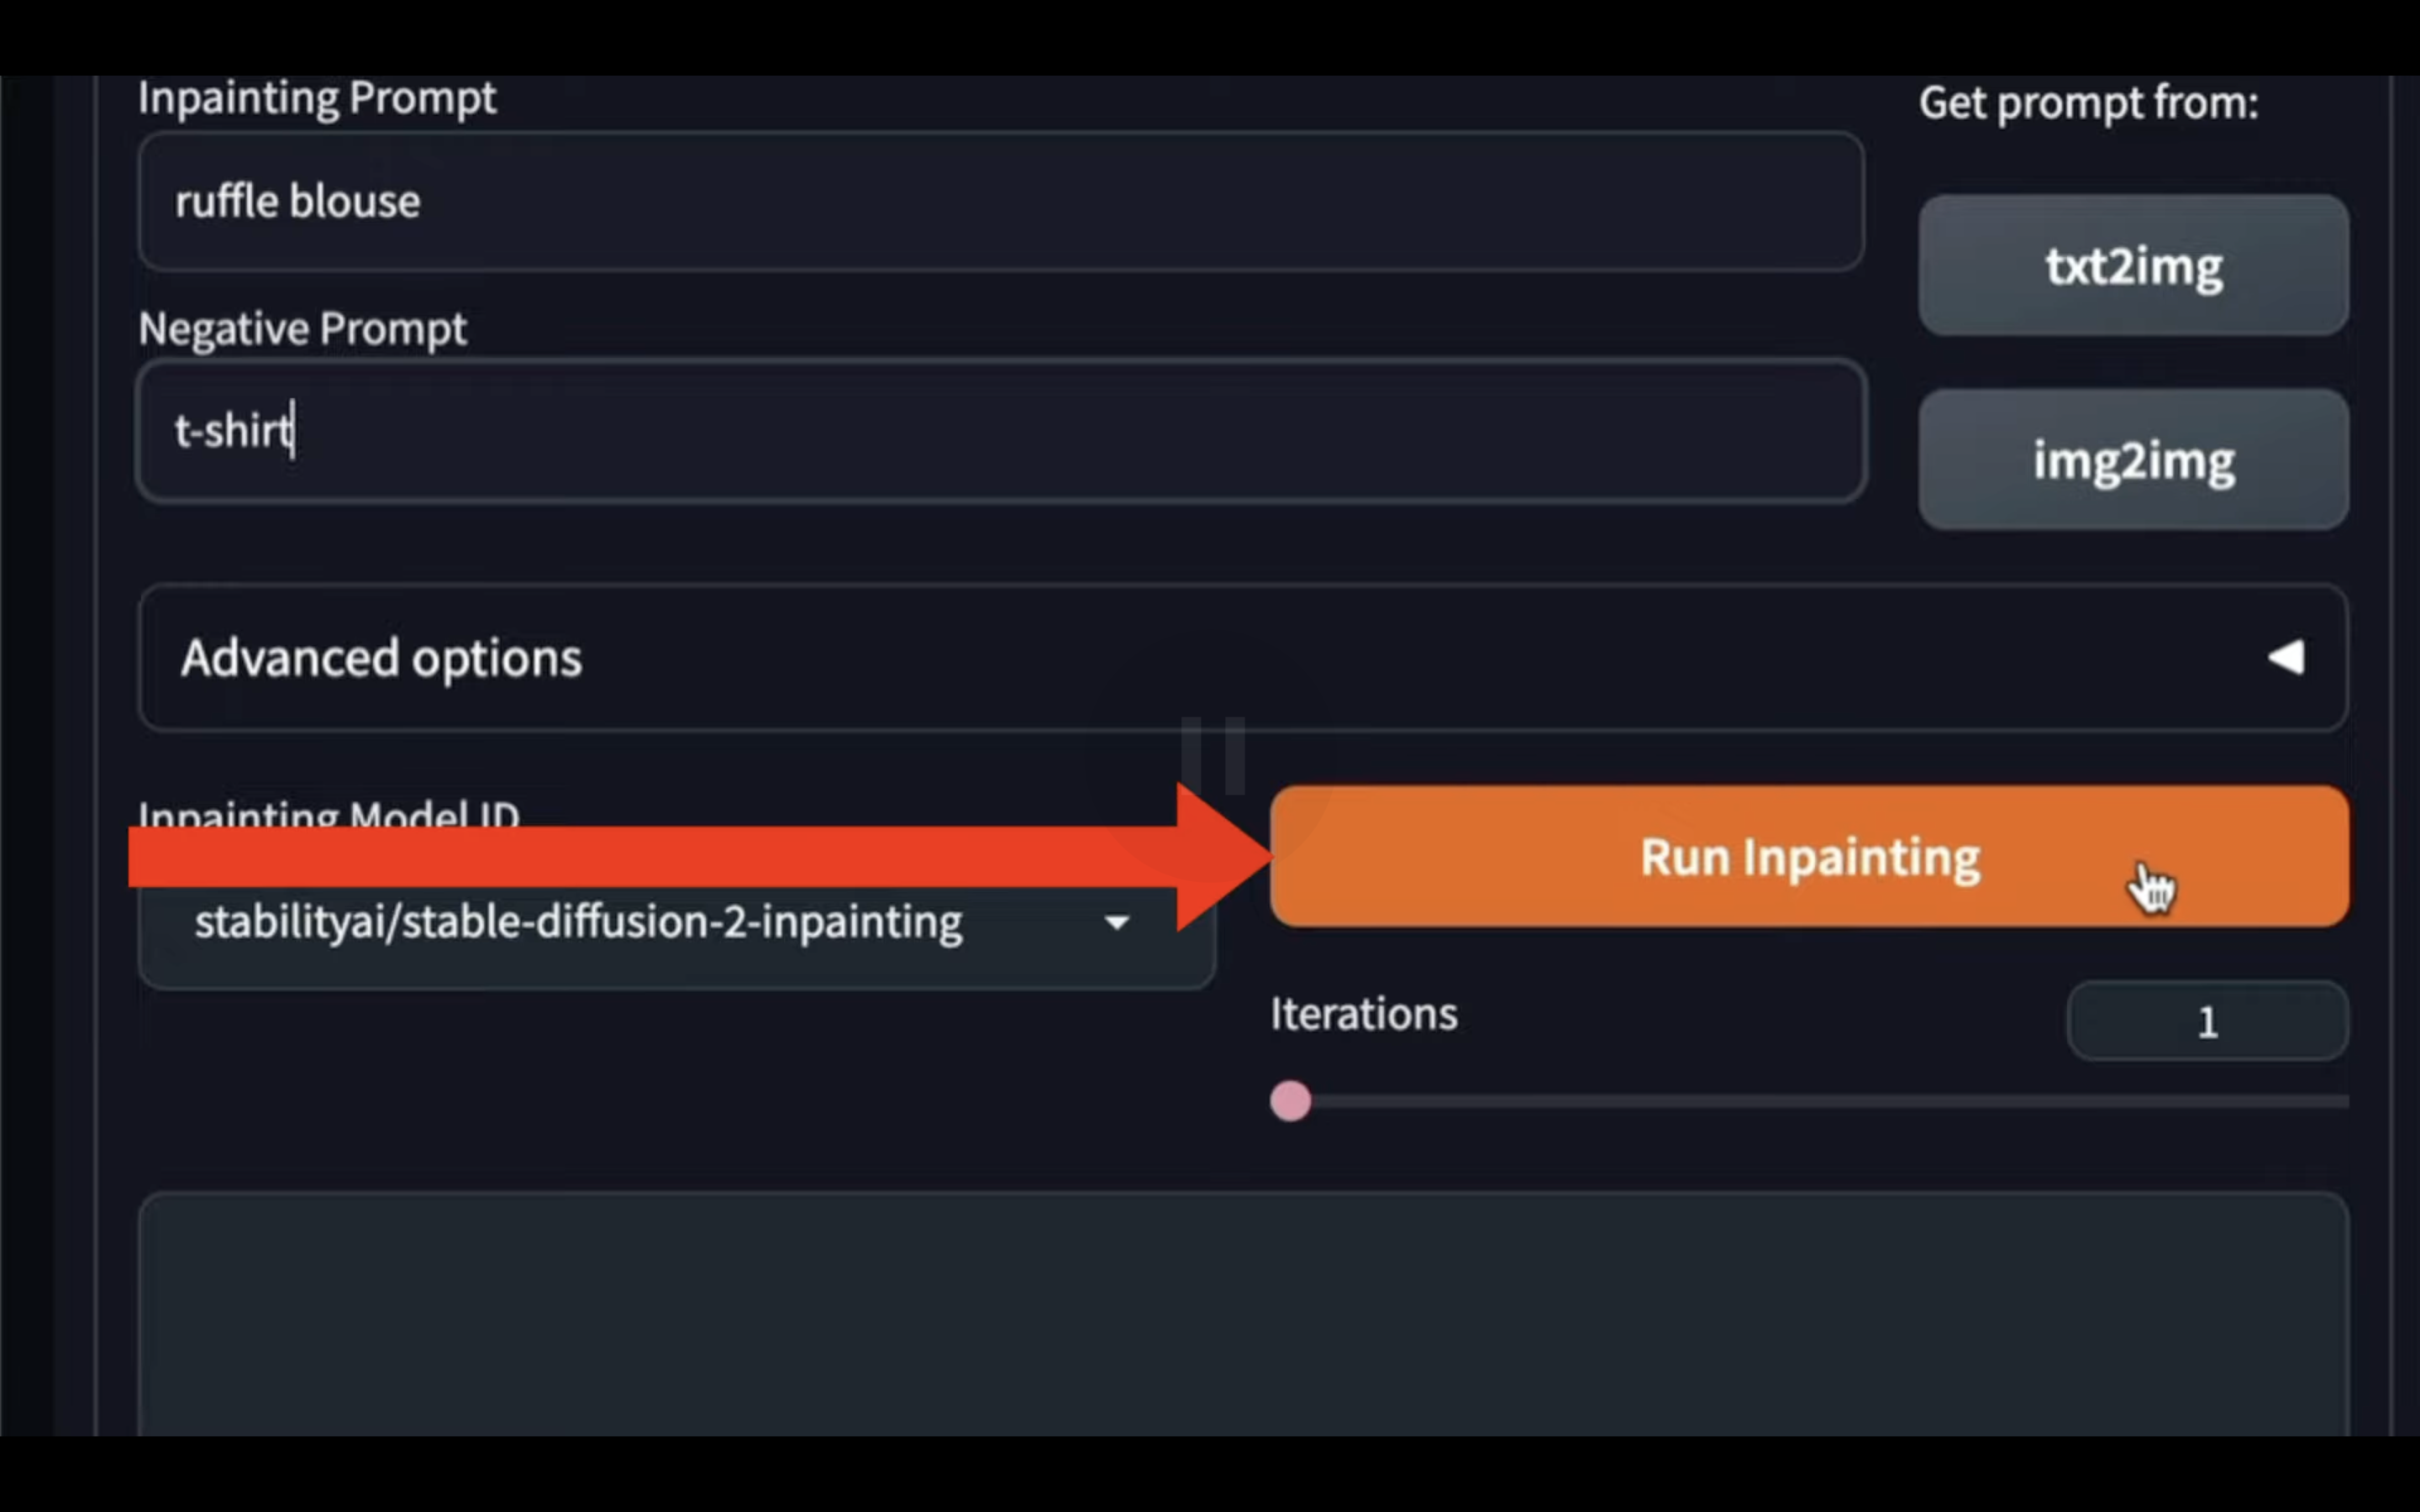
今回はフリル付きのブラウスに変更してみたいので、このように指定します。
そして、Negative Promptには「Tシャツ」と入力しておきます。
これでインペイント機能で服装を変更させるための準備が整いました。
それでは早速、実行してみましょう。
Run Inpaintingと書かれているボタンをクリックします。
処理が開始されるので、完了するまでしばらく待ちます。
しばらく待っていると、このような画像が生成されました。
期待した通り、Tシャツ姿からフリル付きの服装に変更されています。
このようにinpaint anythingを利用すると、変更範囲の指定の作業を効率化することができます。
是非お試しください。