▶︎動画でも話してるので、文章読むのが面倒な方はこちらをみてもらえればと思います。
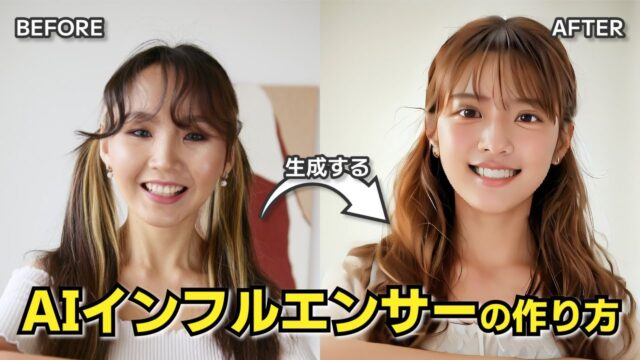
今回はDiffUsersを使ってAI美女の画像を一括で大量生成する方法について解説します。

これを読めば誰でも簡単にクオリティーの高いAI美女が作れるようになっているので興味がある人は、下のバナーをクリックして購入してみてね🎶

DiffUsersを使ってAI美女の画像を一括で大量生成する方法について
DiffUsersのソースコードは公開されています。
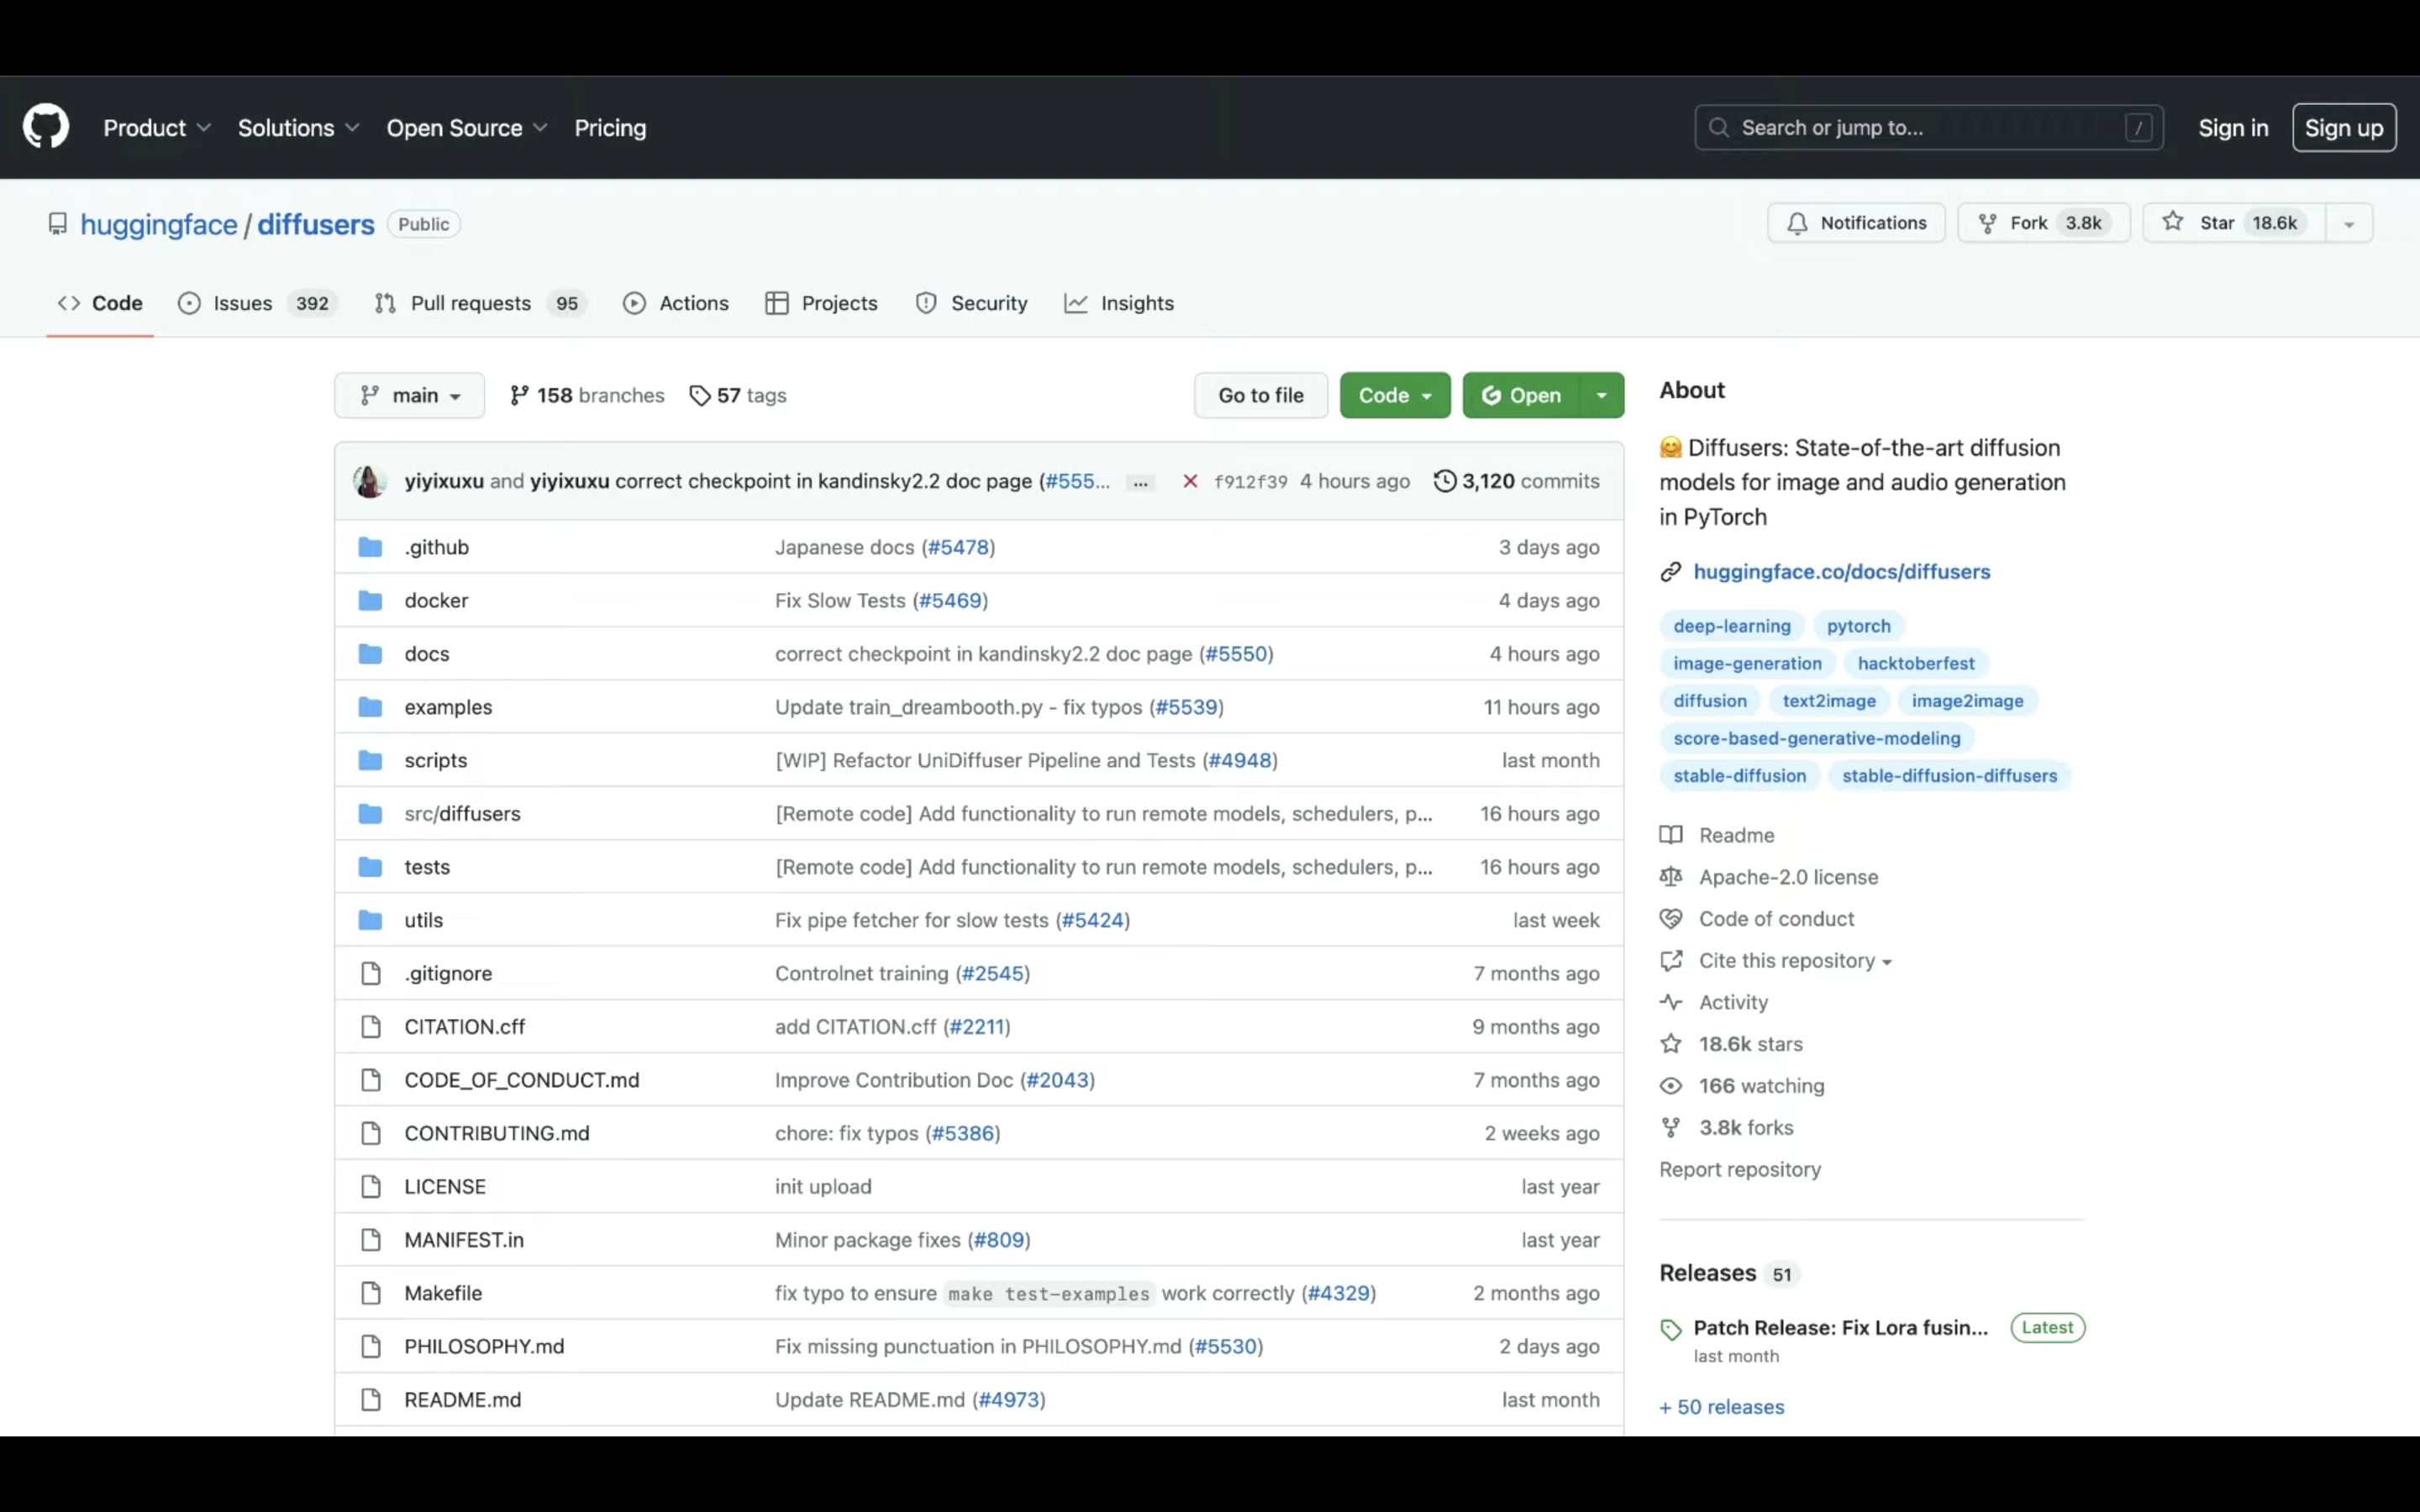
ソースコードが公開されているページへのリンクは、以下に貼っておきますのでそちらをご確認ください。
この動画では、このソースコードを動作させるためにGoogle colabを利用します。
Google colabは、クラウド上でプログラミングを実行することができるGoogleが提供しているツールです。
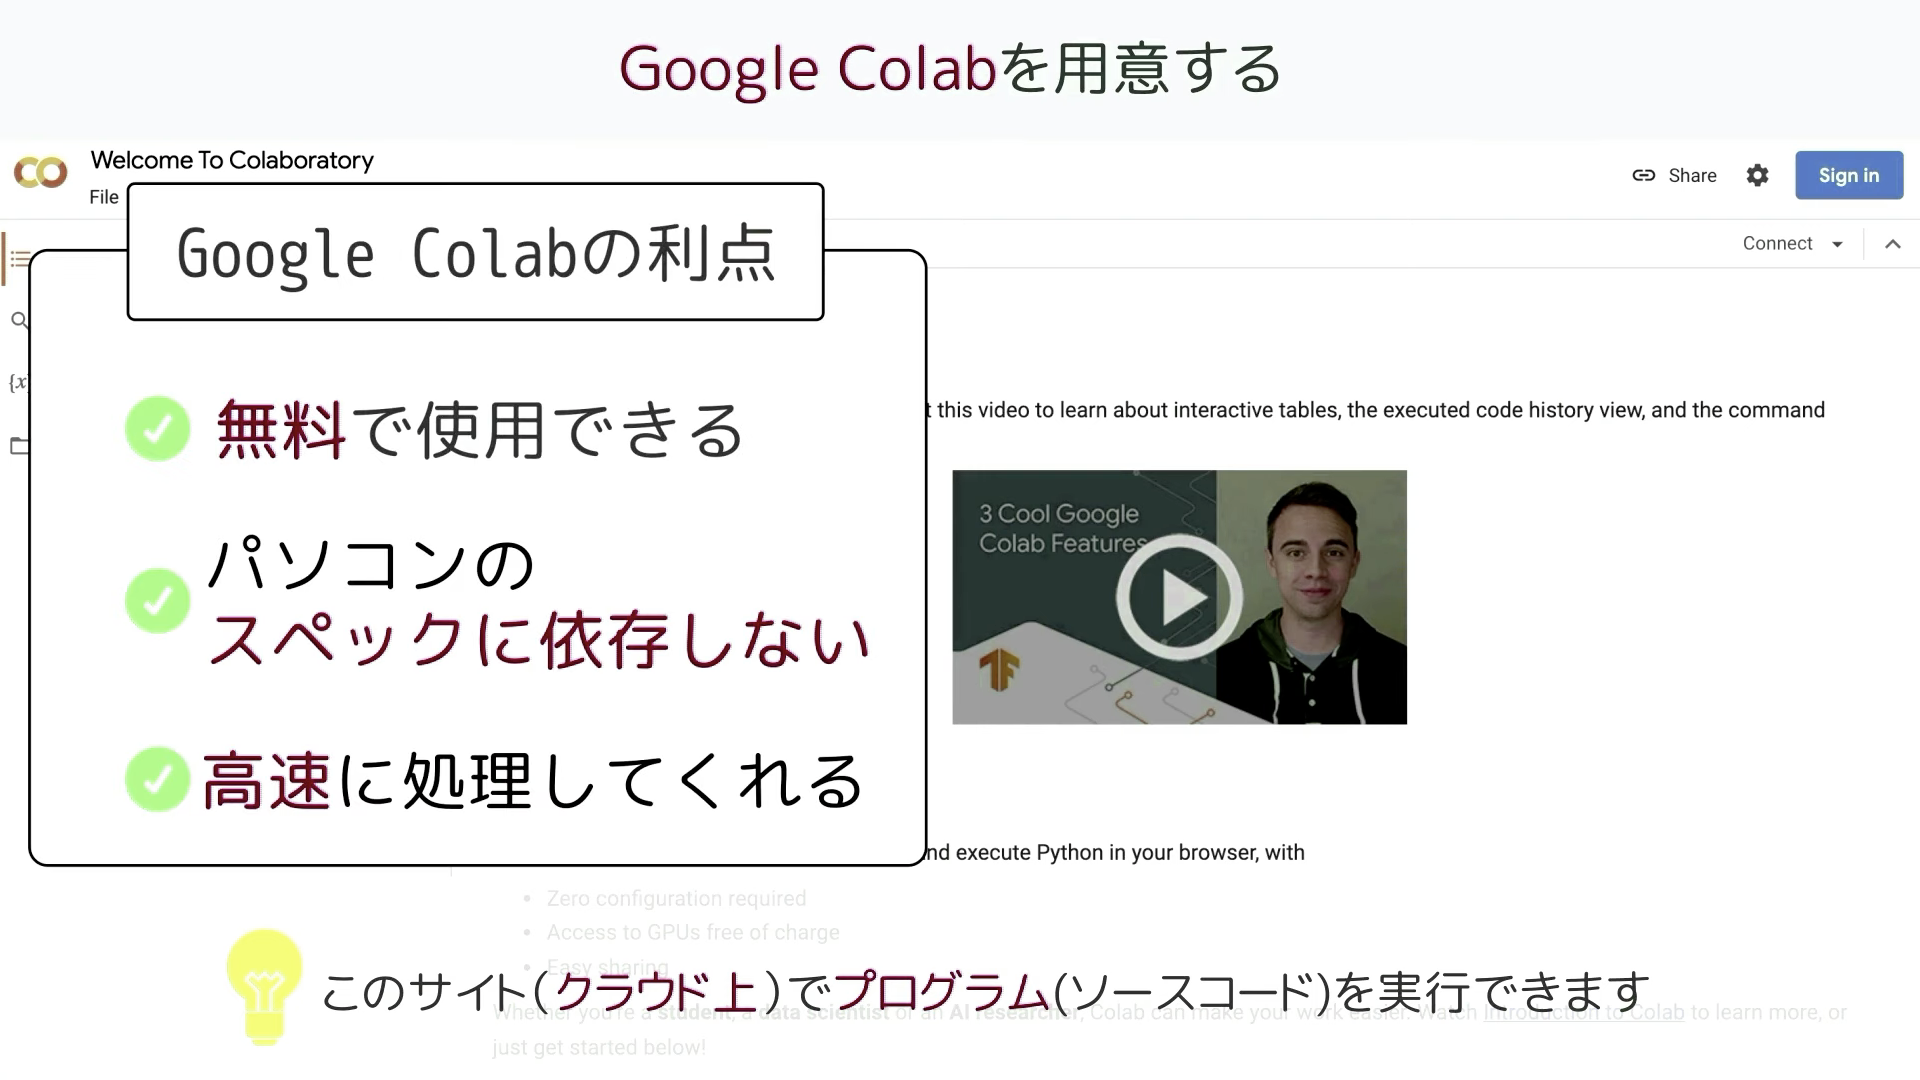
無料で使用することができ、自分のパソコンのスペックに依存せず高速な処理を行うことができるのが大きな利点です。
Googleアカウントを持っていれば、誰でもGoogle colabを使用することができます。
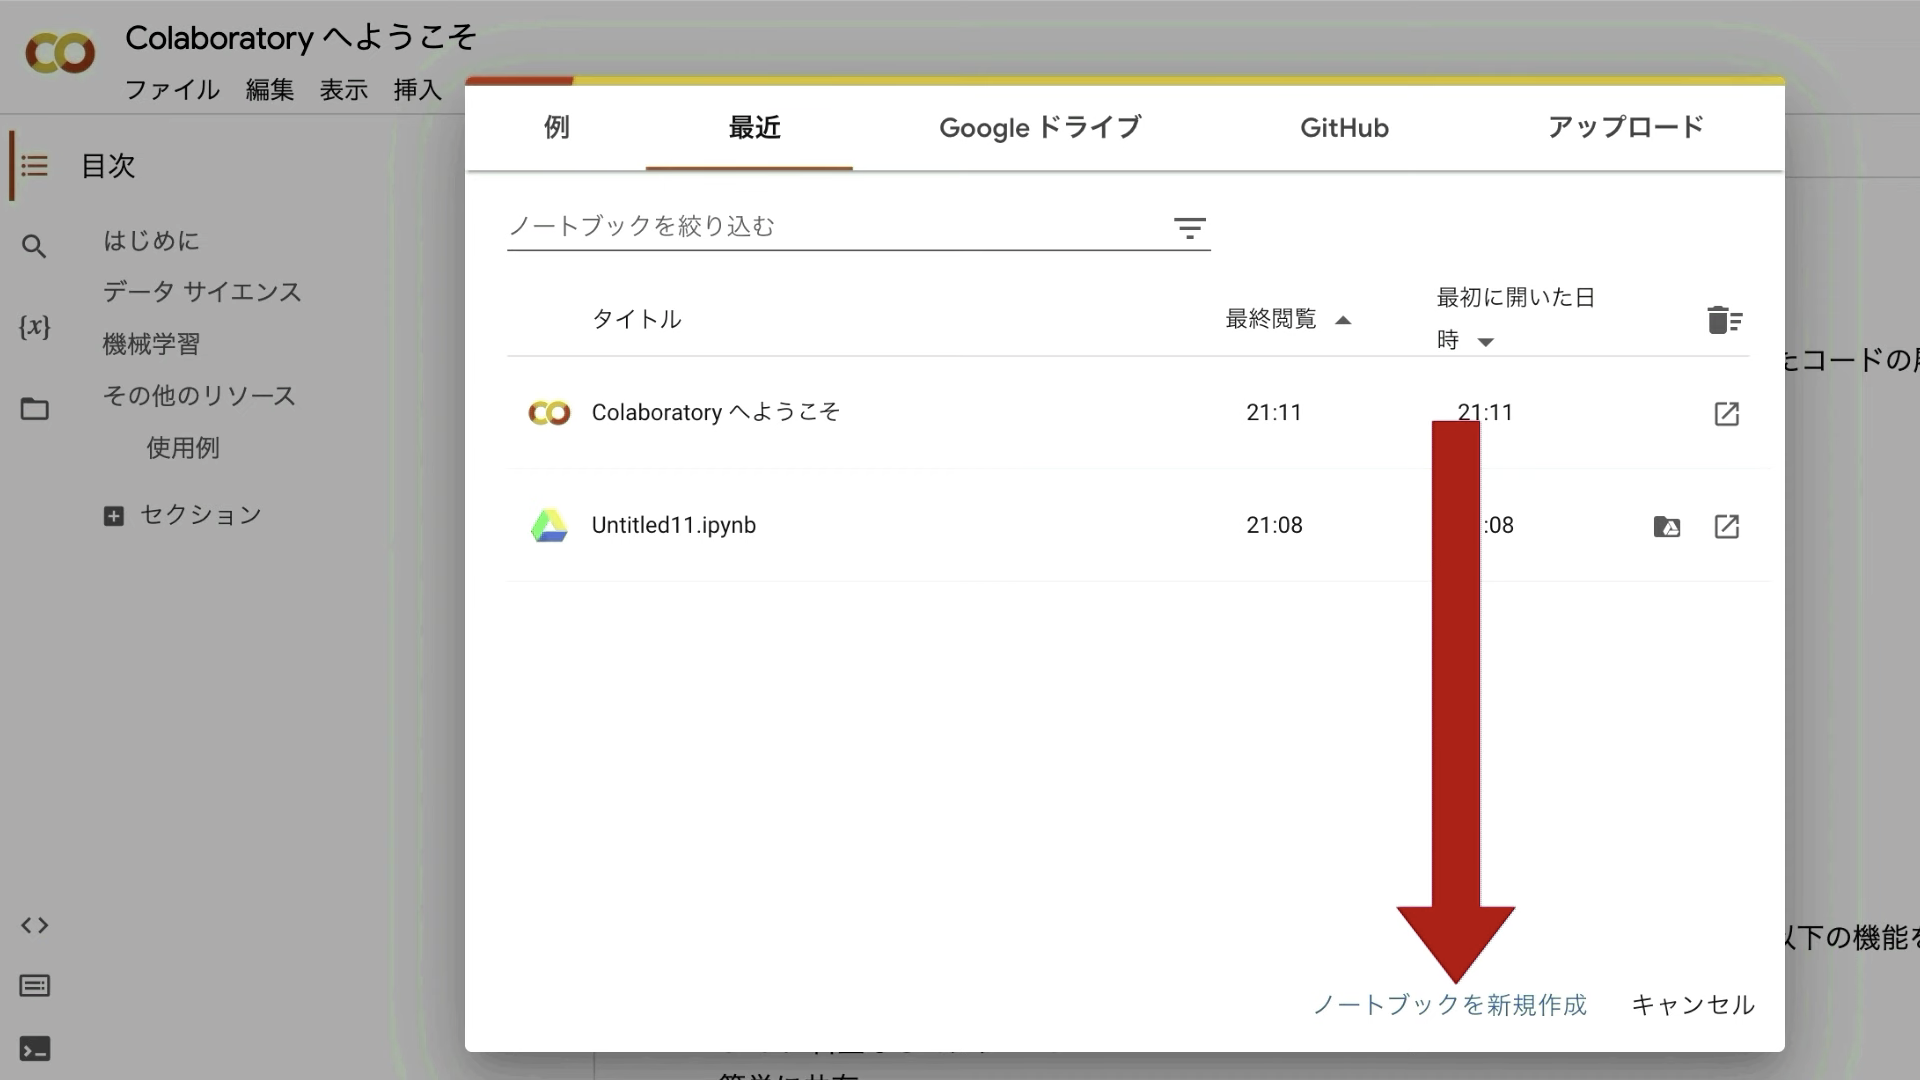
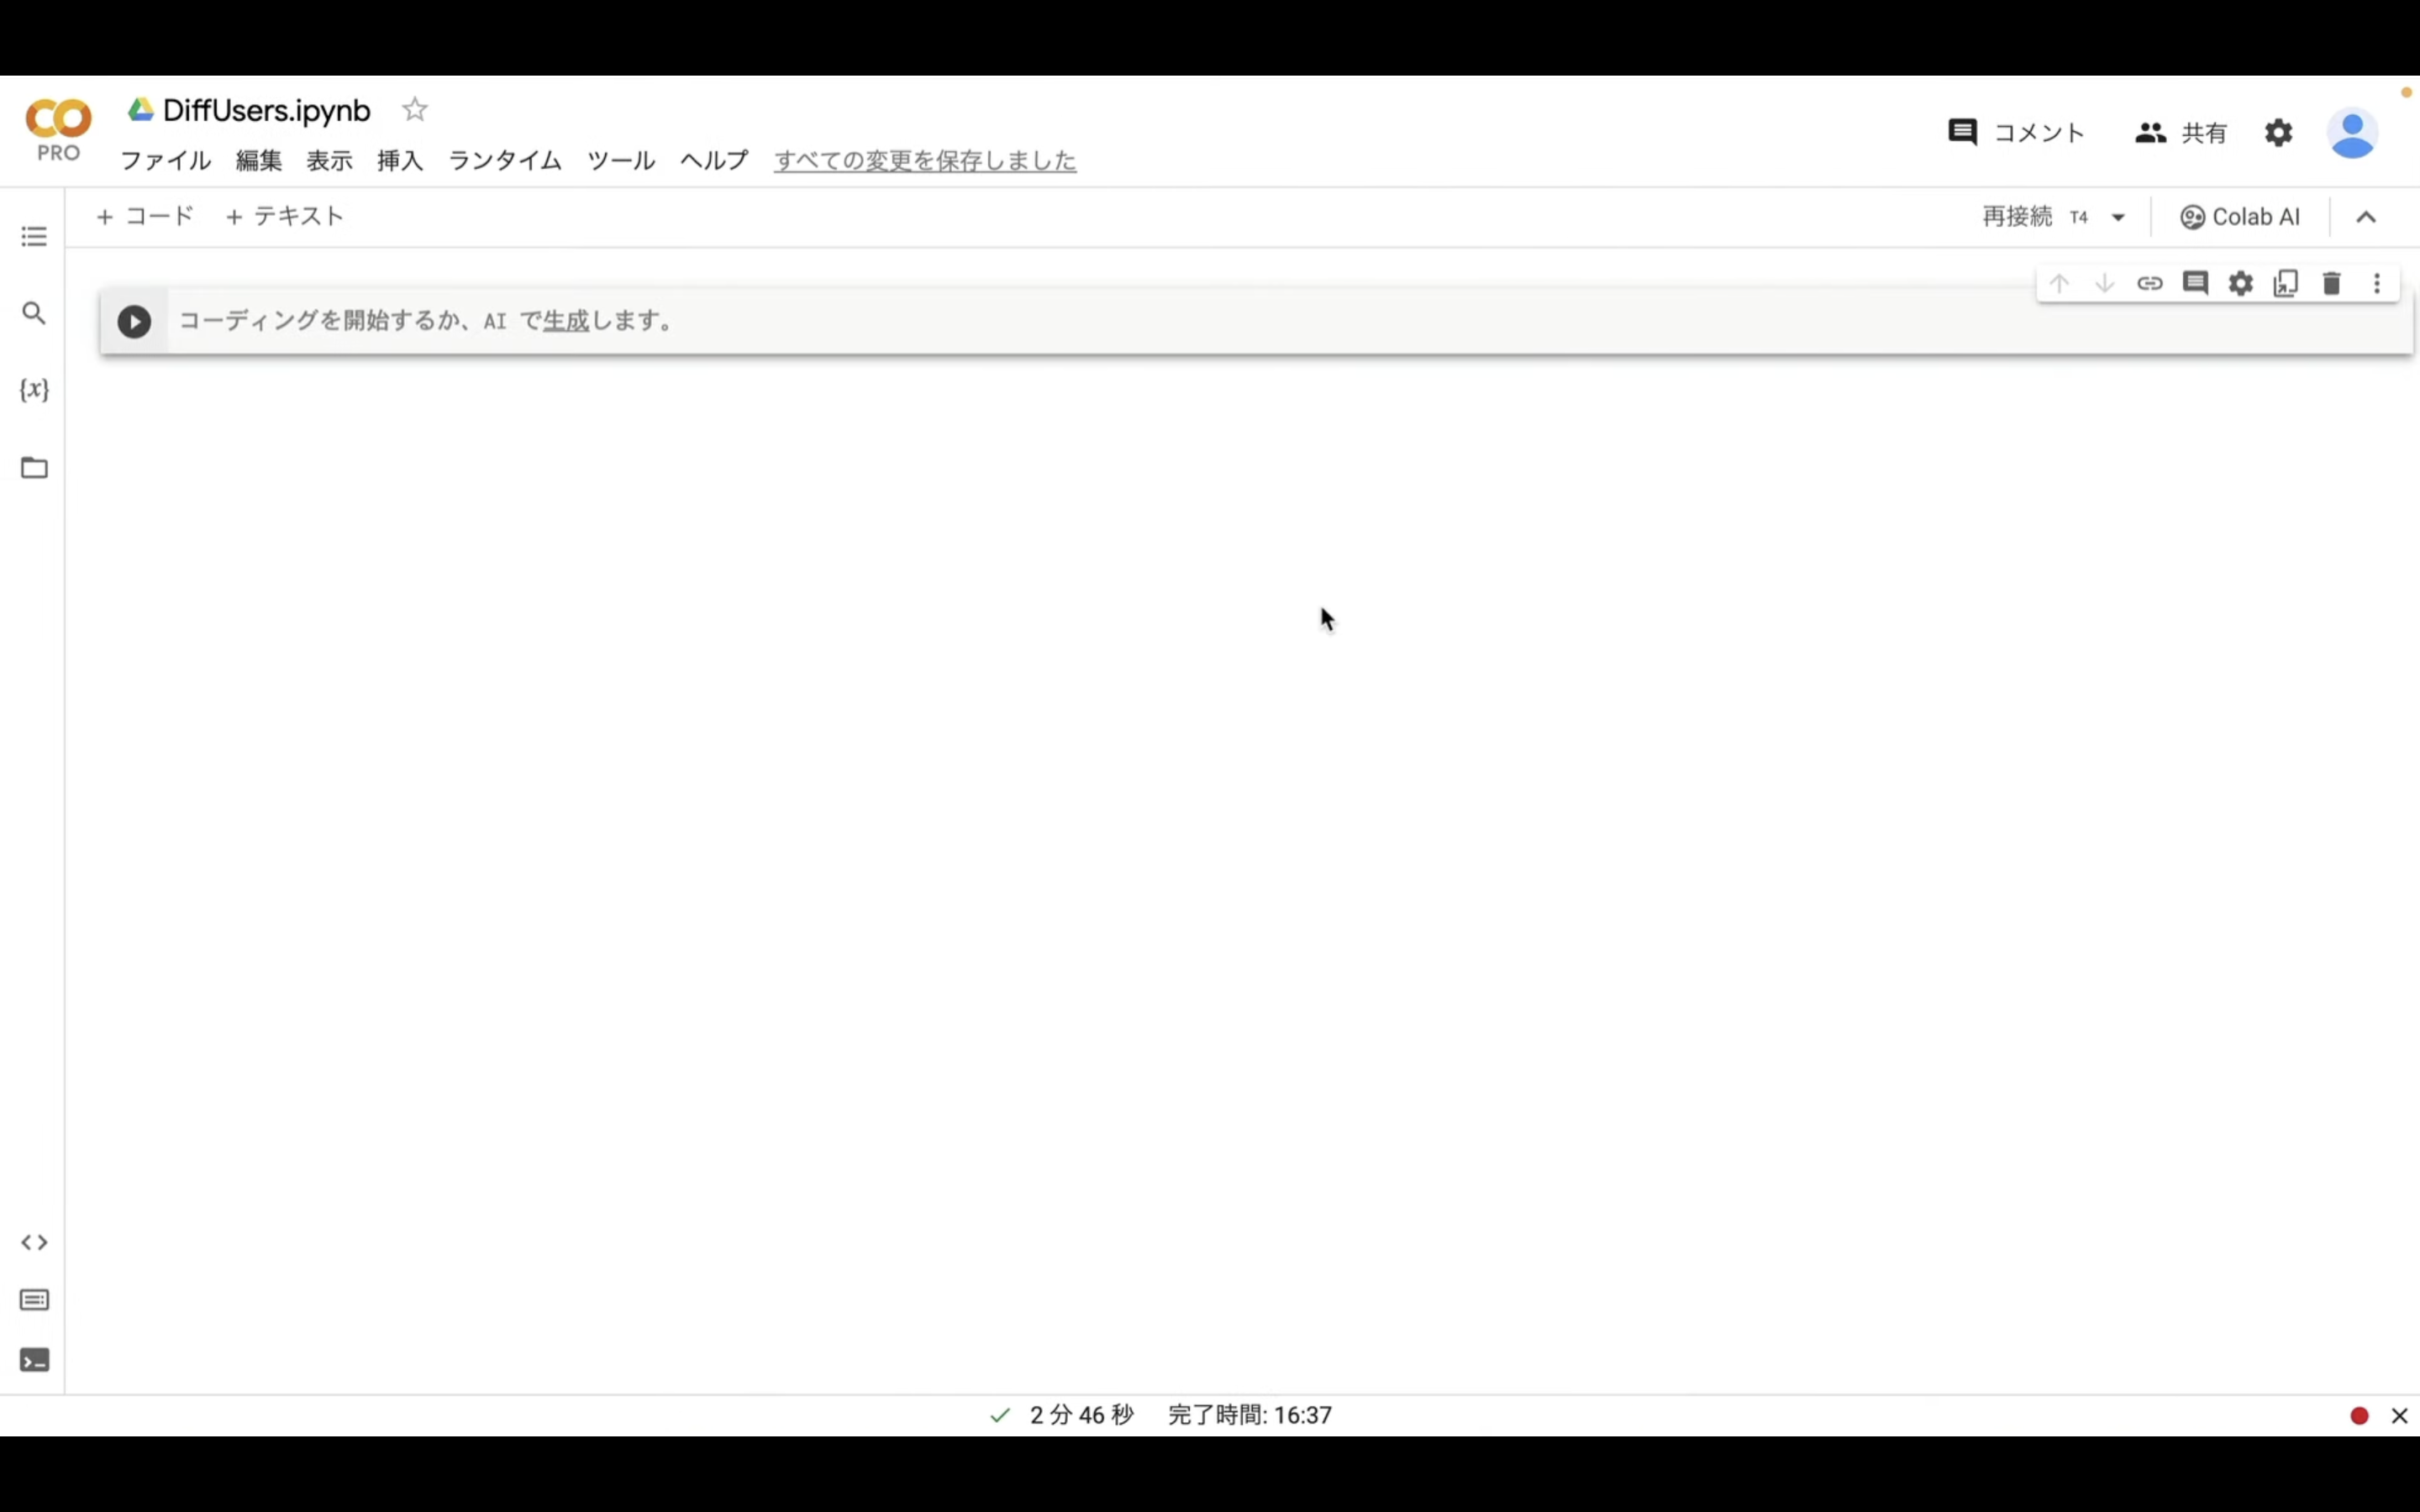
Google colabのサイトにアクセスしたら、このような画面が表示されると思います。

表示されているポップアップ画面の右下にある「ノートブックを新規作成」と書かれているテキストをクリックします。
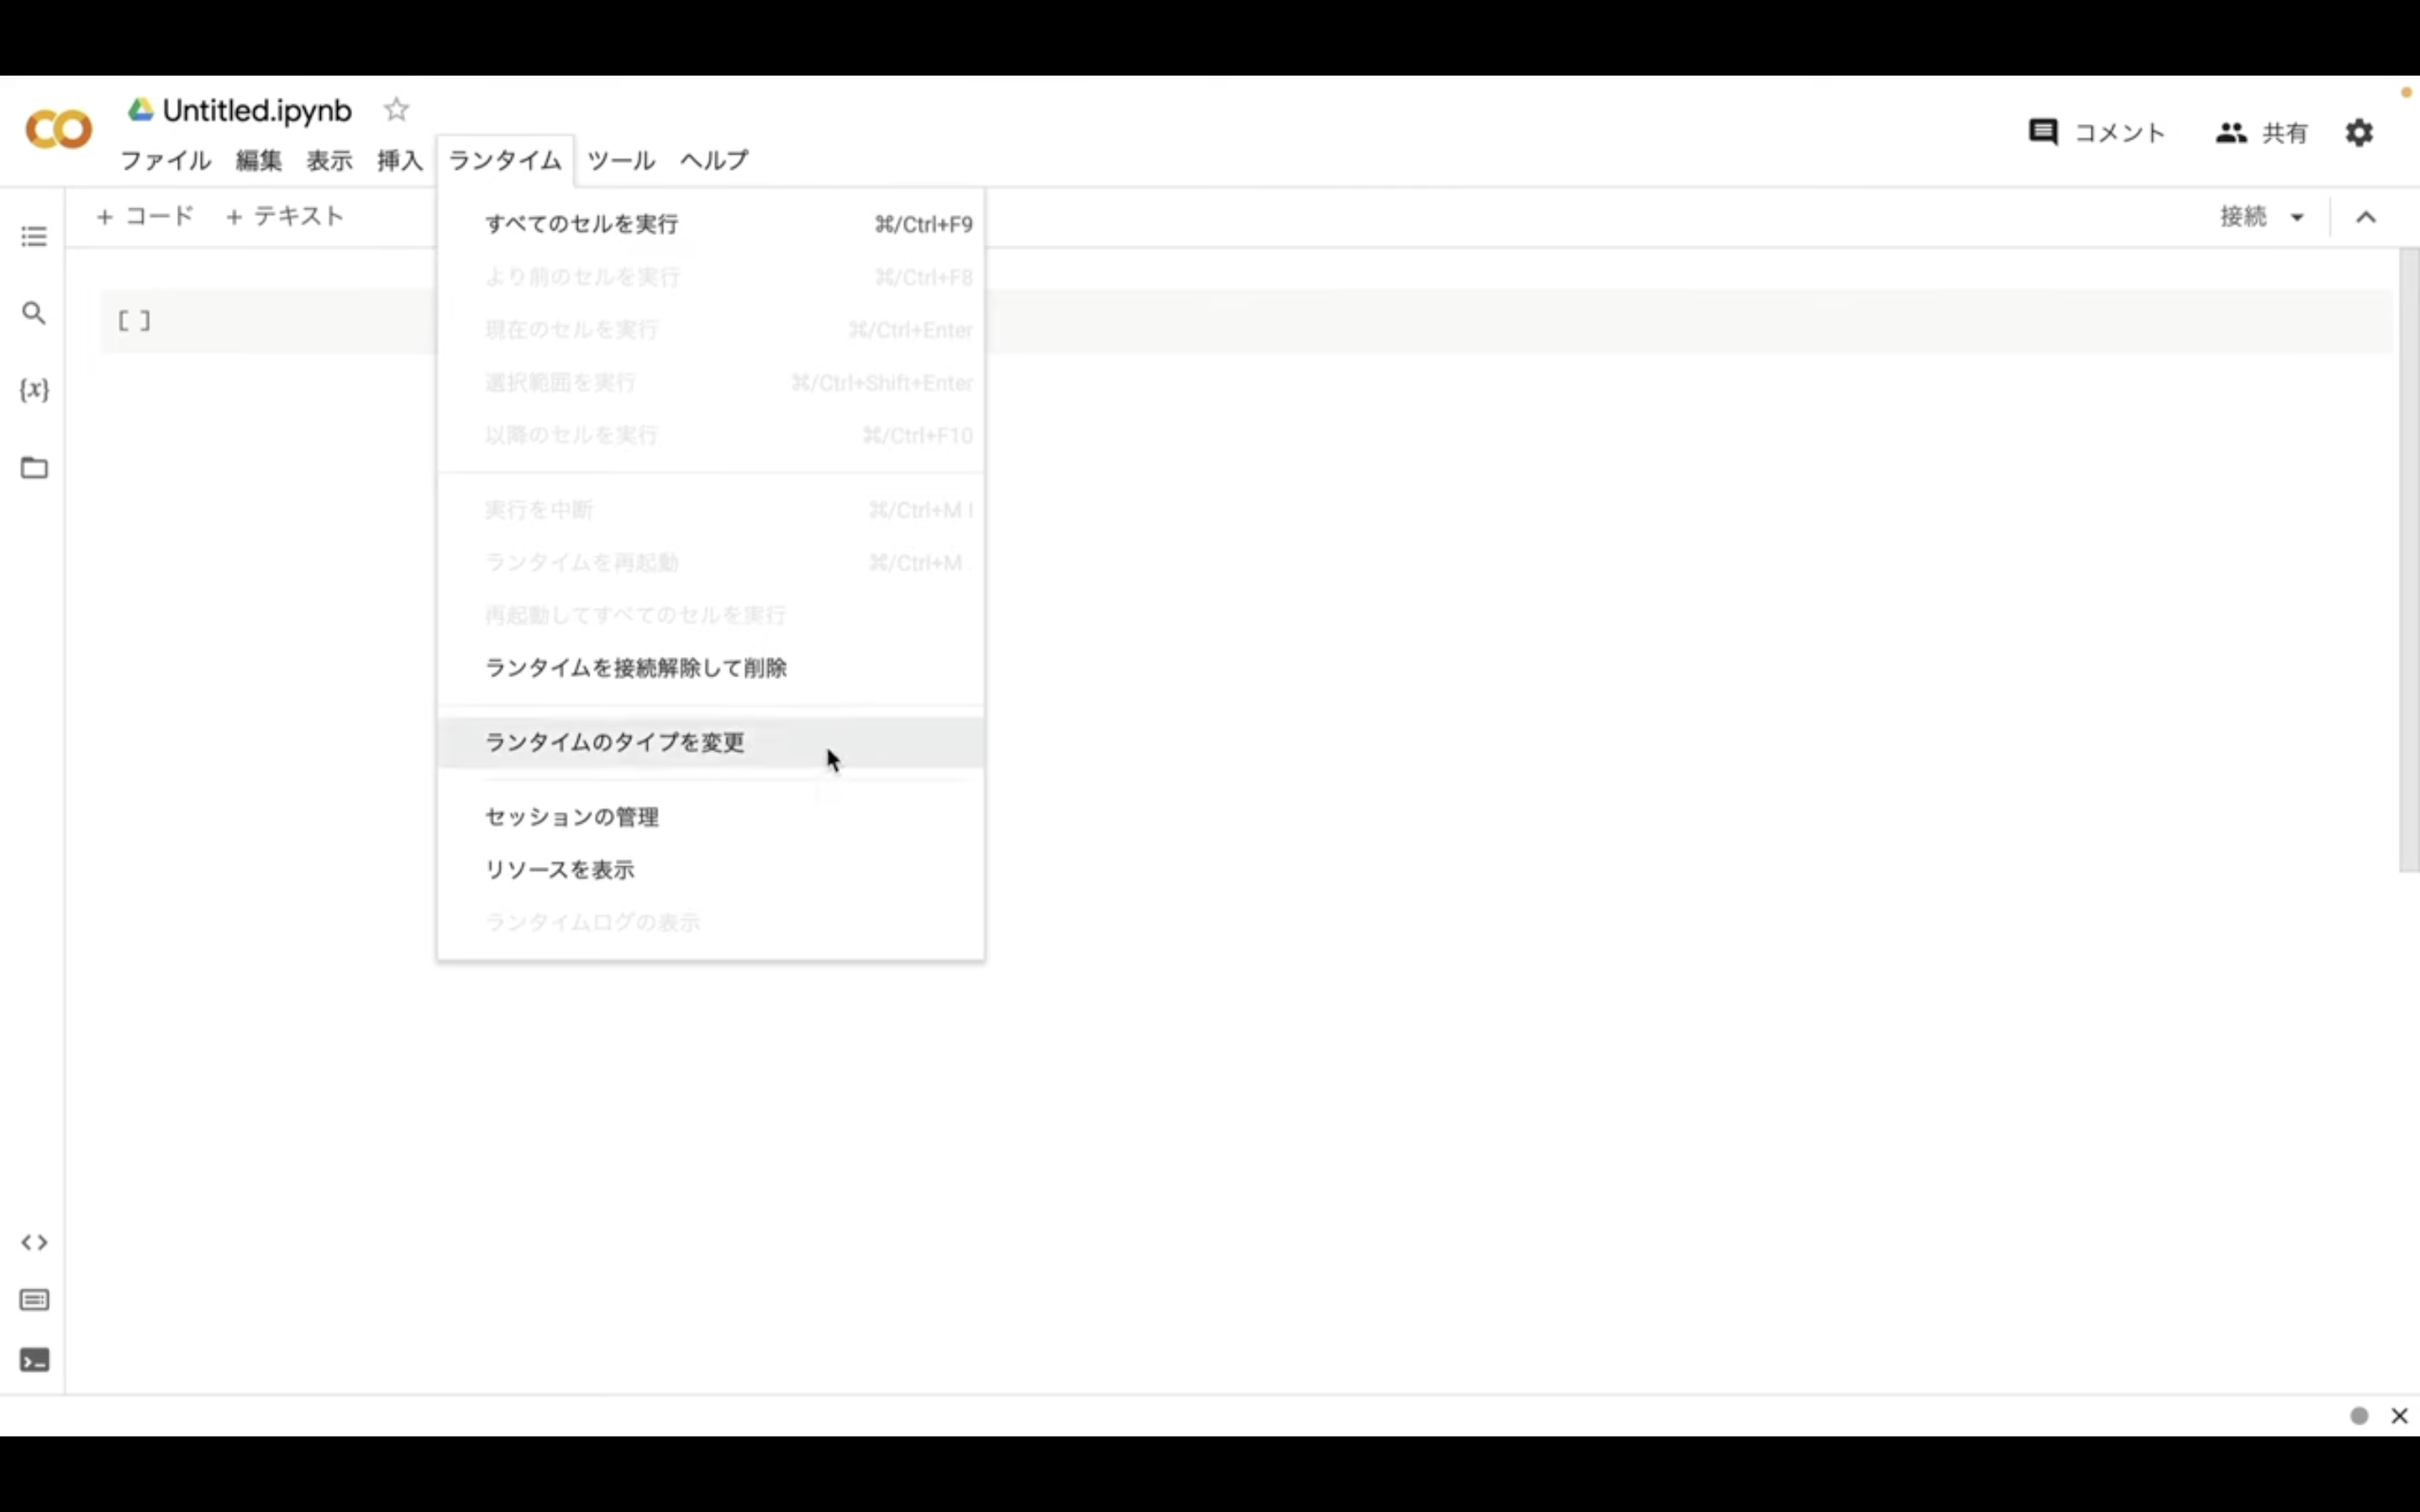
次に、「ランタイム」のボタンをクリックし、「ランタイムのタイプを変更」をクリックします。
ランタイムのタイプはPython3のままで大丈夫です。
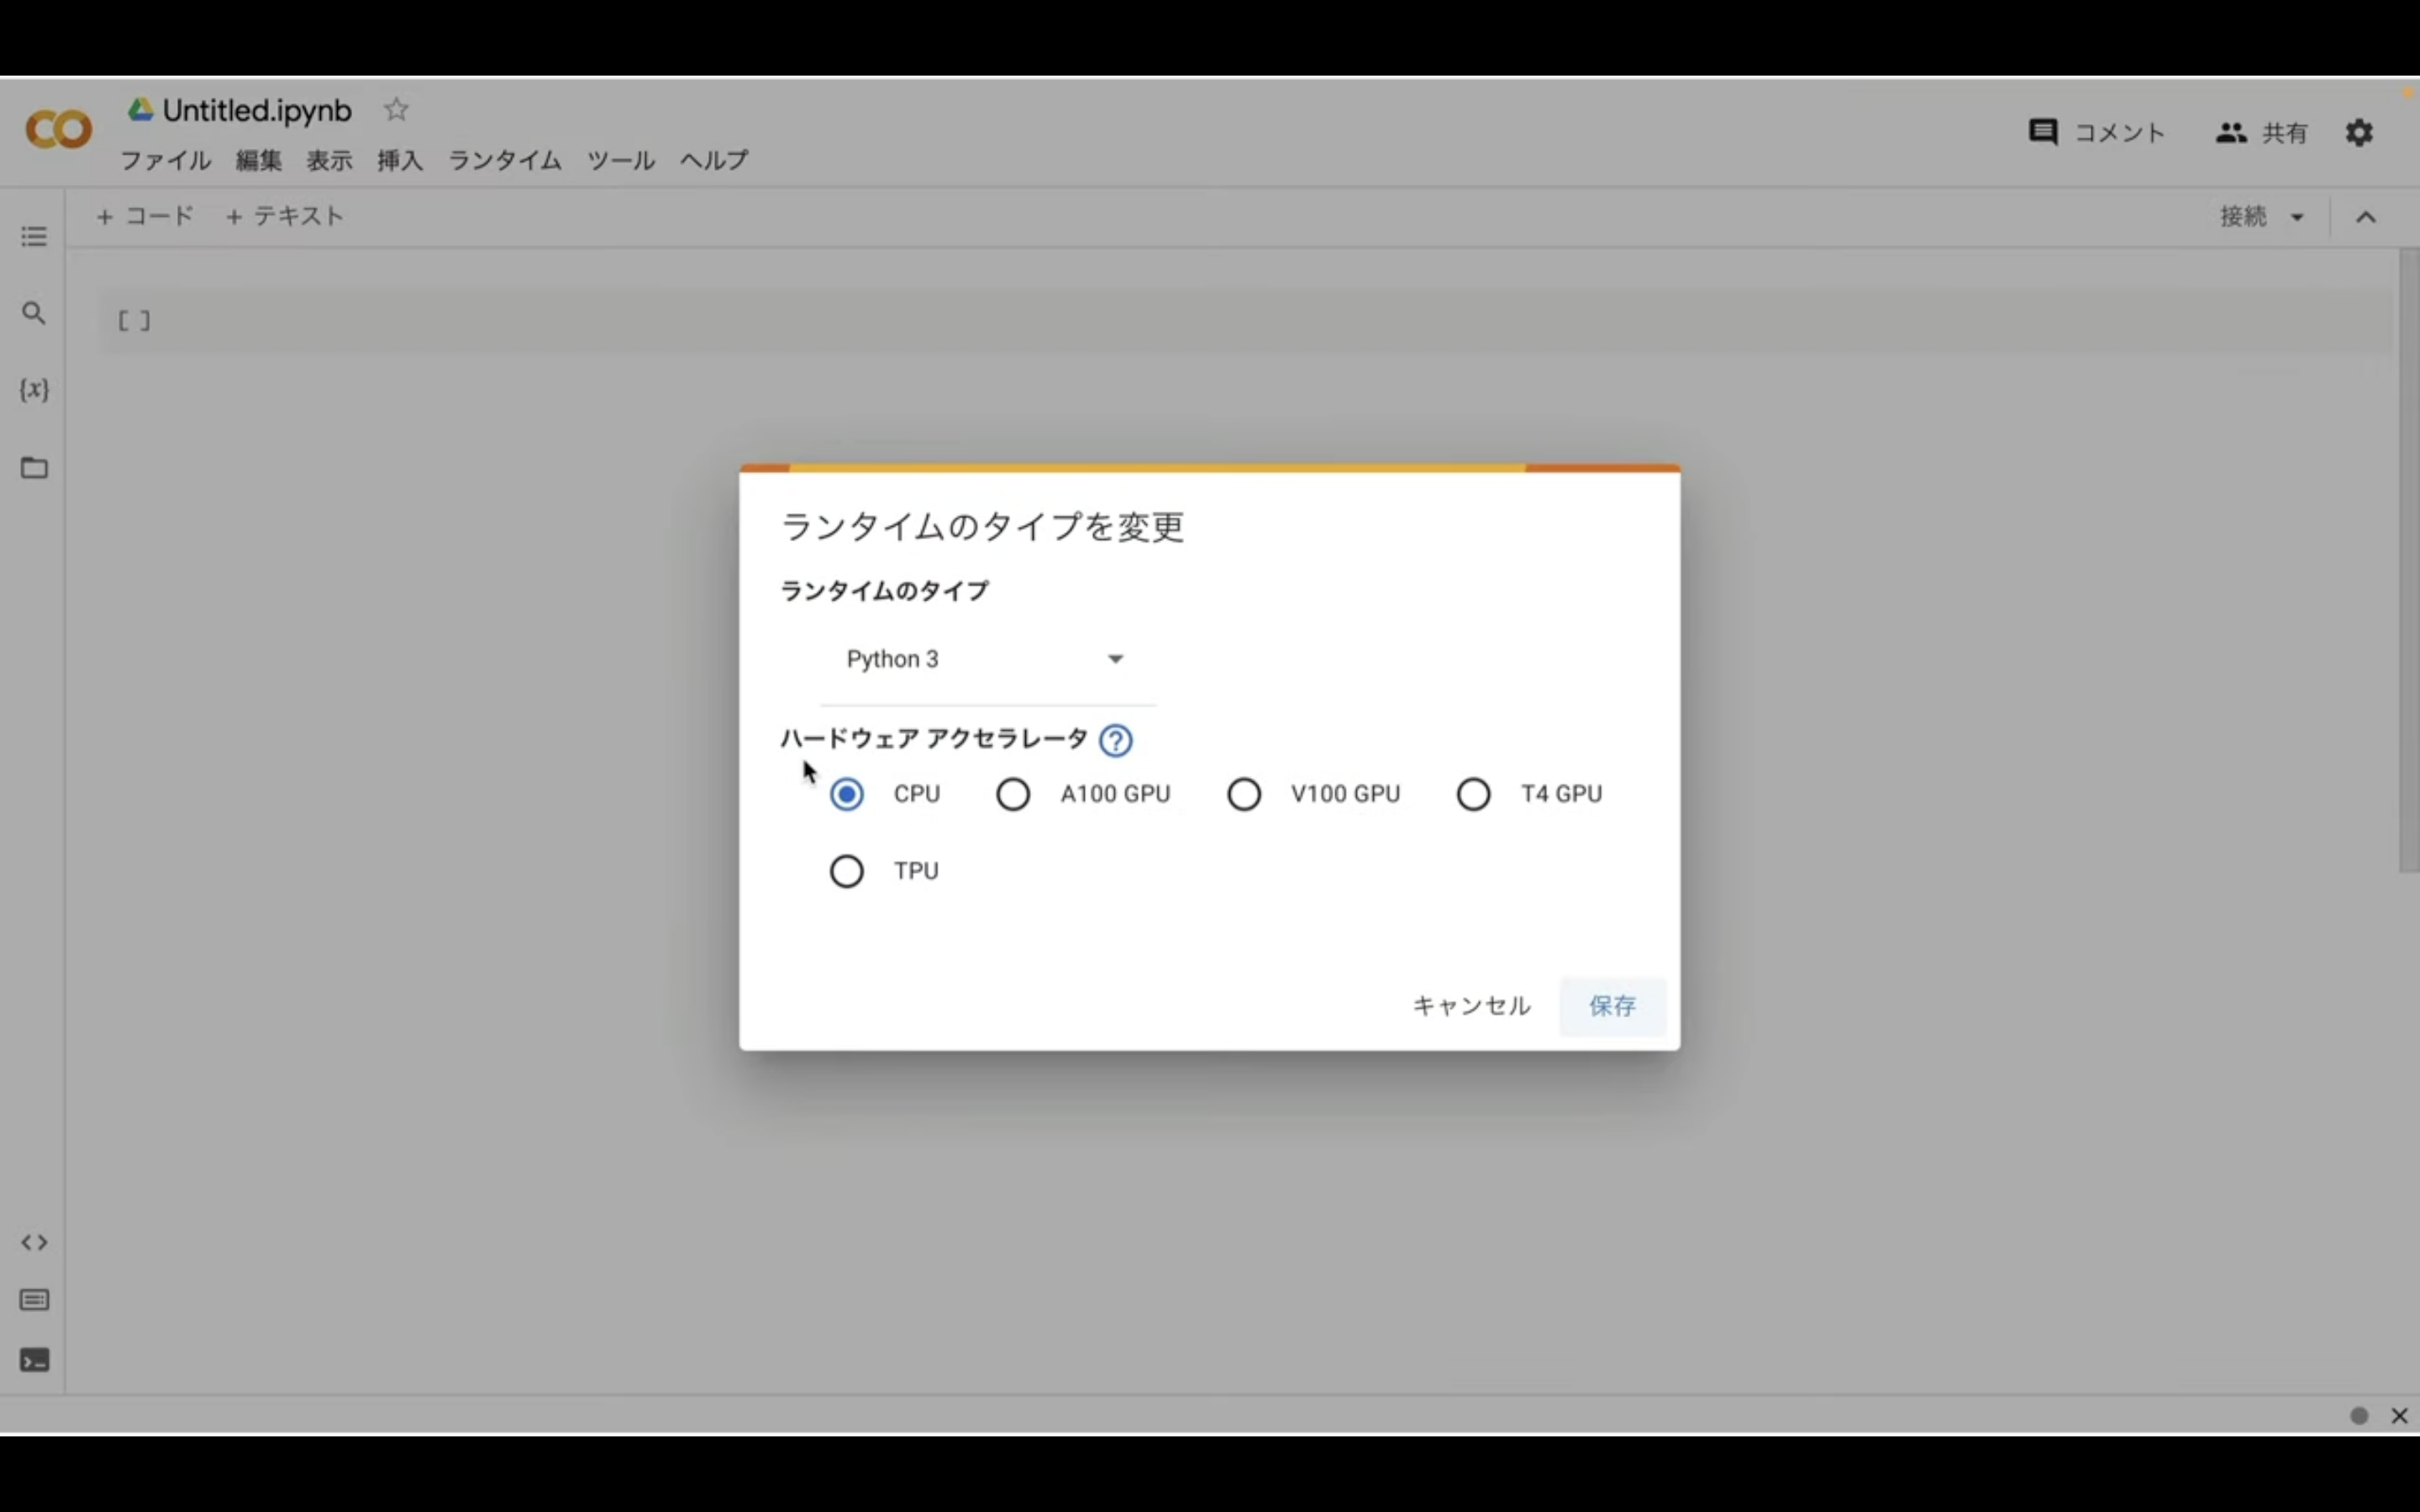
ハードウェアアクセラレーターはT4GPUを選択しておきましょう。
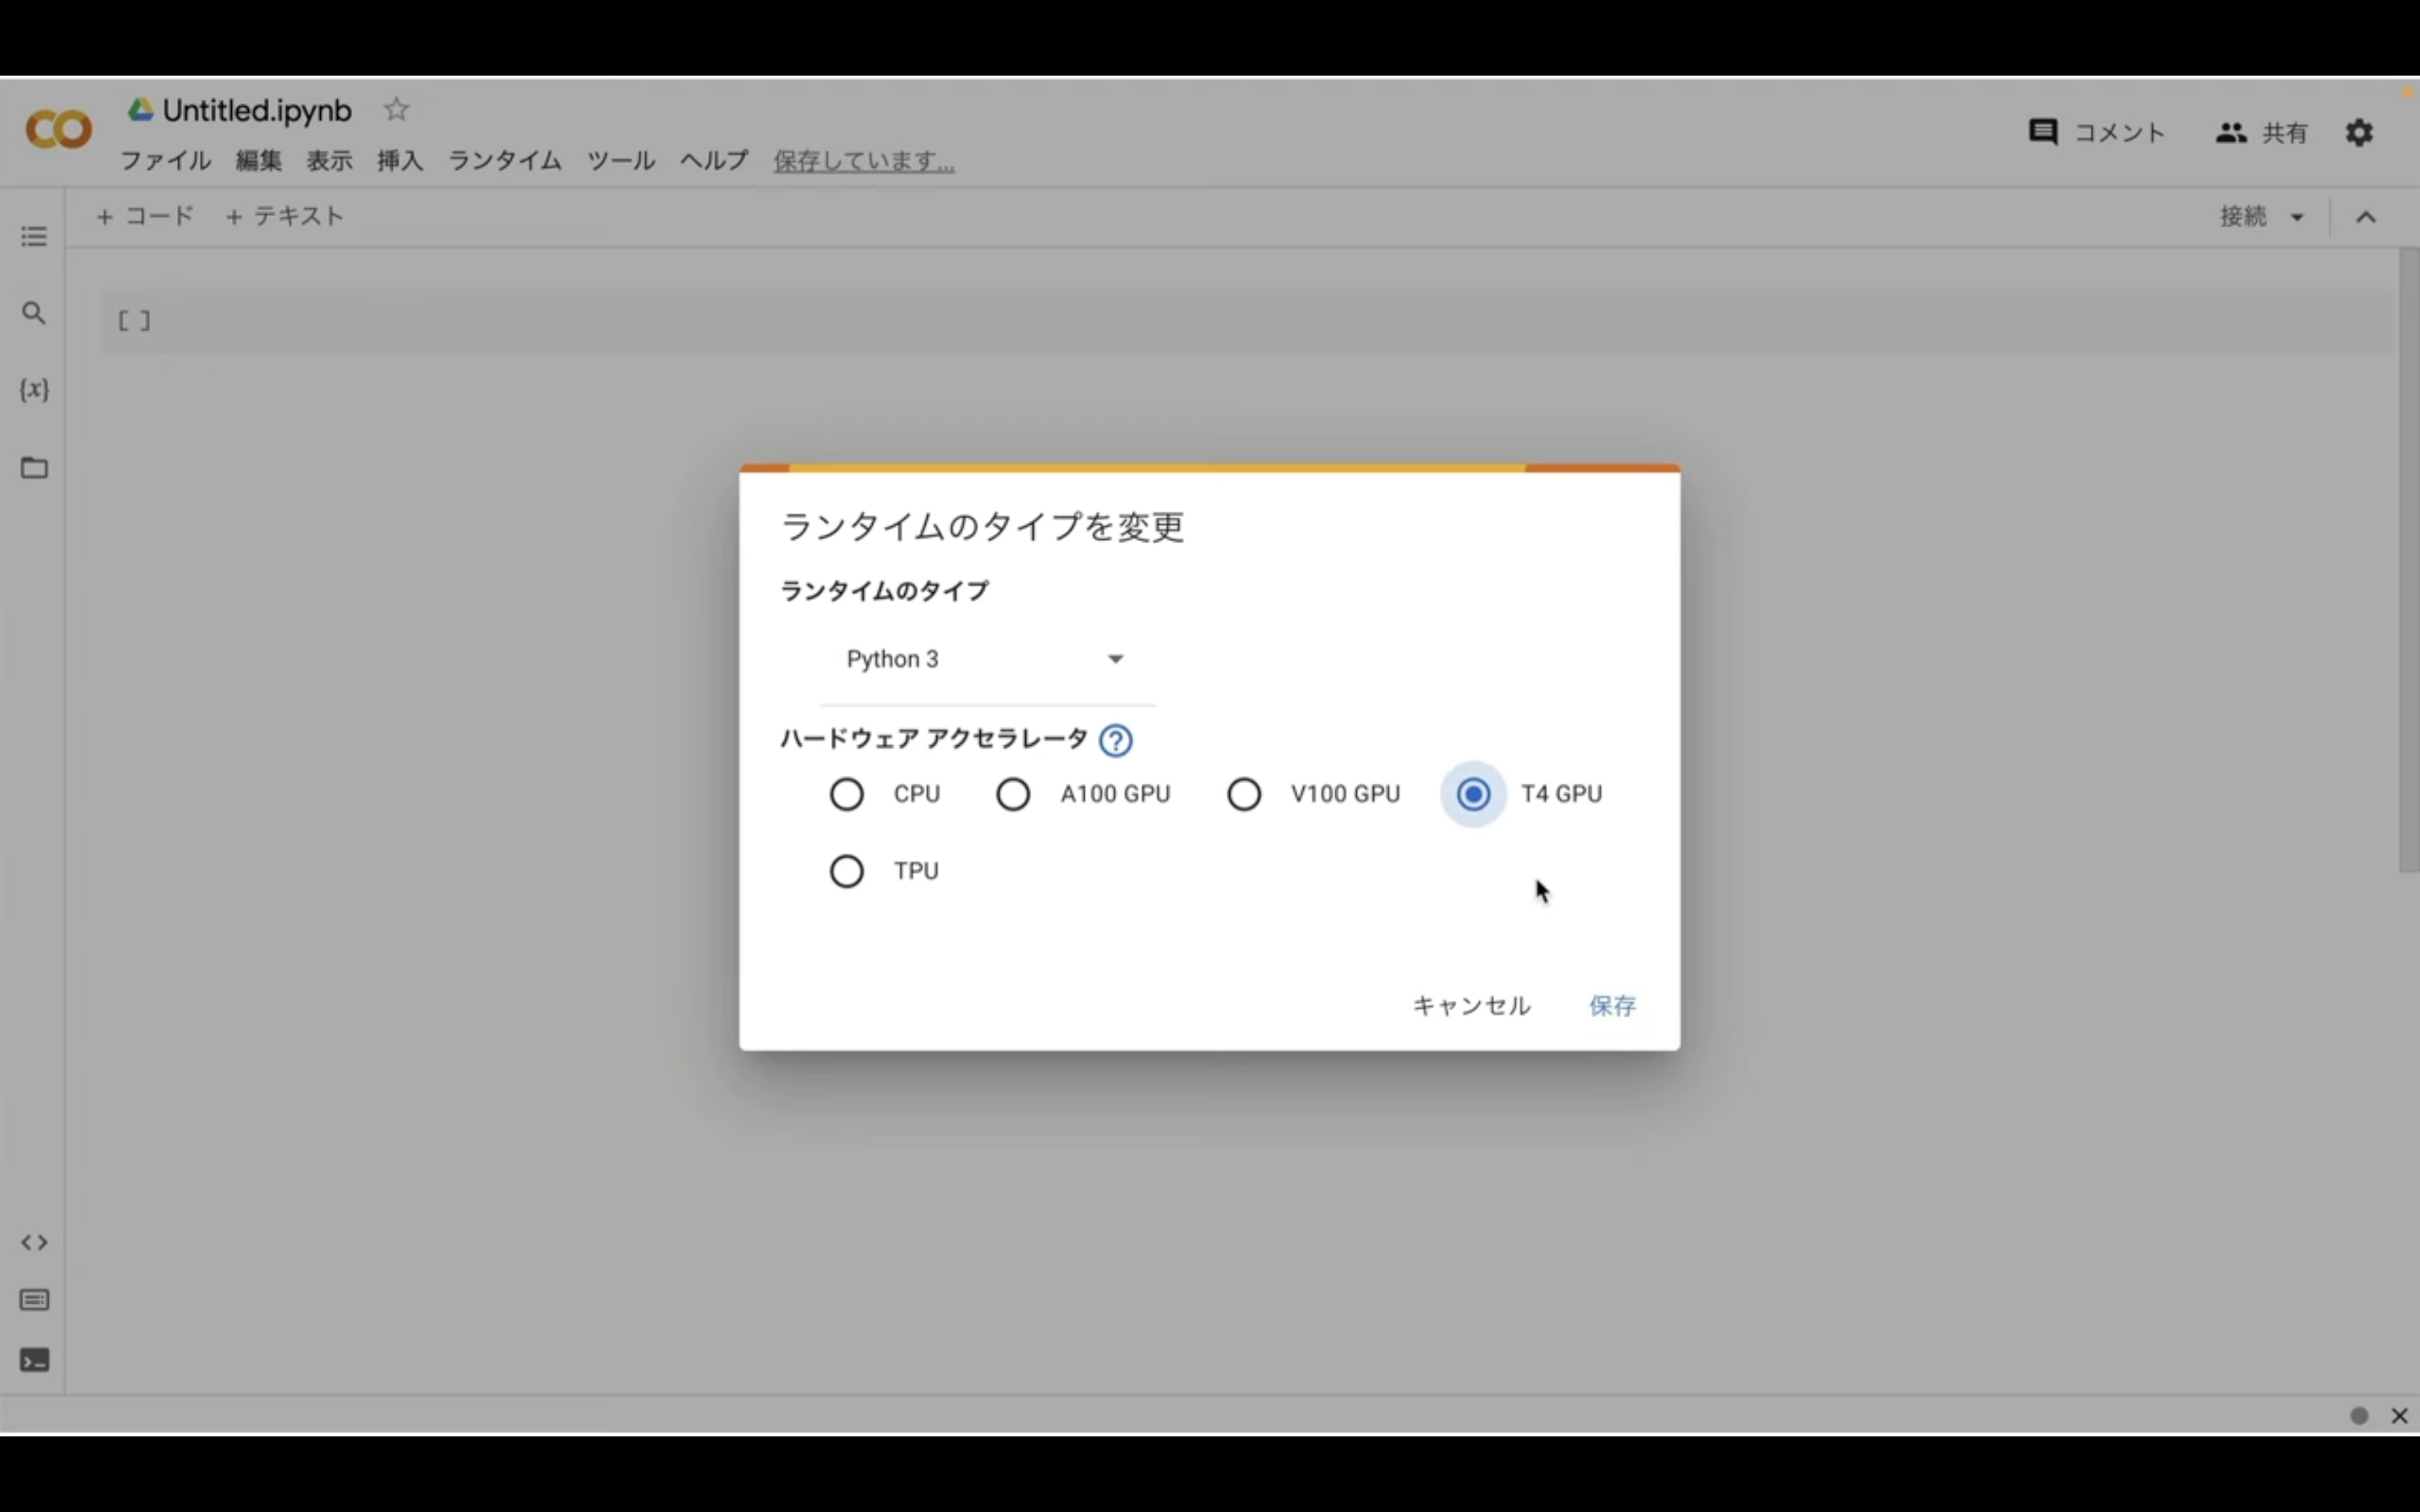
ノートブックの設定を指定したら、右下の「保存」ボタンをクリックします。
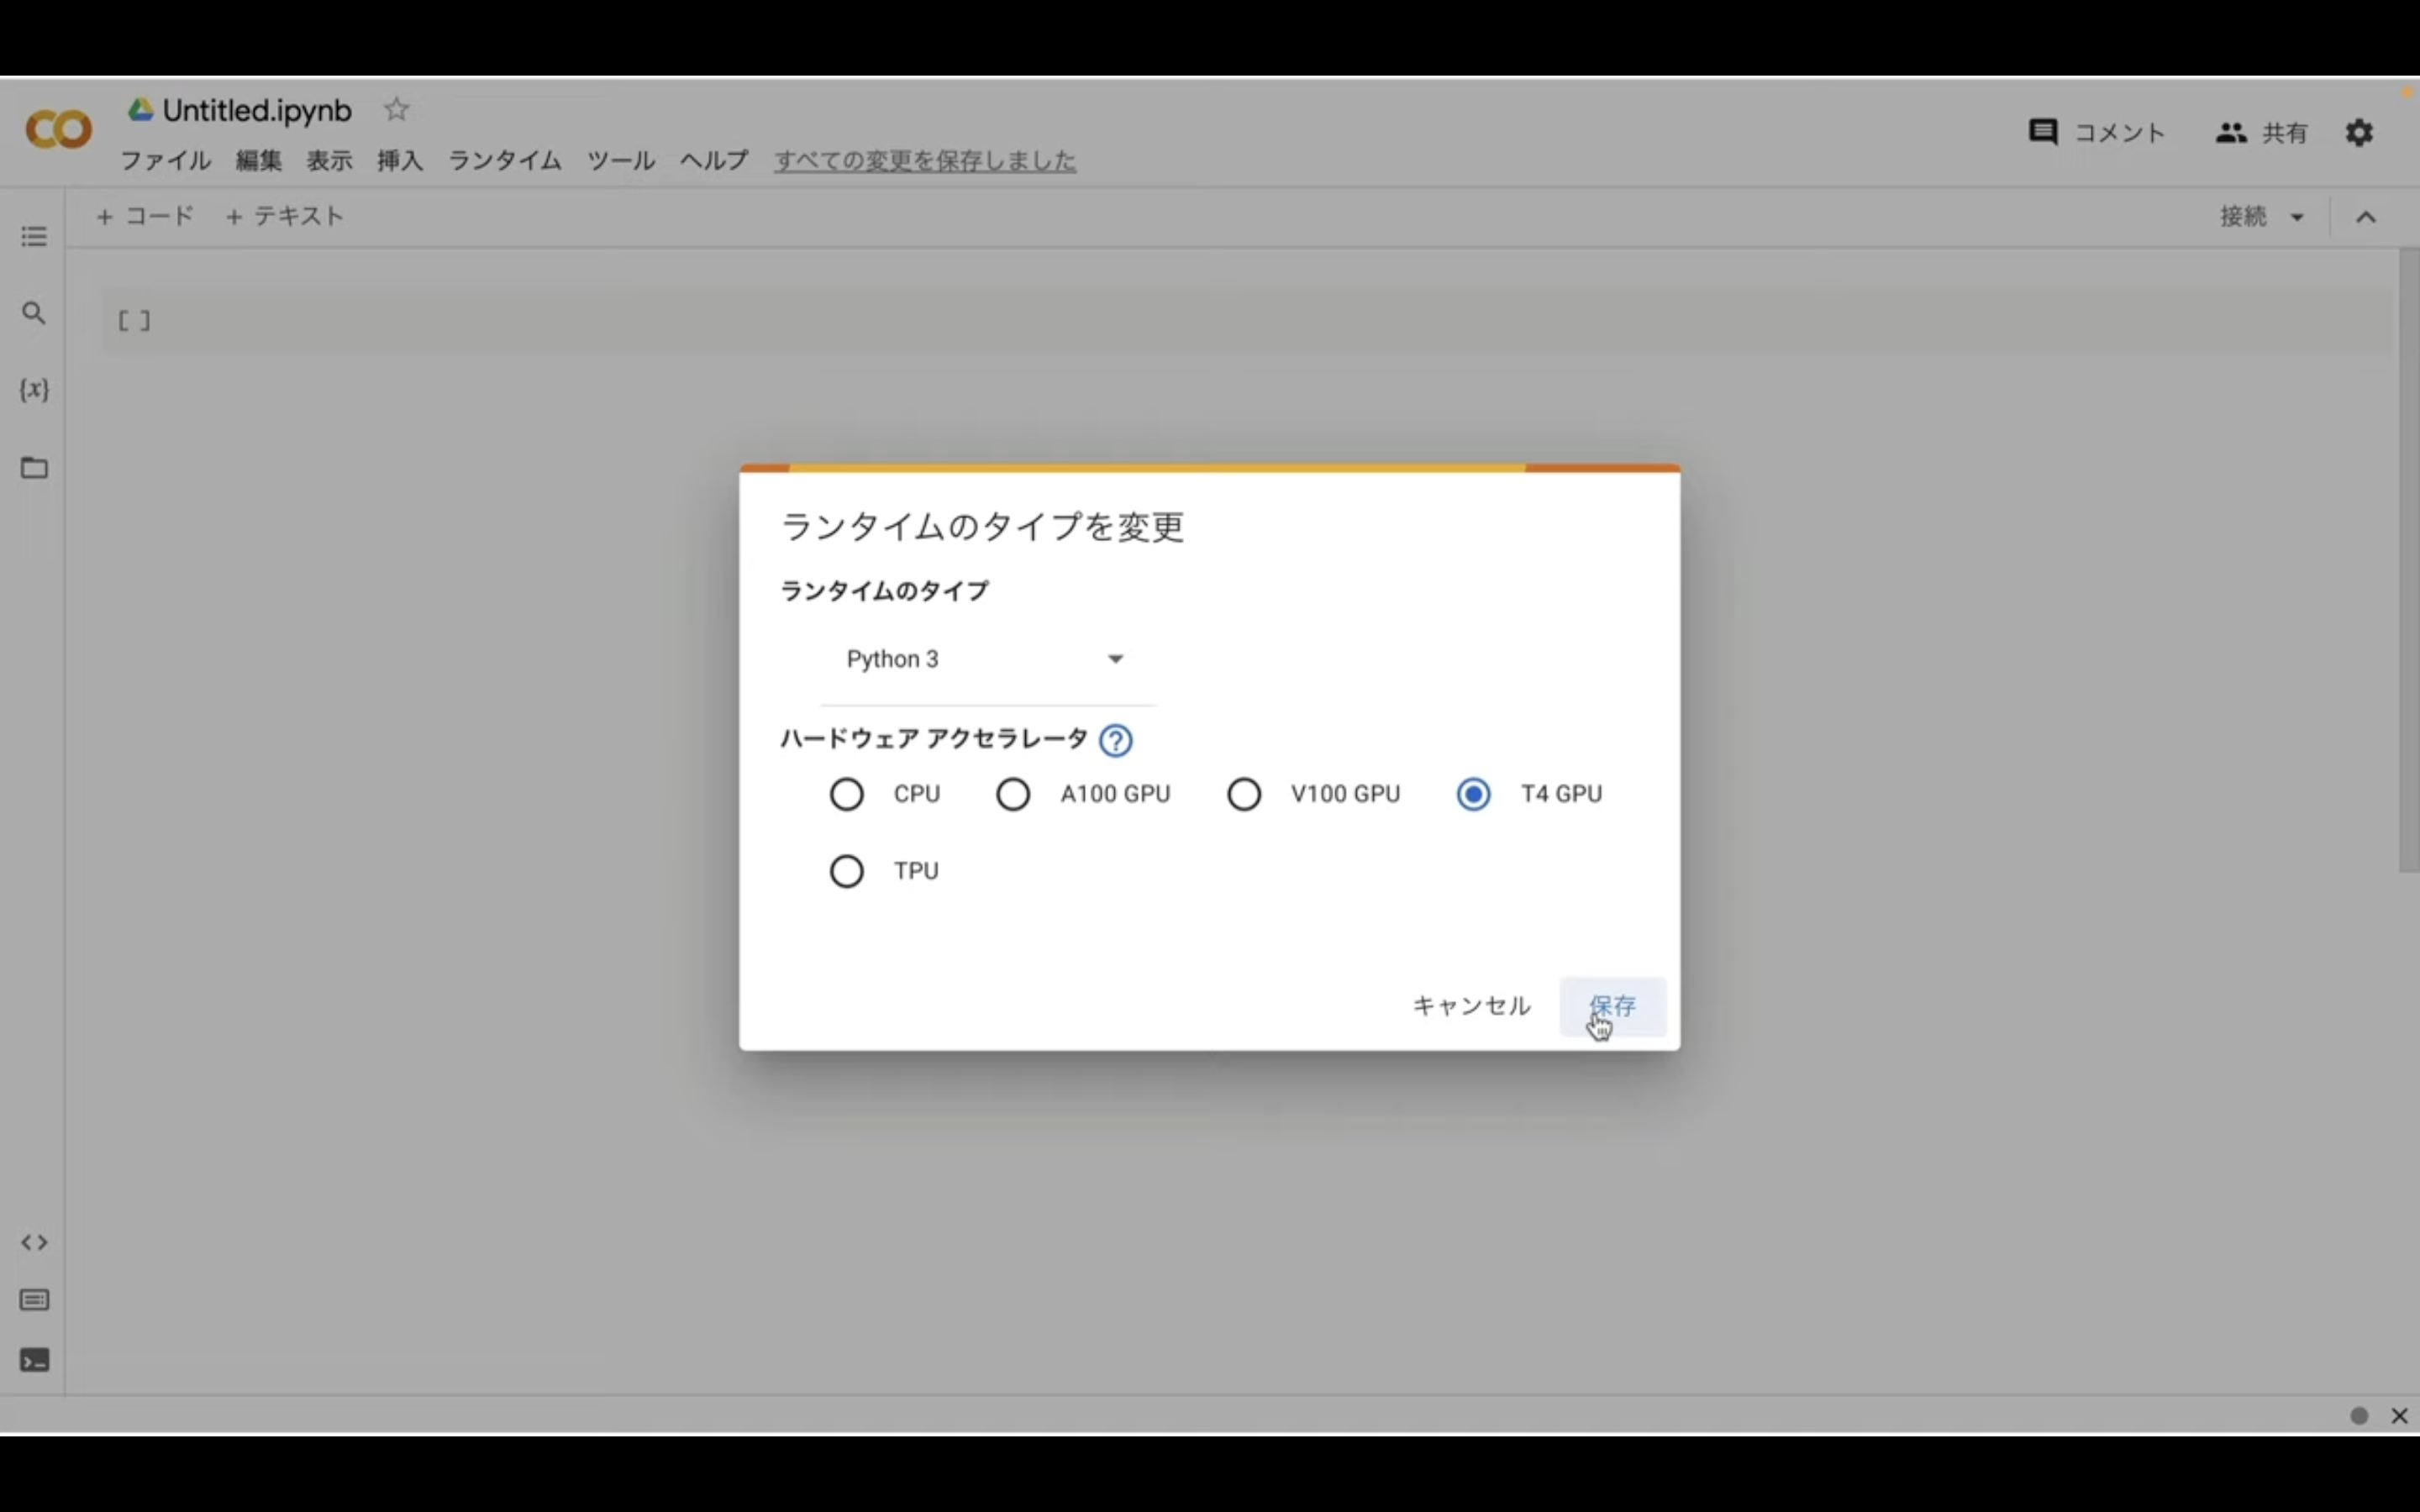
これでGoogle colabでユーザーのソースコードを実行するための準備が整いました。
先ほどGoogle colabは無料で利用できると説明しましたが、無料版だとリソースの割り当てが保証されていません。
そのため、強制的にコードを終了されてしまうことがあります。
最近はGoogle colabを利用するユーザーが増えていますので、無料版に割り当てられるGoogle colabのリソースが減ってしまっています。

その結果、無料版では以前より実行中のコードが強制終了されてしまうことが多くなってきました。
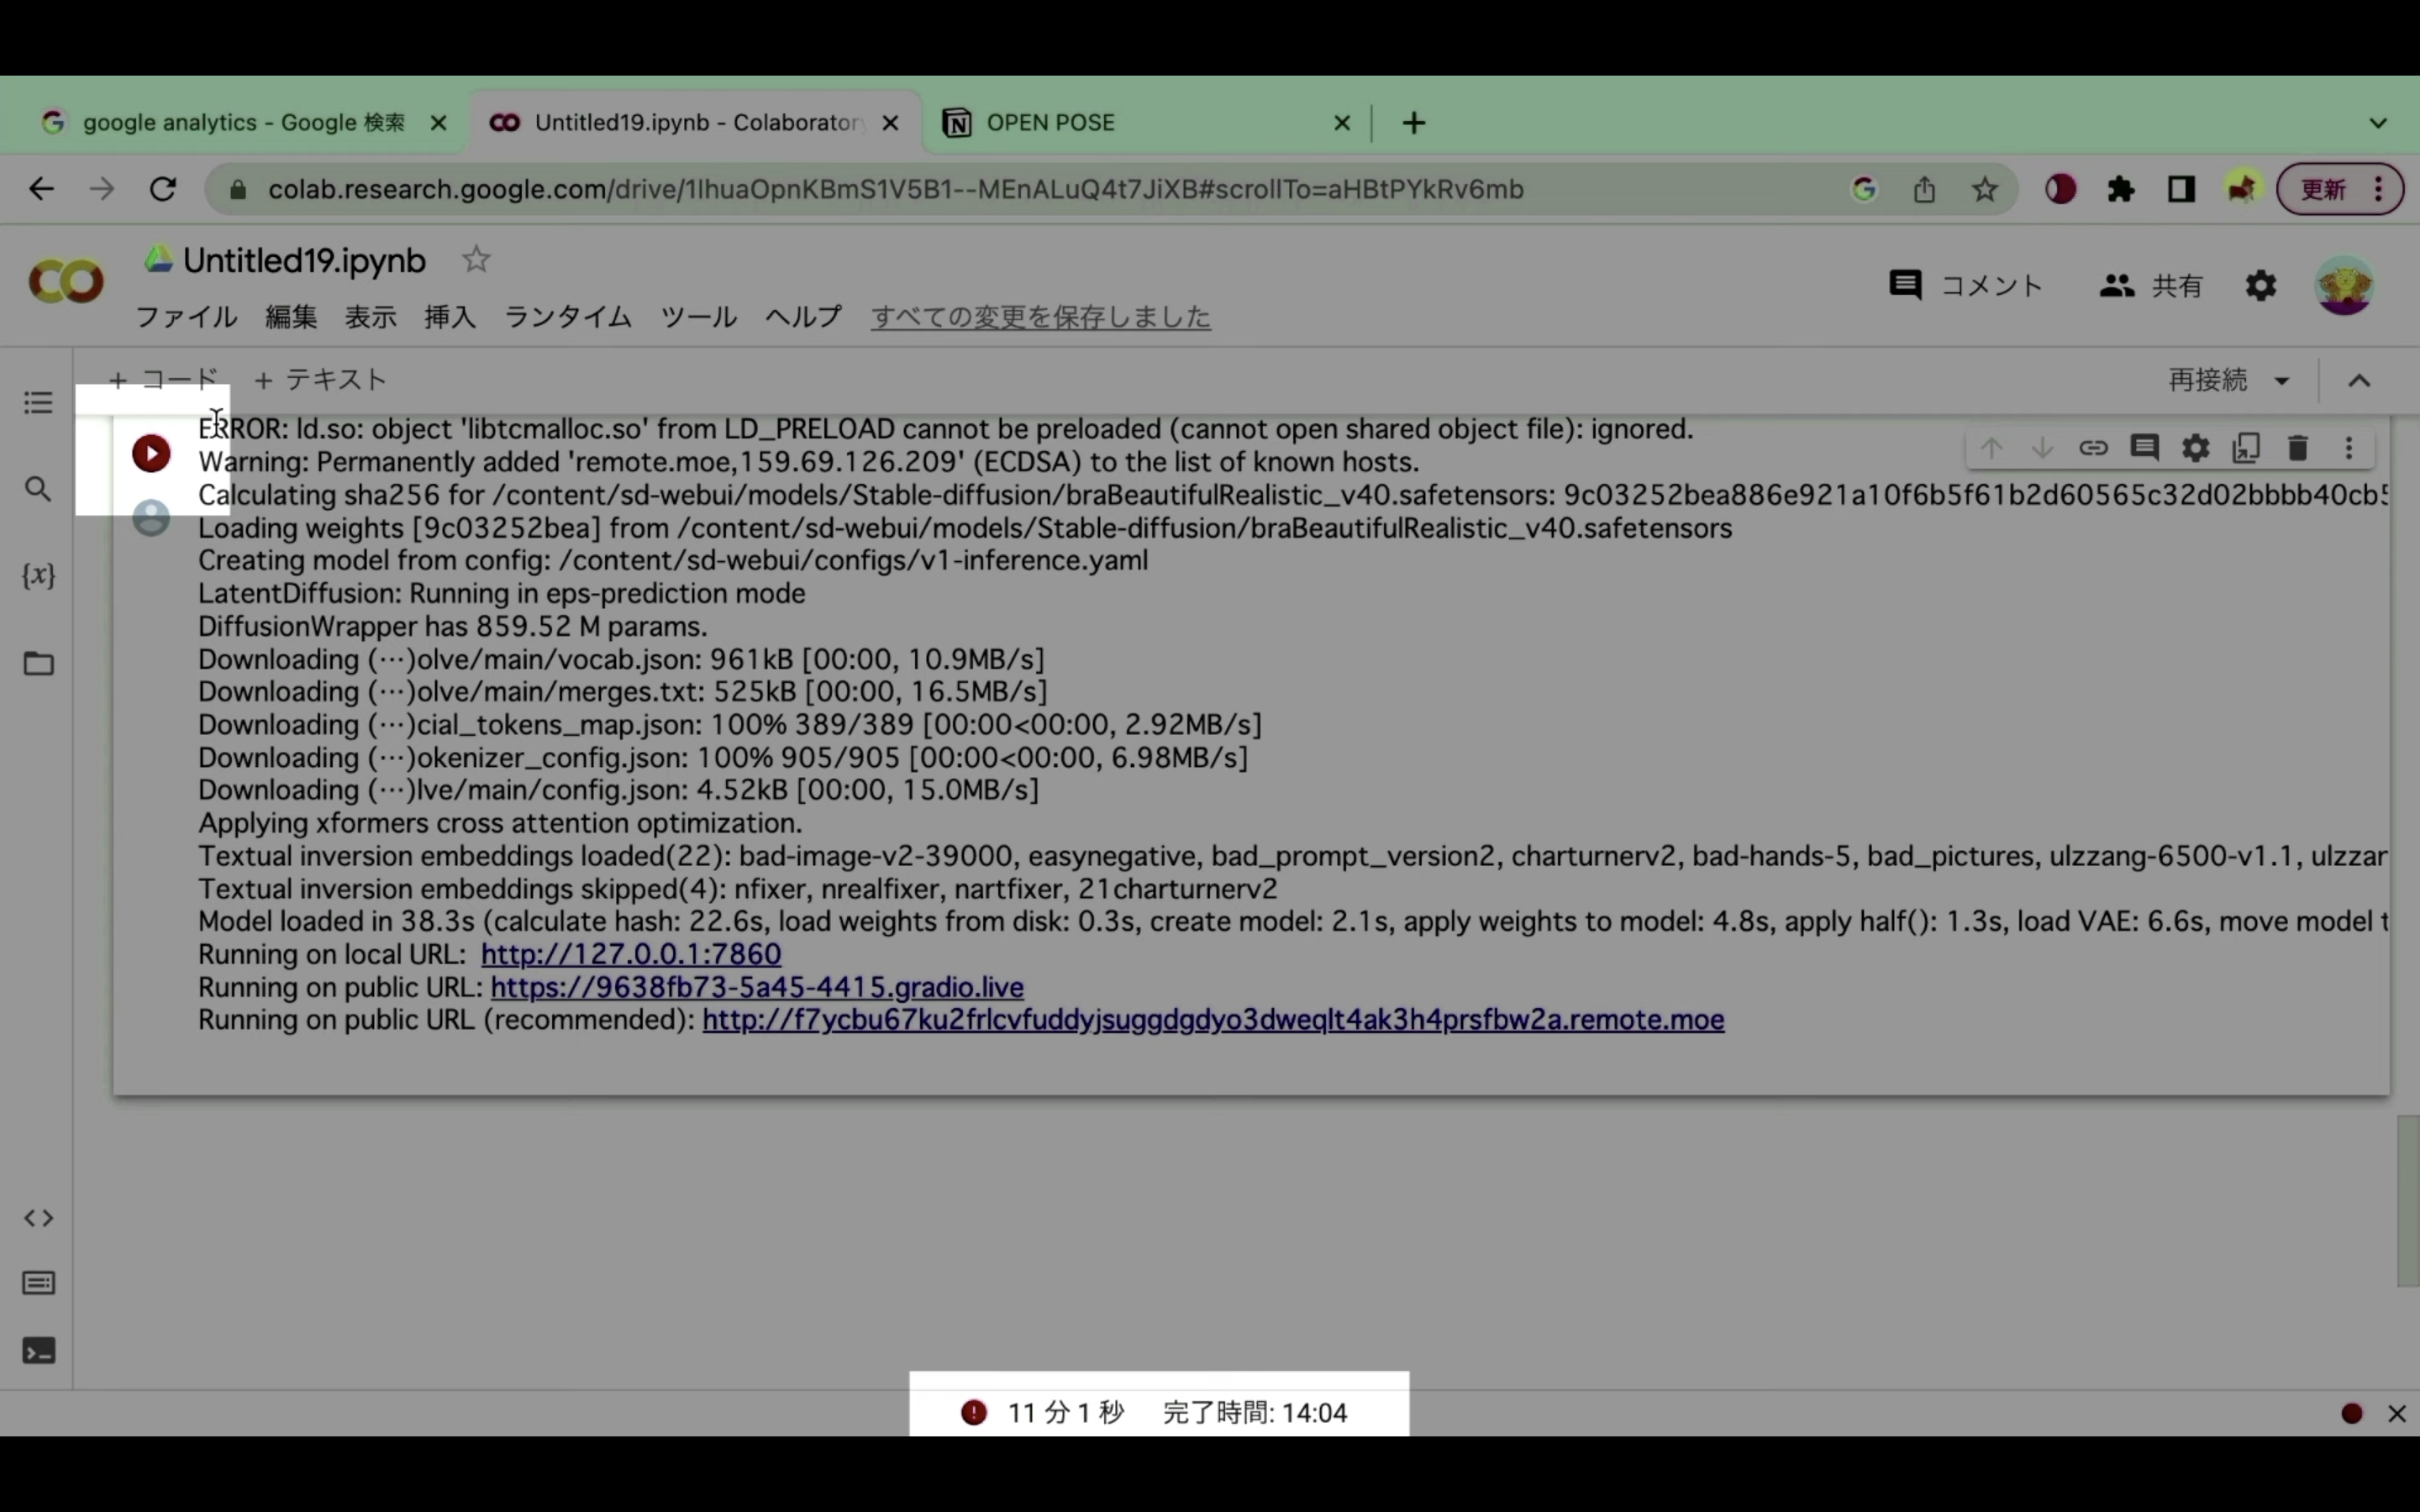
具体的には、コードの実行が強制的に終了された場合は、このような画面になります。
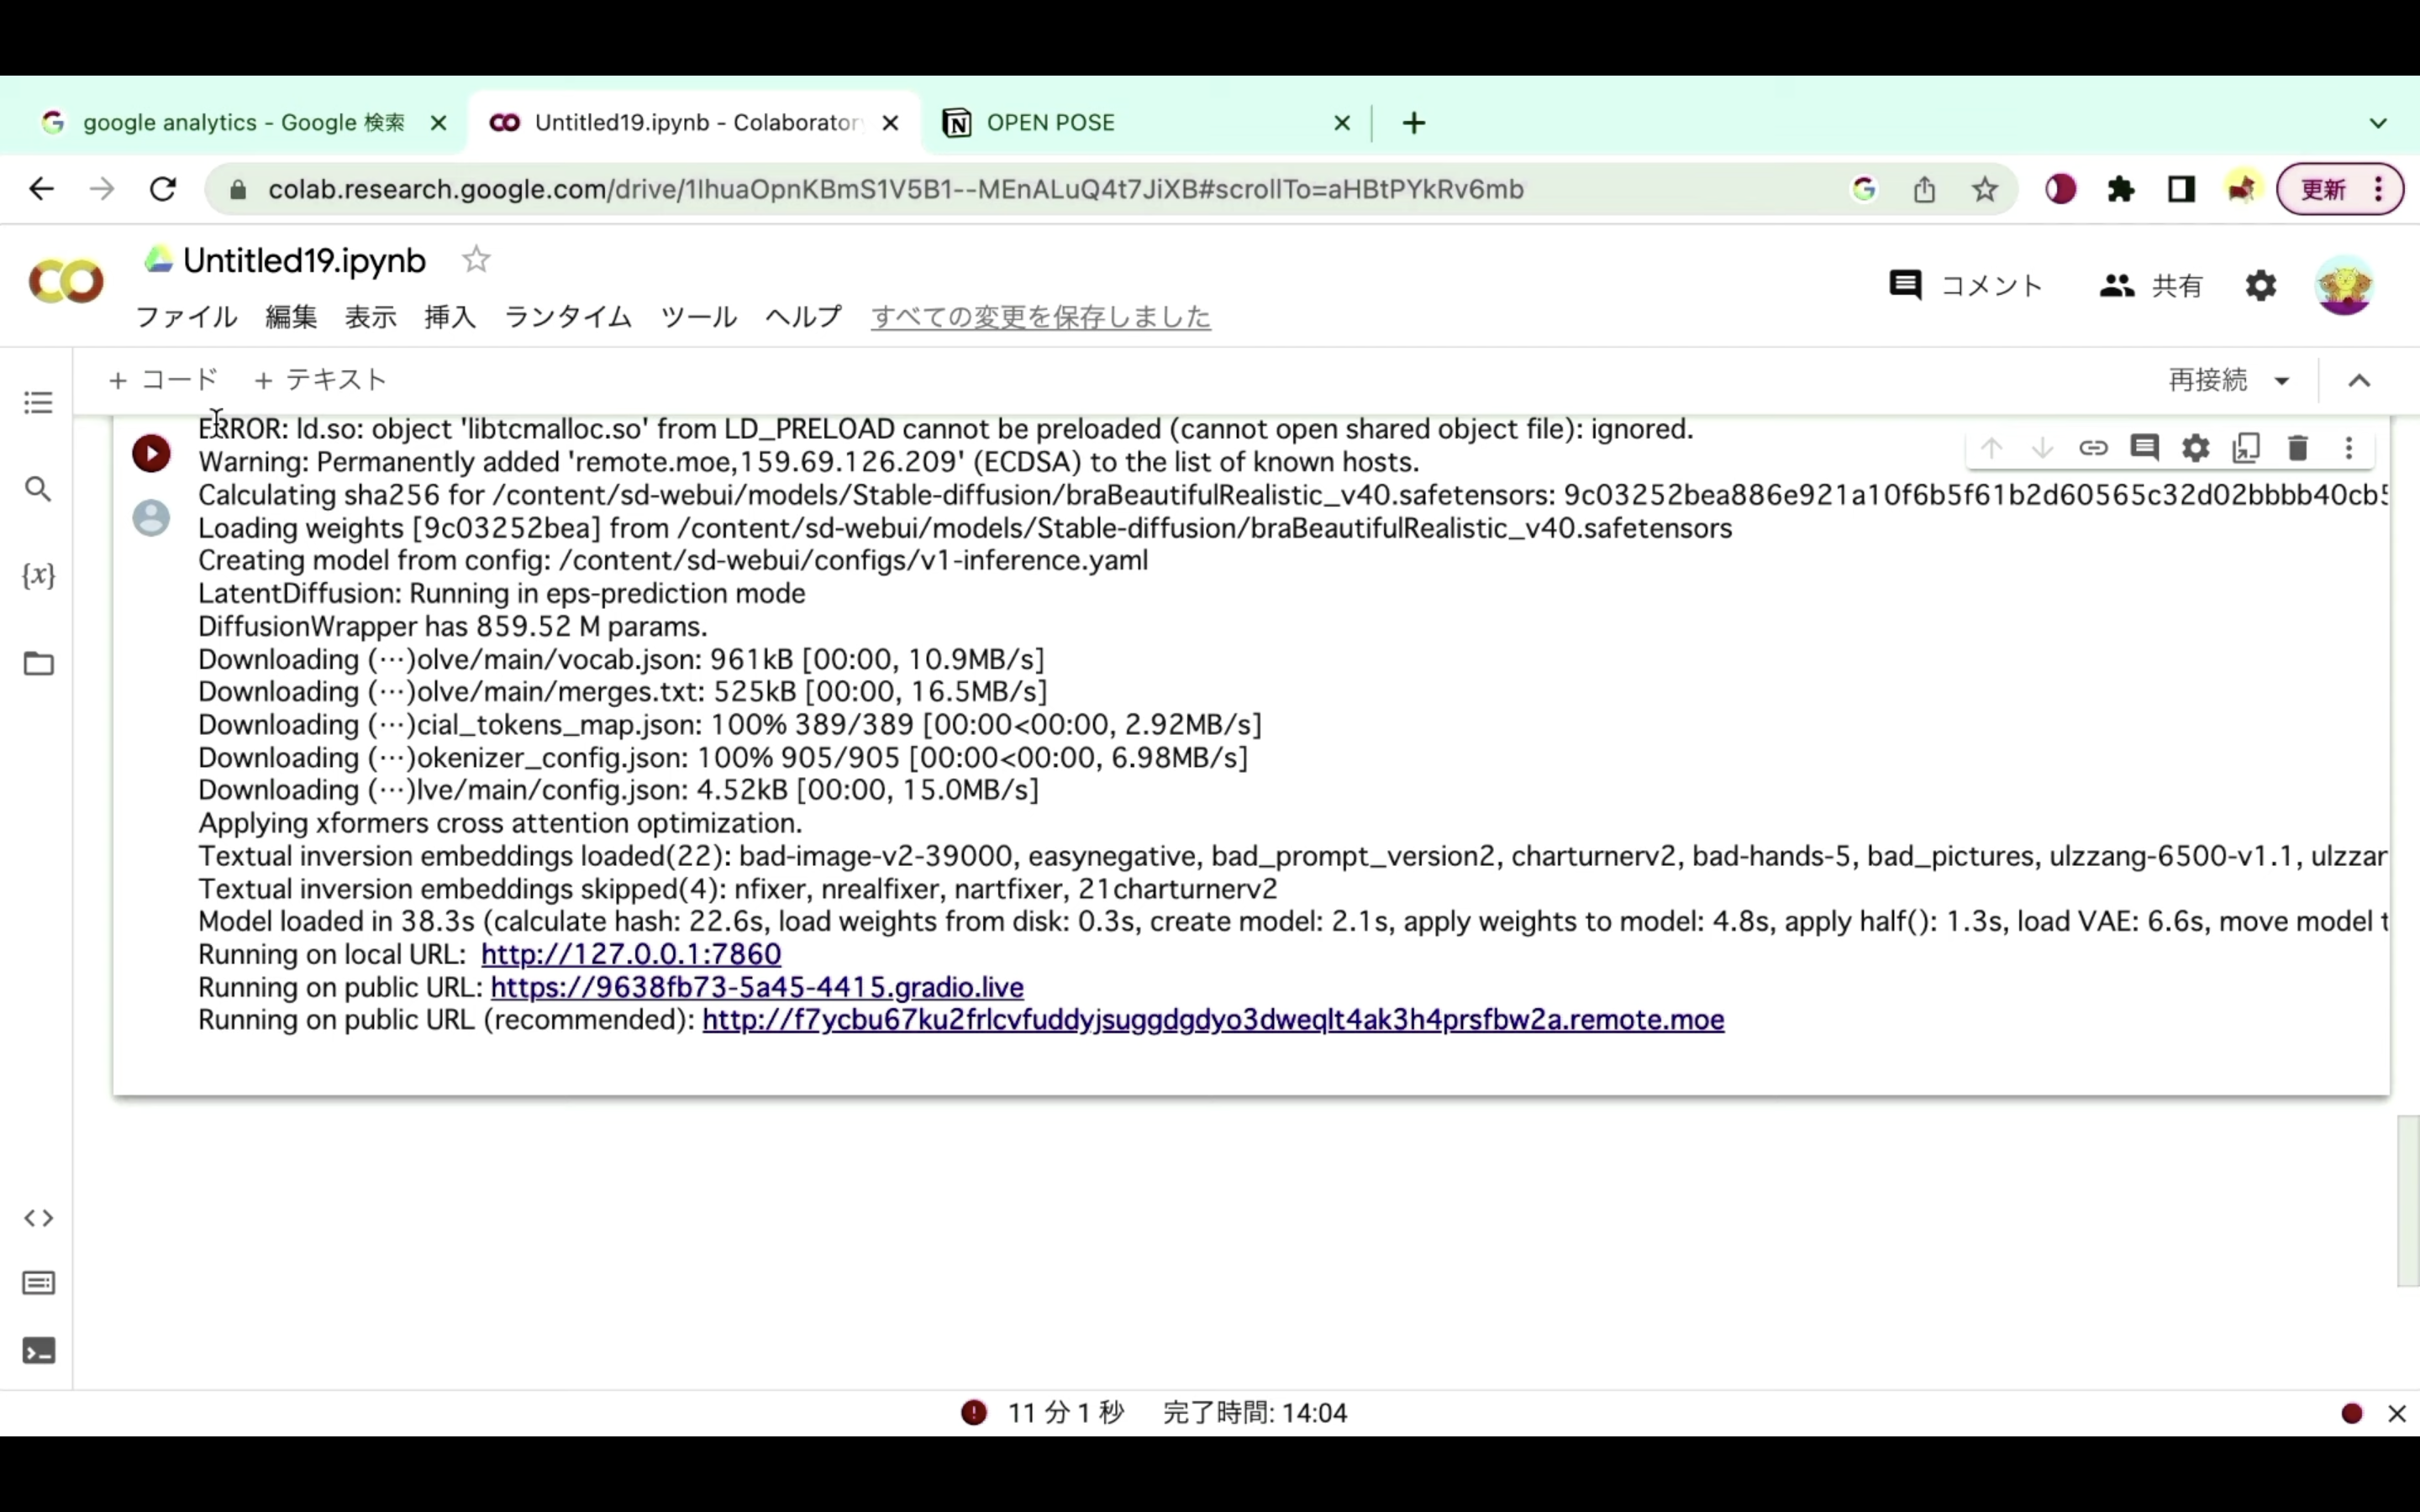
再生ボタンの部分が赤くなっている、もしくは赤いびっくりマークのアイコンが表示されている場合、コードが強制的に中断されたと判断していいでしょう。
強制的に中断されてしまう状況が続くようであれば、有料プランへの切り替えをおすすめします。
有料プランへの切り替え方法については詳細を解説している動画を以下のリンクに貼っておきますので、そちらをご確認ください。
なお、ここからは有料版に切り替えた状態で解説を進めます。
Google Colabを有料版に切り替えた状態で解説
それでは早速、DiffUsersを実行していきましょう。
以下に貼ってあるテキストをコピーします。
!pip install -q transformers==4.31.0 accelerate==0.21.0 diffusers==0.20.0 huggingface_hub==0.16.4 omegaconf==2.3.0
# Beautiful Realistic Asians V7をダウンロードして、diffusersで使える形式に変換する
!wget https://civitai.com/api/download/models/177164 --content-disposition
!wget https://raw.githubusercontent.com/huggingface/diffusers/v0.20.0/scripts/convert_original_stable_diffusion_to_diffusers.py
!python convert_original_stable_diffusion_to_diffusers.py \
--checkpoint_path /content/beautifulRealistic_v7.safetensors \
--dump_path /content/beautifulRealistic_v7/ \
--from_safetensors

!rm -rf beautifulRealistic_v7.safetensors
!rm -rf convert_original_stable_diffusion_to_diffusers.py
!rm -rf sample_data
テキストをコピーしたらGoogle colabの画面に戻ります。
そして、テキストボックスに先ほどコピーしたテキストを貼り付けます。
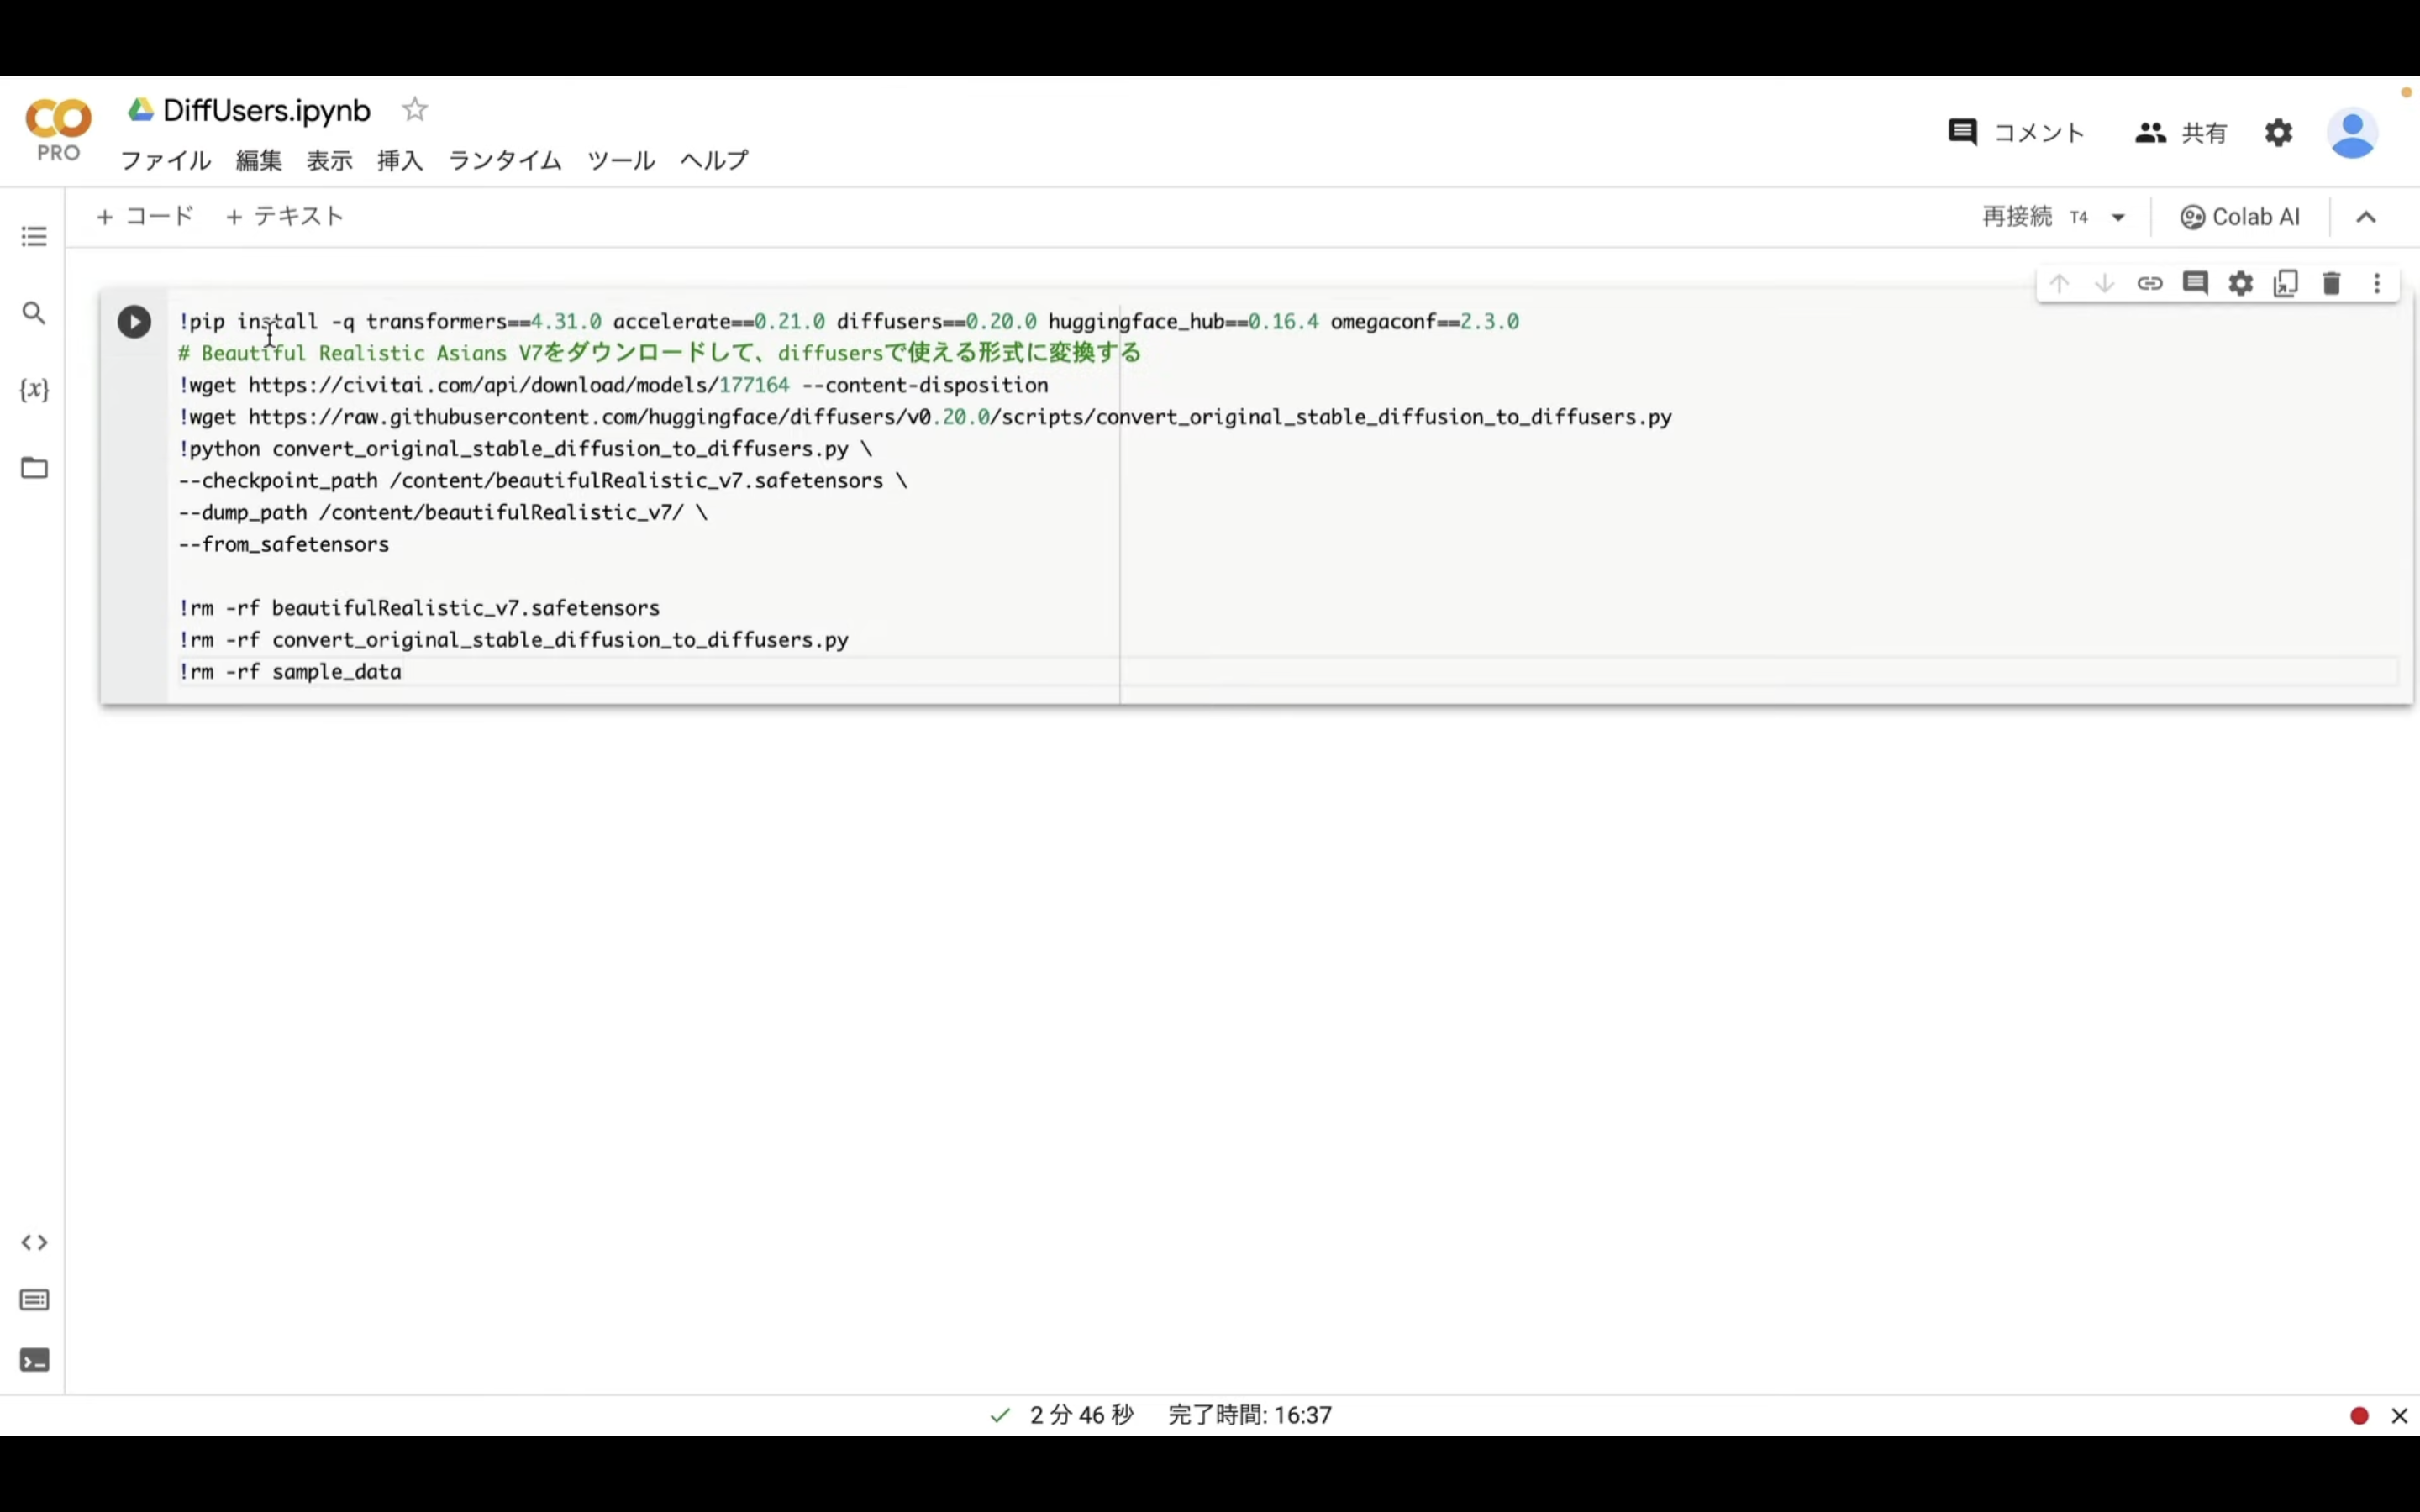
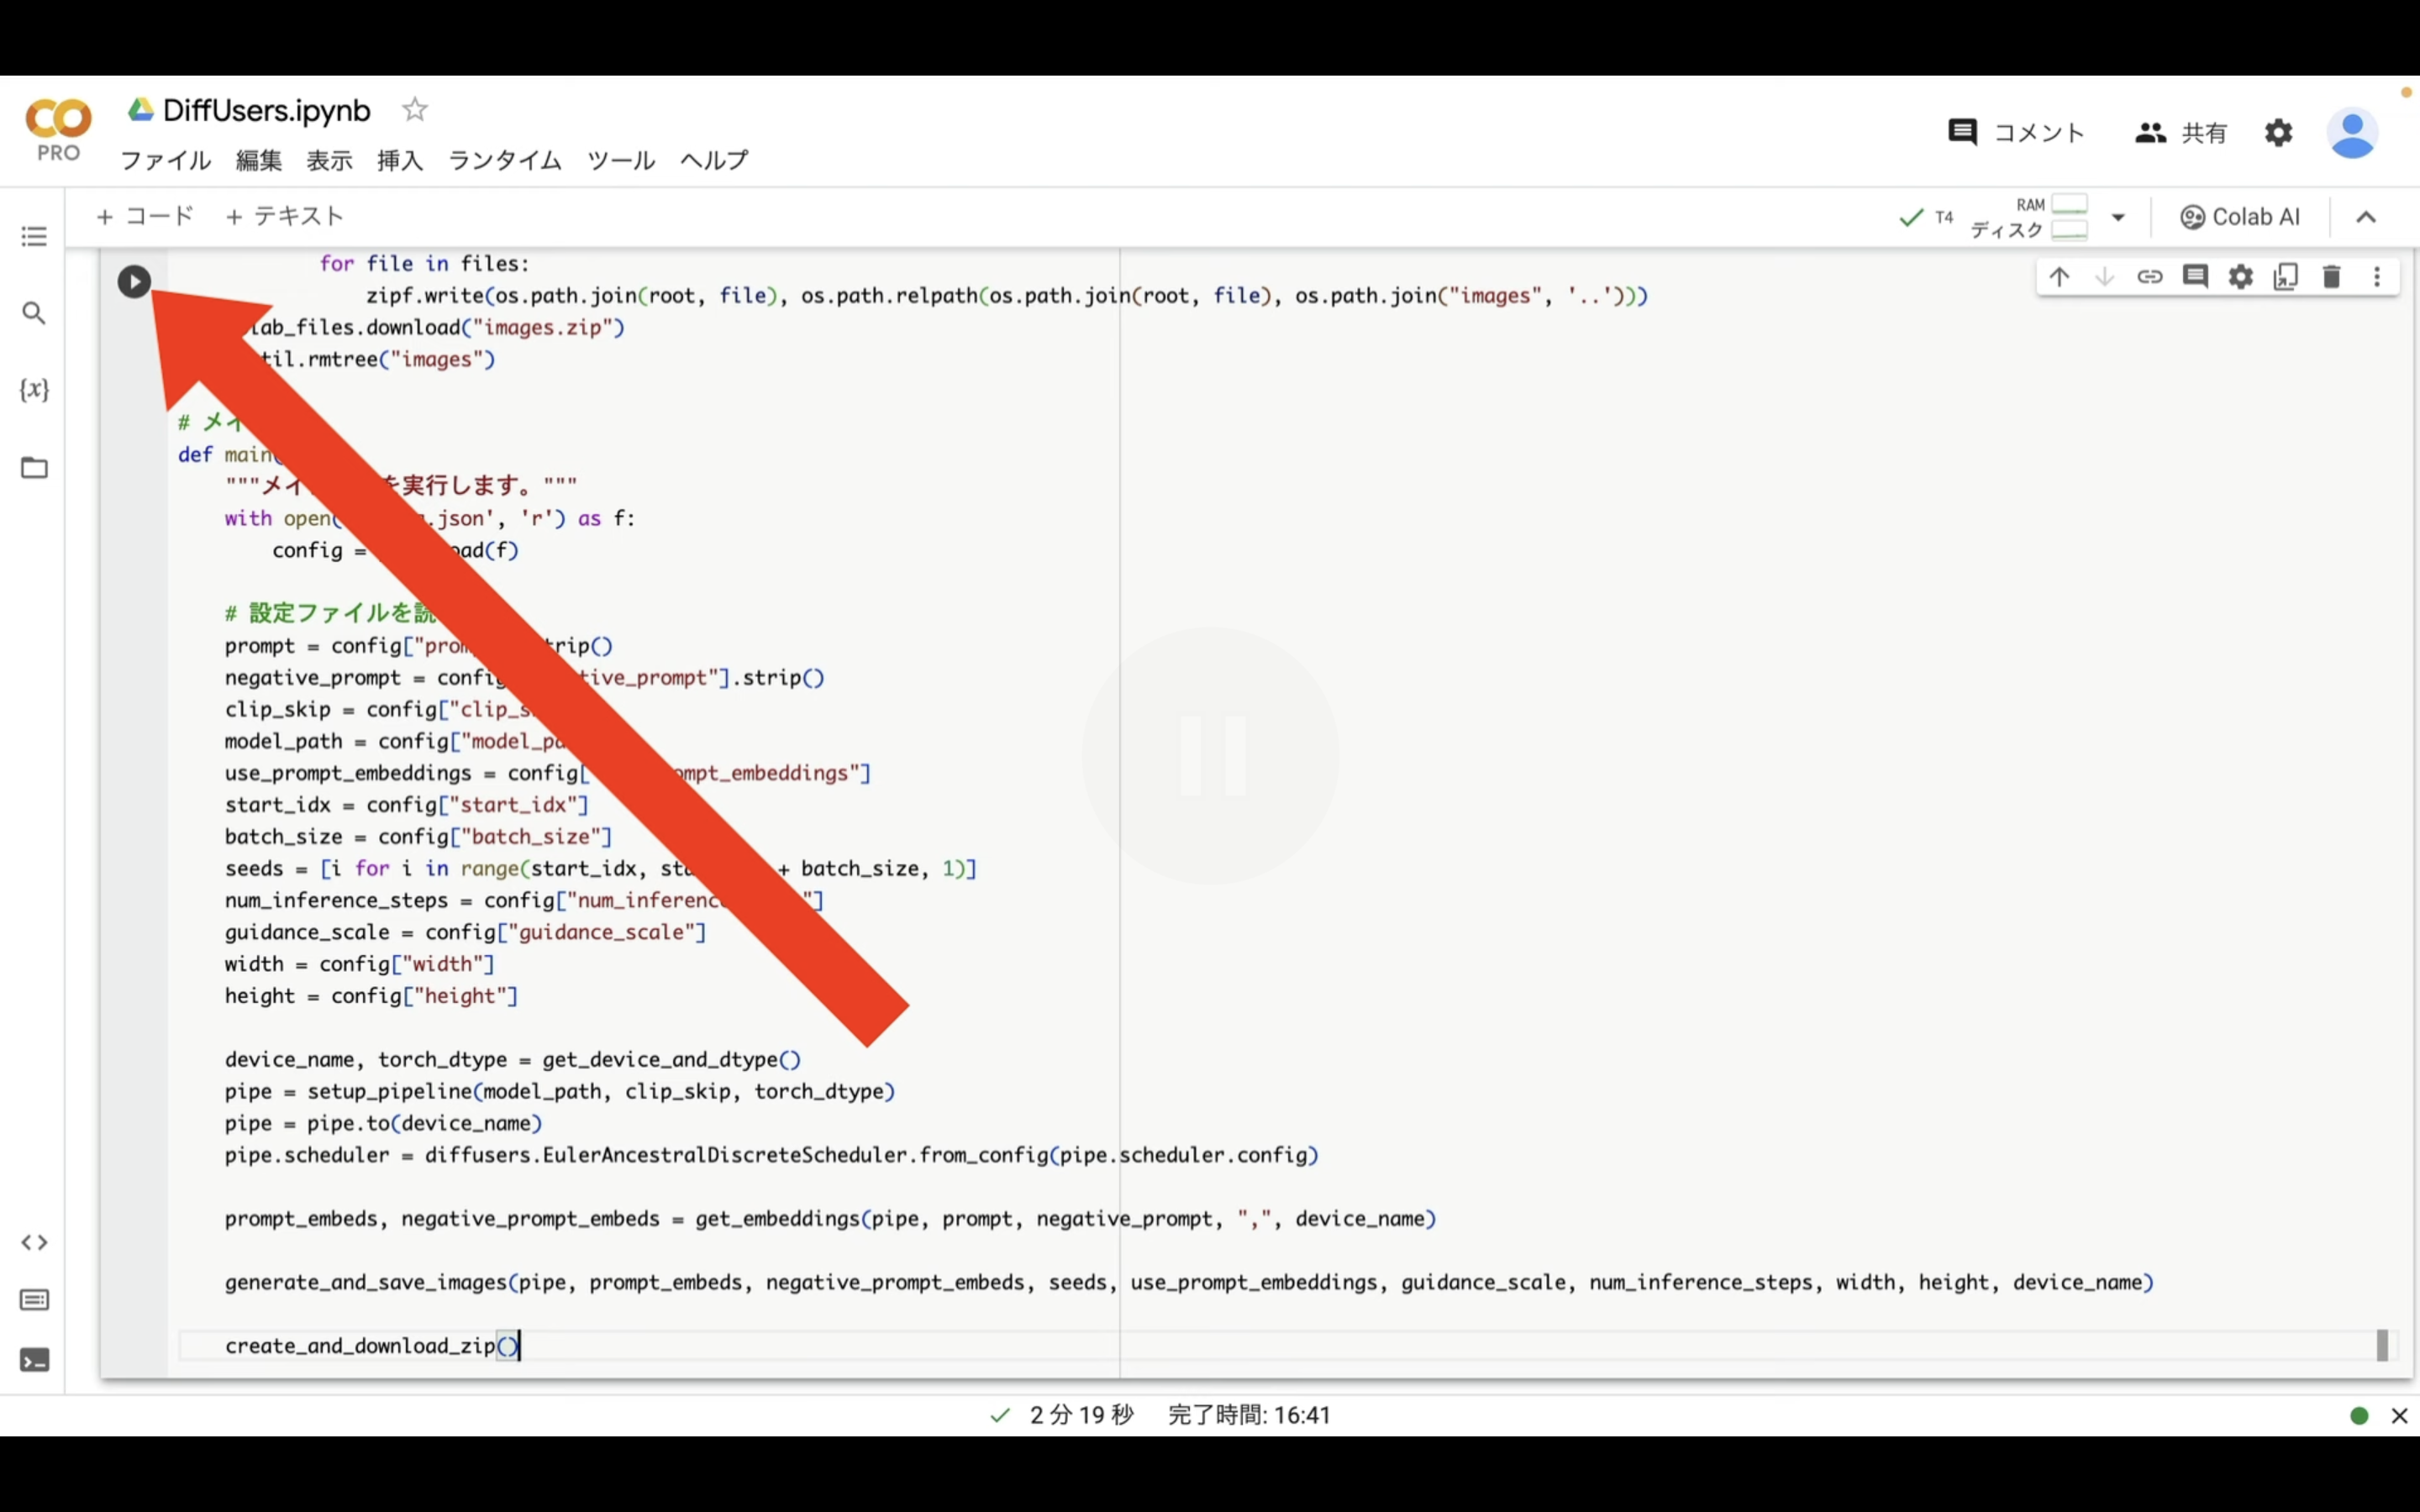
テキストを貼り付けたら、左上にある再生ボタンを押します。
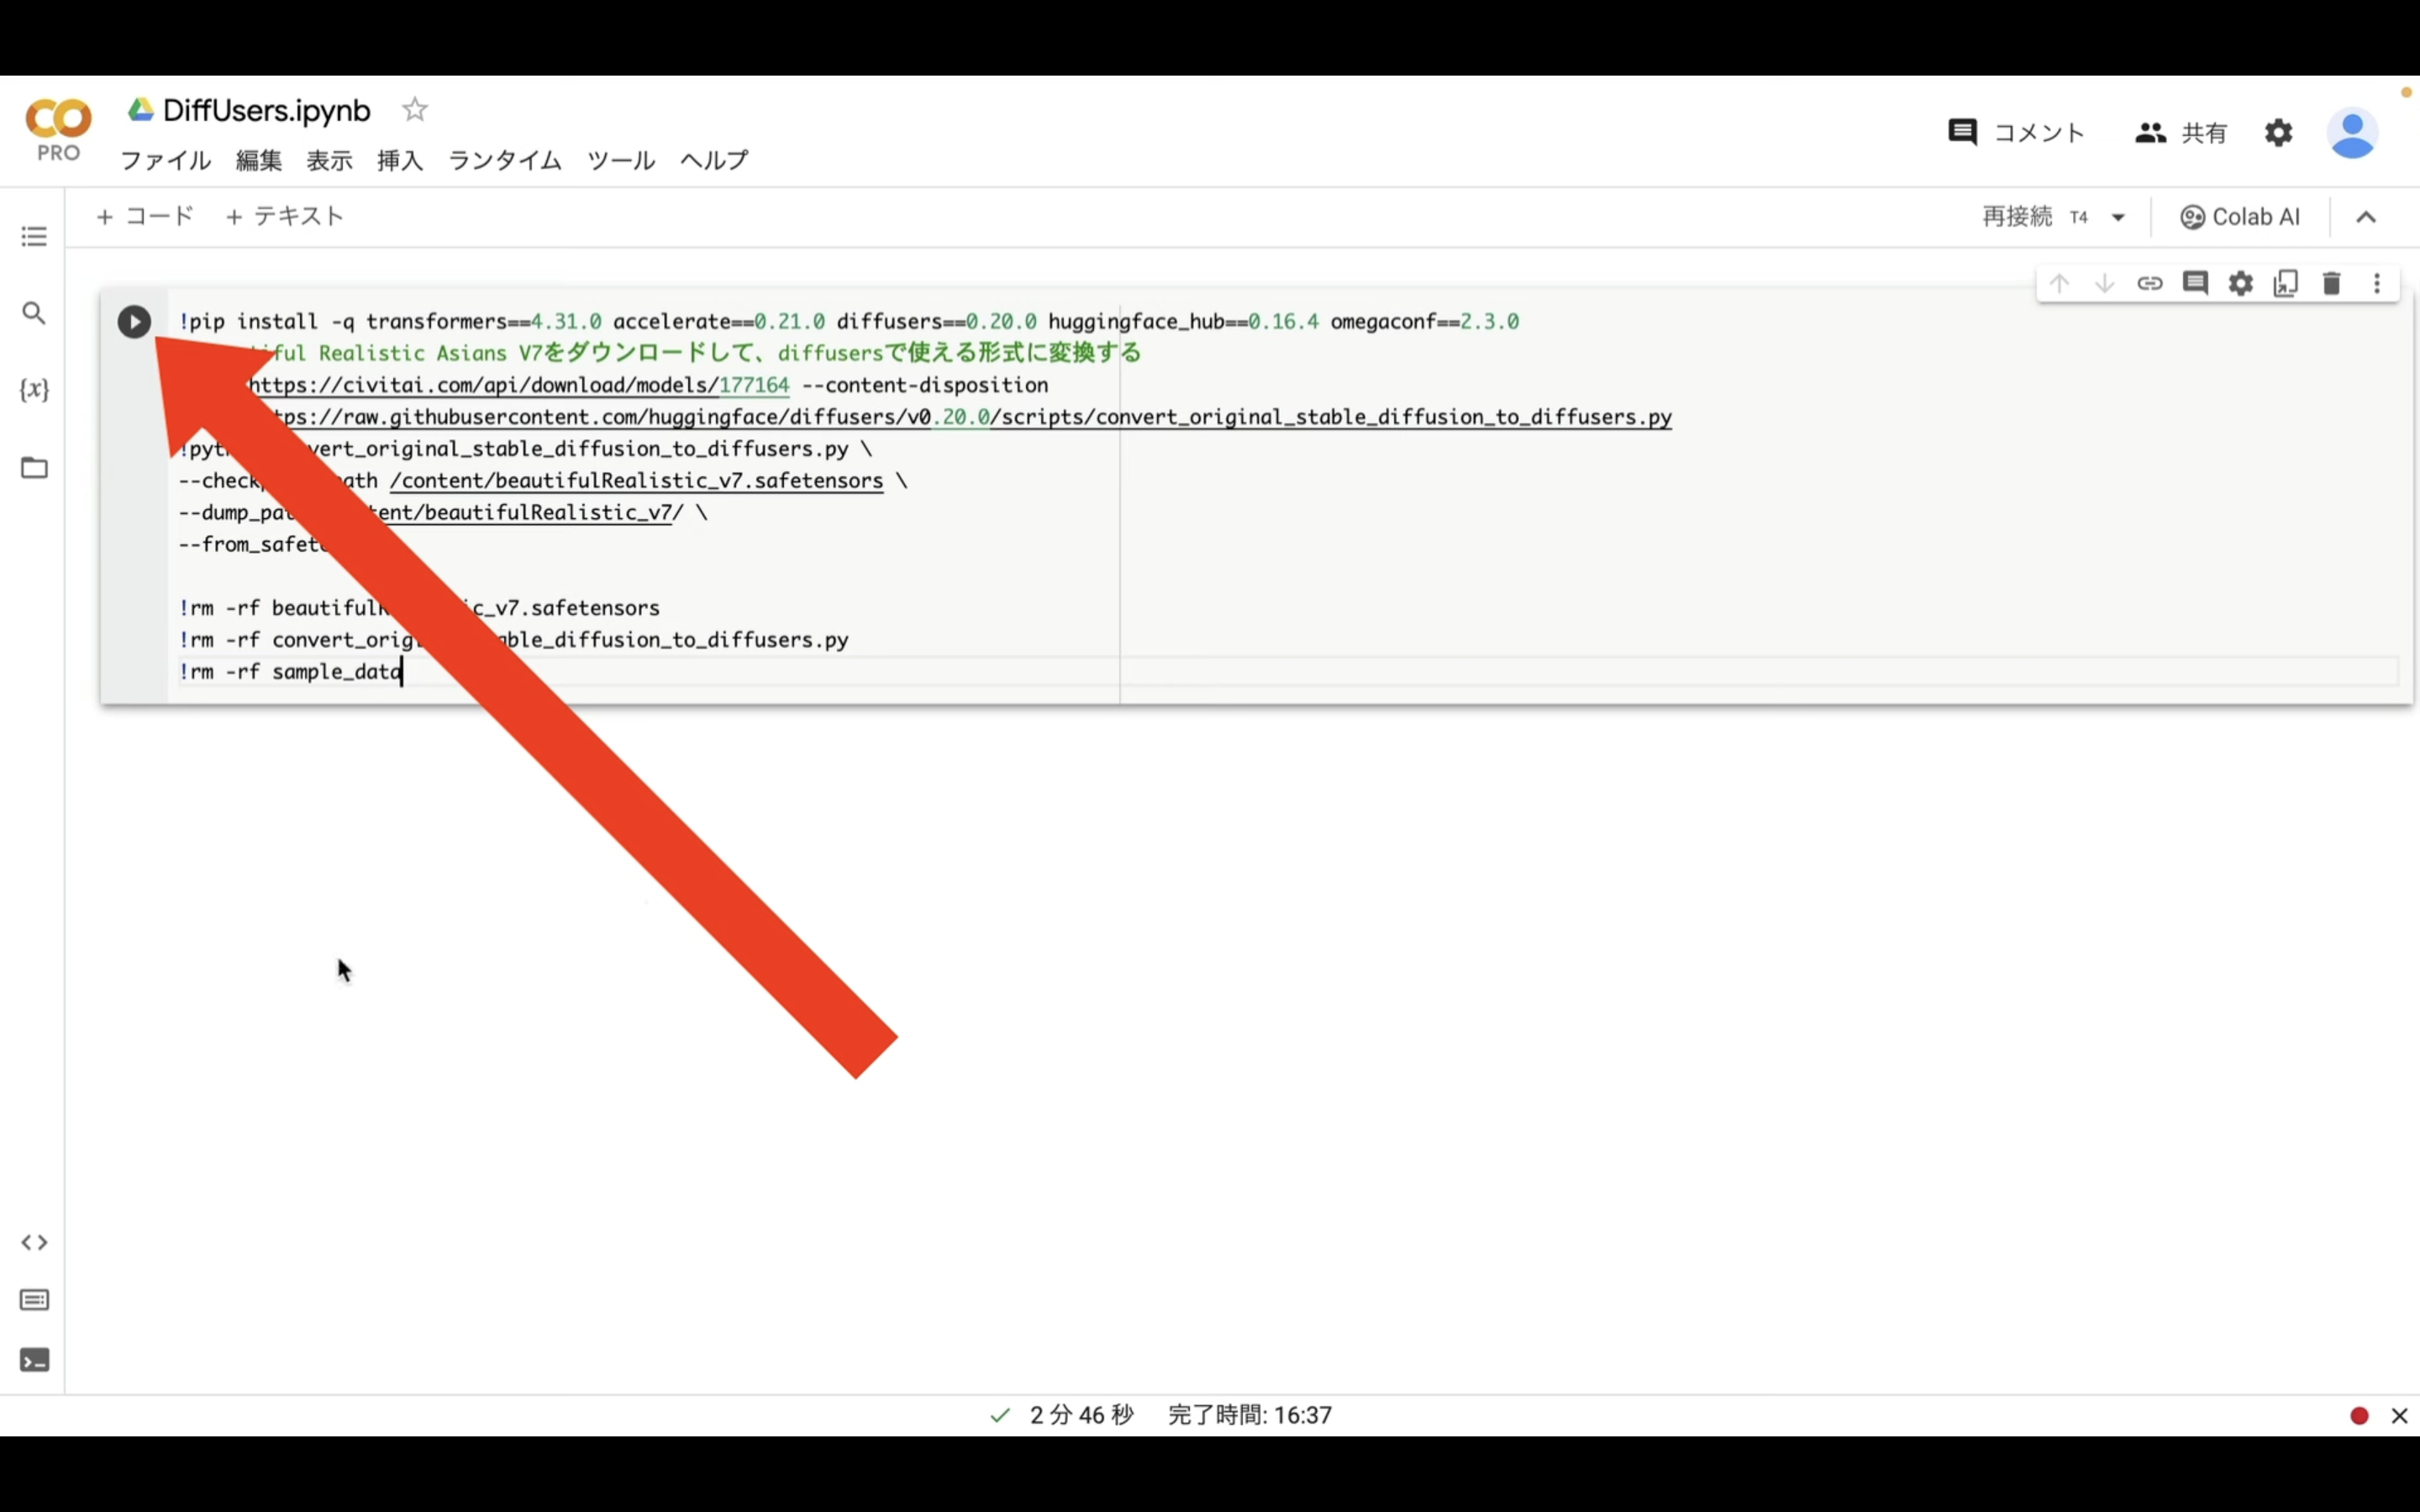
これでコマンドが実行されます。
コマンドの実行には数分程度かかります。
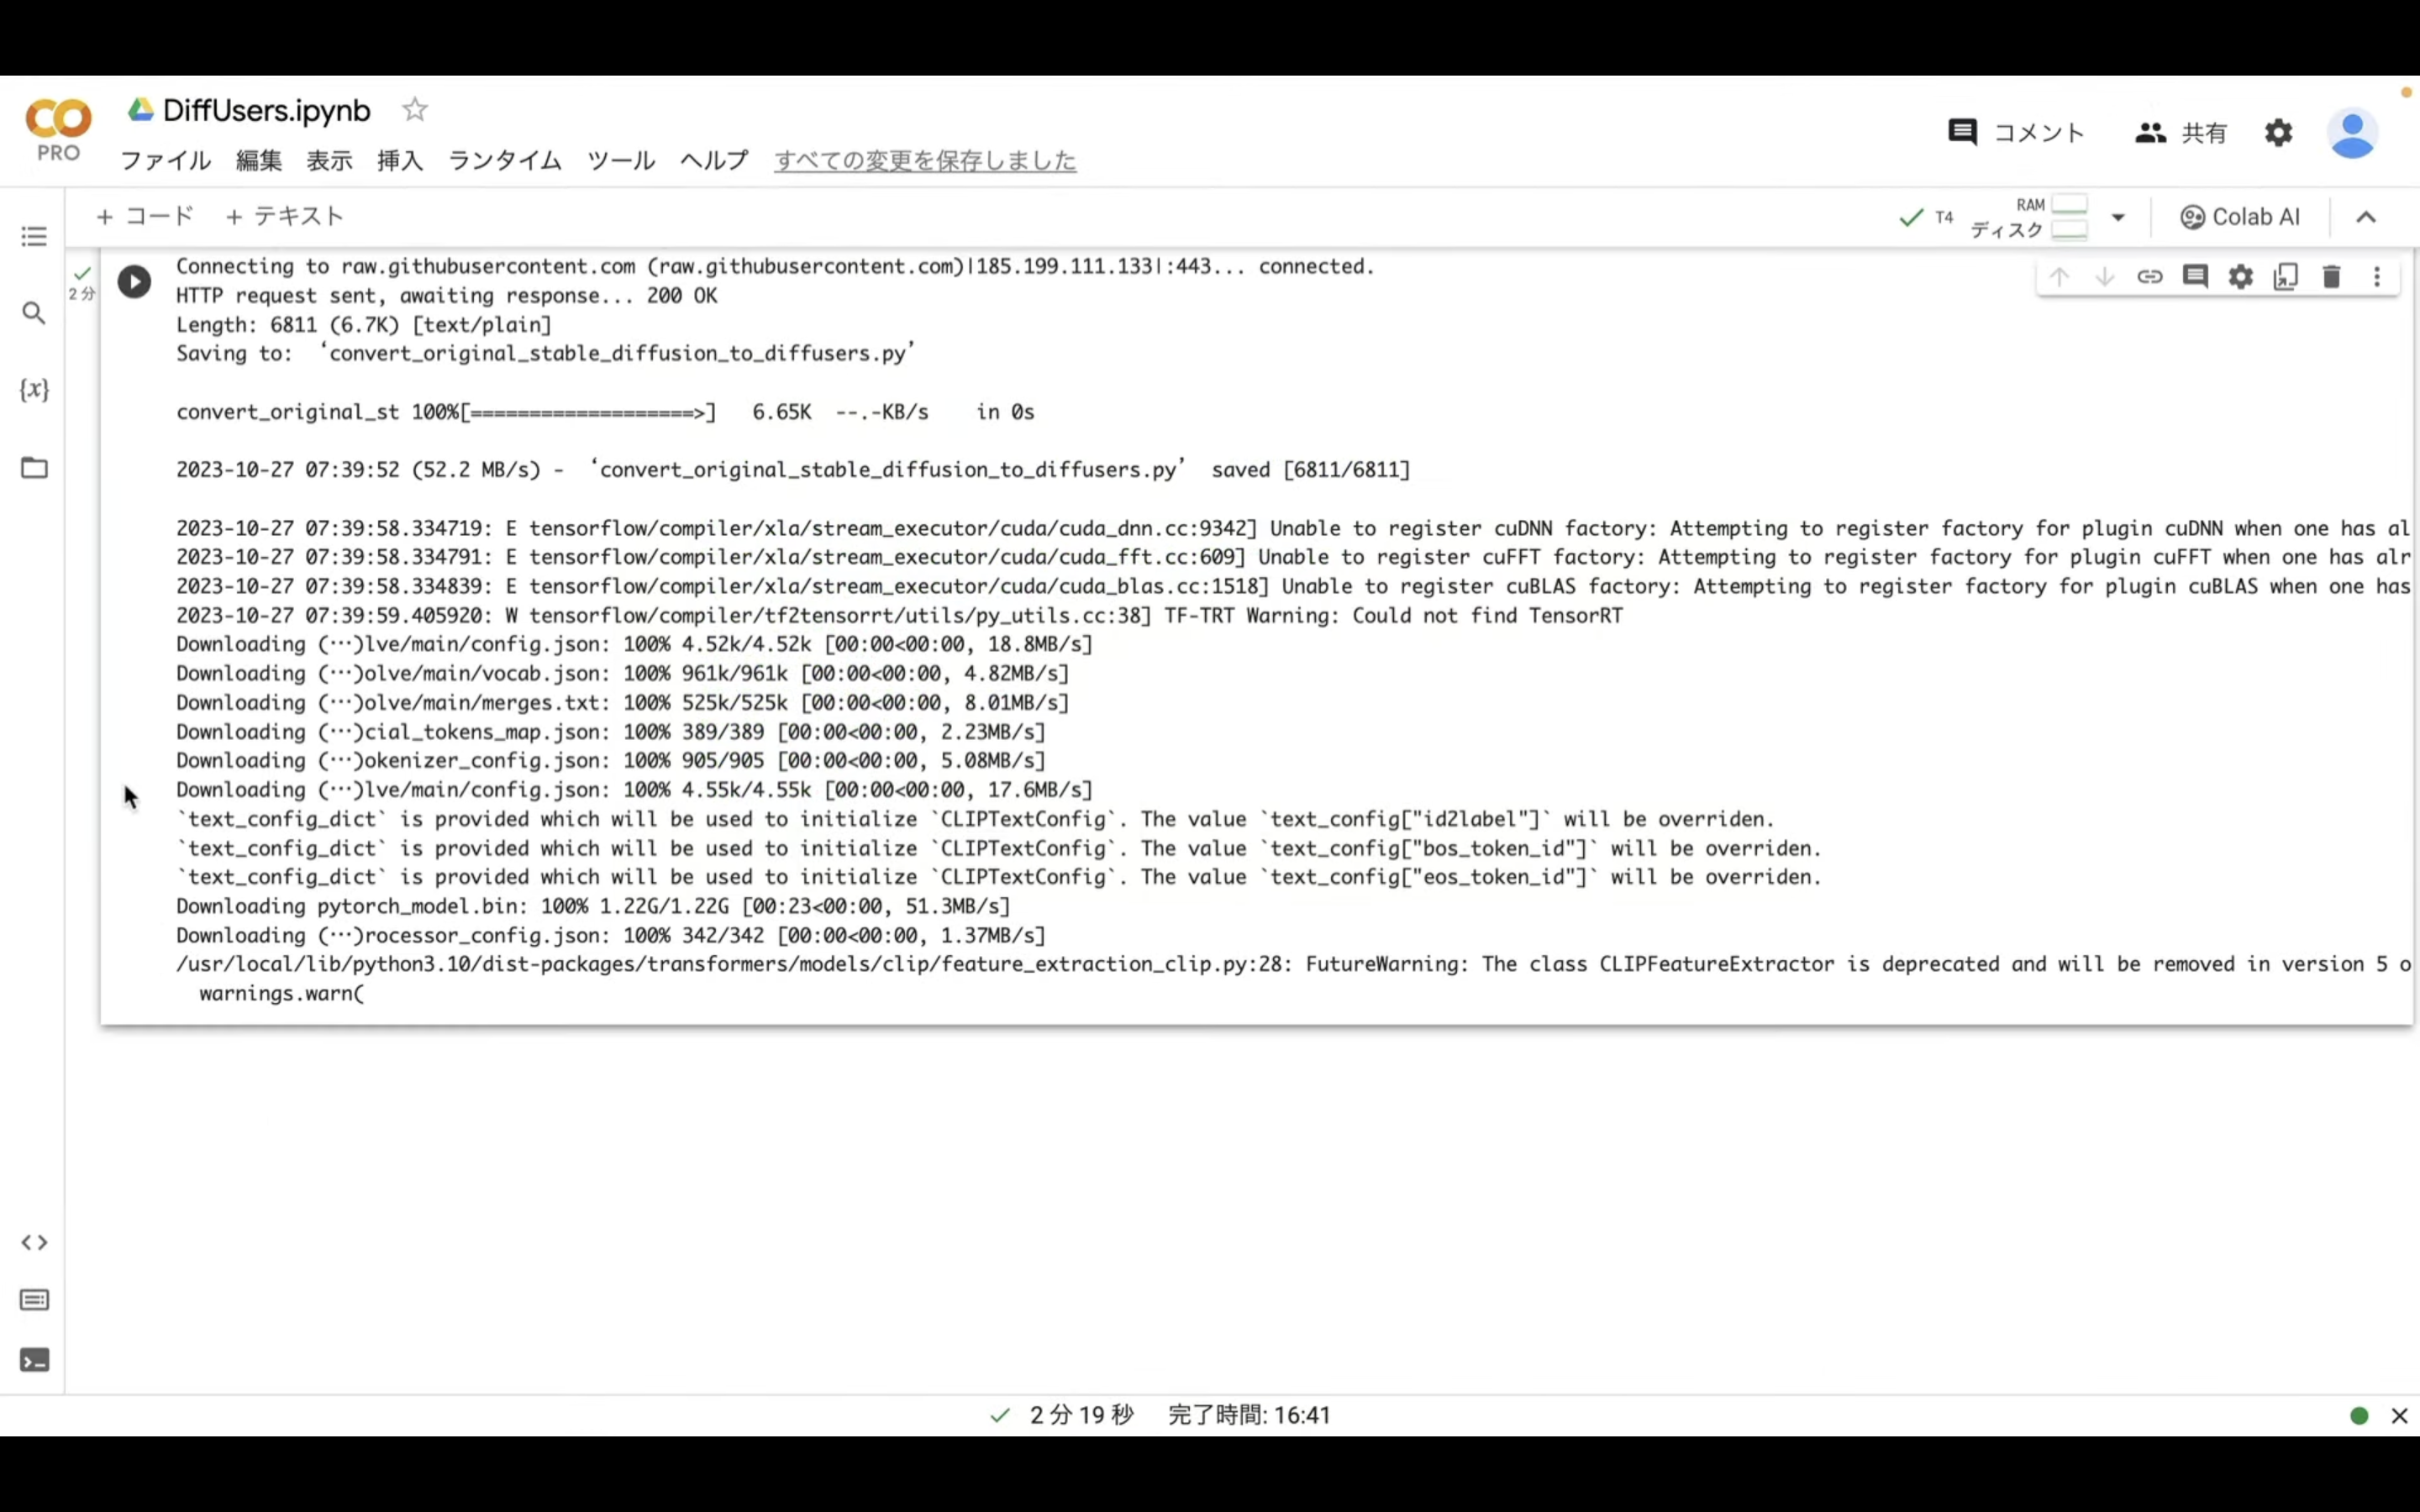
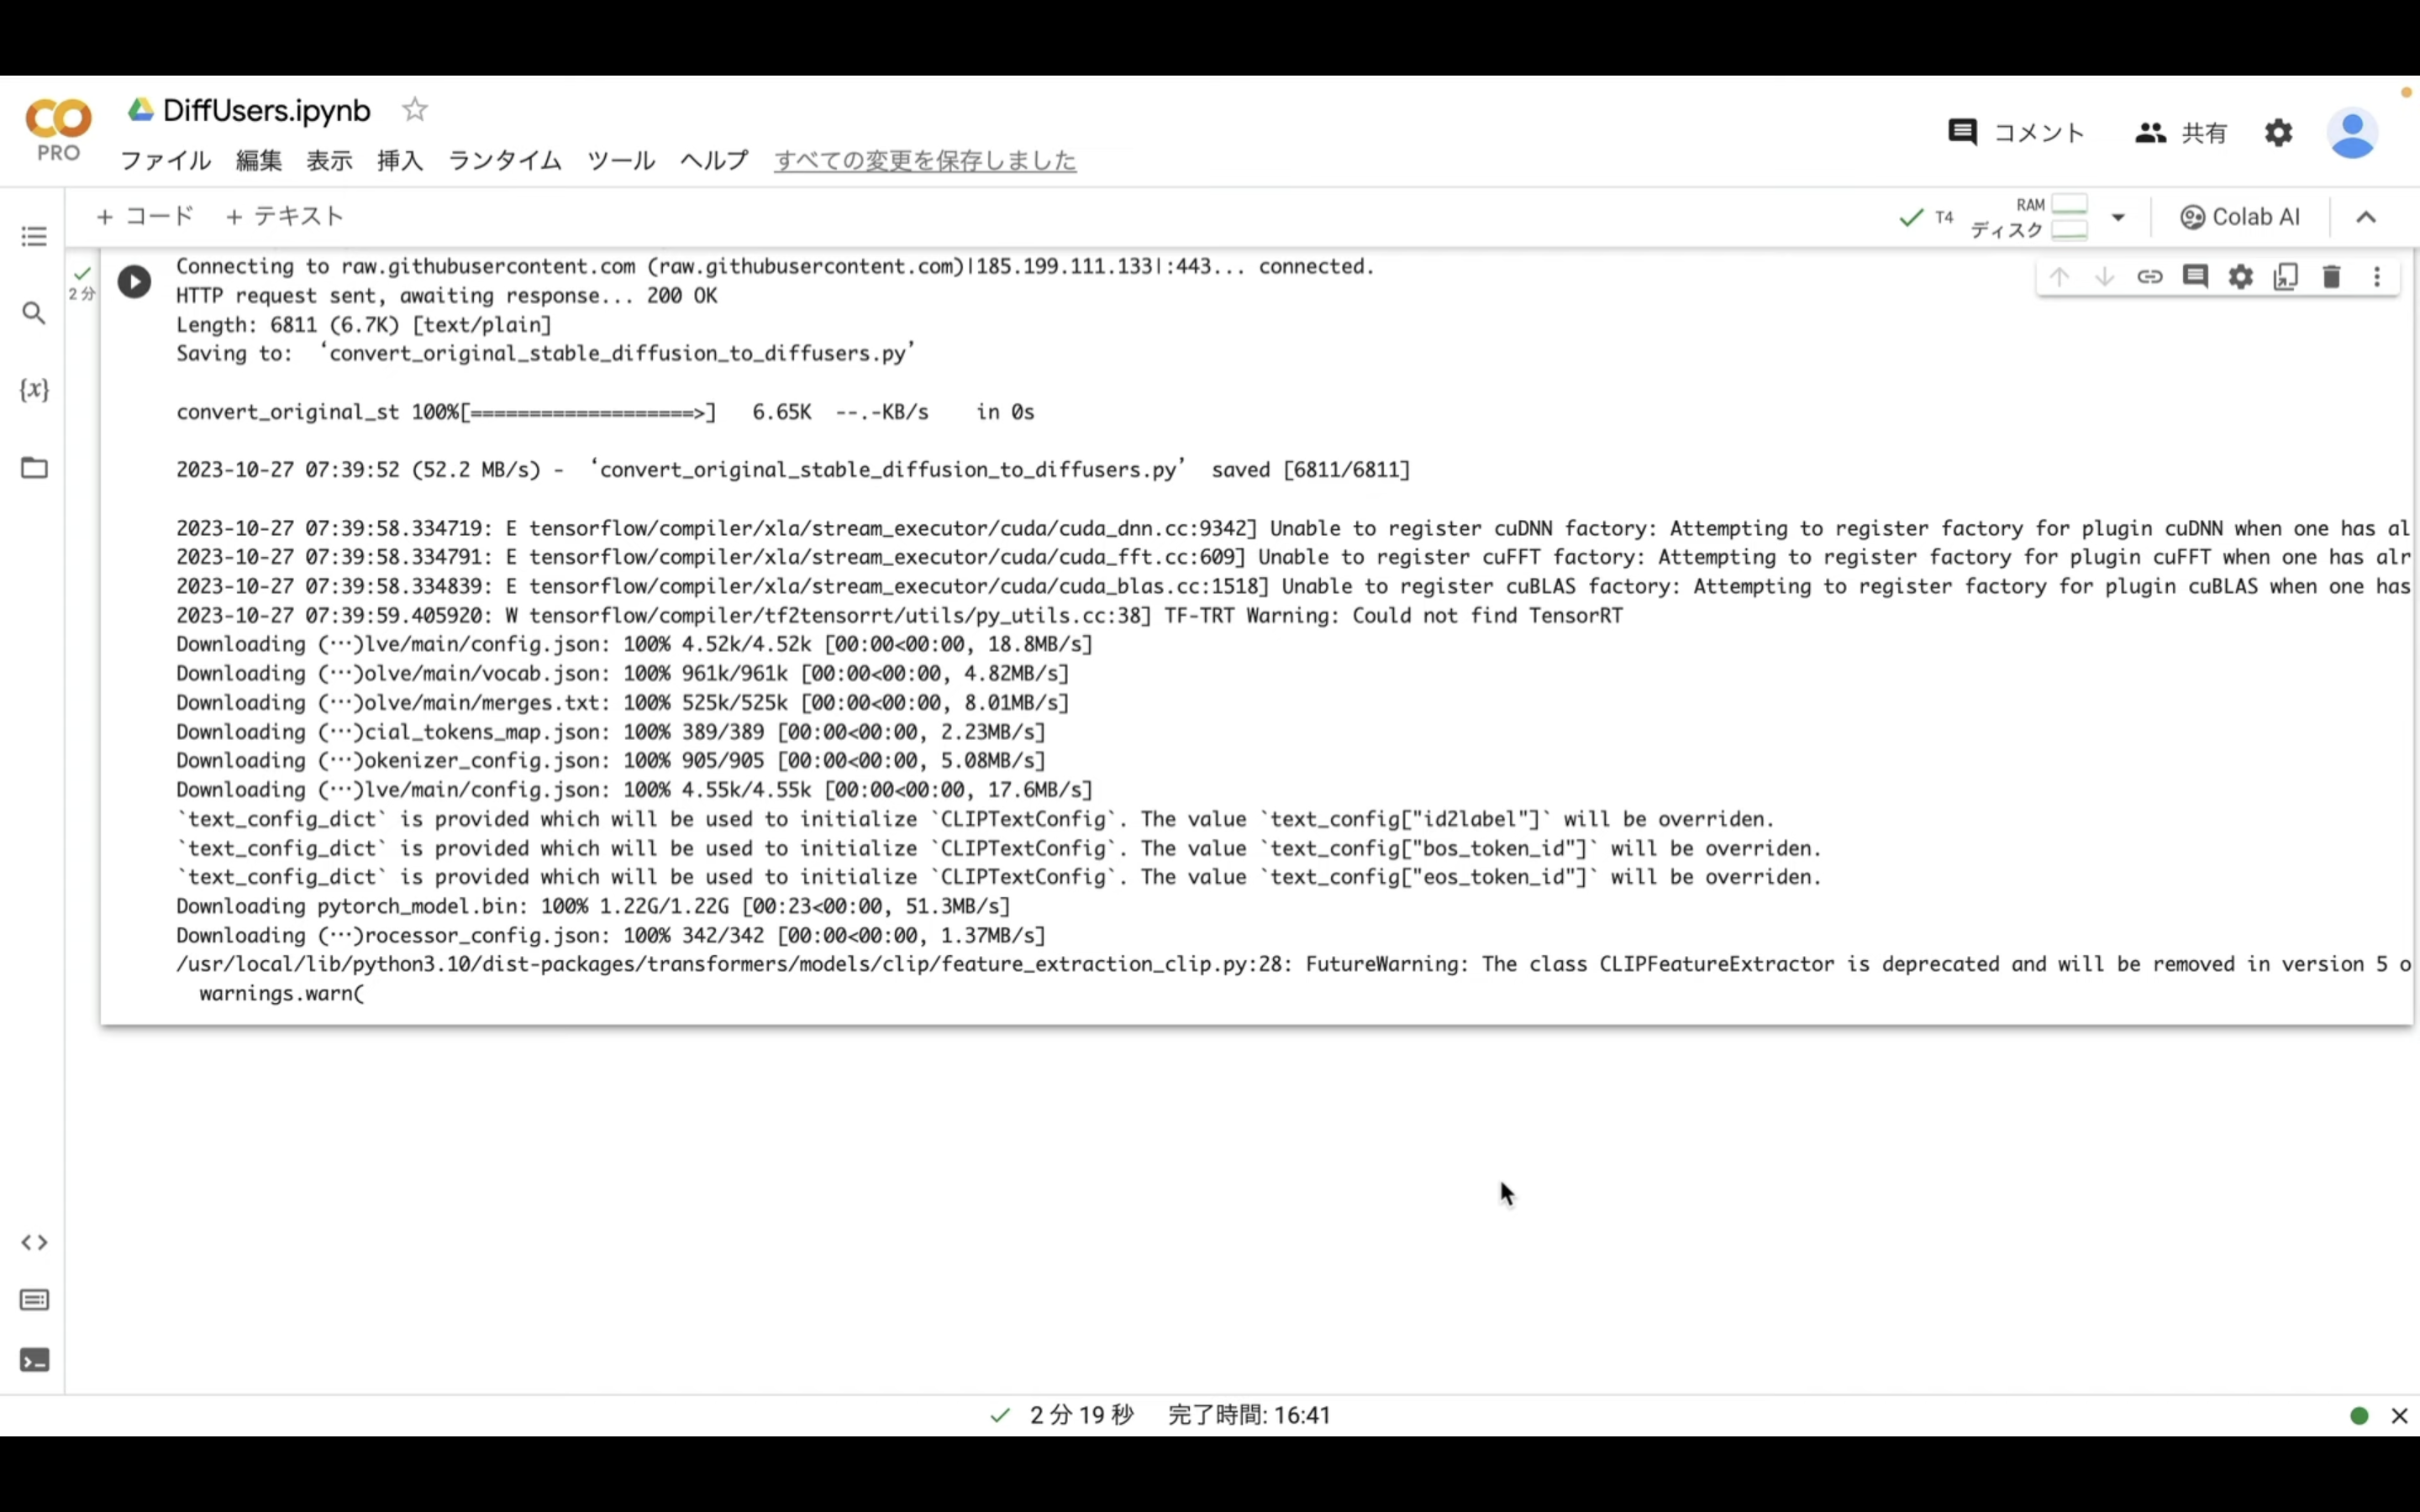
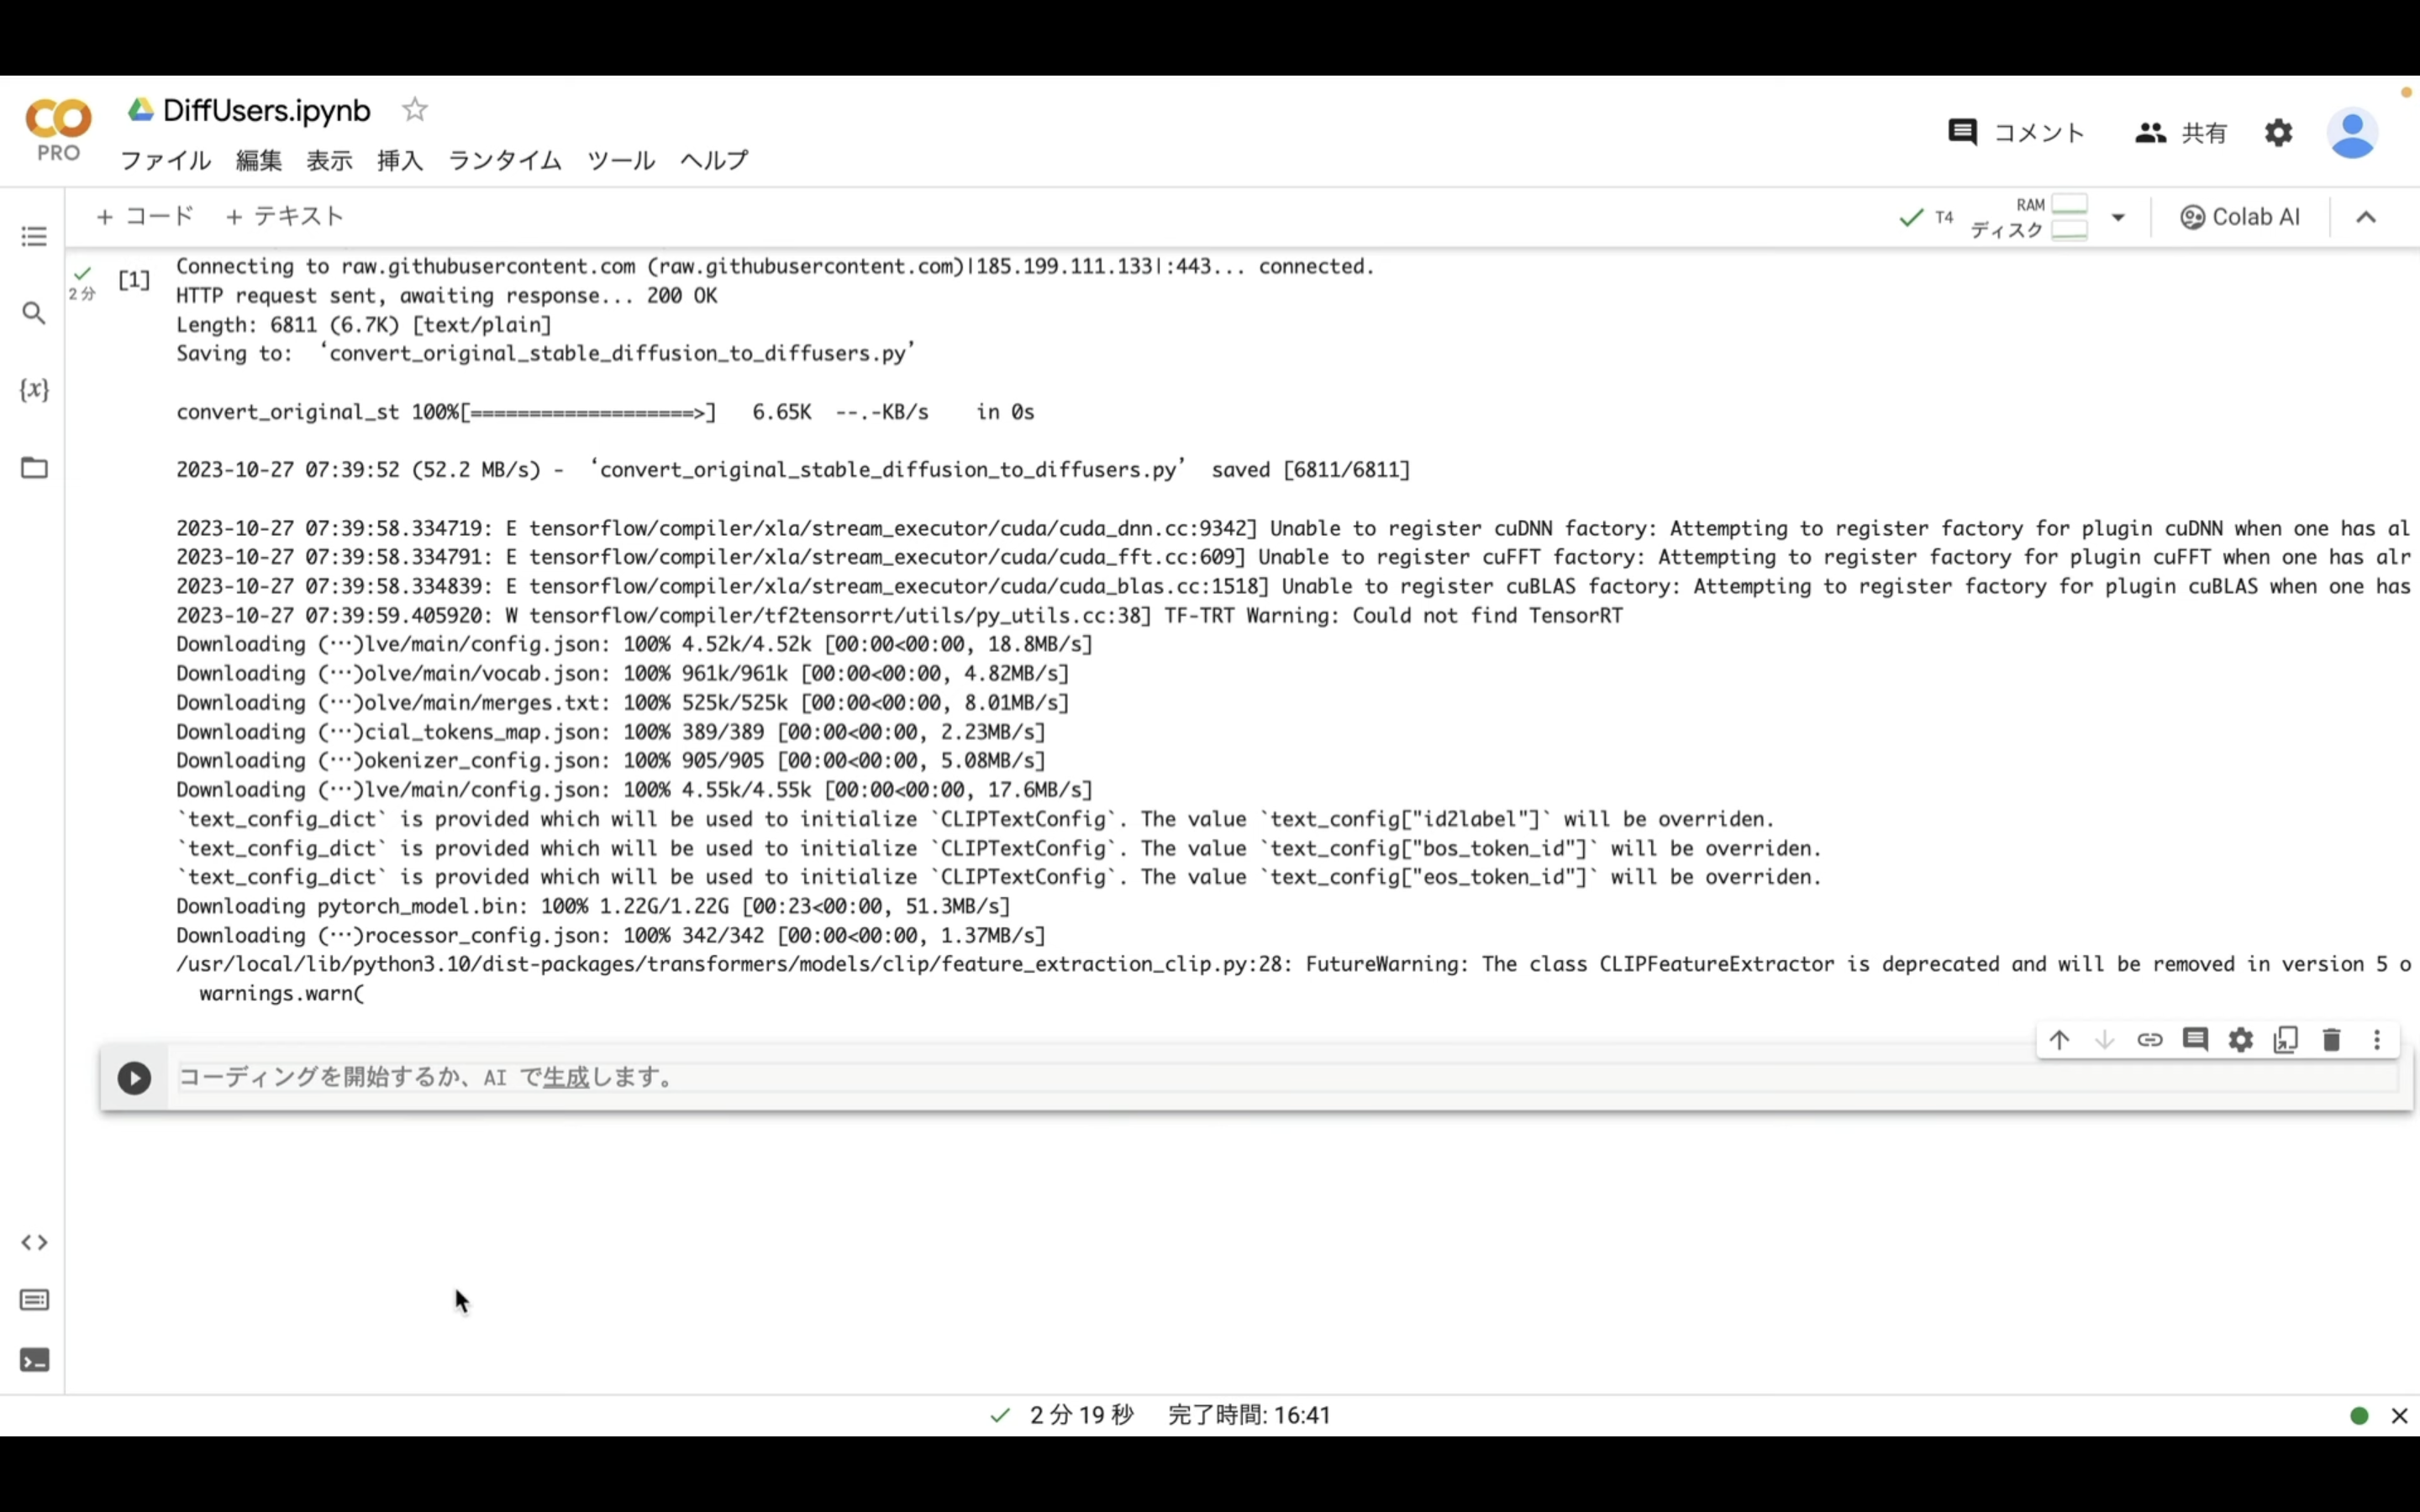
しばらく待っていると、コマンドの実行が完了します。
コマンドが完了したら、再生ボタンの左側に緑色のチェックマークが表示されます。

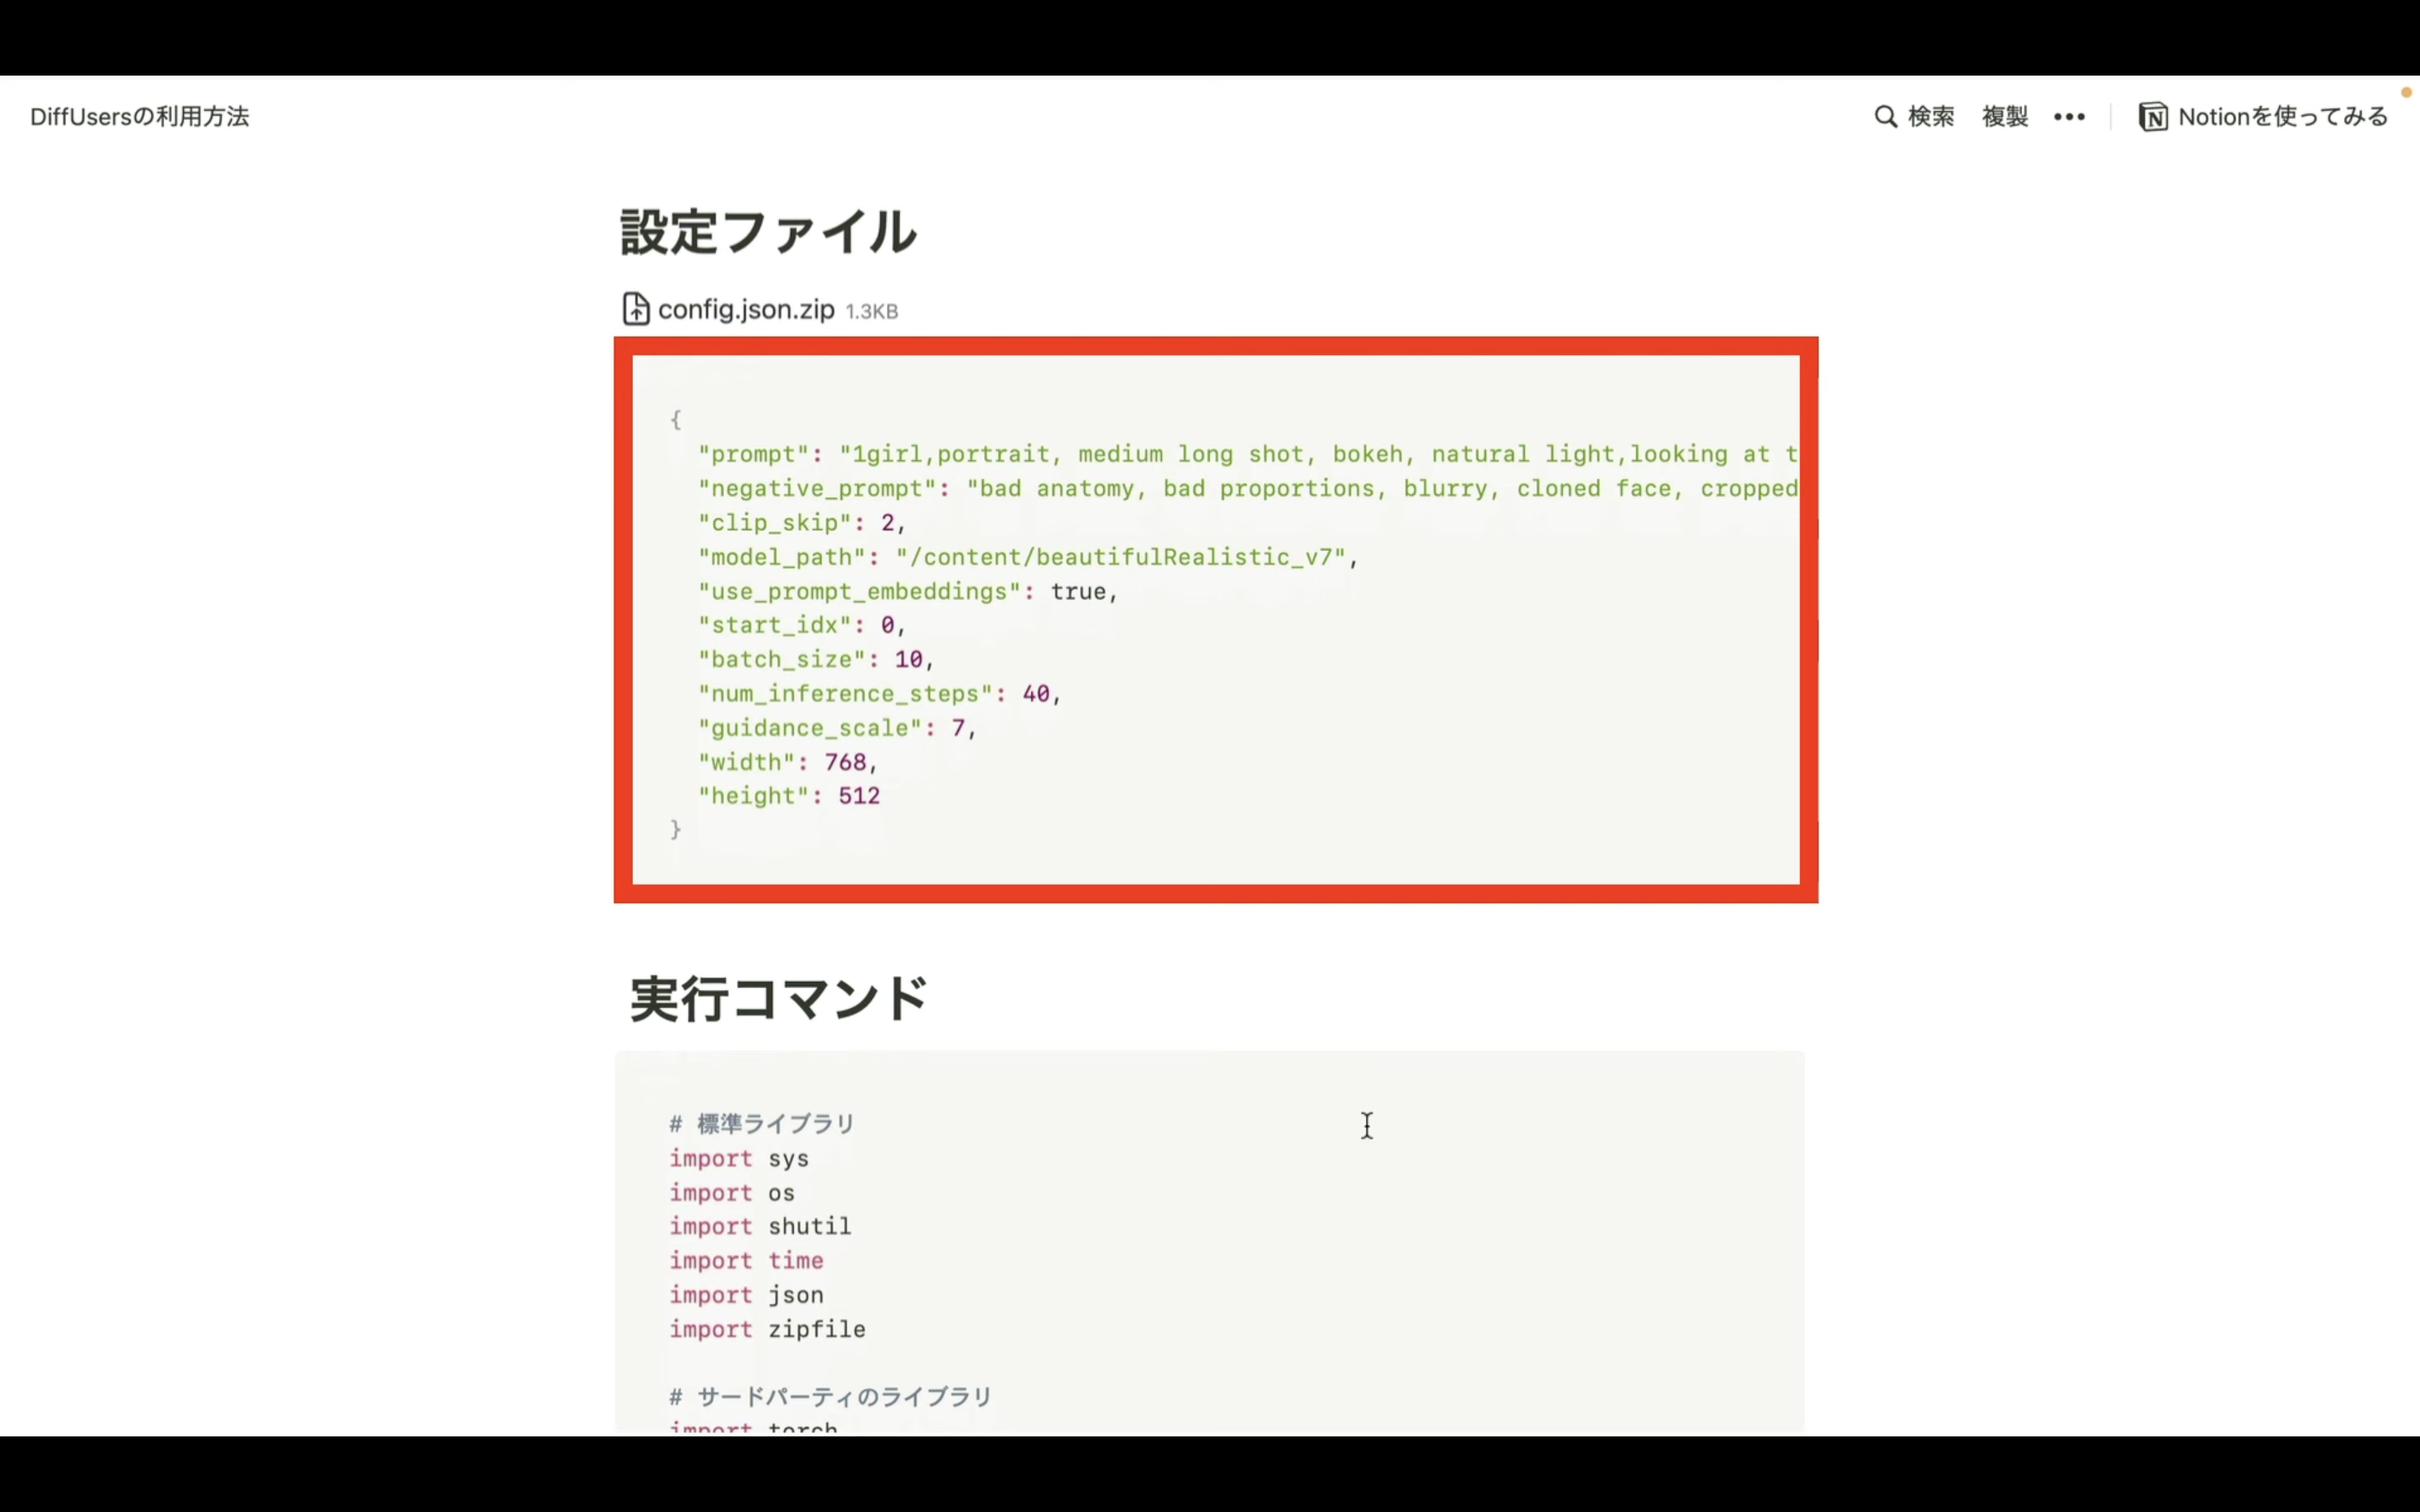
インストールコマンドが完了したら、次に設定ファイルをアップロードします。
設定ファイルは以下のリンク先のページに掲載しておきます。
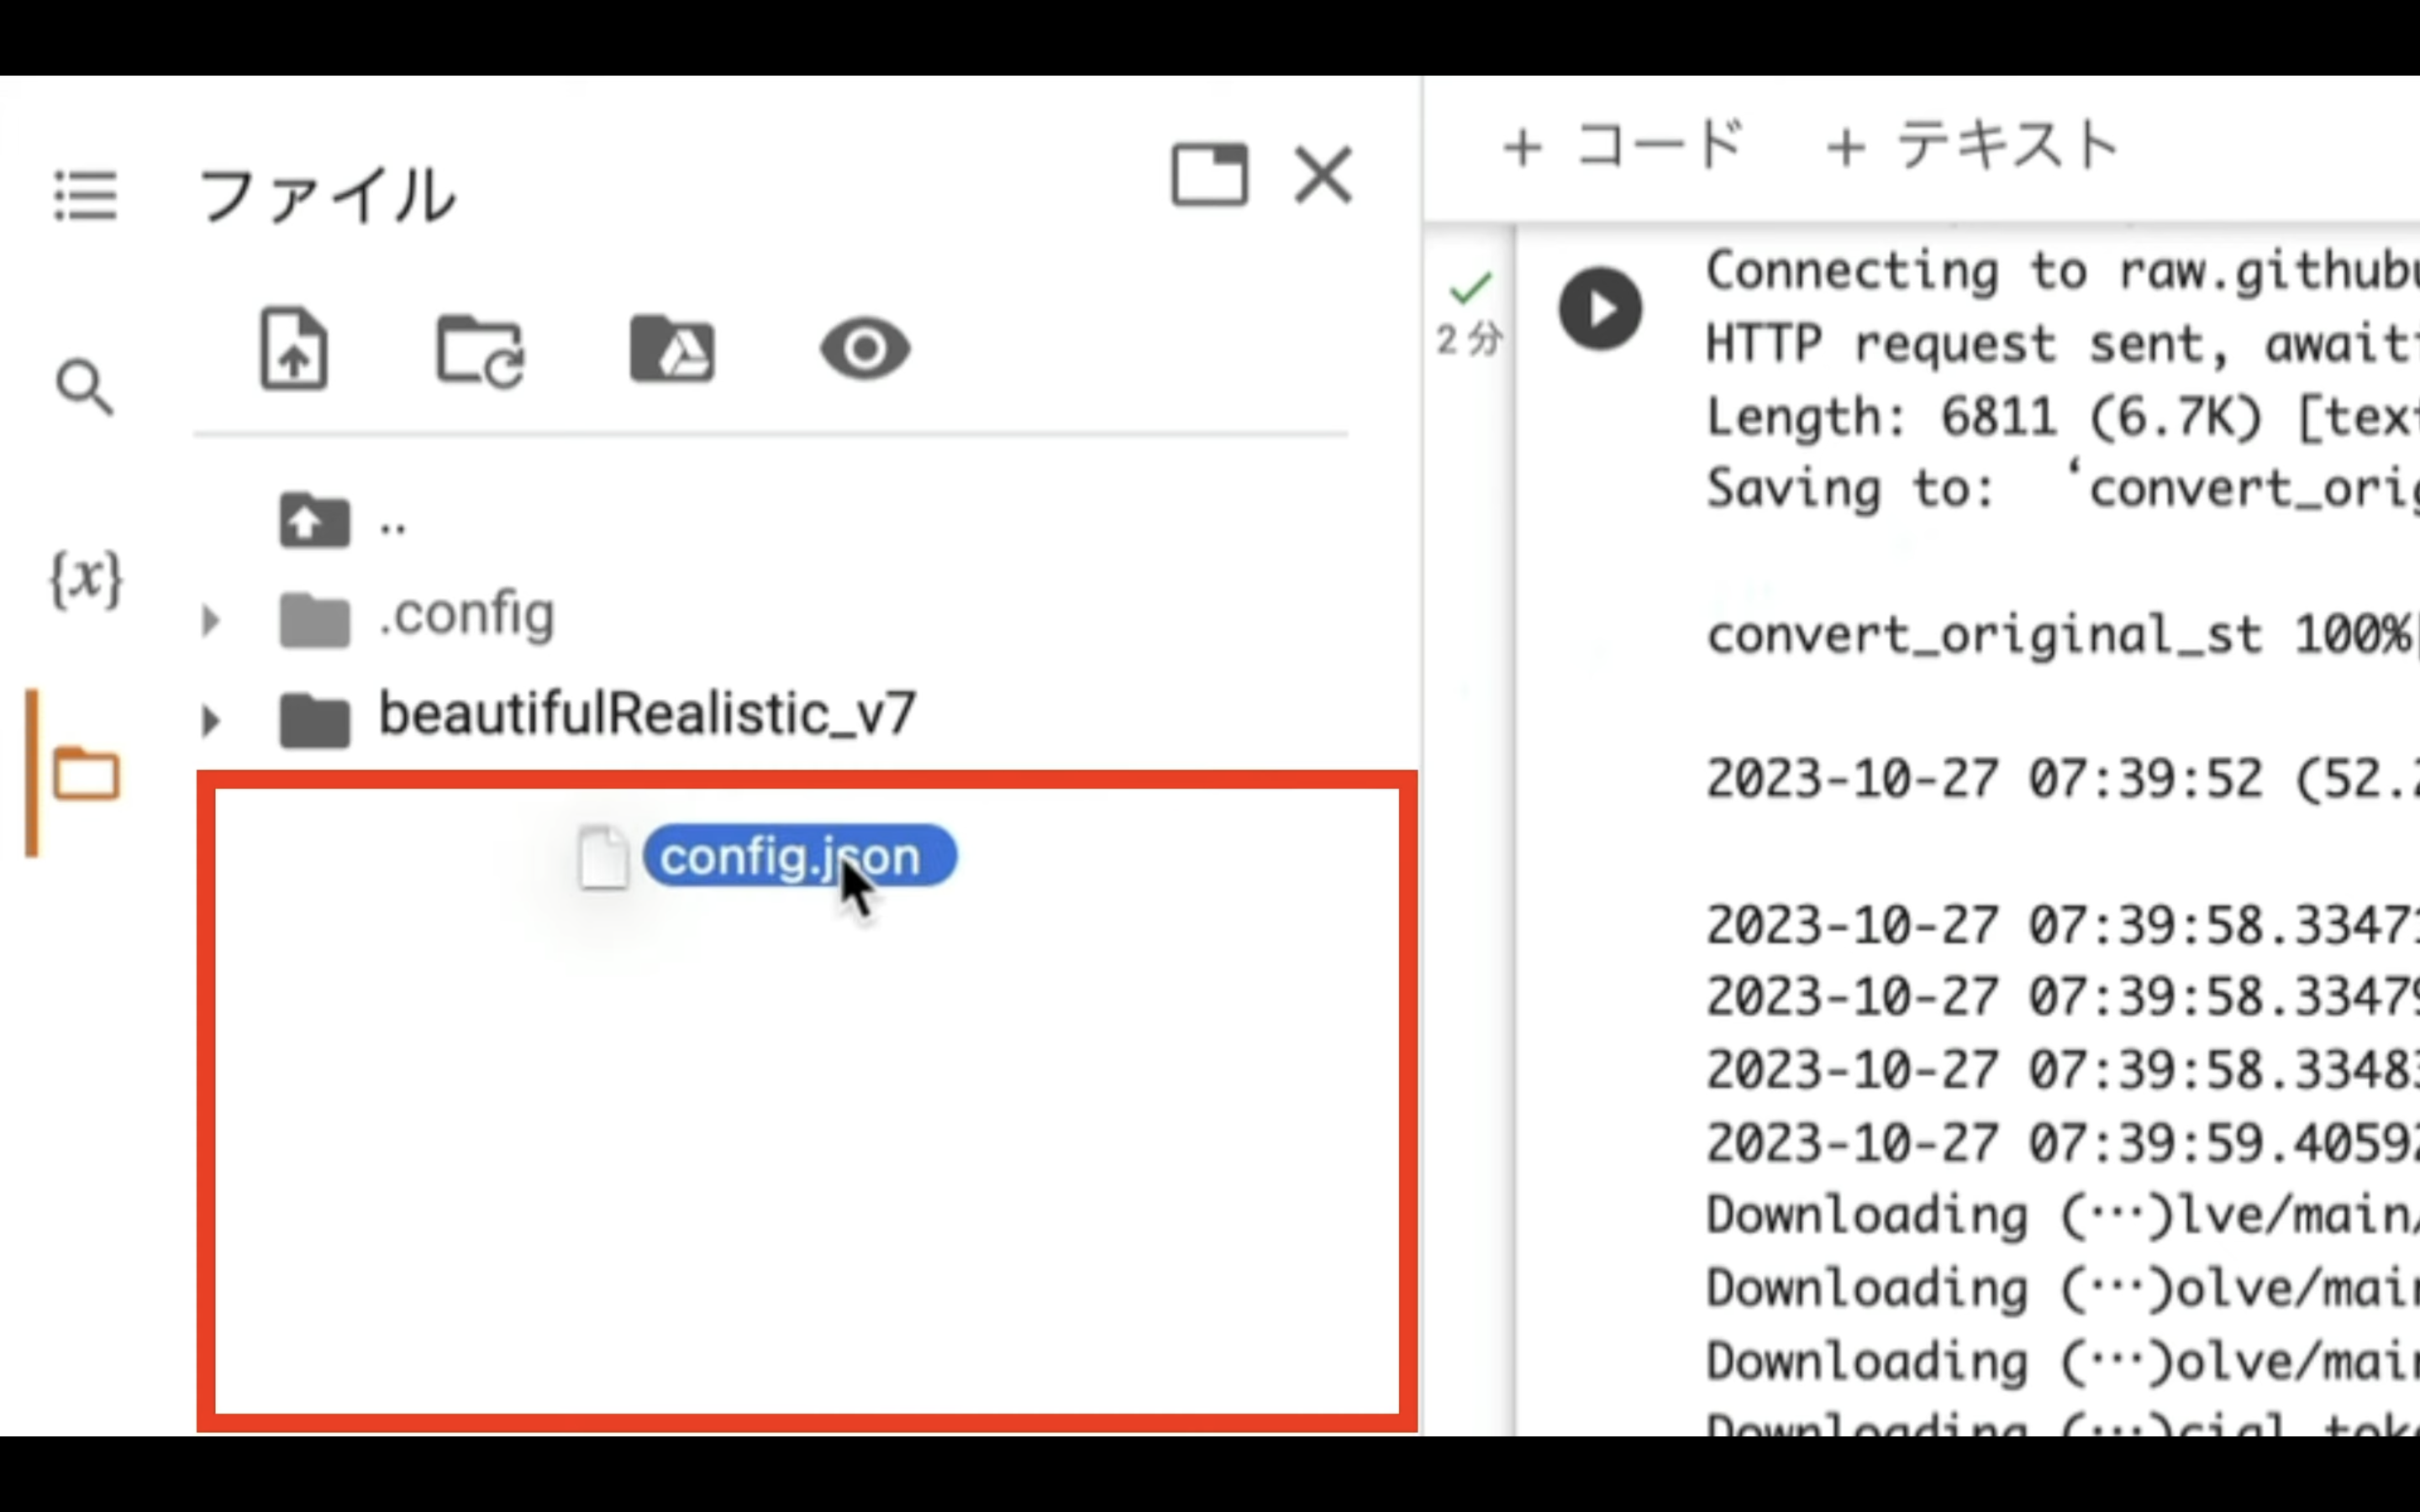
設定ファイルというタイトルの下にあるファイルをダウンロードします。
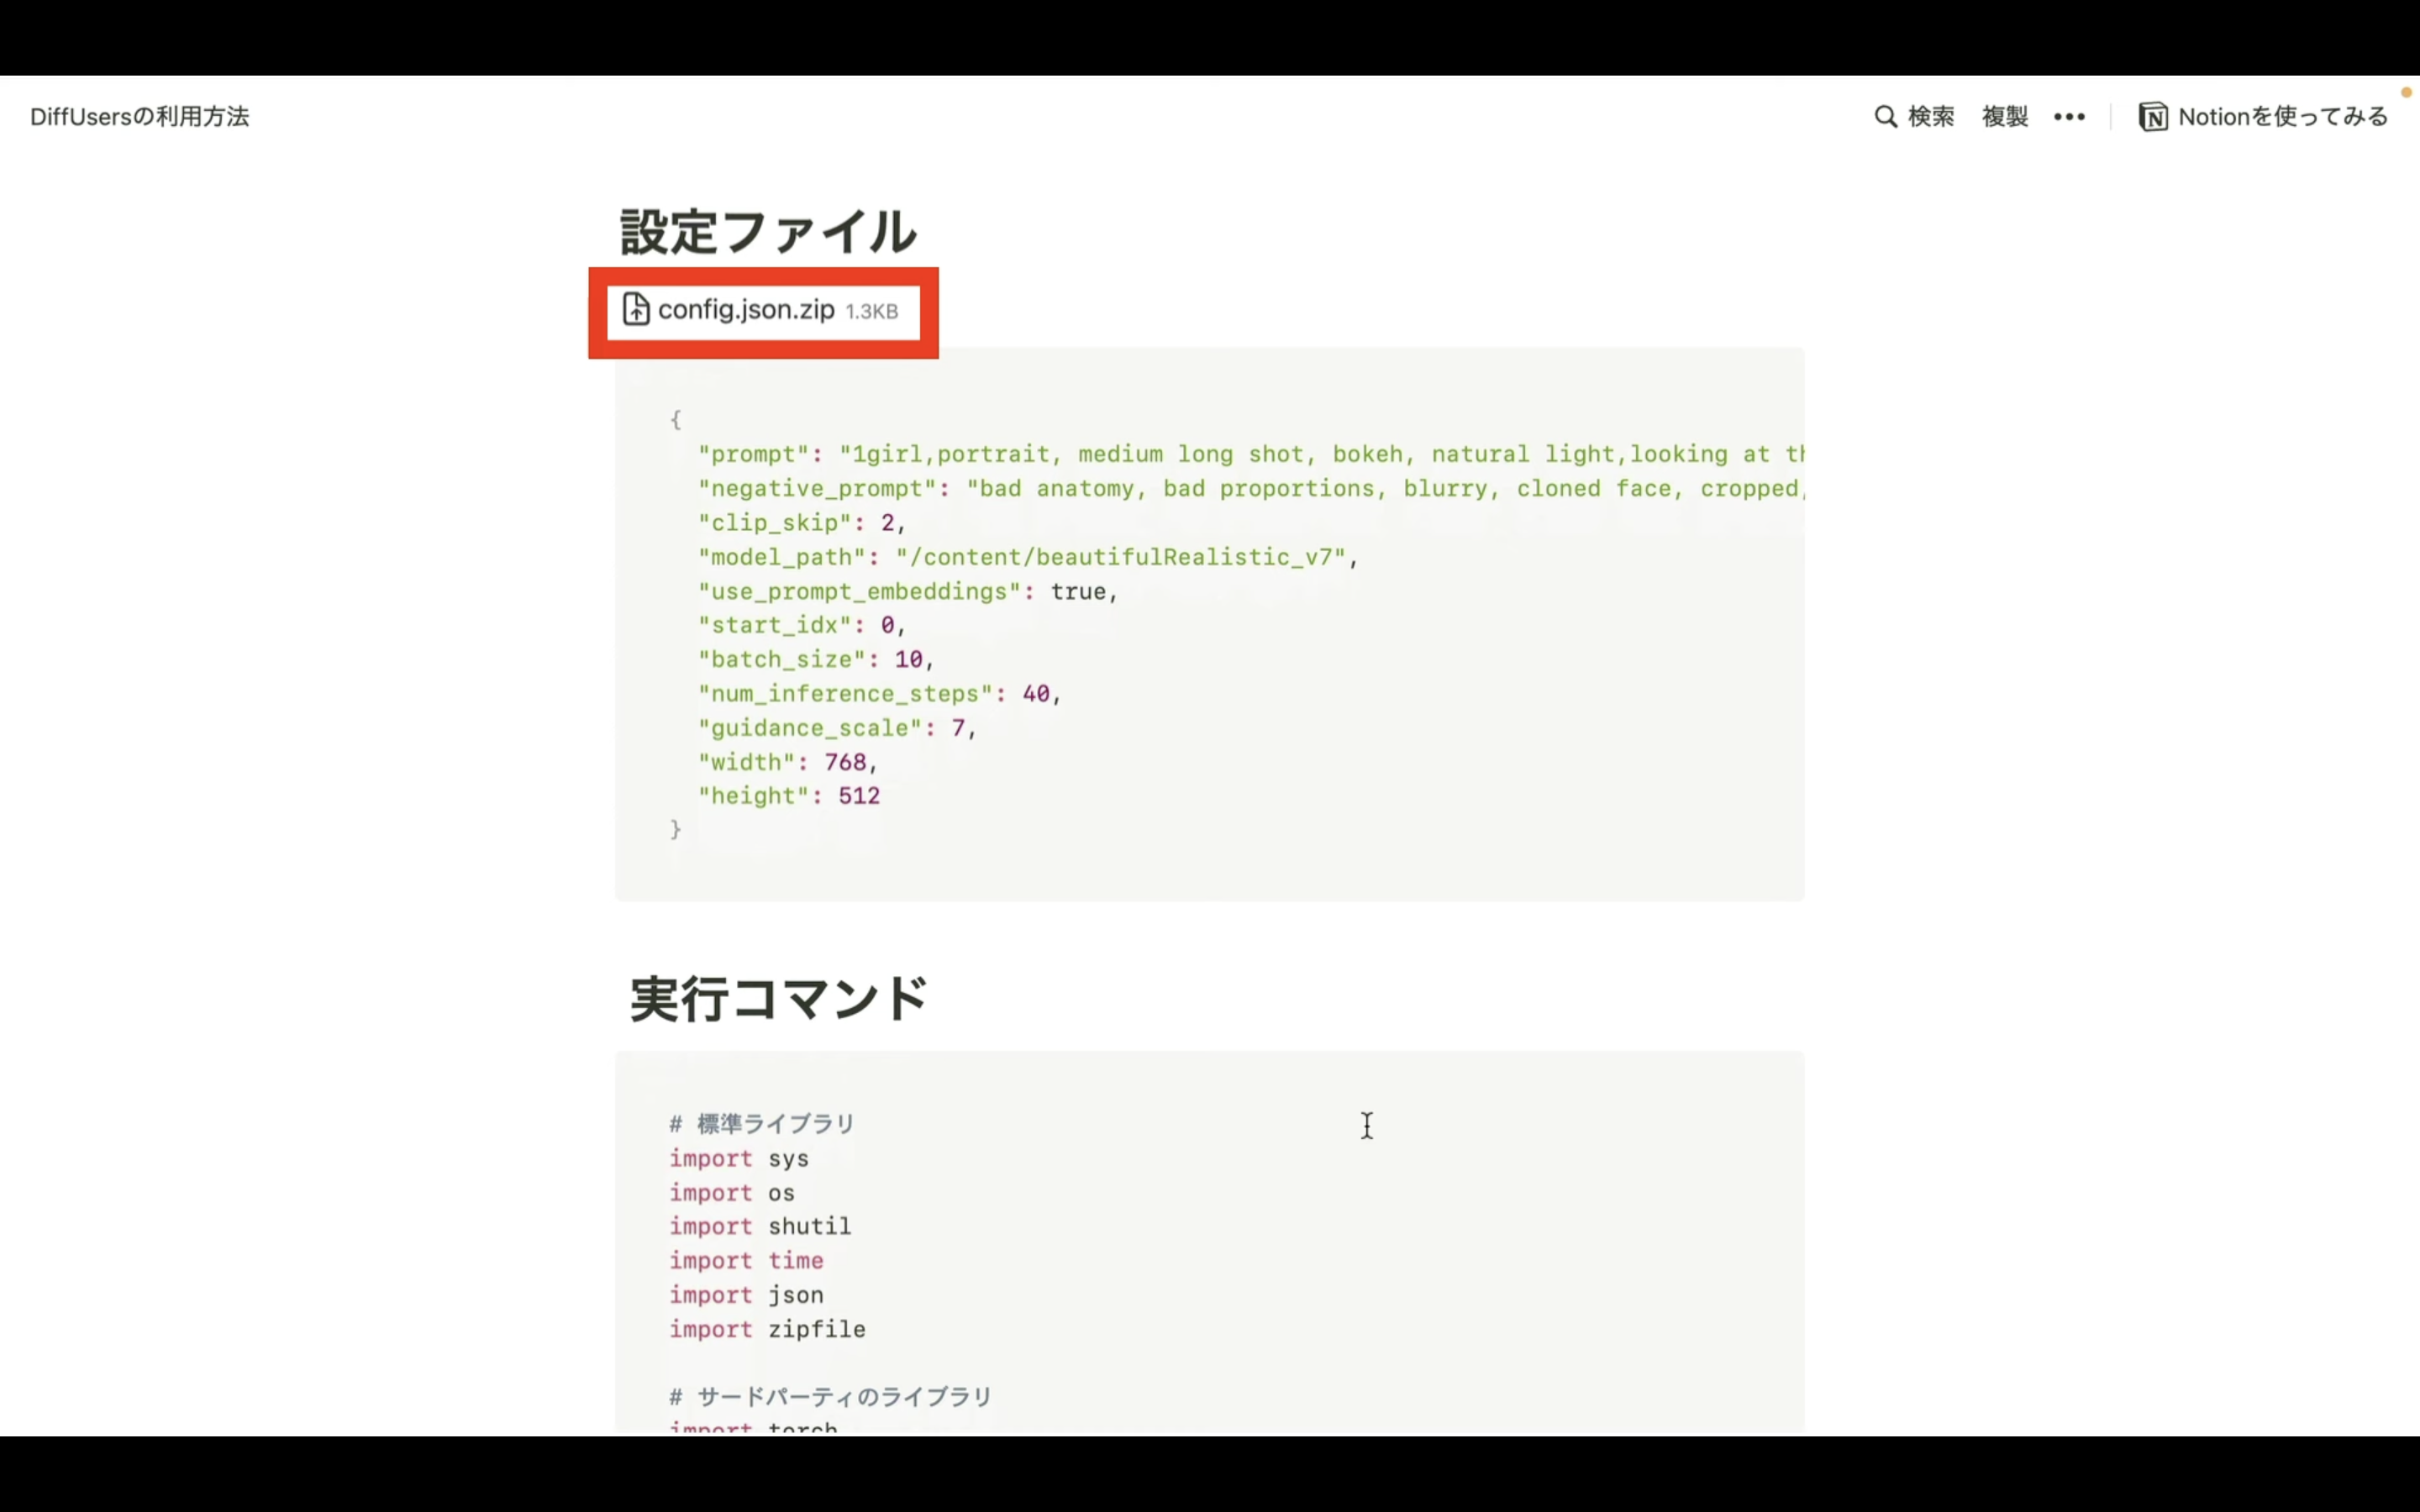
ダウンロードするファイルの内容は、このようになっています。
これらのファイルをダウンロードしたら、Google colabにアップロードします。
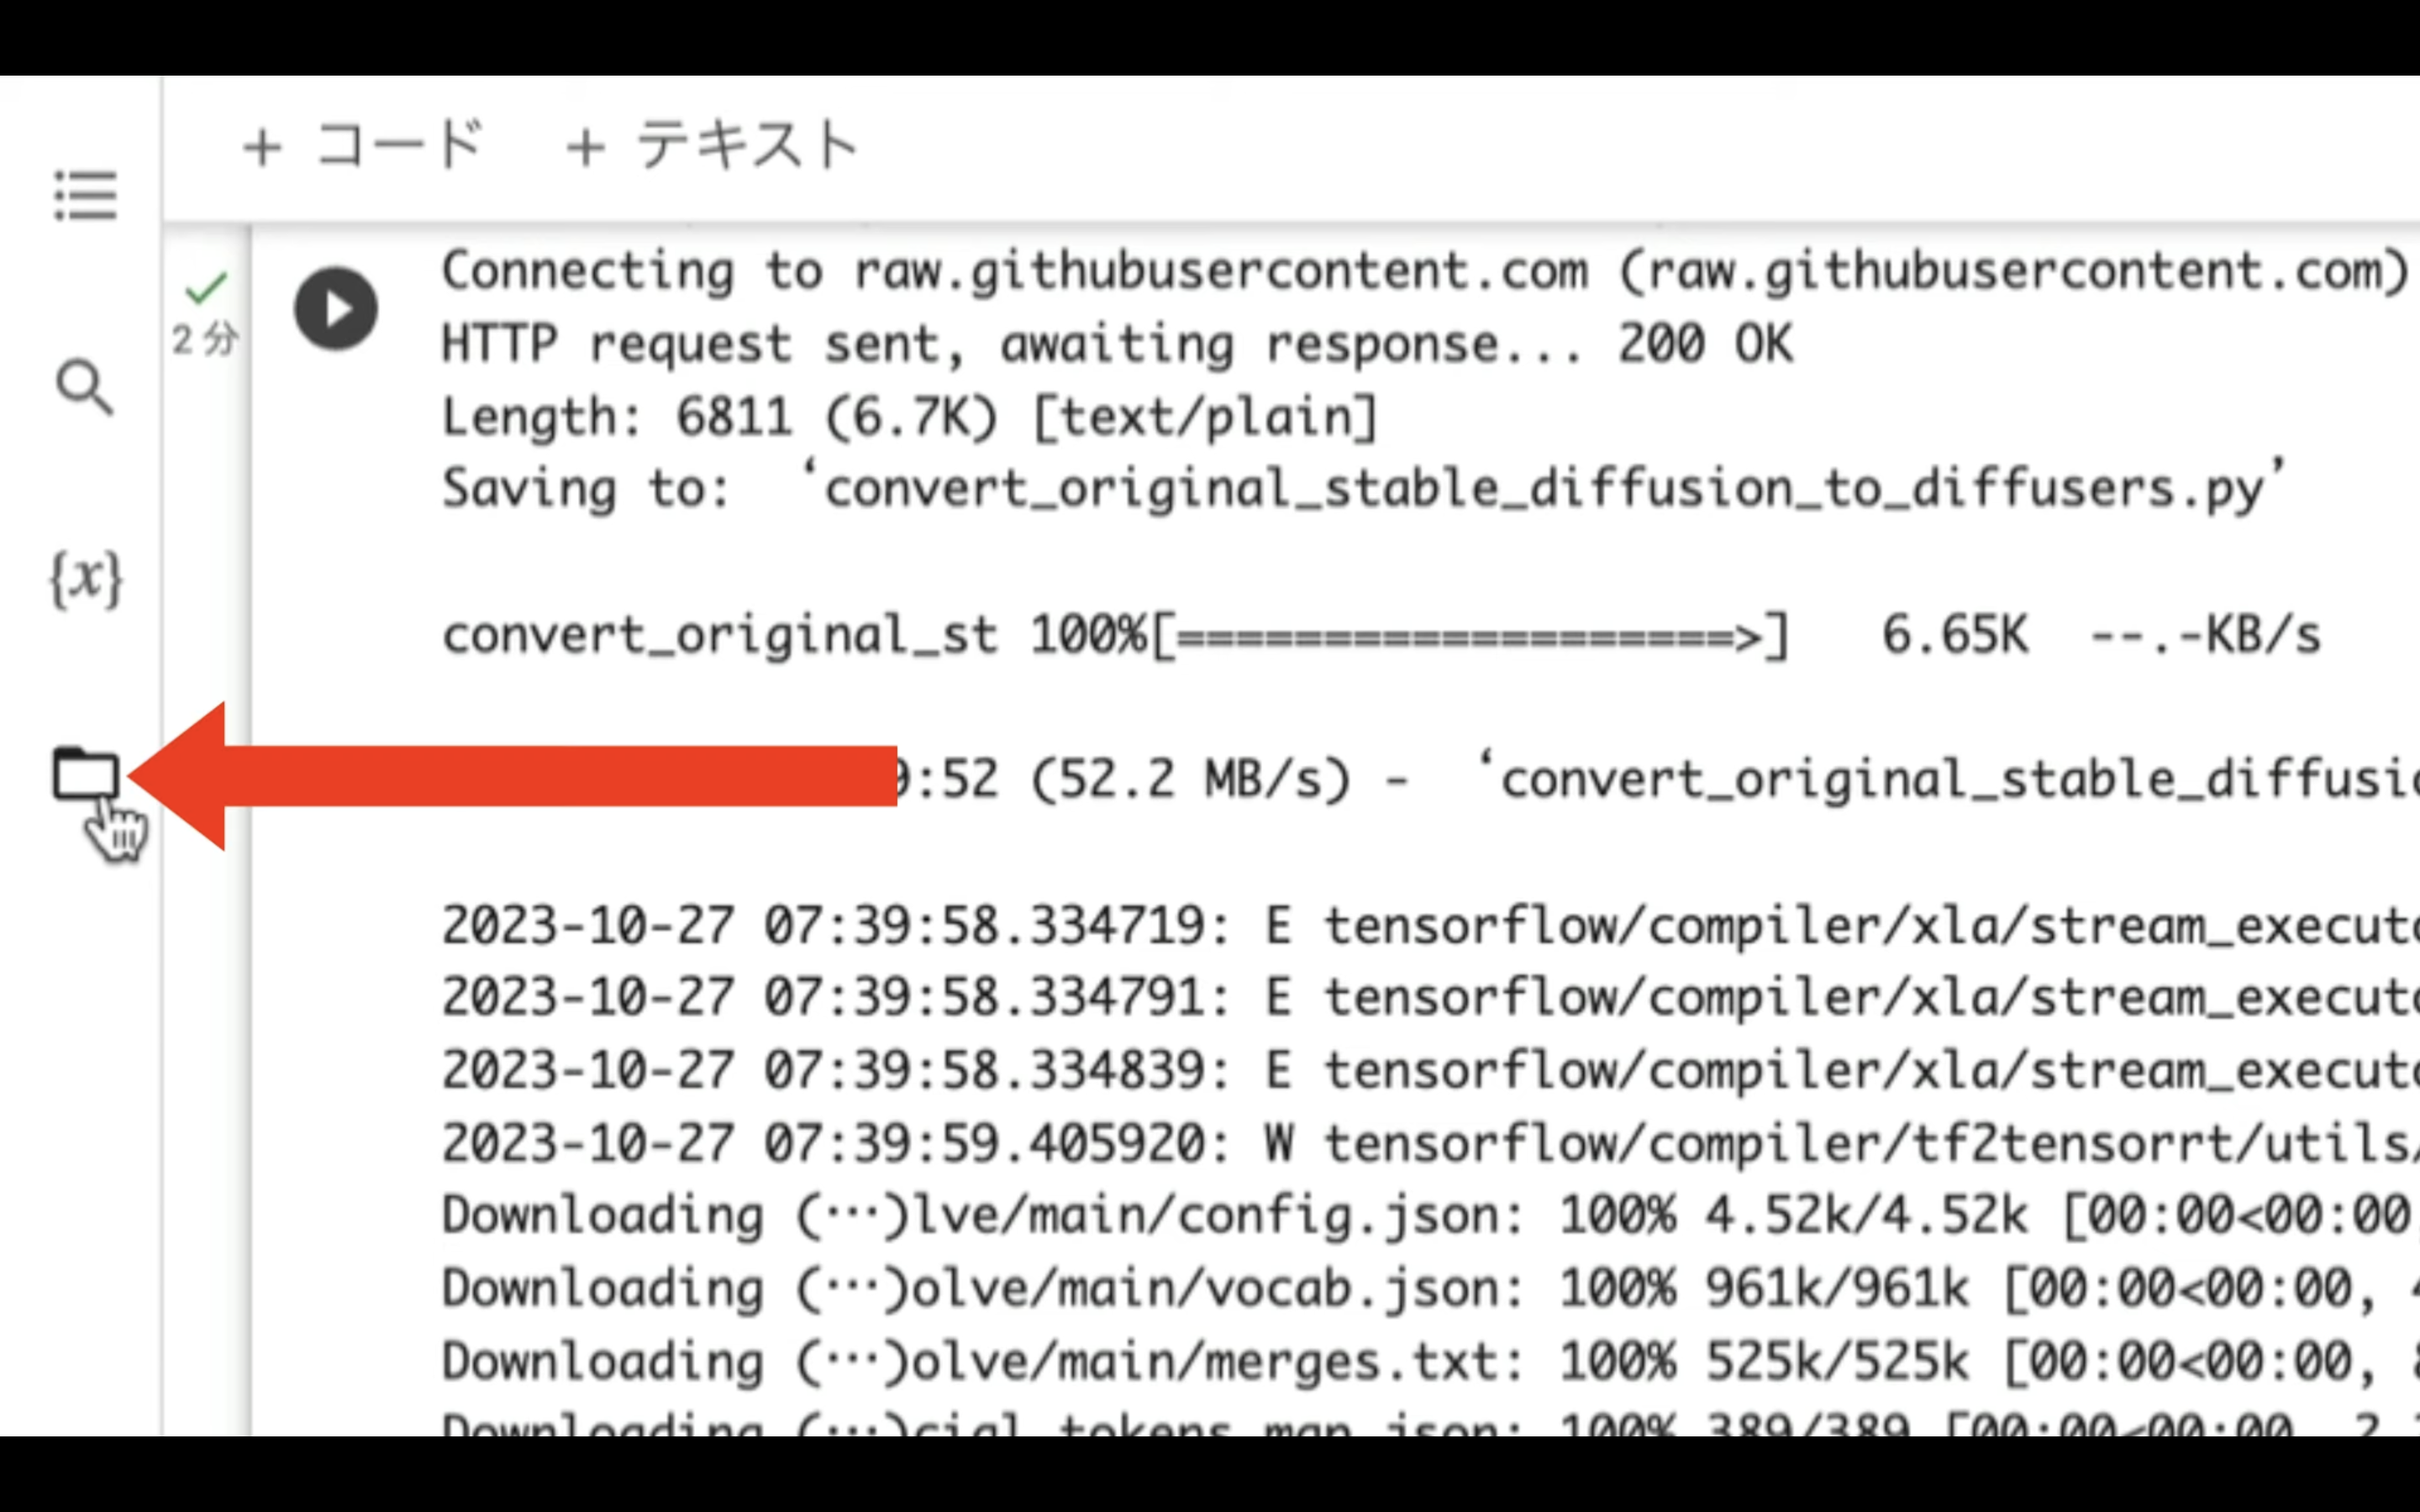
Google colabの画面に切り替えます。
ファイルをアップロードするにはまず、左側にあるフォルダーのマークをクリックします。
そうするとファイルとフォルダーの一覧が表示されます。
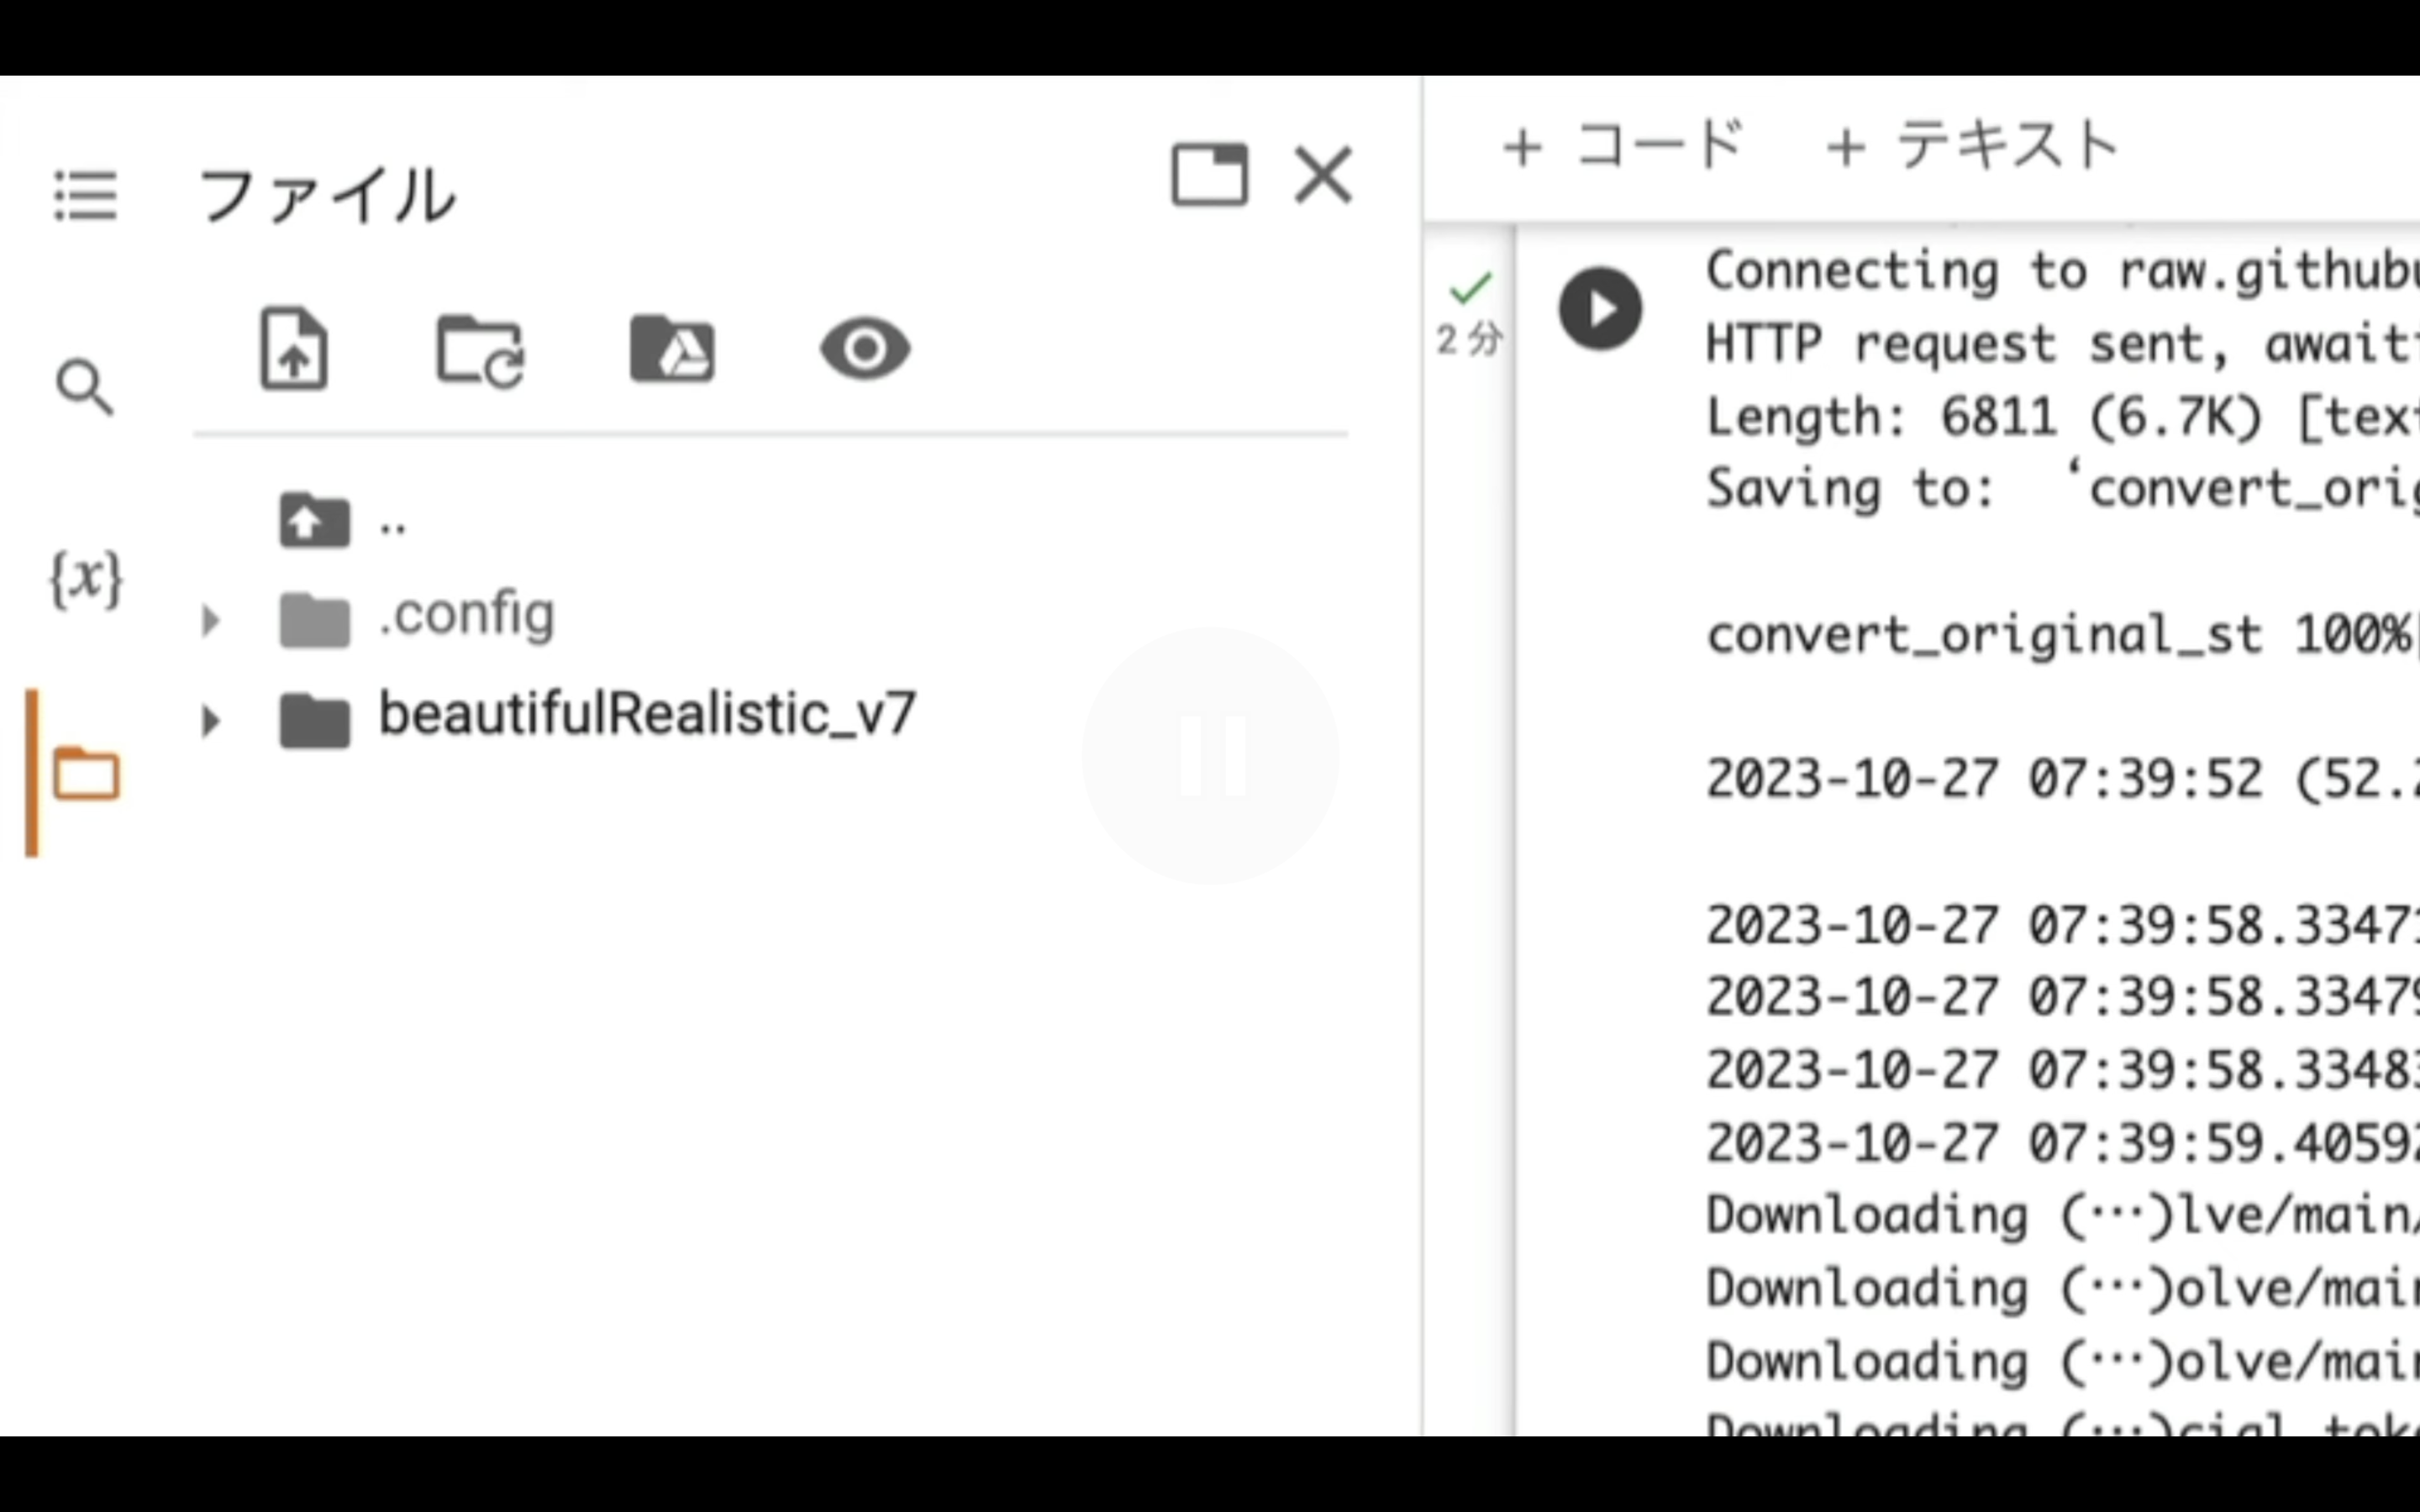
この部分に先ほどダウンロードして回答したファイルをドラッグアンドドロップします。
そうすると、このような確認メッセージが表示されるので、「OK」ボタンをクリックします。
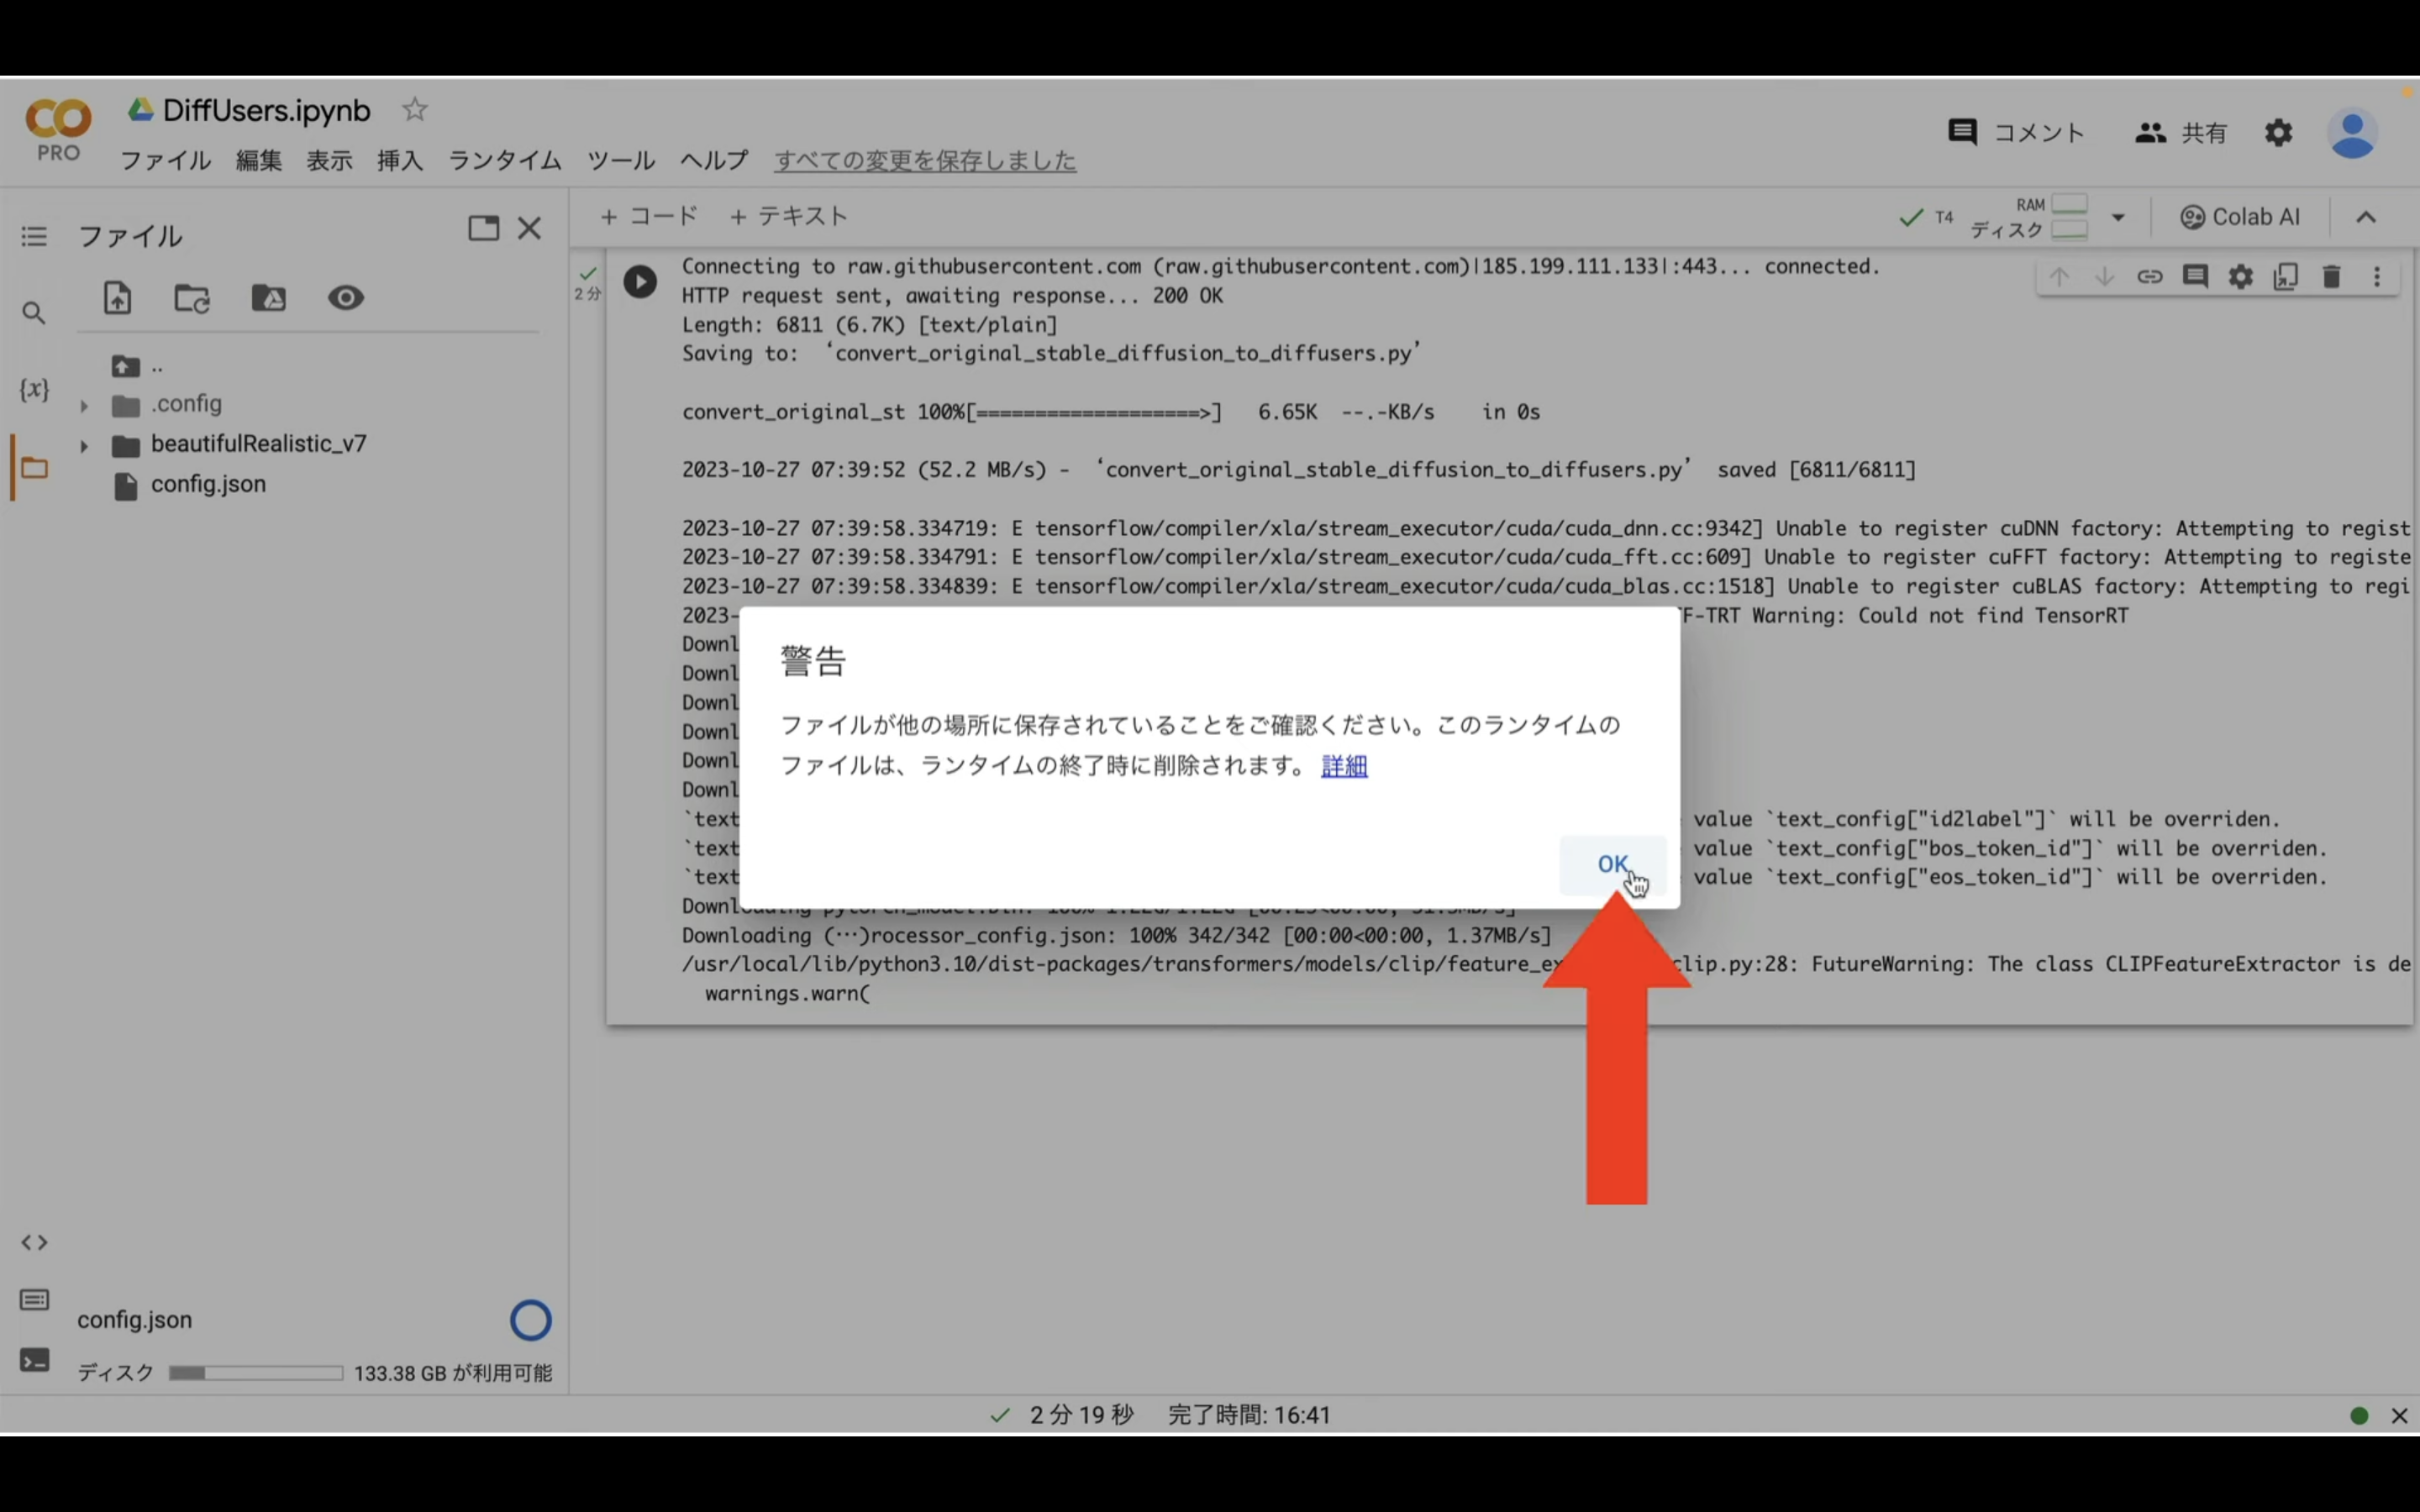
これで設定ファイルがGoogle colabにアップロードされます。
ファイルをアップロードしたら、この一覧表示を閉じておきましょう。
次に実行コードを設定します。
以下に貼ってあるテキストをコピーします。
# 標準ライブラリ
import sys
import os
import shutil
import time
import json
import zipfile

# サードパーティのライブラリ
import torch
import numpy as np
import matplotlib.pyplot as plt
from PIL import Image

# Google Colab 関連
from google.colab import files as colab_files

# Hugging Face Transformers & Diffusers
import diffusers
import transformers

# デバイスとデータタイプの設定
def get_device_and_dtype():
    """GPUが利用可能か確認し、適切なデバイスとデータタイプを返します。"""
    if torch.cuda.is_available():
        return torch.device("cuda"), torch.float16
    else:
        return torch.device("cpu"), torch.float32

# パイプラインの設定
def setup_pipeline(model_path, clip_skip, torch_dtype):
    """モデルとテキストエンコーダを読み込み、Diffusionパイプラインをセットアップします。"""
    if clip_skip > 1:
        text_encoder = transformers.CLIPTextModel.from_pretrained(
            "runwayml/stable-diffusion-v1-5",
            subfolder="text_encoder",
            num_hidden_layers=12 - (clip_skip - 1),
            torch_dtype=torch_dtype
        )
        pipe = diffusers.DiffusionPipeline.from_pretrained(
            model_path,
            torch_dtype=torch_dtype,
            safety_checker=None,
            text_encoder=text_encoder,
        )
    else:
        pipe = diffusers.DiffusionPipeline.from_pretrained(
            model_path,
            torch_dtype=torch_dtype,
            safety_checker=None
        )
    return pipe

# プロンプト埋め込みの取得
def get_embeddings(pipe, prompt, negative_prompt, split_character = ",", device_name = torch.device("cpu")):
    """プロンプトの埋め込みを取得します。"""
    max_length = pipe.tokenizer.model_max_length
    # Simple method of checking if the prompt is longer than the negative
    # prompt - split the input strings using `split_character`.
    count_prompt = len(prompt.split(split_character))
    count_negative_prompt = len(negative_prompt.split(split_character))

    # If prompt is longer than negative prompt.
    if count_prompt >= count_negative_prompt:
        input_ids = pipe.tokenizer(
            prompt, return_tensors = "pt", truncation = False
        ).input_ids.to(device_name)
        shape_max_length = input_ids.shape[-1]
        negative_ids = pipe.tokenizer(
            negative_prompt,
            truncation = False,
            padding = "max_length",
            max_length = shape_max_length,
            return_tensors = "pt"
        ).input_ids.to(device_name)

    # If negative prompt is longer than prompt.
    else:
        negative_ids = pipe.tokenizer(
            negative_prompt, return_tensors = "pt", truncation = False
        ).input_ids.to(device_name)
        shape_max_length = negative_ids.shape[-1]
        input_ids = pipe.tokenizer(
            prompt,
            return_tensors = "pt",
            truncation = False,
            padding = "max_length",
            max_length = shape_max_length
        ).input_ids.to(device_name)

    # Concatenate the individual prompt embeddings.
    concat_embeds = []
    neg_embeds = []
    for i in range(0, shape_max_length, max_length):
        concat_embeds.append(
            pipe.text_encoder(input_ids[:, i: i + max_length])[0]
        )
        neg_embeds.append(
            pipe.text_encoder(negative_ids[:, i: i + max_length])[0]
        )

    return torch.cat(concat_embeds, dim = 1), torch.cat(neg_embeds, dim = 1)
# 画像の生成と保存
def generate_and_save_images(pipe, prompt_embeds, negative_prompt_embeds, seeds, use_prompt_embeddings, guidance_scale, num_inference_steps, width, height, device_name):
    """画像を生成して保存します。"""
    images = []
    for count, seed in enumerate(seeds):
        start_time = time.time()

        if use_prompt_embeddings is False:
            new_img = pipe(
                prompt=prompt_embeds,
                negative_prompt=negative_prompt_embeds,
                width=width,
                height=height,
                guidance_scale=guidance_scale,
                num_inference_steps=num_inference_steps,
                num_images_per_prompt=1,
                generator=torch.manual_seed(seed),
            ).images
        else:
            new_img = pipe(
                prompt_embeds=prompt_embeds,
                negative_prompt_embeds=negative_prompt_embeds,
                width=width,
                height=height,
                guidance_scale=guidance_scale,
                num_inference_steps=num_inference_steps,
                num_images_per_prompt=1,
                generator=torch.manual_seed(seed),
            ).images

        images = images + new_img

    os.makedirs("images", exist_ok=True)
    for i, img in enumerate(images):
        img.save(f"images/image_{i}.png")

# ZIPファイルの作成とダウンロード
def create_and_download_zip():
    """画像をZIPファイルに固めてダウンロードします。"""
    with zipfile.ZipFile("images.zip", "w") as zipf:
        for root, _, files in os.walk("images"):
            for file in files:
                zipf.write(os.path.join(root, file), os.path.relpath(os.path.join(root, file), os.path.join("images", '..')))
    colab_files.download("images.zip")
    shutil.rmtree("images")

# メイン関数
def main():
    """メイン関数を実行します。"""
    with open('config.json', 'r') as f:
        config = json.load(f)

    # 設定ファイルを読み込み
    prompt = config["prompt"].strip()
    negative_prompt = config["negative_prompt"].strip()
    clip_skip = config["clip_skip"]
    model_path = config["model_path"]
    use_prompt_embeddings = config["use_prompt_embeddings"]
    start_idx = config["start_idx"]
    batch_size = config["batch_size"]
    seeds = [i for i in range(start_idx, start_idx + batch_size, 1)]
    num_inference_steps = config["num_inference_steps"]
    guidance_scale = config["guidance_scale"]
    width = config["width"]
    height = config["height"]

    device_name, torch_dtype = get_device_and_dtype()
    pipe = setup_pipeline(model_path, clip_skip, torch_dtype)
    pipe = pipe.to(device_name)
    pipe.scheduler = diffusers.EulerAncestralDiscreteScheduler.from_config(pipe.scheduler.config)

    prompt_embeds, negative_prompt_embeds = get_embeddings(pipe, prompt, negative_prompt, ",", device_name)

    generate_and_save_images(pipe, prompt_embeds, negative_prompt_embeds, seeds, use_prompt_embeddings, guidance_scale, num_inference_steps, width, height, device_name)

    create_and_download_zip()
テキストをコピーしたら、Google colabの画面に戻ります。
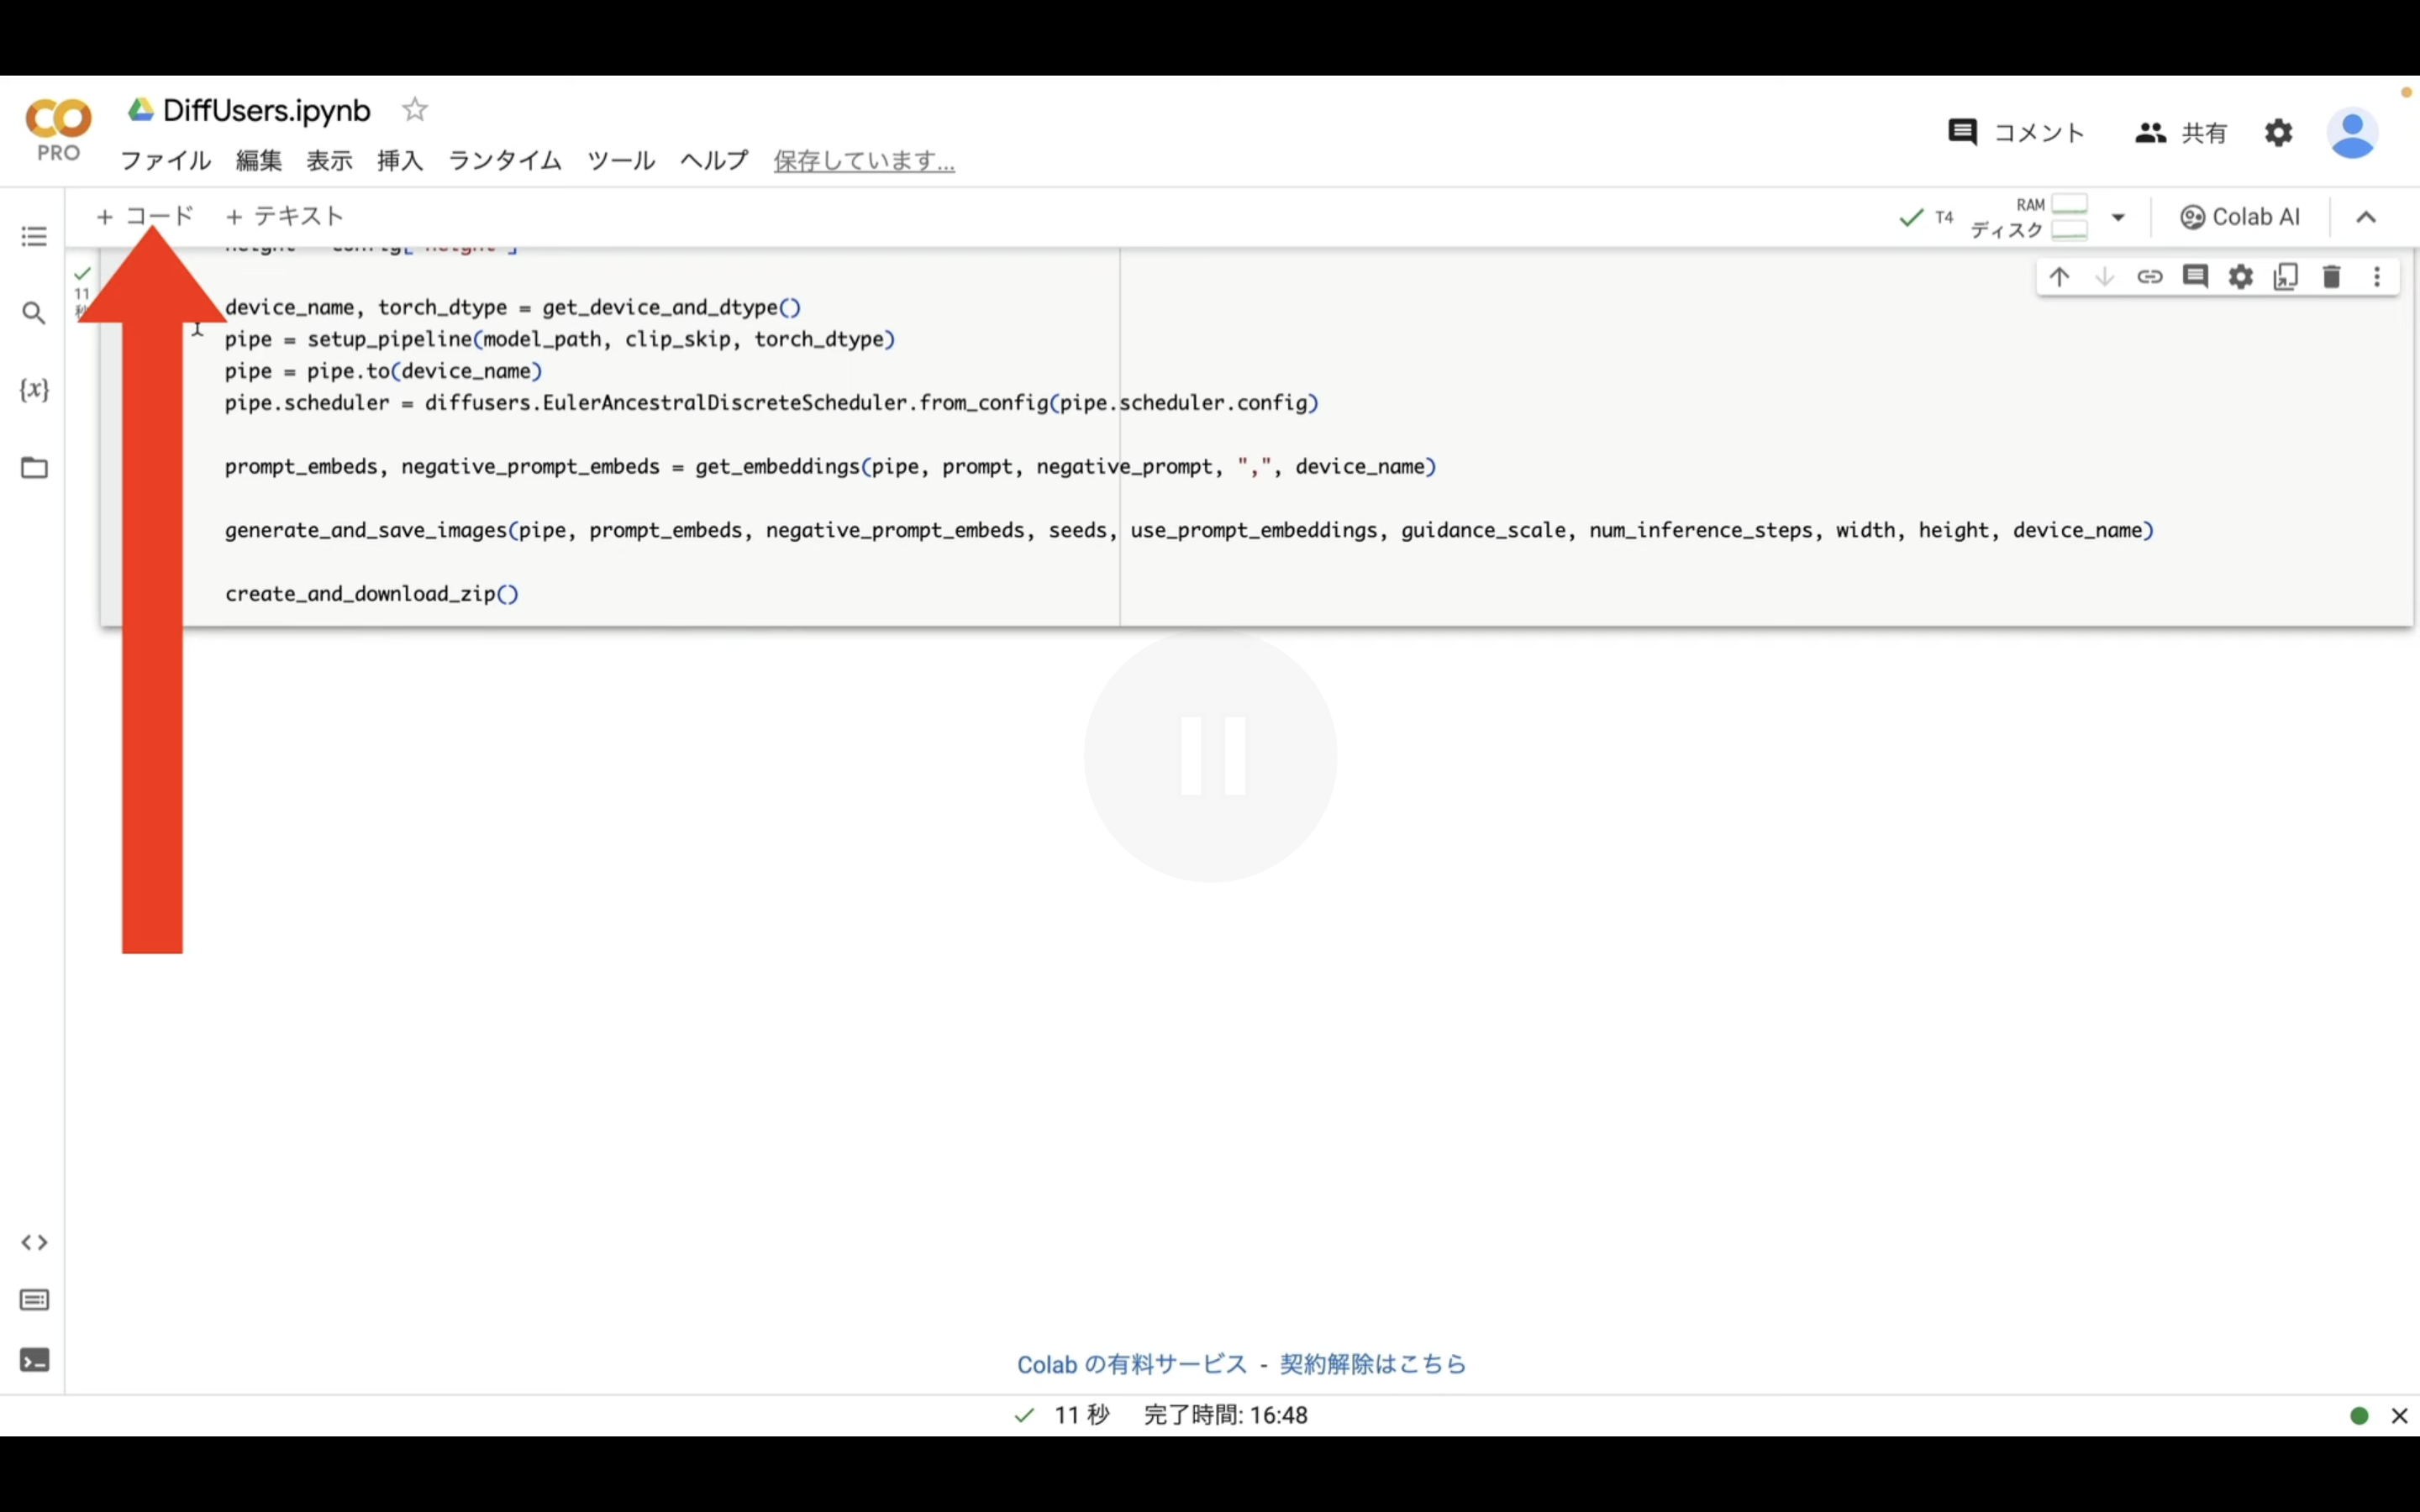
Google colabの画面に戻ったら、「コード」と書かれているテキストをクリックします。
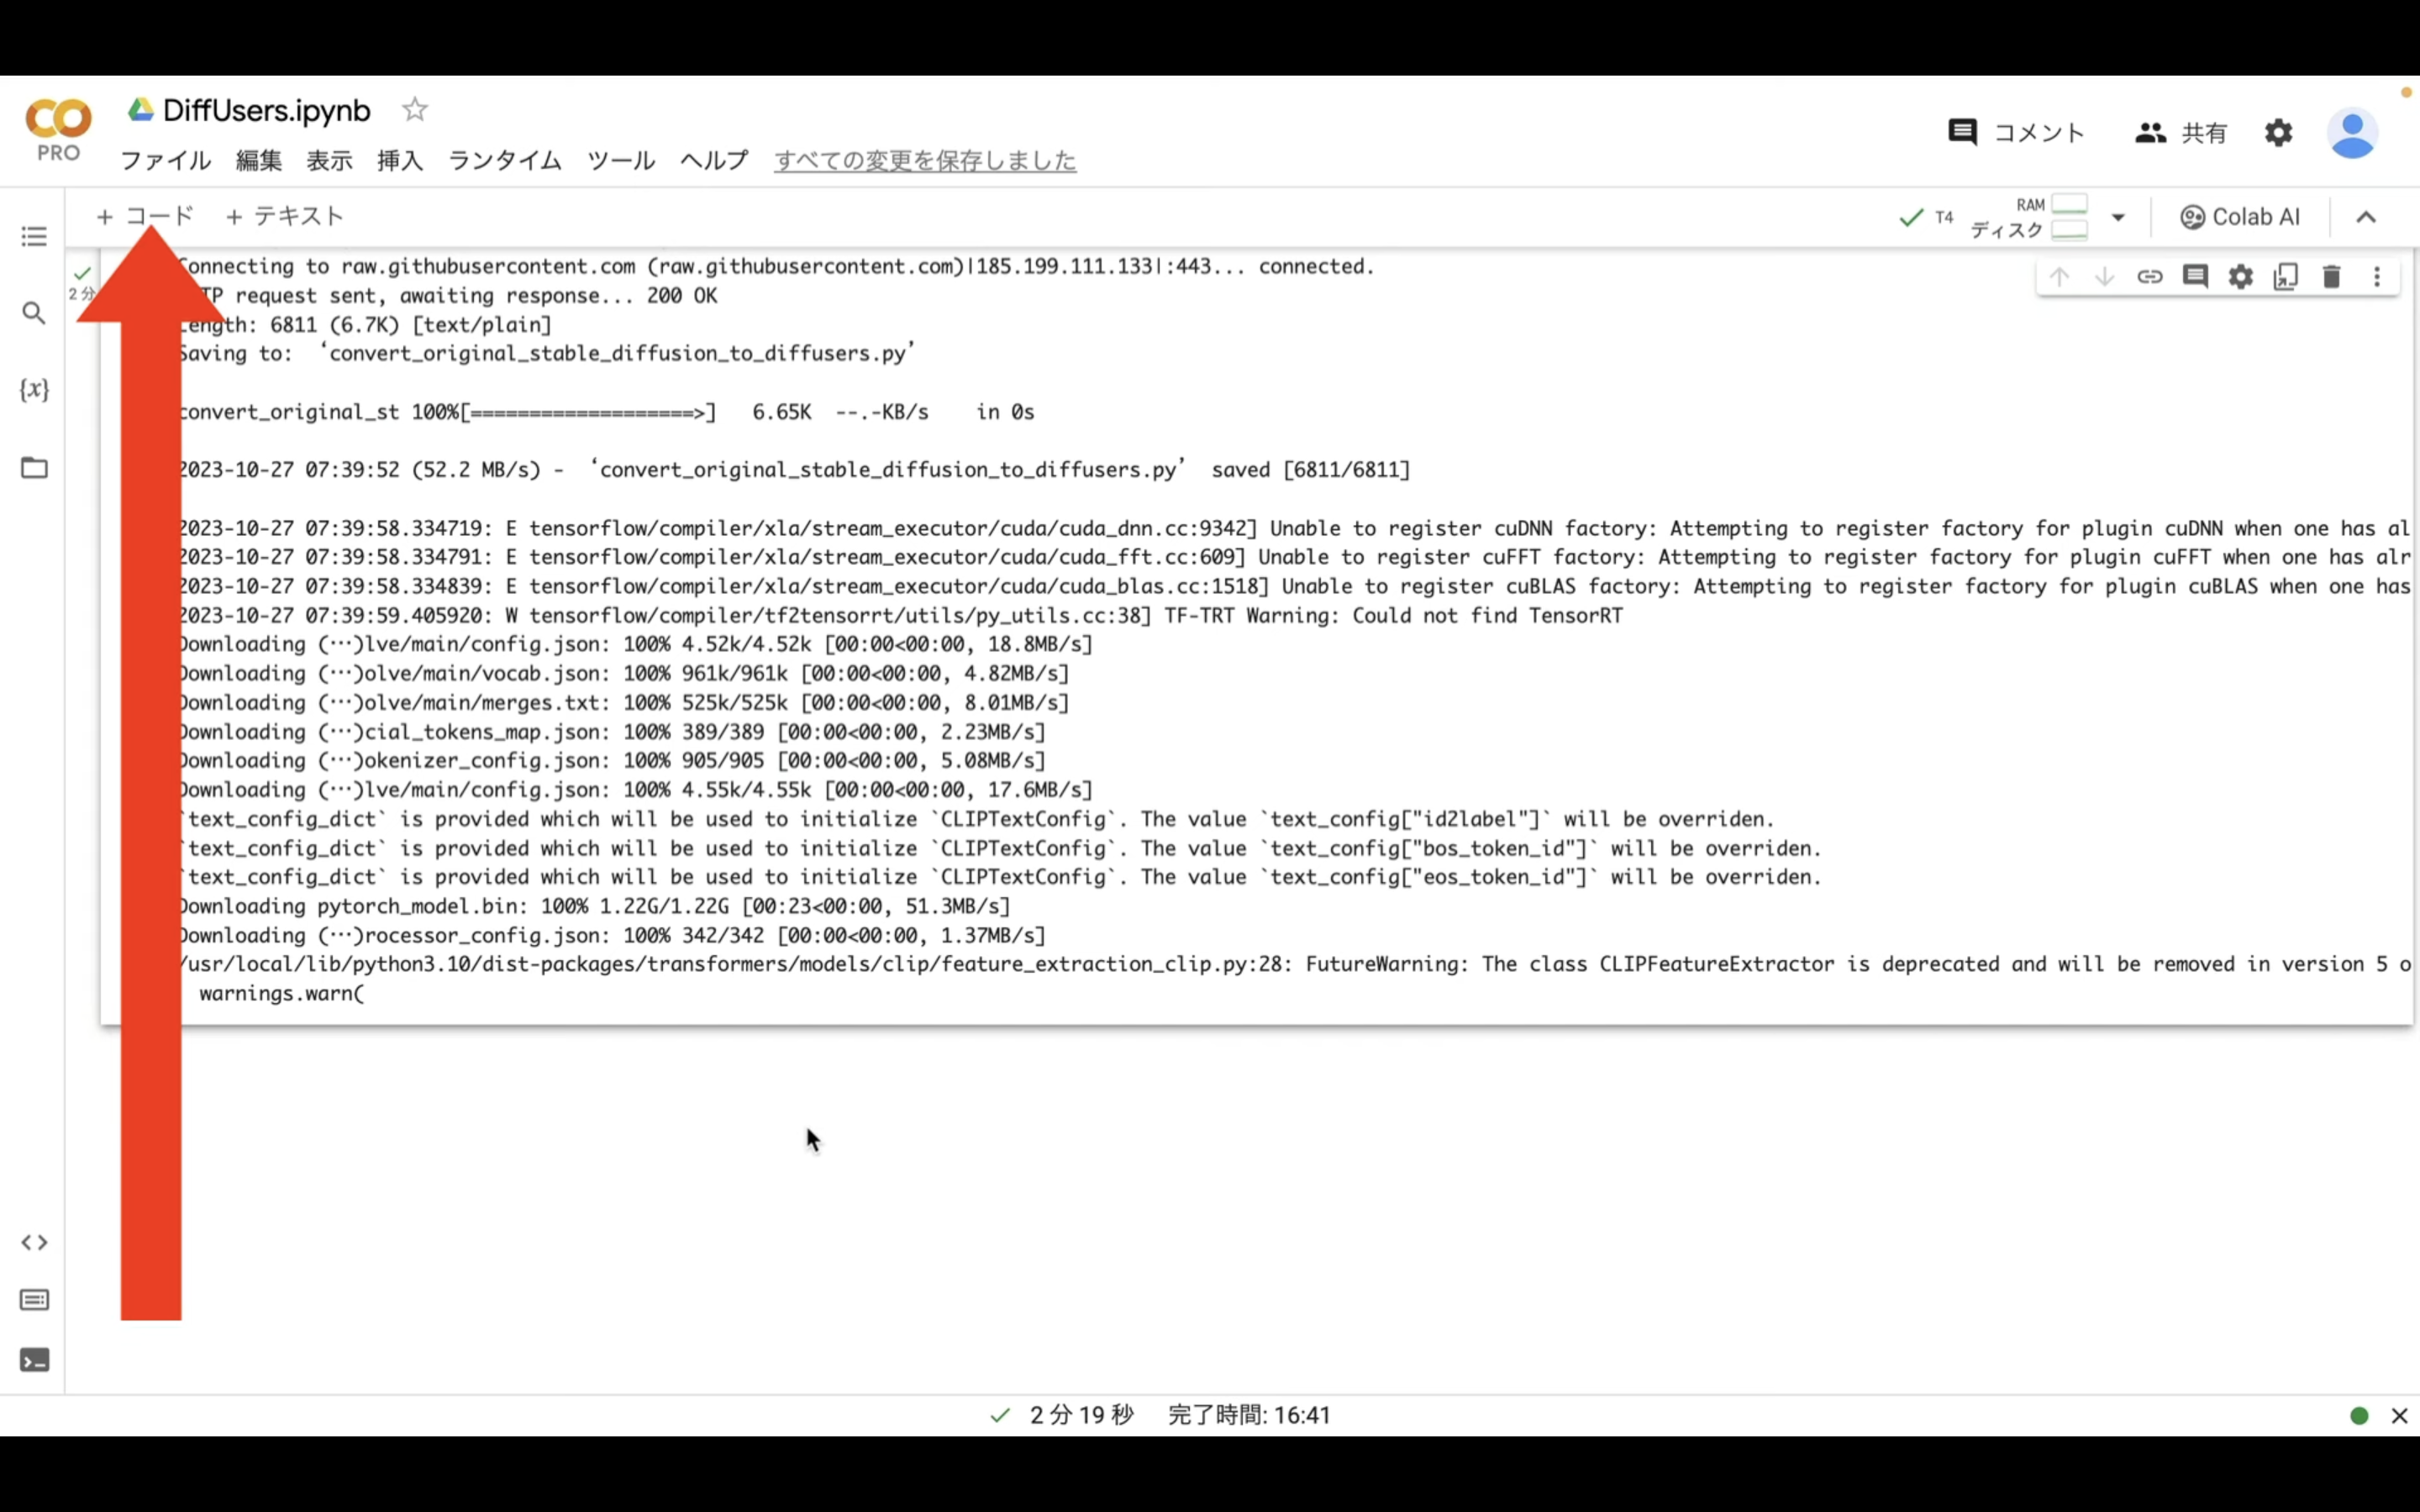
そうすると新しいテキストボックスが追加されます。
テキストボックスが追加されたら、先ほどコピーしたテキストを貼り付けます。
そして、再生ボタンをクリックします。
これでDiffUsersを実行するための事前準備が完了しました。
それでは早速、DiffUsersの処理を実行してみましょう。
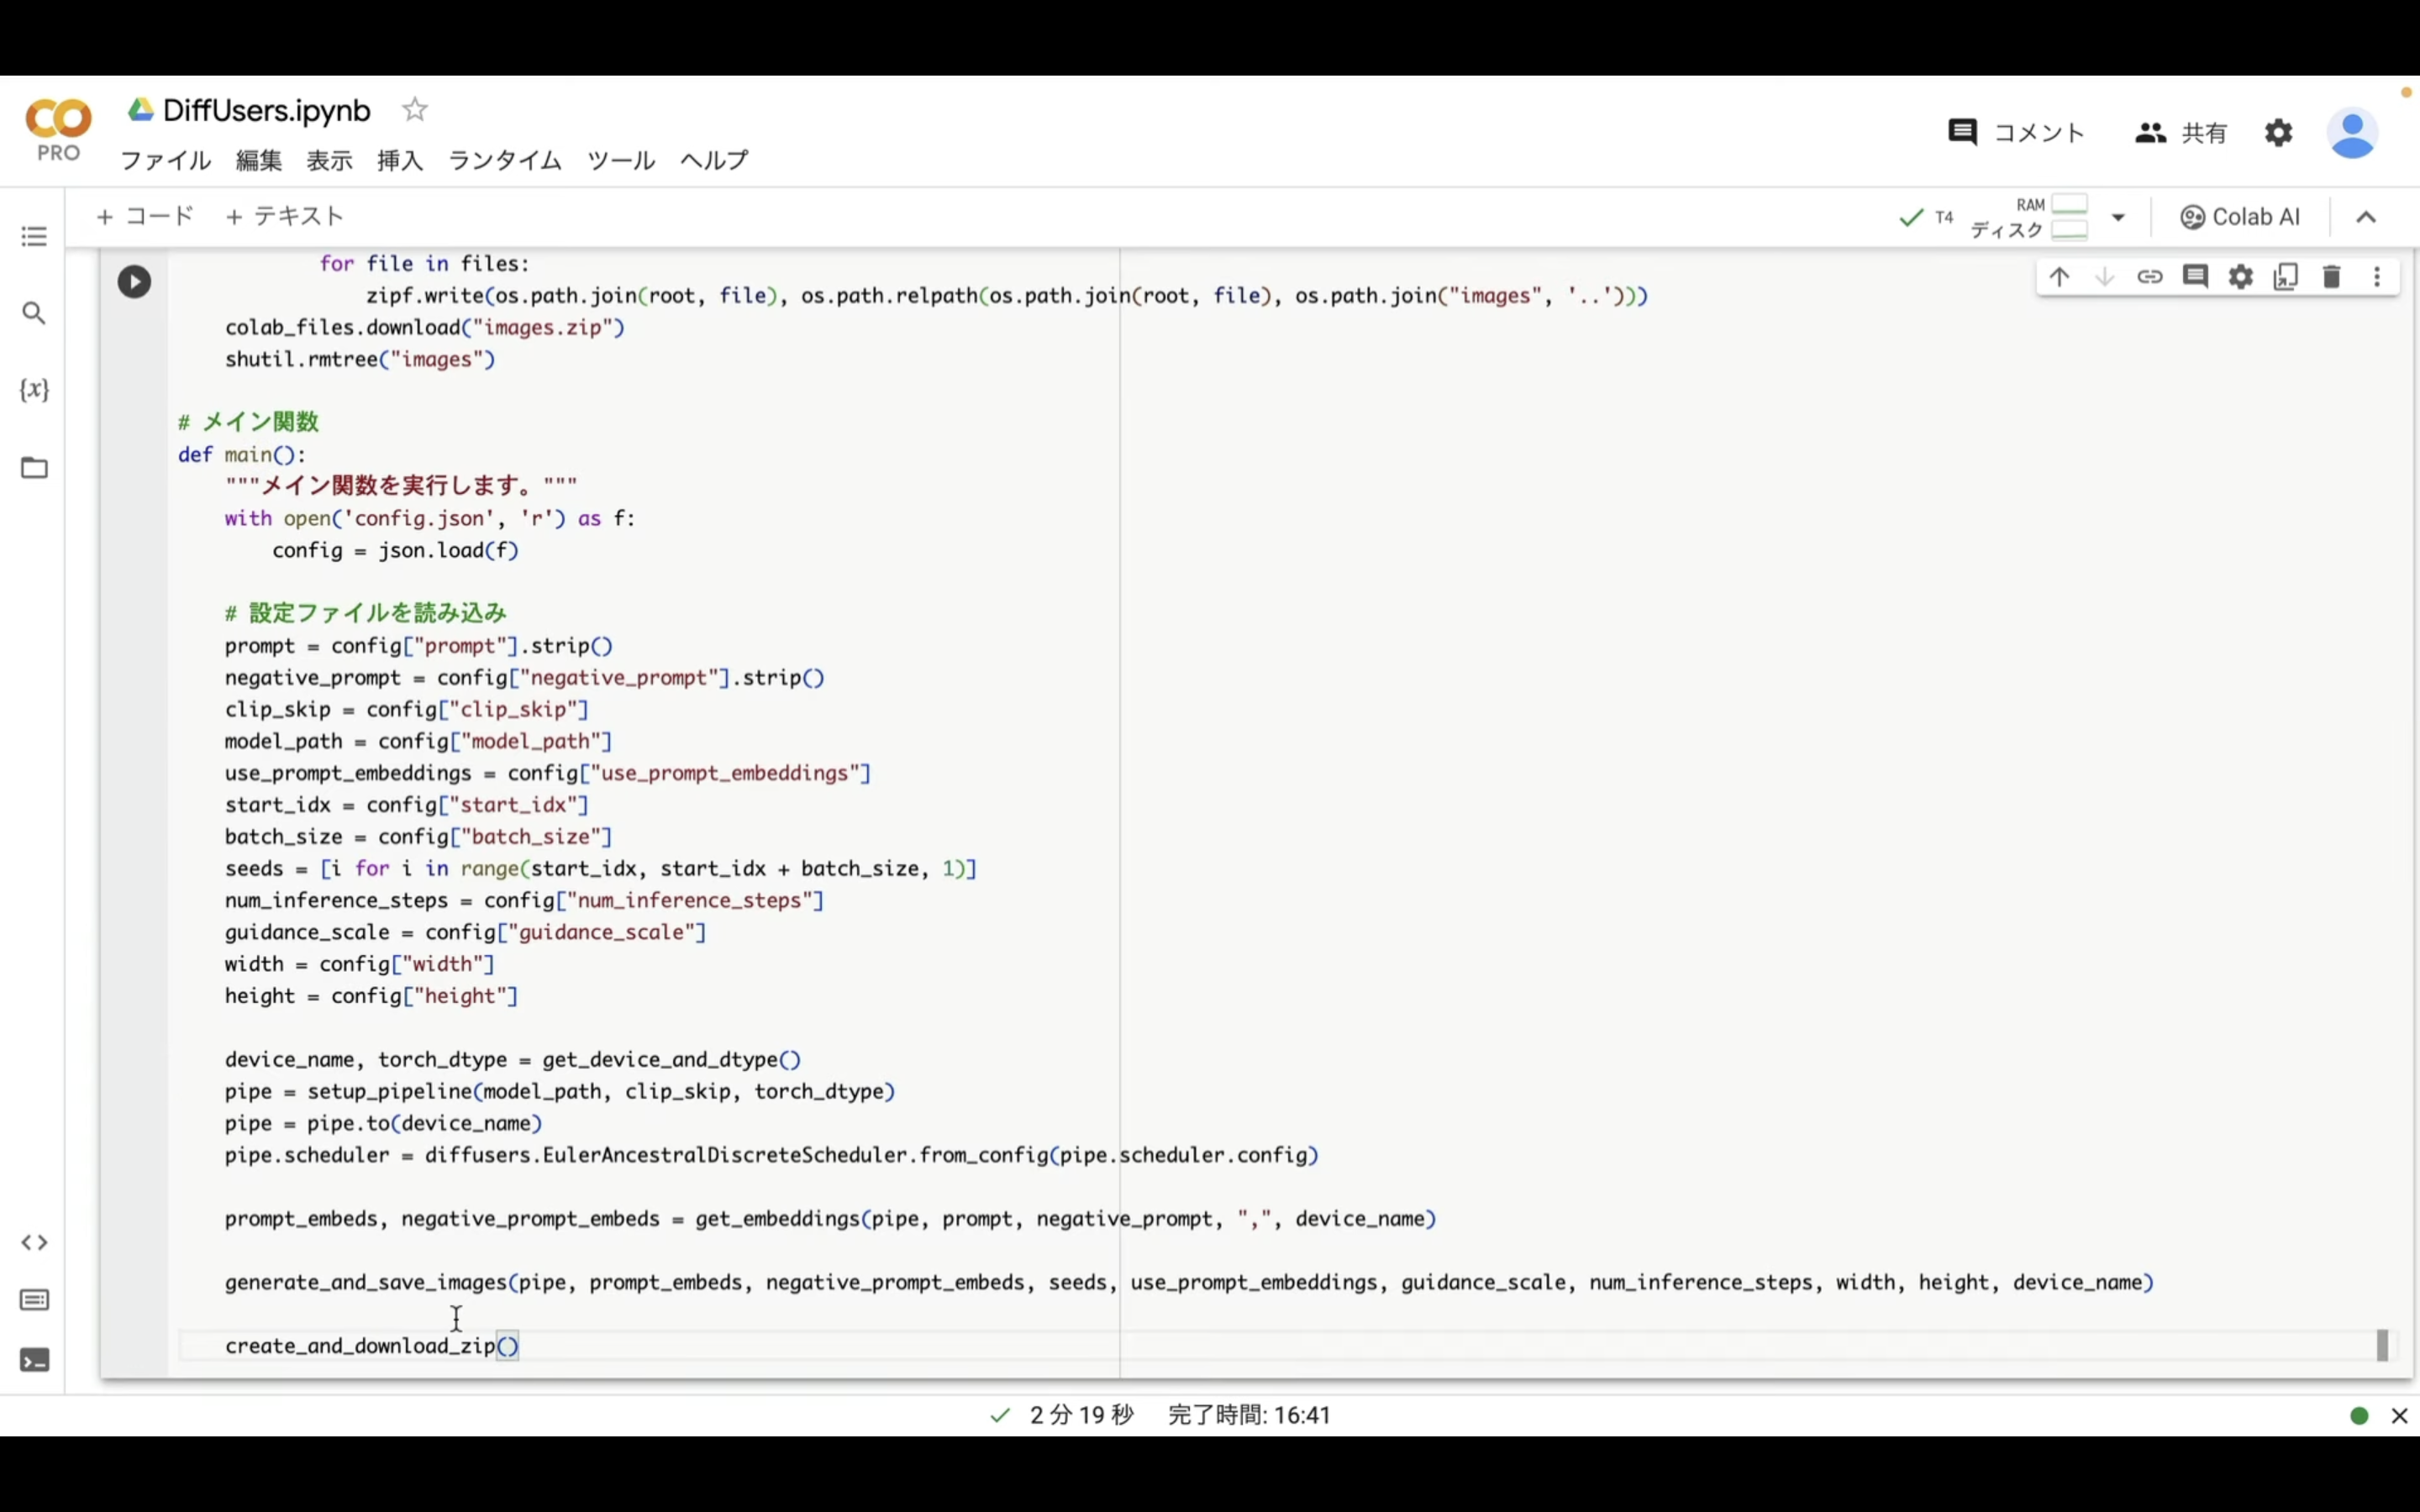
「コード」と書かれているテキストをクリックして新しいテキストボックスを追加します。
そして追加されたテキストボックスに「main()」と入力します。
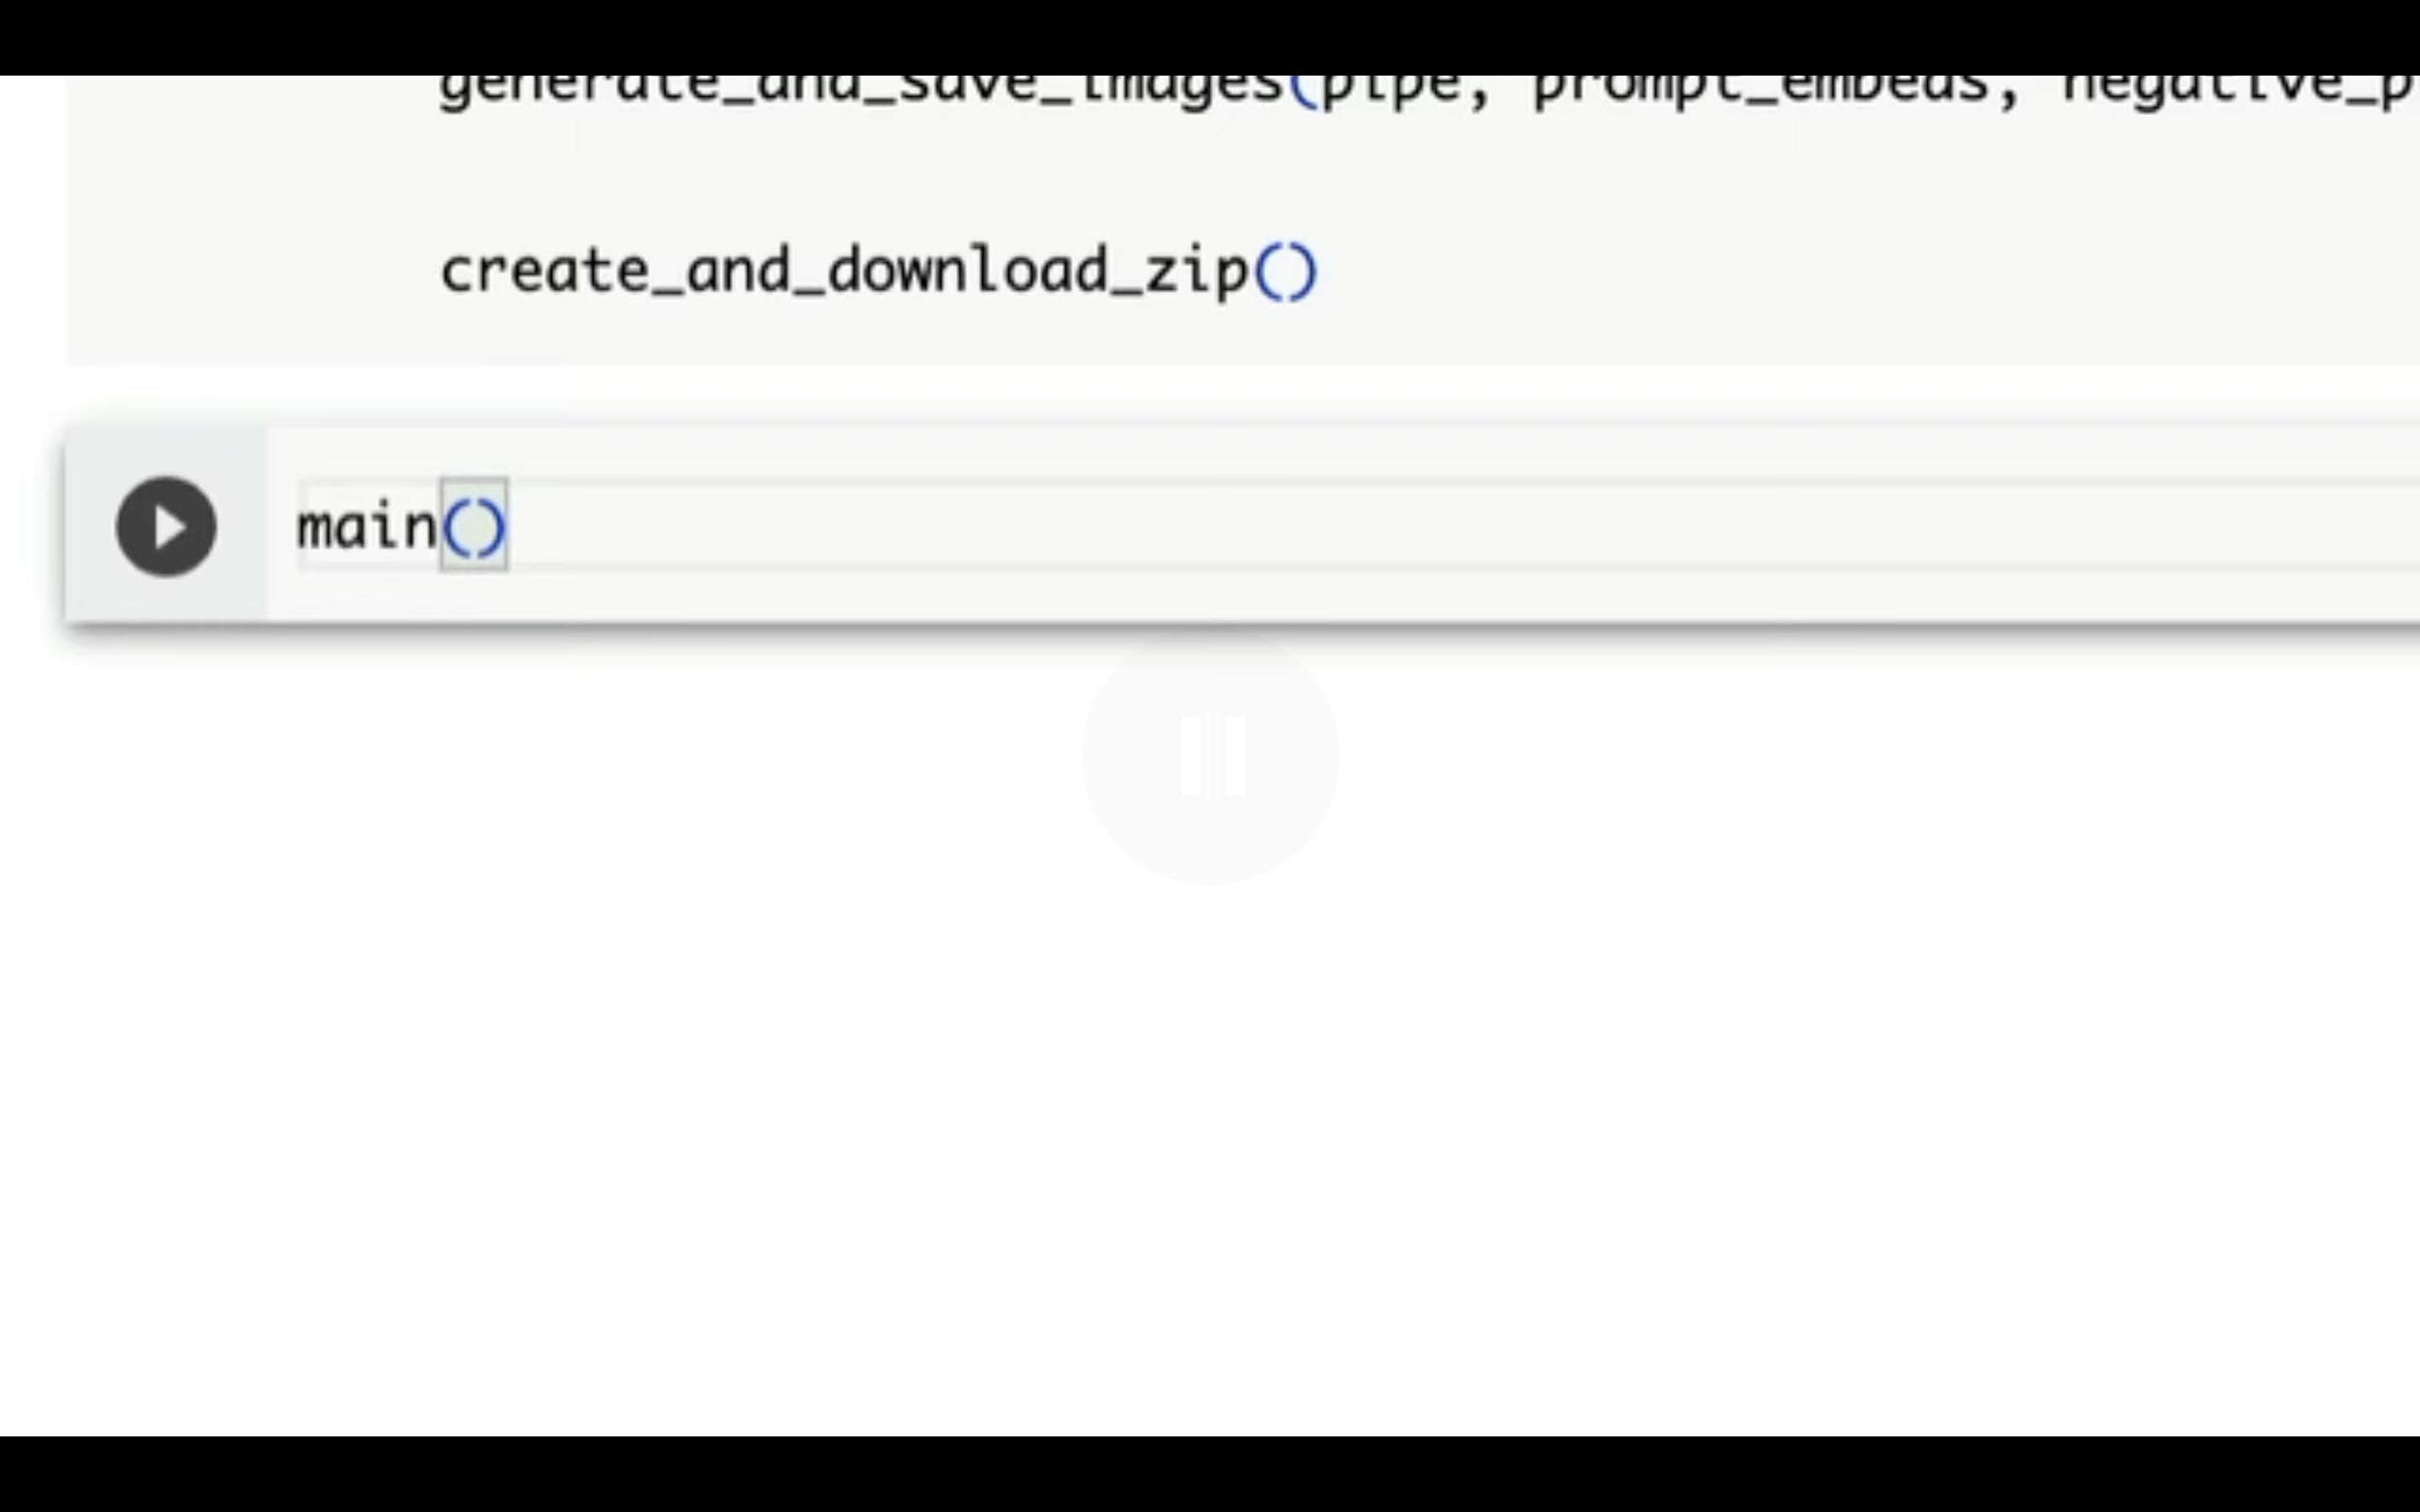
最後に再生ボタンをクリックして実行します。
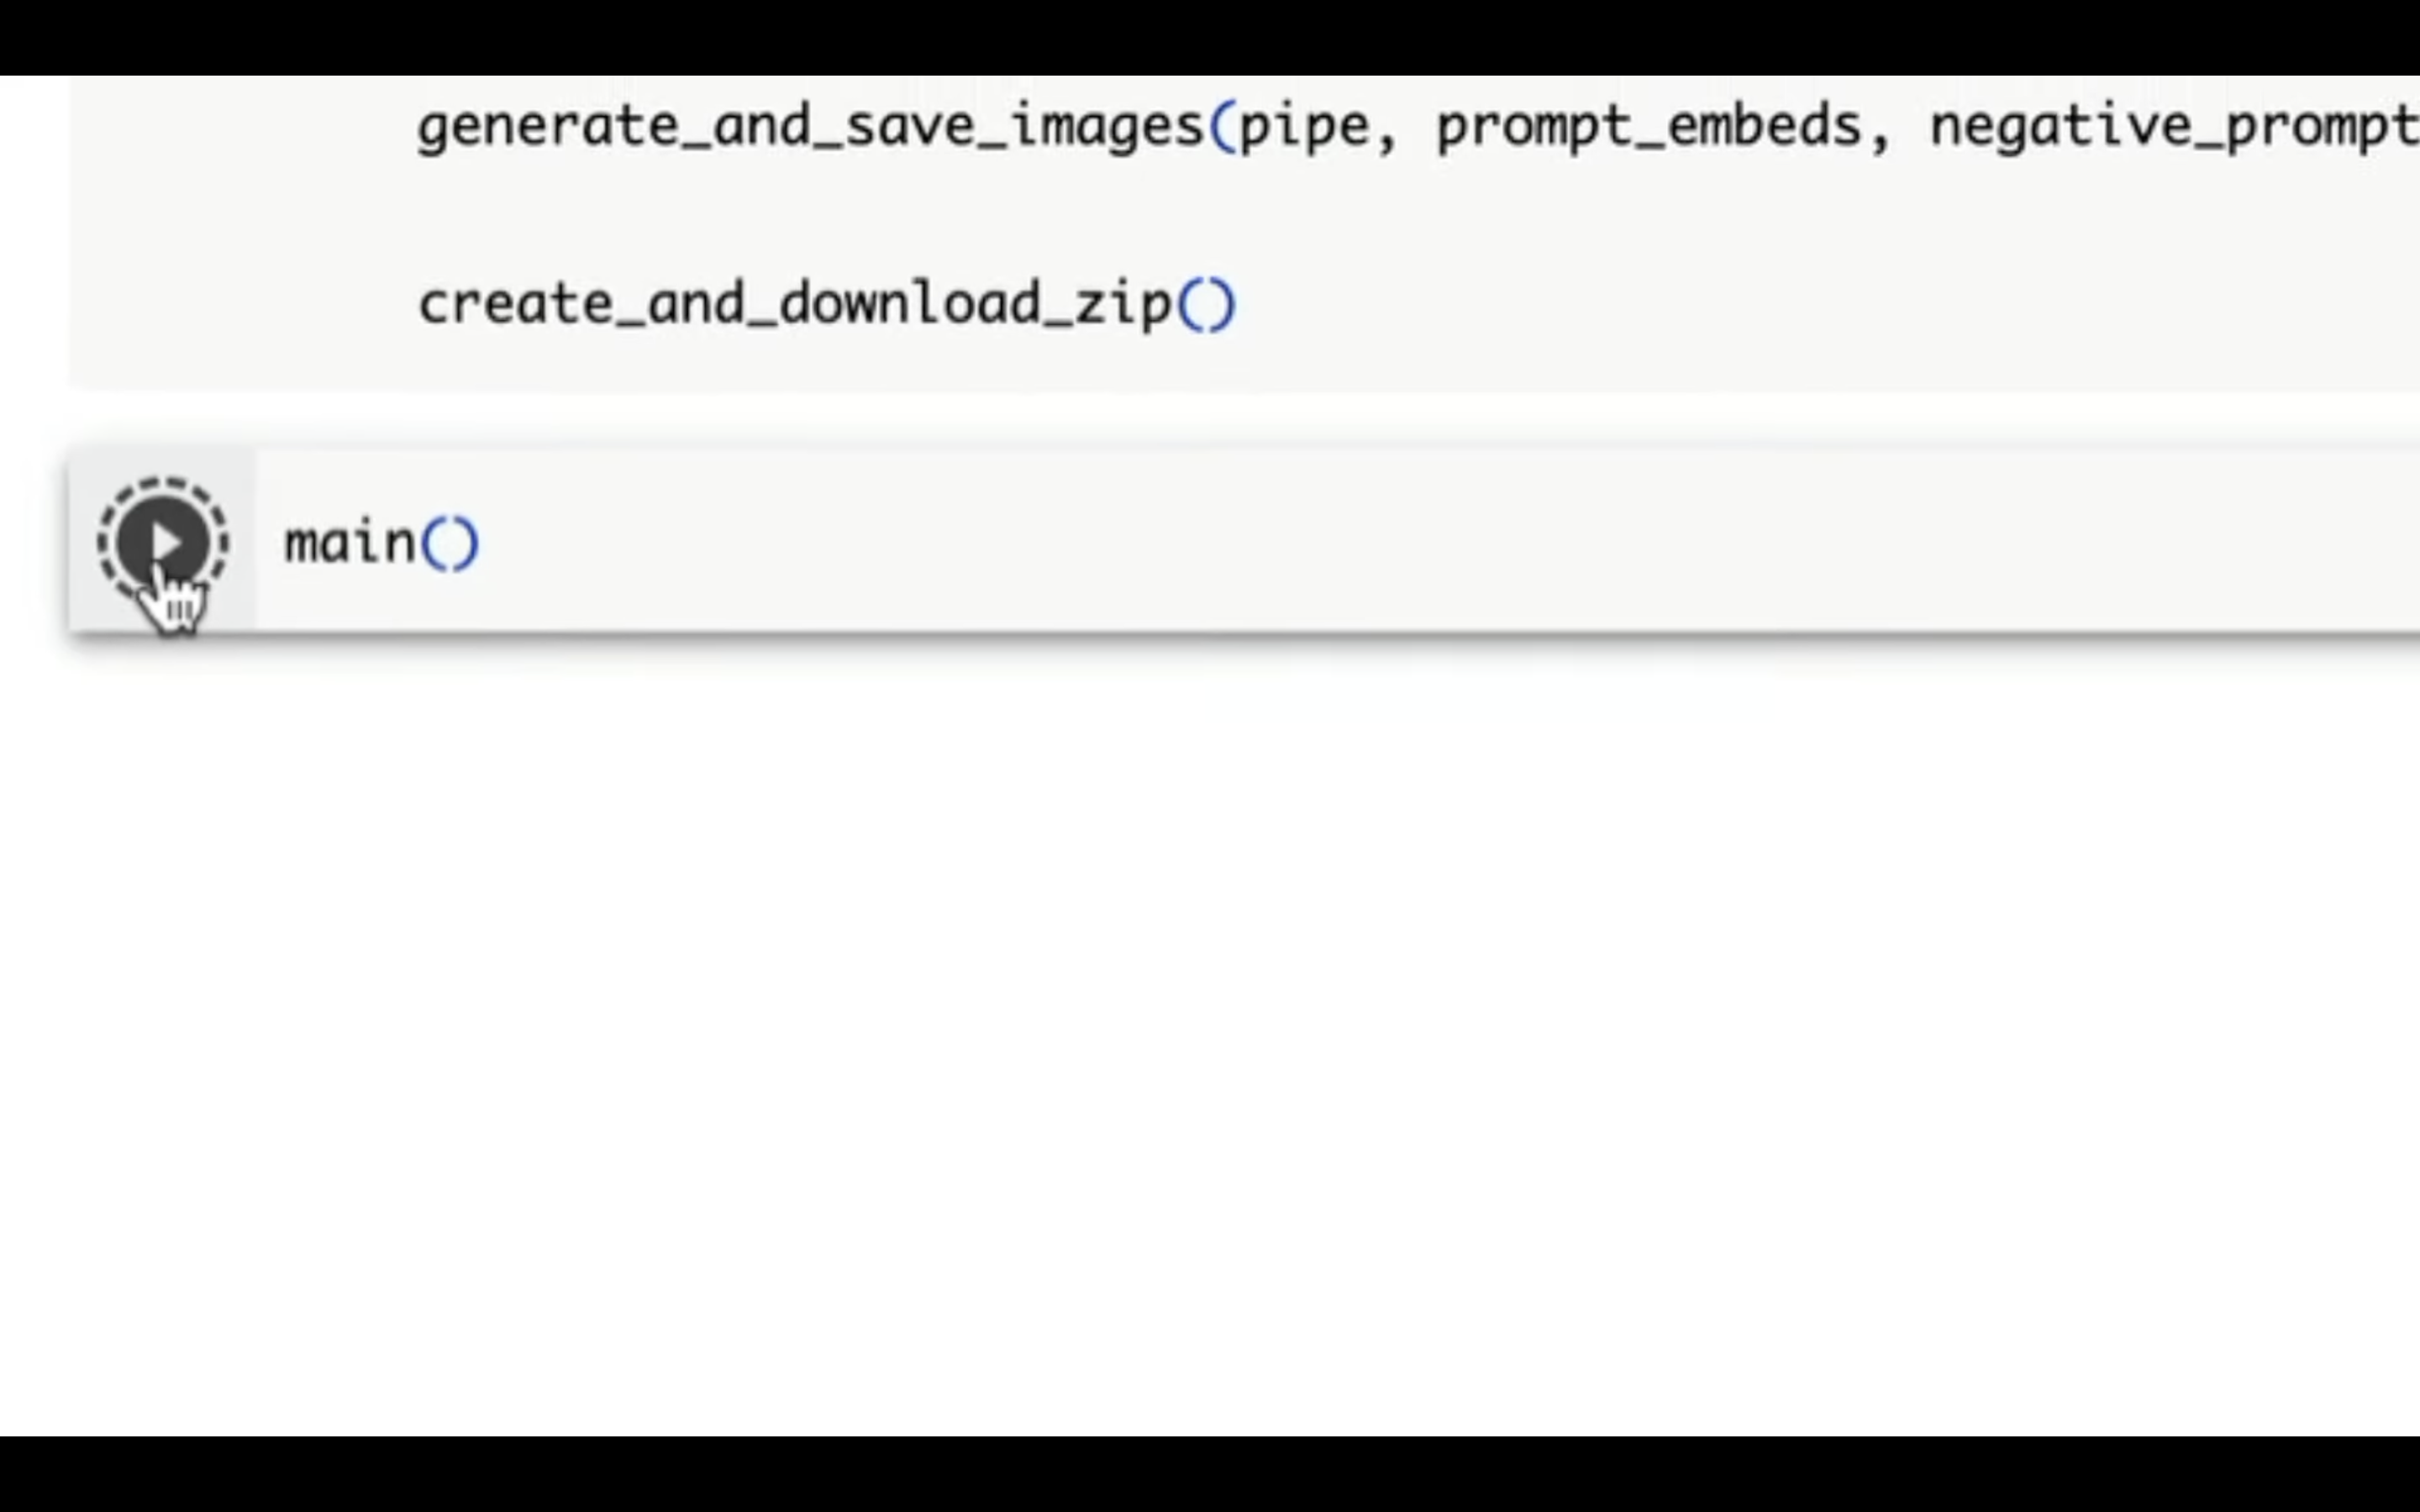
これで設定ファイルで指定した件数分の画像の生成が開始されます。
処理が完了するまでには数分程度かかります。
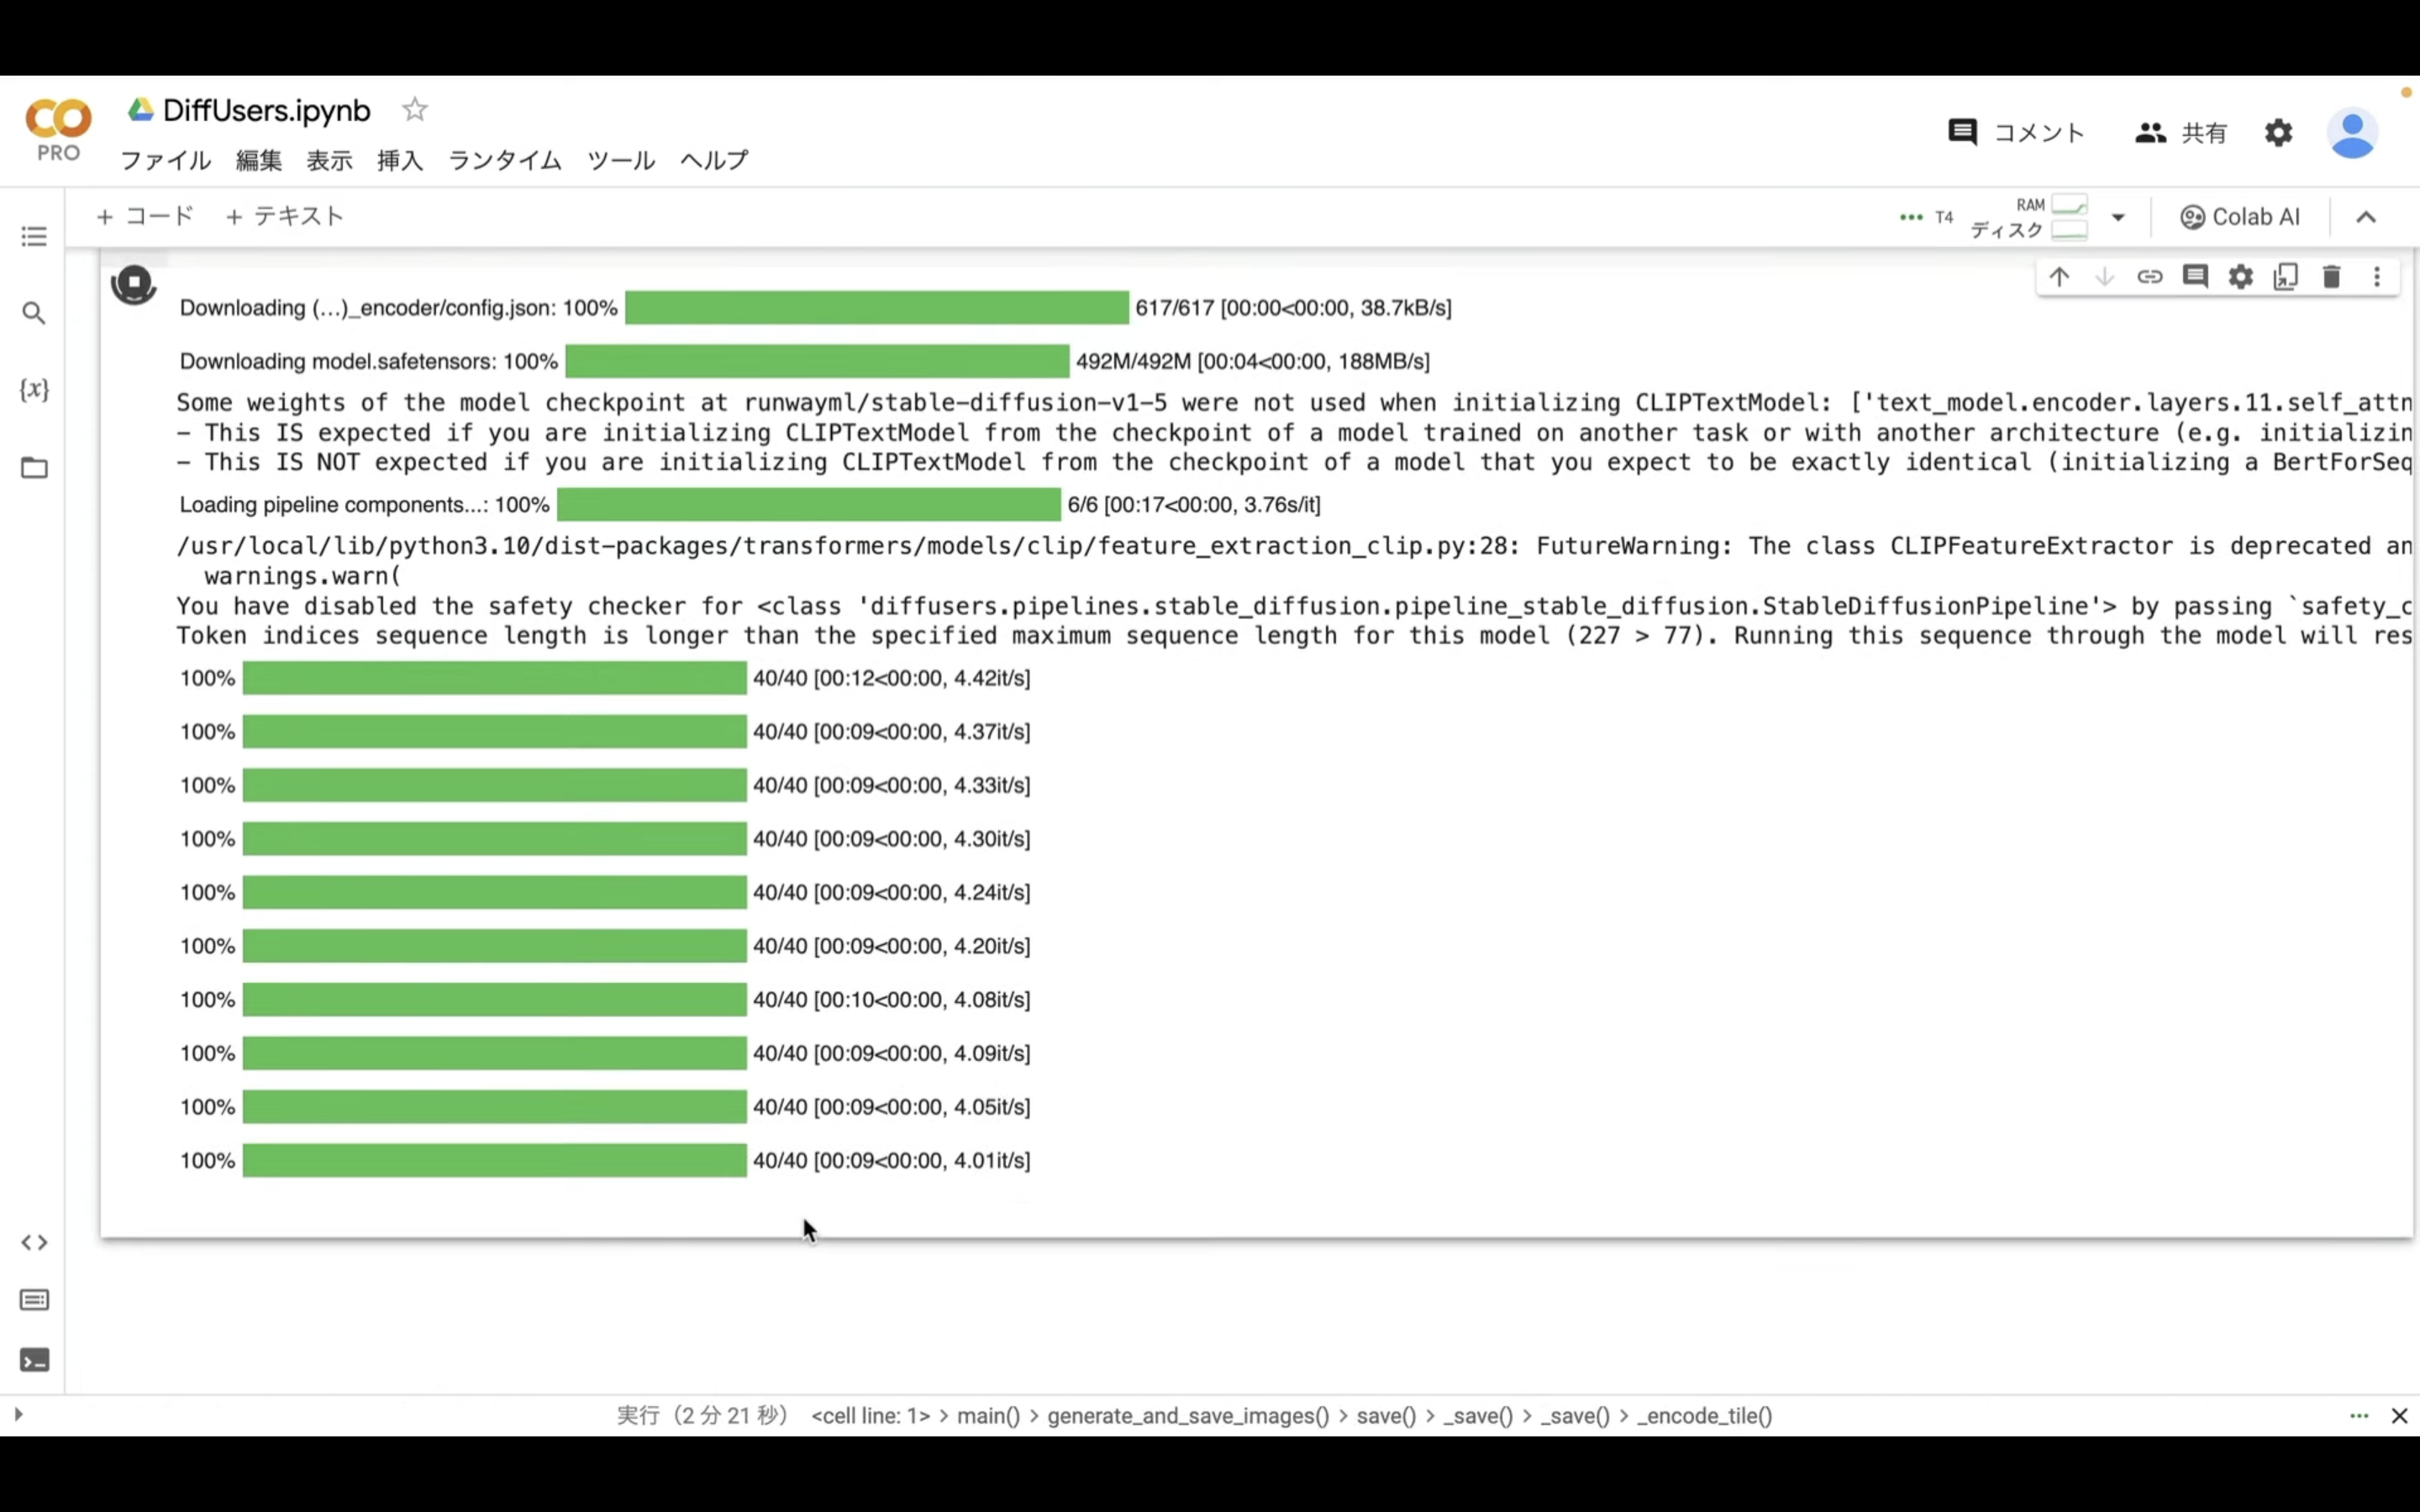
処理が完了したら、自動的に生成した画像ファイルを1つのZIPファイルにまとめてダウンロードされるように設定されています。
ダウンロードしたZIPファイルを回答すると、このように生成されたファイルを確認できます。

これらのファイルを開いて、画像の内容を確認してみましょう。
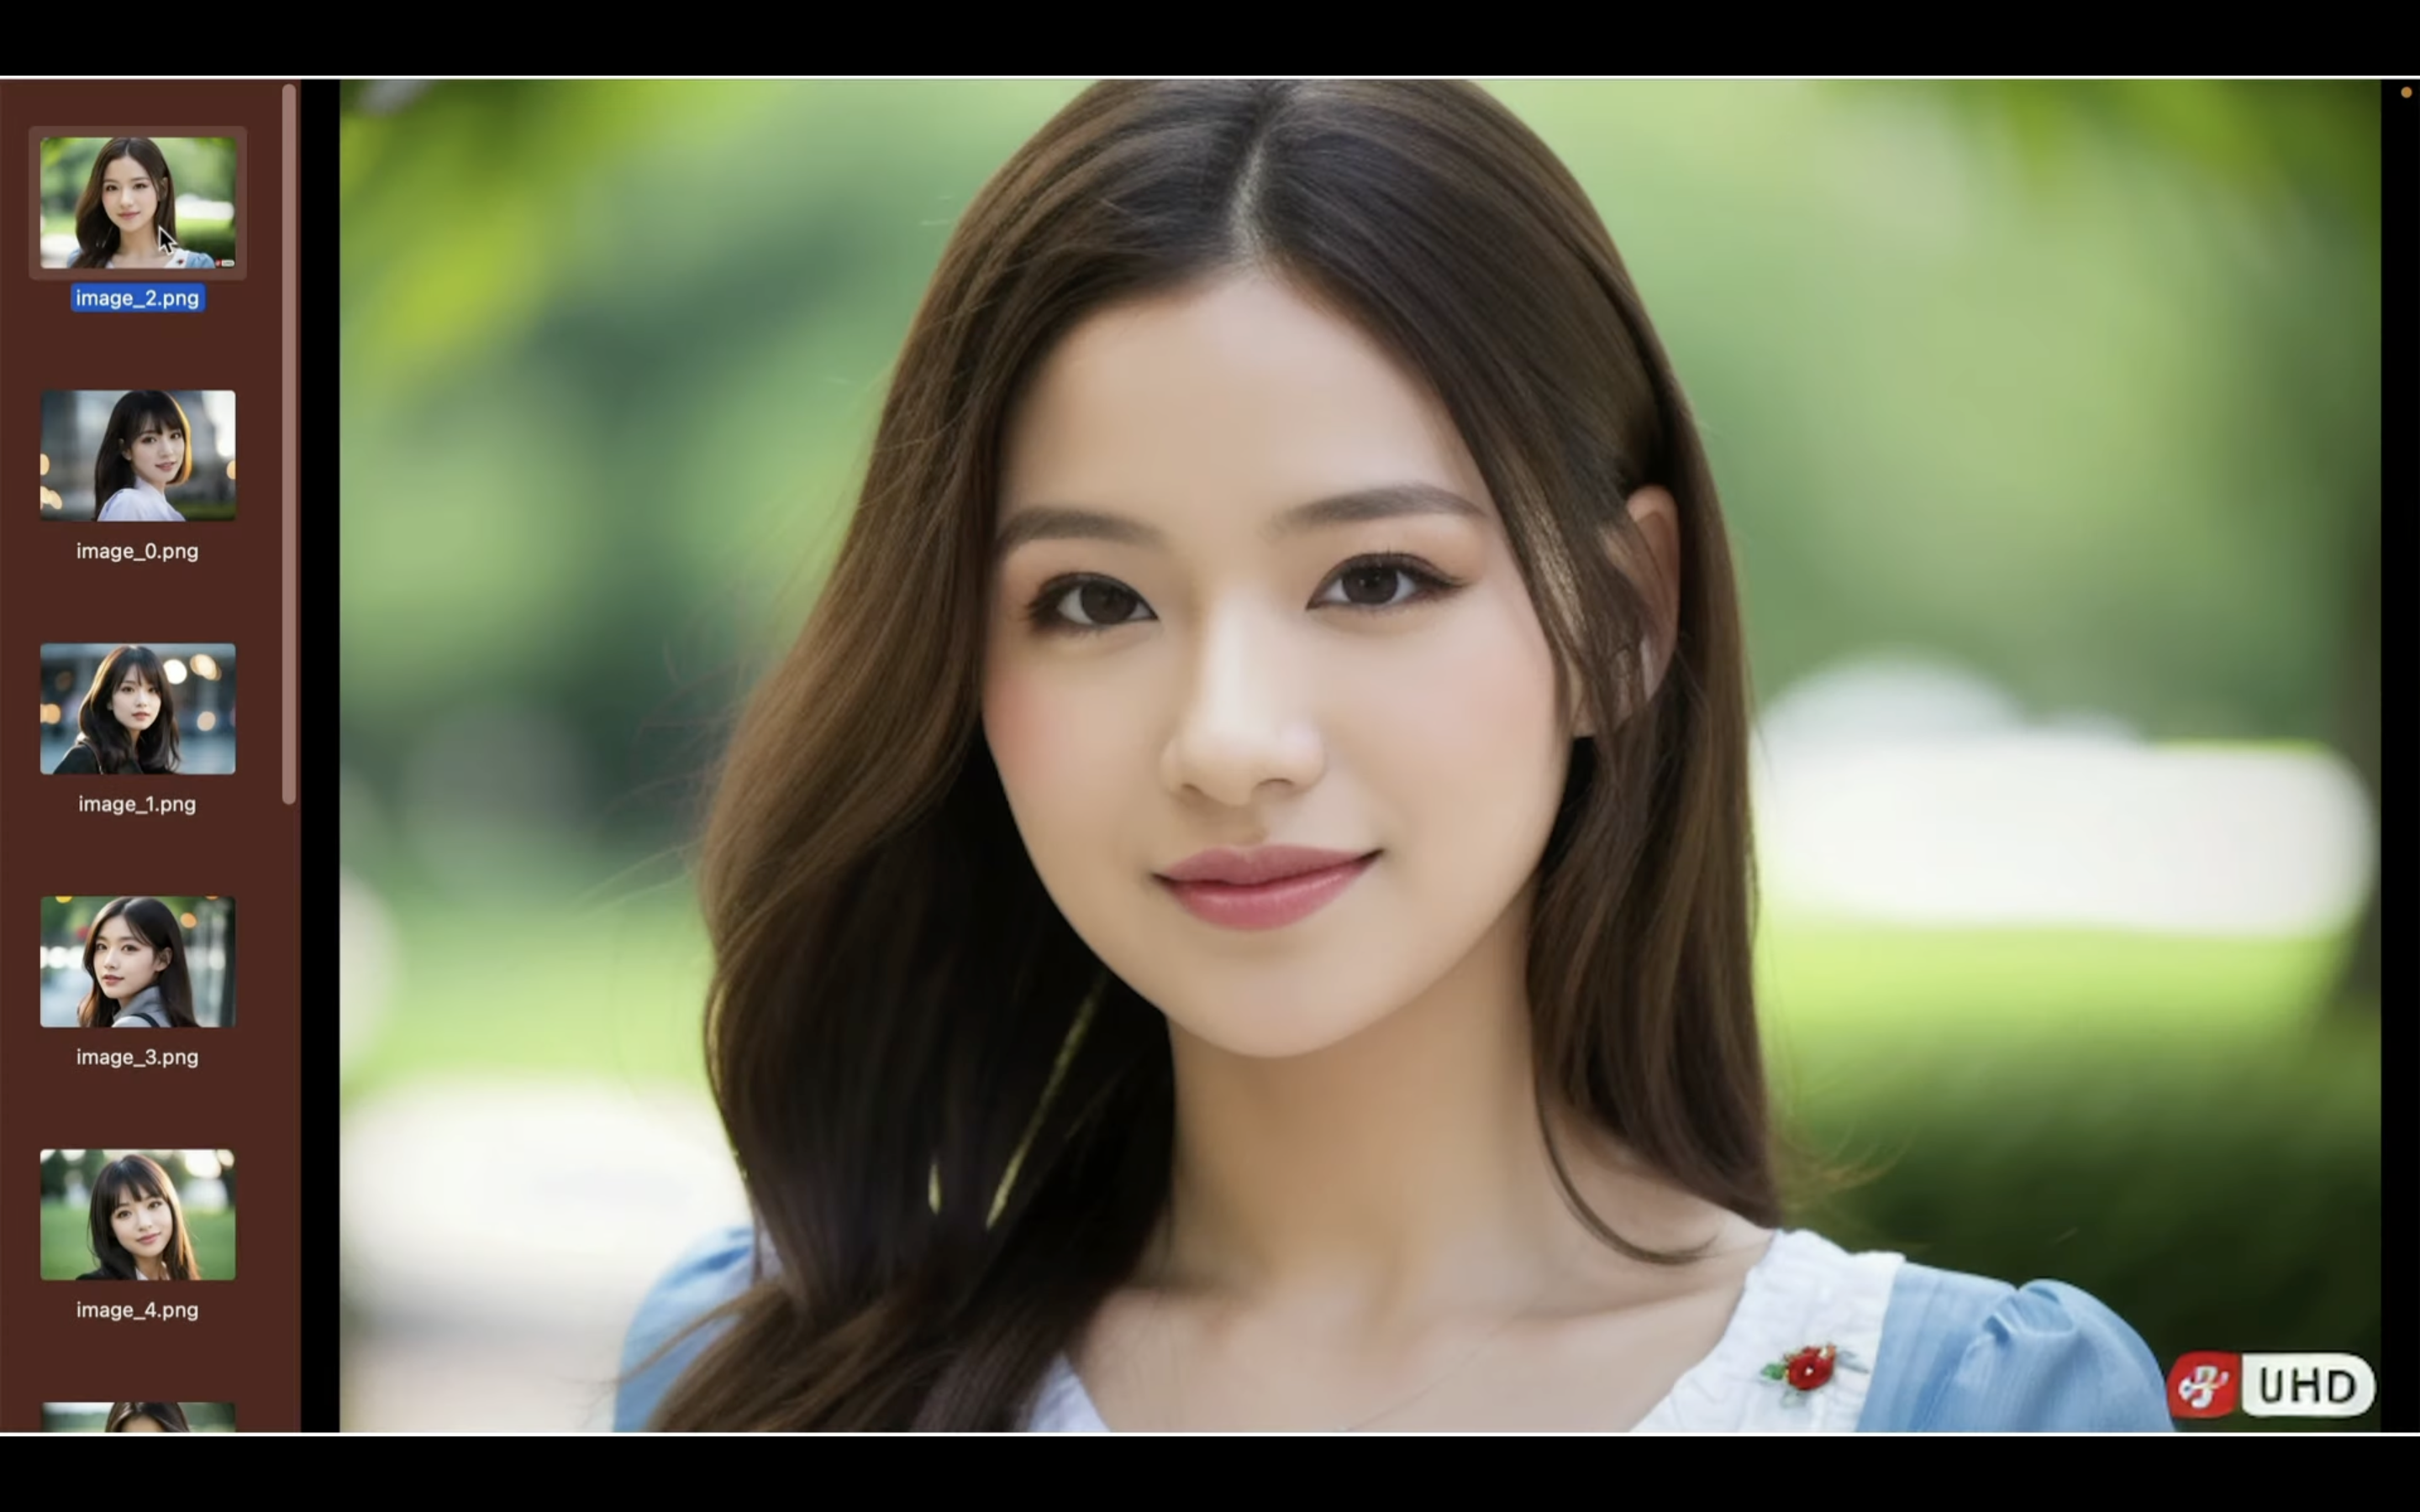

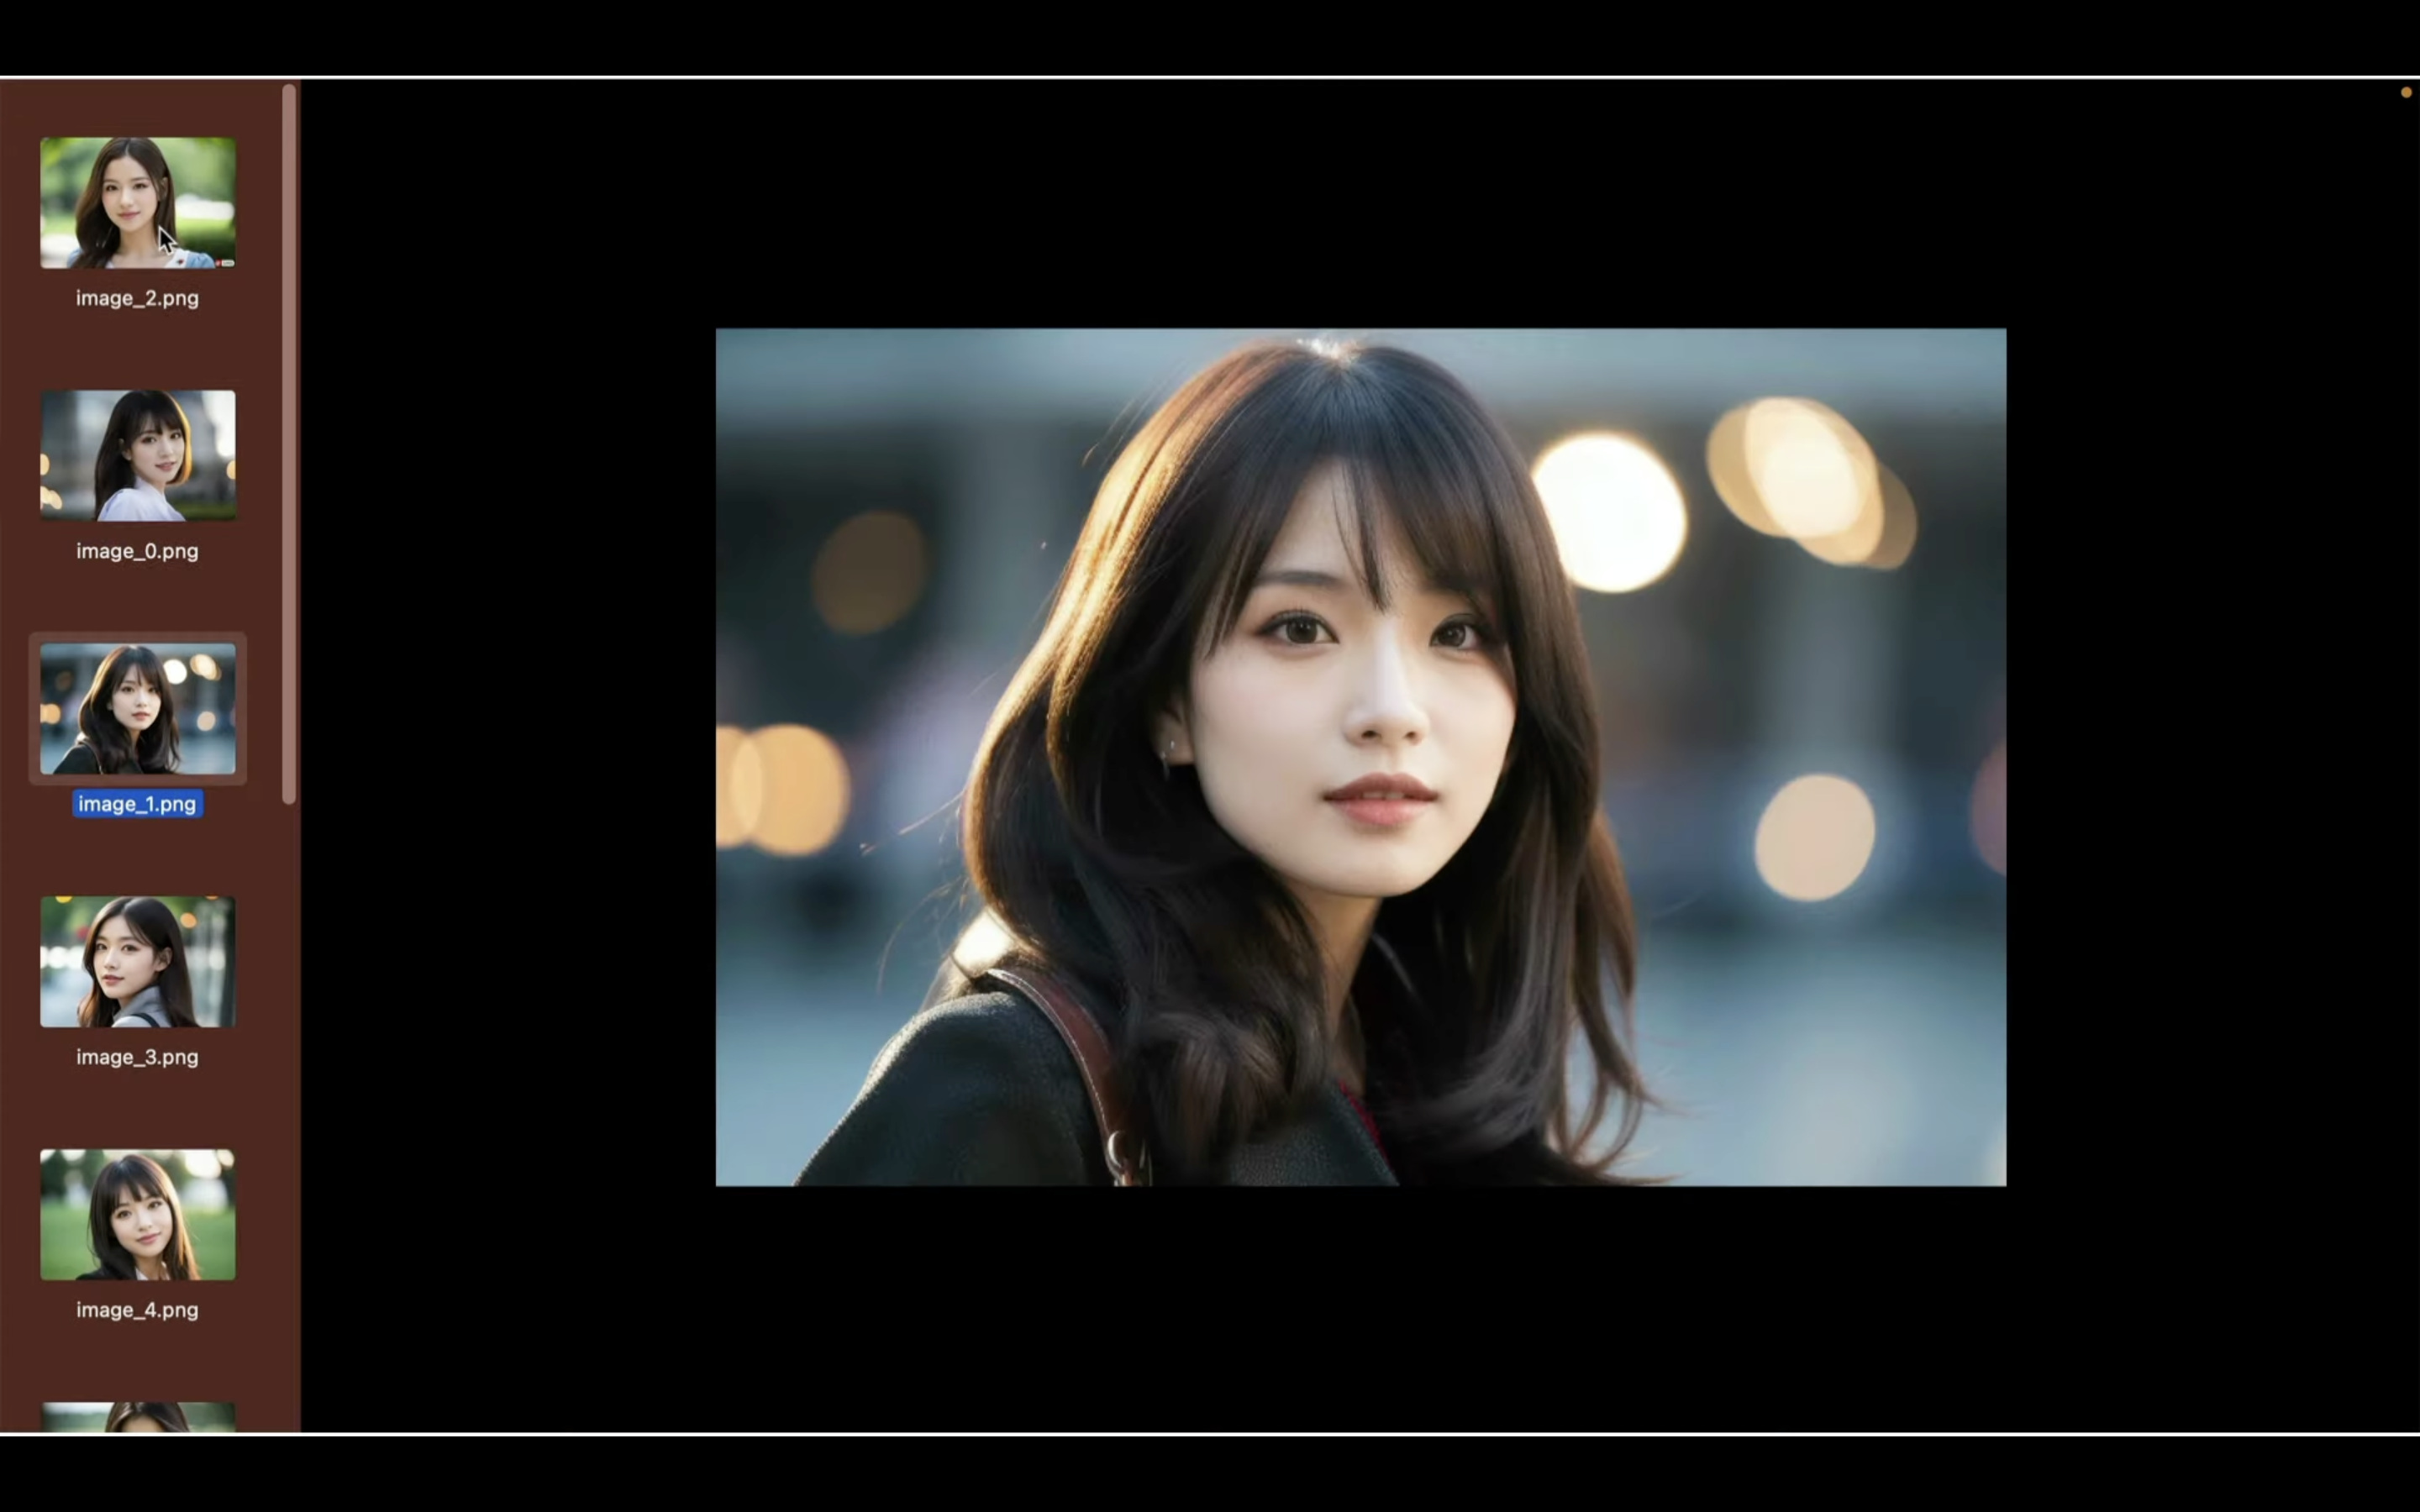
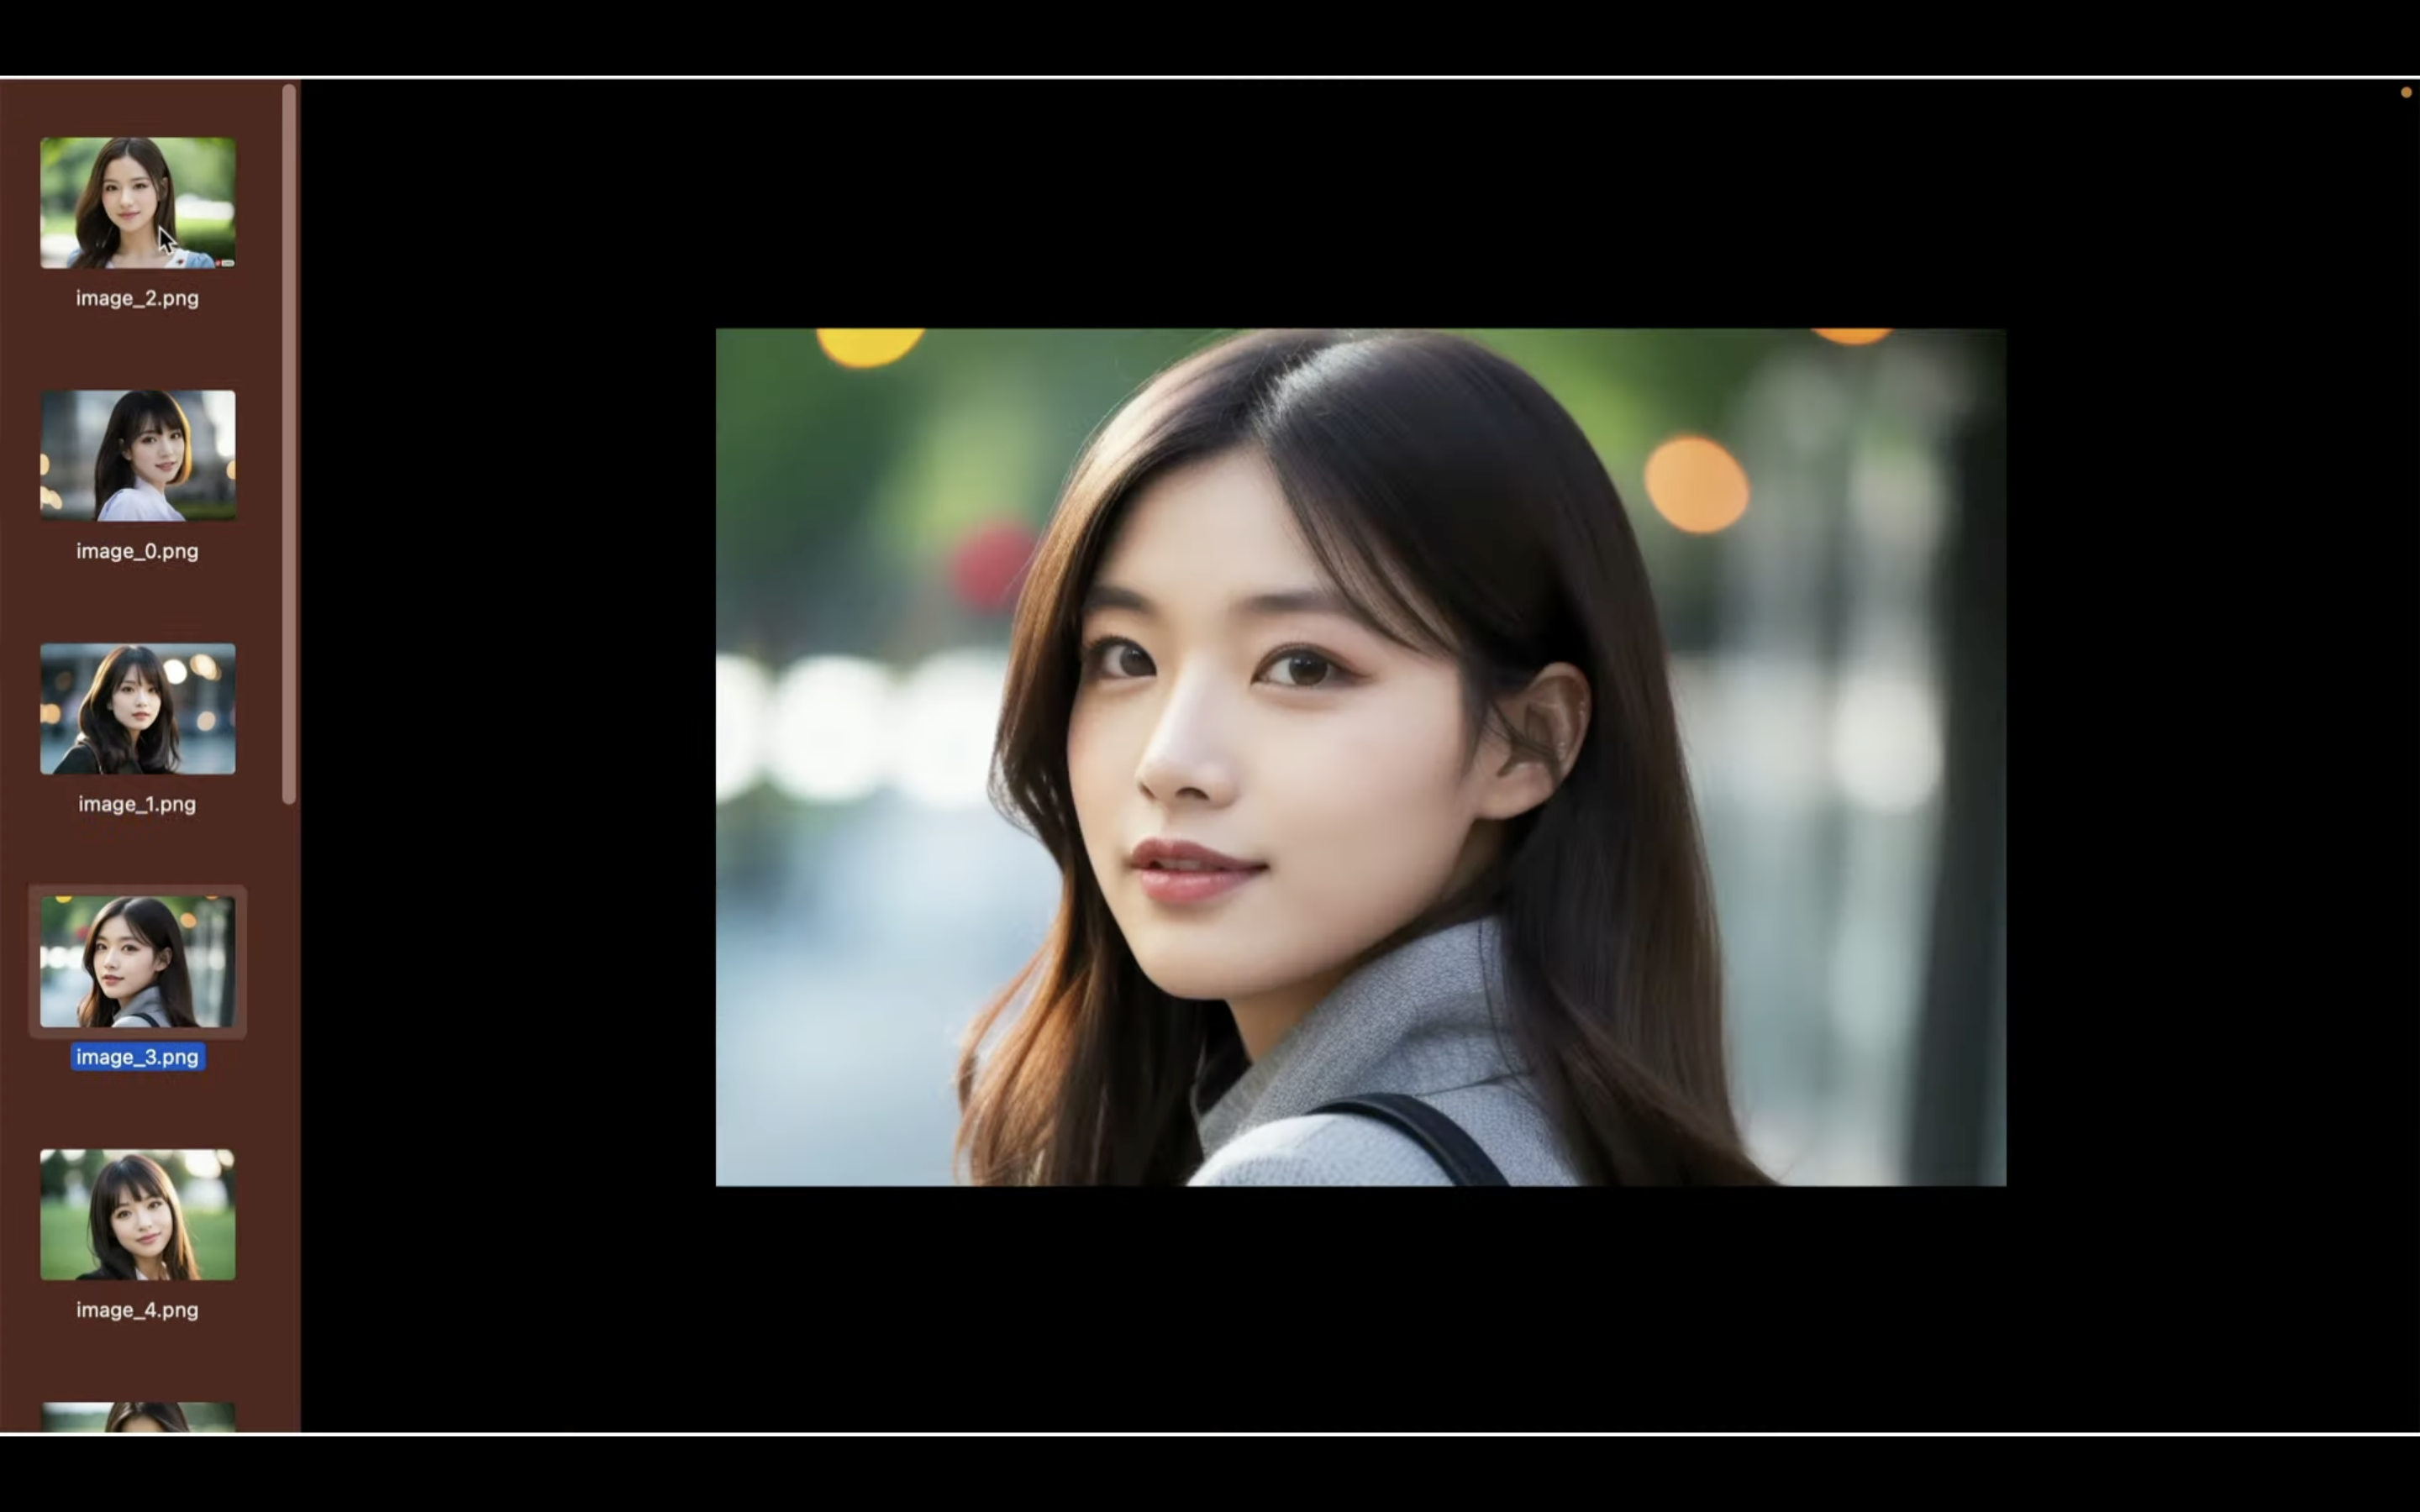
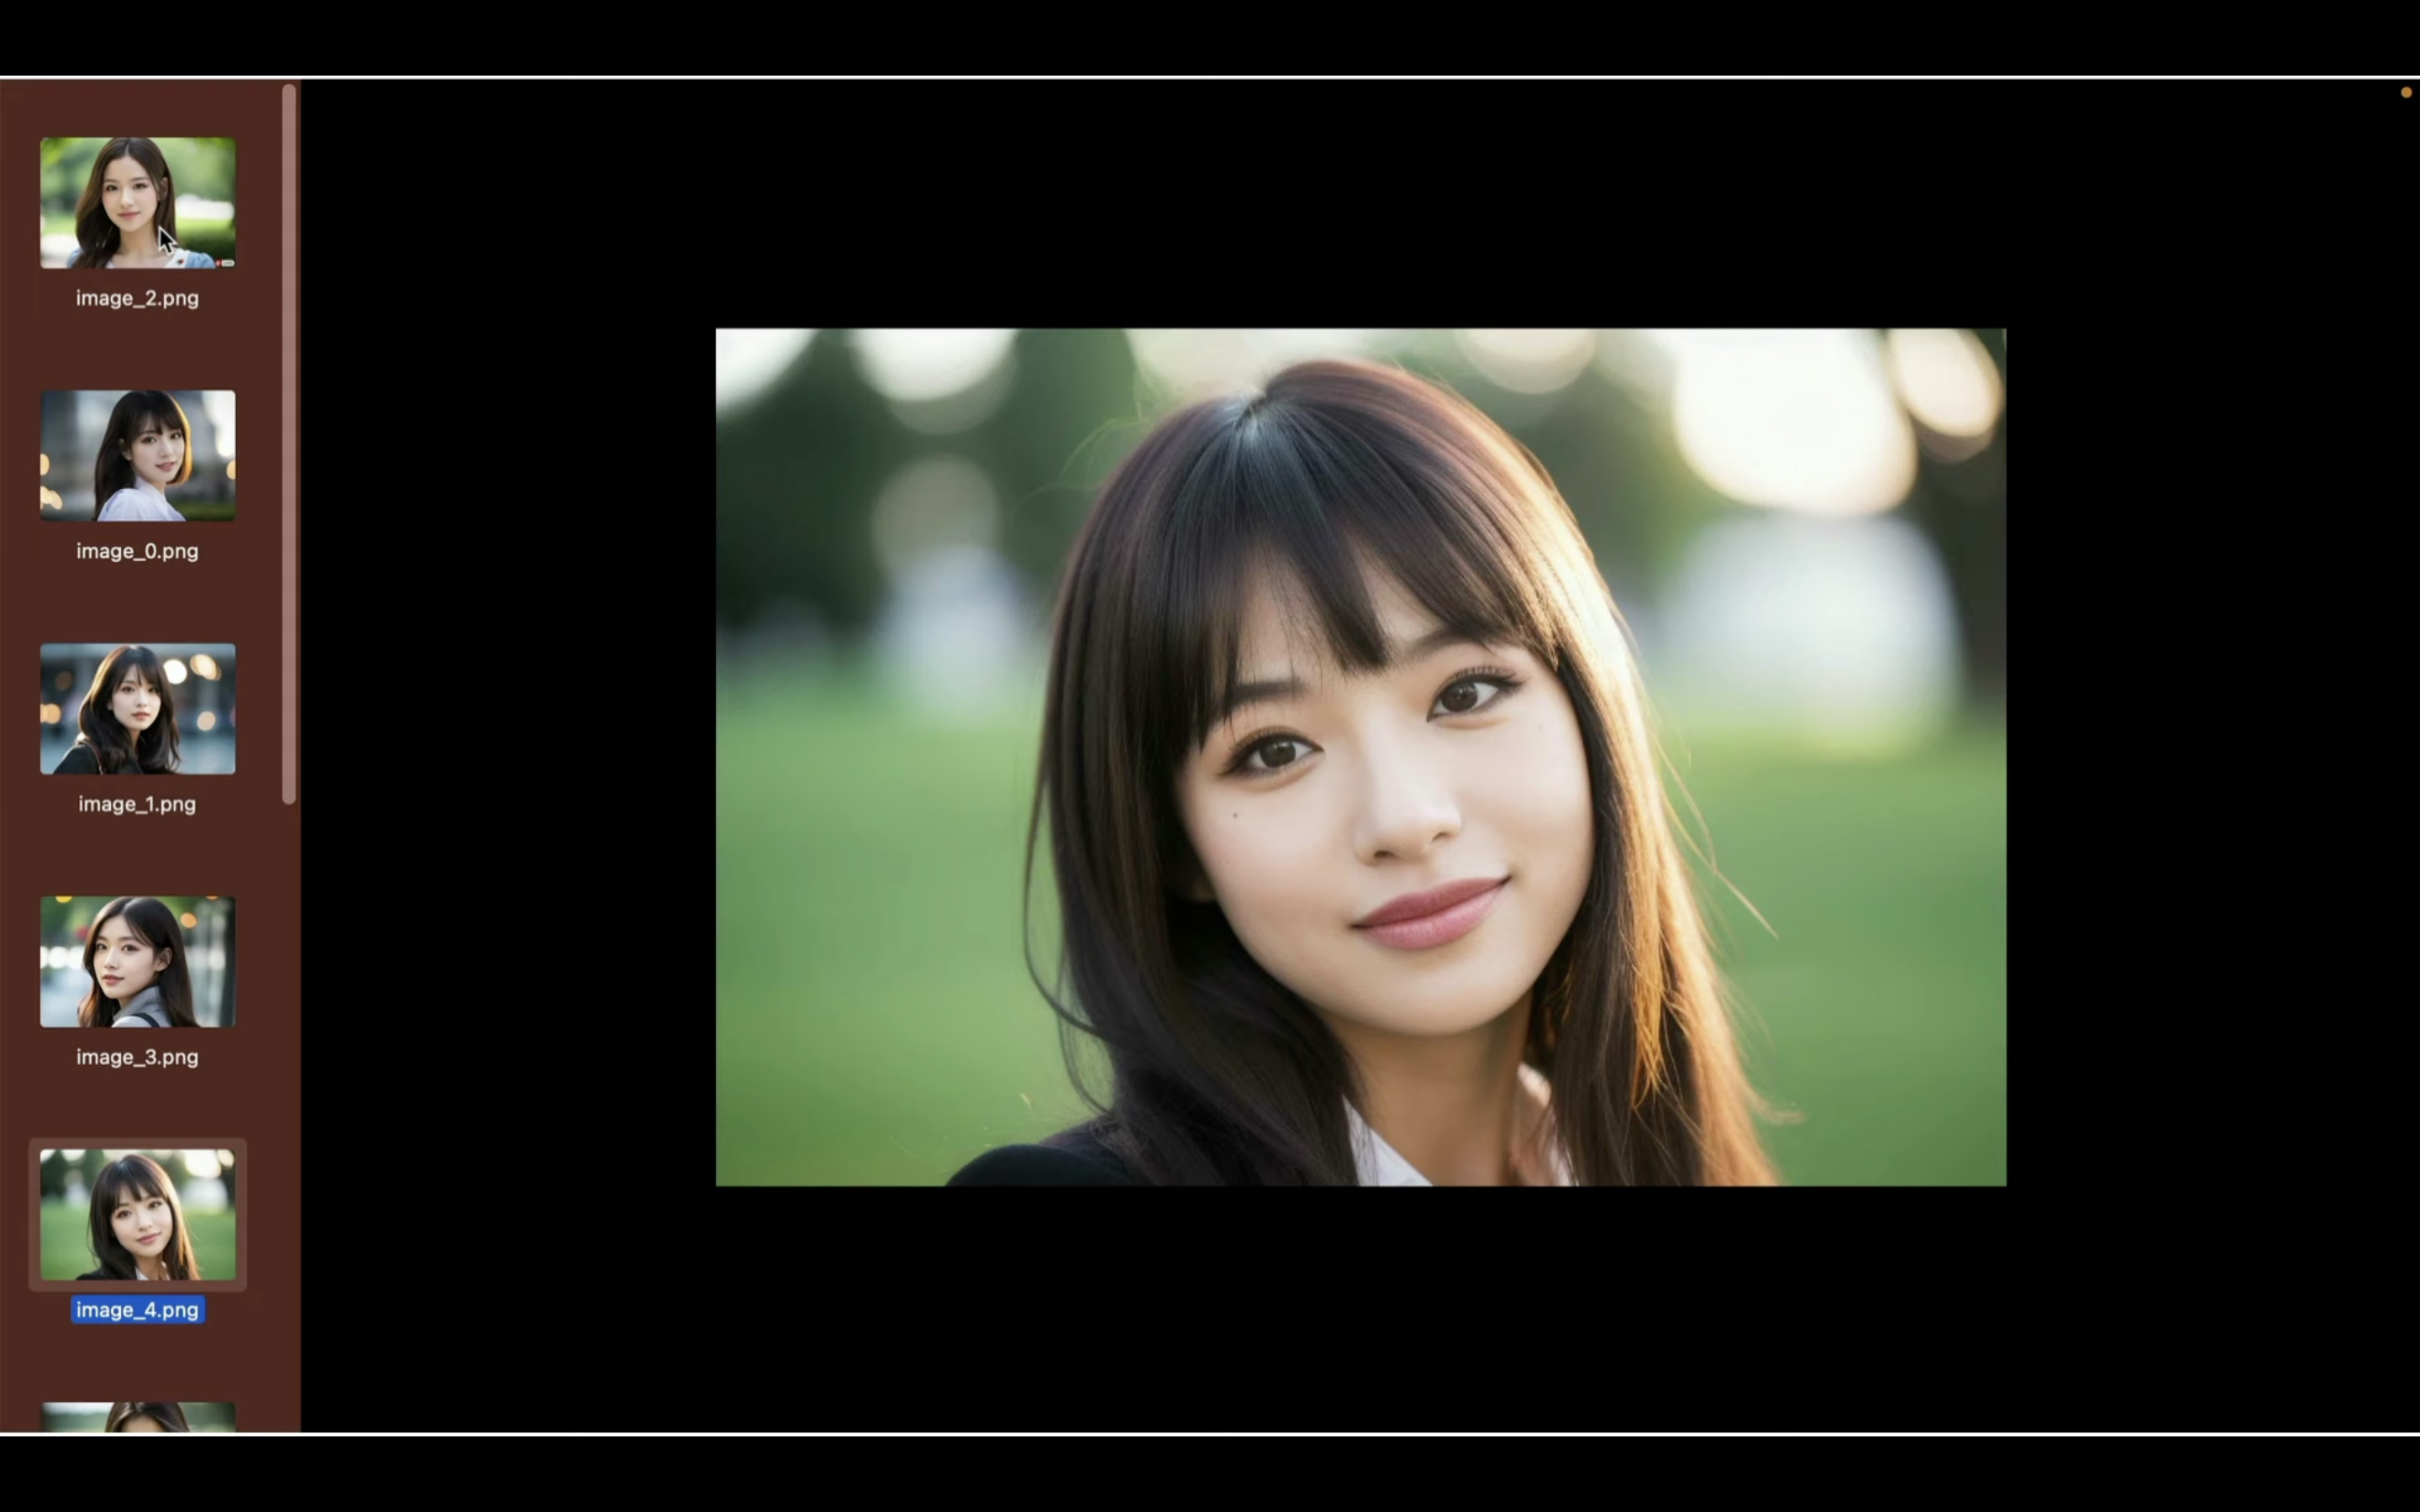
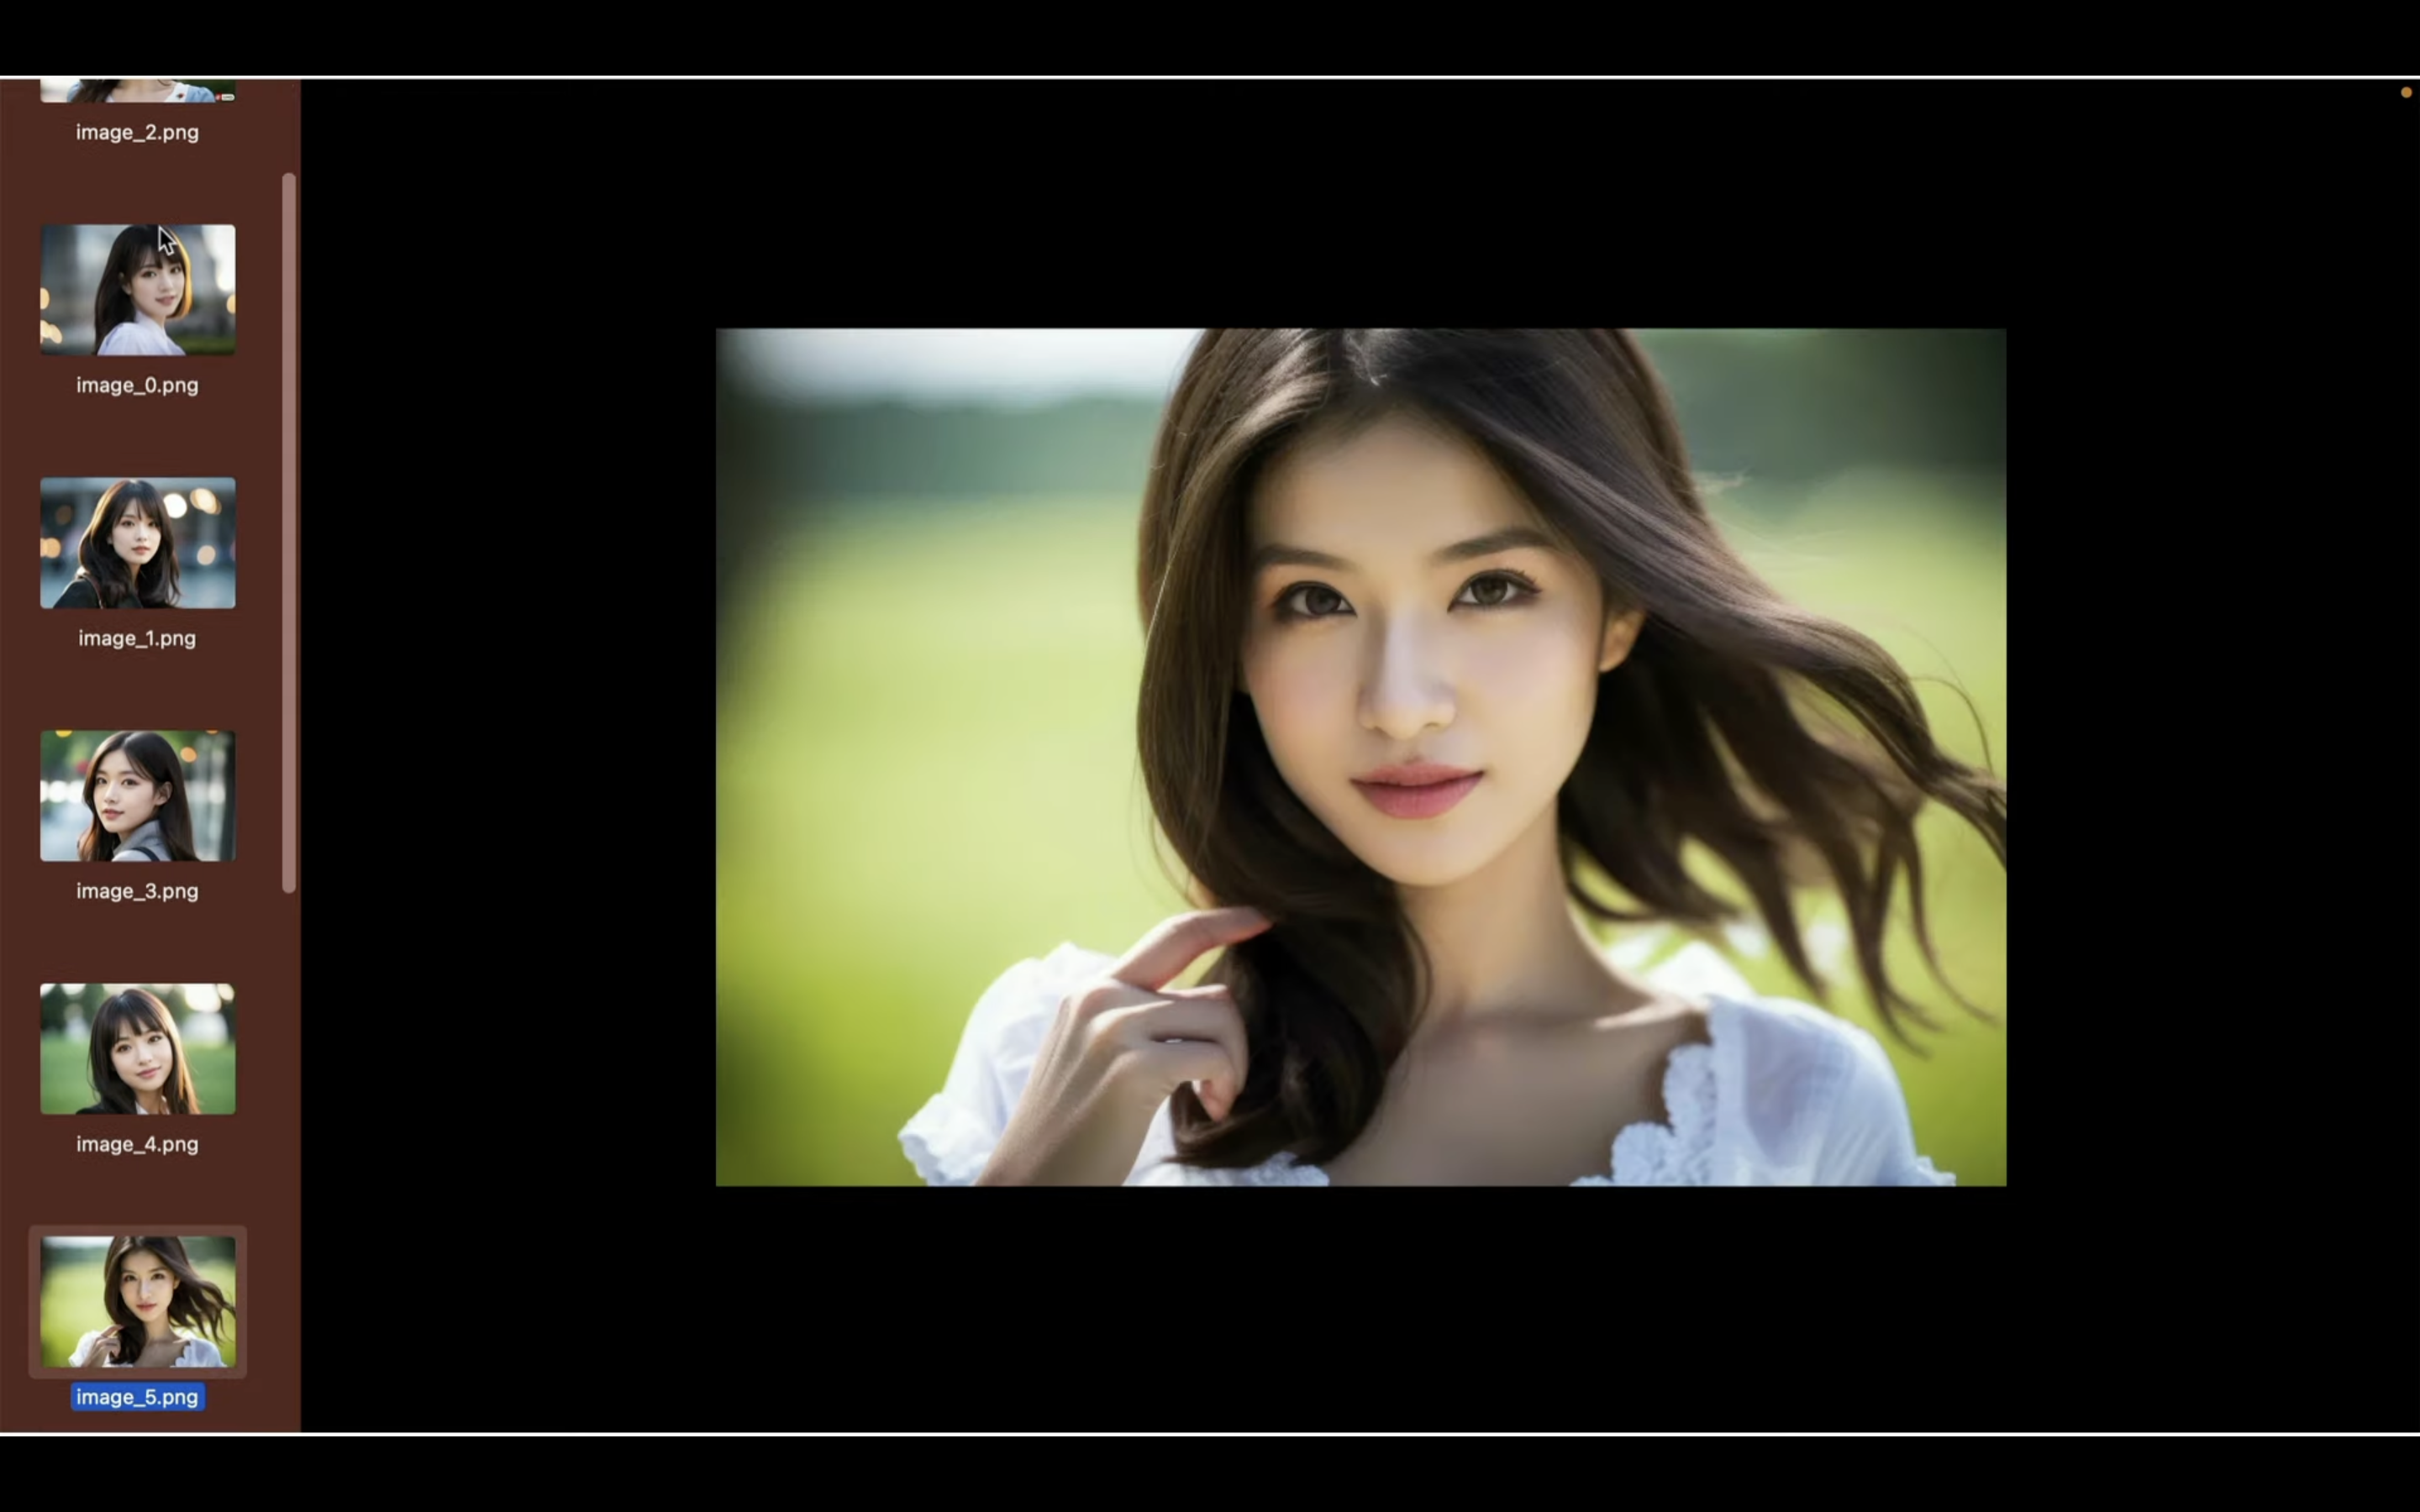
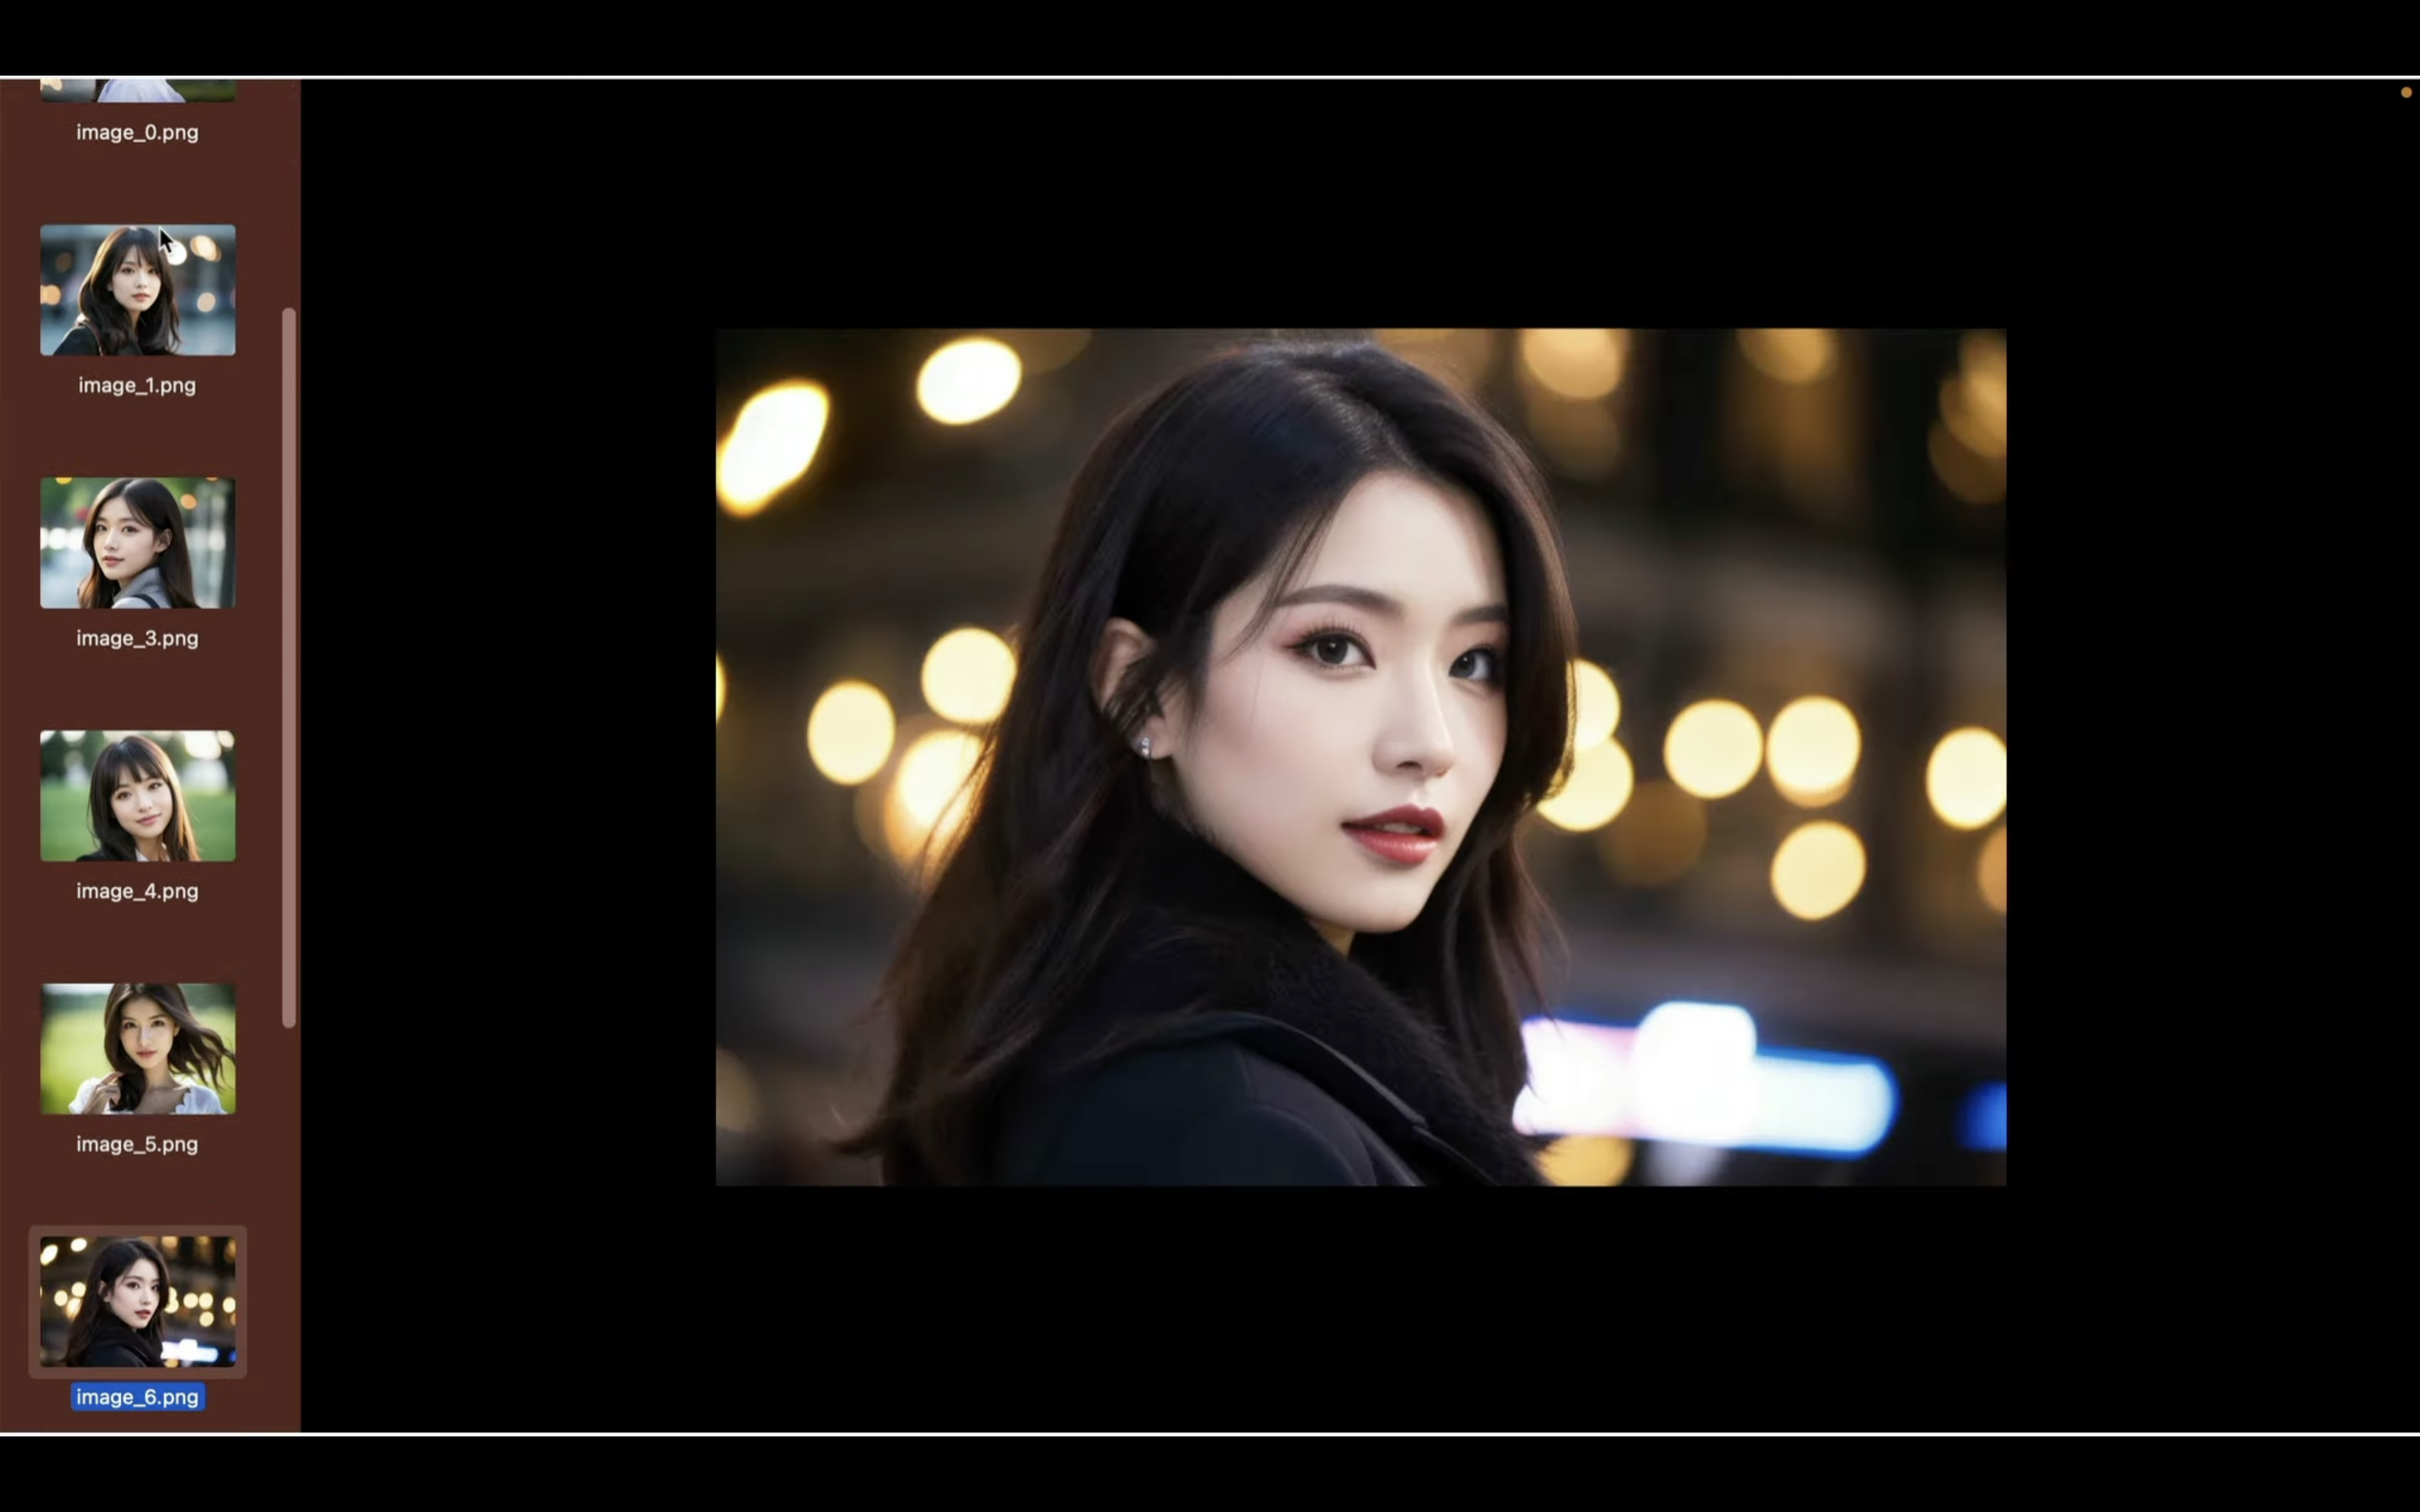
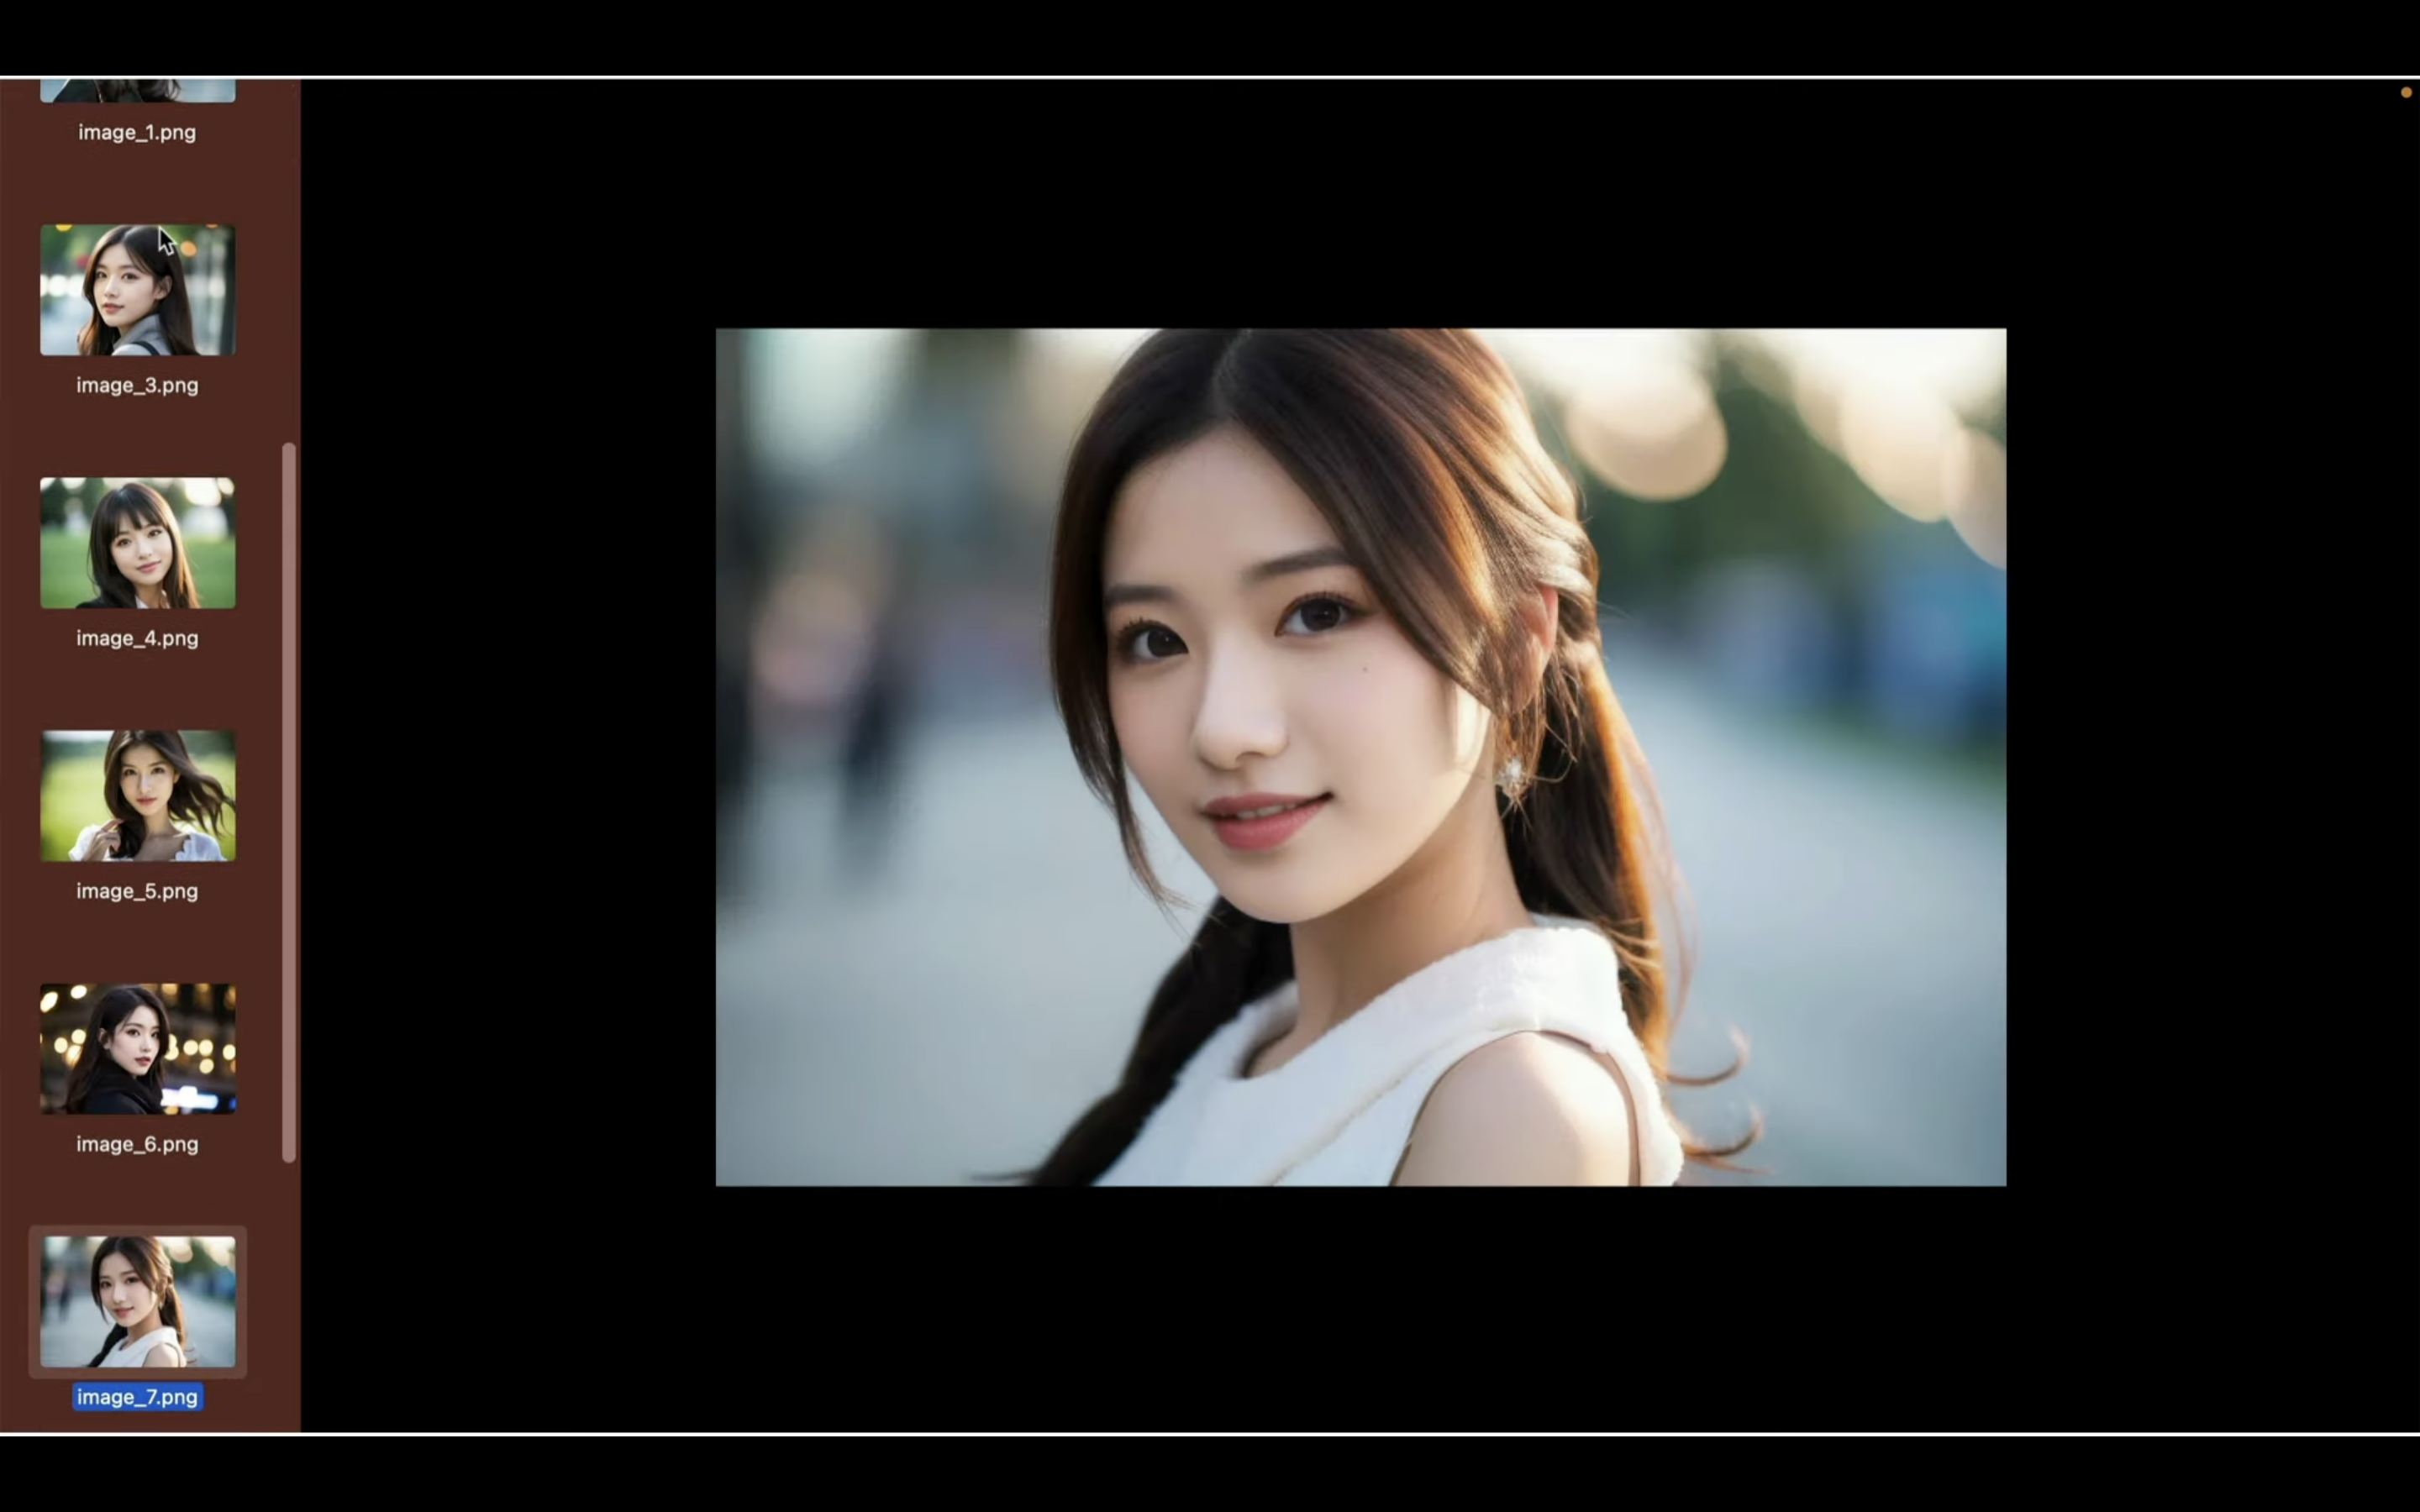

このようにAI美女の画像を一括で生成することができました。
是非お試しください。