
▶︎動画でも話してるので、文章読むのが面倒な方はこちらをみてもらえればと思います。
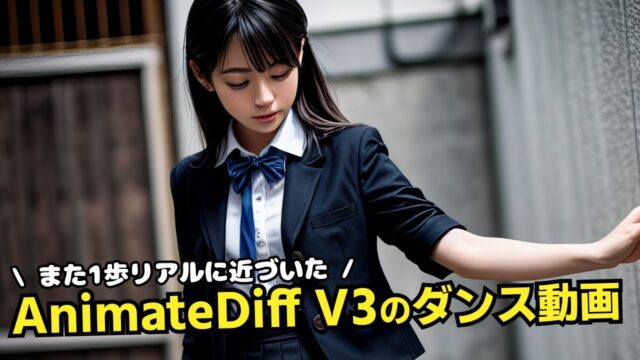
今回は、MMagicとAnimate Diffを使って動画を一括で生成する方法を解説します。

これを読めば誰でも簡単にクオリティーの高いAI美女が作れるようになっているので興味がある人は、下のバナーをクリックして購入してみてね🎶

MMagicとAnimate Diffを使って動画を一括で生成する方法
MMagicのソースコードは公開されています。
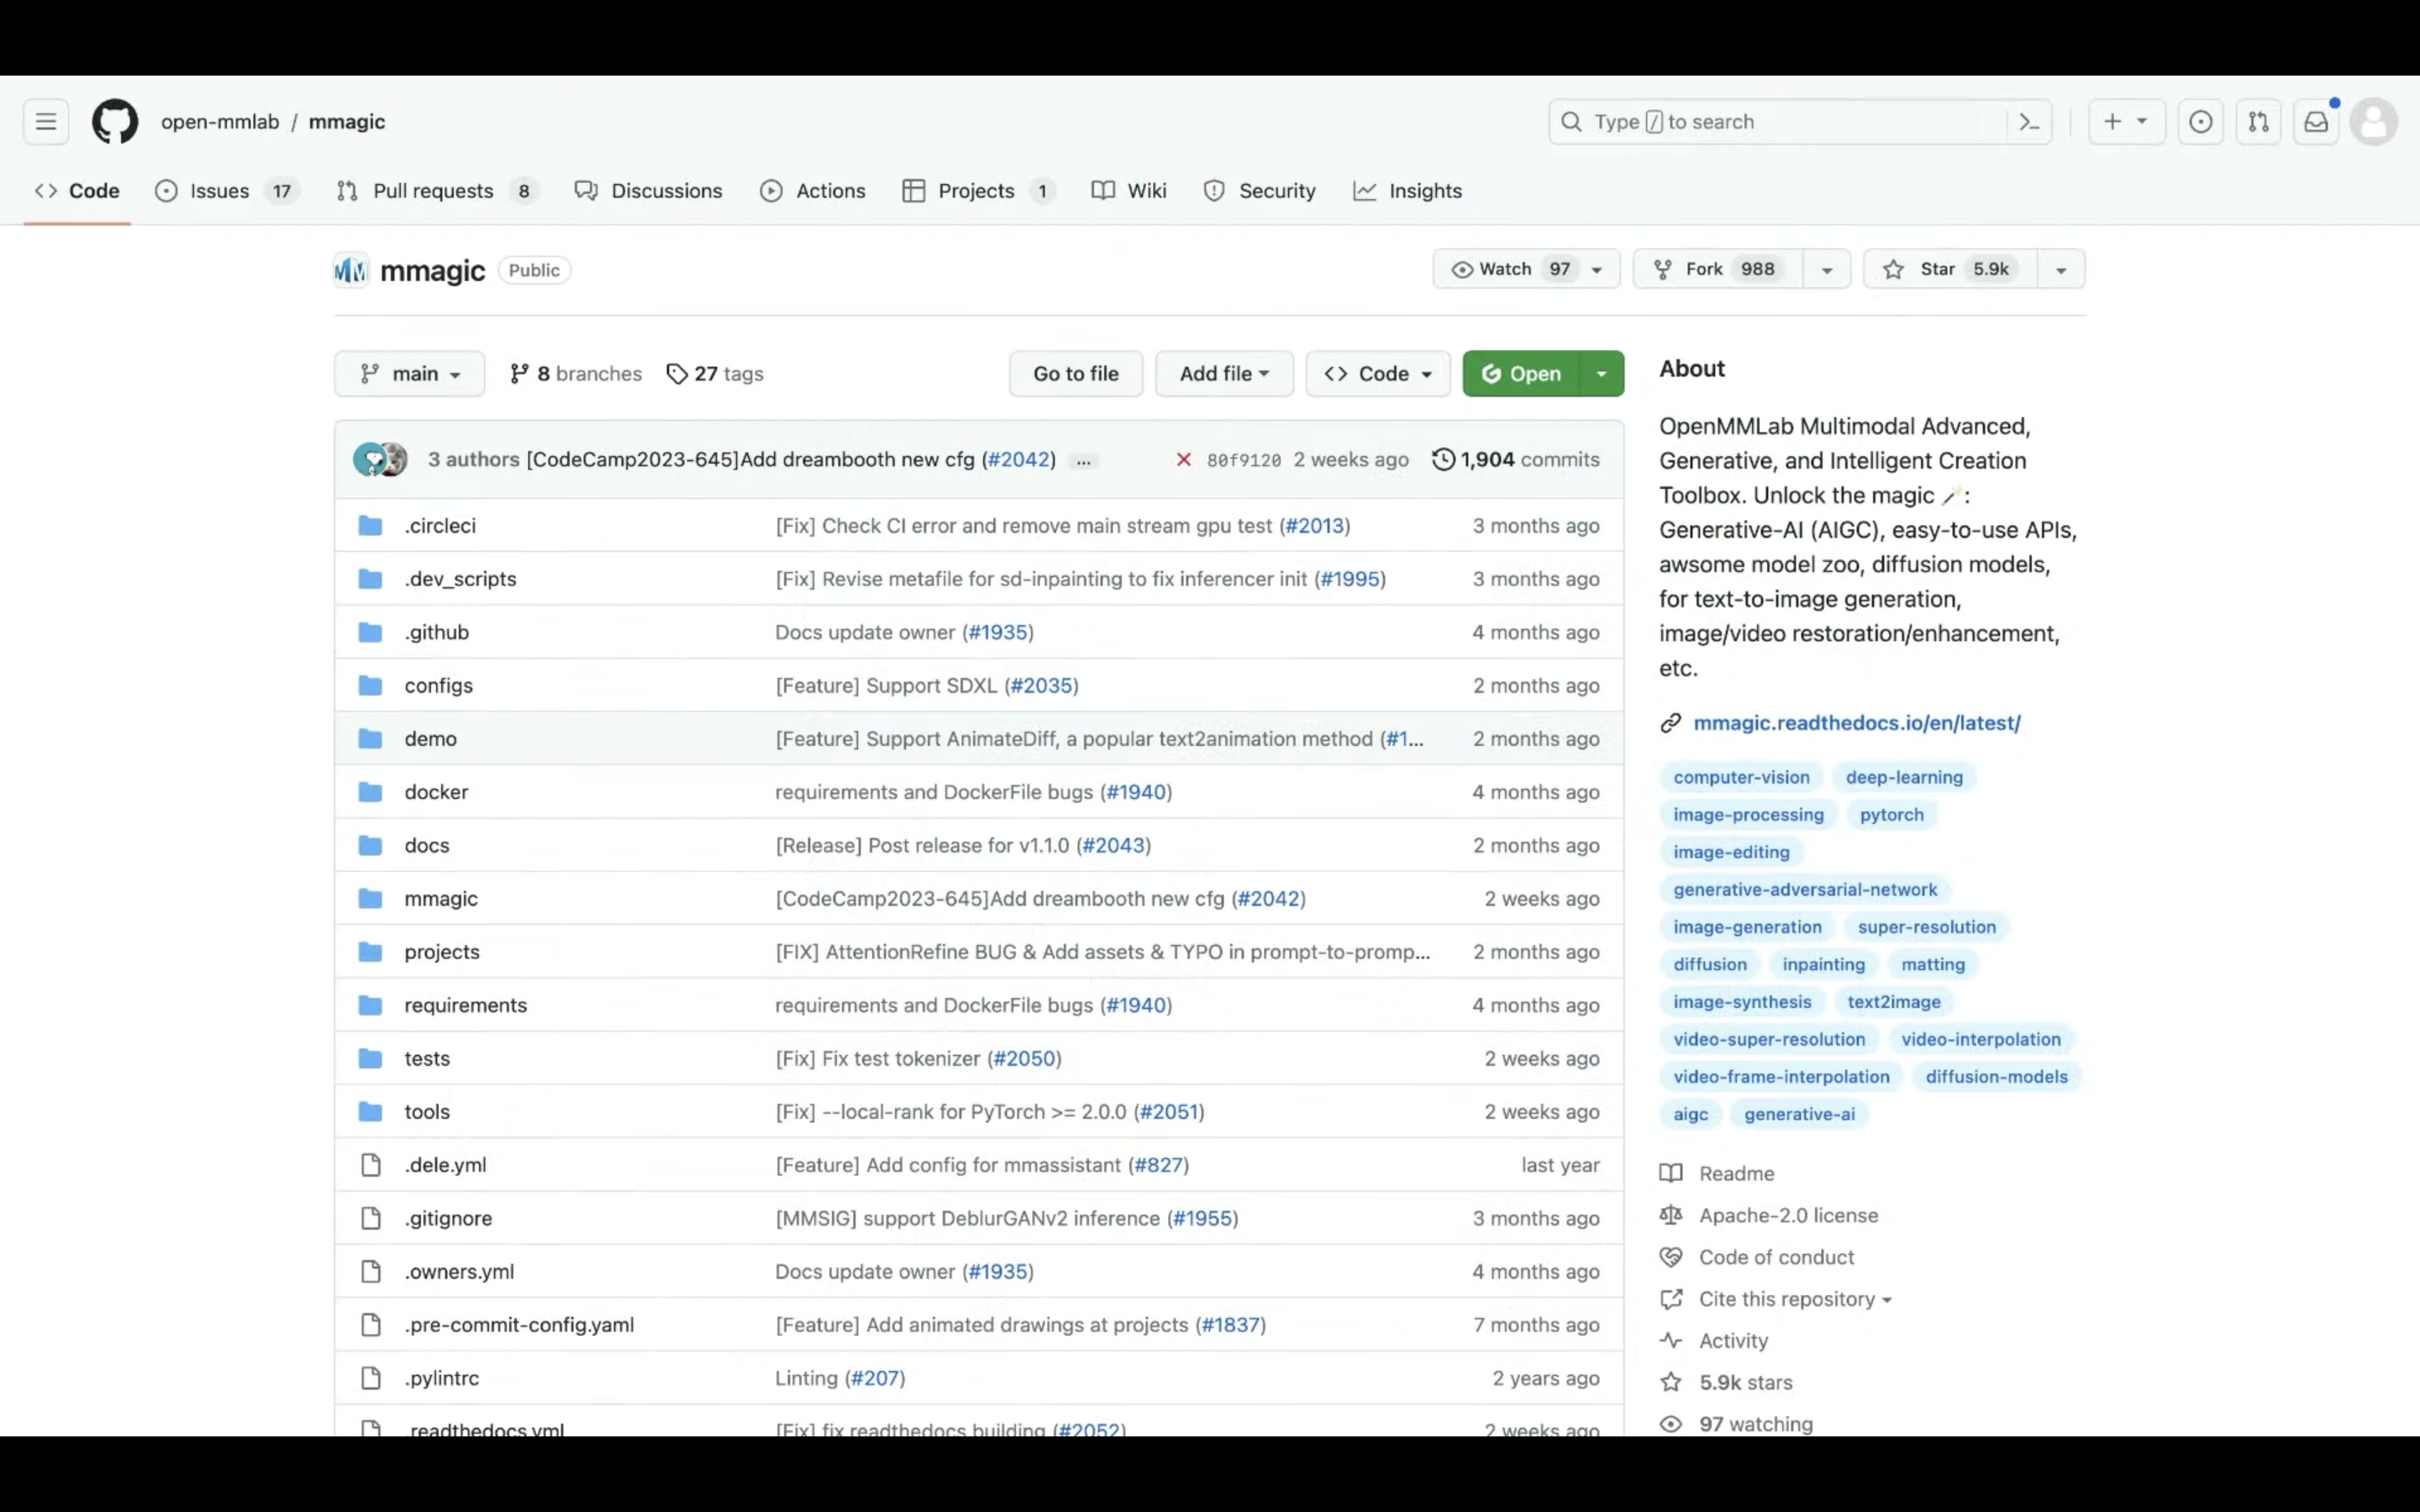
ソースコードが公開されているページへのリンクは、以下に貼っておきますのでそちらをご確認ください。
この解説ではMMagicとAnime DiffをGoogle Colabで実行します。
Google Colabの画面を表示したら、まずランタイムのタイプを変更します。
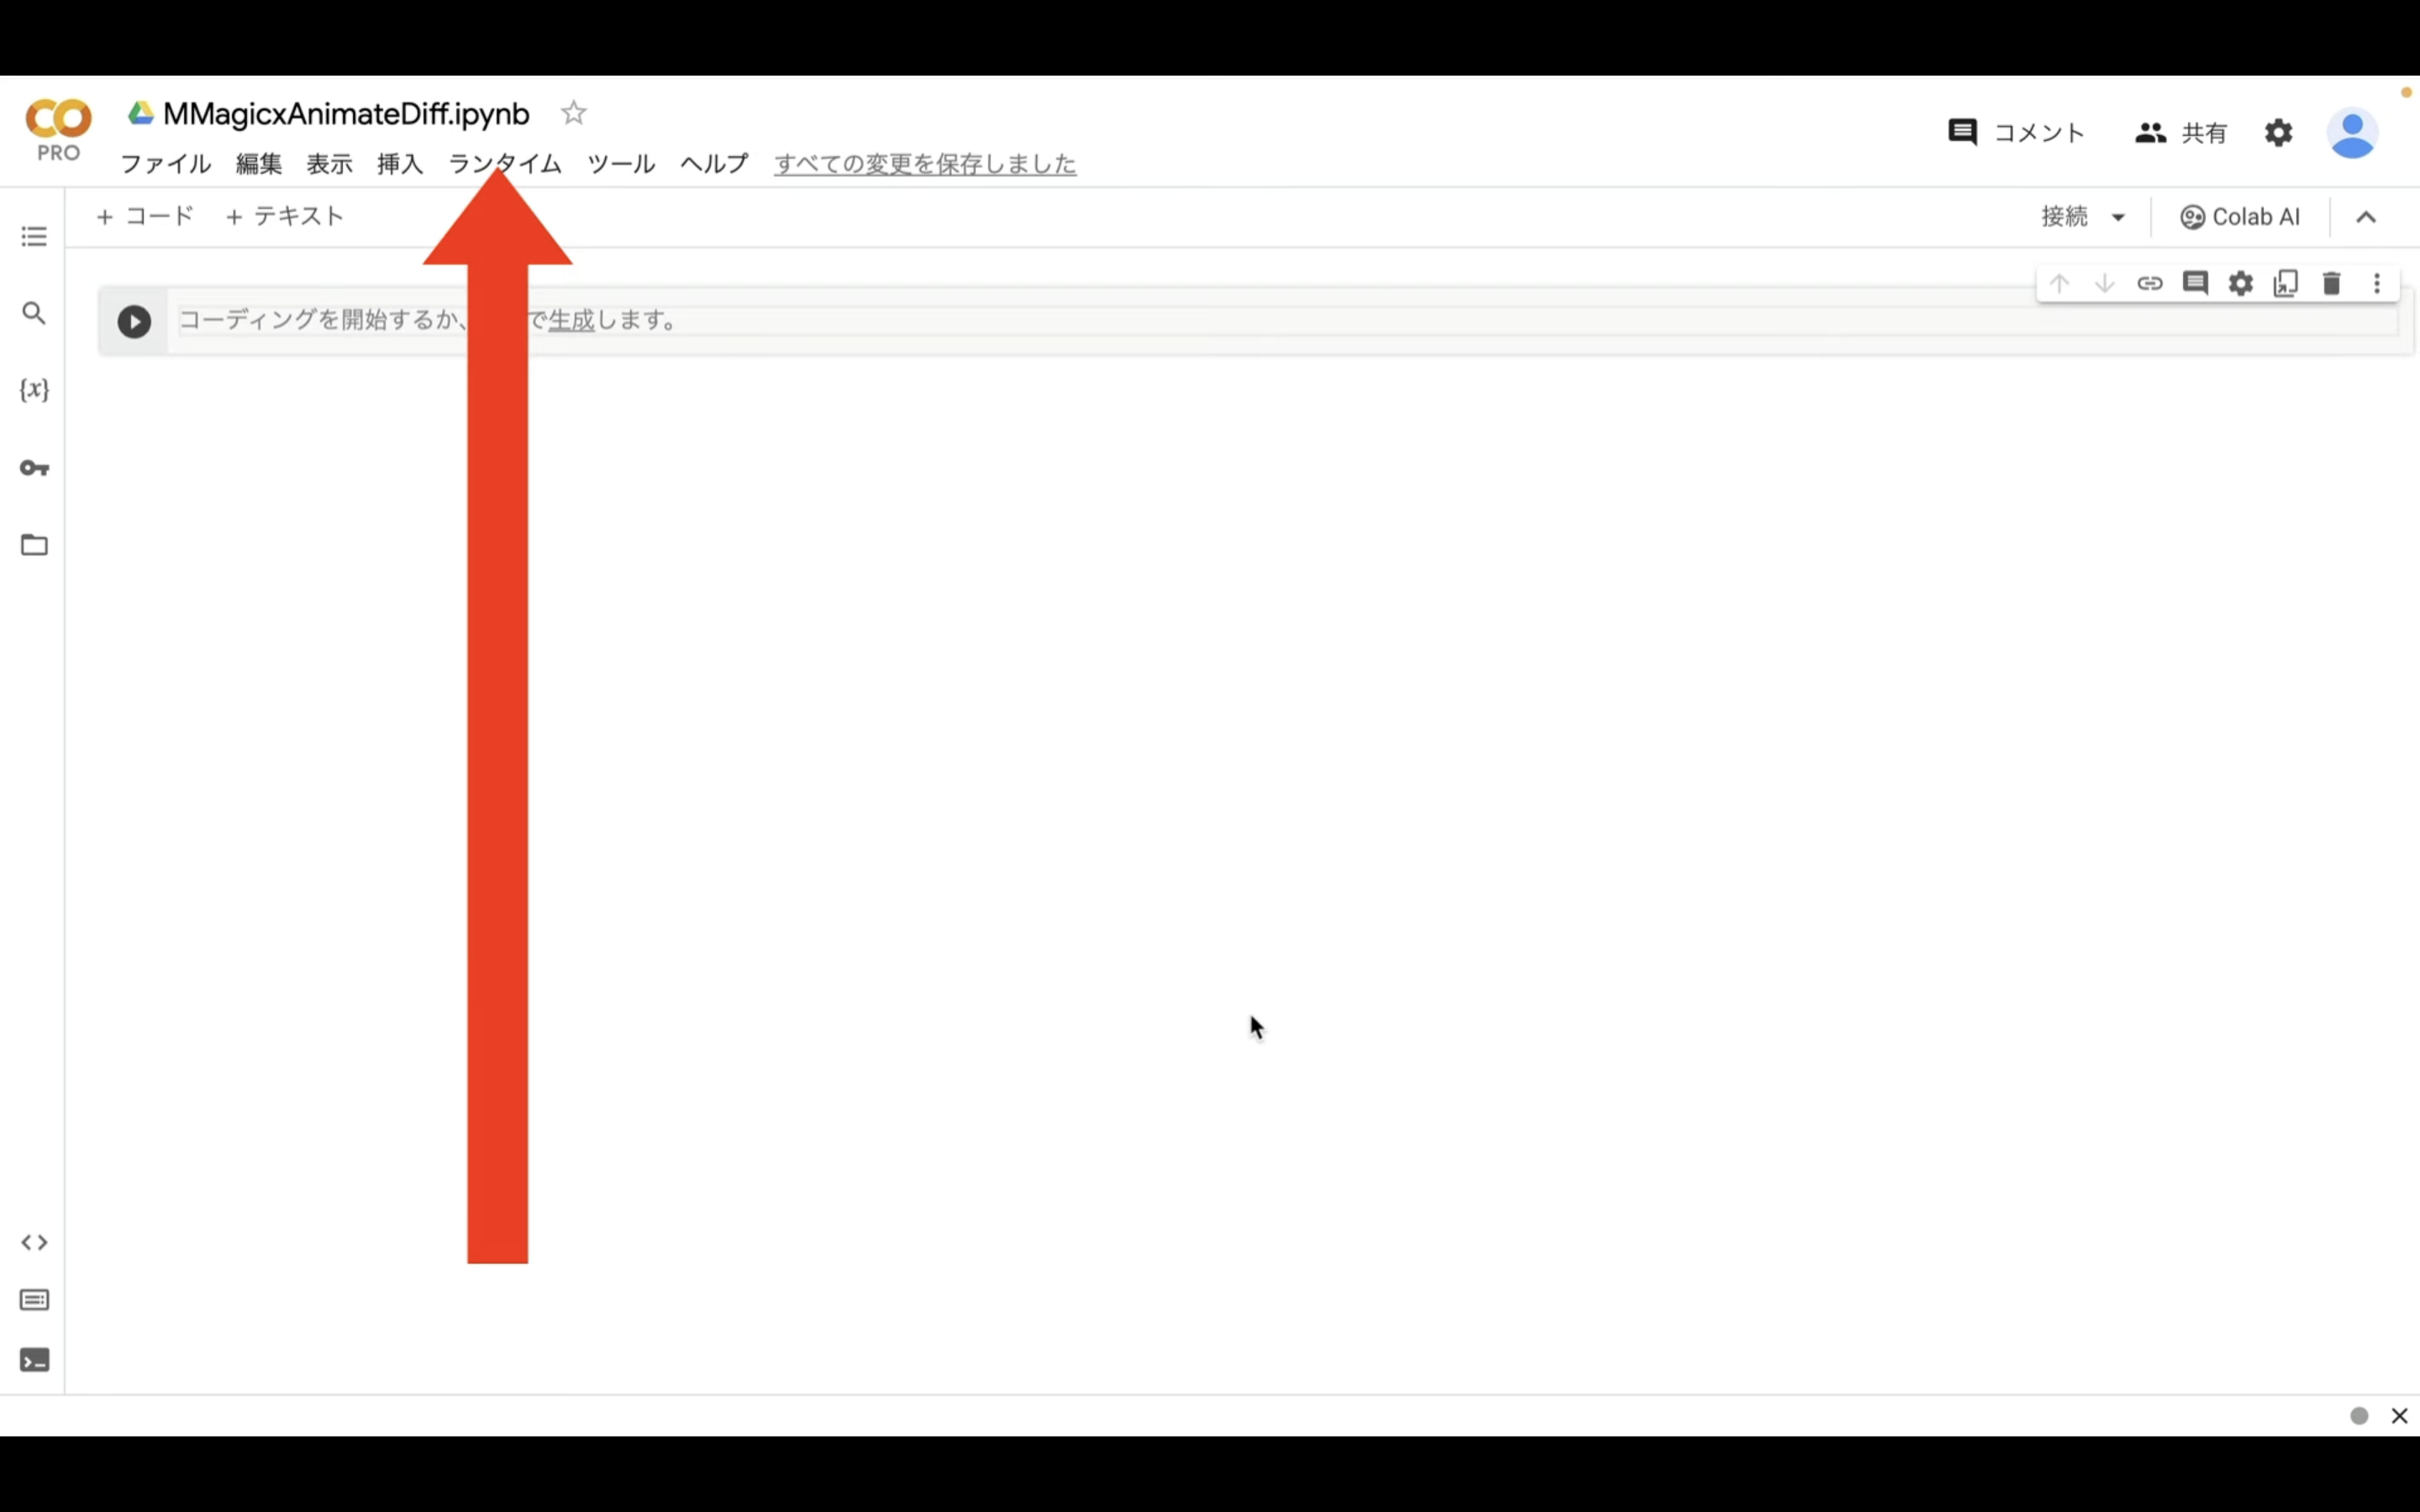
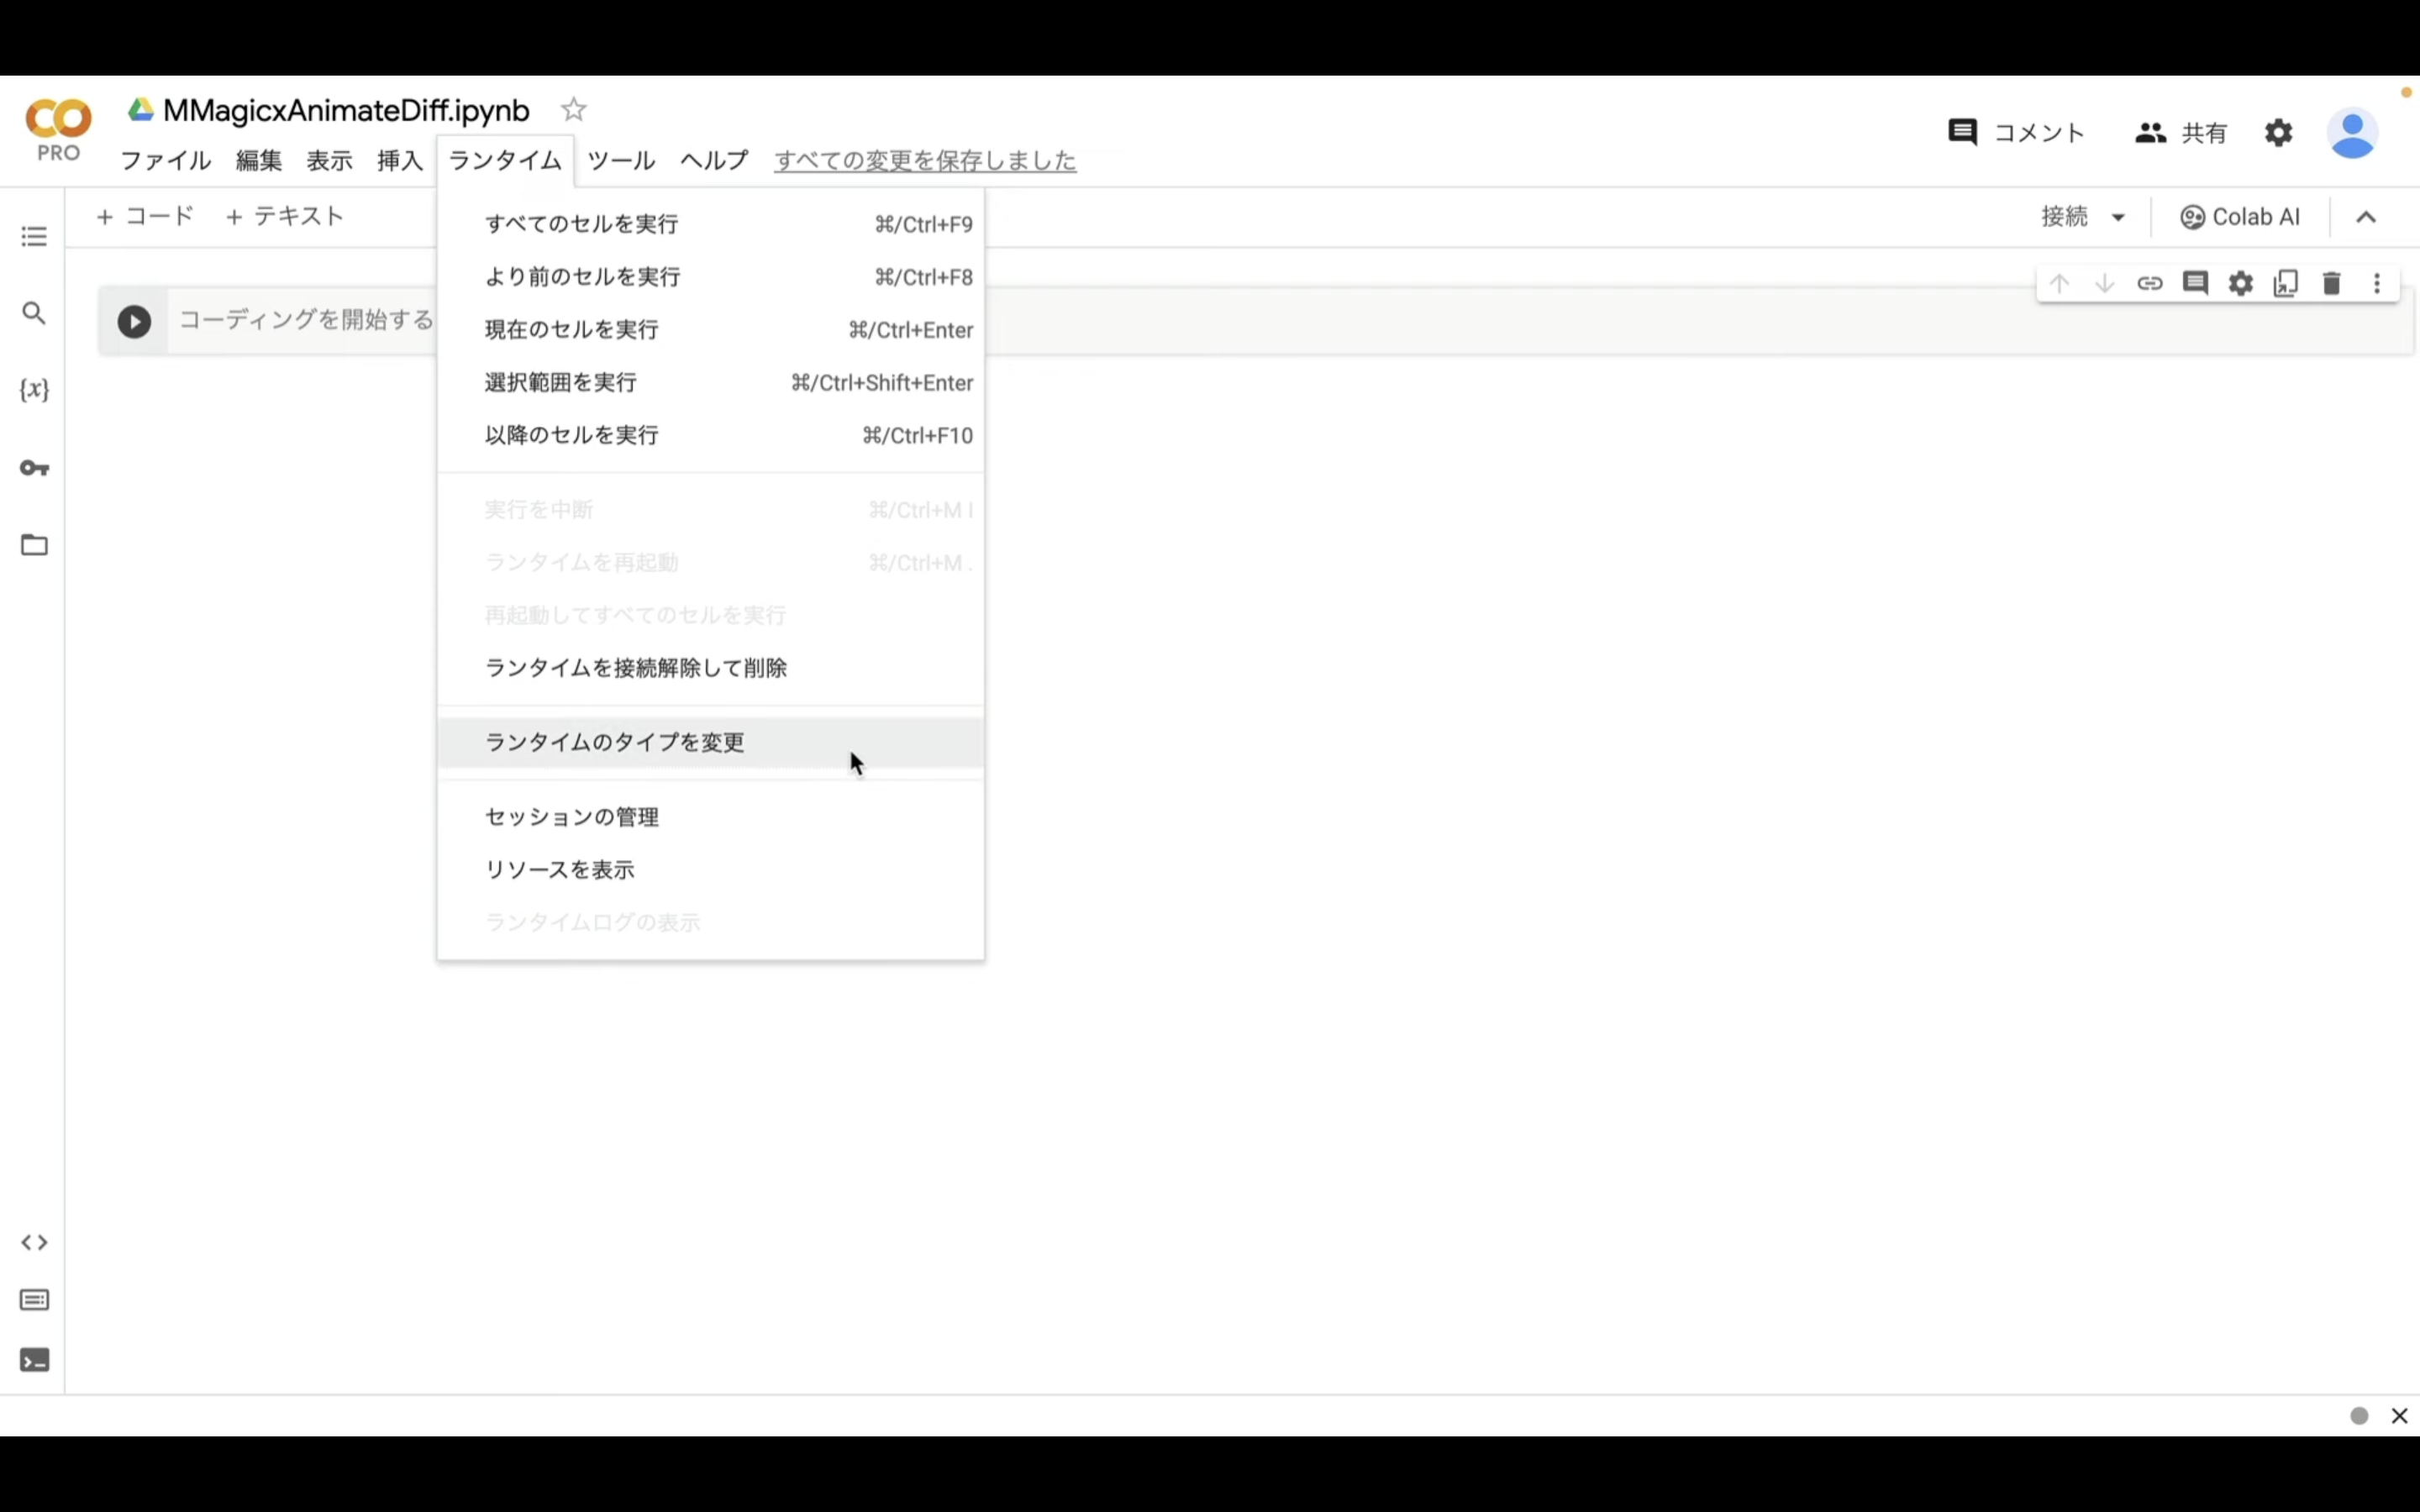
メニューからランタイムを選択し、表示されたメニューの中から「ランタイムのタイプを変更」という項目を選択します。
ランタイムのタイプはPython3のままにしておきます。
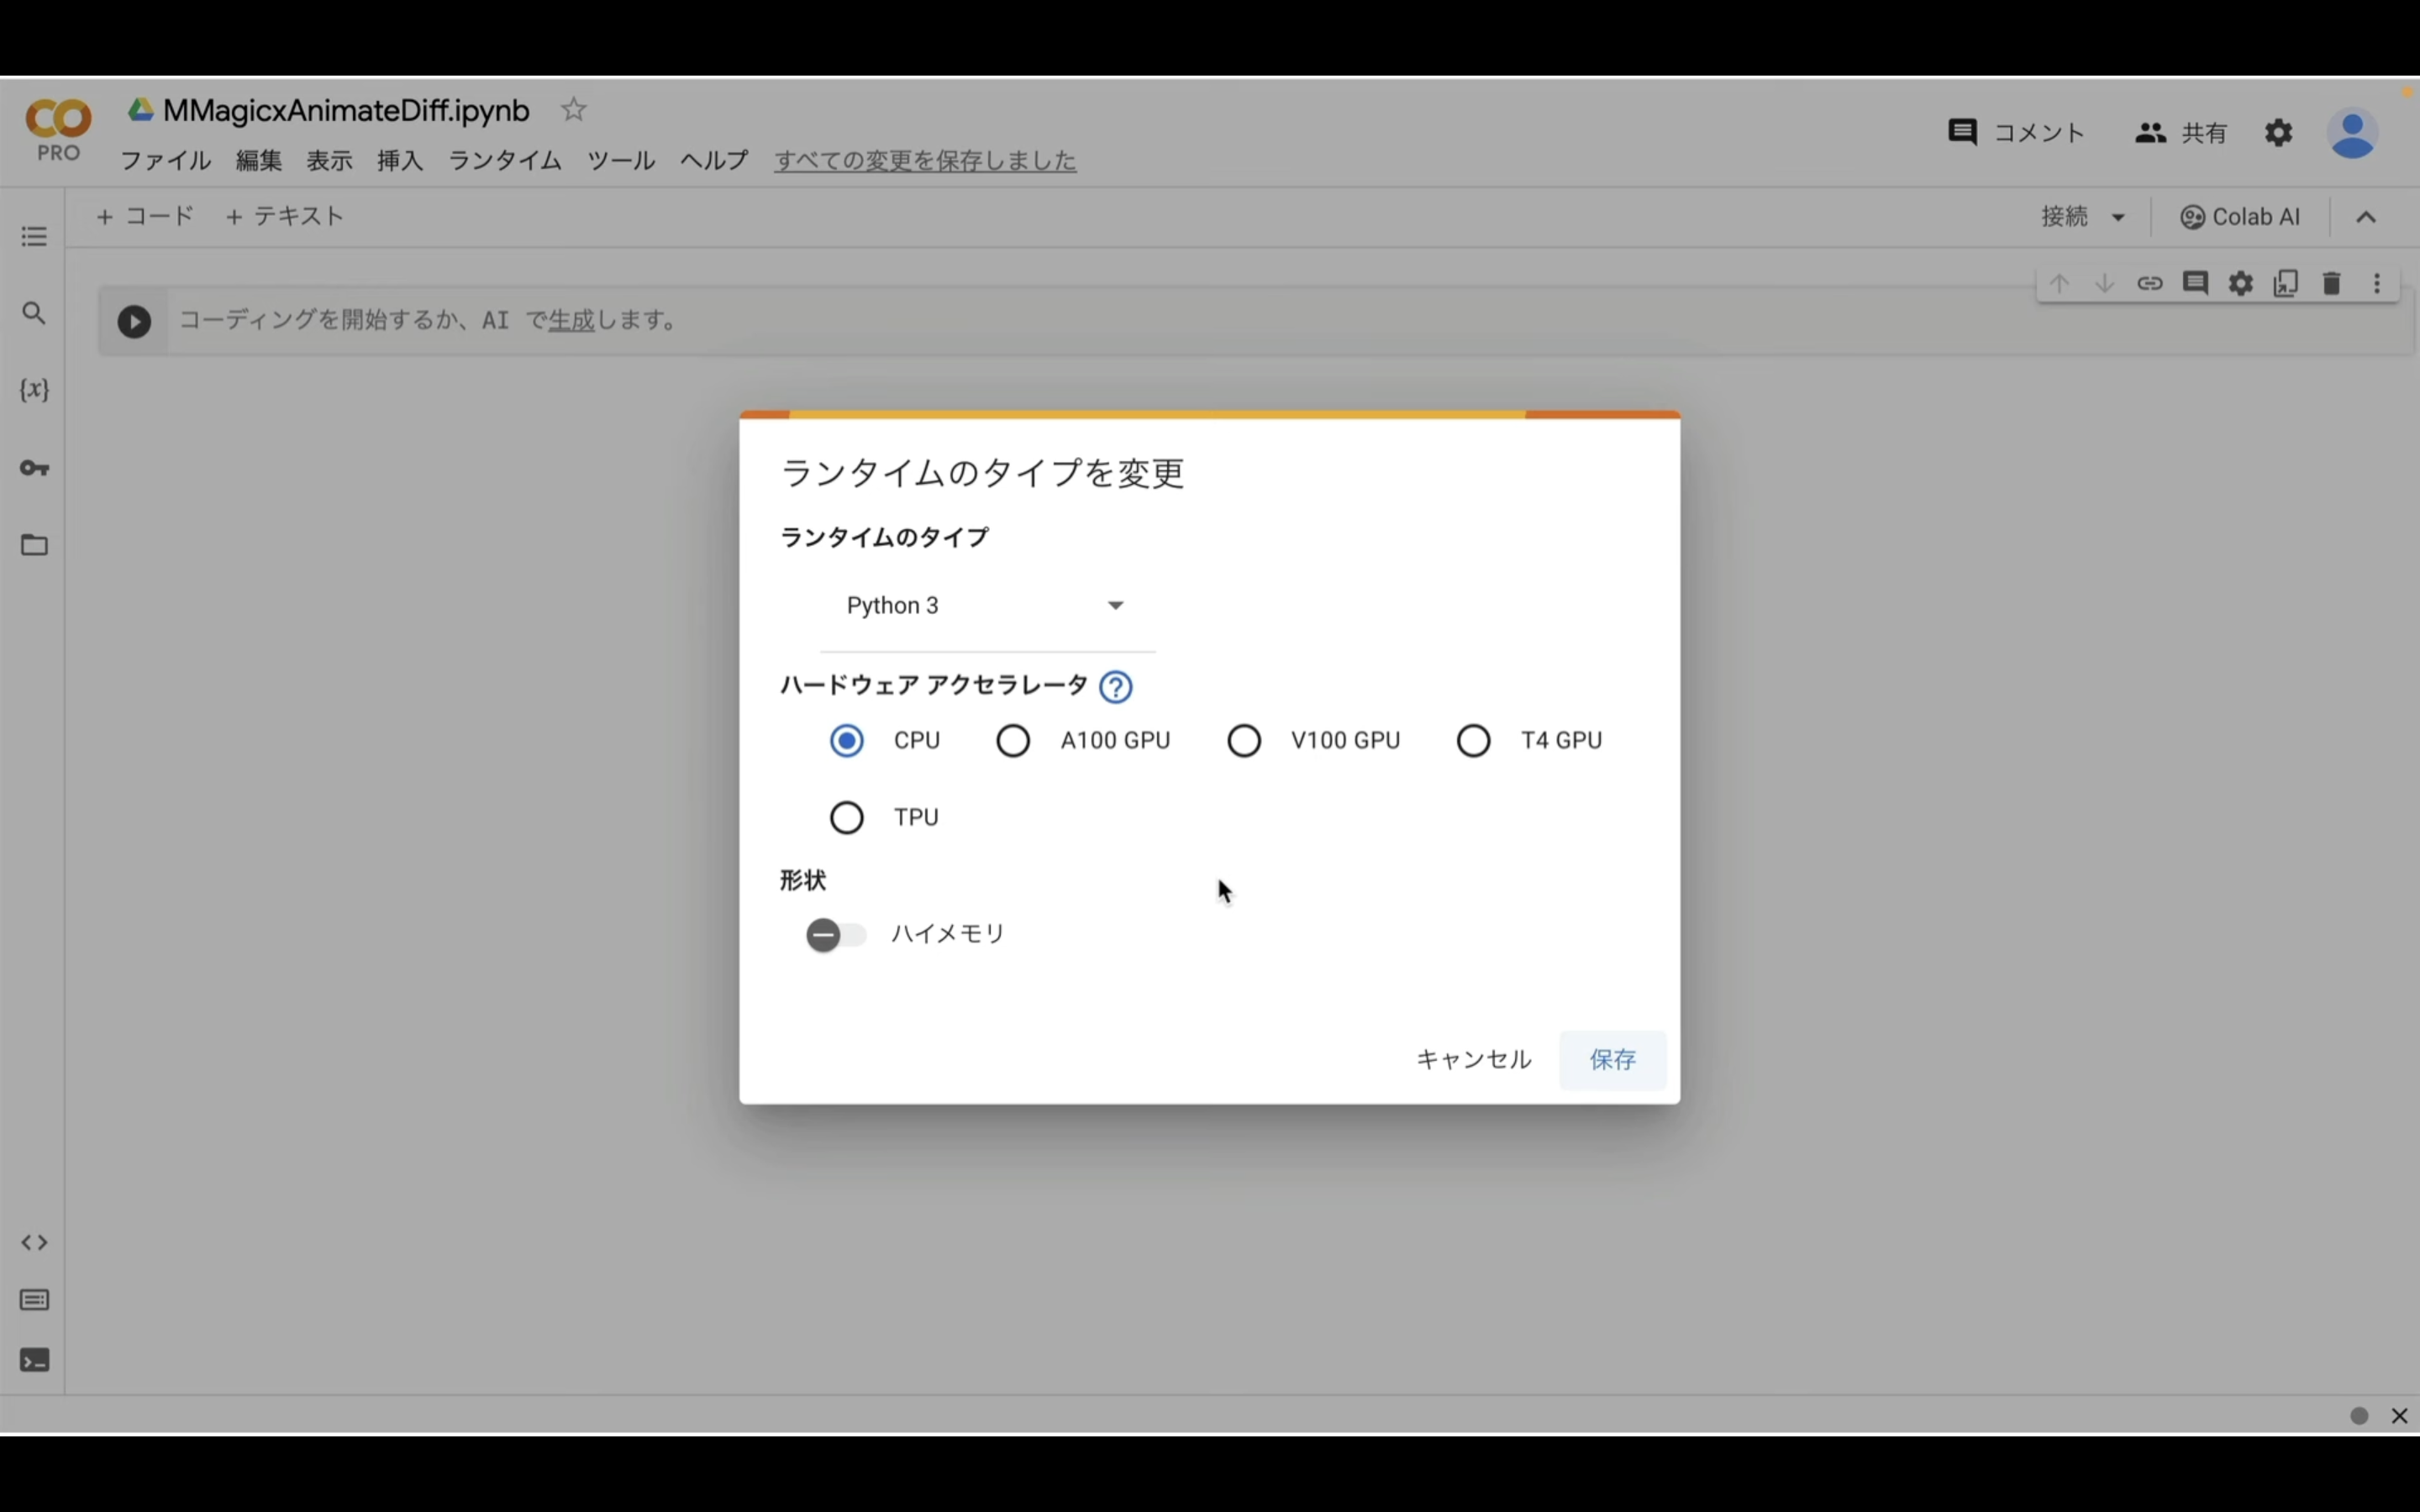
ハードウェアアクセラレーターはT4 GPUを選択します。
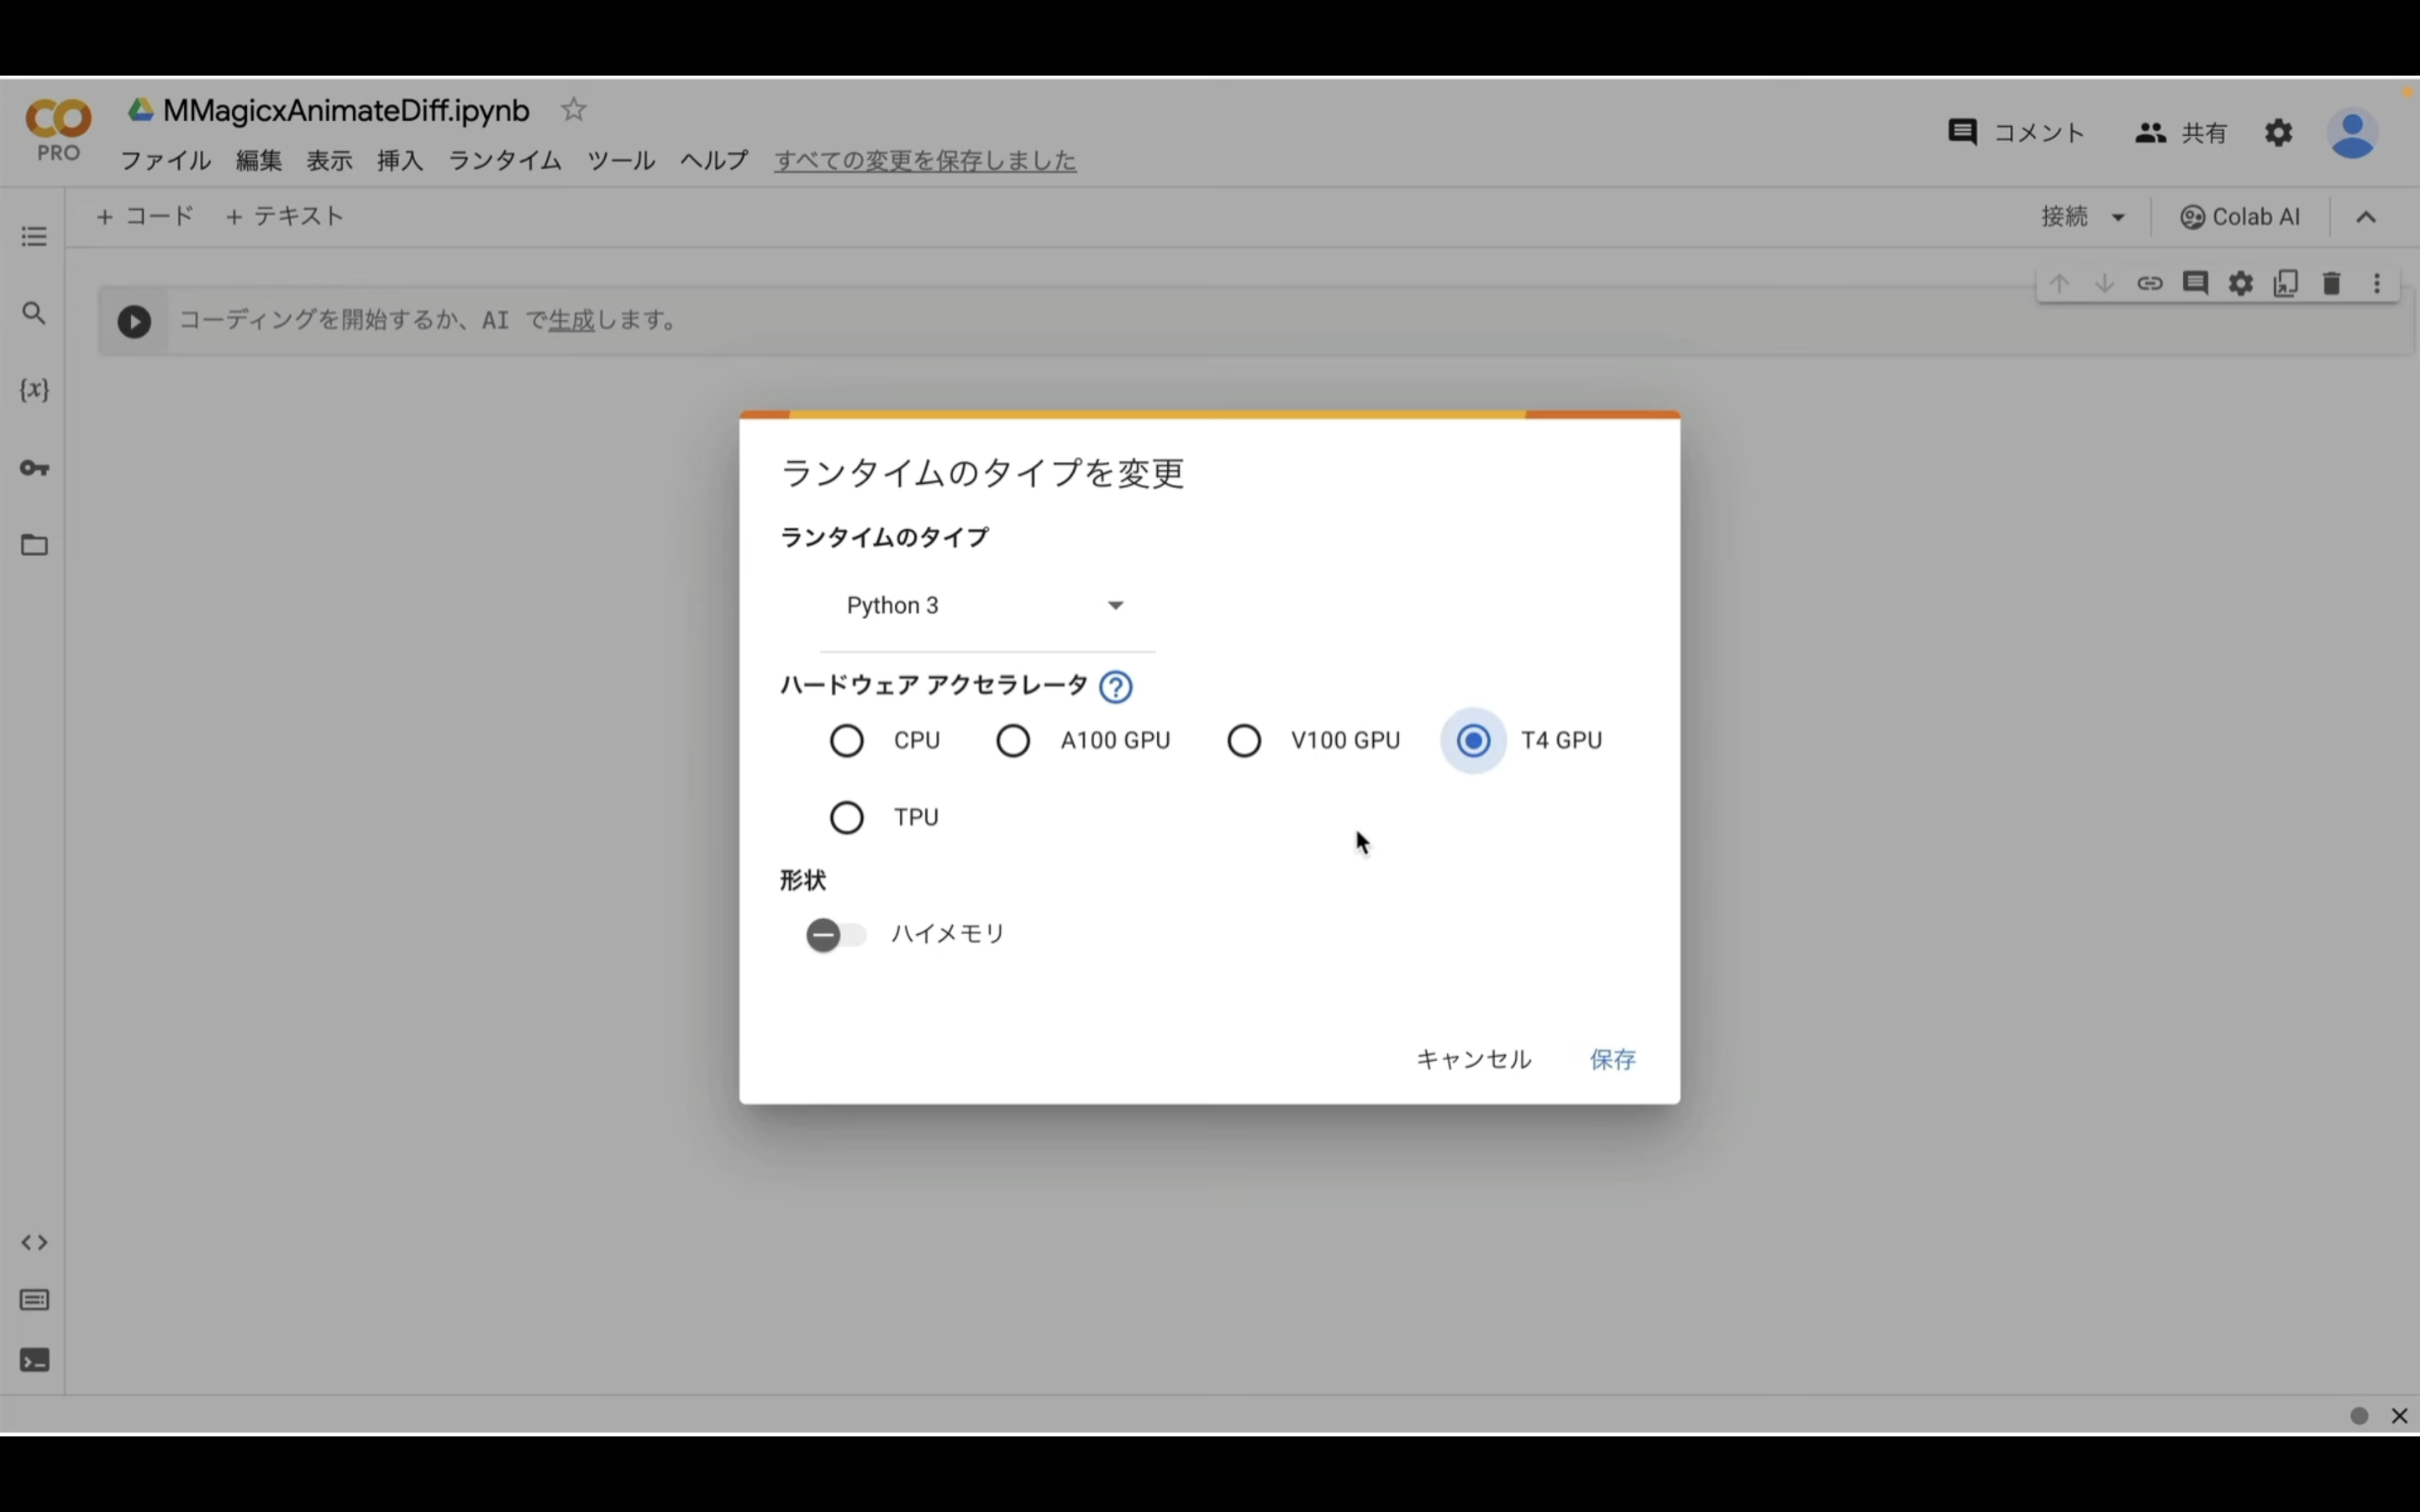
T4 GPUはGoogle Colabの無料版でも利用できます。
ただし、無料版の場合はリソースの割当てが保証されていないため、処理の途中で強制終了されてしまう可能性があります。
そのため、強制終了を防ぐためには有料プランへの切り替えが必要です。
ランタイムのタイプをこのように変更したら、保存ボタンをクリックします。
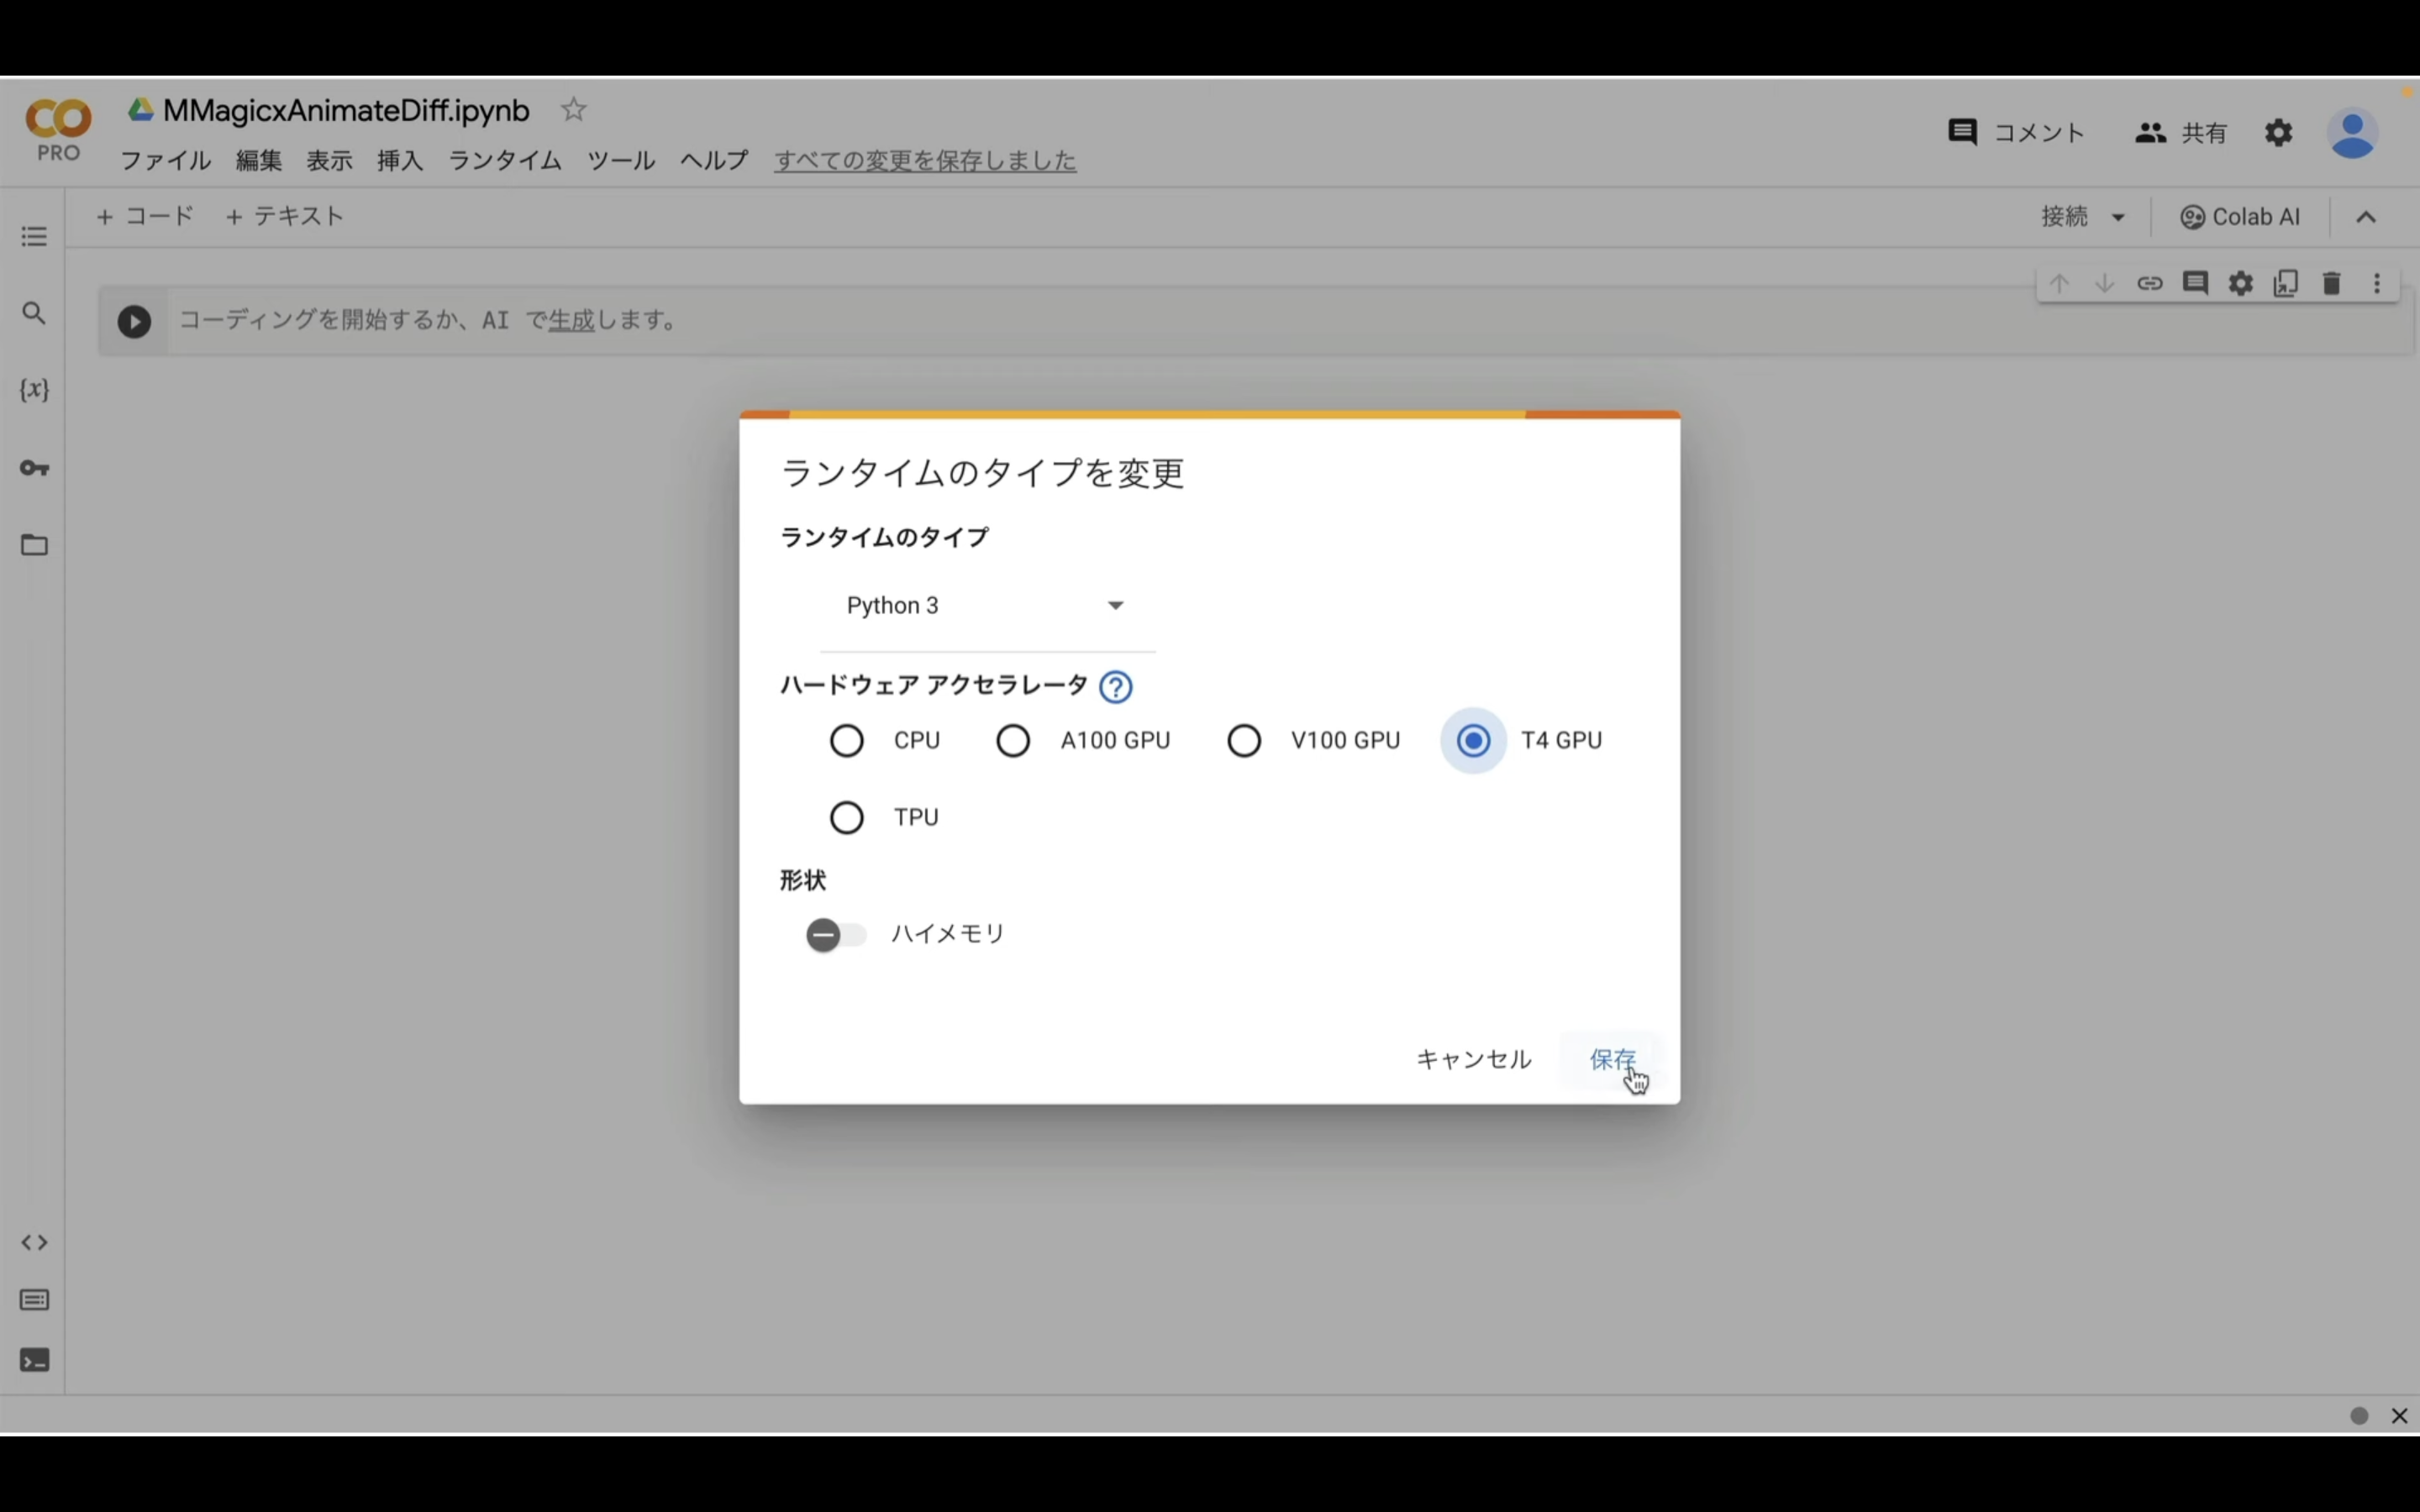
これでGoogle Colabでコードを実行するための準備が整いました。
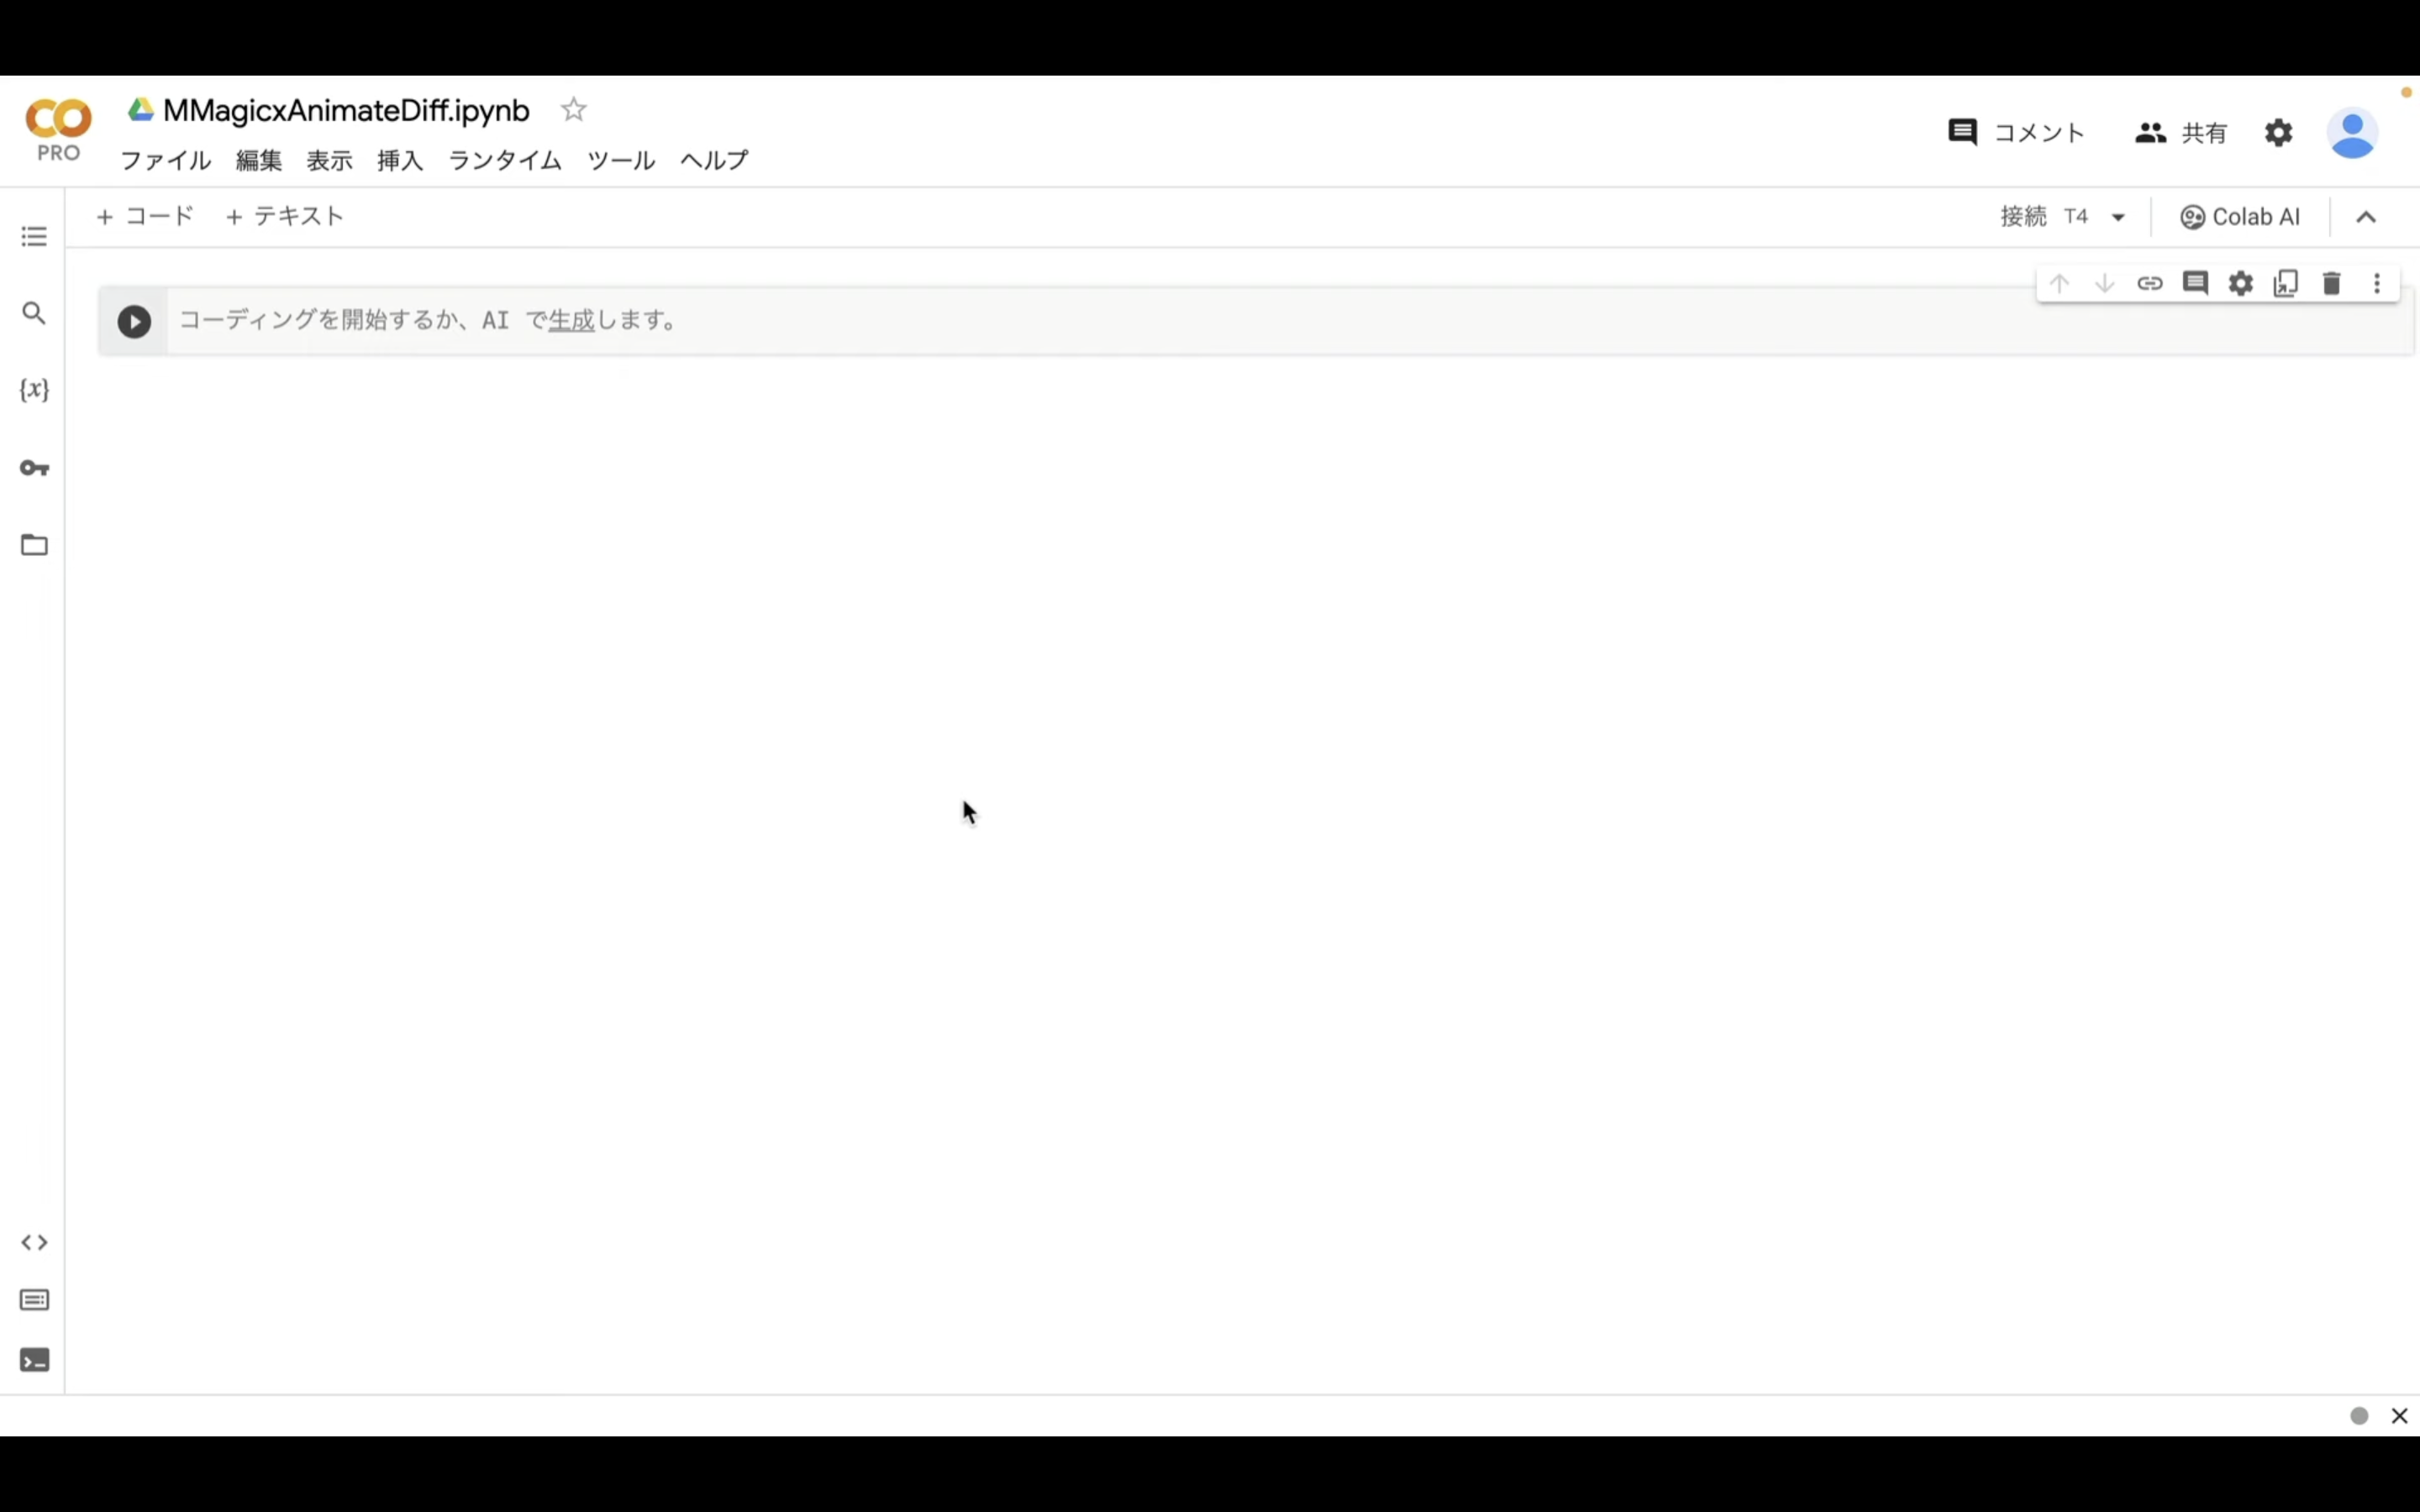
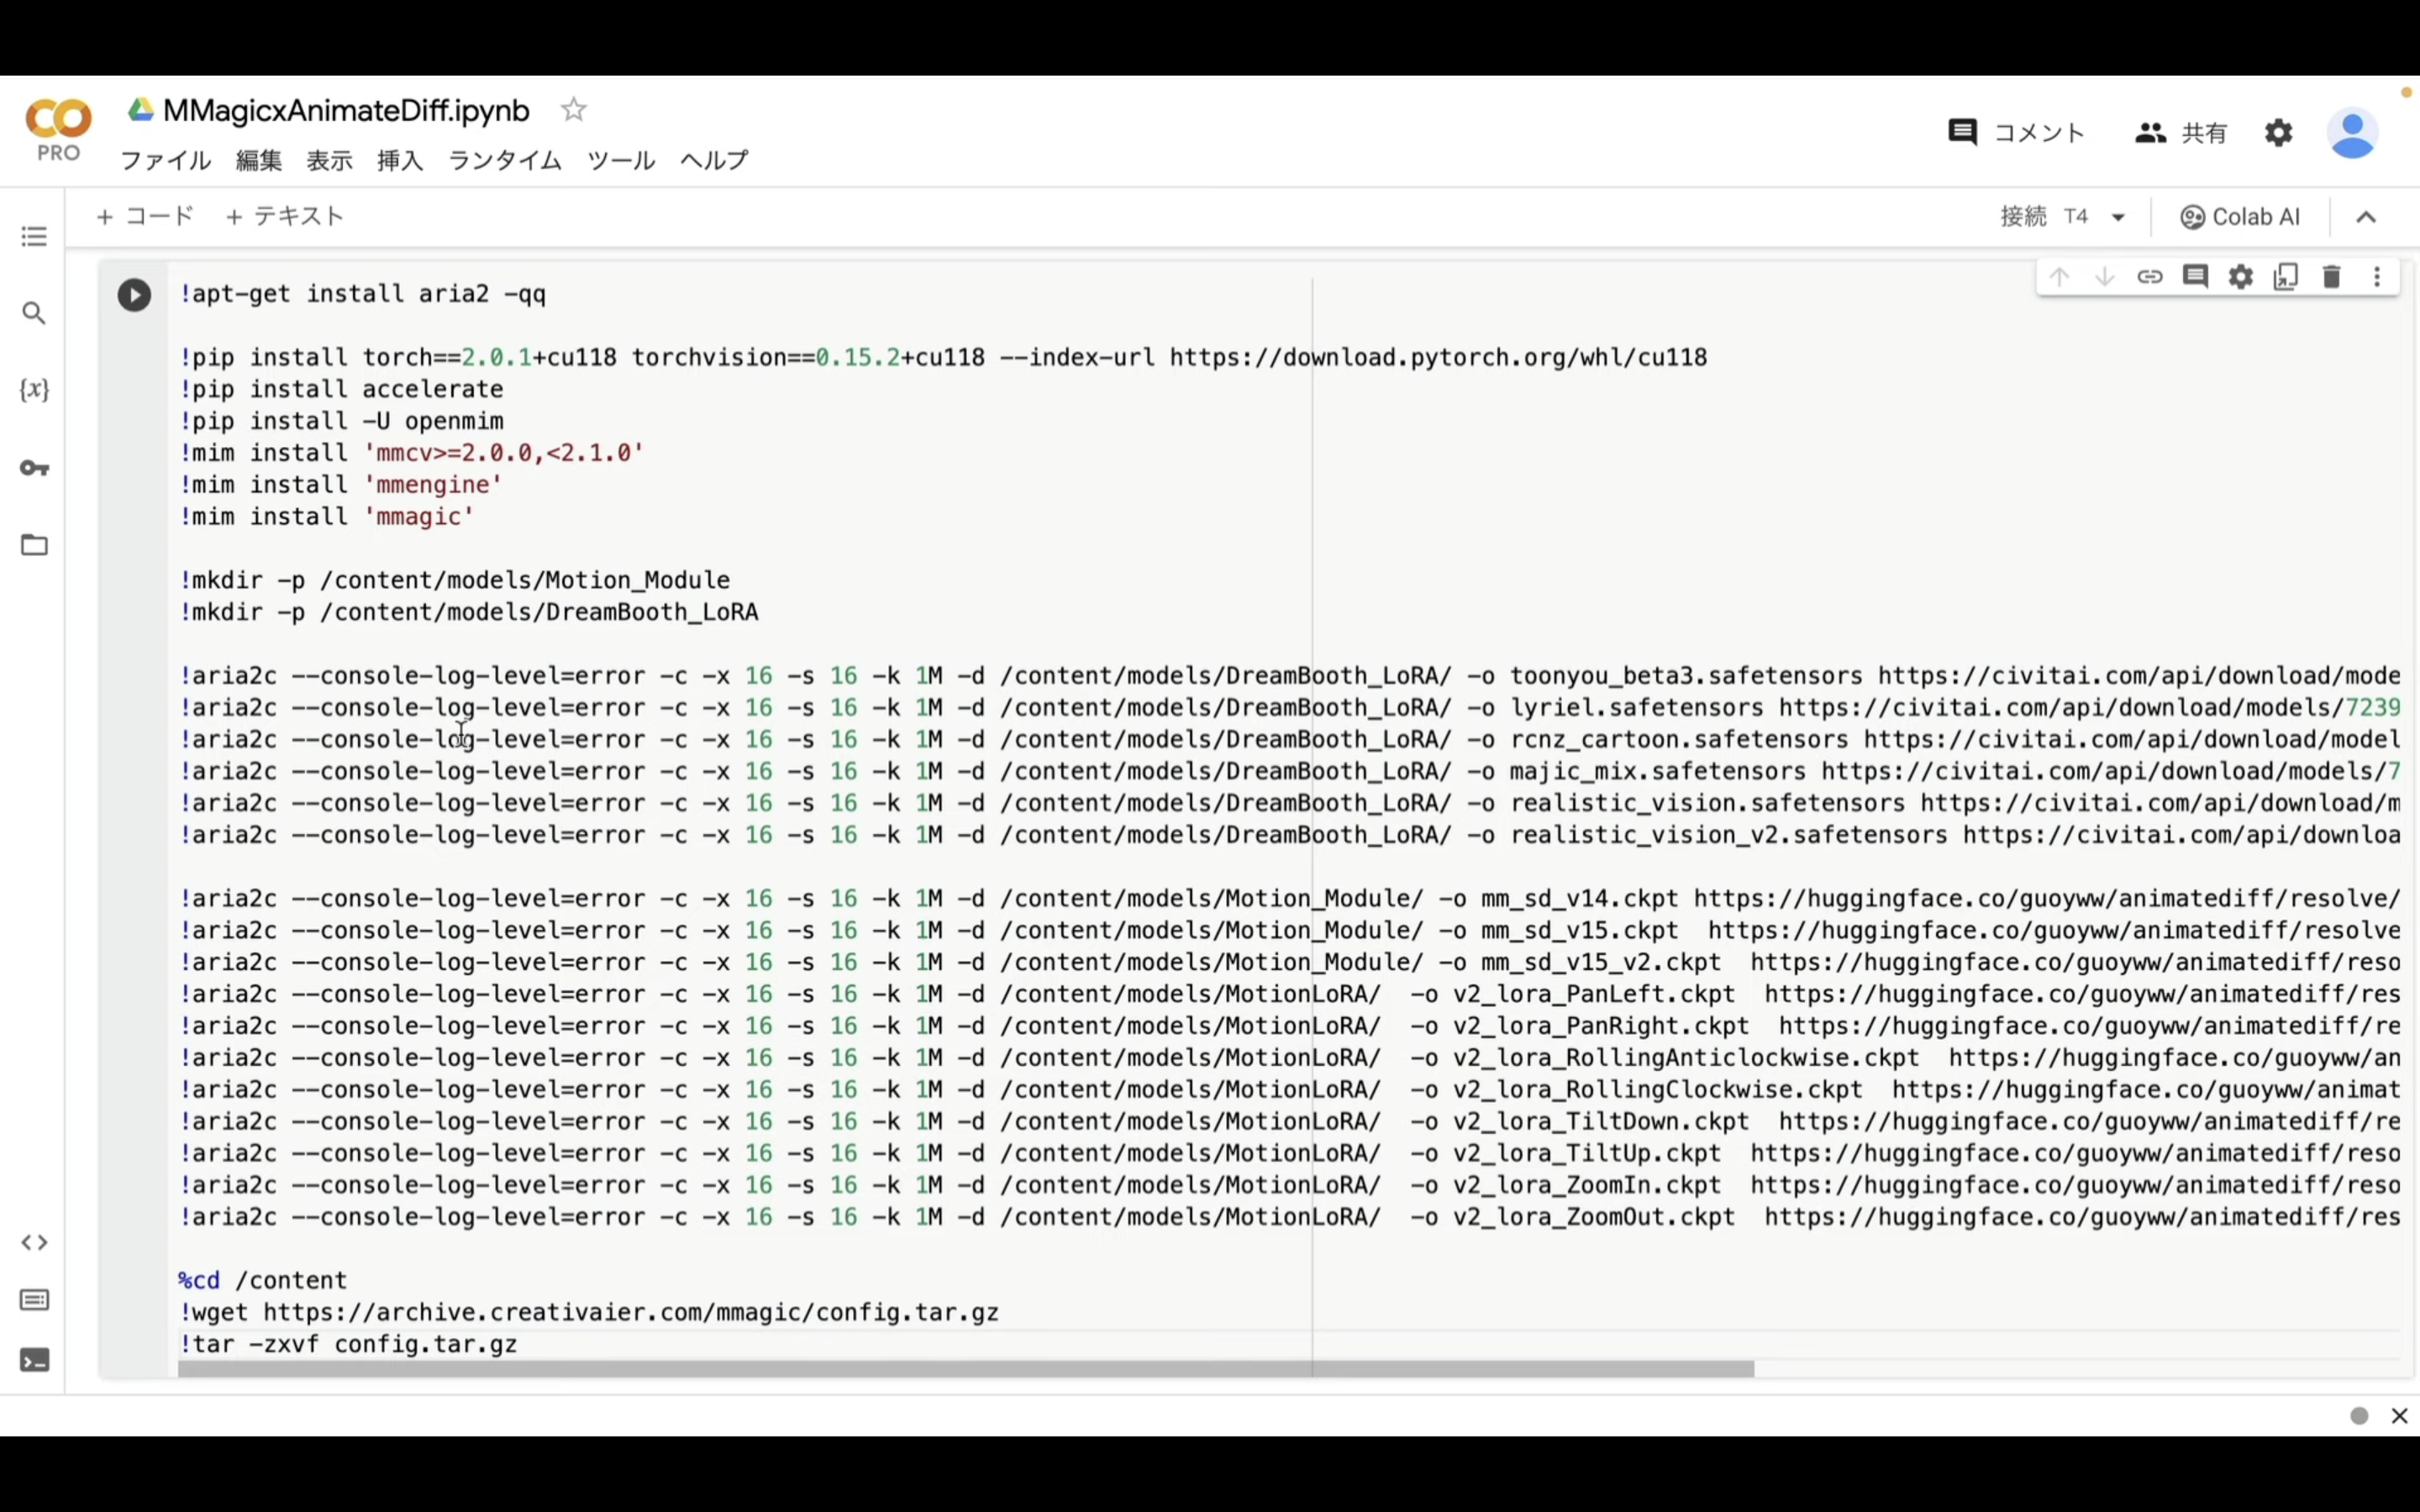
それでは早速、MMagicをインストールしていきましょう。
以下に貼ってあるテキストをコピーします。
!apt-get install aria2 -qq

!pip install torch==2.0.1+cu118 torchvision==0.15.2+cu118 --index-url https://download.pytorch.org/whl/cu118
!pip install accelerate
!pip install -U openmim
!mim install 'mmcv>=2.0.0,<2.1.0'
!mim install 'mmengine'
!mim install 'mmagic'

!mkdir -p /content/models/Motion_Module
!mkdir -p /content/models/DreamBooth_LoRA

!aria2c --console-log-level=error -c -x 16 -s 16 -k 1M -d /content/models/DreamBooth_LoRA/ -o toonyou_beta3.safetensors https://civitai.com/api/download/models/78775
!aria2c --console-log-level=error -c -x 16 -s 16 -k 1M -d /content/models/DreamBooth_LoRA/ -o lyriel.safetensors https://civitai.com/api/download/models/72396
!aria2c --console-log-level=error -c -x 16 -s 16 -k 1M -d /content/models/DreamBooth_LoRA/ -o rcnz_cartoon.safetensors https://civitai.com/api/download/models/71009
!aria2c --console-log-level=error -c -x 16 -s 16 -k 1M -d /content/models/DreamBooth_LoRA/ -o majic_mix.safetensors https://civitai.com/api/download/models/79068
!aria2c --console-log-level=error -c -x 16 -s 16 -k 1M -d /content/models/DreamBooth_LoRA/ -o realistic_vision.safetensors https://civitai.com/api/download/models/29460
!aria2c --console-log-level=error -c -x 16 -s 16 -k 1M -d /content/models/DreamBooth_LoRA/ -o realistic_vision_v2.safetensors https://civitai.com/api/download/models/42247

!aria2c --console-log-level=error -c -x 16 -s 16 -k 1M -d /content/models/Motion_Module/ -o mm_sd_v14.ckpt https://huggingface.co/guoyww/animatediff/resolve/main/mm_sd_v14.ckpt
!aria2c --console-log-level=error -c -x 16 -s 16 -k 1M -d /content/models/Motion_Module/ -o mm_sd_v15.ckpt  https://huggingface.co/guoyww/animatediff/resolve/main/mm_sd_v15.ckpt
!aria2c --console-log-level=error -c -x 16 -s 16 -k 1M -d /content/models/Motion_Module/ -o mm_sd_v15_v2.ckpt  https://huggingface.co/guoyww/animatediff/resolve/main/mm_sd_v15_v2.ckpt
!aria2c --console-log-level=error -c -x 16 -s 16 -k 1M -d /content/models/MotionLoRA/  -o v2_lora_PanLeft.ckpt  https://huggingface.co/guoyww/animatediff/resolve/main/v2_lora_PanLeft.ckpt
!aria2c --console-log-level=error -c -x 16 -s 16 -k 1M -d /content/models/MotionLoRA/  -o v2_lora_PanRight.ckpt  https://huggingface.co/guoyww/animatediff/resolve/main/v2_lora_PanRight.ckpt
!aria2c --console-log-level=error -c -x 16 -s 16 -k 1M -d /content/models/MotionLoRA/  -o v2_lora_RollingAnticlockwise.ckpt  https://huggingface.co/guoyww/animatediff/resolve/main/v2_lora_RollingAnticlockwise.ckpt
!aria2c --console-log-level=error -c -x 16 -s 16 -k 1M -d /content/models/MotionLoRA/  -o v2_lora_RollingClockwise.ckpt  https://huggingface.co/guoyww/animatediff/resolve/main/v2_lora_RollingClockwise.ckpt
!aria2c --console-log-level=error -c -x 16 -s 16 -k 1M -d /content/models/MotionLoRA/  -o v2_lora_TiltDown.ckpt  https://huggingface.co/guoyww/animatediff/resolve/main/v2_lora_TiltDown.ckpt
!aria2c --console-log-level=error -c -x 16 -s 16 -k 1M -d /content/models/MotionLoRA/  -o v2_lora_TiltUp.ckpt  https://huggingface.co/guoyww/animatediff/resolve/main/v2_lora_TiltUp.ckpt
!aria2c --console-log-level=error -c -x 16 -s 16 -k 1M -d /content/models/MotionLoRA/  -o v2_lora_ZoomIn.ckpt  https://huggingface.co/guoyww/animatediff/resolve/main/v2_lora_ZoomIn.ckpt
!aria2c --console-log-level=error -c -x 16 -s 16 -k 1M -d /content/models/MotionLoRA/  -o v2_lora_ZoomOut.ckpt  https://huggingface.co/guoyww/animatediff/resolve/main/v2_lora_ZoomOut.ckpt

%cd /content
!wget https://archive.creativaier.com/mmagic/config.tar.gz
!tar -zxvf config.tar.gz
テキストをコピーしたら、Google Colabの画面に戻ります。
そしてテキストボックスに先ほどコピーしたテキストを貼り付けます。
テキストを貼り付けたら、左上の再生ボタンをクリックします。
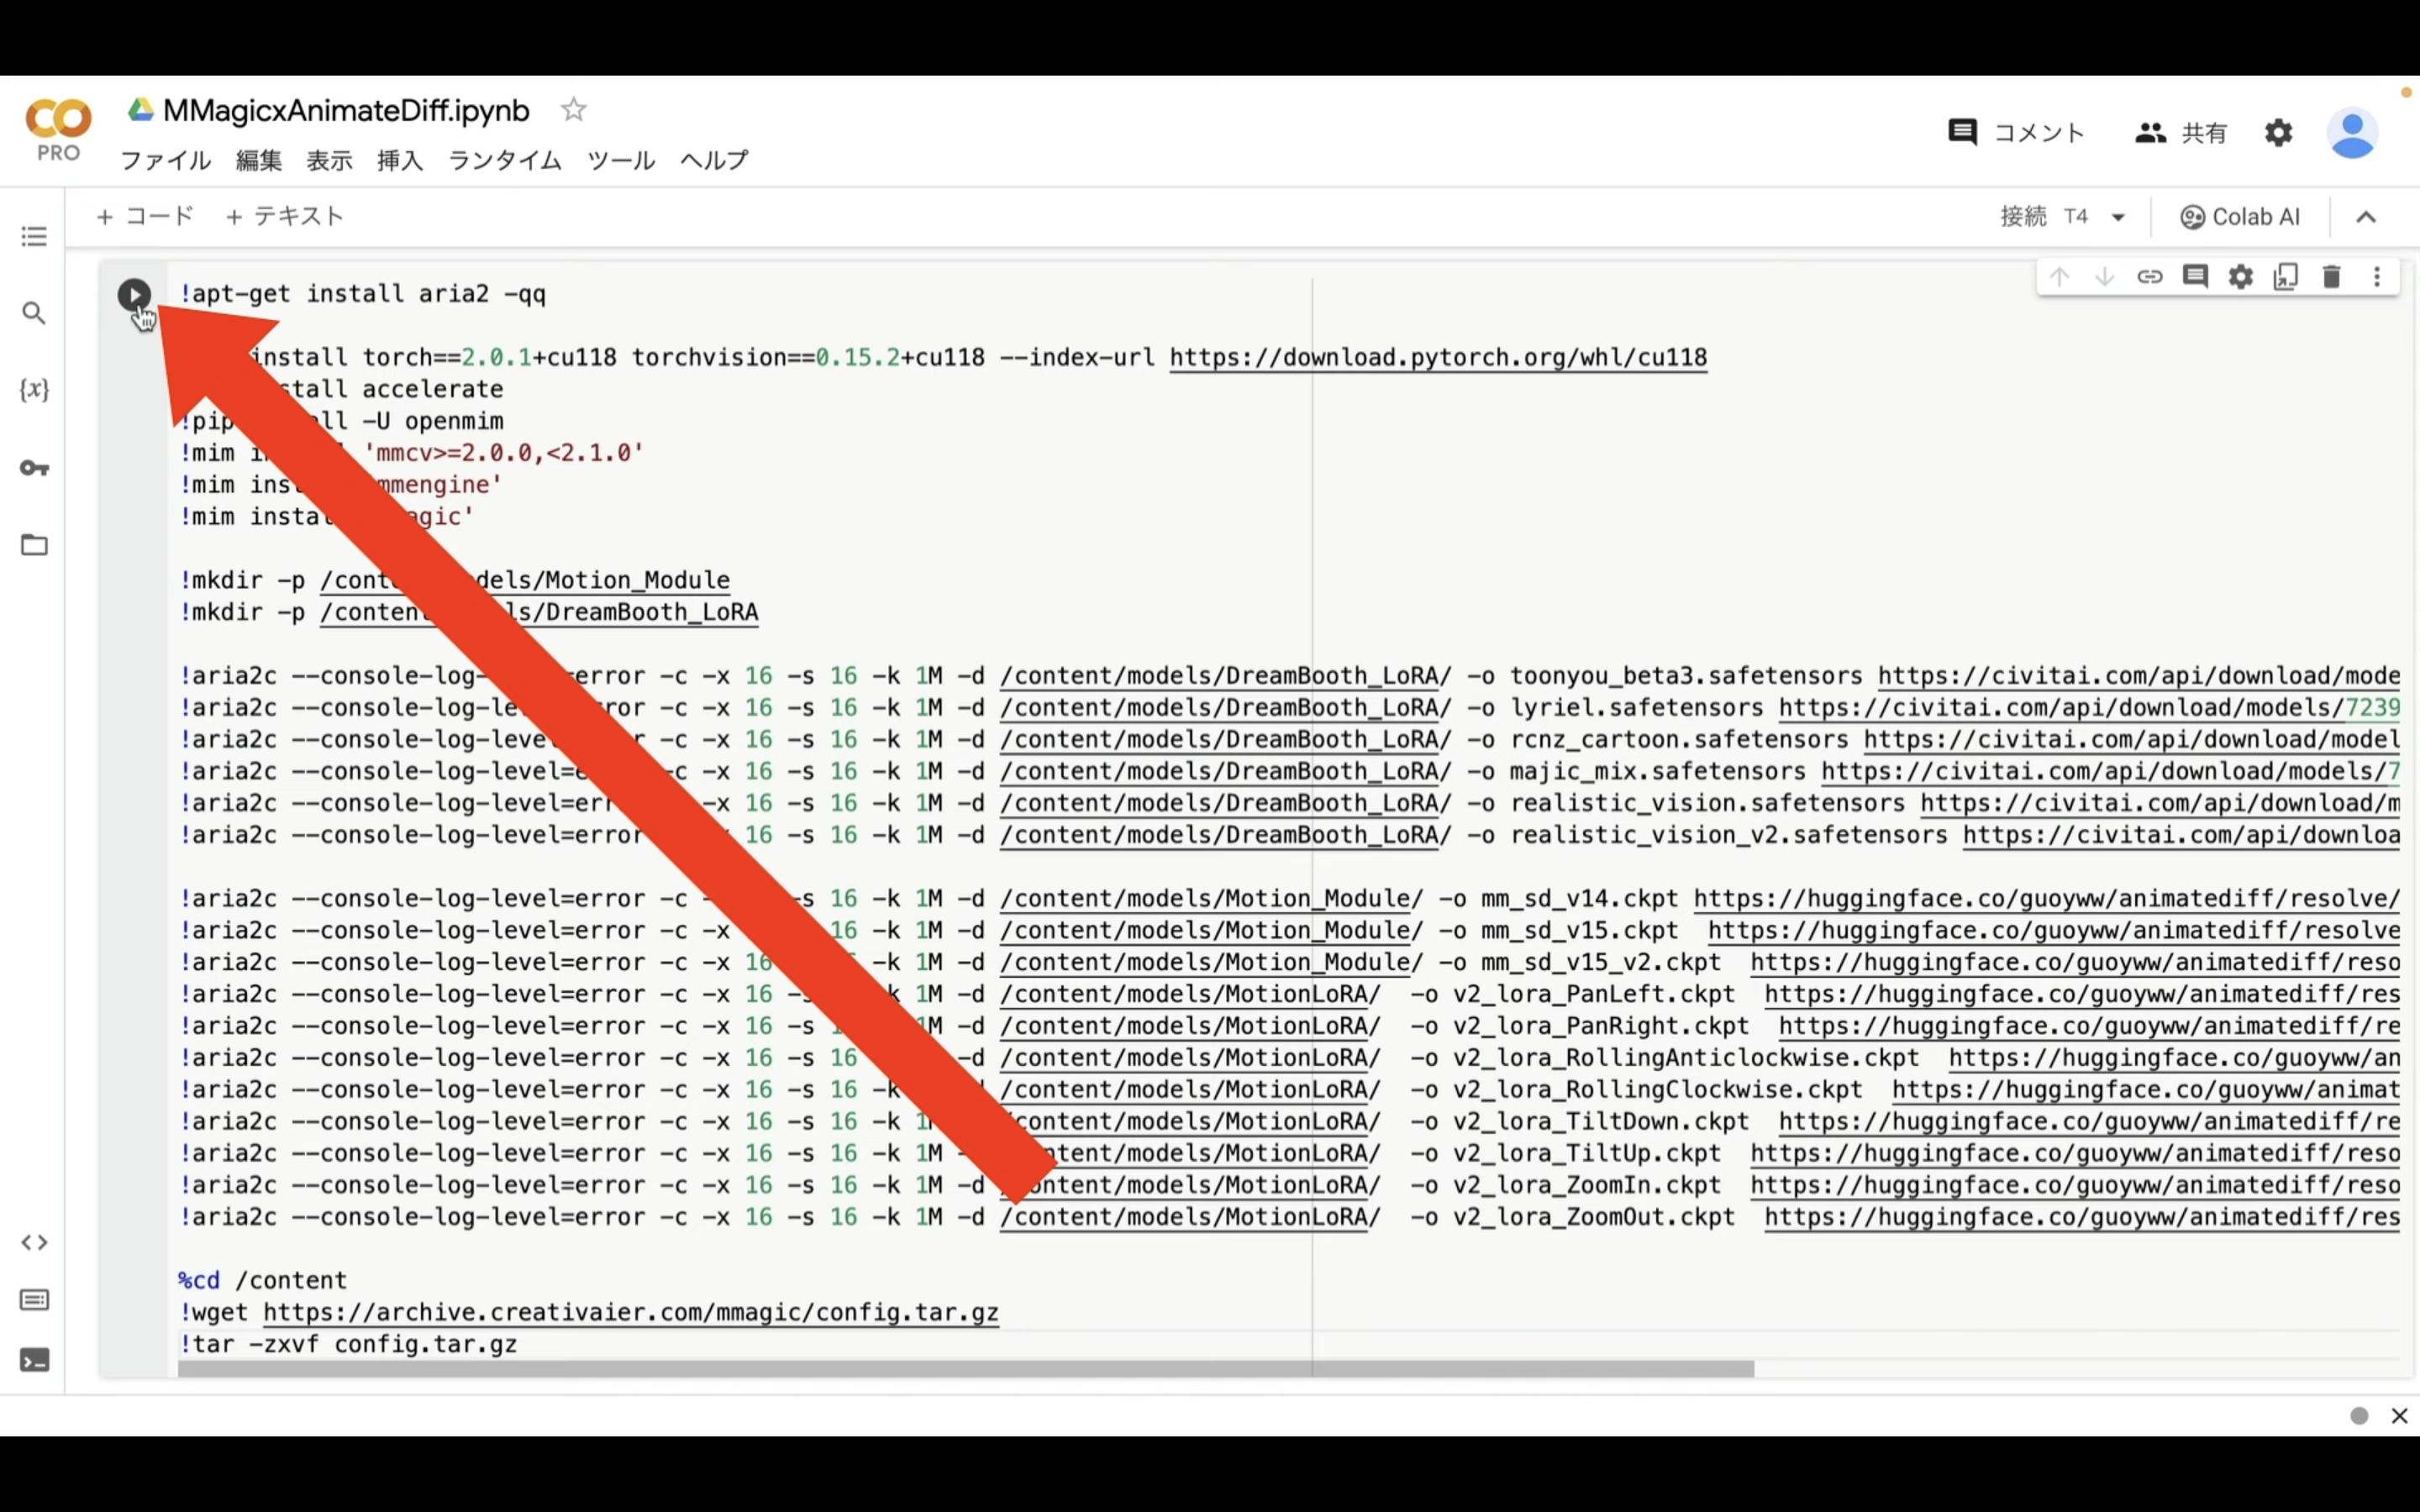
これでMMagicのインストールコマンドの実行が開始されます。
この処理には5分以上かかると思います。
しばらく待っていると、インストールコマンドの実行が完了します。
処理が完了したら、再生ボタンの左側に緑色のチェックマークが表示されます。
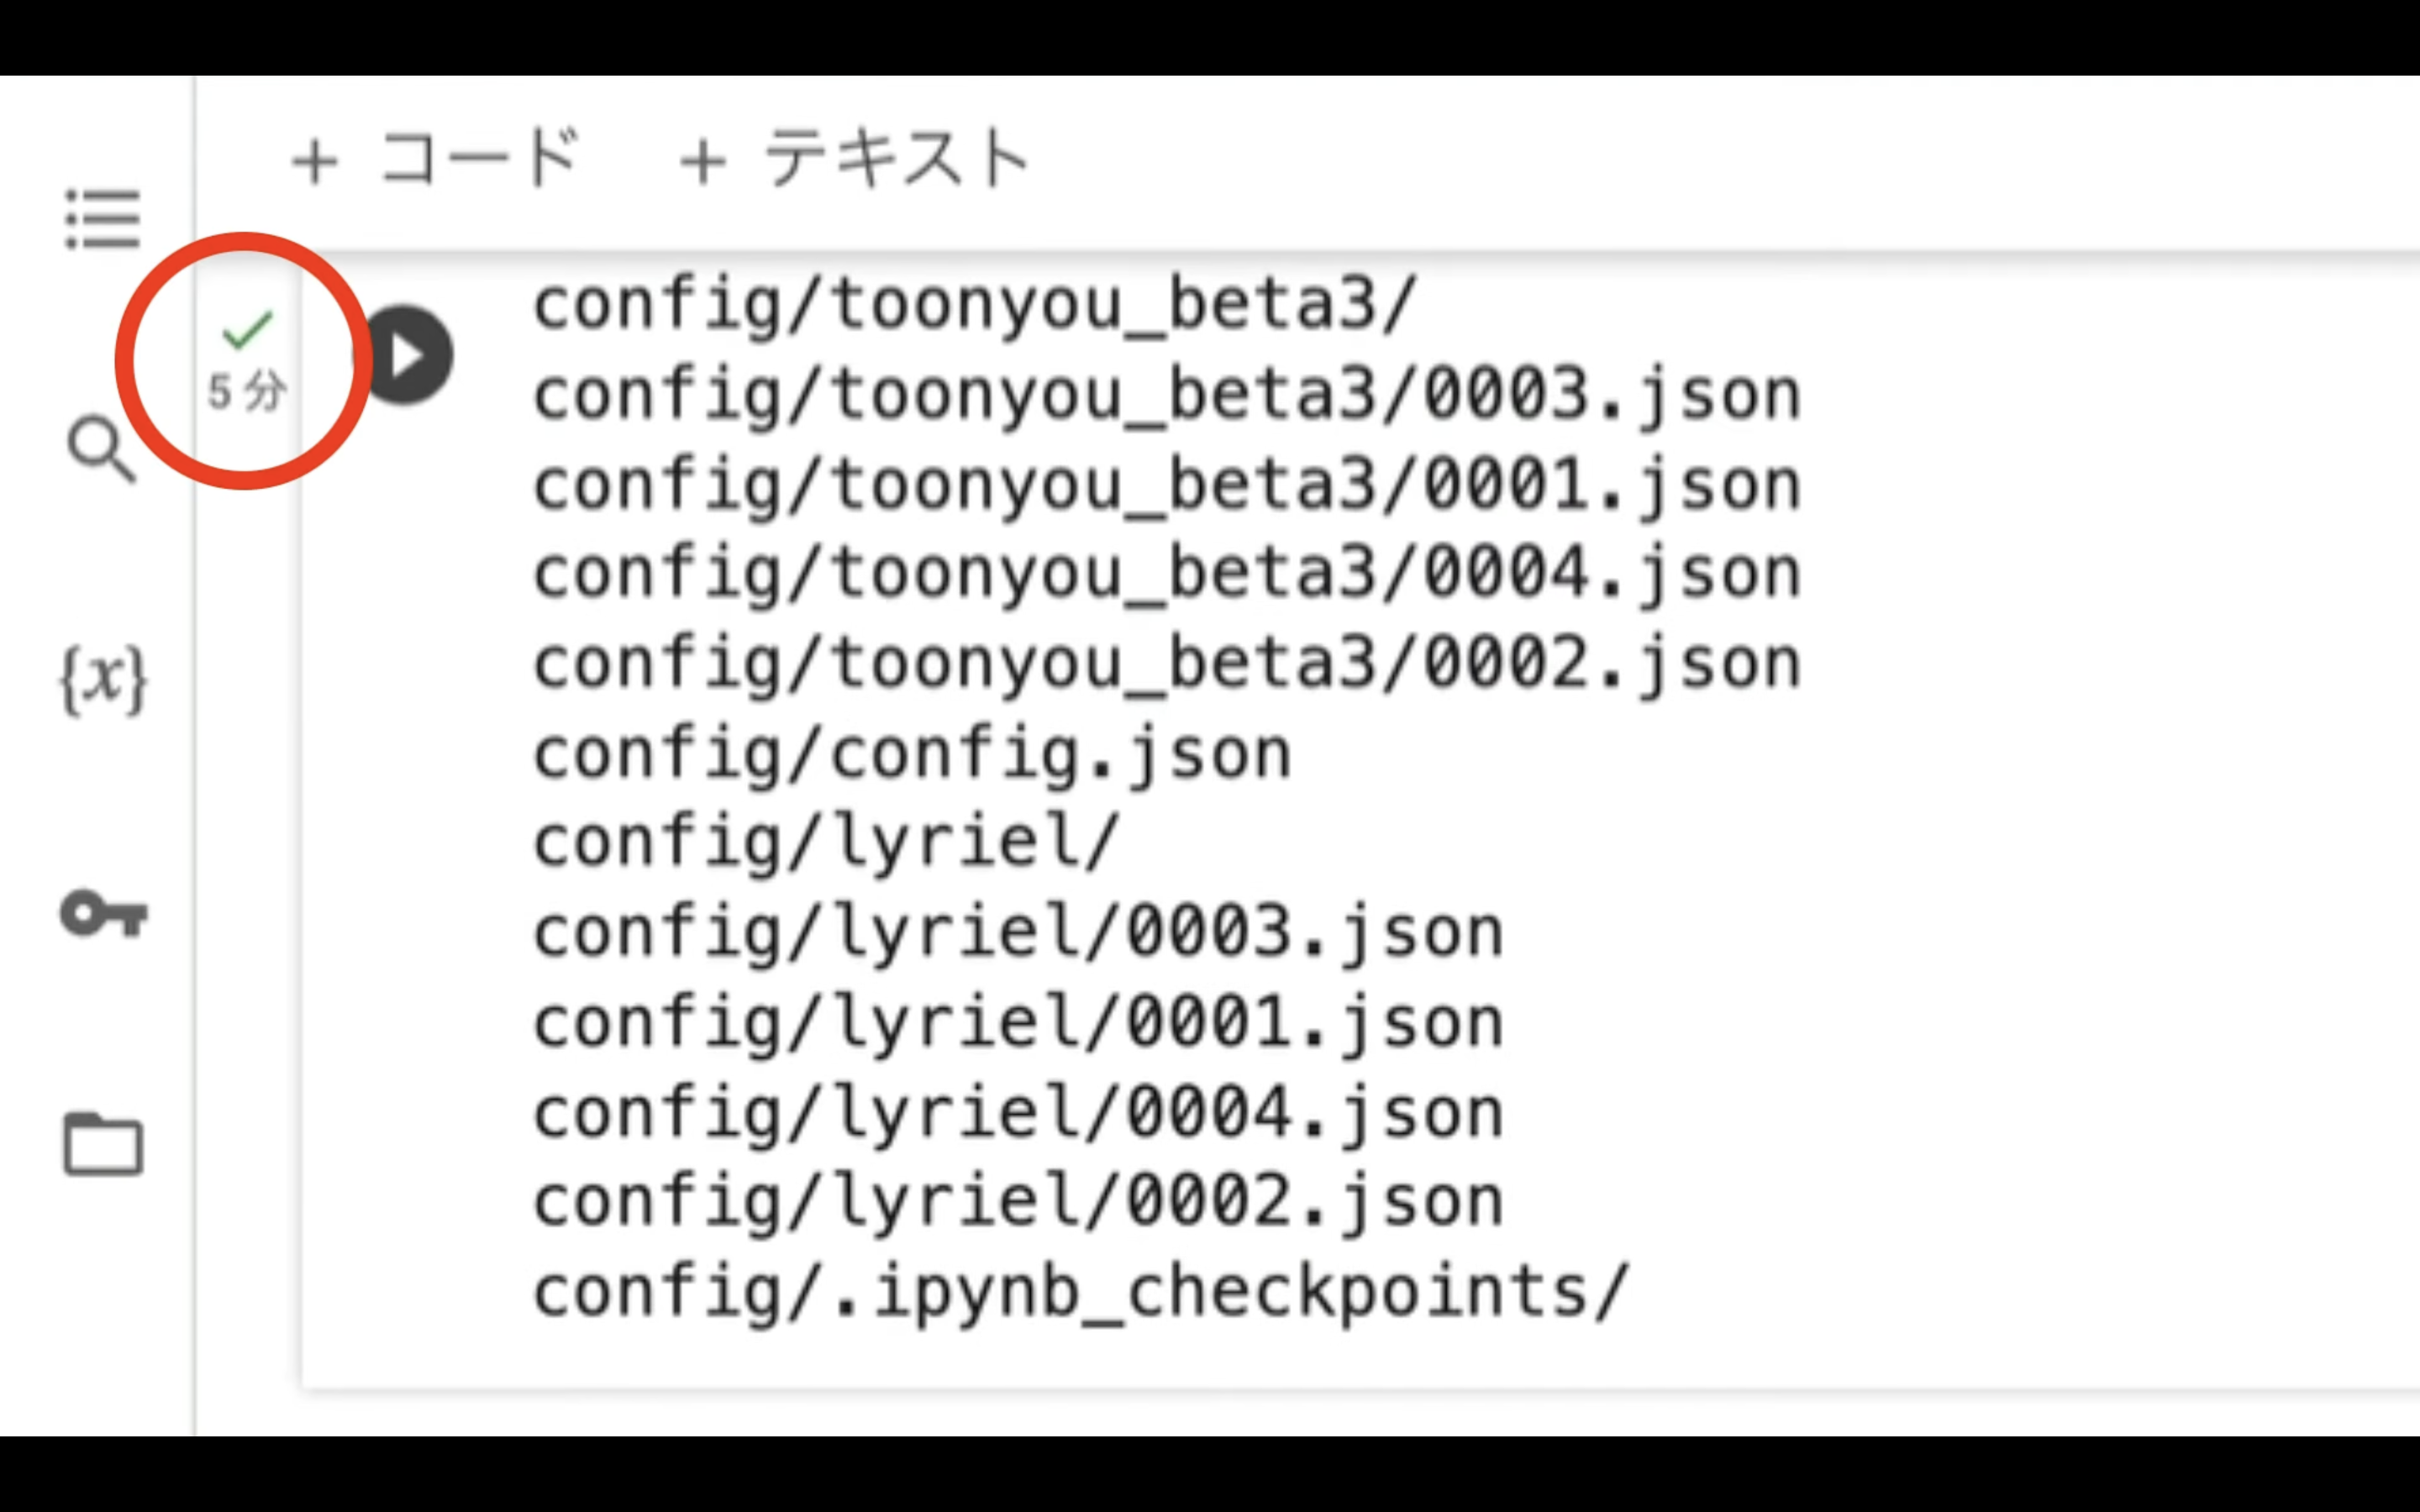
これでインストールが完了しました。
インストールが完了したら、以下に貼ってあるテキストをコピーします。
from mmengine import Config
from mmagic.registry import MODELS
from mmagic.utils import register_all_modules
import os
import torch
from pathlib import Path
import datetime
from mmagic.models.editors.animatediff import save_videos_grid
import json
import glob
import shutil
from google.colab import files
register_all_modules()
with open("/content/config/config.json", "r") as f:
config = json.load(f)
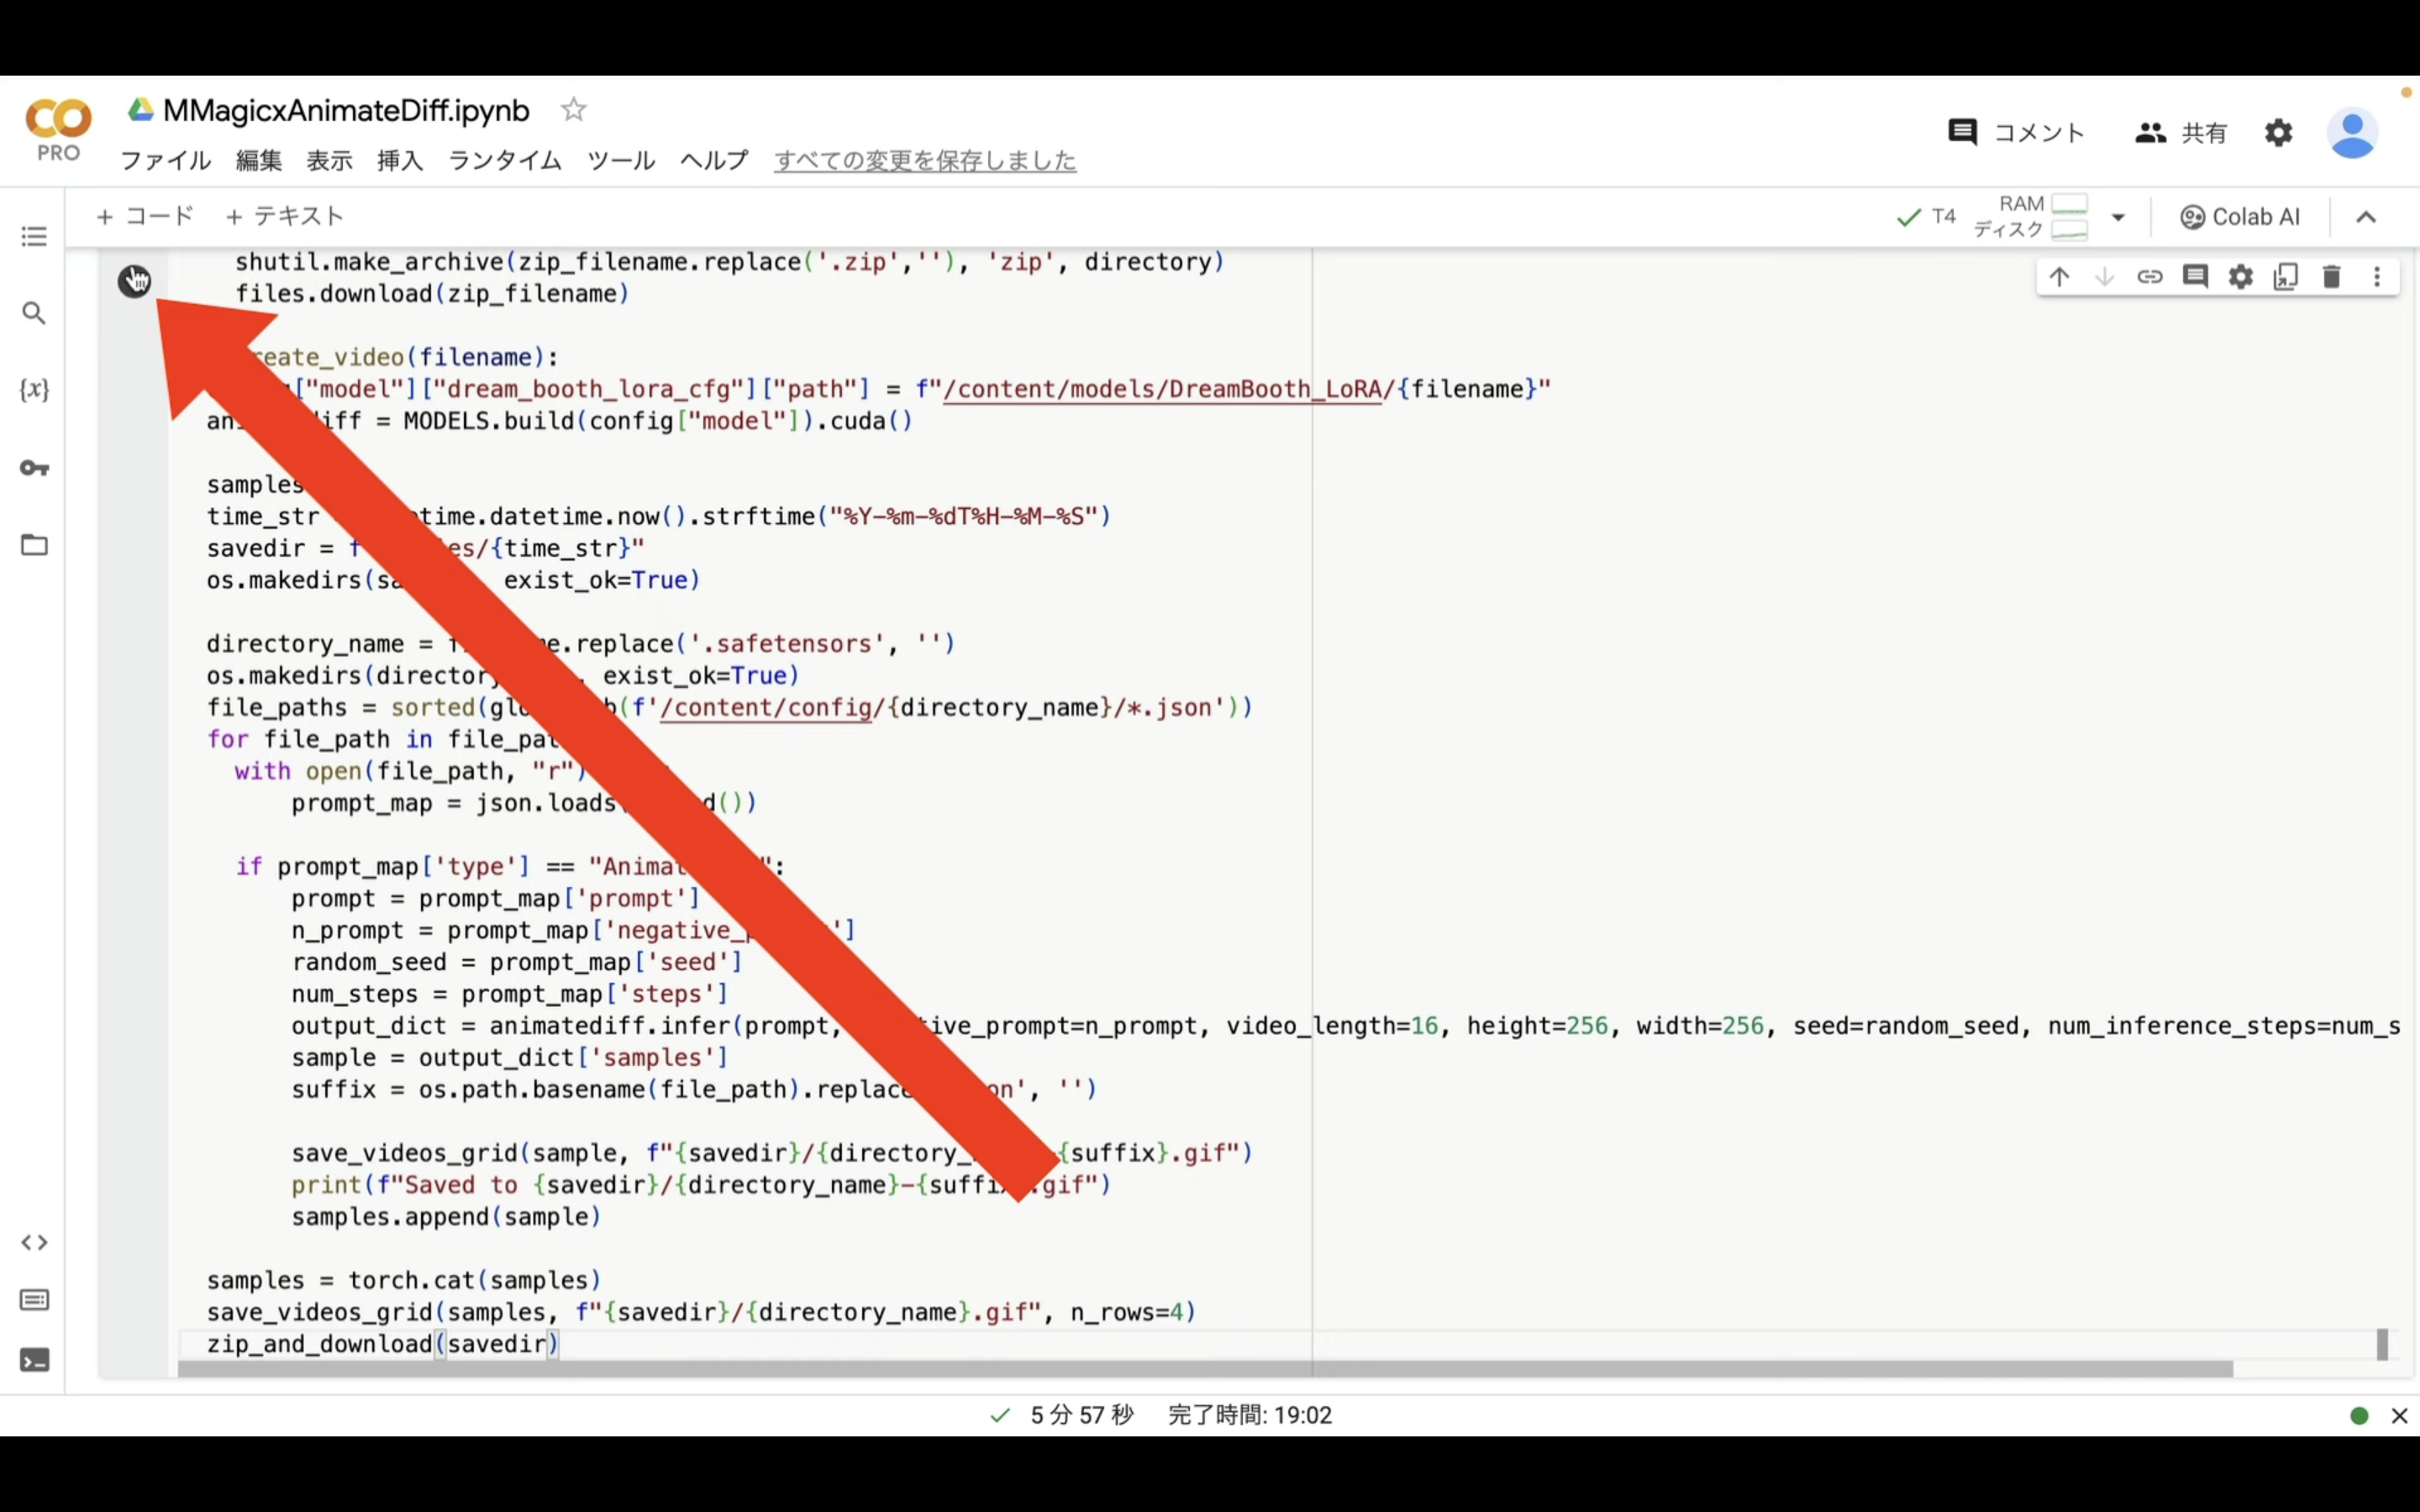
def zip_and_download(directory):
zip_filename = f"{directory}.zip"
shutil.make_archive(zip_filename.replace('.zip',''), 'zip', directory)
files.download(zip_filename)
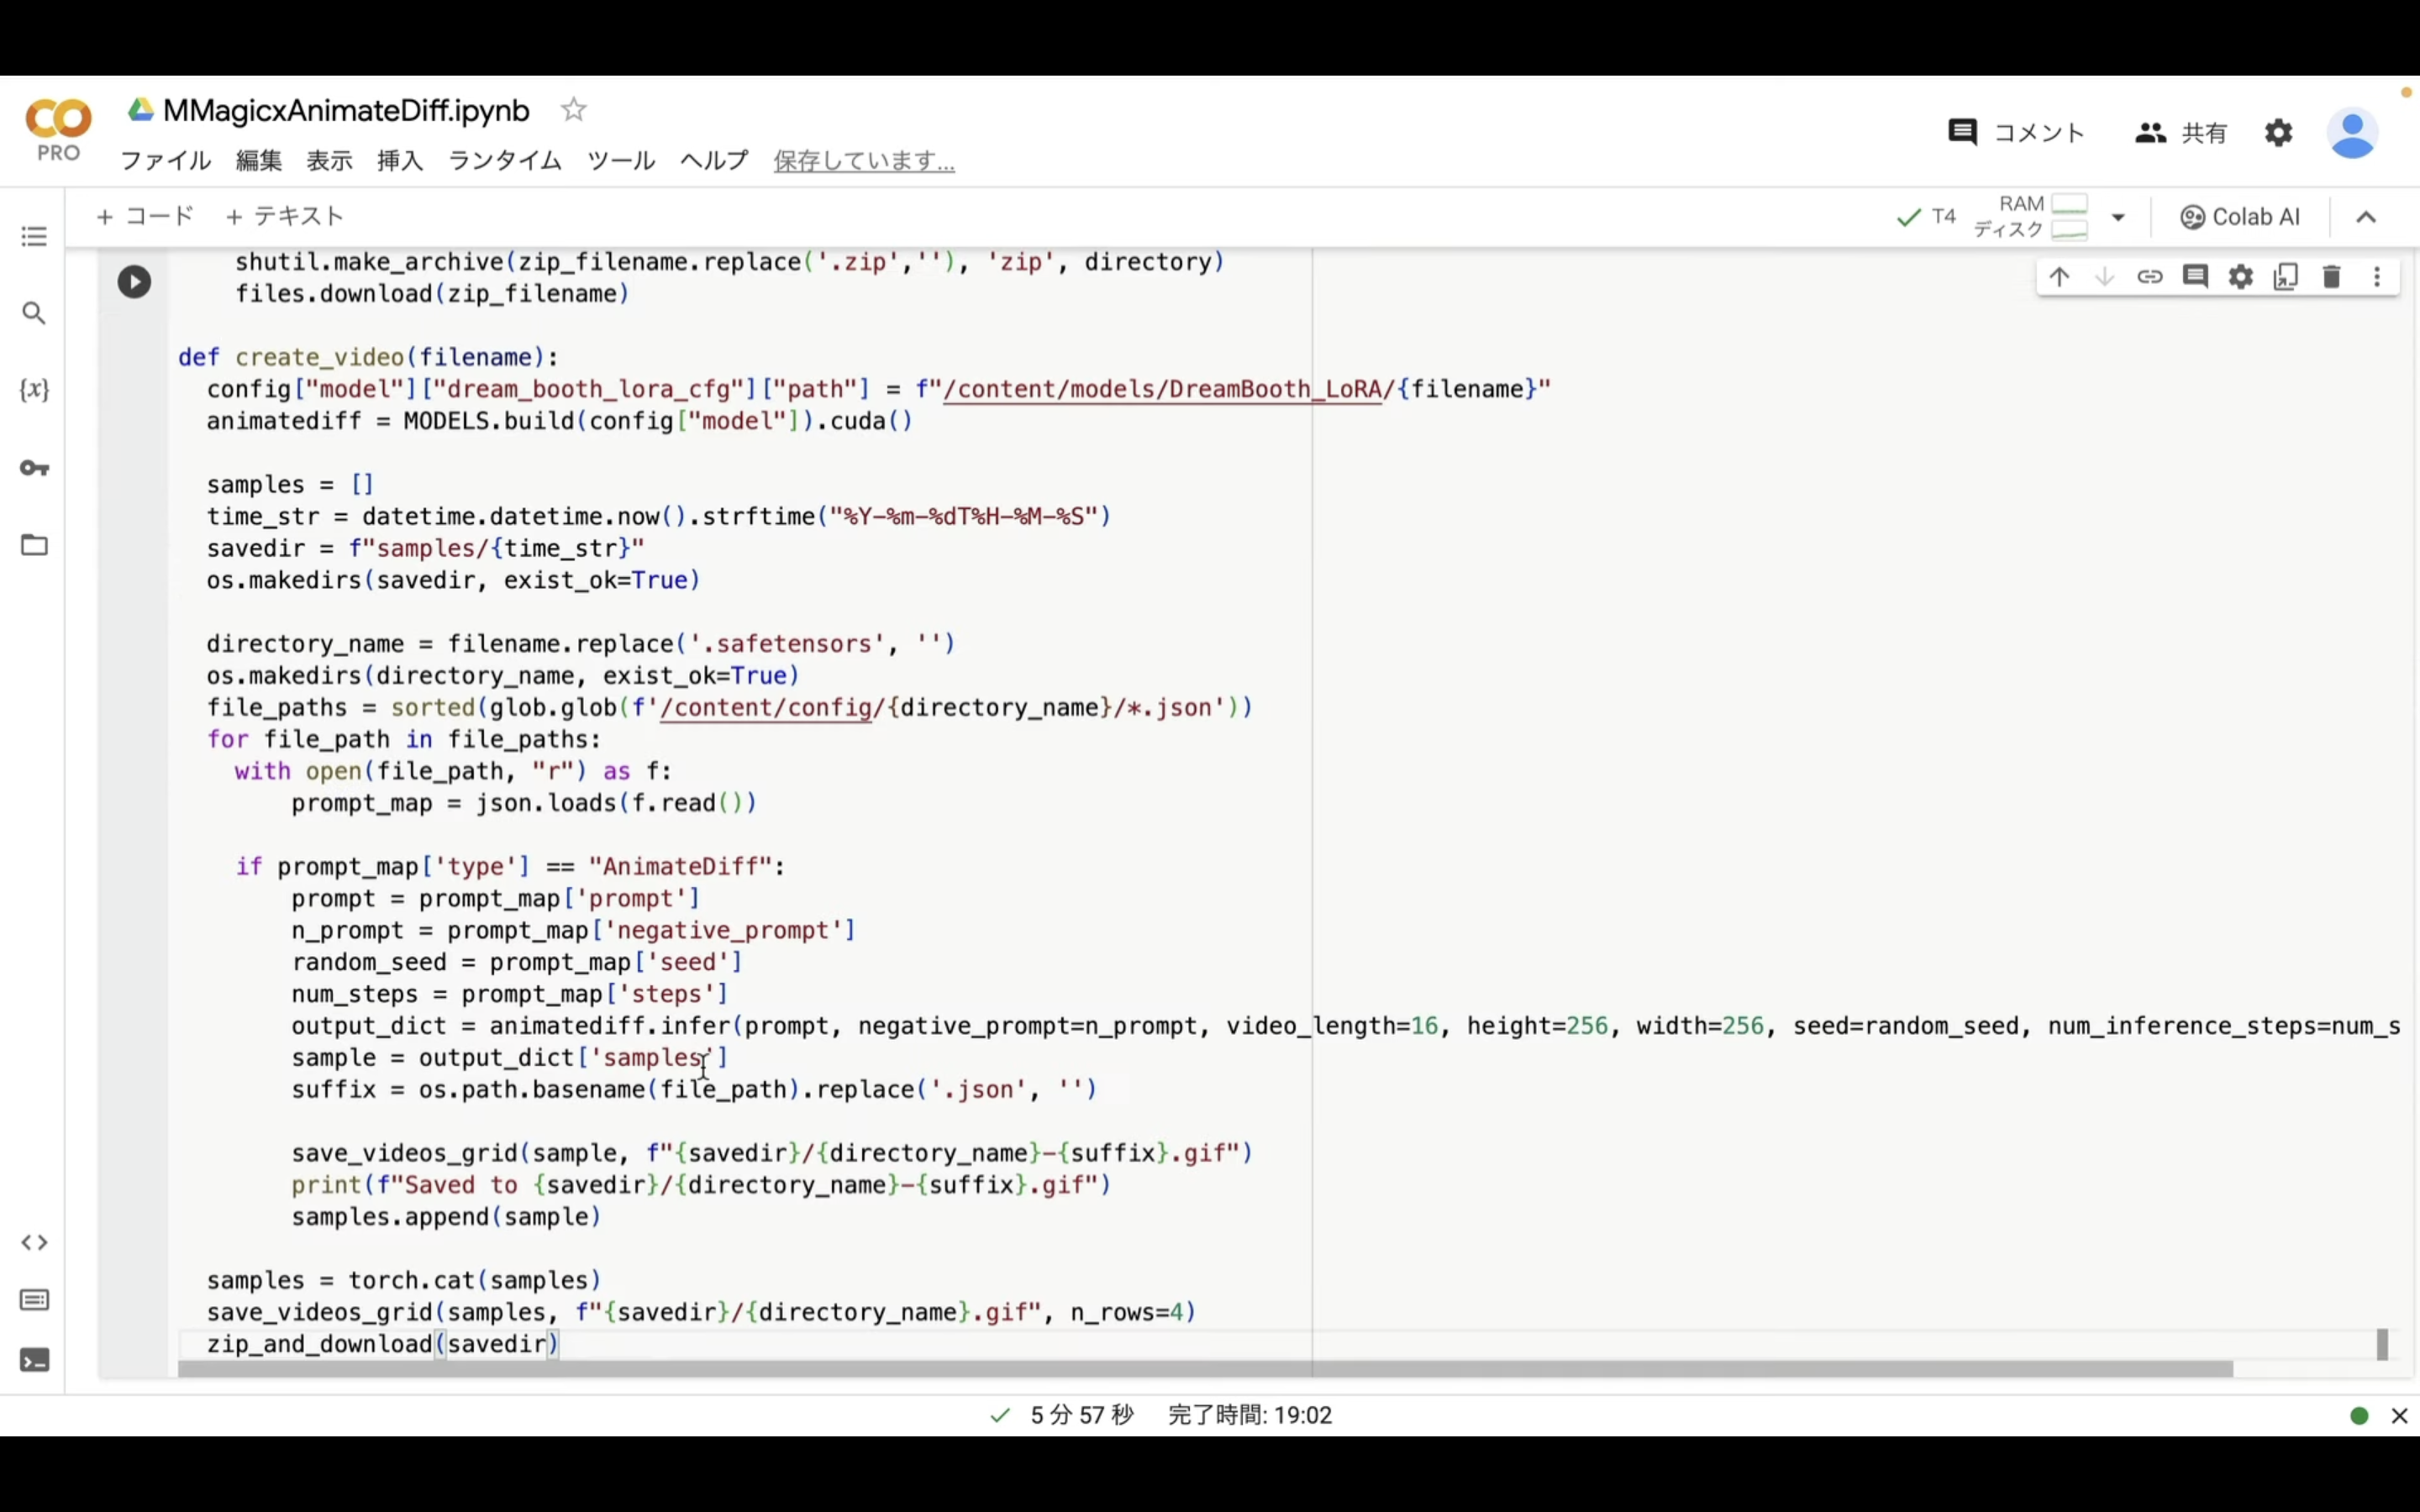
def create_video(filename):
config["model"]["dream_booth_lora_cfg"]["path"] = f"/content/models/DreamBooth_LoRA/{filename}"
animatediff = MODELS.build(config["model"]).cuda()
samples = []
time_str = datetime.datetime.now().strftime("%Y-%m-%dT%H-%M-%S")
savedir = f"samples/{time_str}"
os.makedirs(savedir, exist_ok=True)
directory_name = filename.replace('.safetensors', '')
os.makedirs(directory_name, exist_ok=True)
file_paths = sorted(glob.glob(f'/content/config/{directory_name}/*.json'))
for file_path in file_paths:
with open(file_path, "r") as f:
prompt_map = json.loads(f.read())
if prompt_map['type'] == "AnimateDiff":
prompt = prompt_map['prompt']
n_prompt = prompt_map['negative_prompt']
random_seed = prompt_map['seed']
num_steps = prompt_map['steps']
output_dict = animatediff.infer(prompt, negative_prompt=n_prompt, video_length=16, height=256, width=256, seed=random_seed, num_inference_steps=num_steps)
sample = output_dict['samples']
suffix = os.path.basename(file_path).replace('.json', '')
save_videos_grid(sample, f"{savedir}/{directory_name}-{suffix}.gif")
print(f"Saved to {savedir}/{directory_name}-{suffix}.gif")
samples.append(sample)
samples = torch.cat(samples)
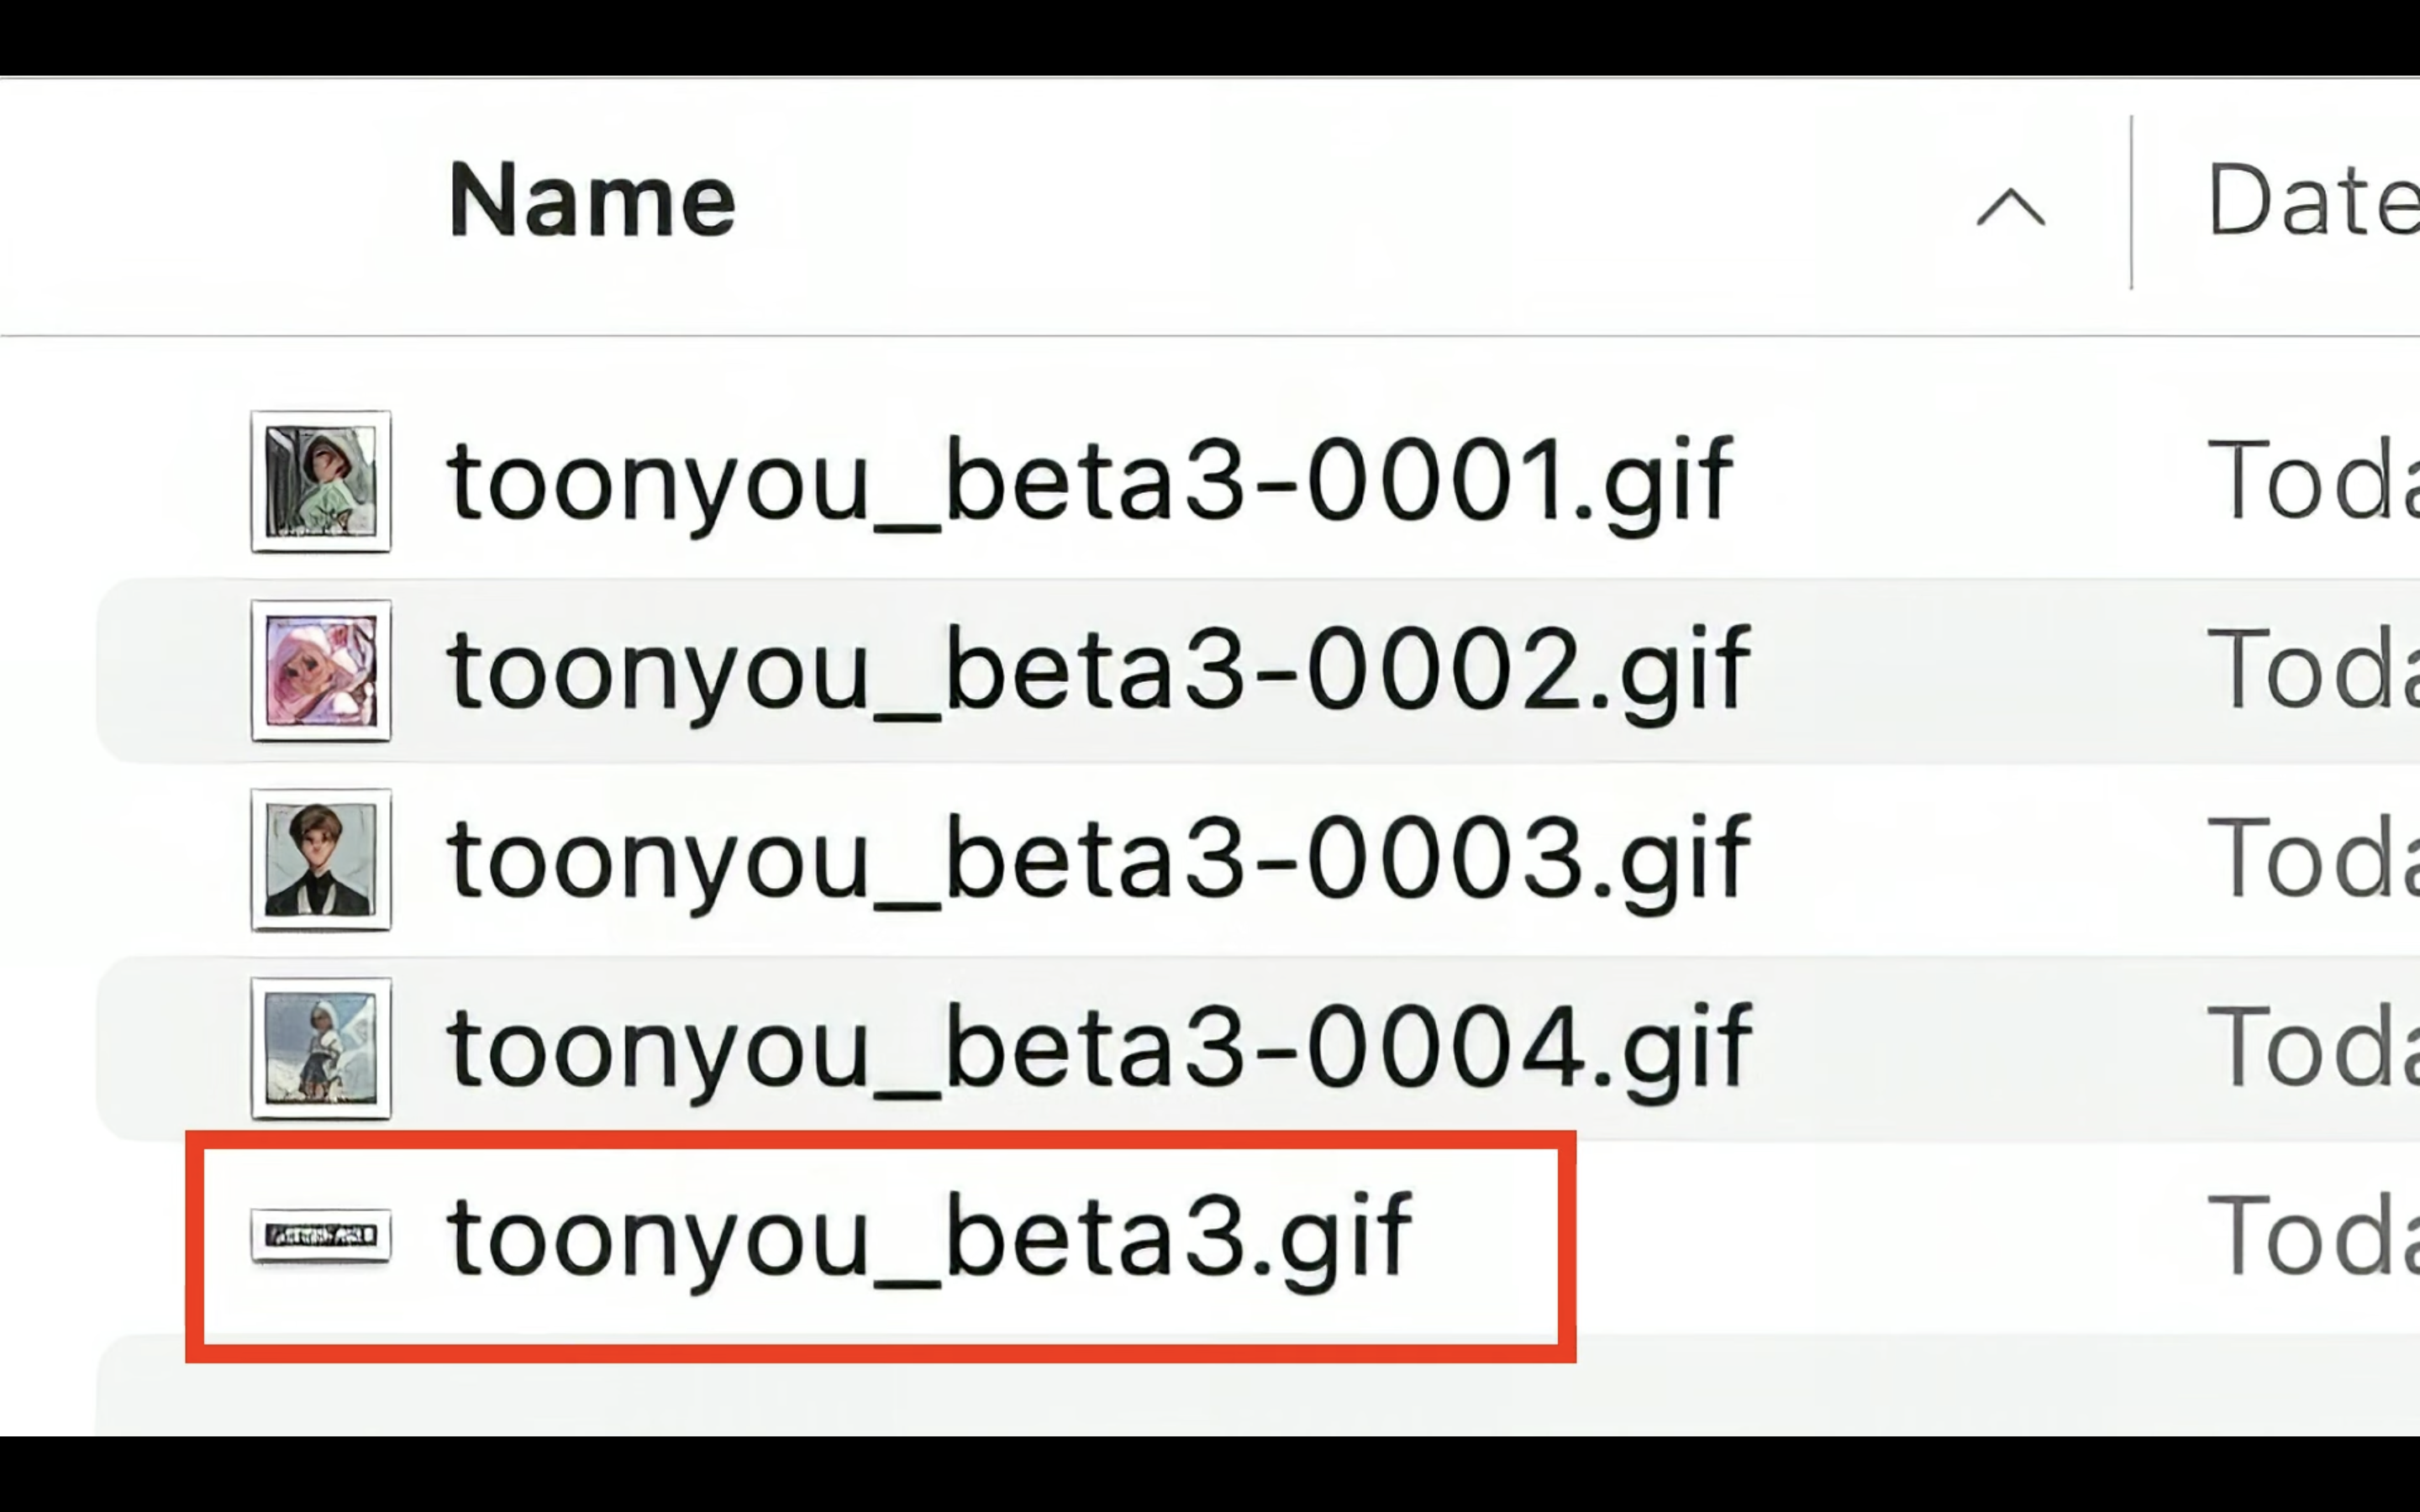
save_videos_grid(samples, f"{savedir}/{directory_name}.gif", n_rows=4)
zip_and_download(savedir)
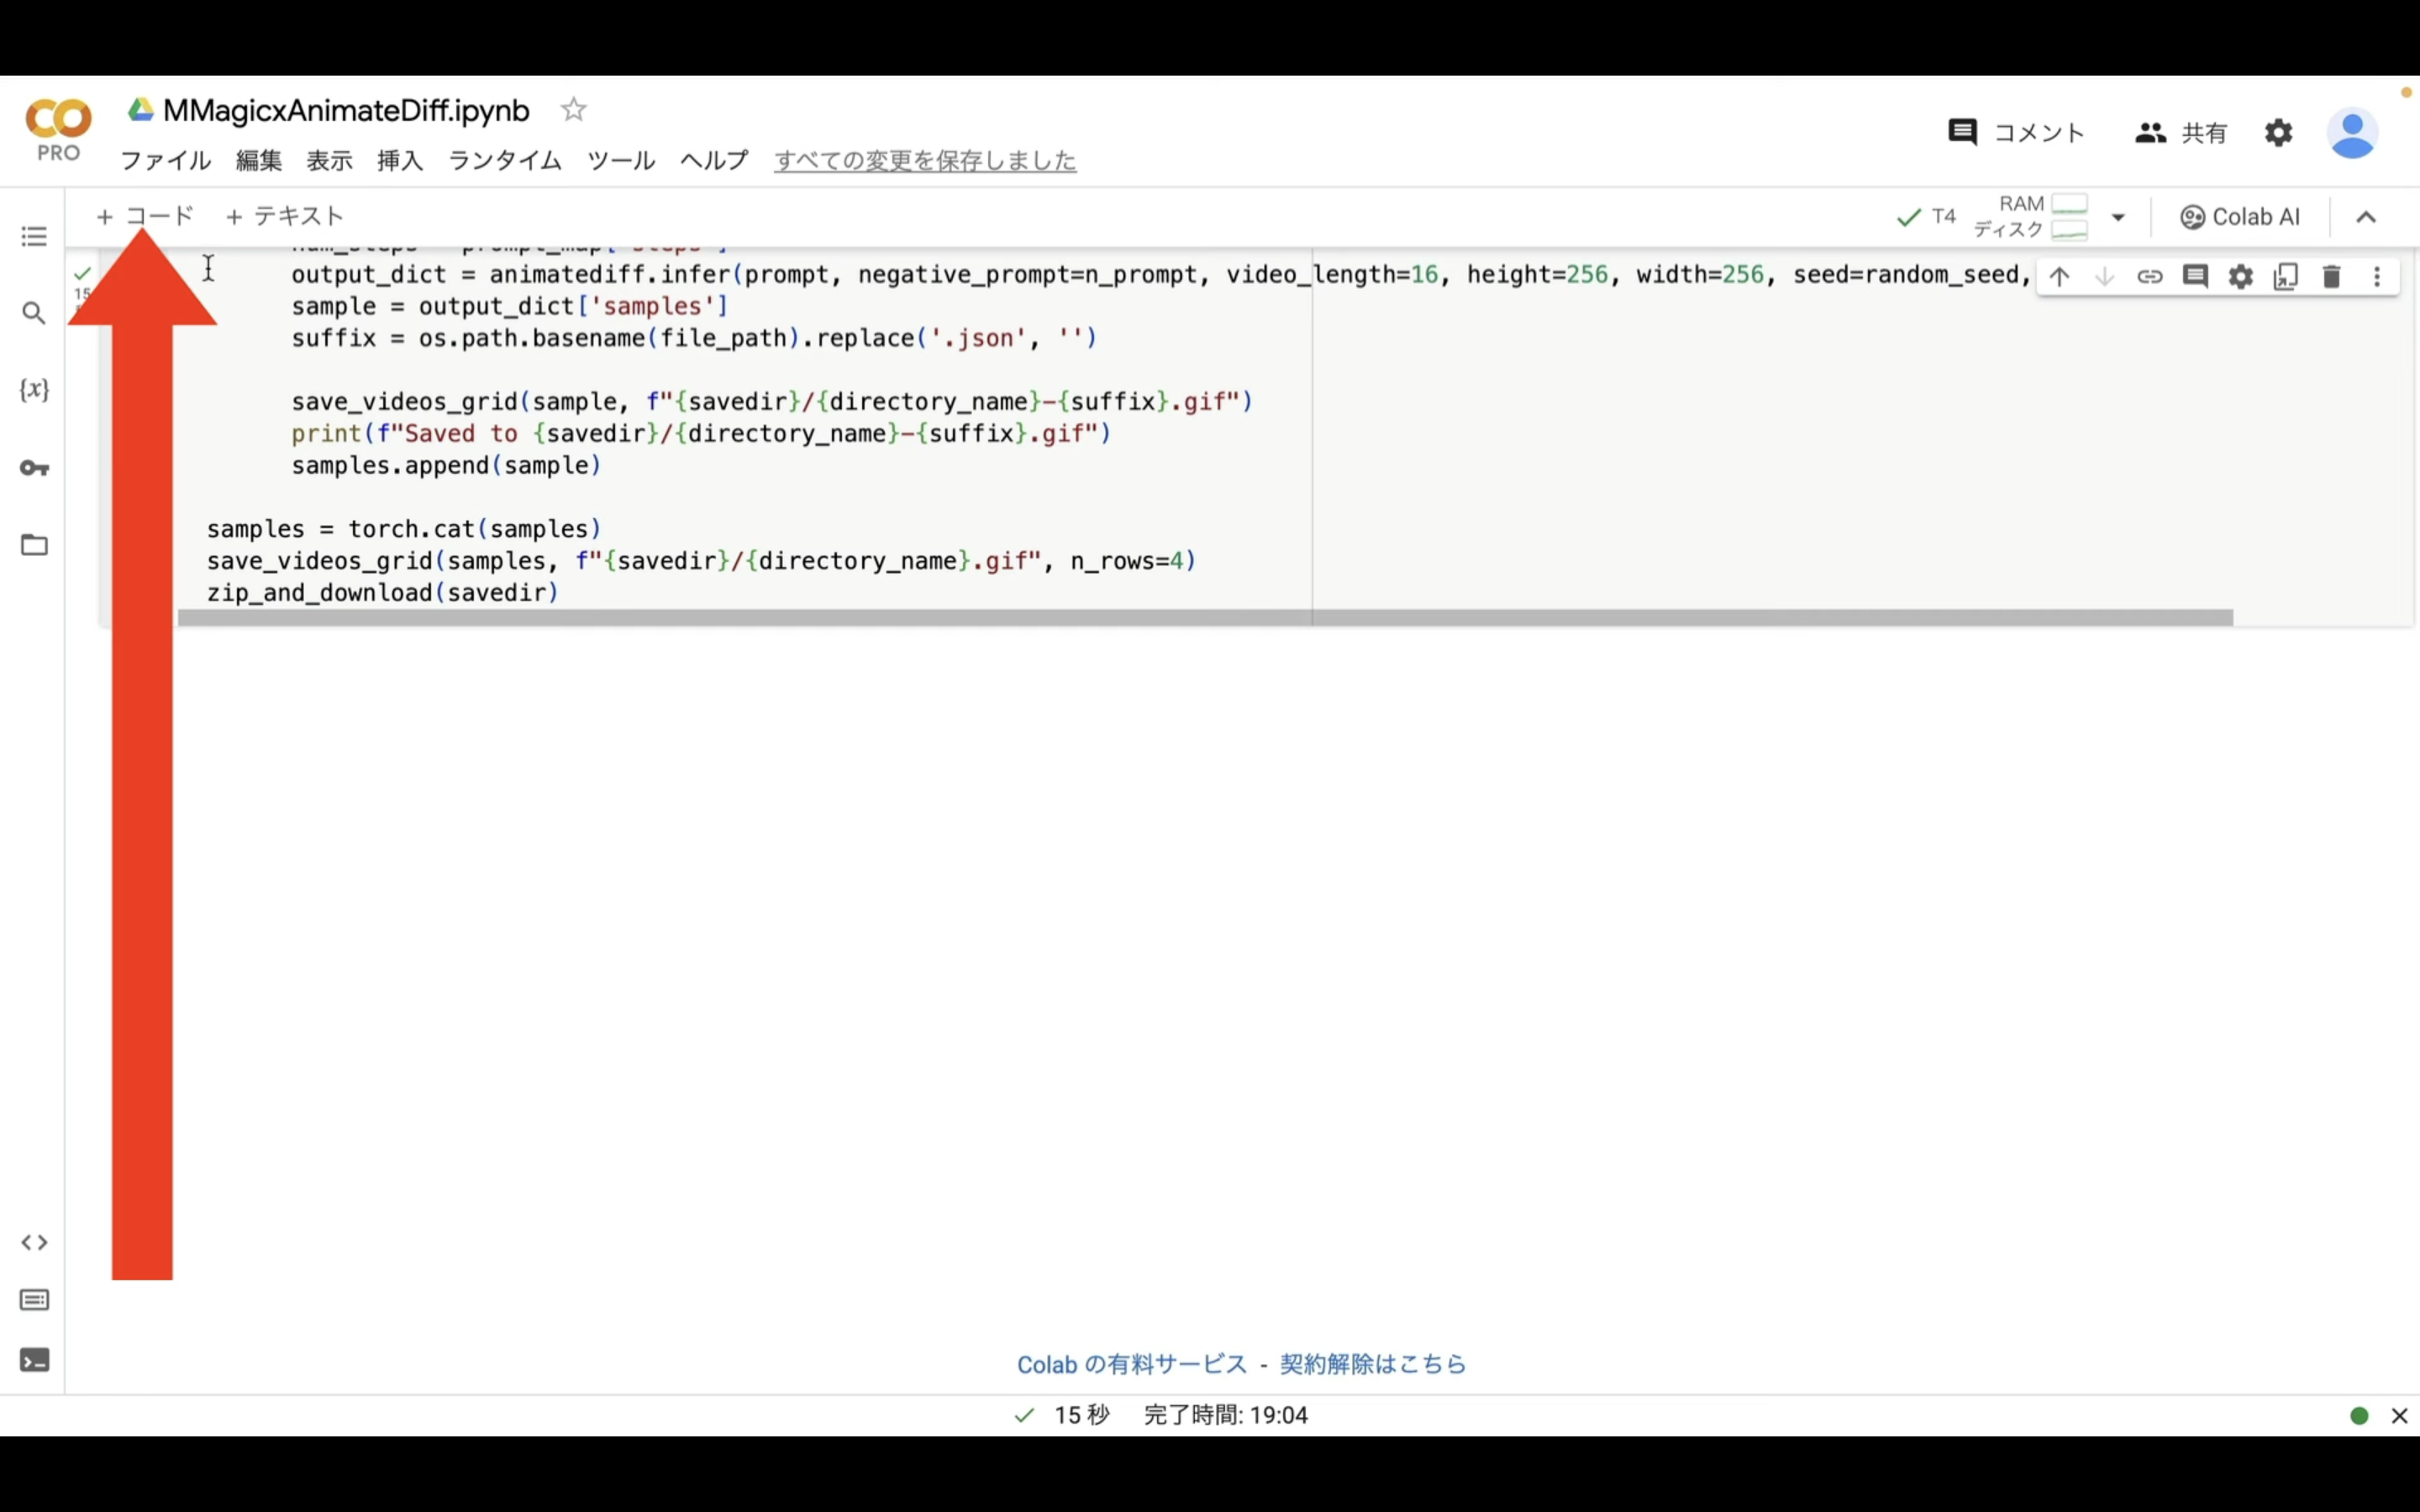
テキストをコピーしたら、Google Colabの画面に戻ります。
Google Colabの画面に戻ったら、「コード」と書かれているテキストをクリックします。

そうするとテキストボックスが追加されます。
追加されたテキストボックスに先ほどコピーしたテキストを貼り付けます。
そして、再生ボタンをクリックします。
実行が完了するまでしばらく待ちます。
この処理は20秒程度で完了すると思います。
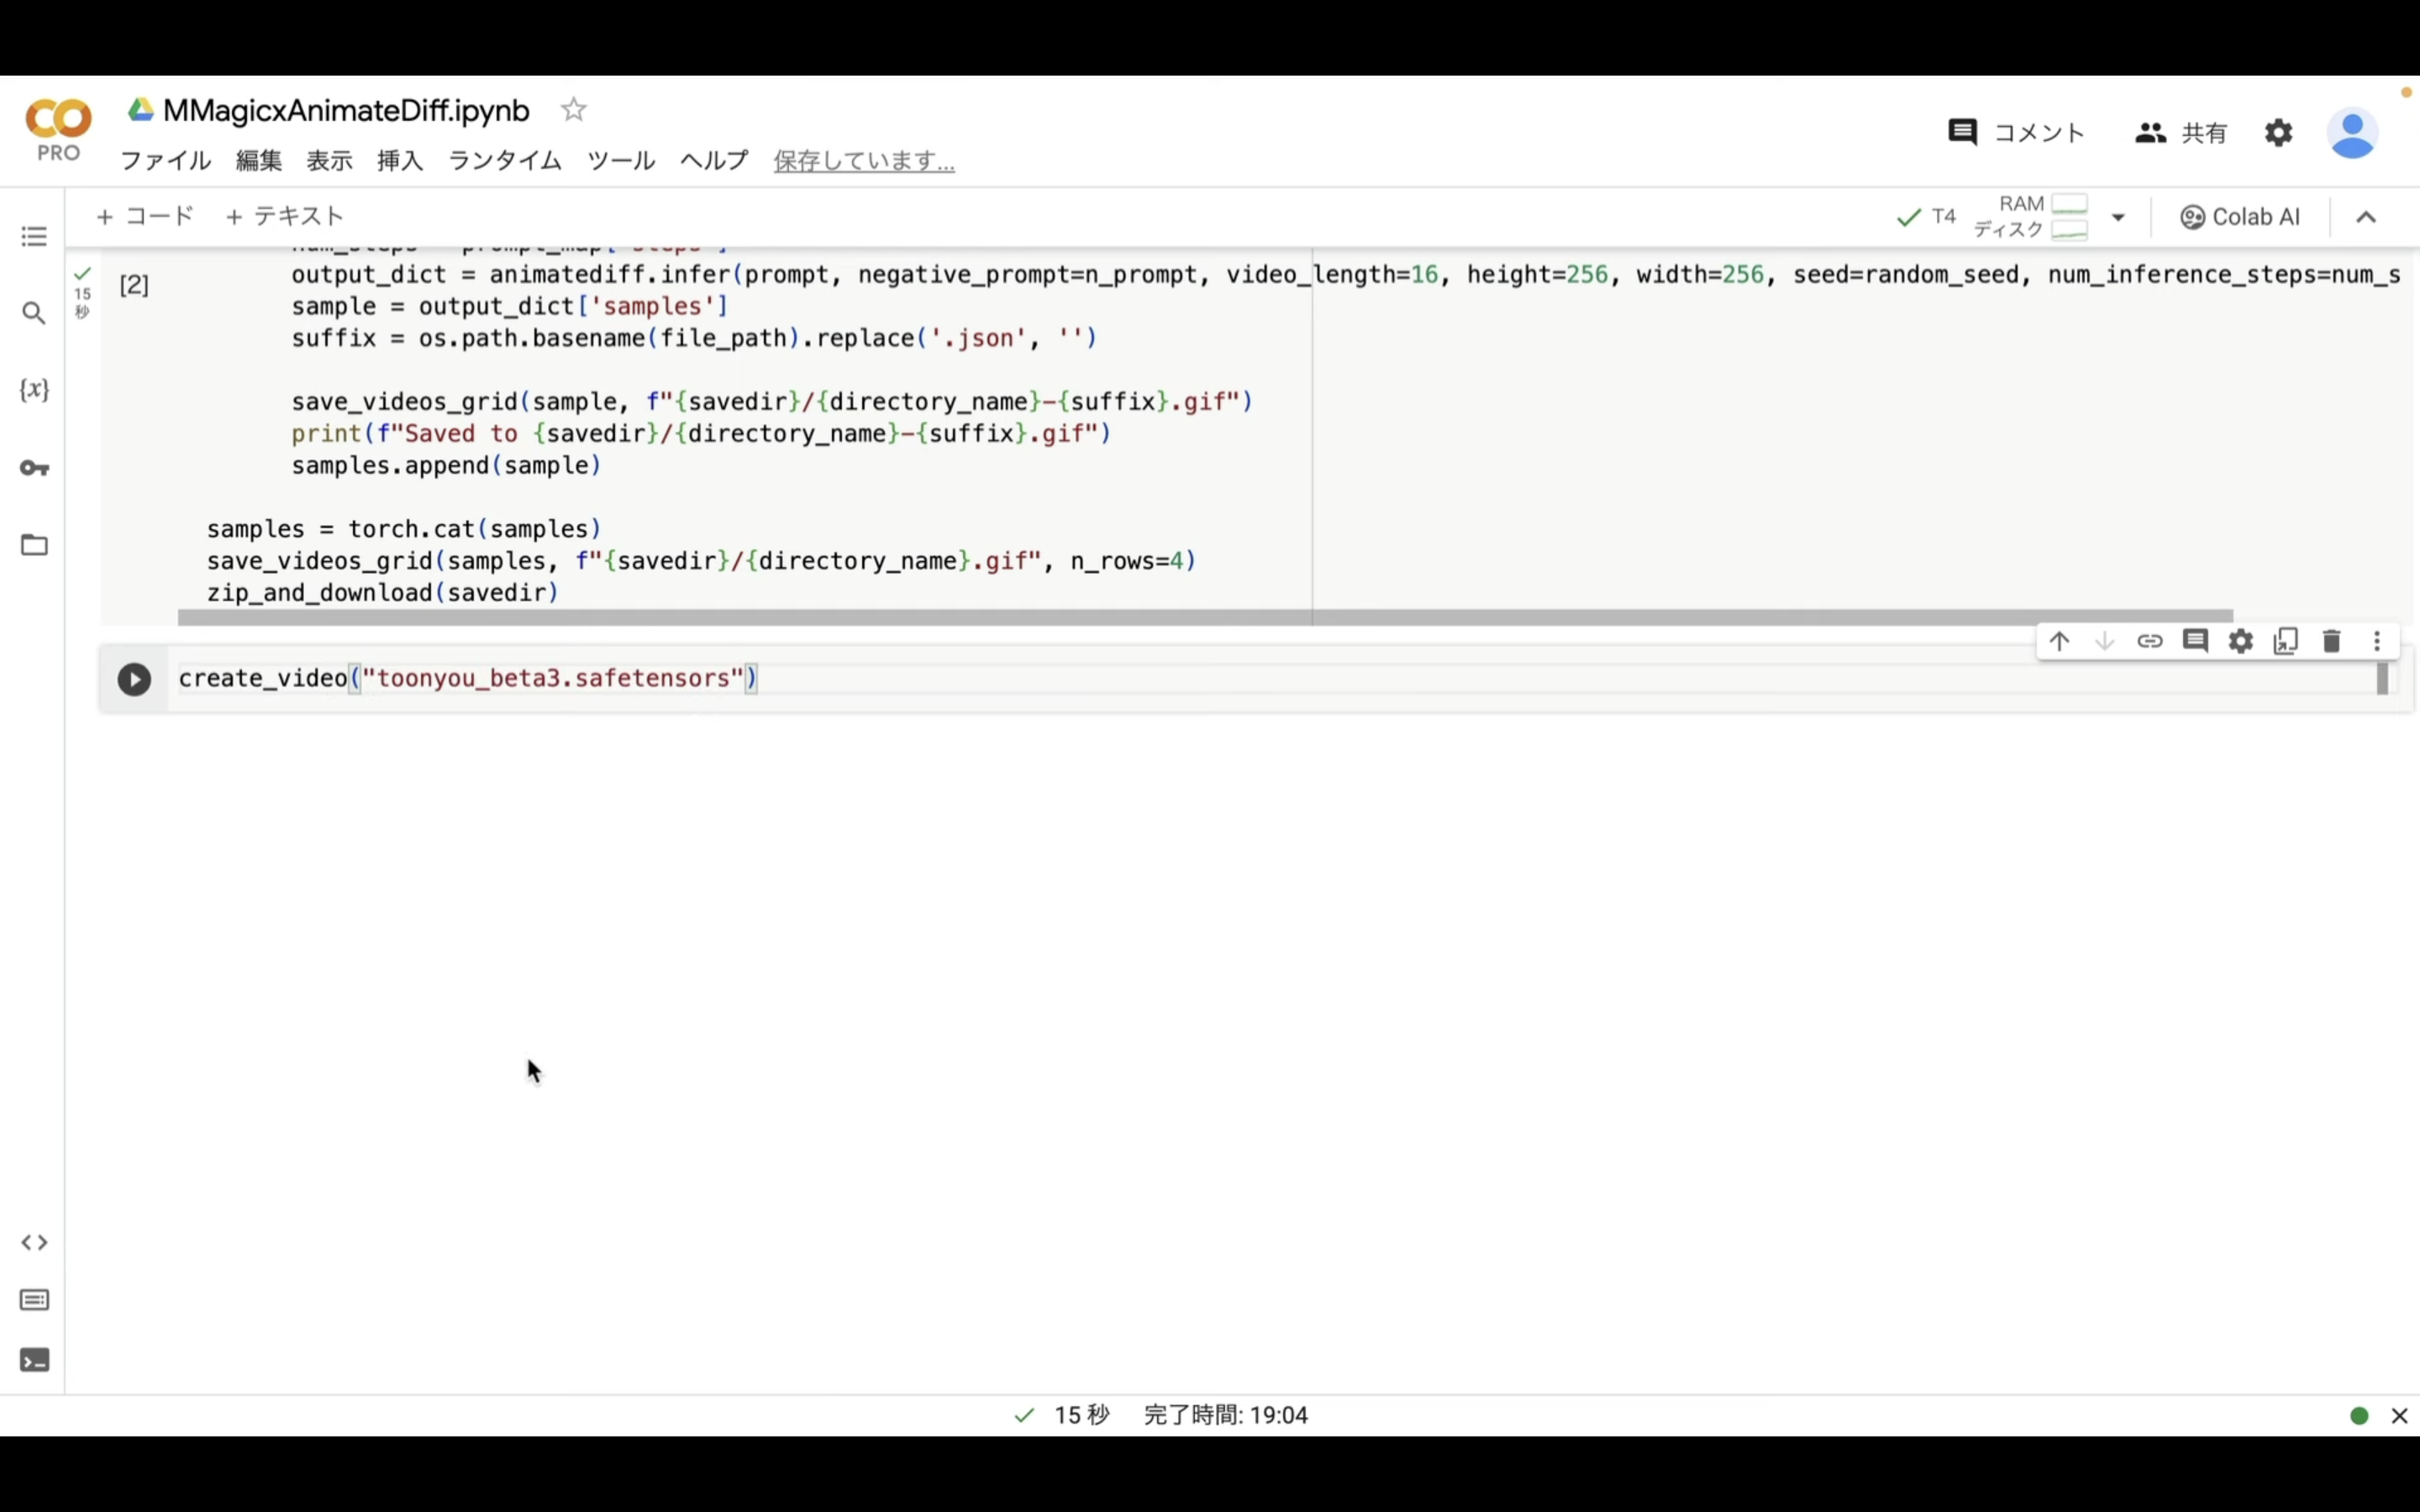
実行が完了したら、以下に貼ってあるテキストをコピーします。
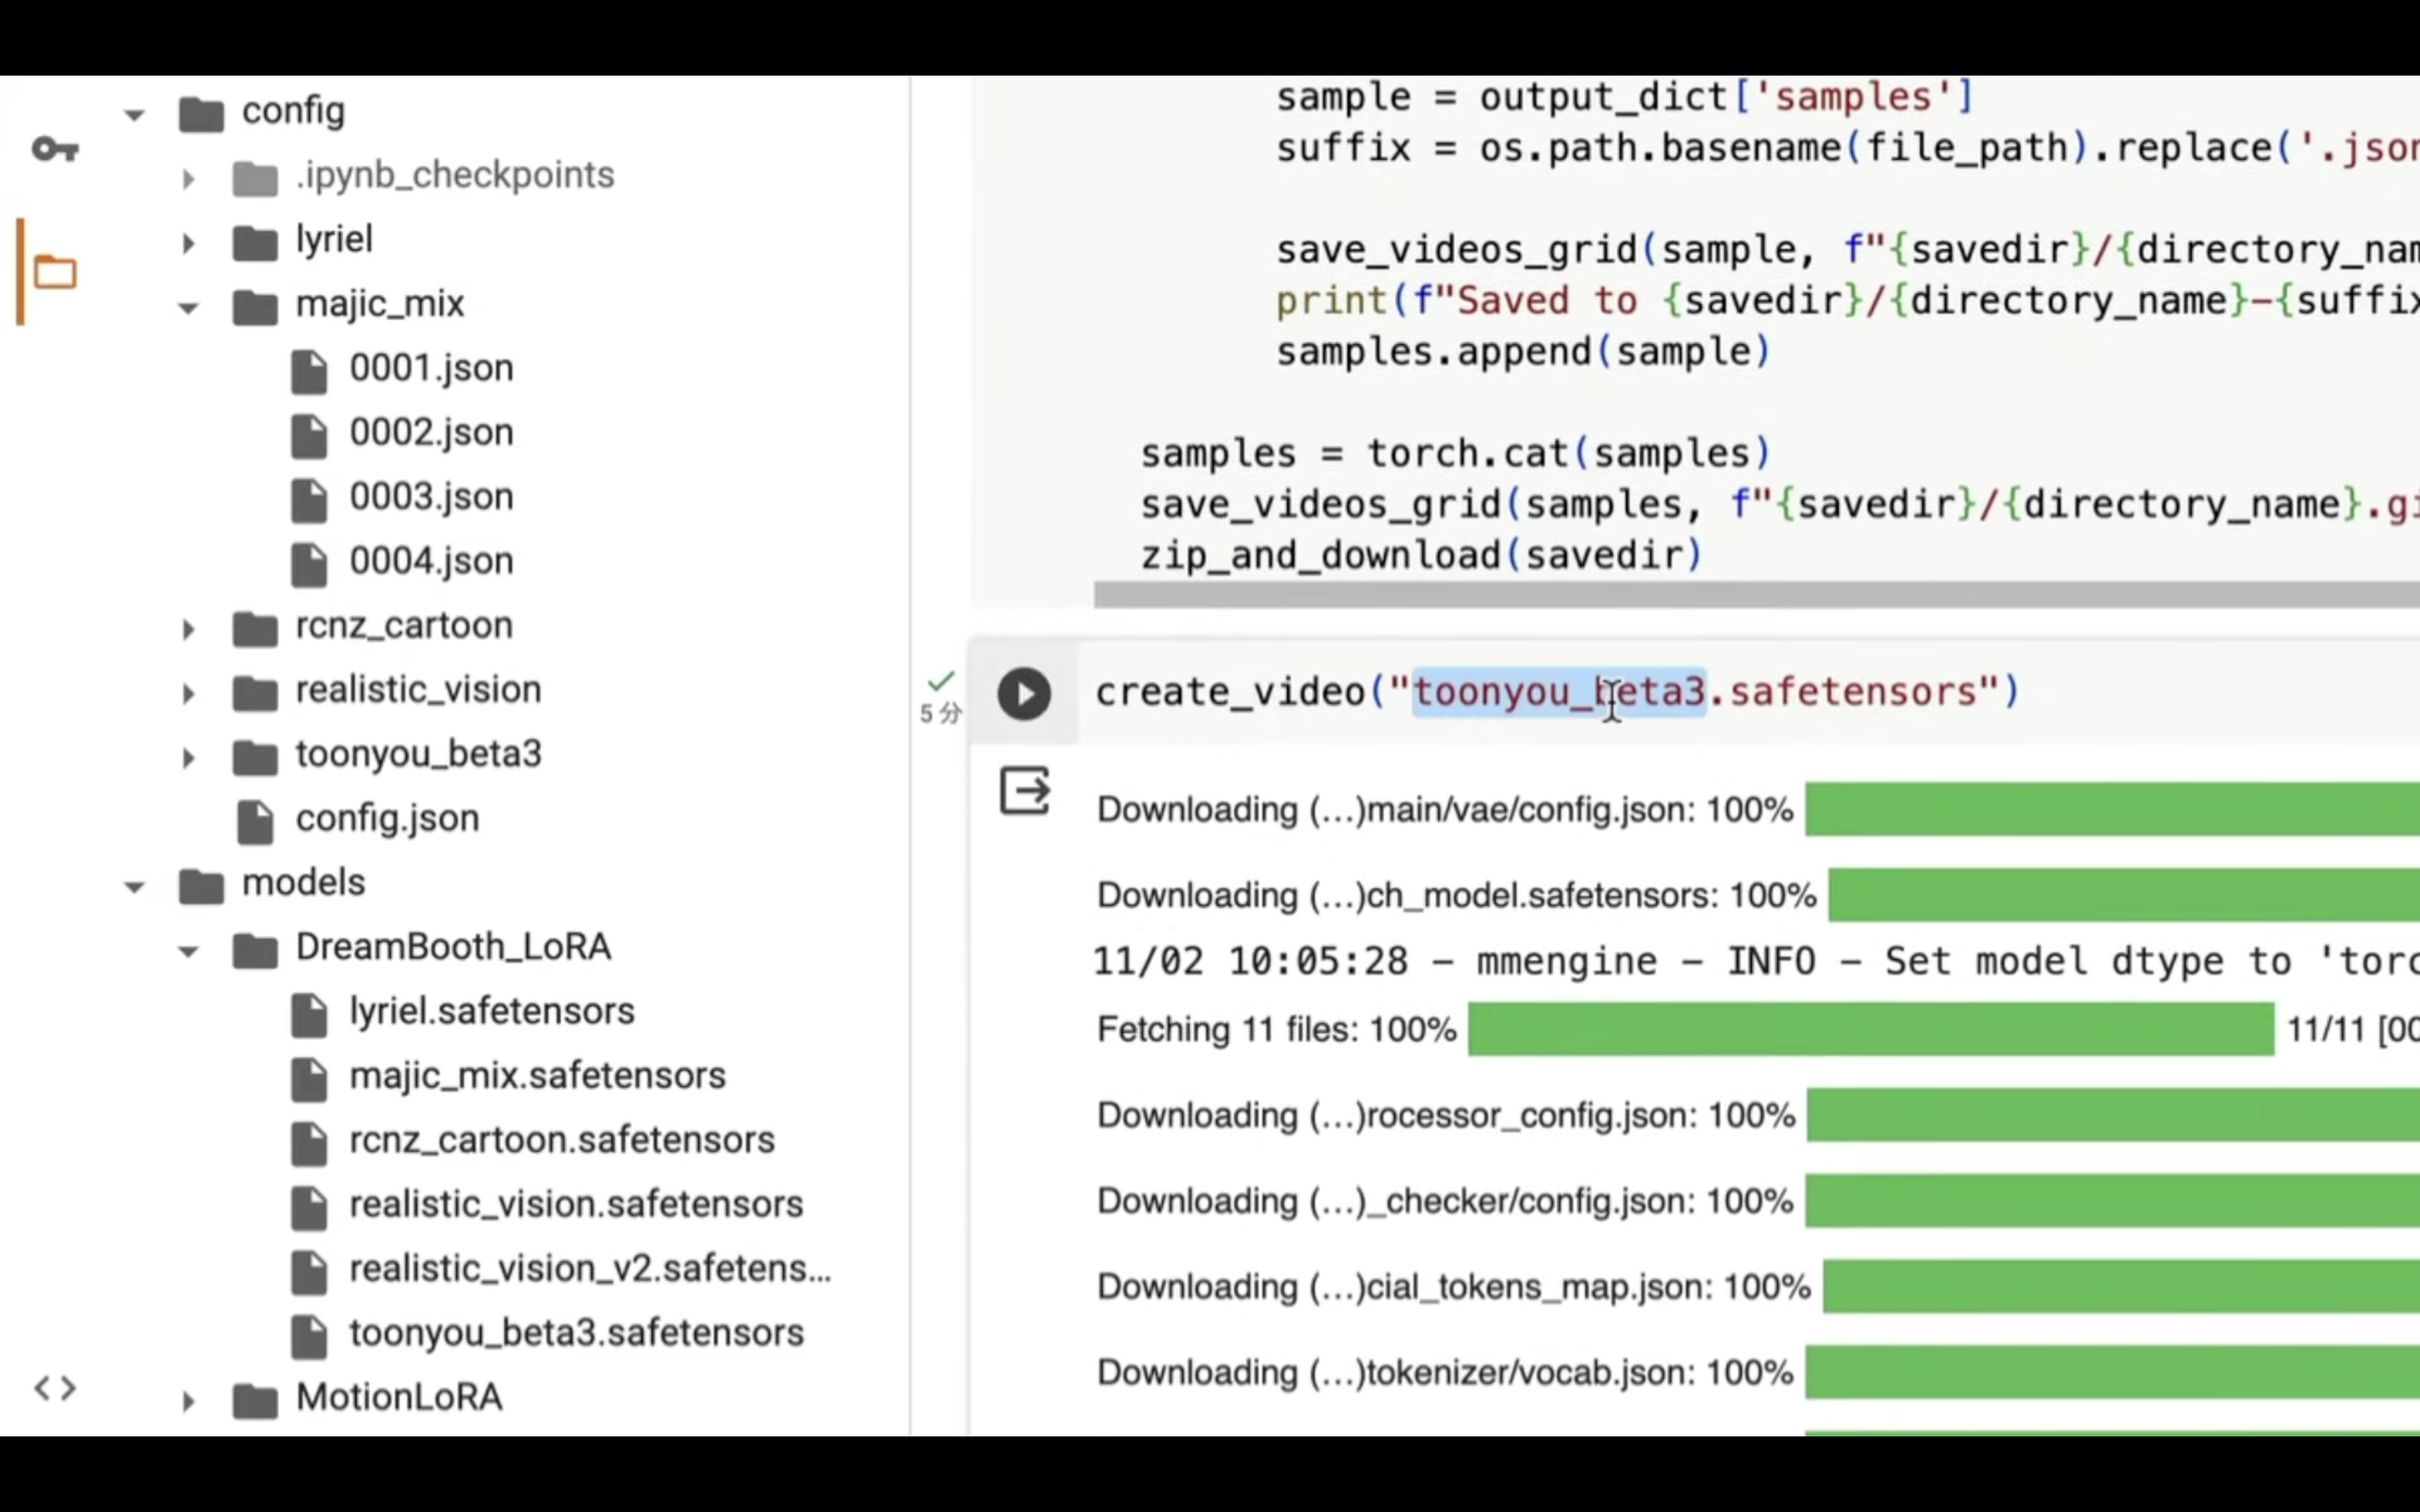
create_video("toonyou_beta3.safetensors")
テキストをコピーしたら、Google Colabの画面に戻ります。
Google Colabの画面に戻ったら、「コード」と書かれているテキストをクリックします。
テキストボックスが追加されるので、先ほどコピーしたテキストを貼り付けます。
これでMMagicとAnime Diffを利用して動画を生成するための準備が整えました。
それでは早速、このコマンドを実行していきましょう。
再生ボタンをクリックします。
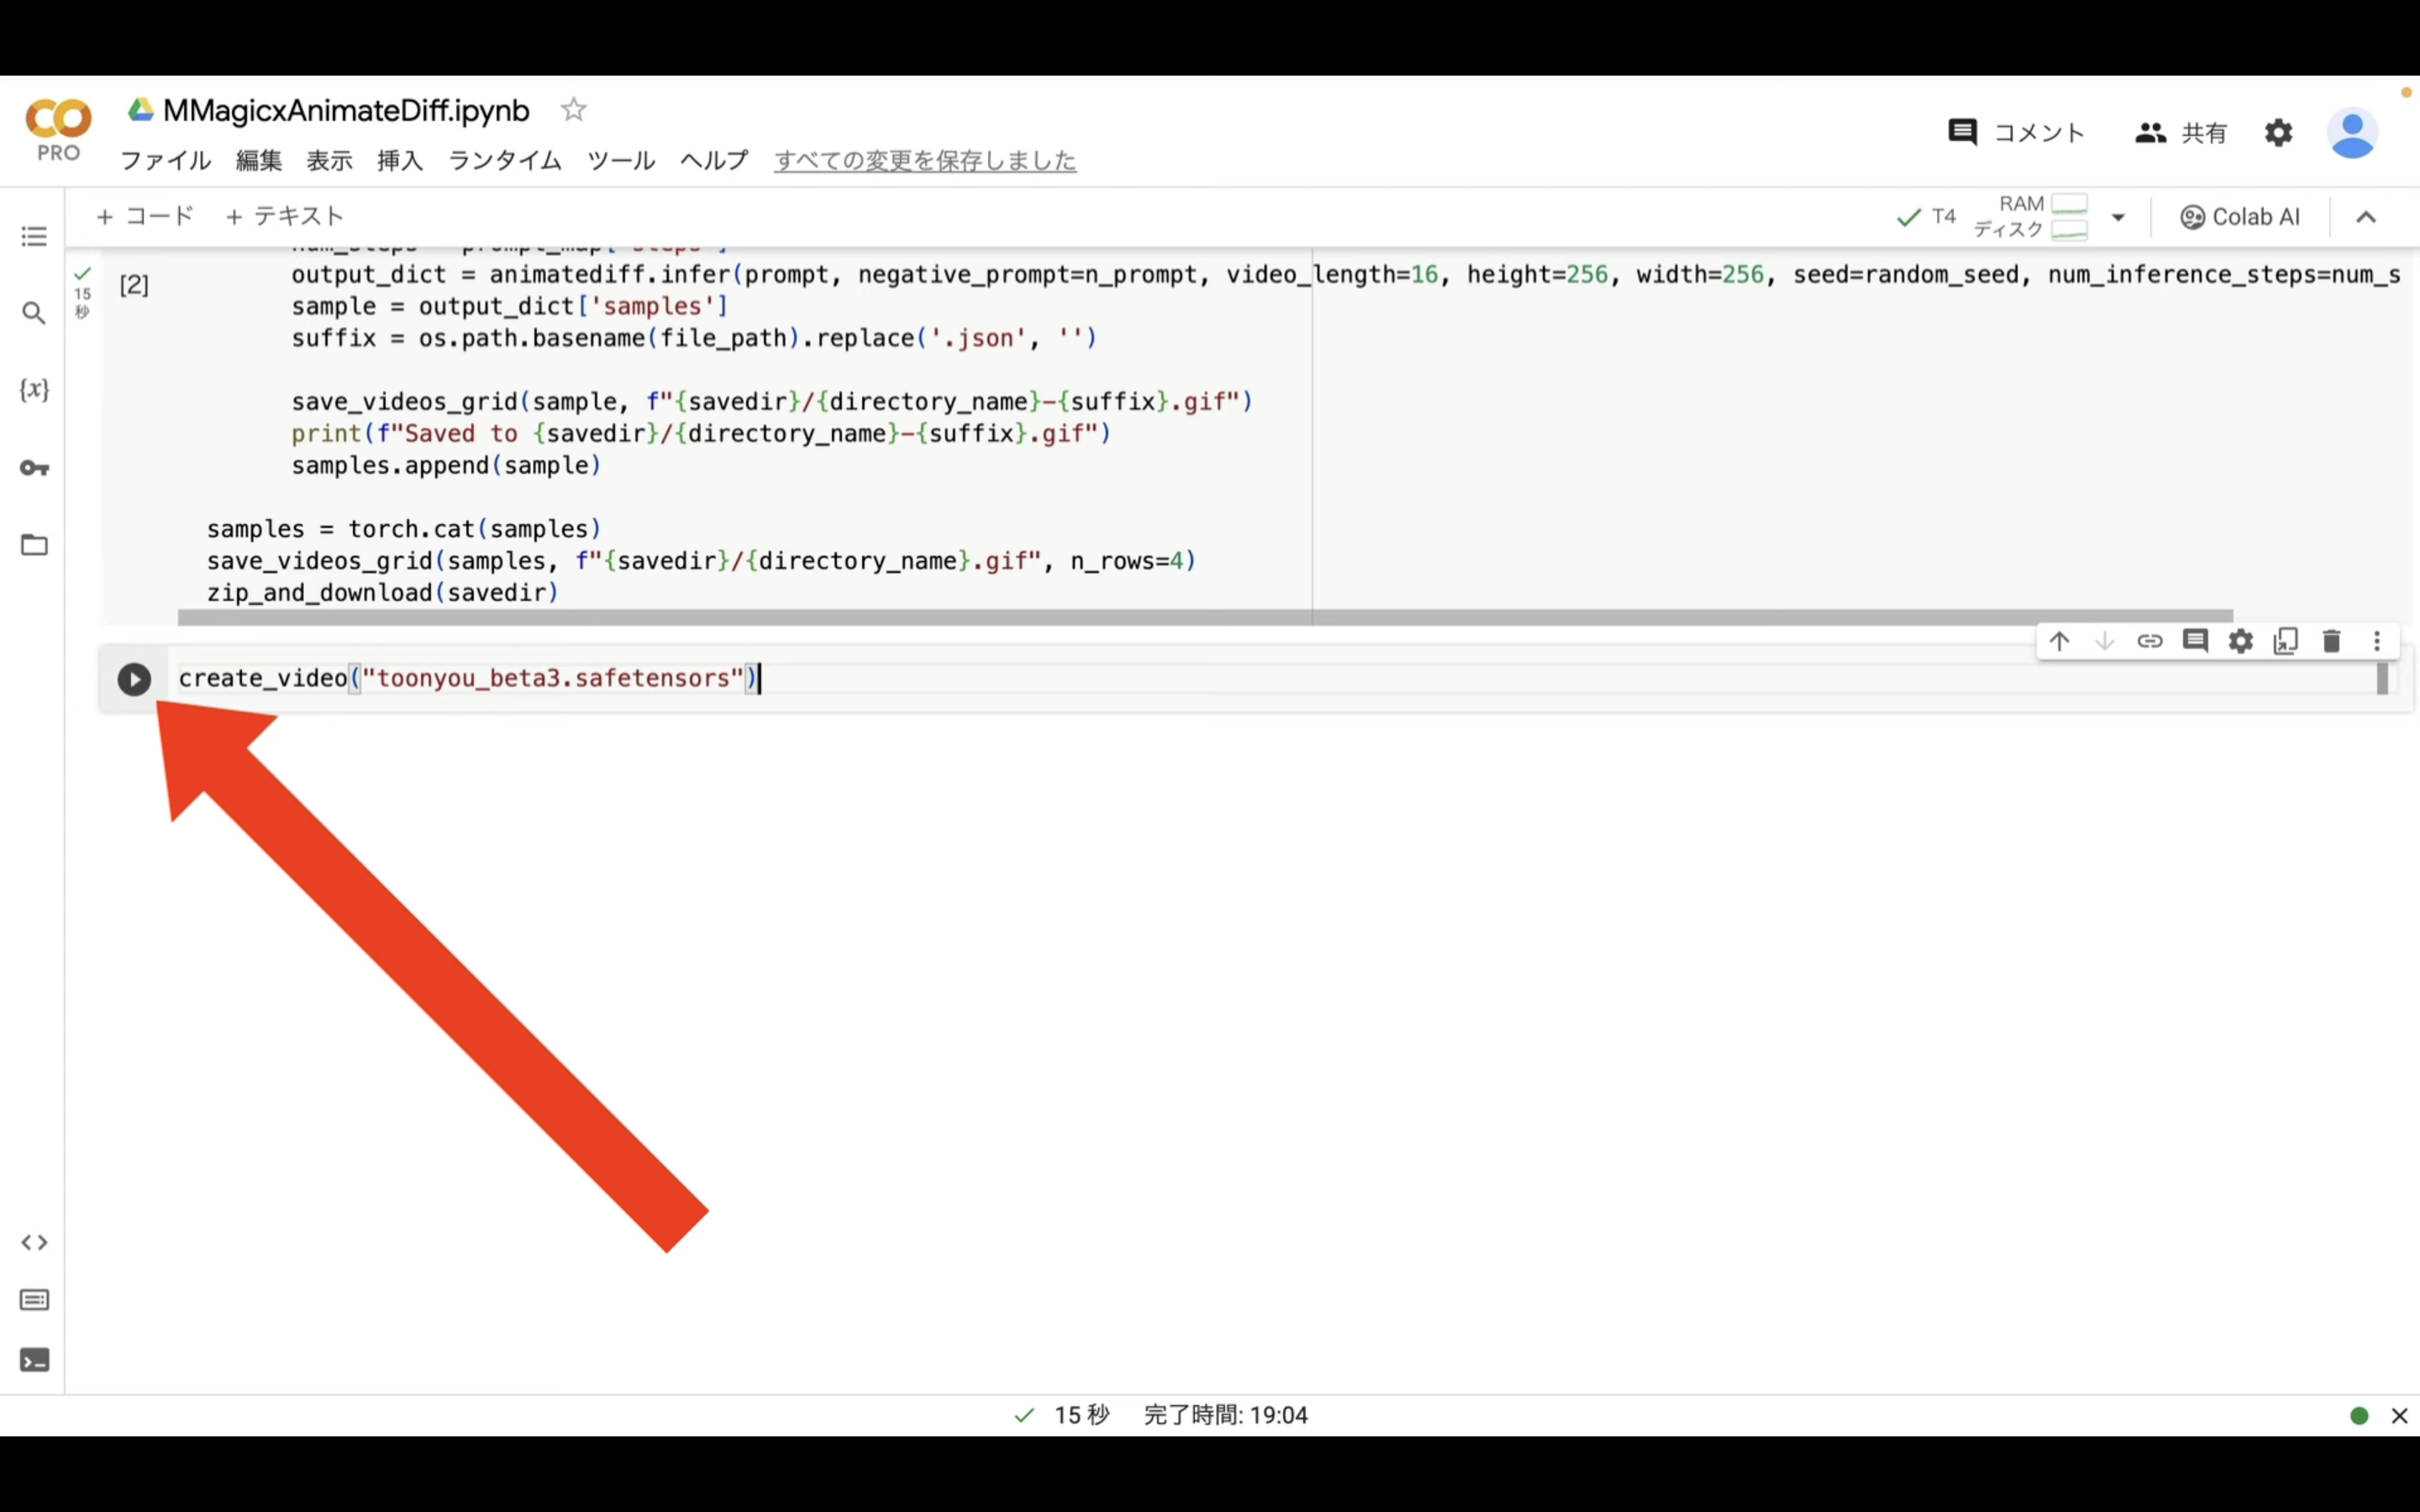
コマンドが実行されるので、完了するまでしばらく待ちます。
この処理には数分程度かかります。
ファイルが作成されたら、自動的にZIPファイルにまとめてダウンロードされるように設定してあります。
ダウンロードされたZIPファイルを展開すると、このようなファイルがあると思います。
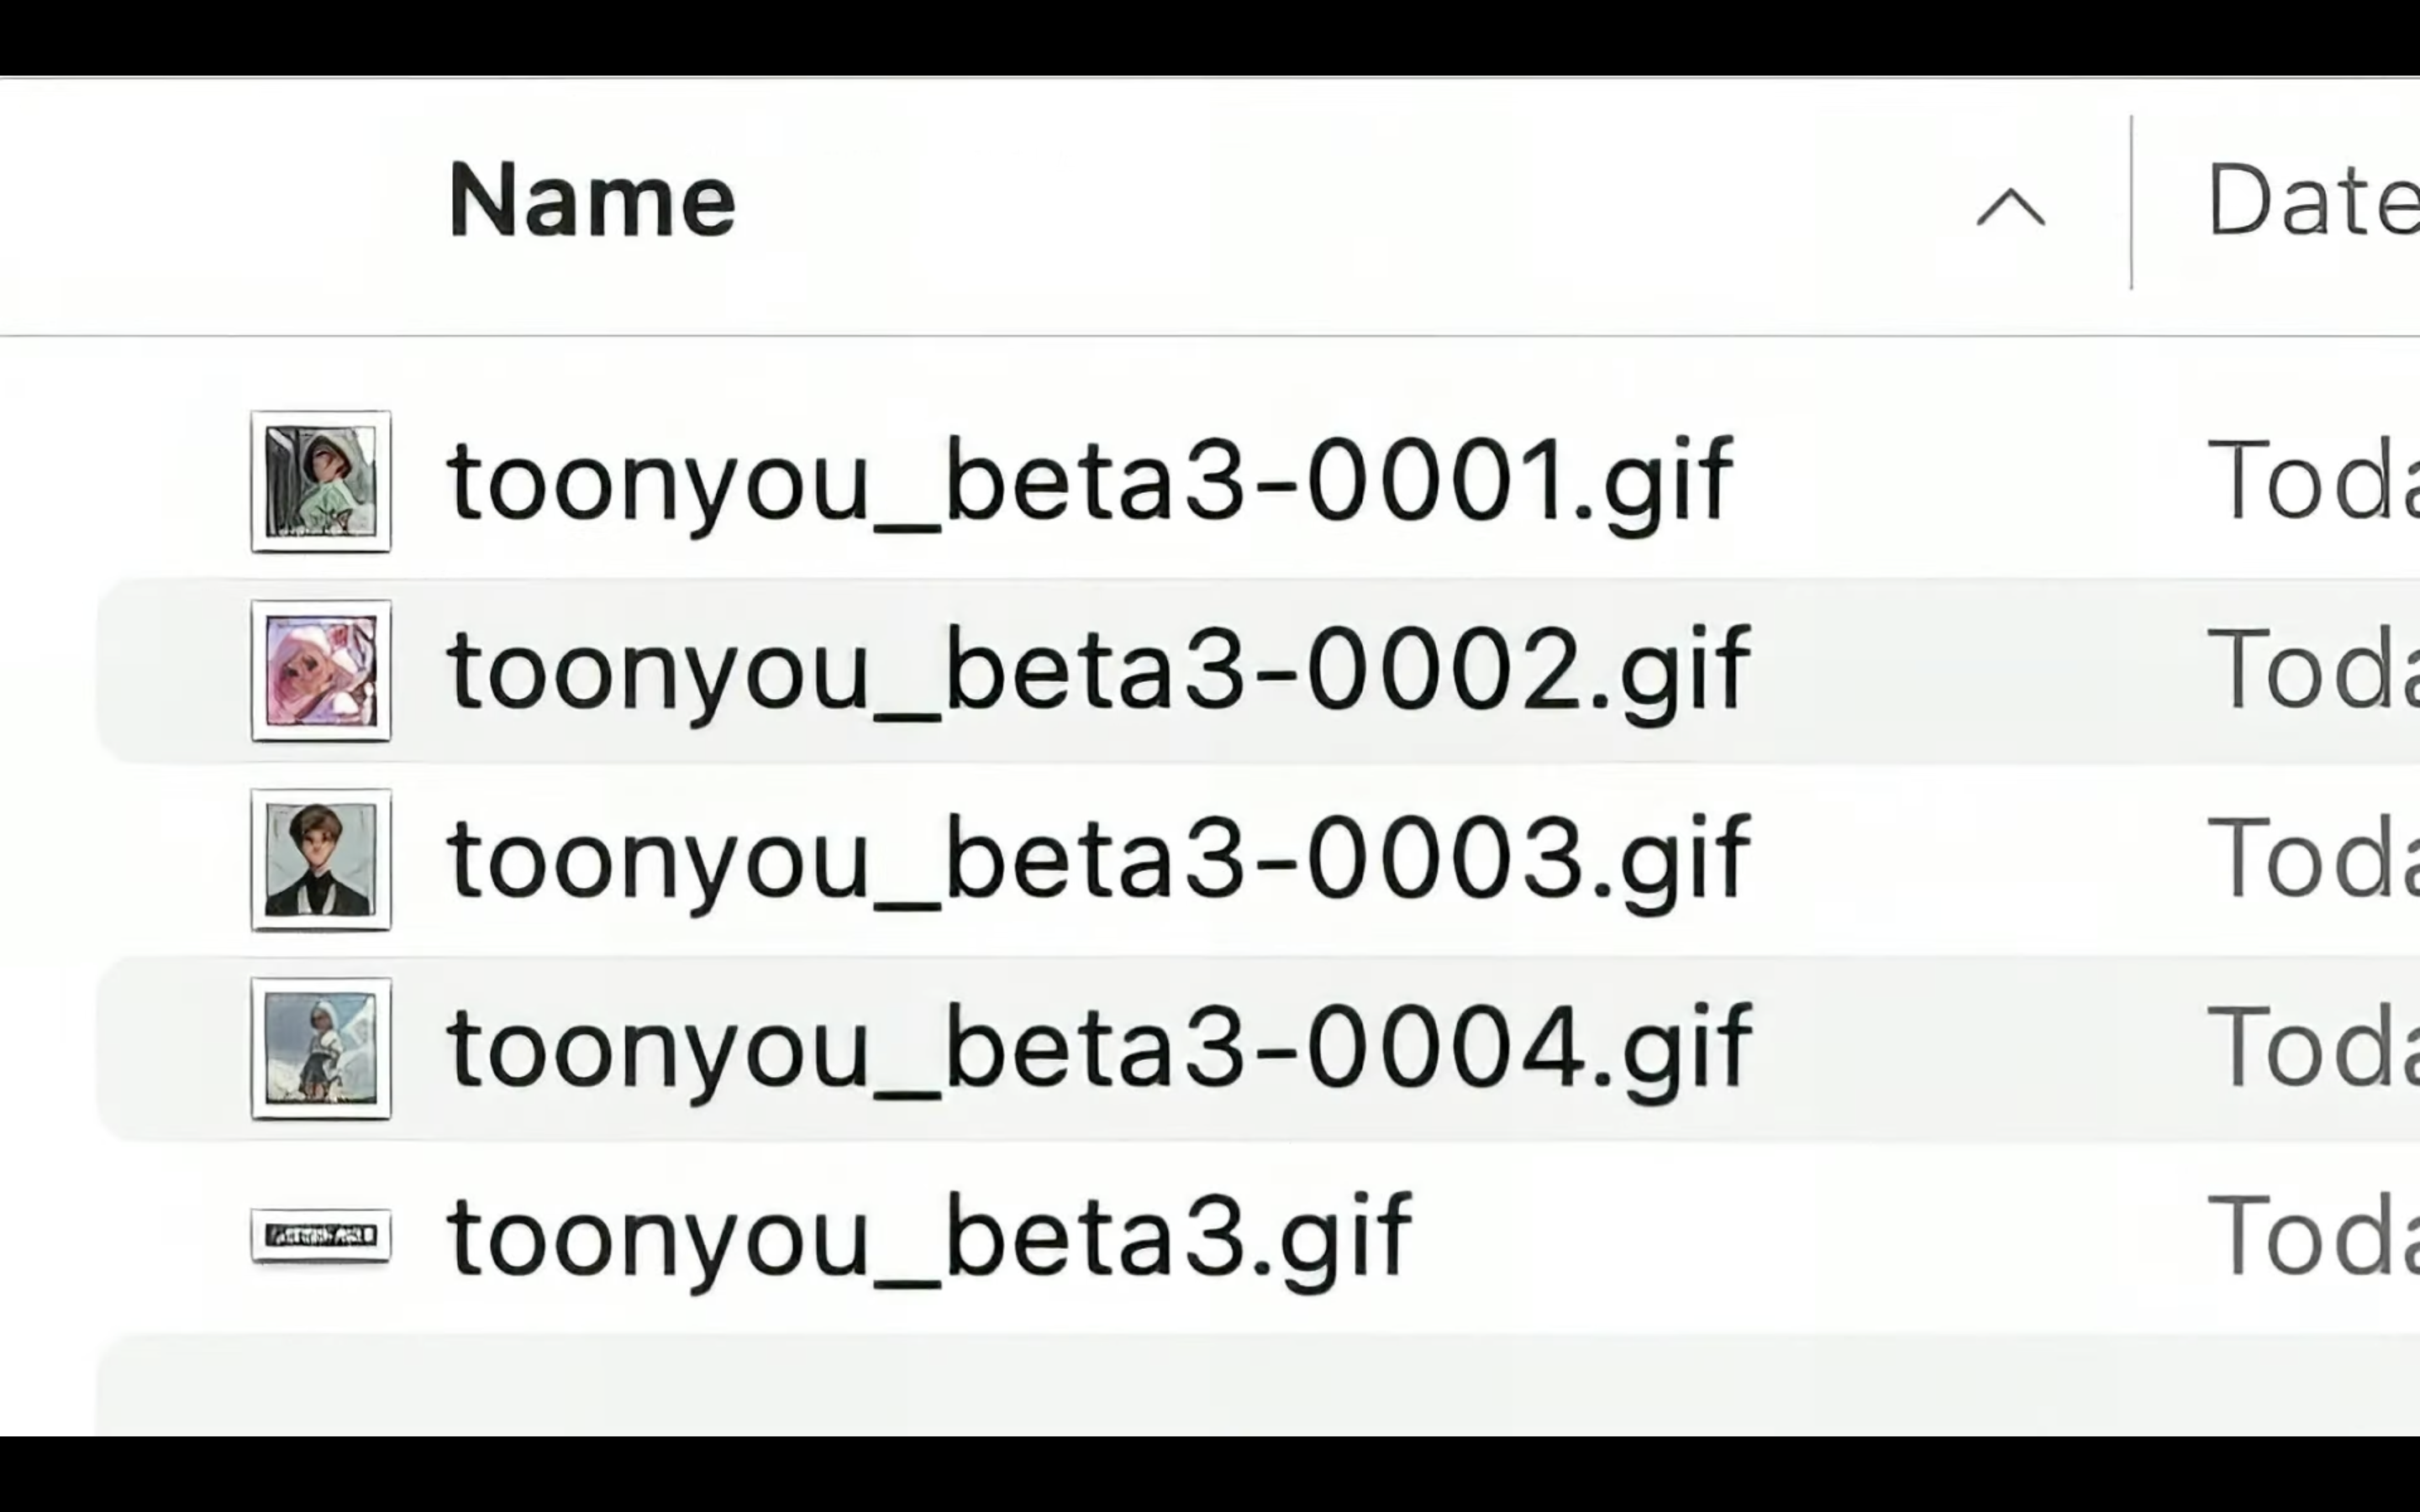
このファイルをブラウザにドラッグ&ドロップすると、生成されたファイルを確認することができます。
今回生成された動画がこちらです。
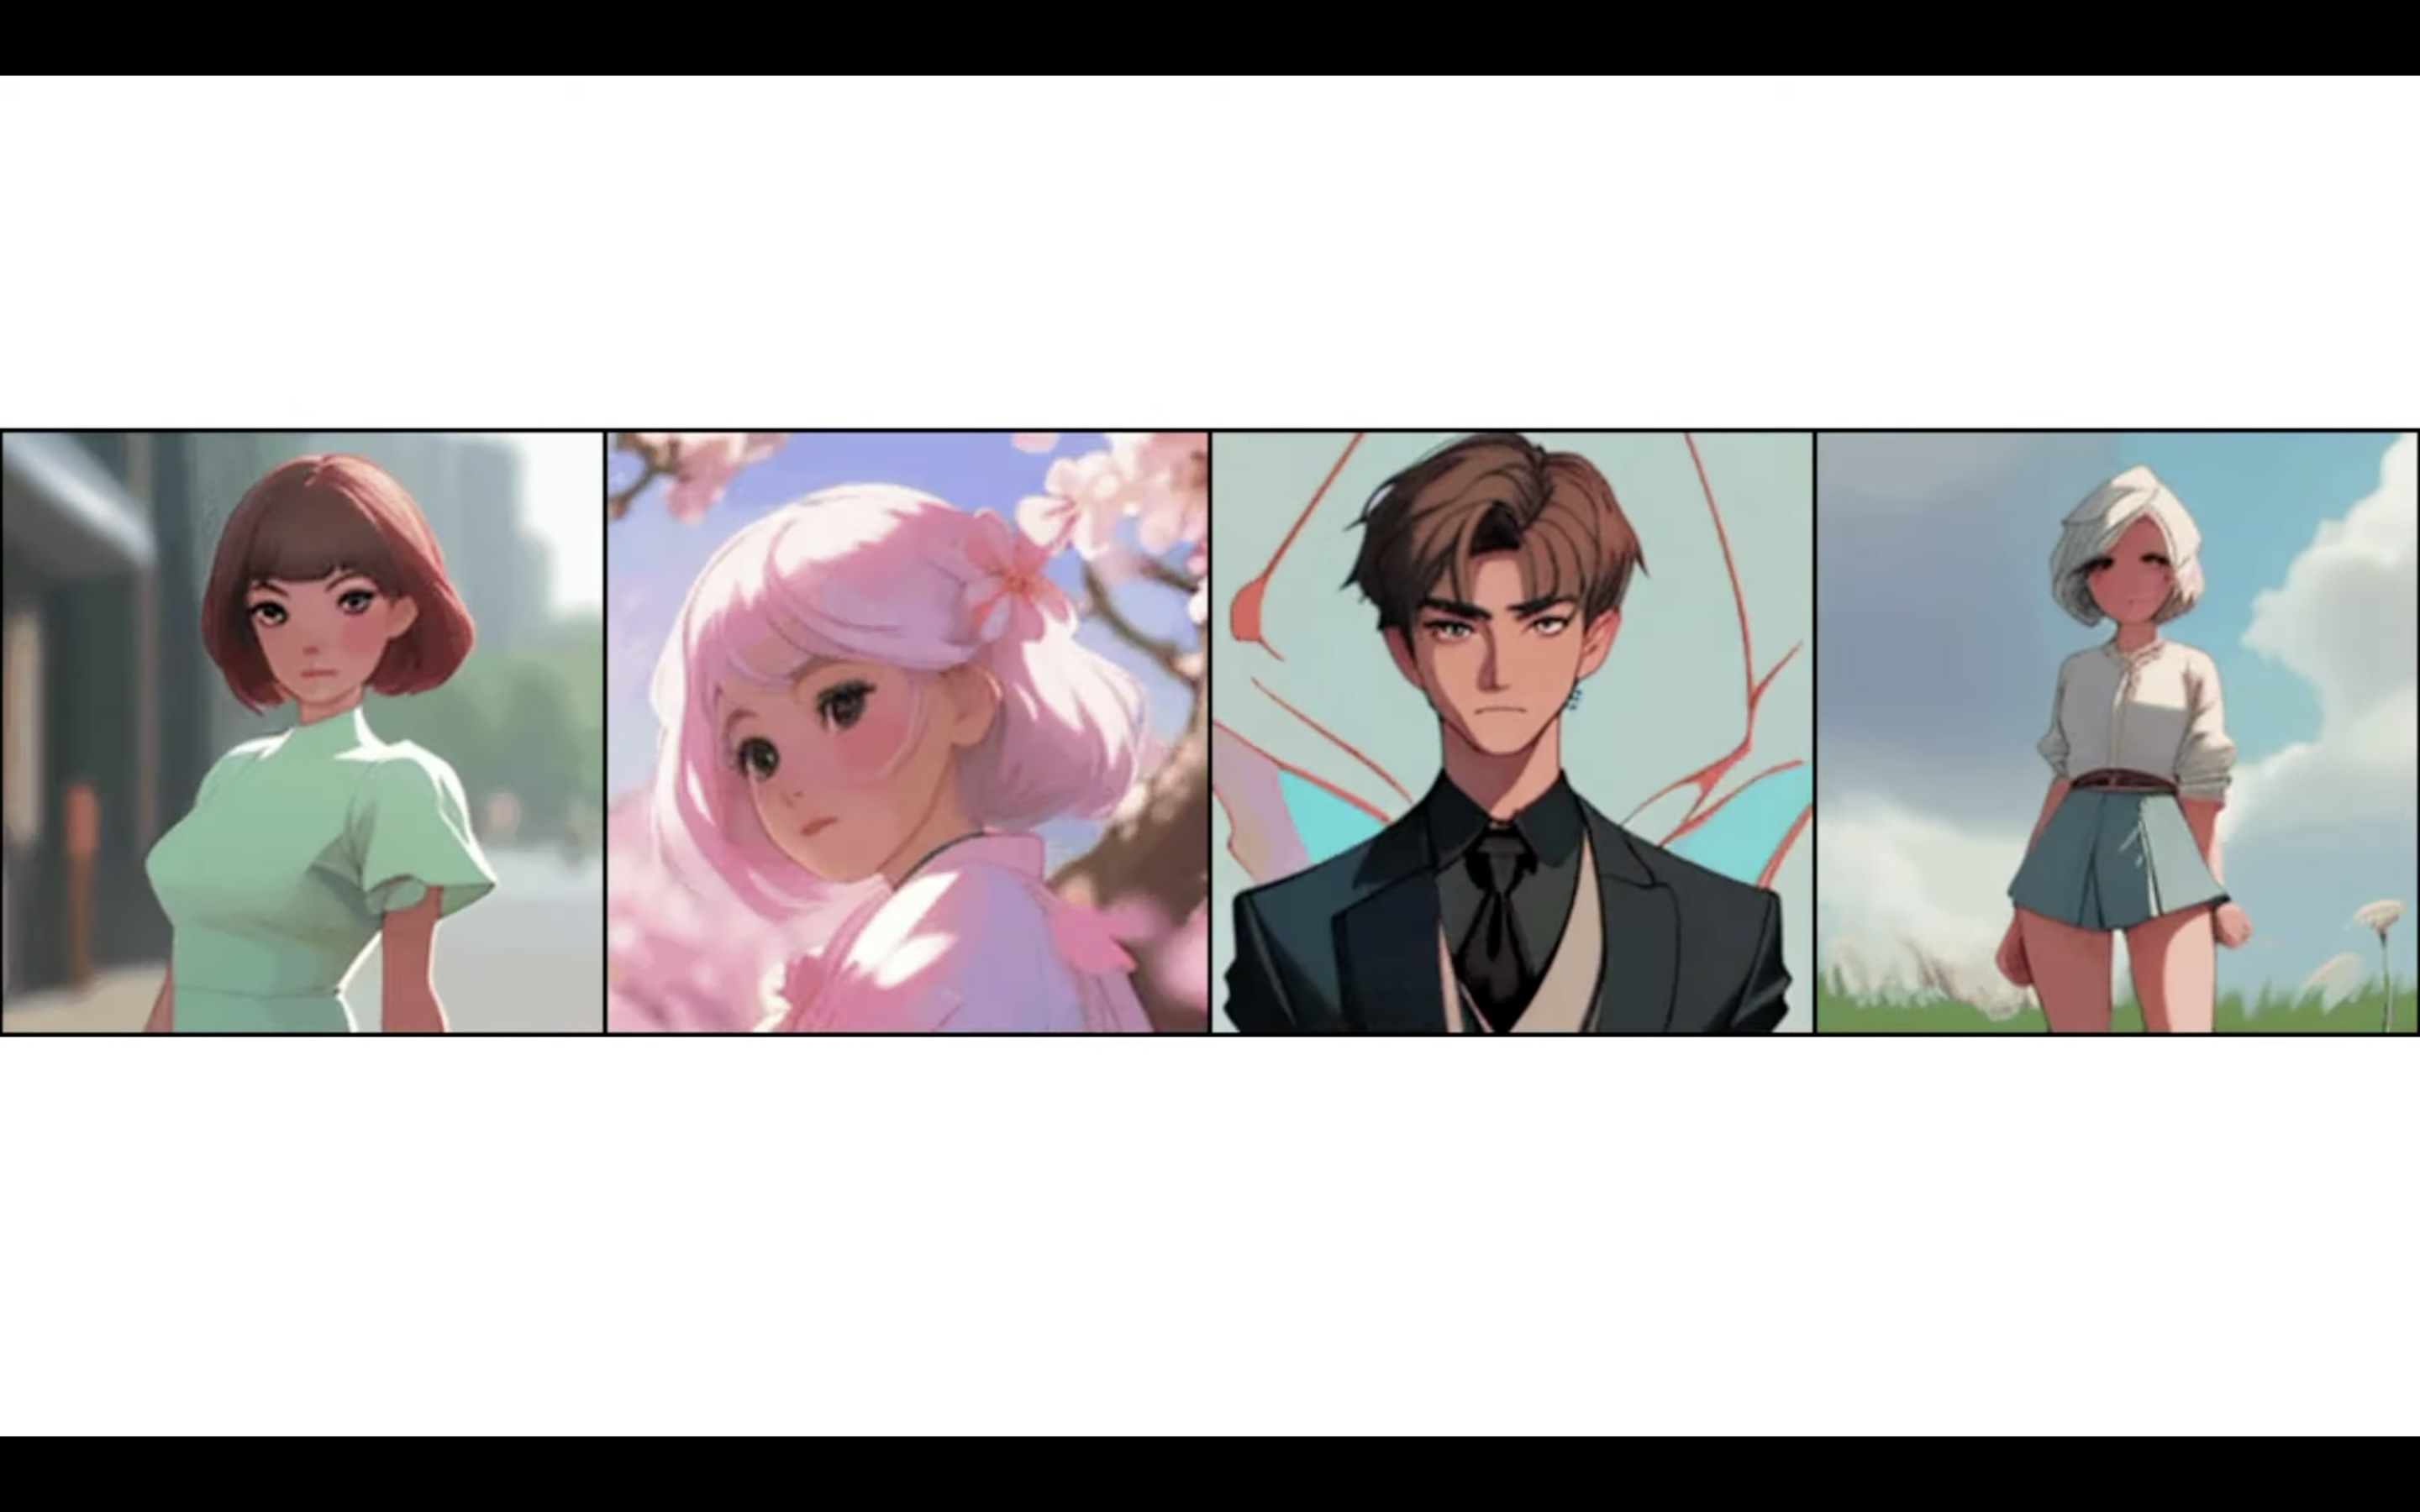
こんなに簡単に動画が生成できるのは便利ですね。
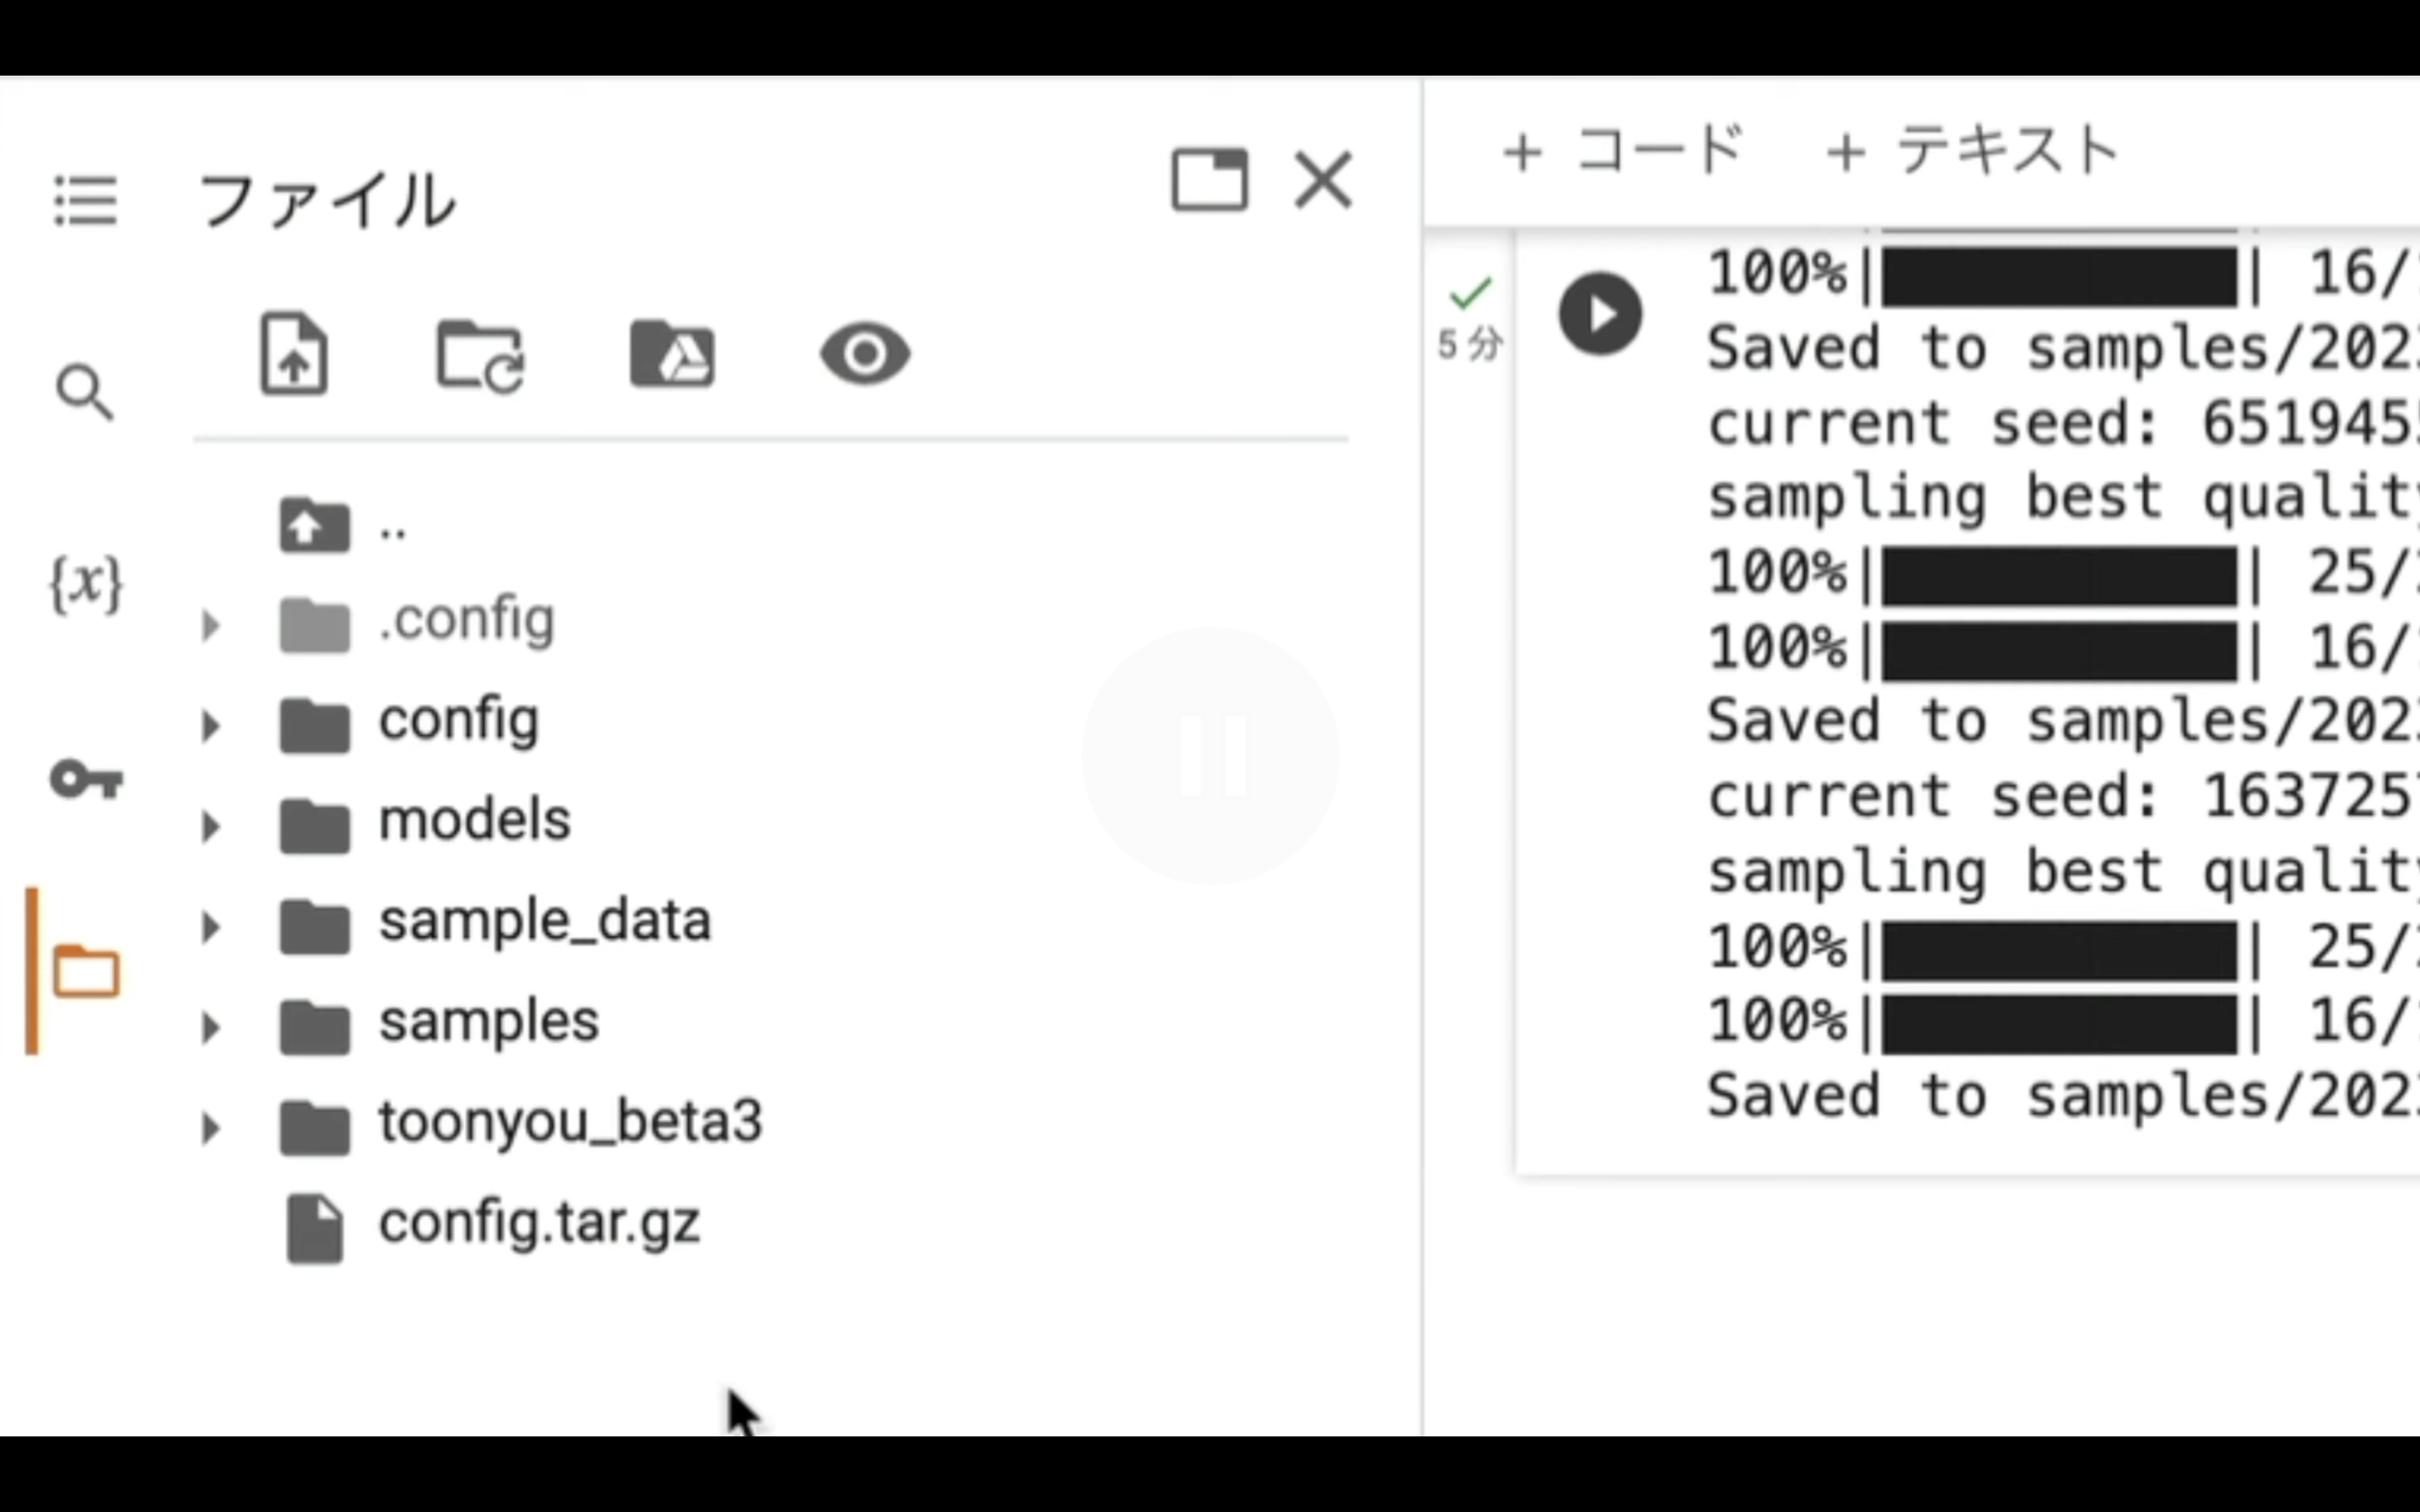
それでは、生成する動画の設定ファイルを確認していきましょう。
Google Colabの画面の左側にあるフォルダーのマークをクリックします。
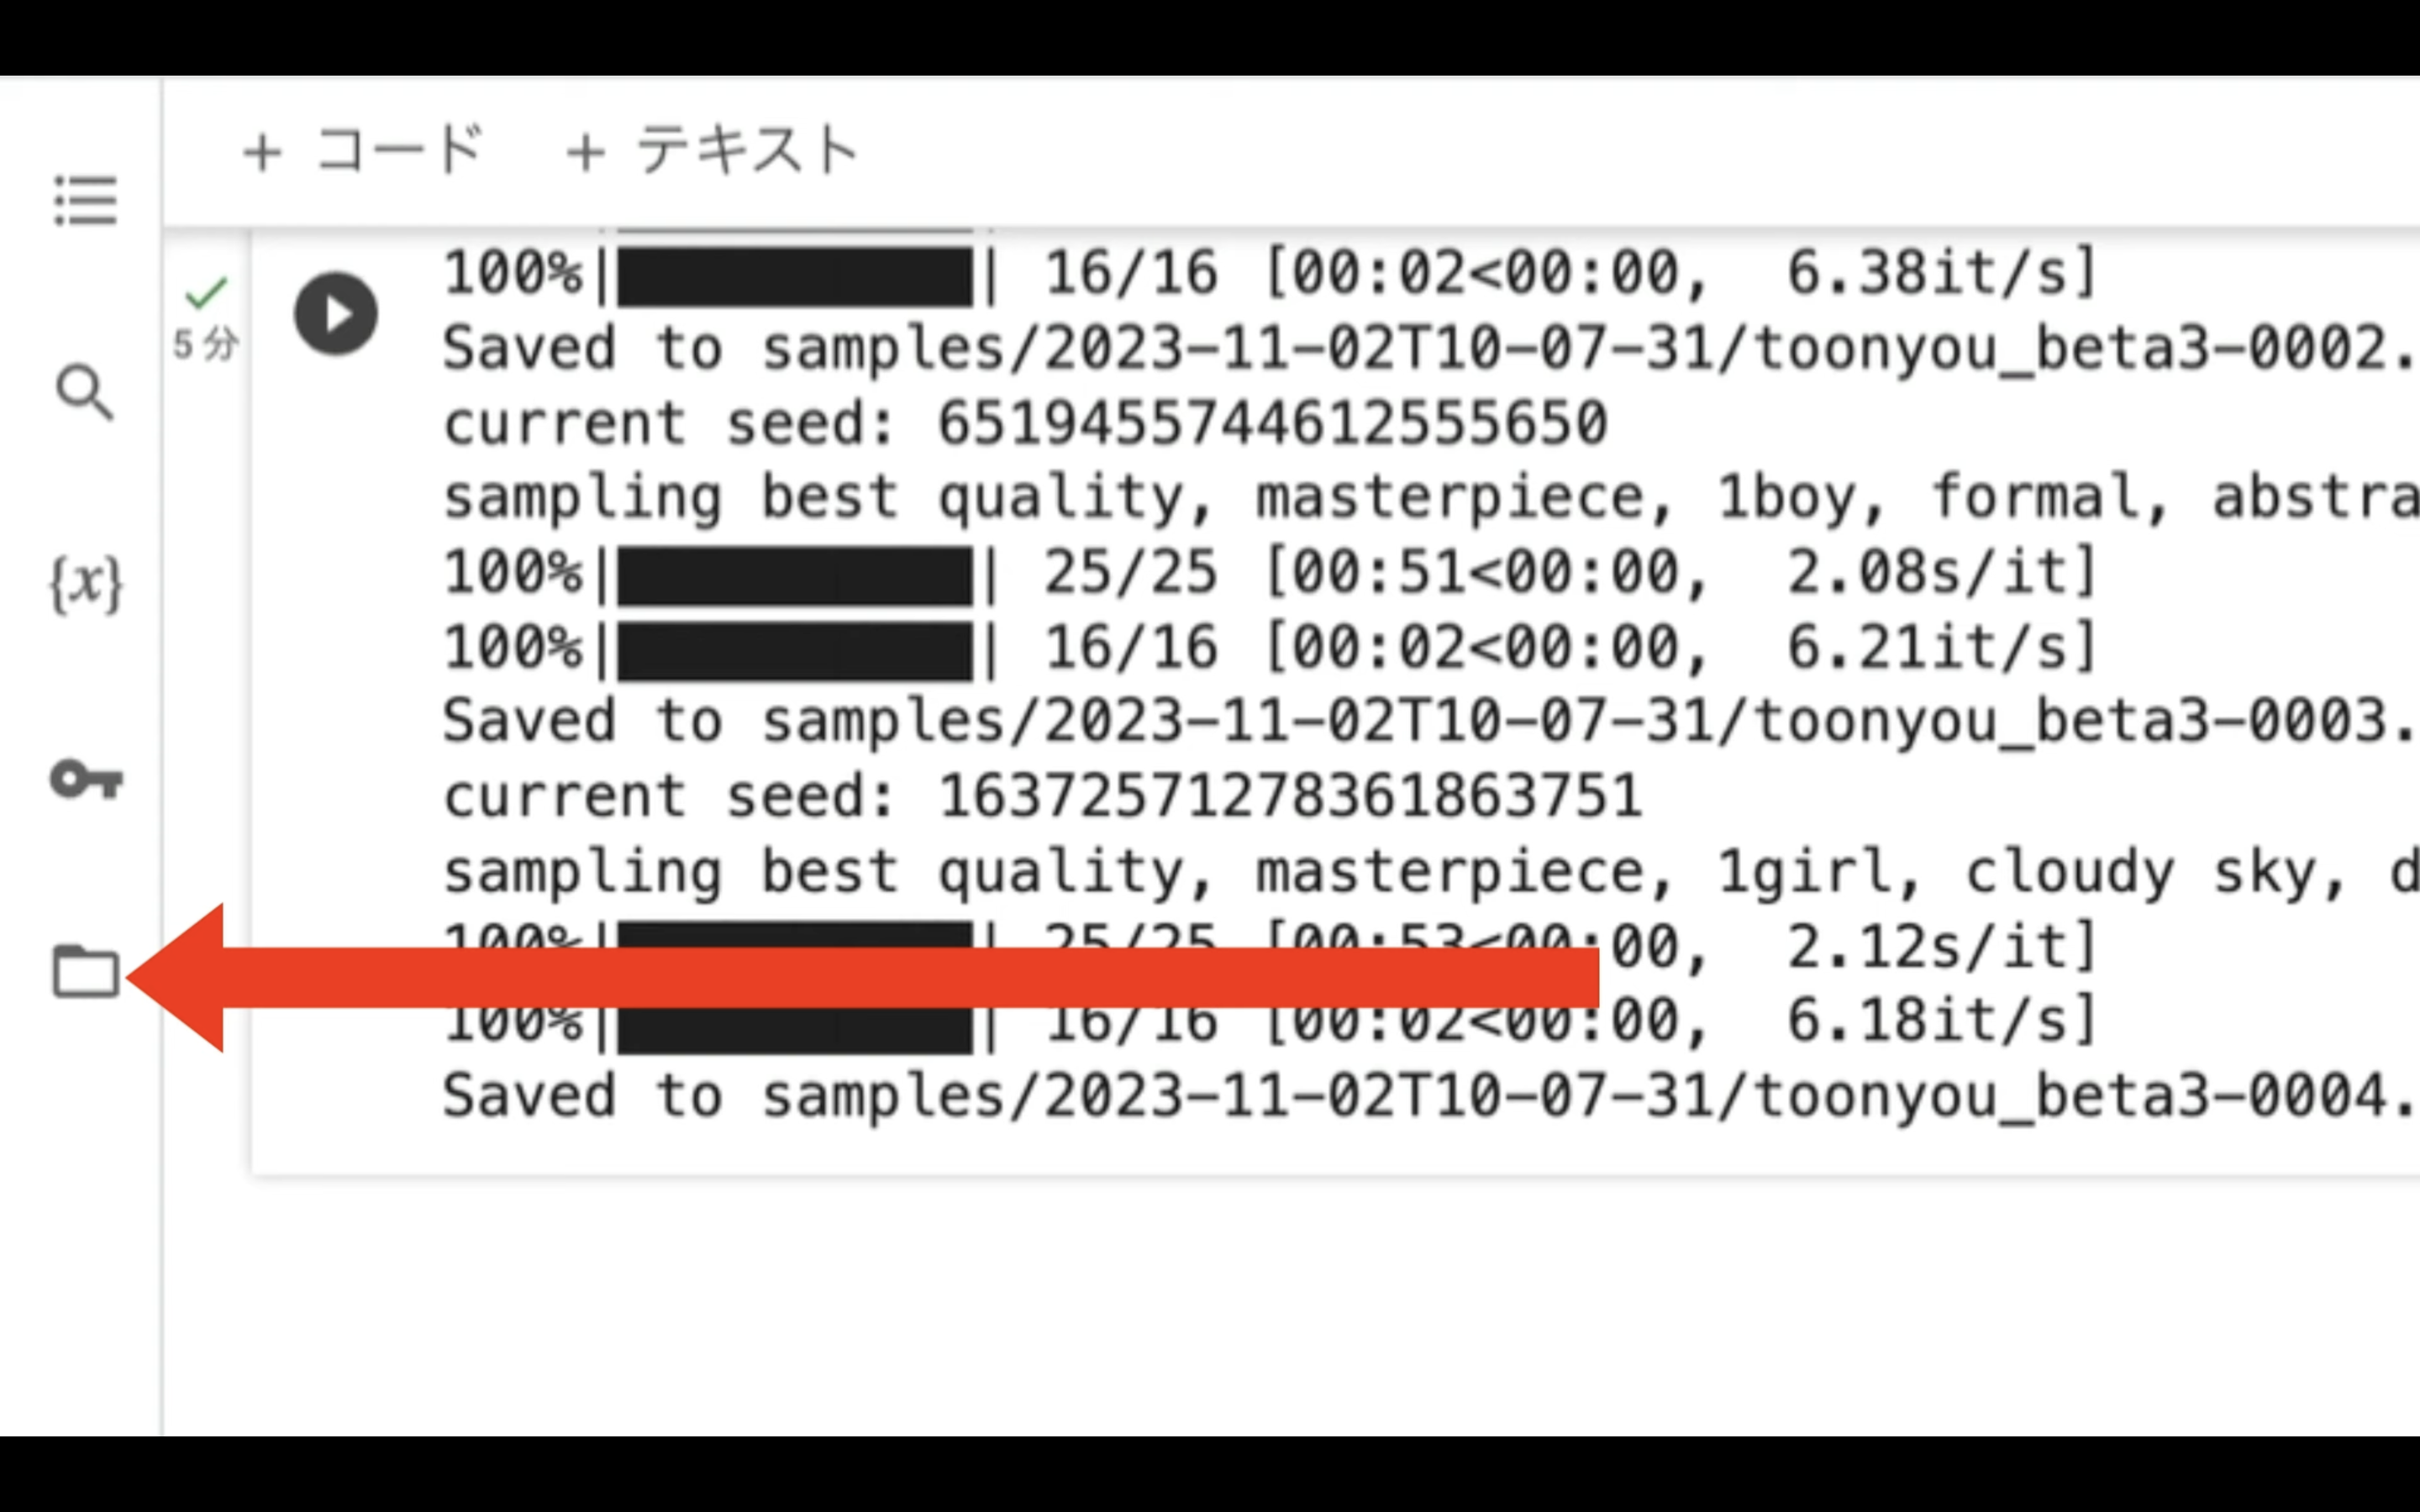
そうするとフォルダーとファイルの一覧画面が表示されます。
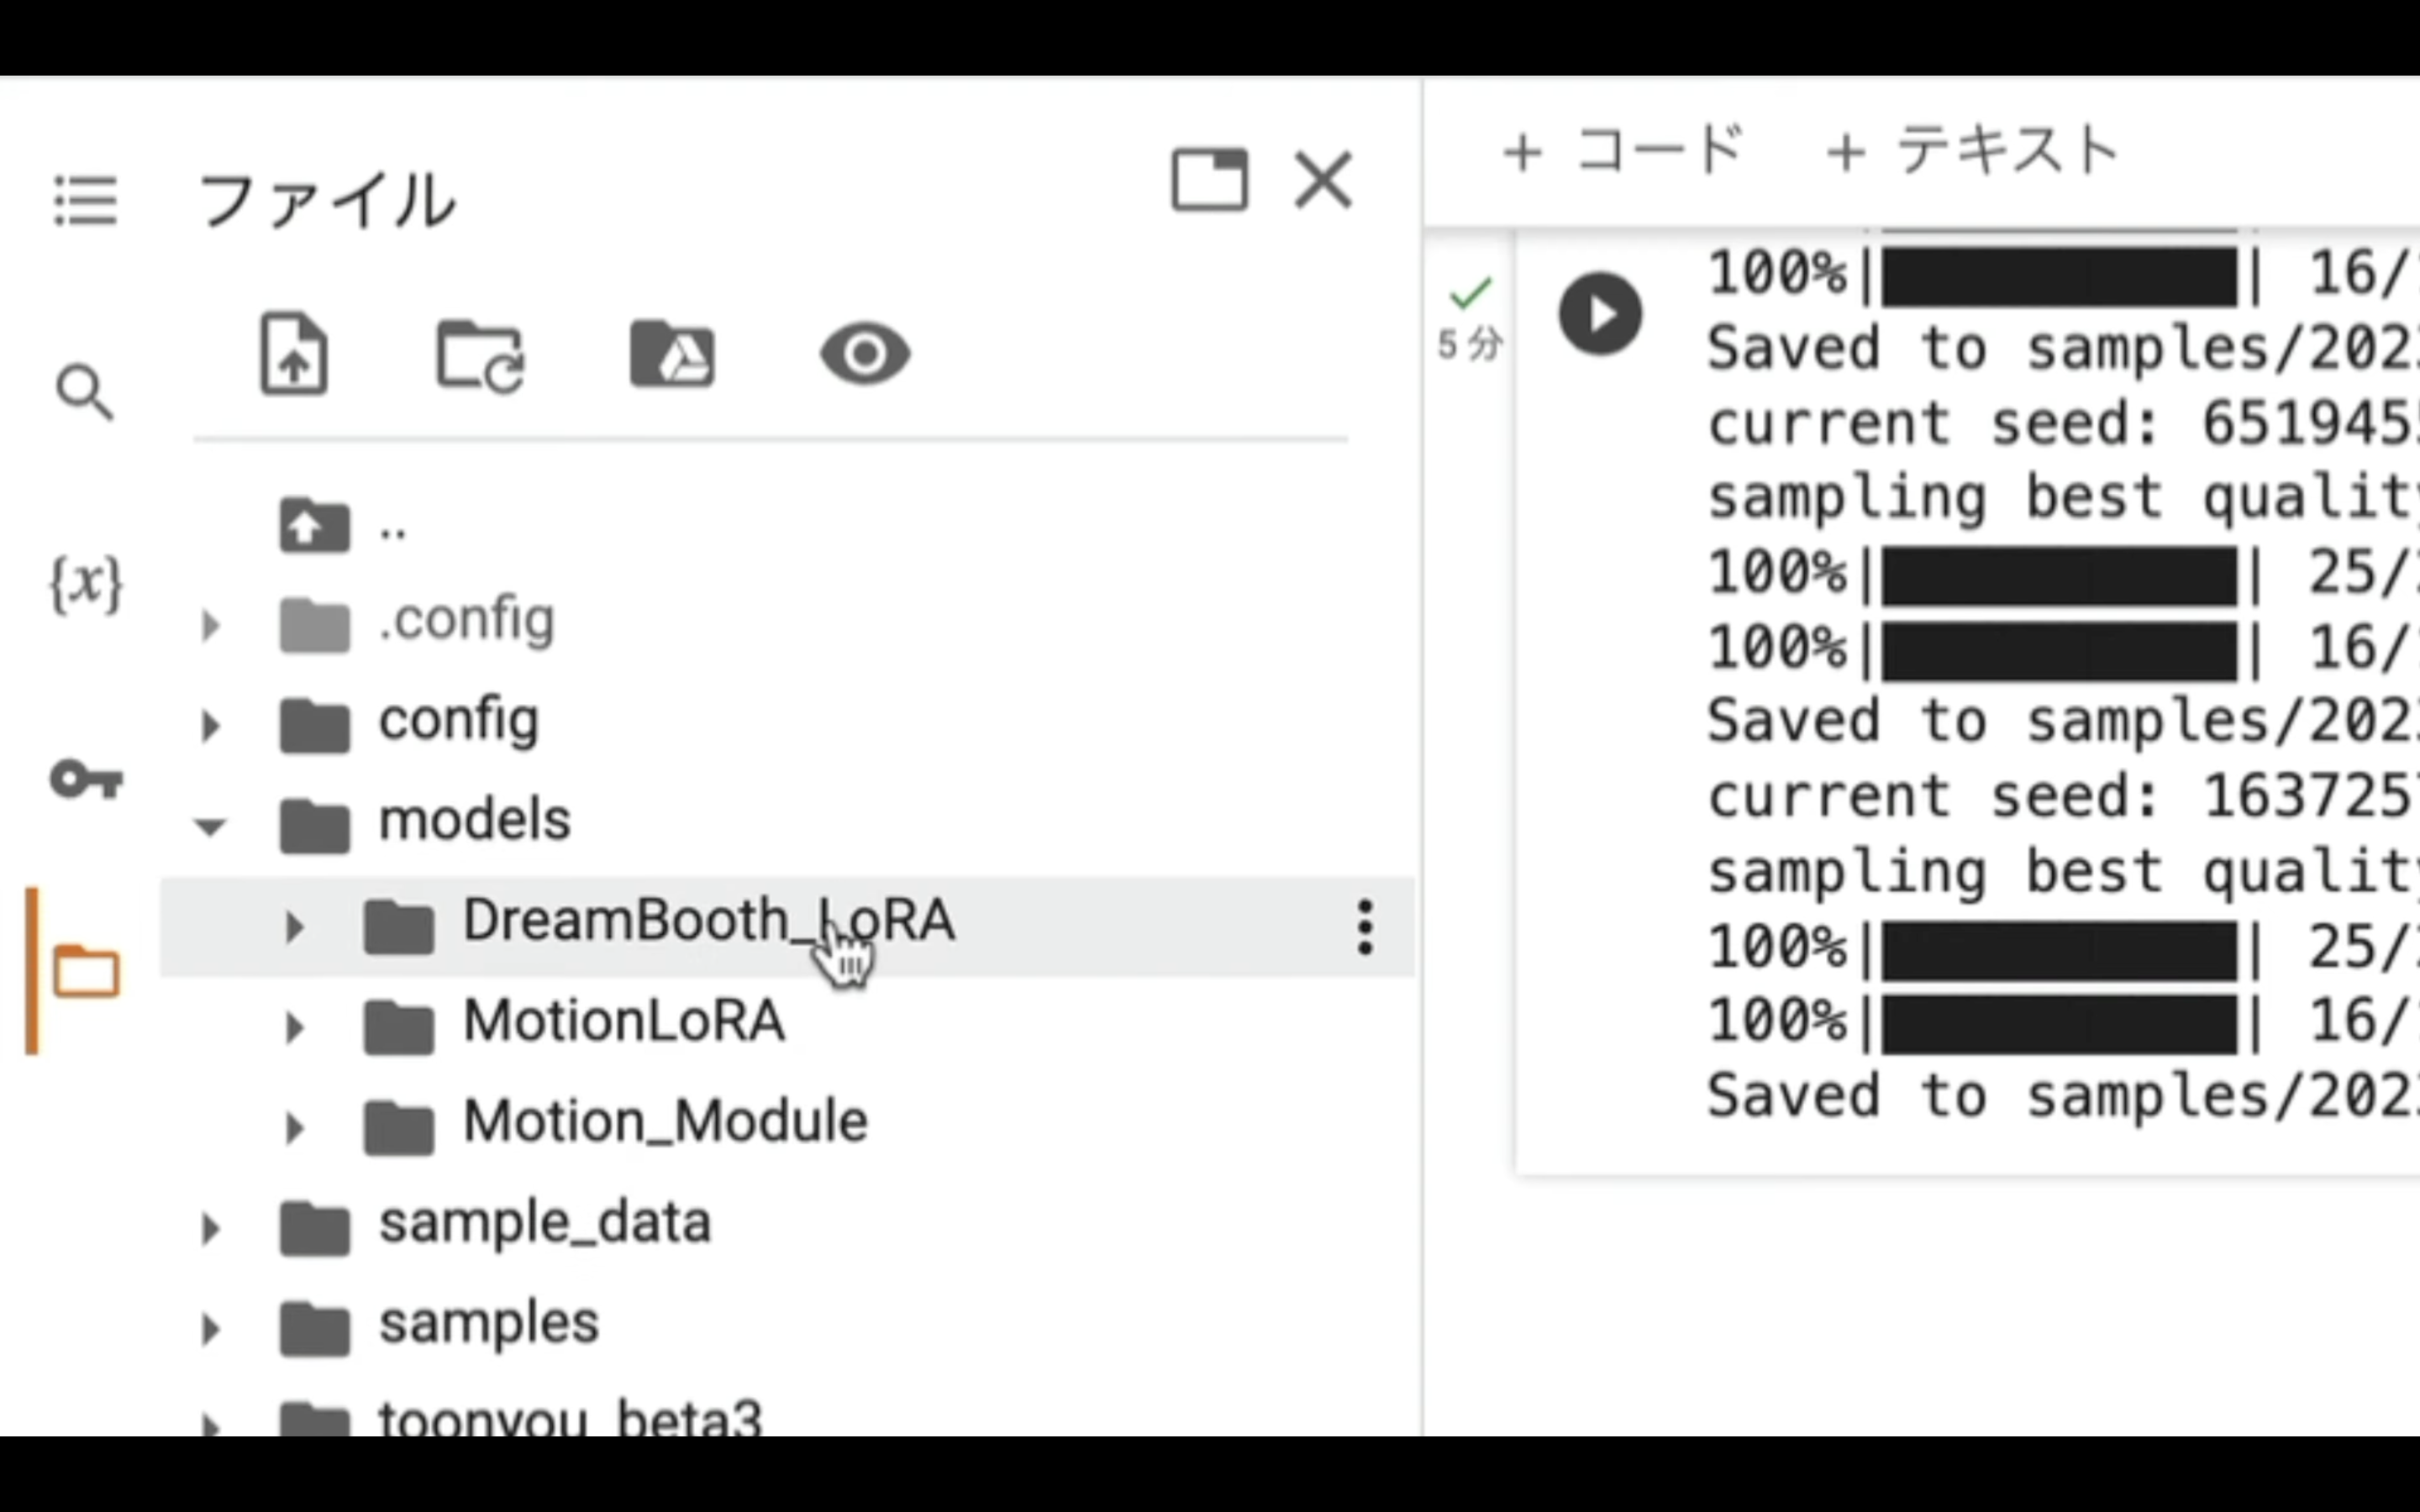
modelsという名前のフォルダーをクリックします。
この中にあるDreamBooth_LoRAというフォルダーに動画を生成するためのモデルファイルが配置されています。
生成する動画のプロンプトやネガティブプロンプトは、configフォルダーにあるファイルで設定します。
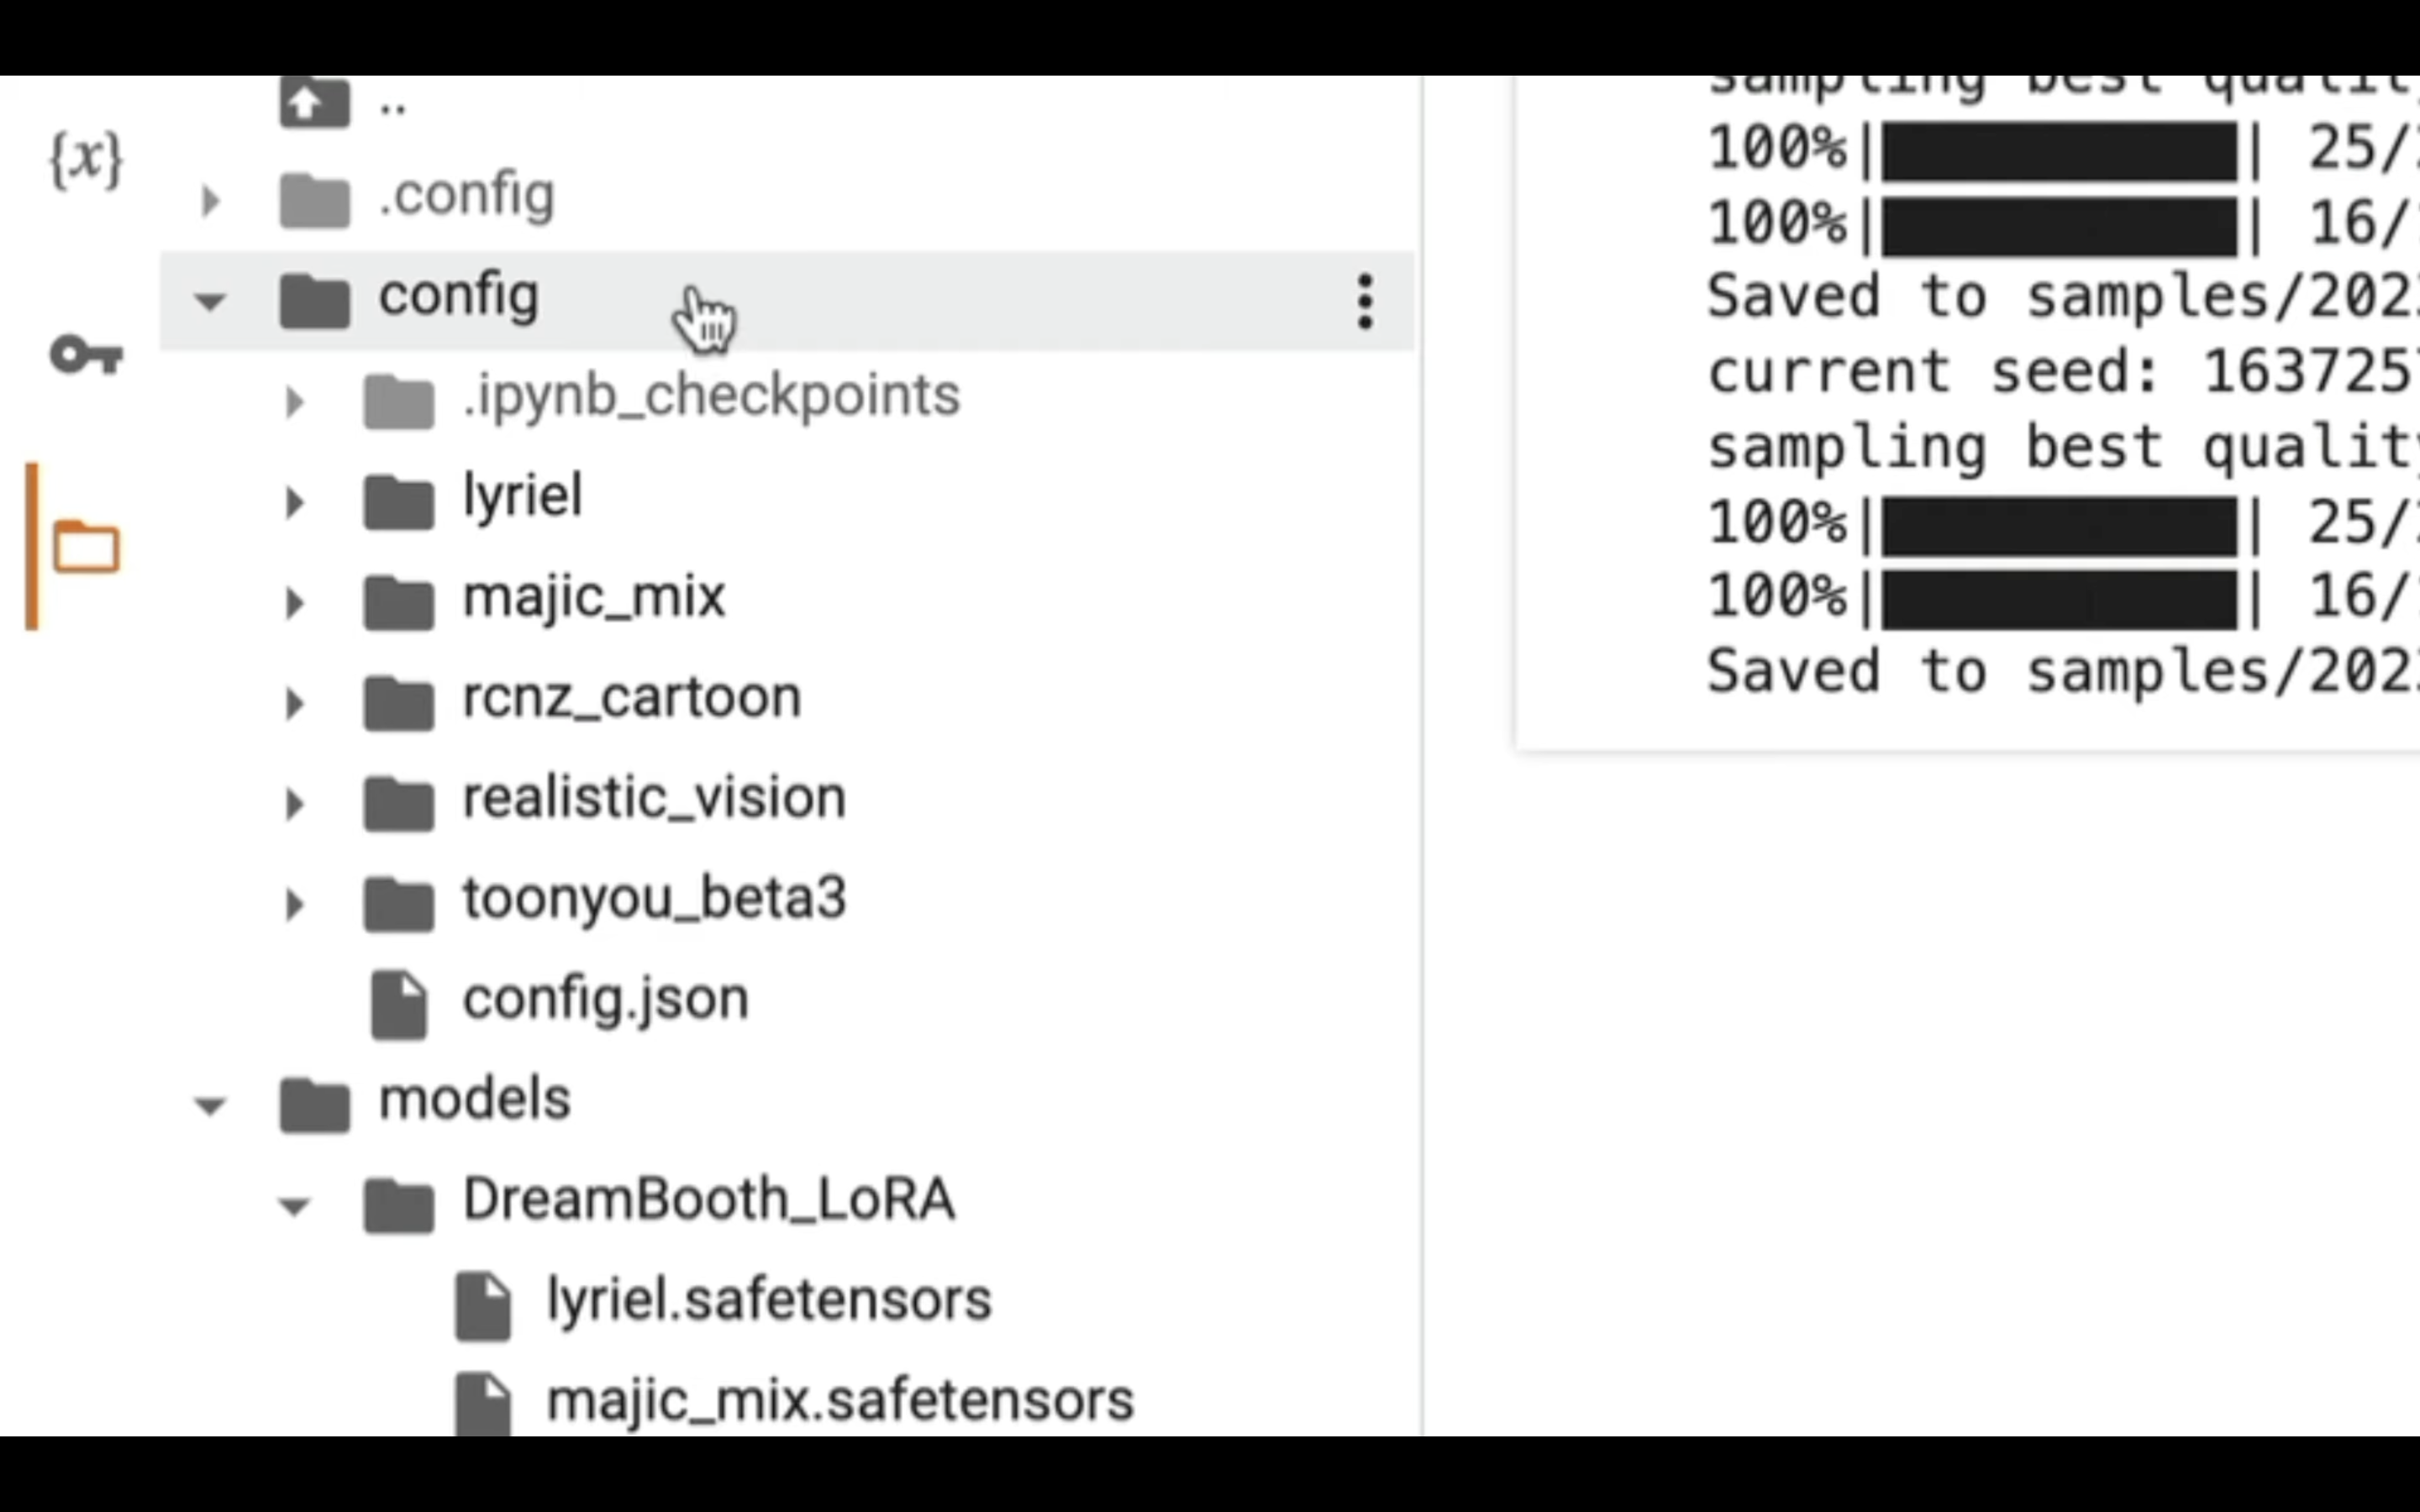
チェックポイントファイルの拡張子を取り除いた名前のフォルダーにまとめてあります。
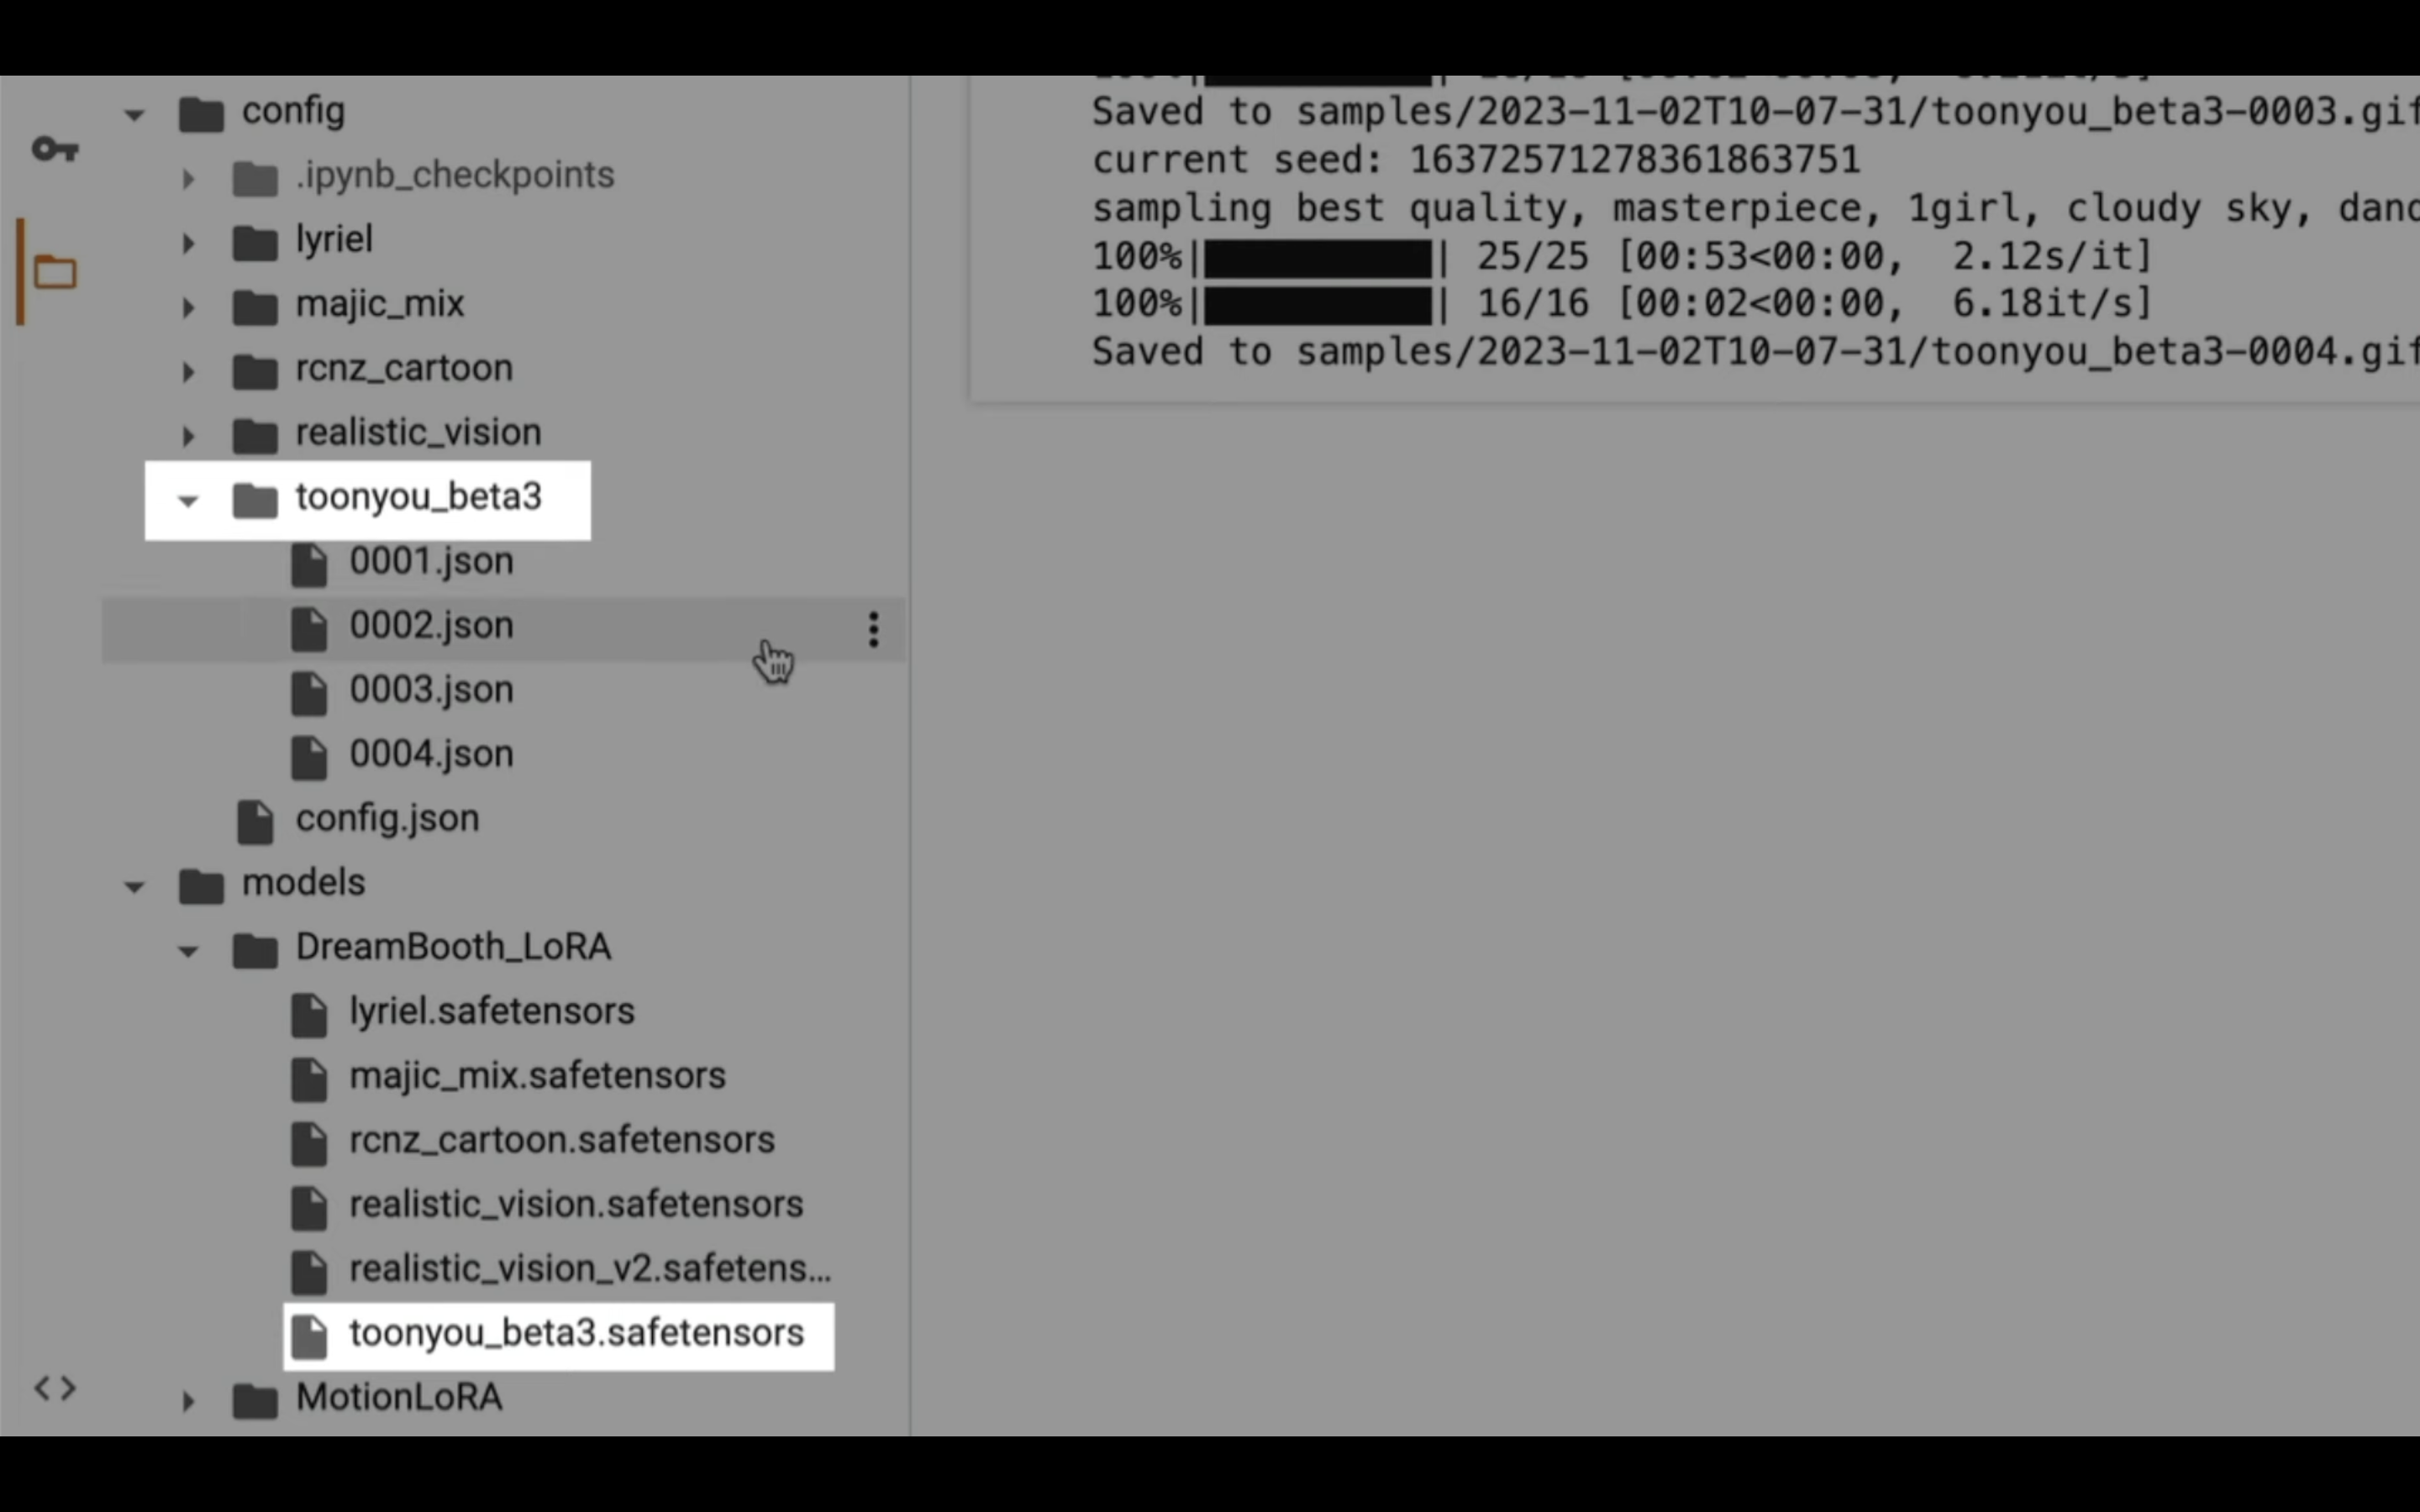
例えば、toonyou_beta3という名前の場合は、このフォルダーにある001から004までのjsonファイルでプロンプトやネガティブプロンプトを設定します。
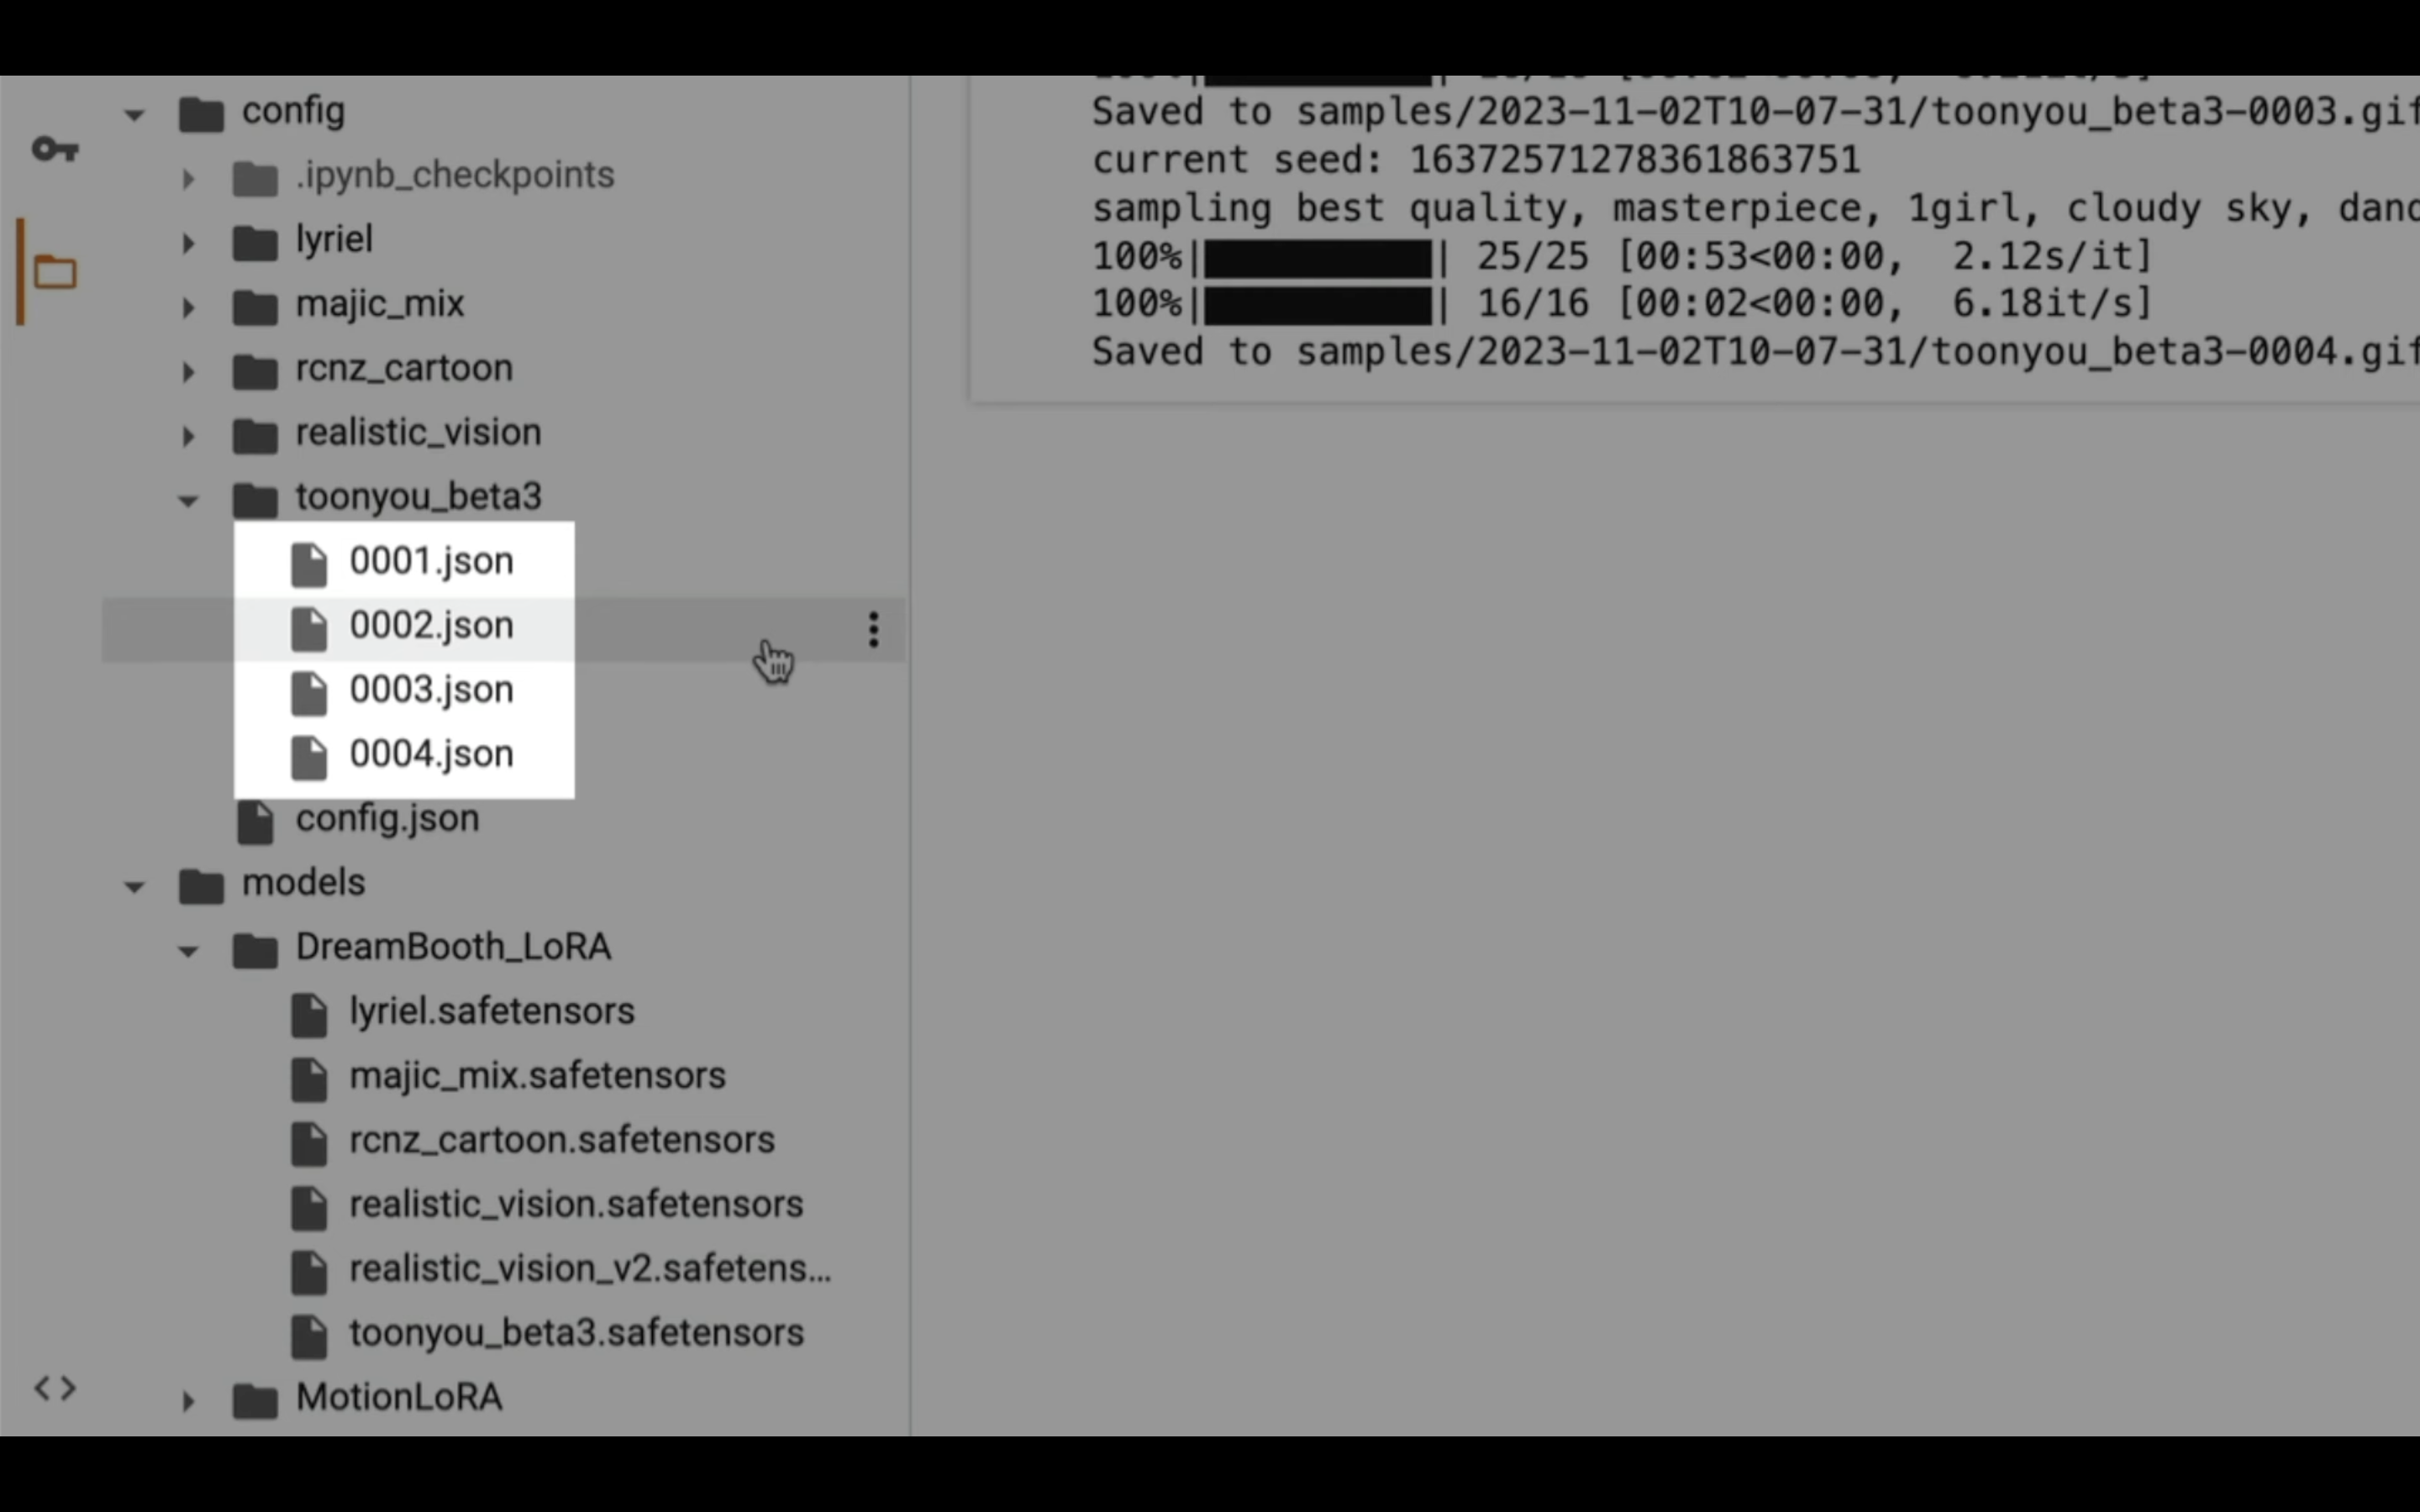
設定ファイルはこのような構成で配置してあります。
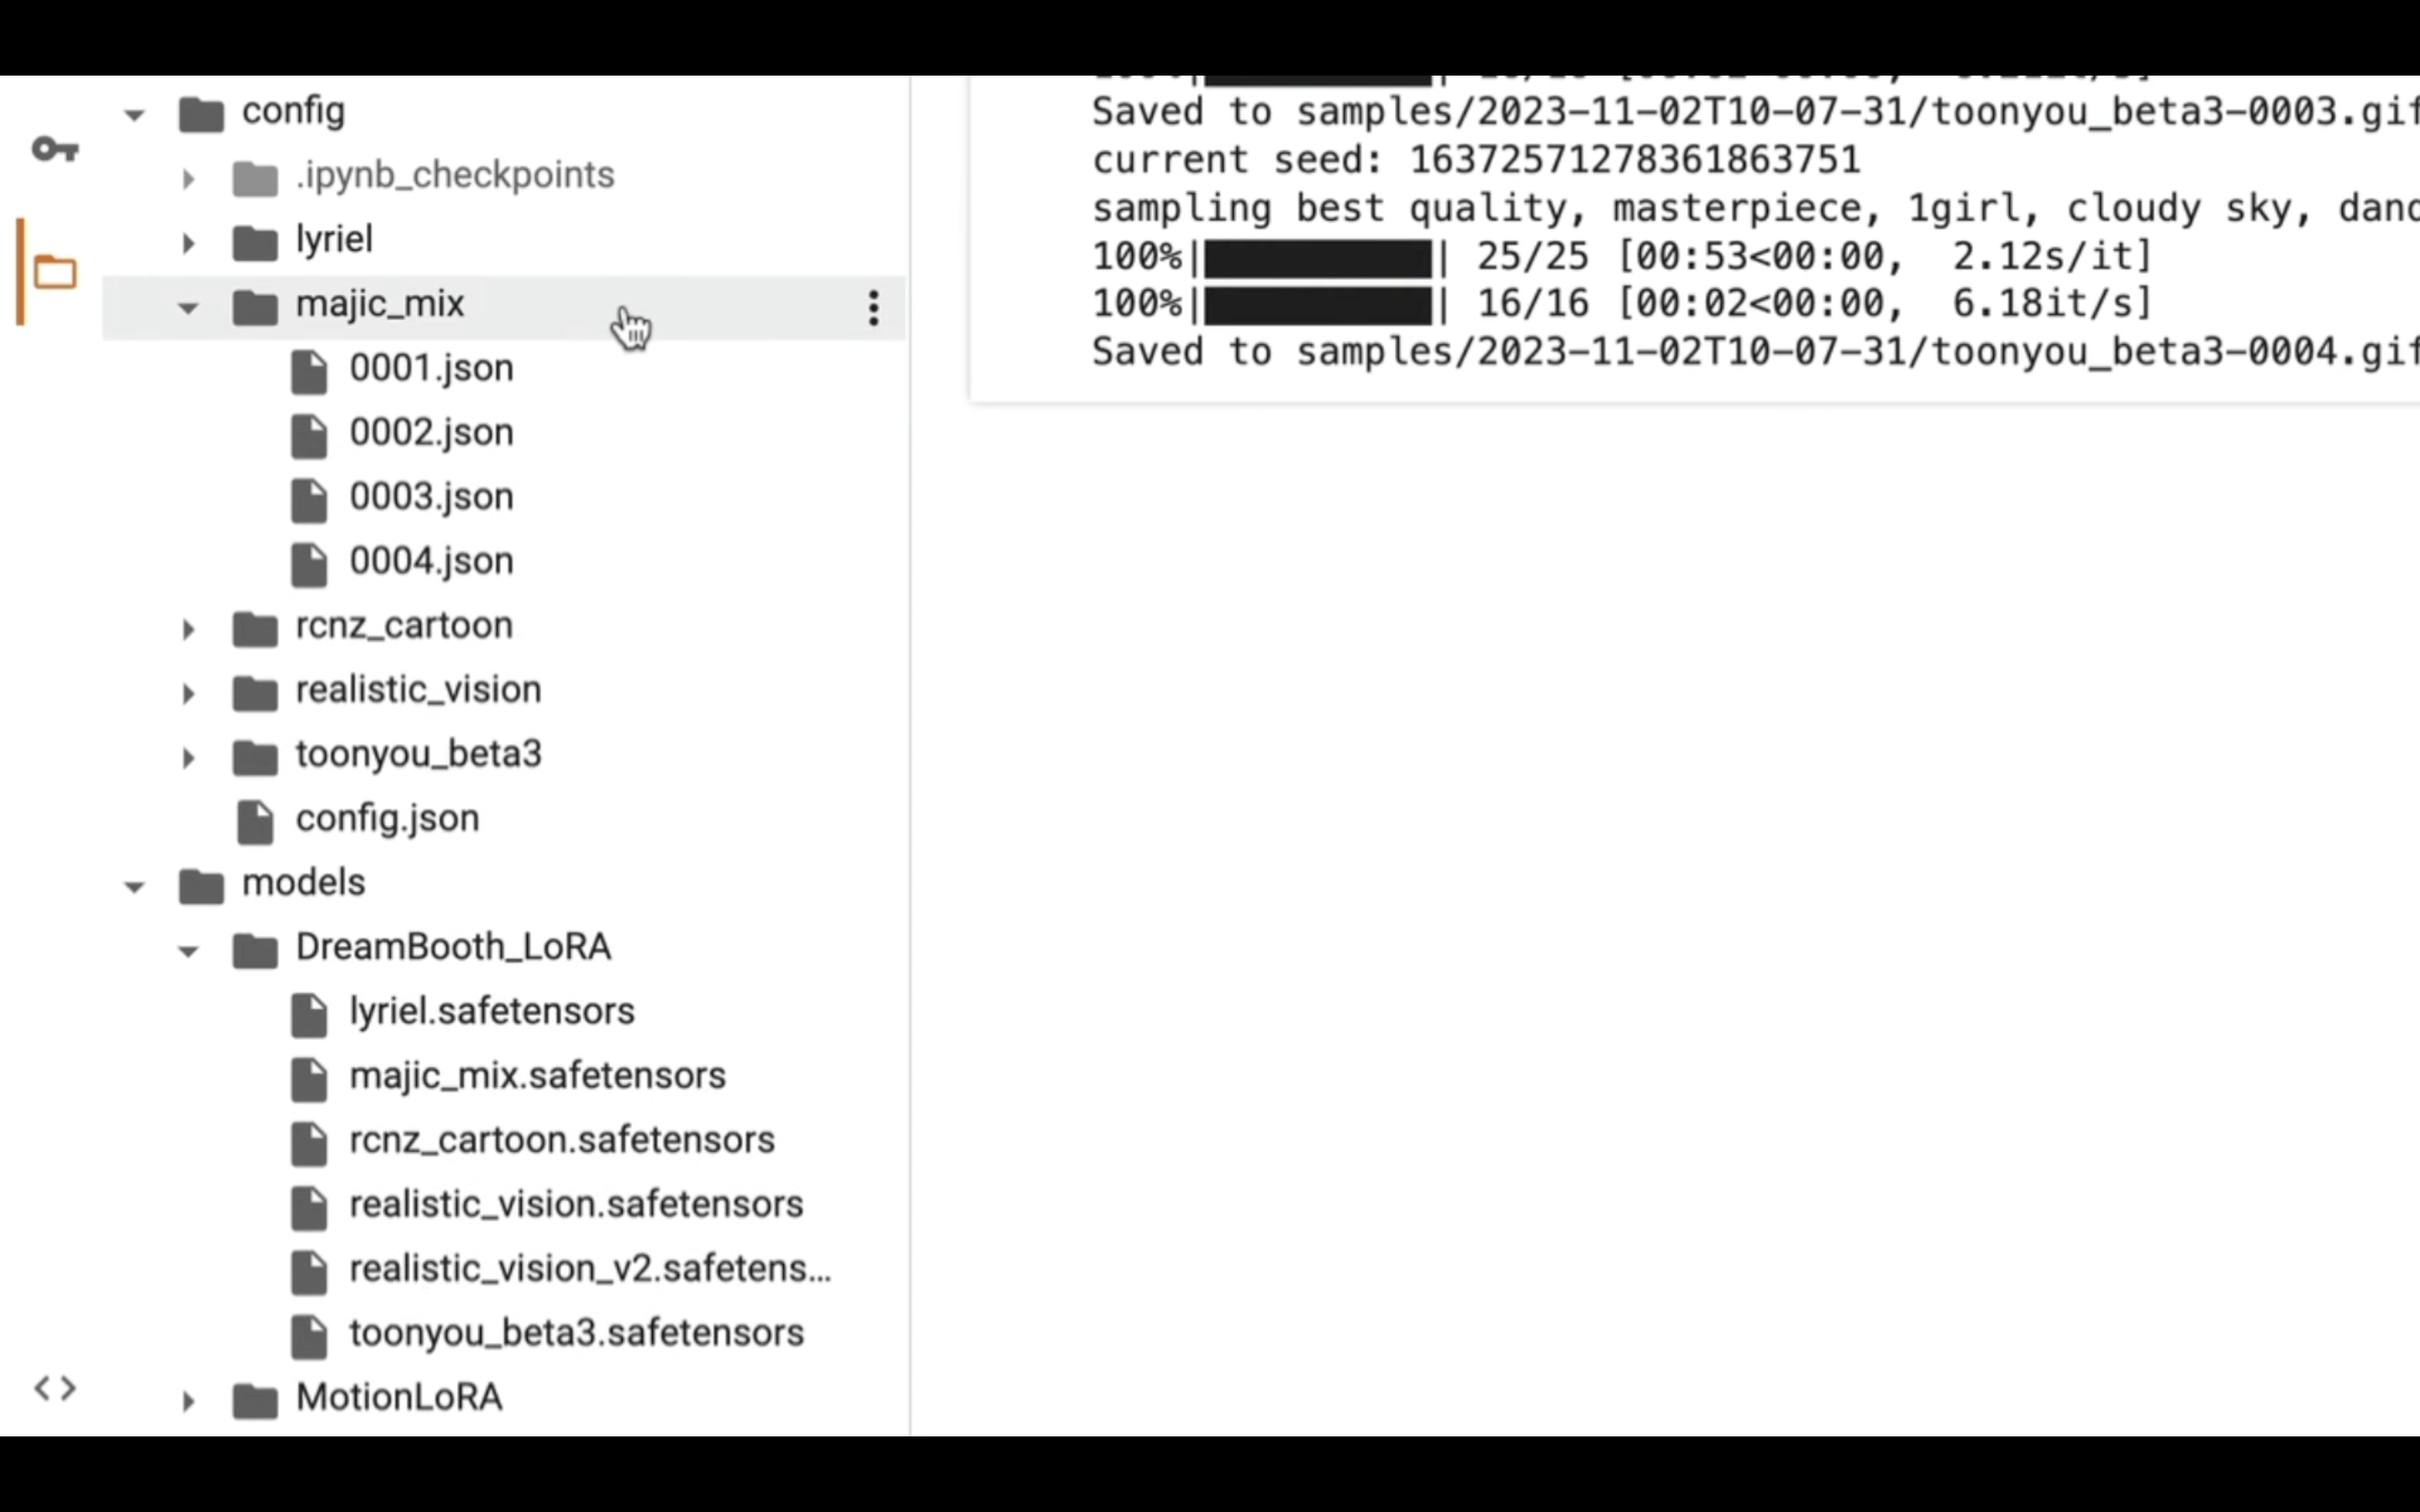
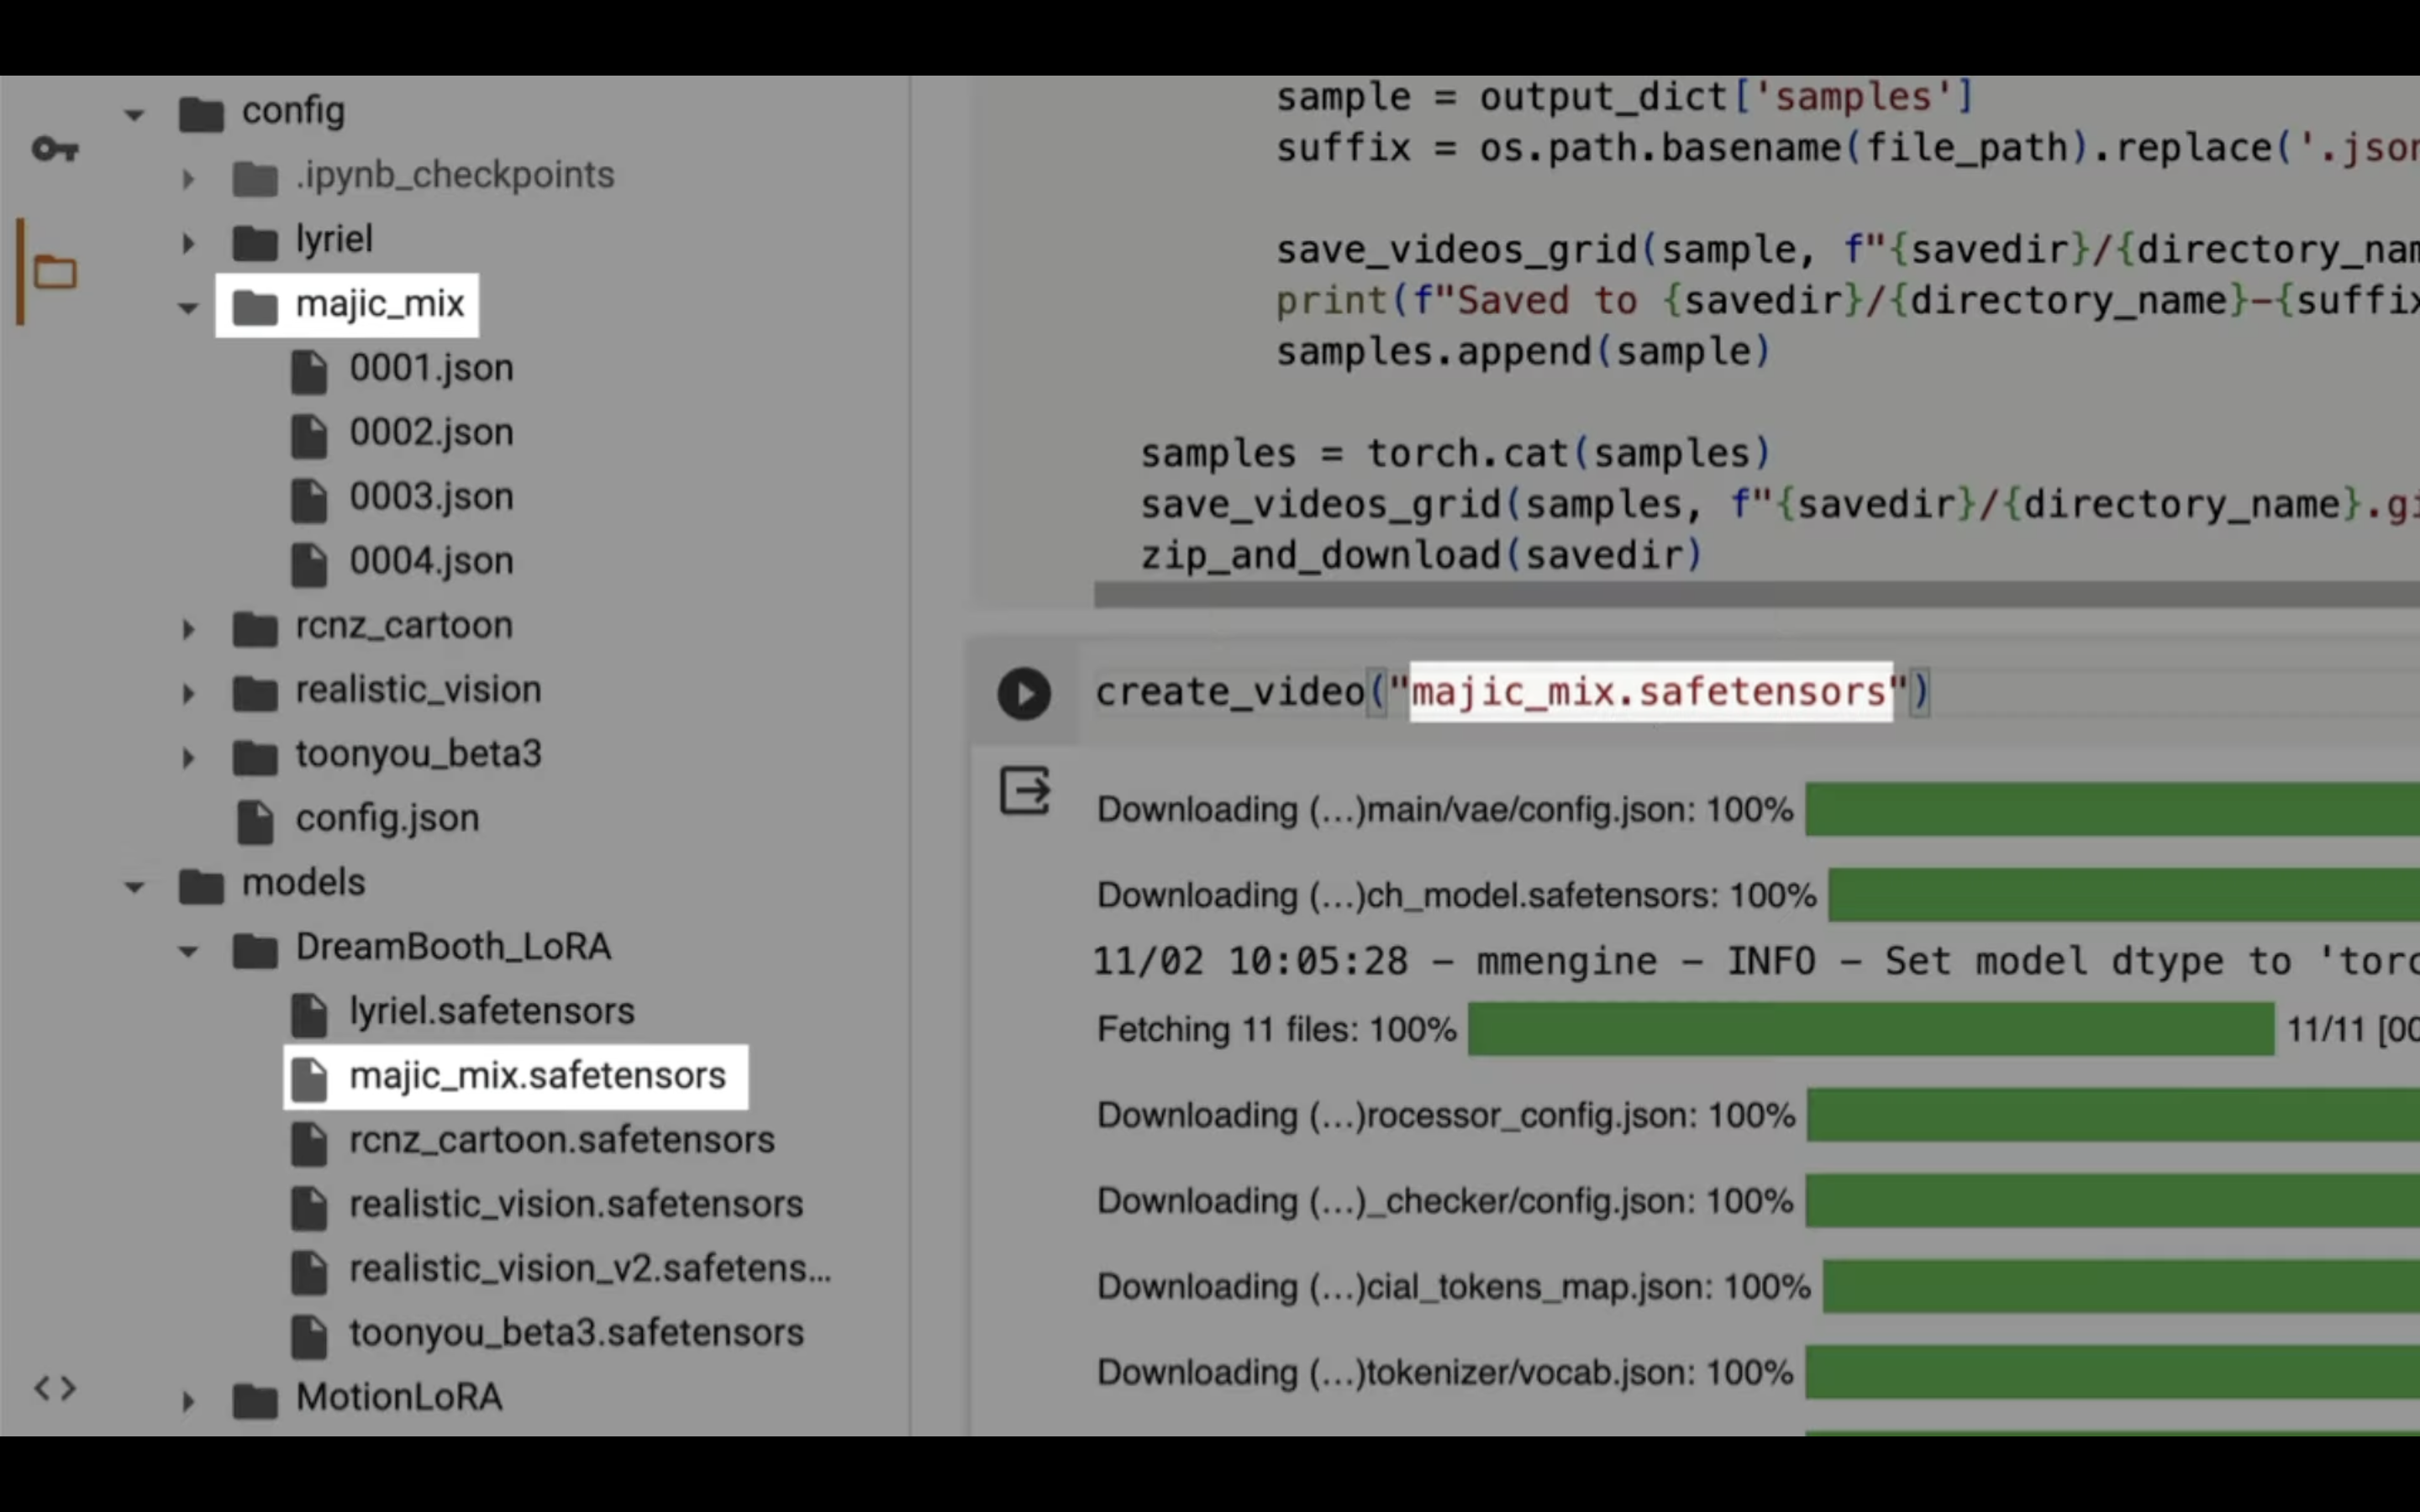
それでは、magic_mixという名前のモデルを利用する場合の設定を確認してみましょう。
まず、先ほど設定した実行コードを変更します。
この実行コードの設定をtoonyou_beta3からmagic_mixに変更します。
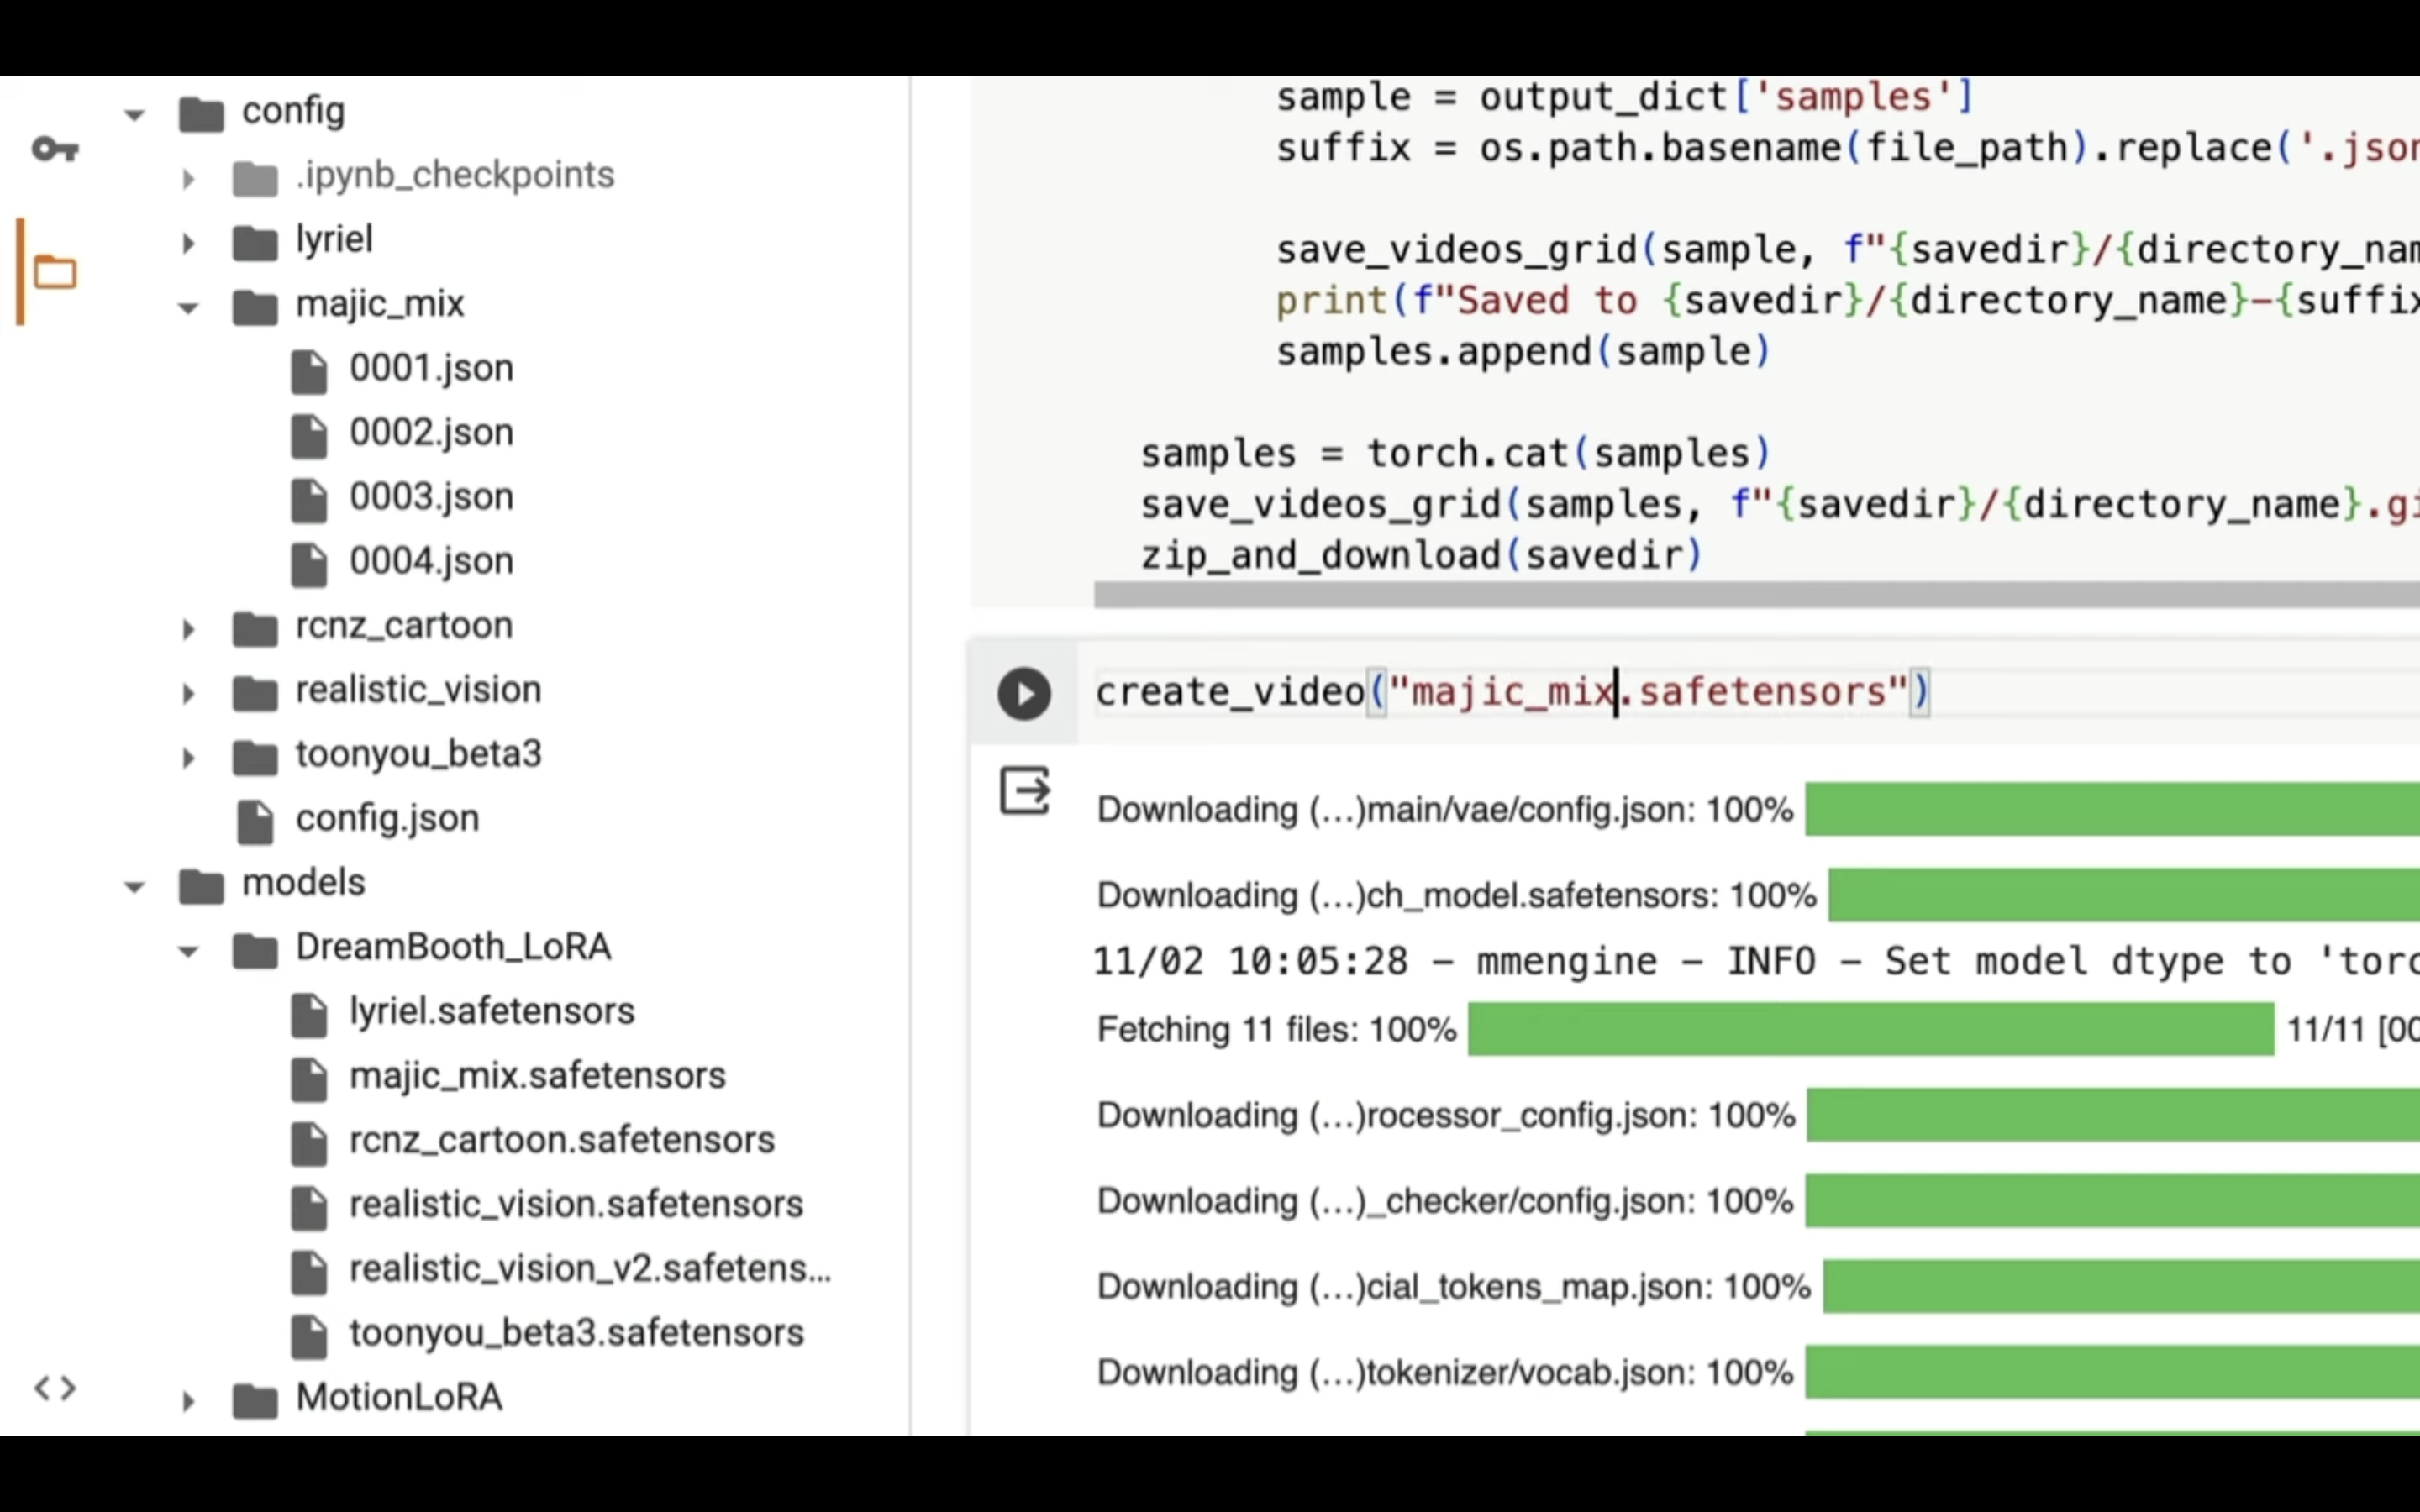
これで動画を生成するためのチェックポイントのファイルと、生成する動画の設定ファイルのフォルダーの指定を変更することができます。
プロンプトやネガティブプロンプトは、このjsonファイルで設定します。
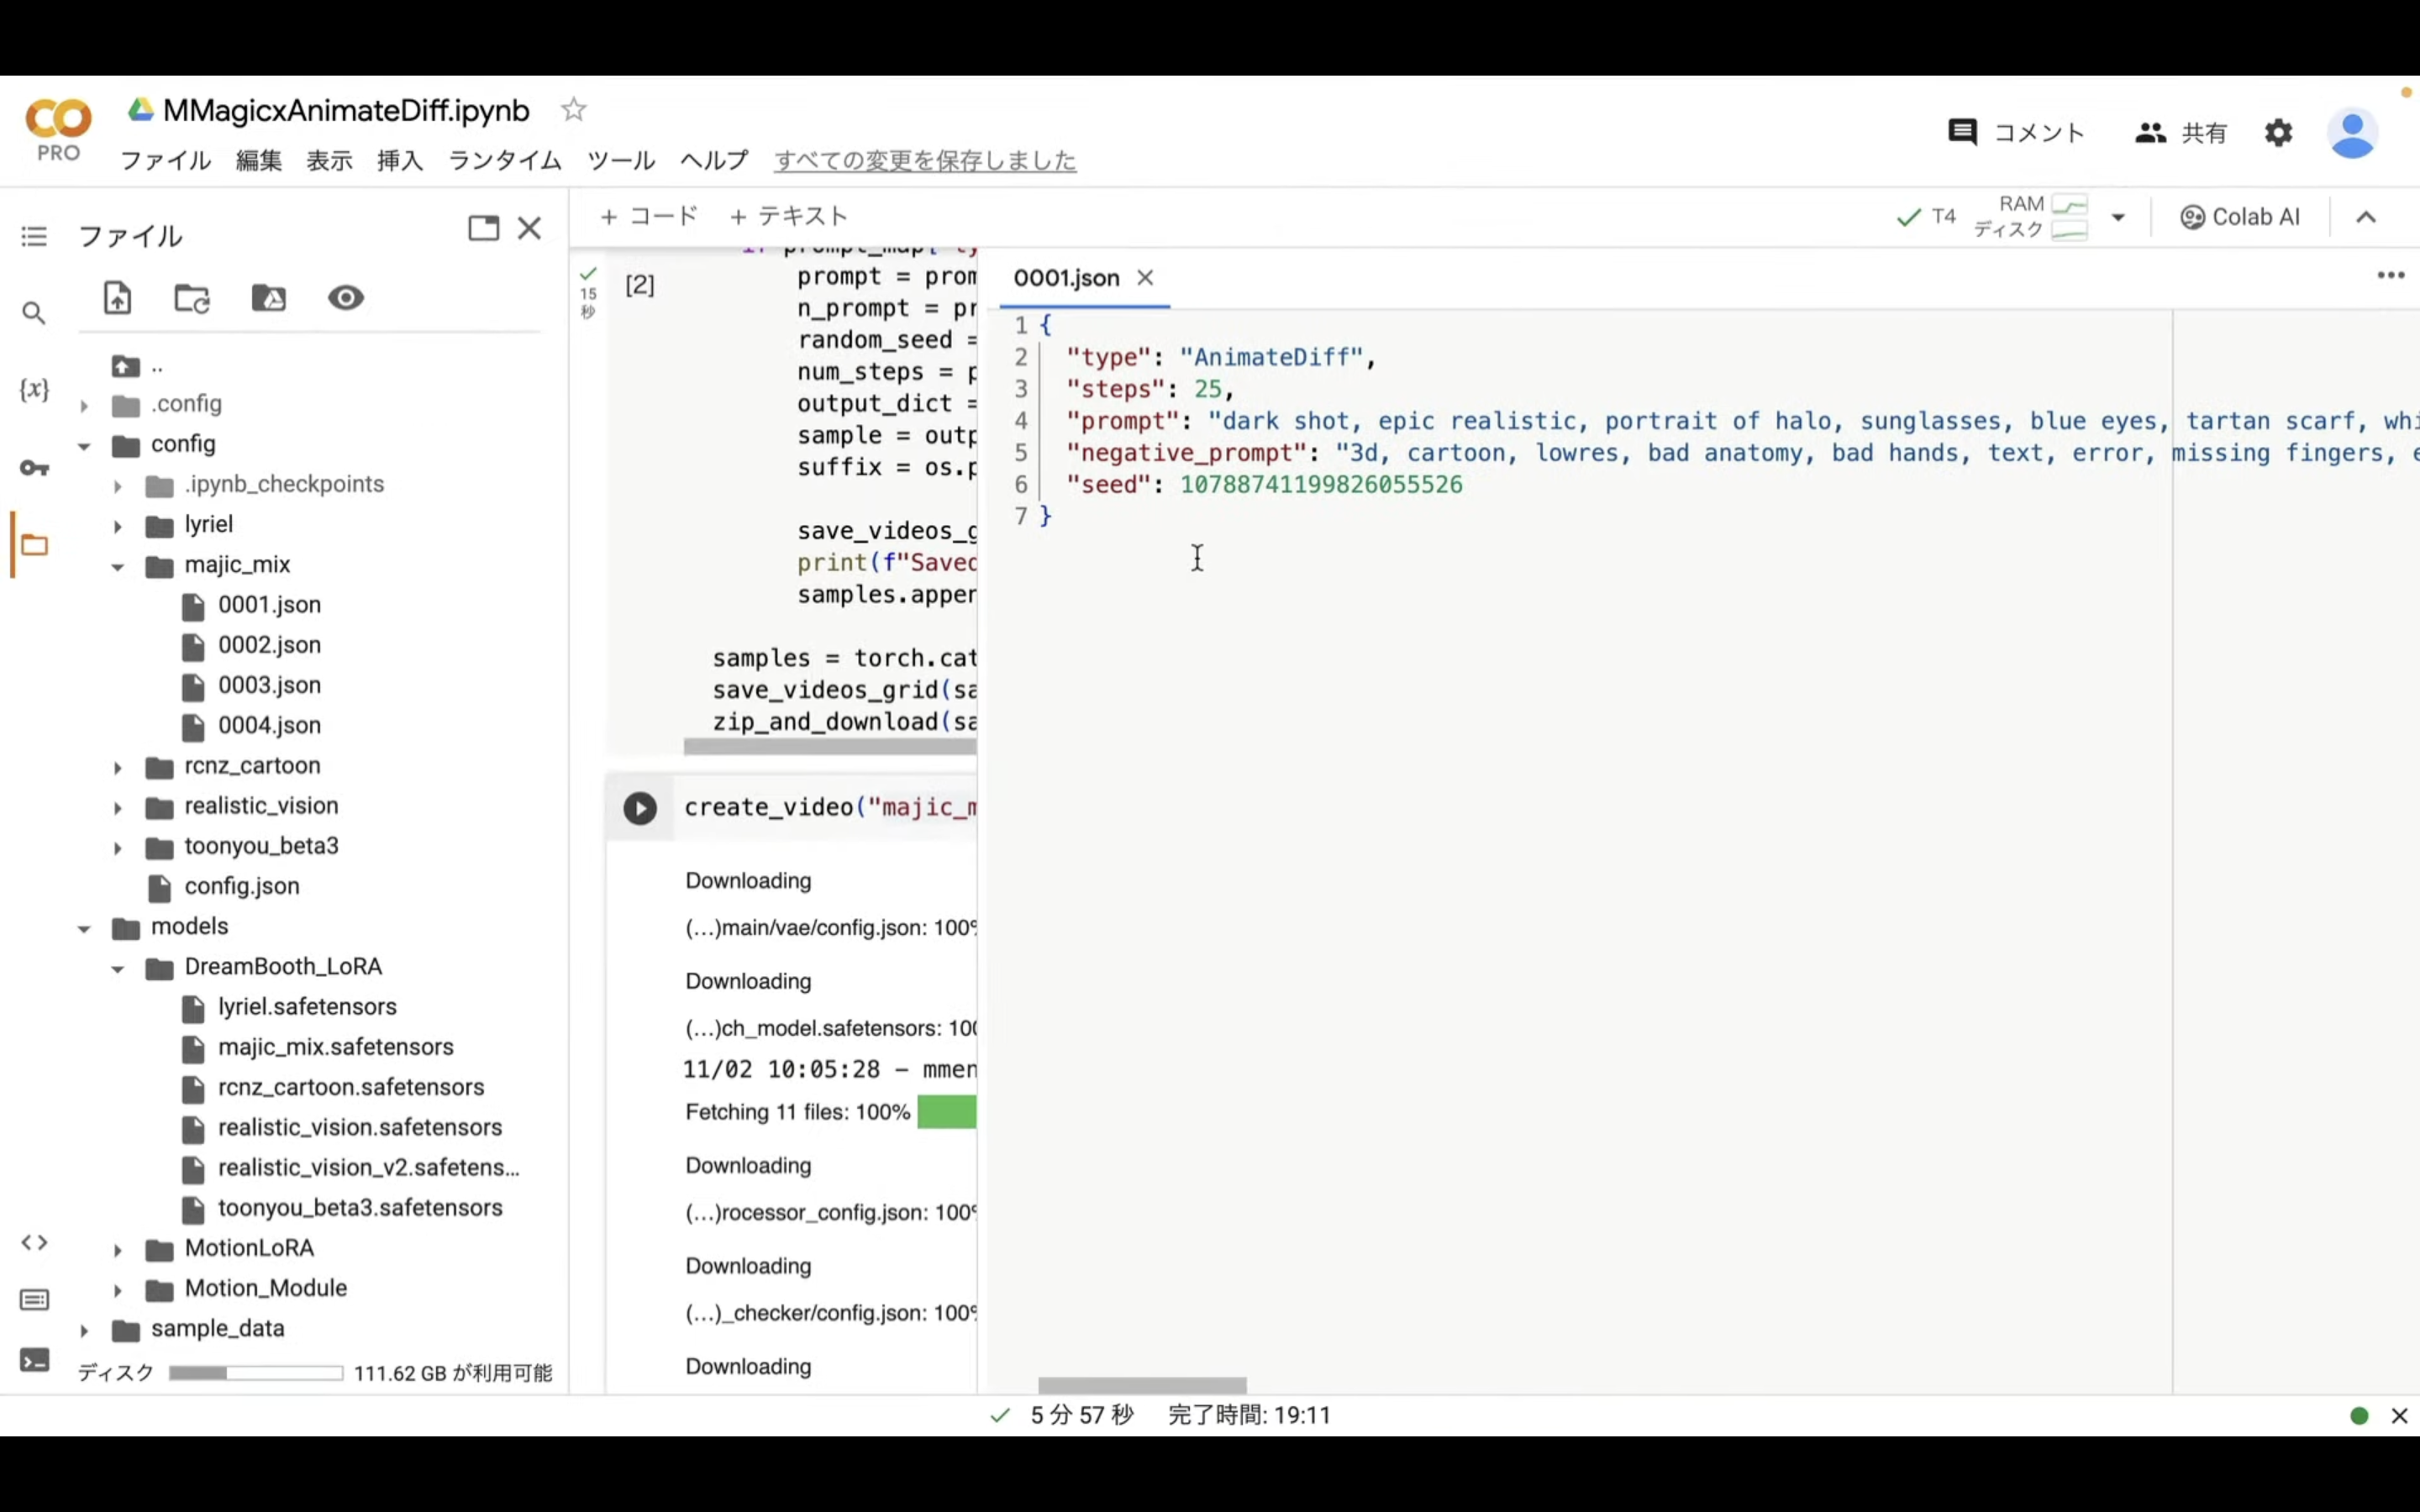
必要に応じてプロンプトやネガティブプロンプトの設定を変更して、実行し直してお試しください。