▶︎動画でも話してるので、文章読むのが面倒な方はこちらをみてもらえればと思います。
今回はCanvaのMagic Mediaを使って、テキストから動画を生成する方法について解説します。

これを読めば誰でも簡単にクオリティーの高いAI美女が作れるようになっているので興味がある人は、下のバナーをクリックして購入してみてね🎶

CanvaのMagic Mediaを利用して動画を自動生成する方法!
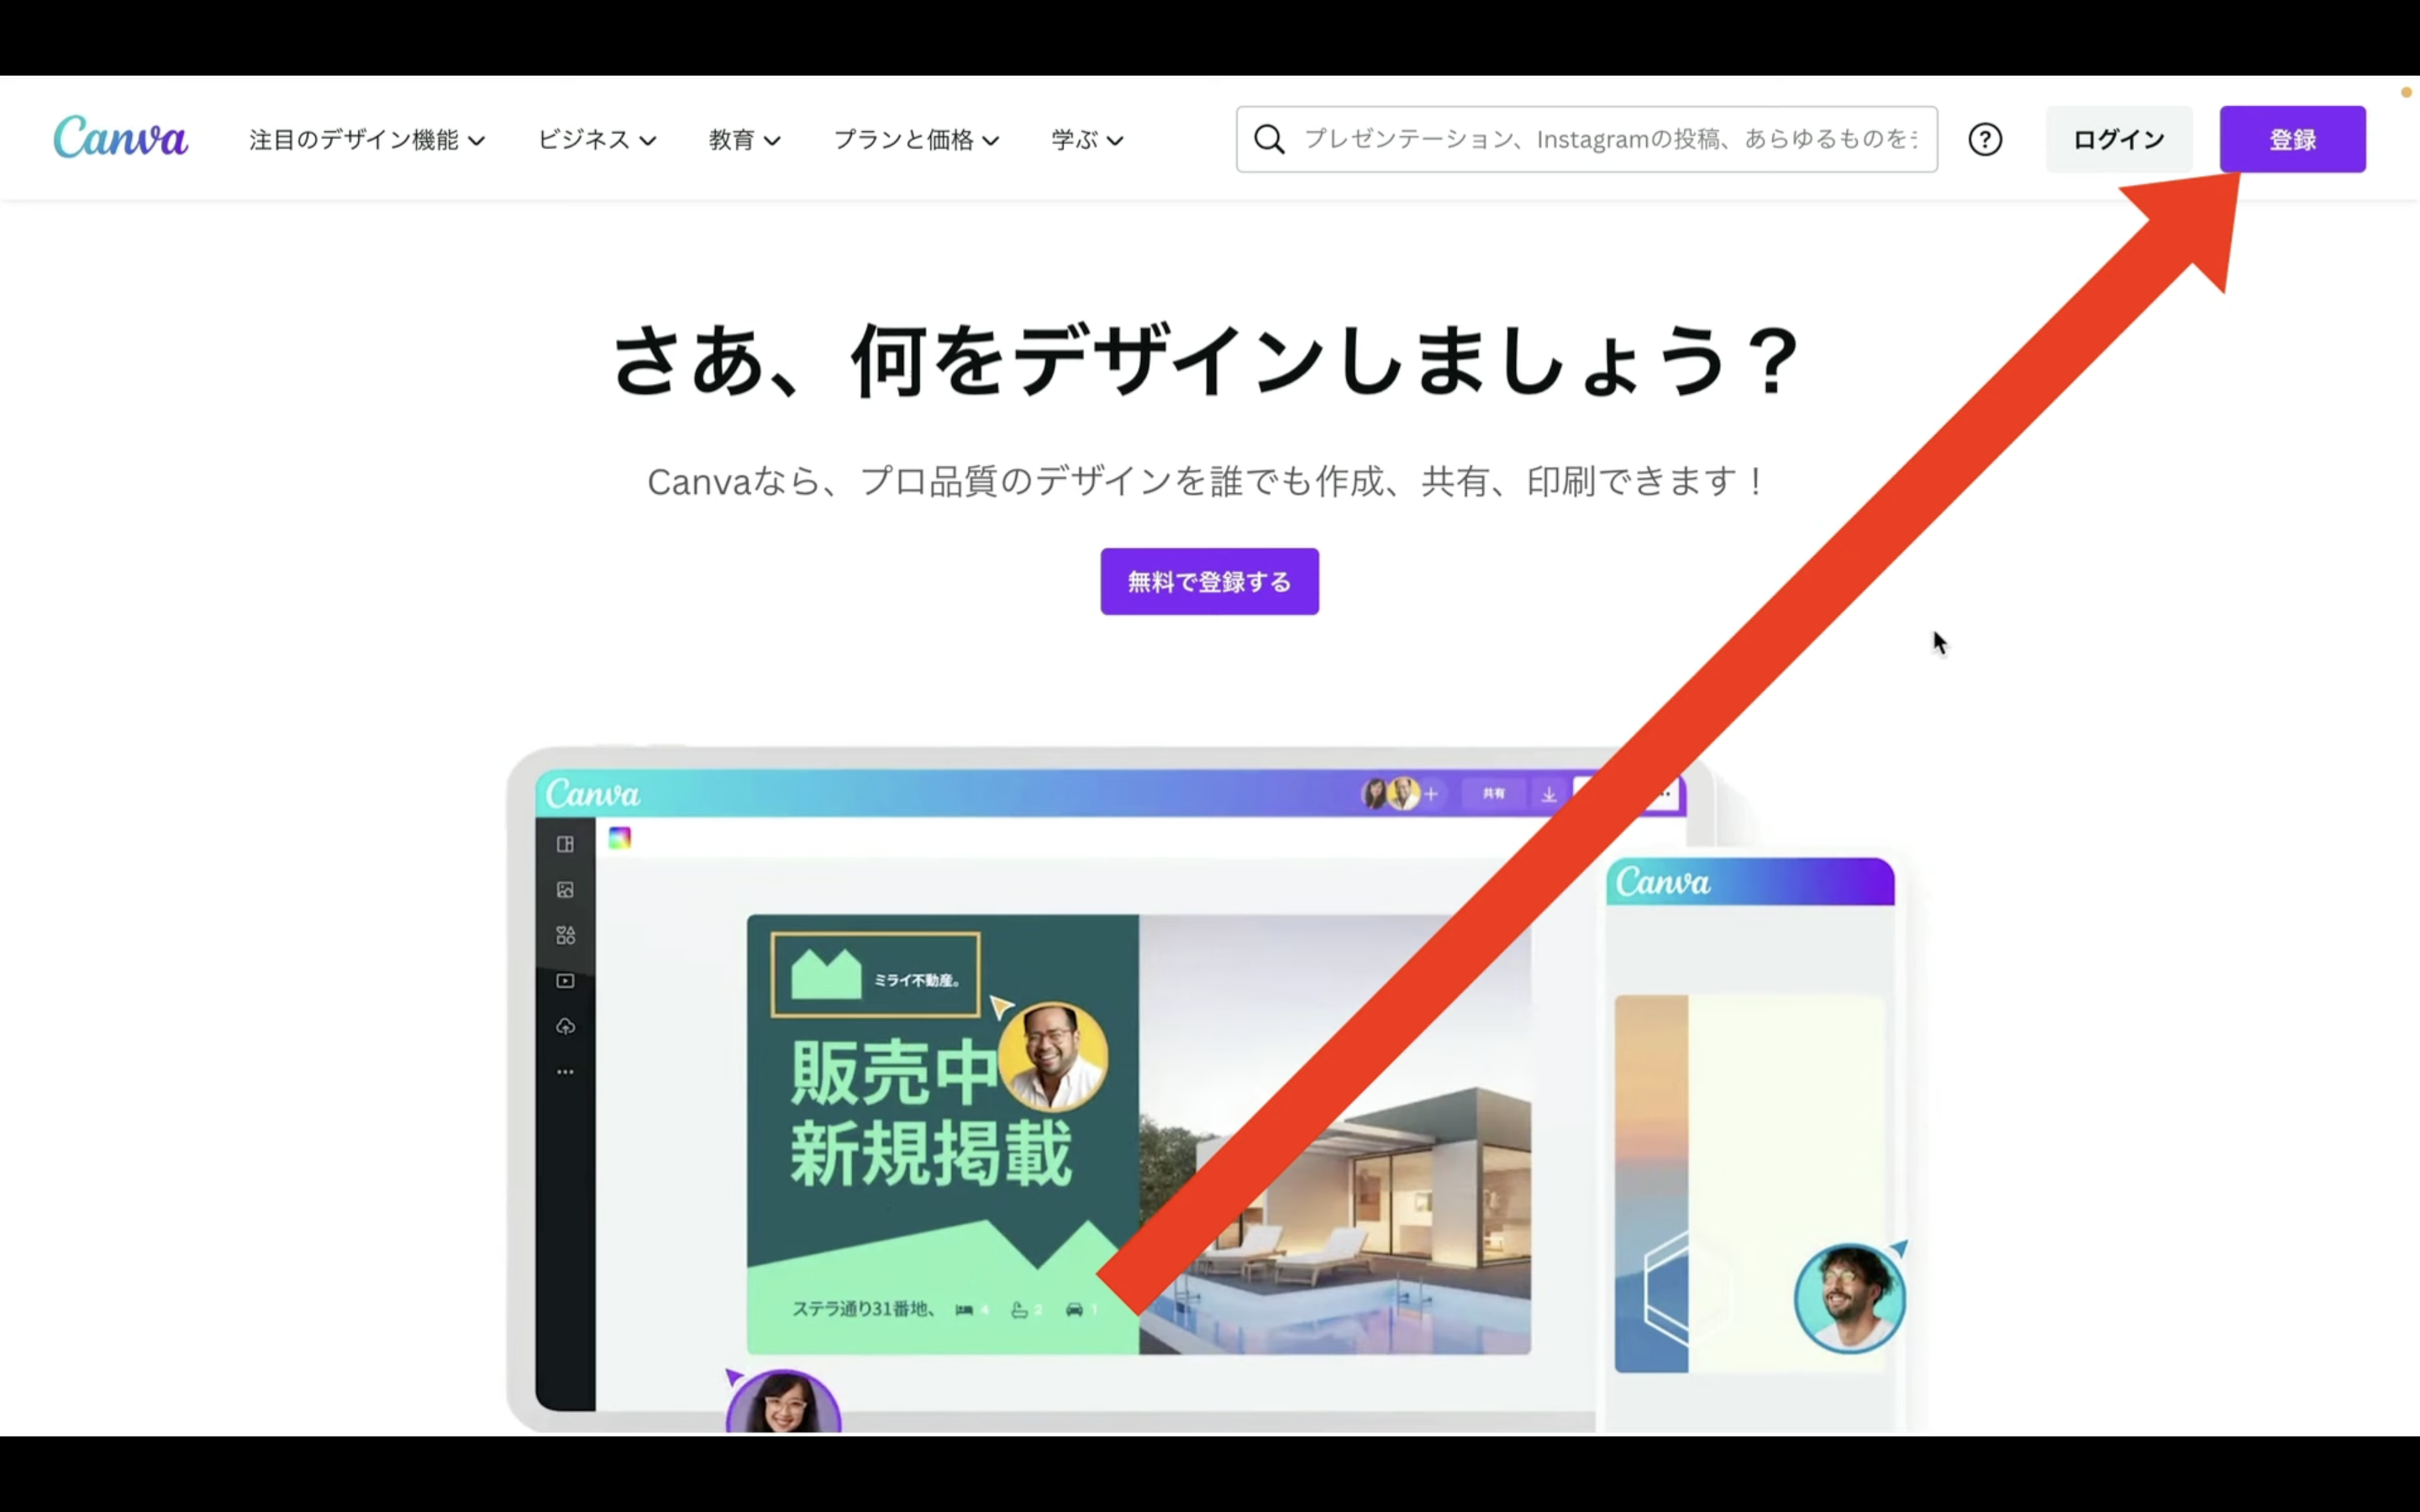
まずはCanvaのサイトにアクセスします。
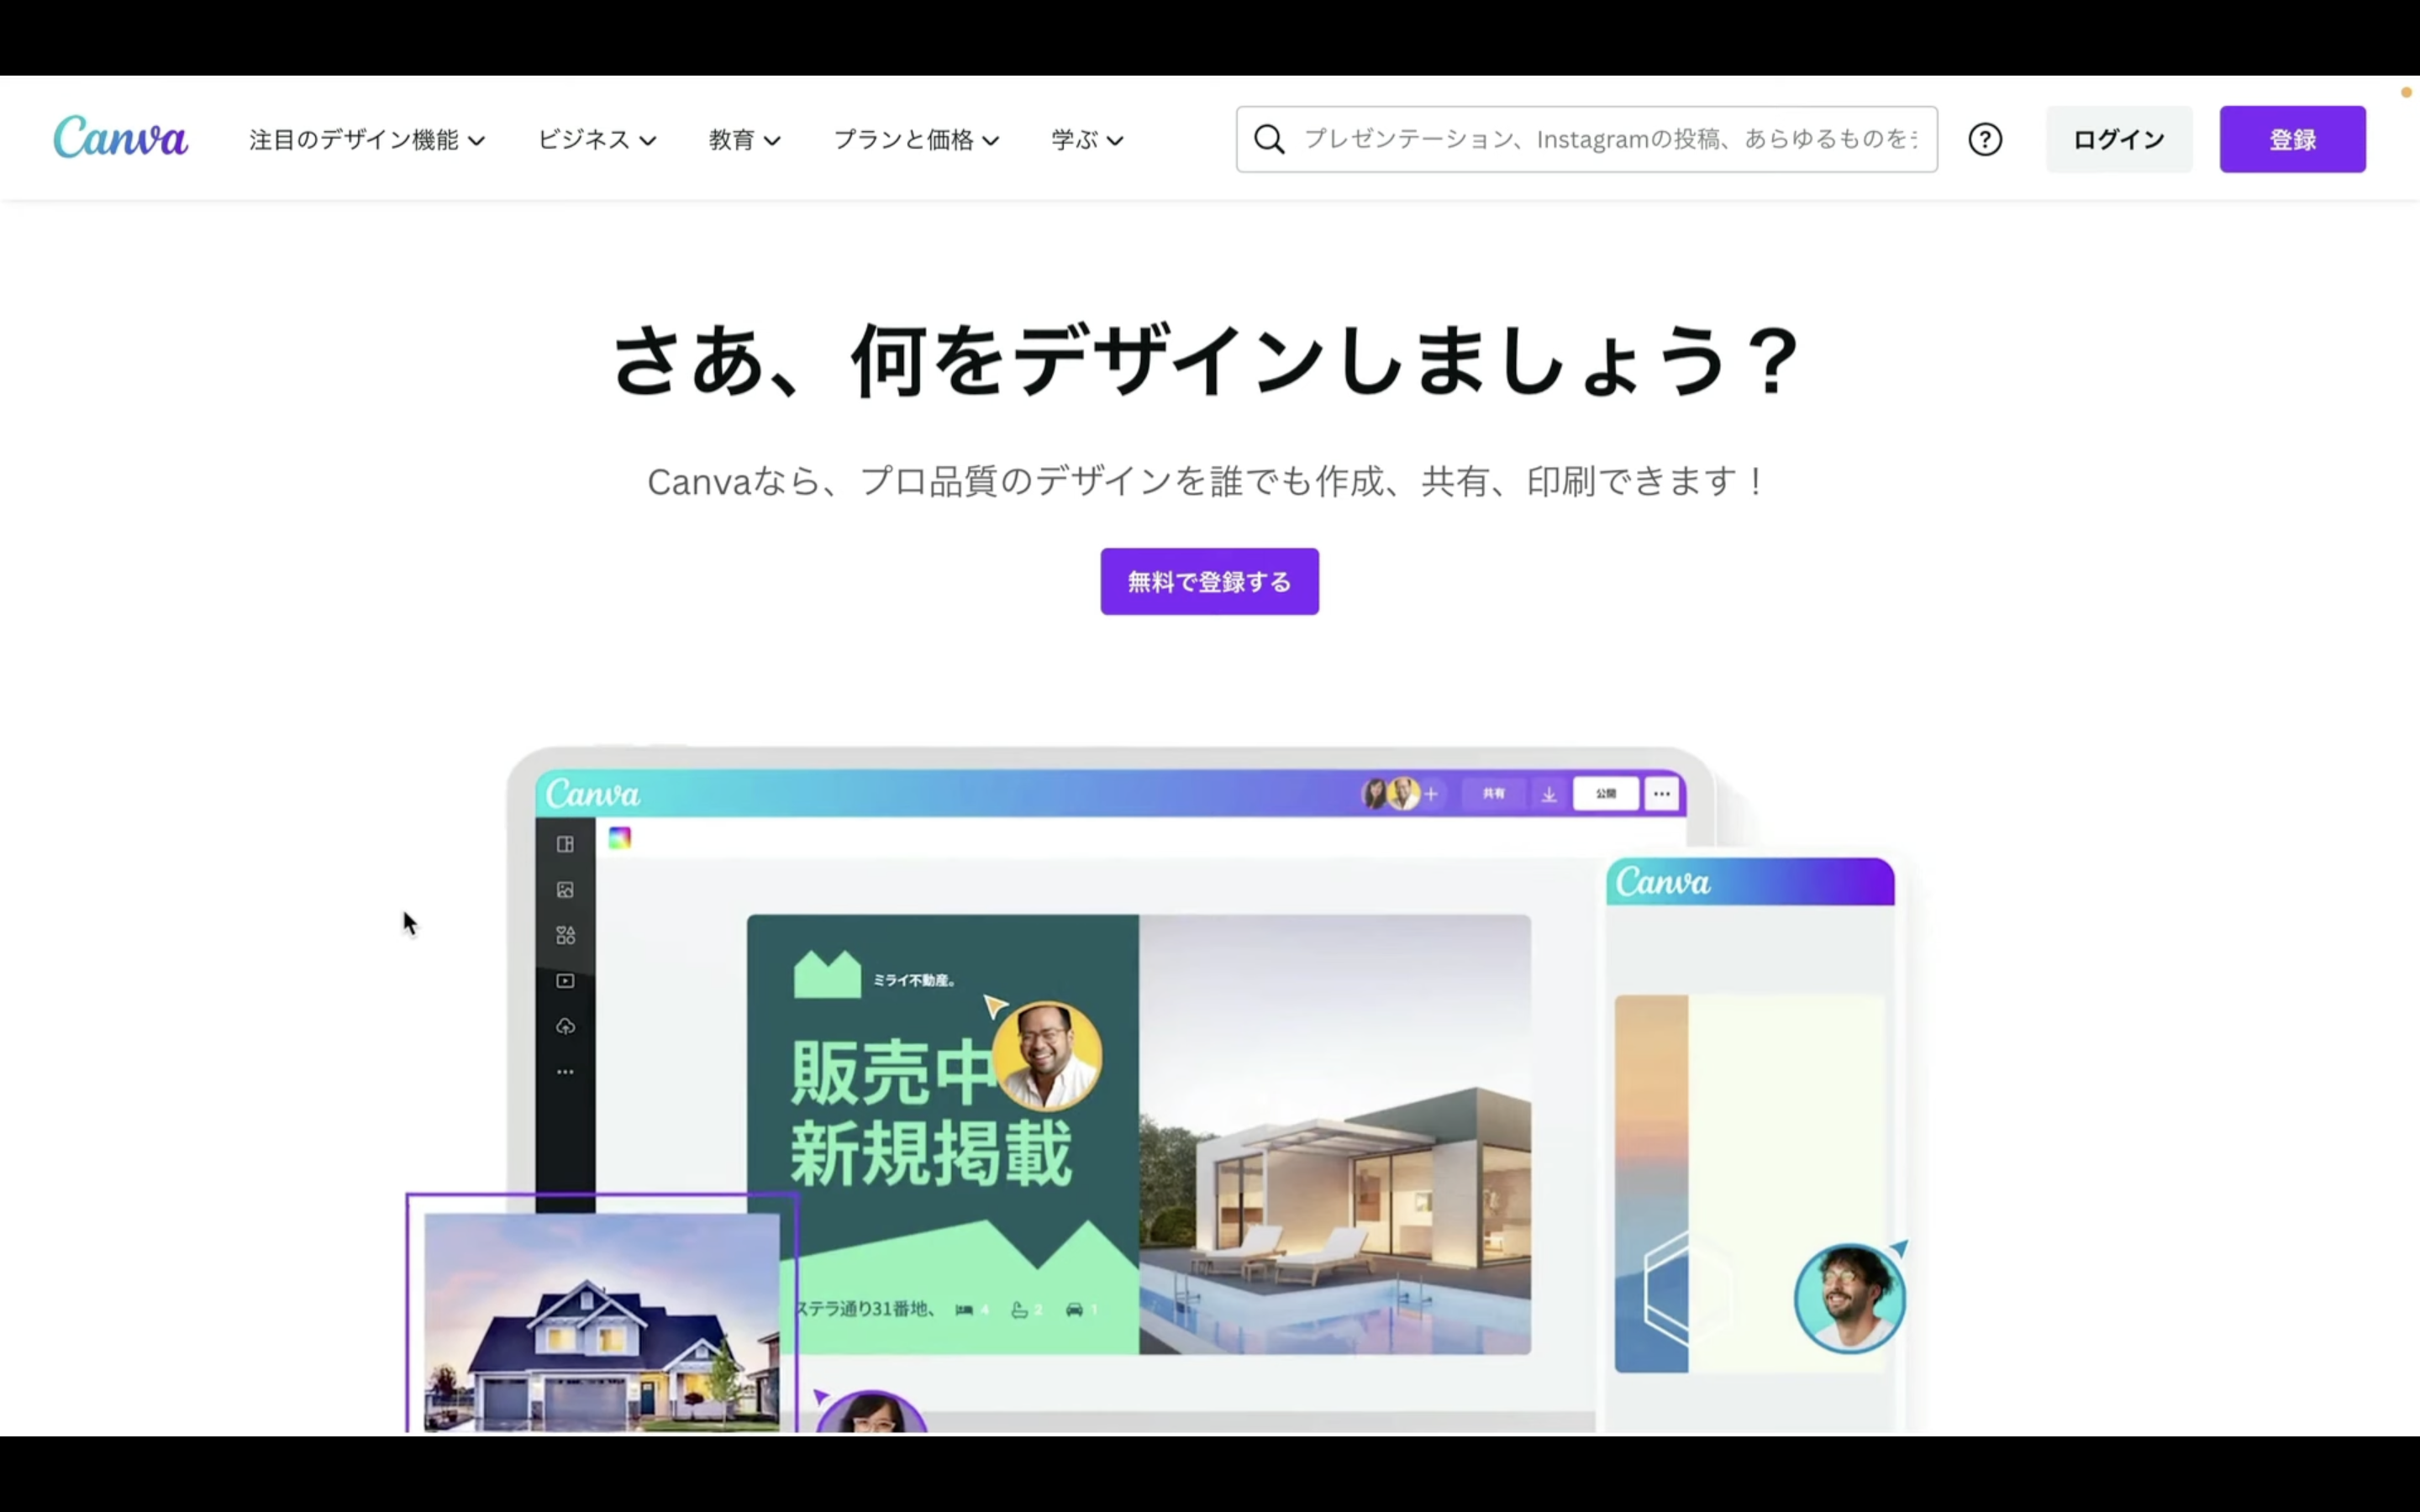
サイトのURLは以下に貼っておきますのでそちらをご確認ください。
サイトにアクセスしたらすでに登録済みの方はそのままログインしてください。
まだアカウントを持っていない方は右上にある「登録」と書かれているボタンをクリックします。
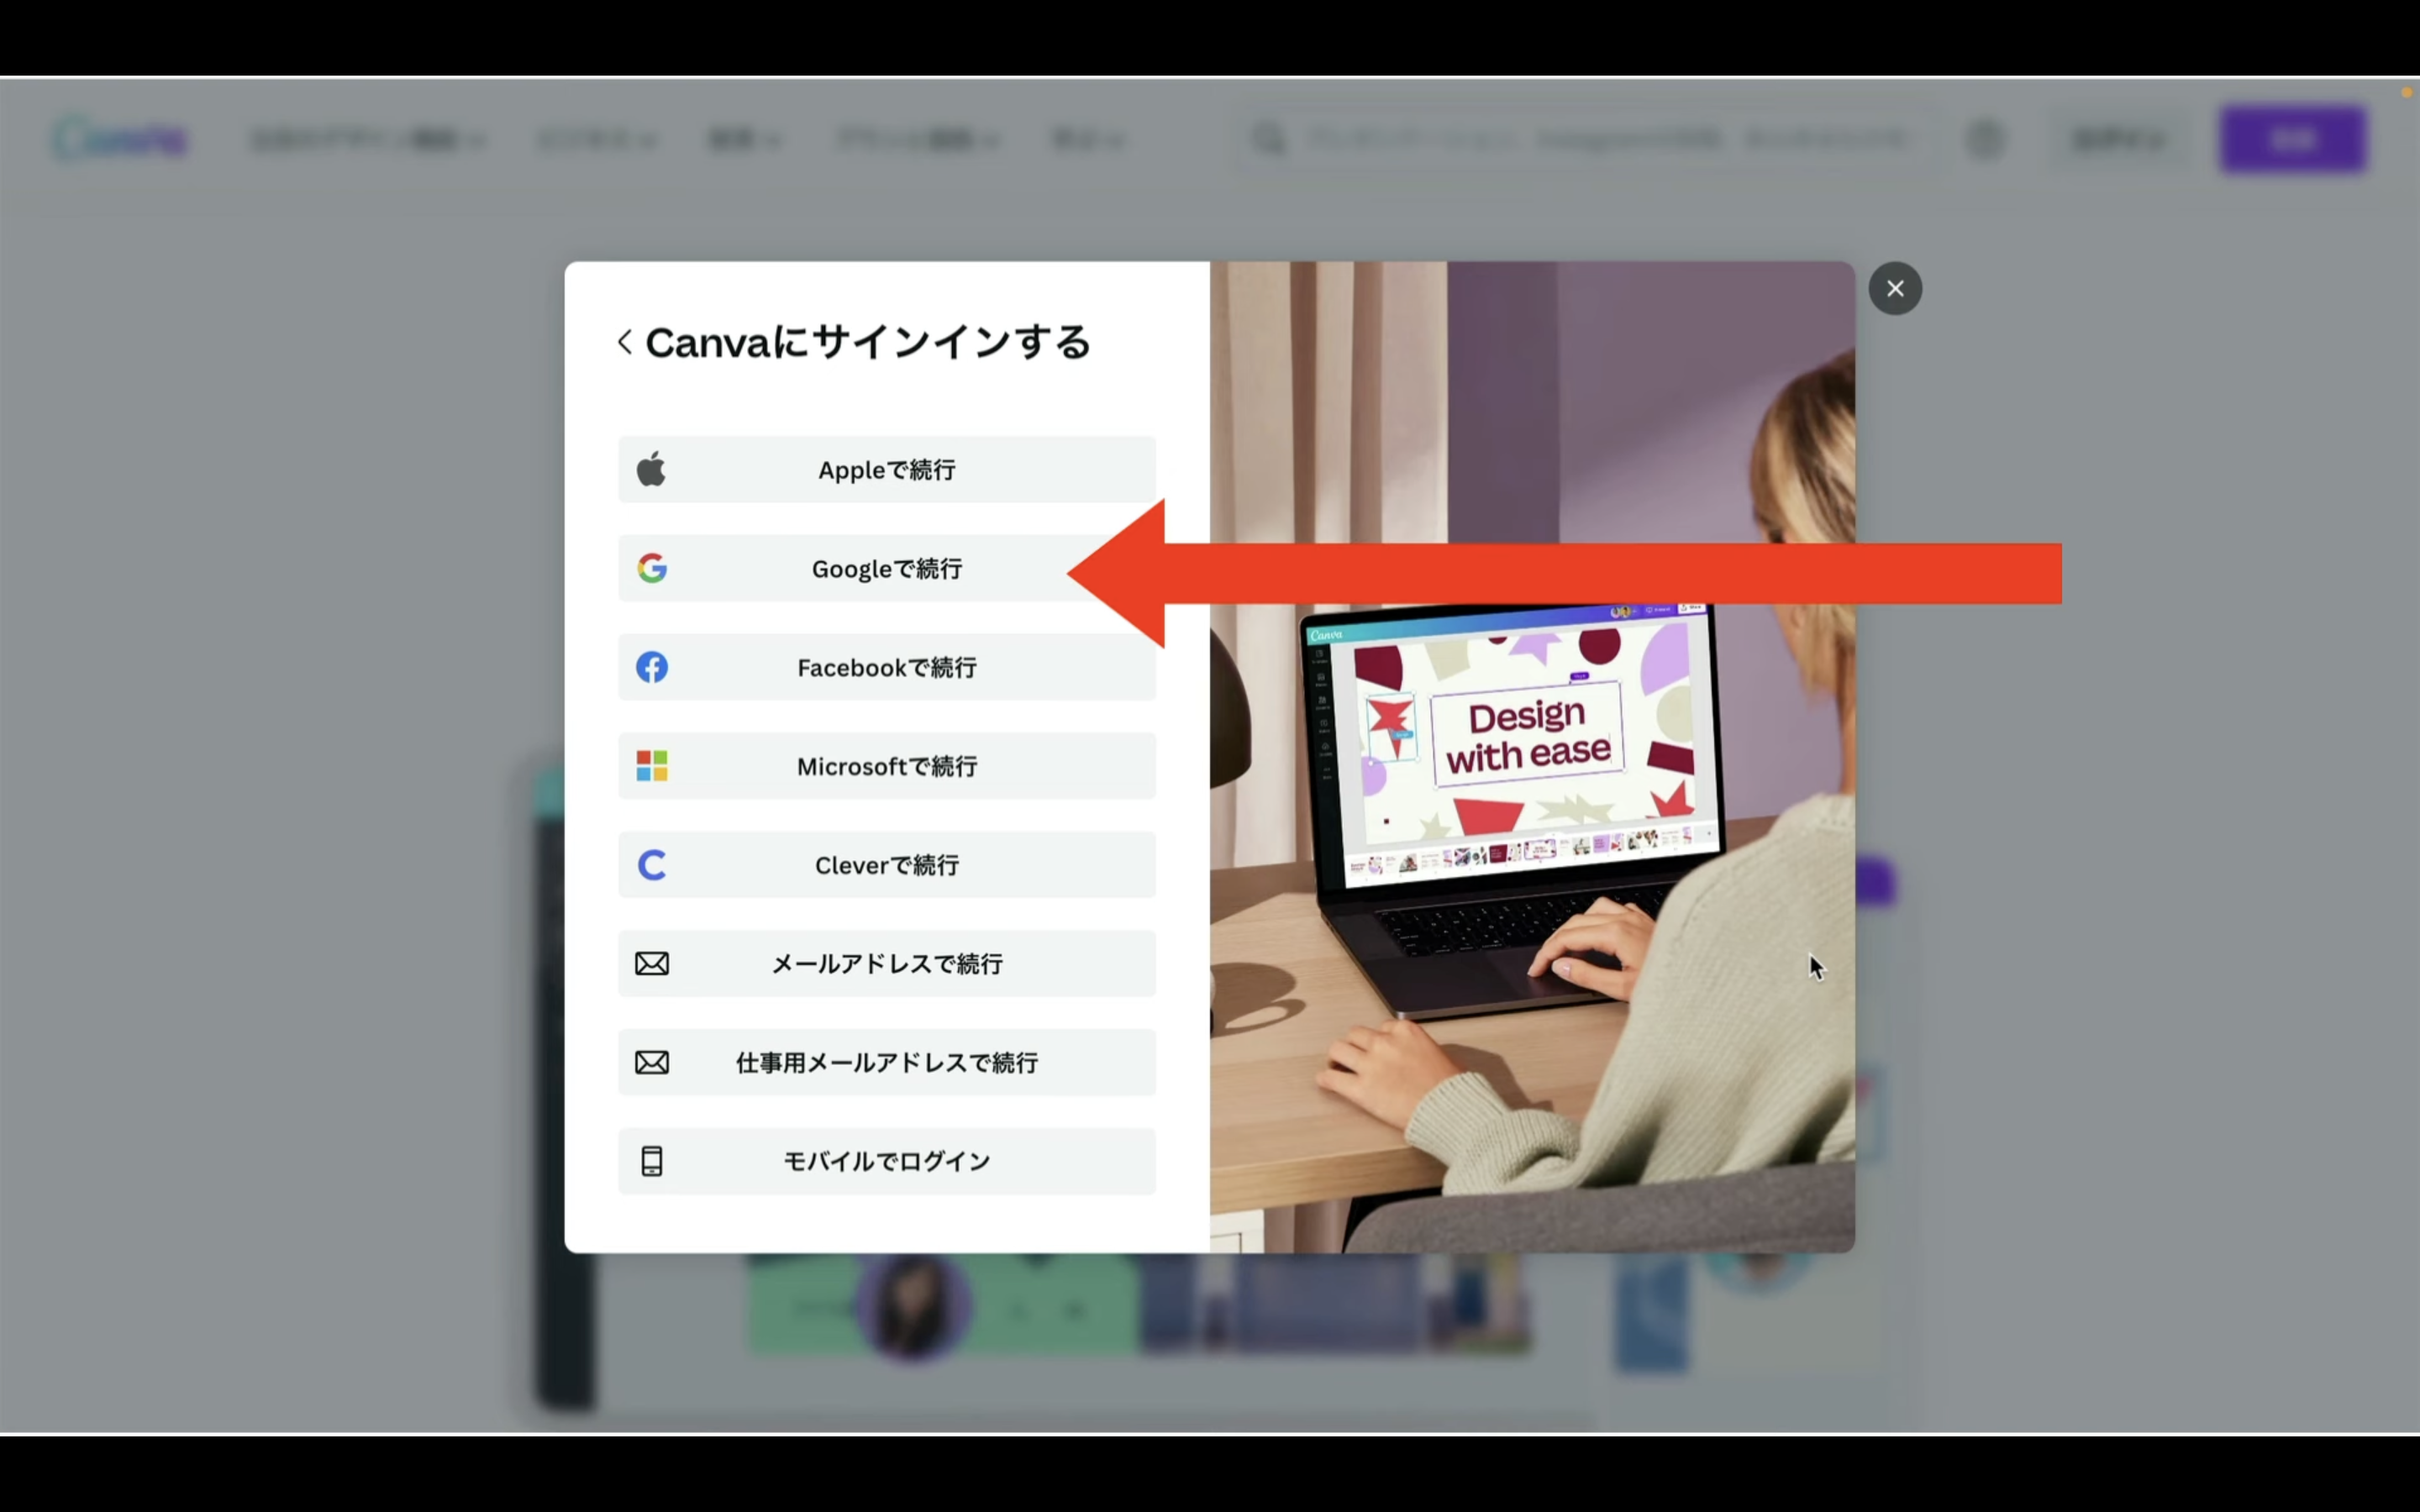
アカウントを登録する方法は色々ありますが、Googleアカウントを利用する方法が簡単なのでおすすめです。
「Googleで続行」と書かれているボタンをクリックします。
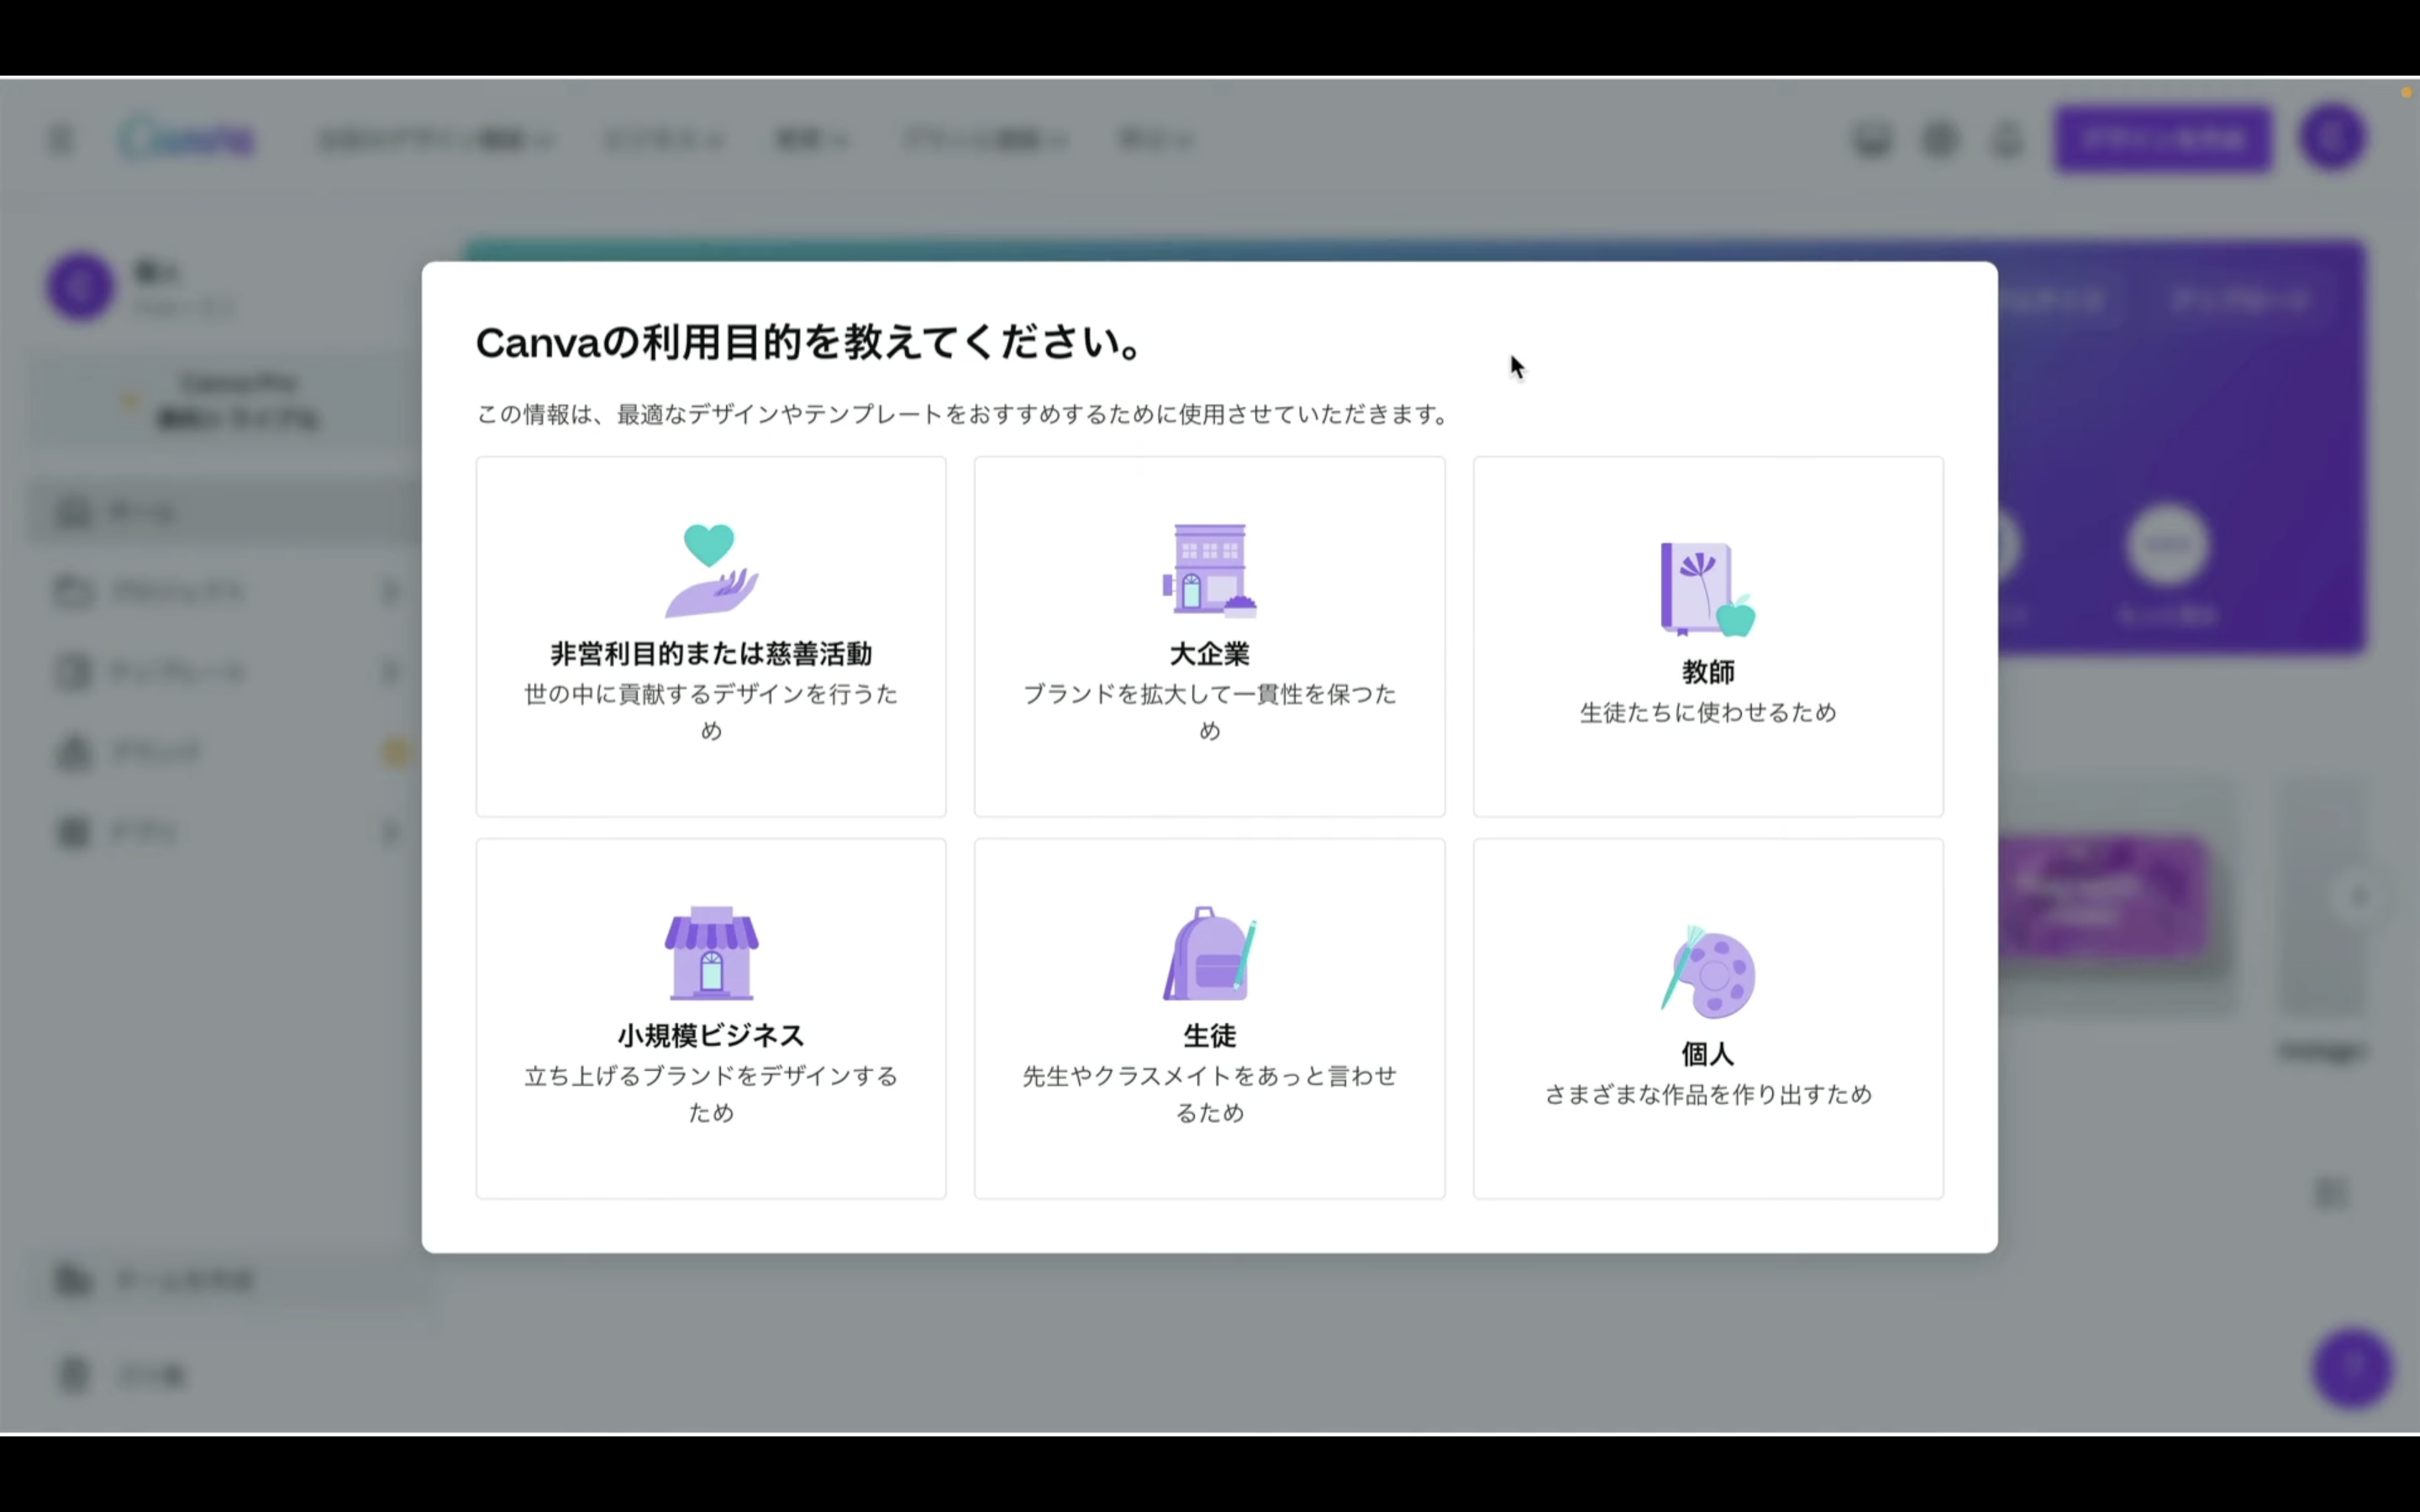
アカウントを新規登録した場合はこのように使用目的を聞かれますので、あなたにとって適切な選択肢をクリックします。
次にプランの選択について尋ねられます。
Magic Mediaは有料プランでのみ利用が可能です。
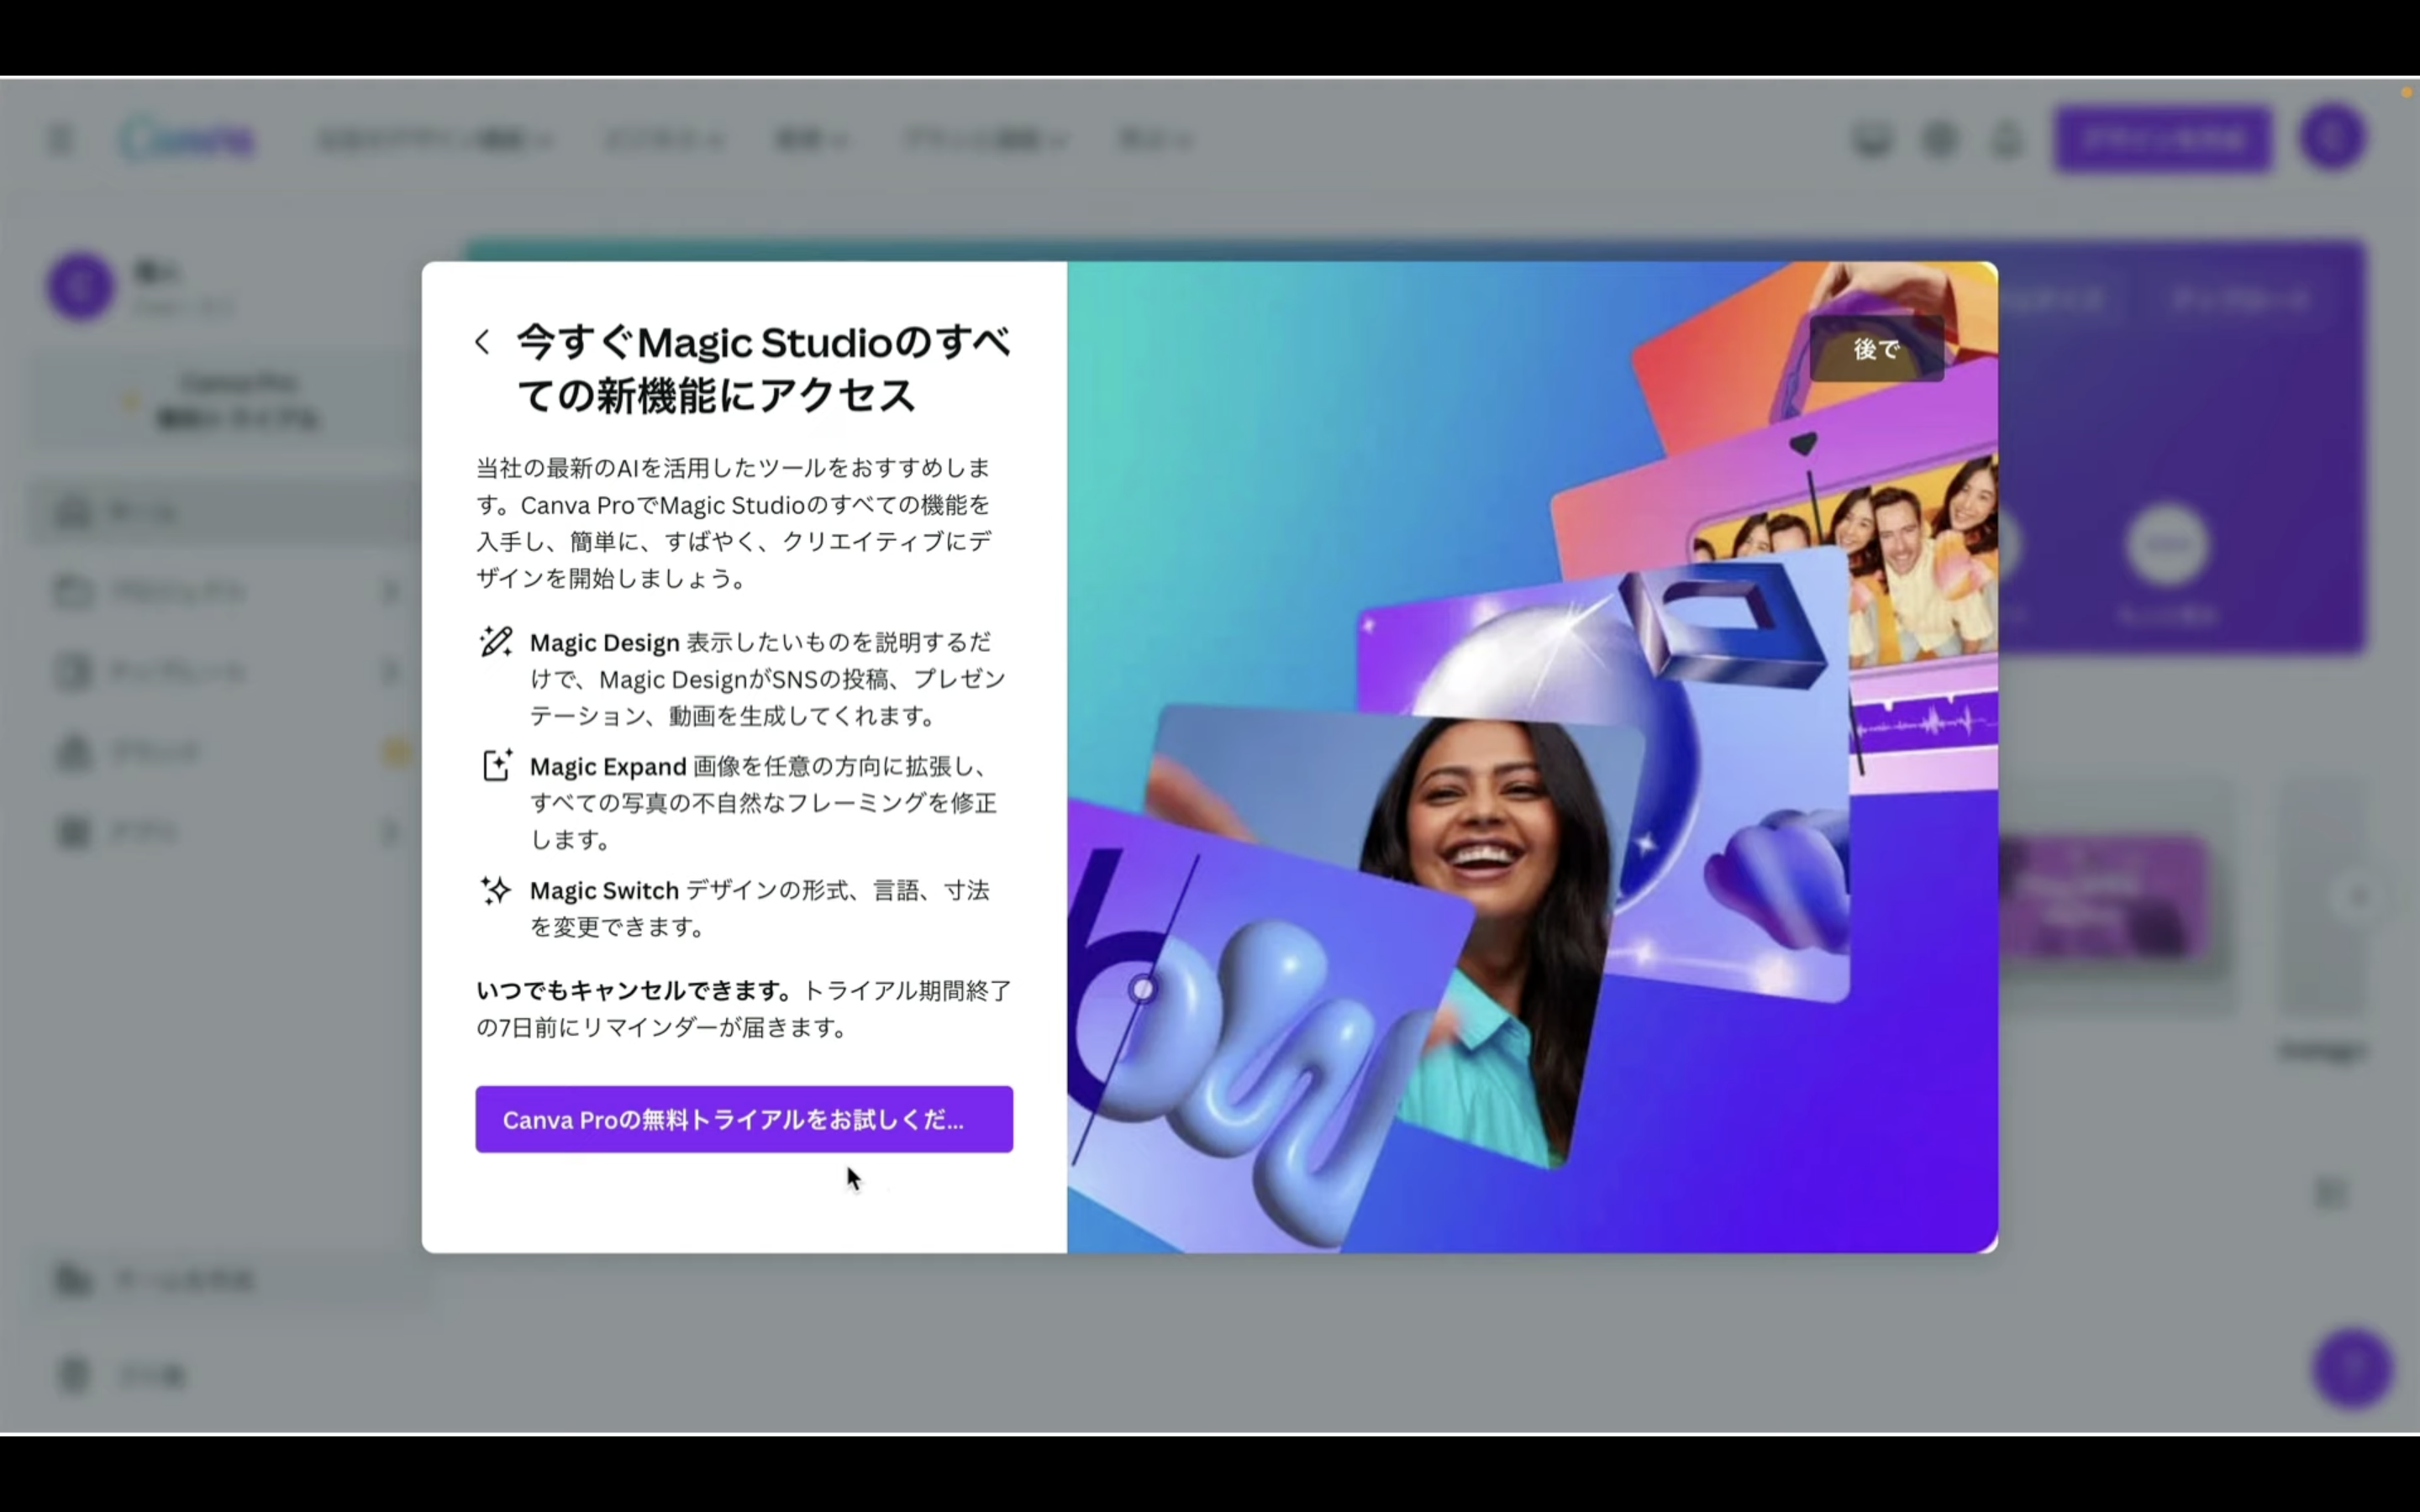
そのため今回は無料トライアルに申し込みます。
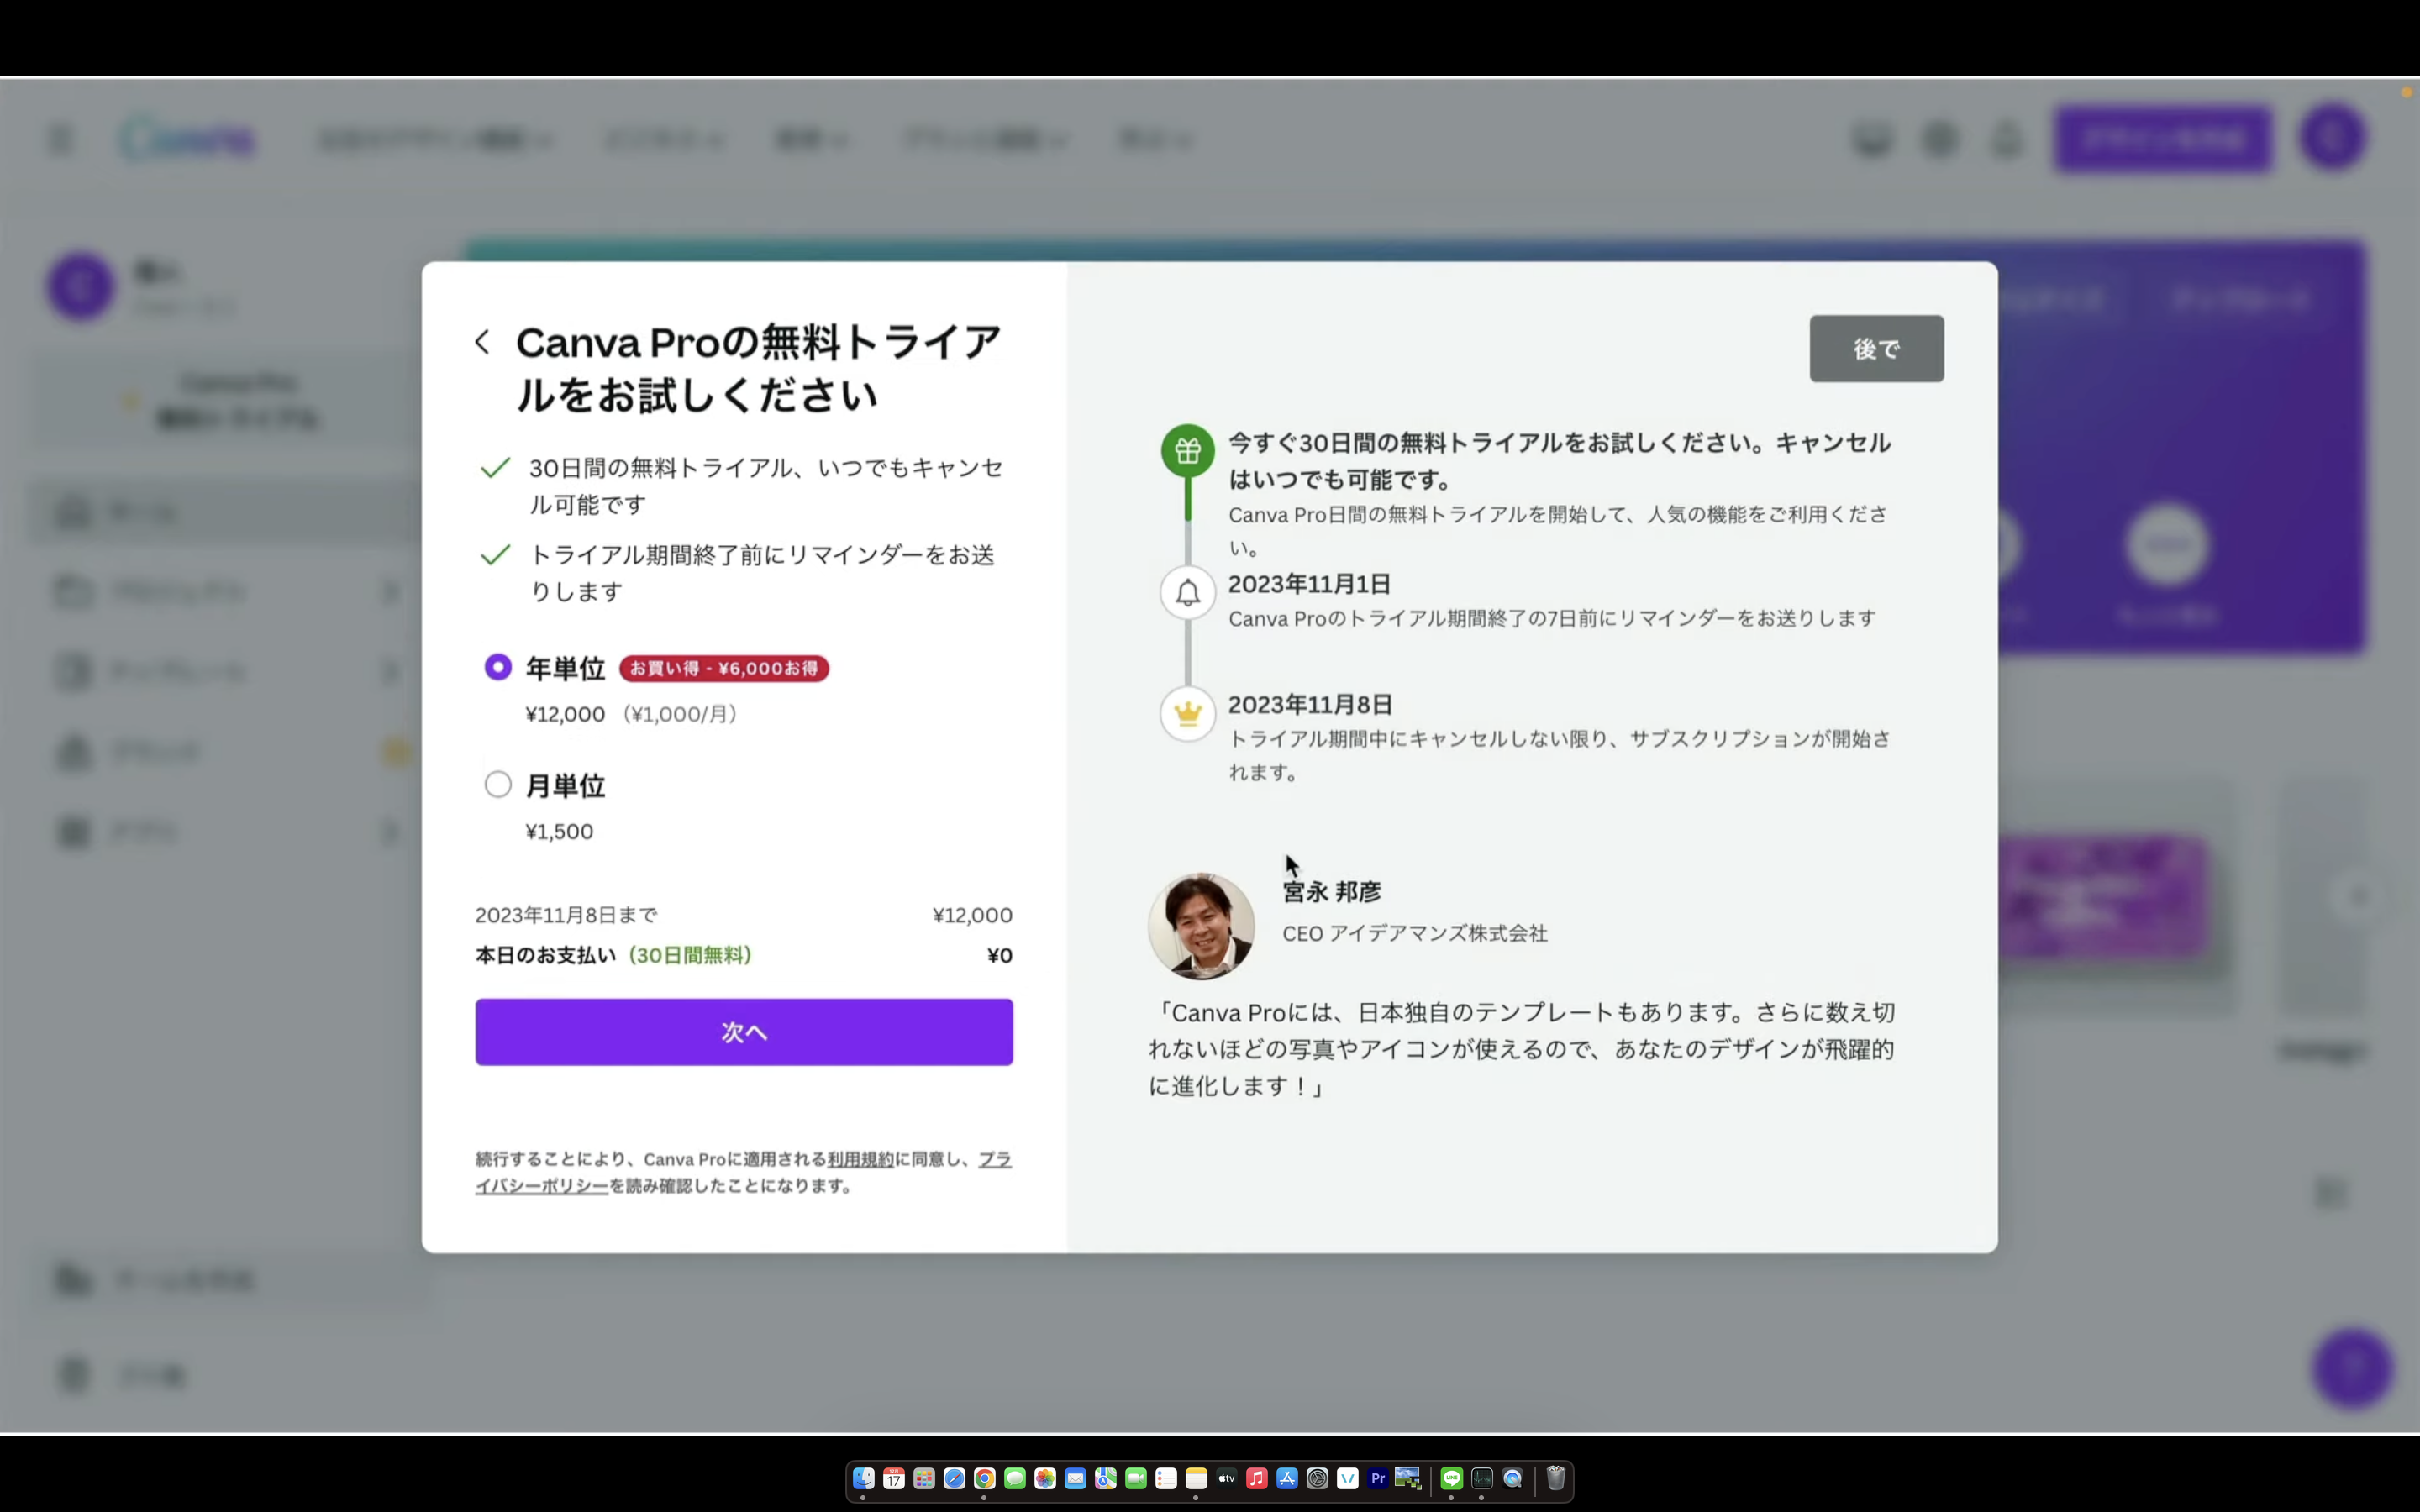
支払いの単位を選択します。

次に支払い方法を選択します。
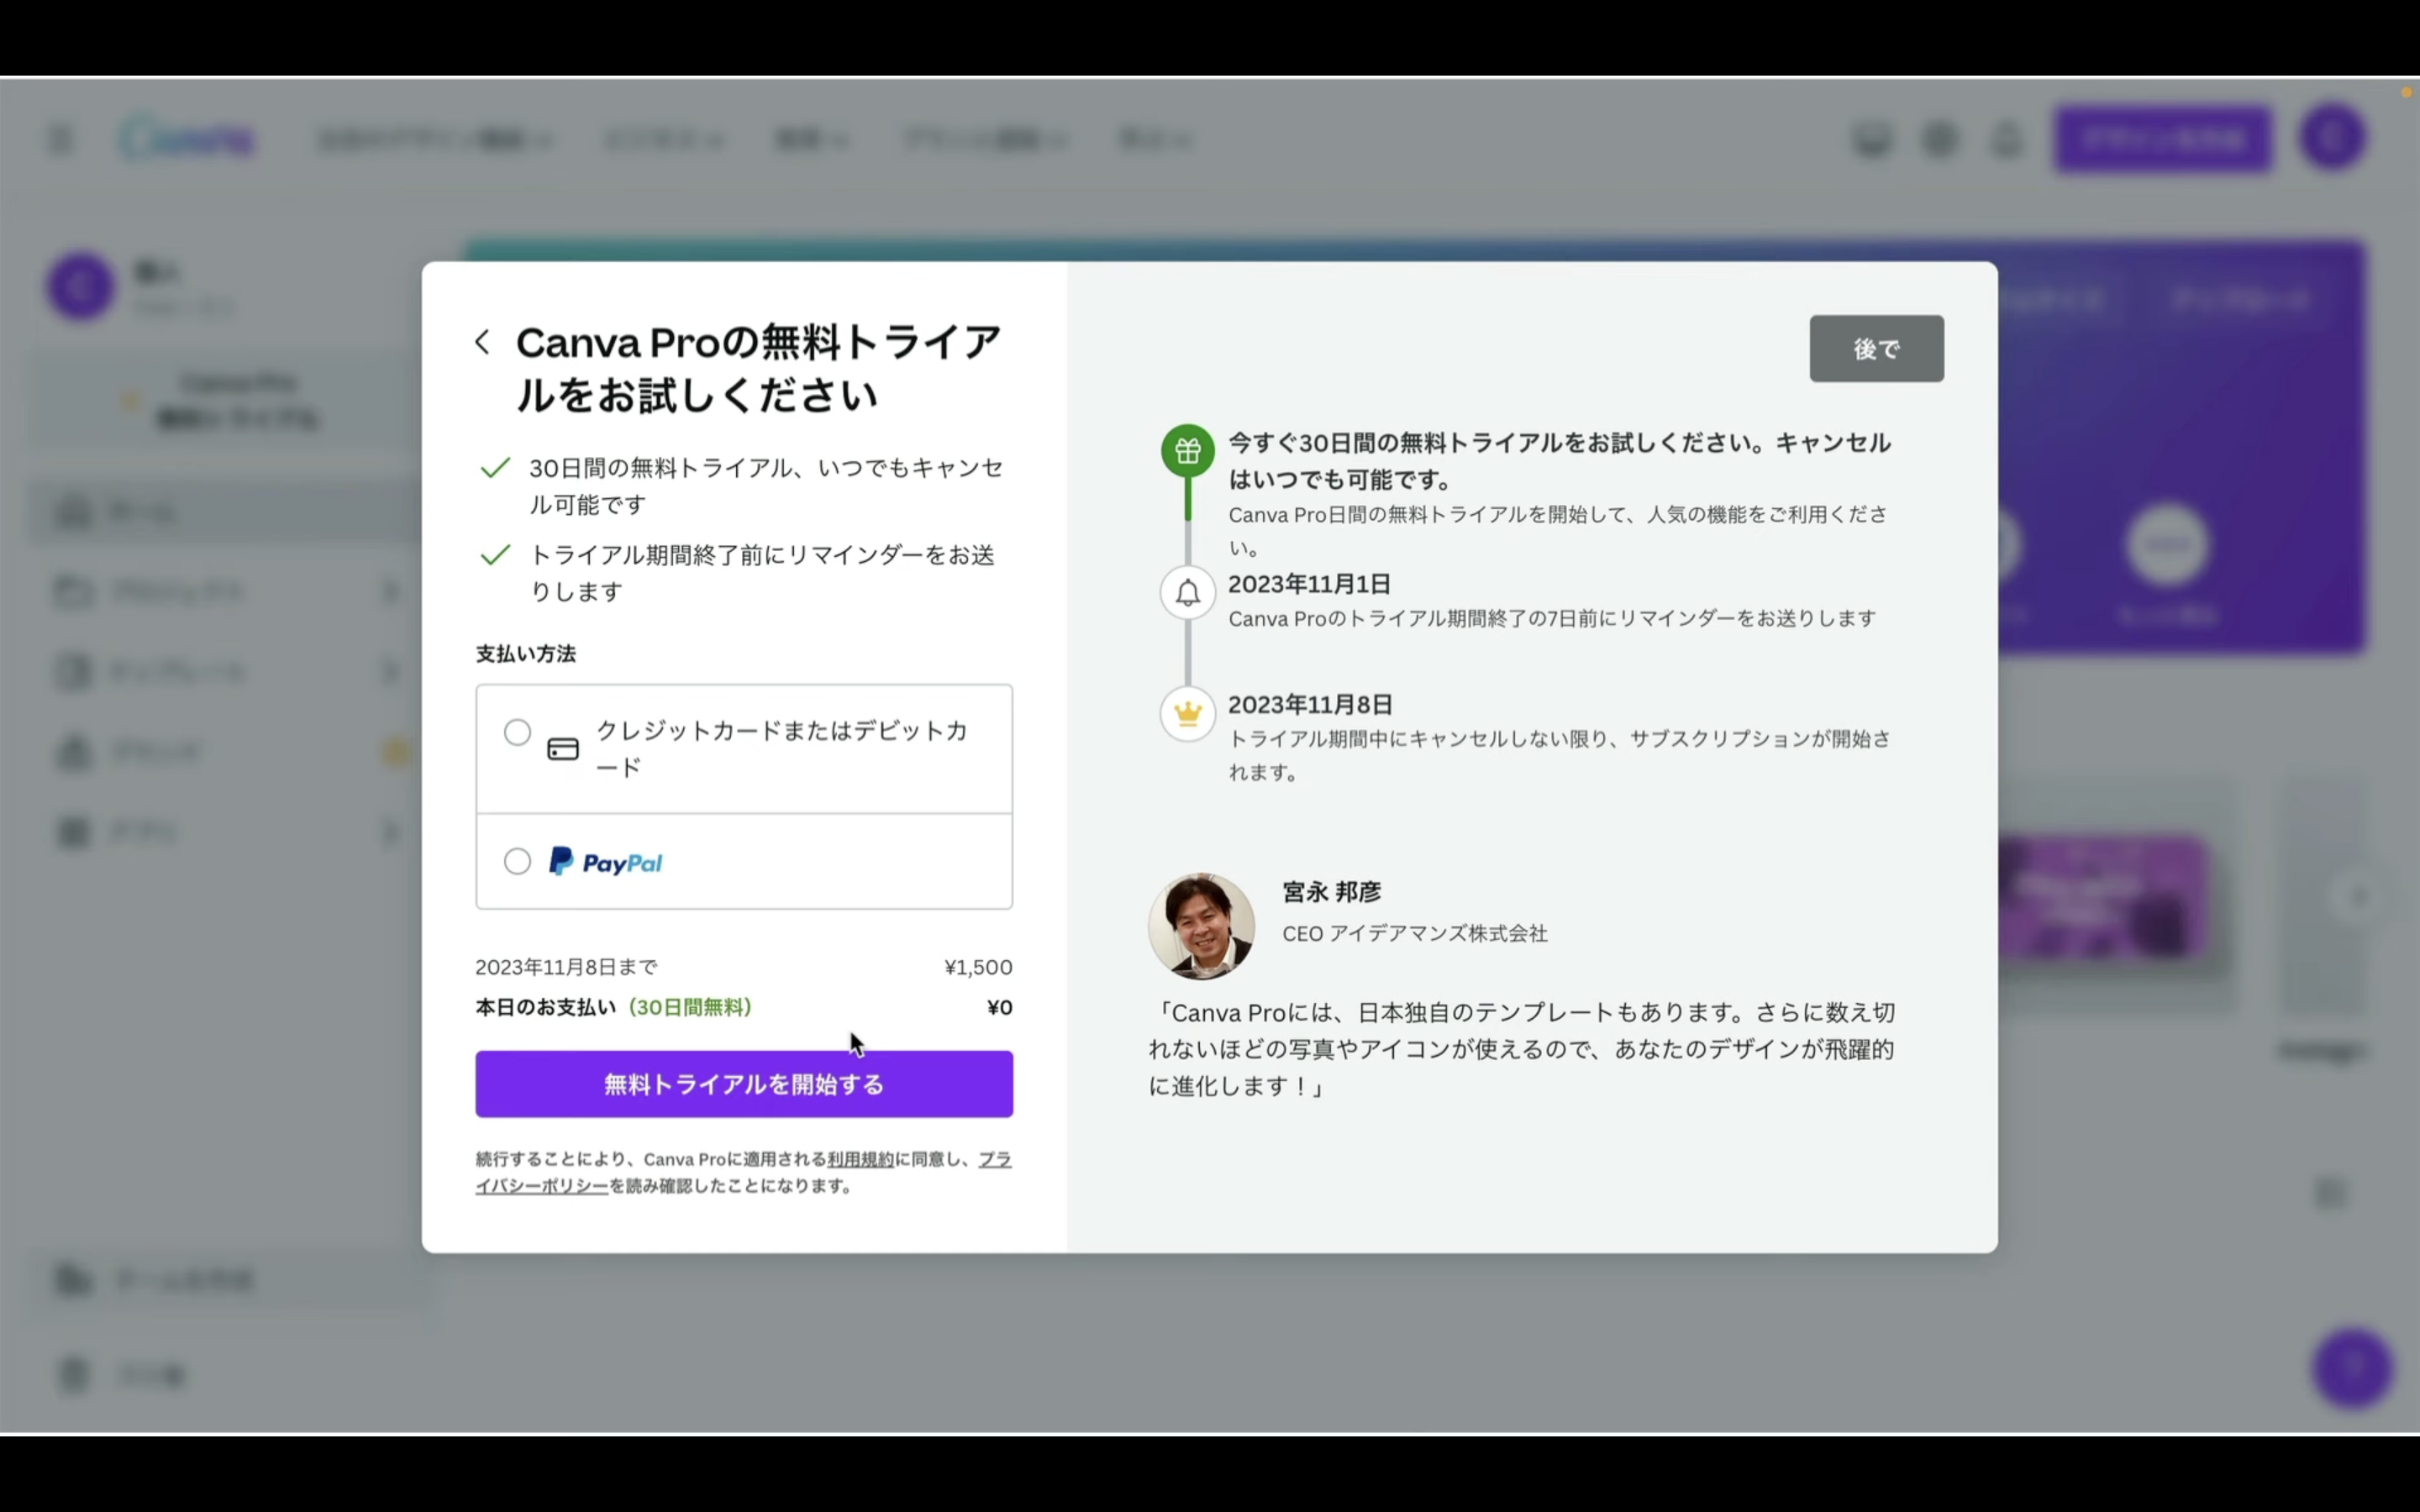
今回はクレジットカードを選択して解説を進めます。
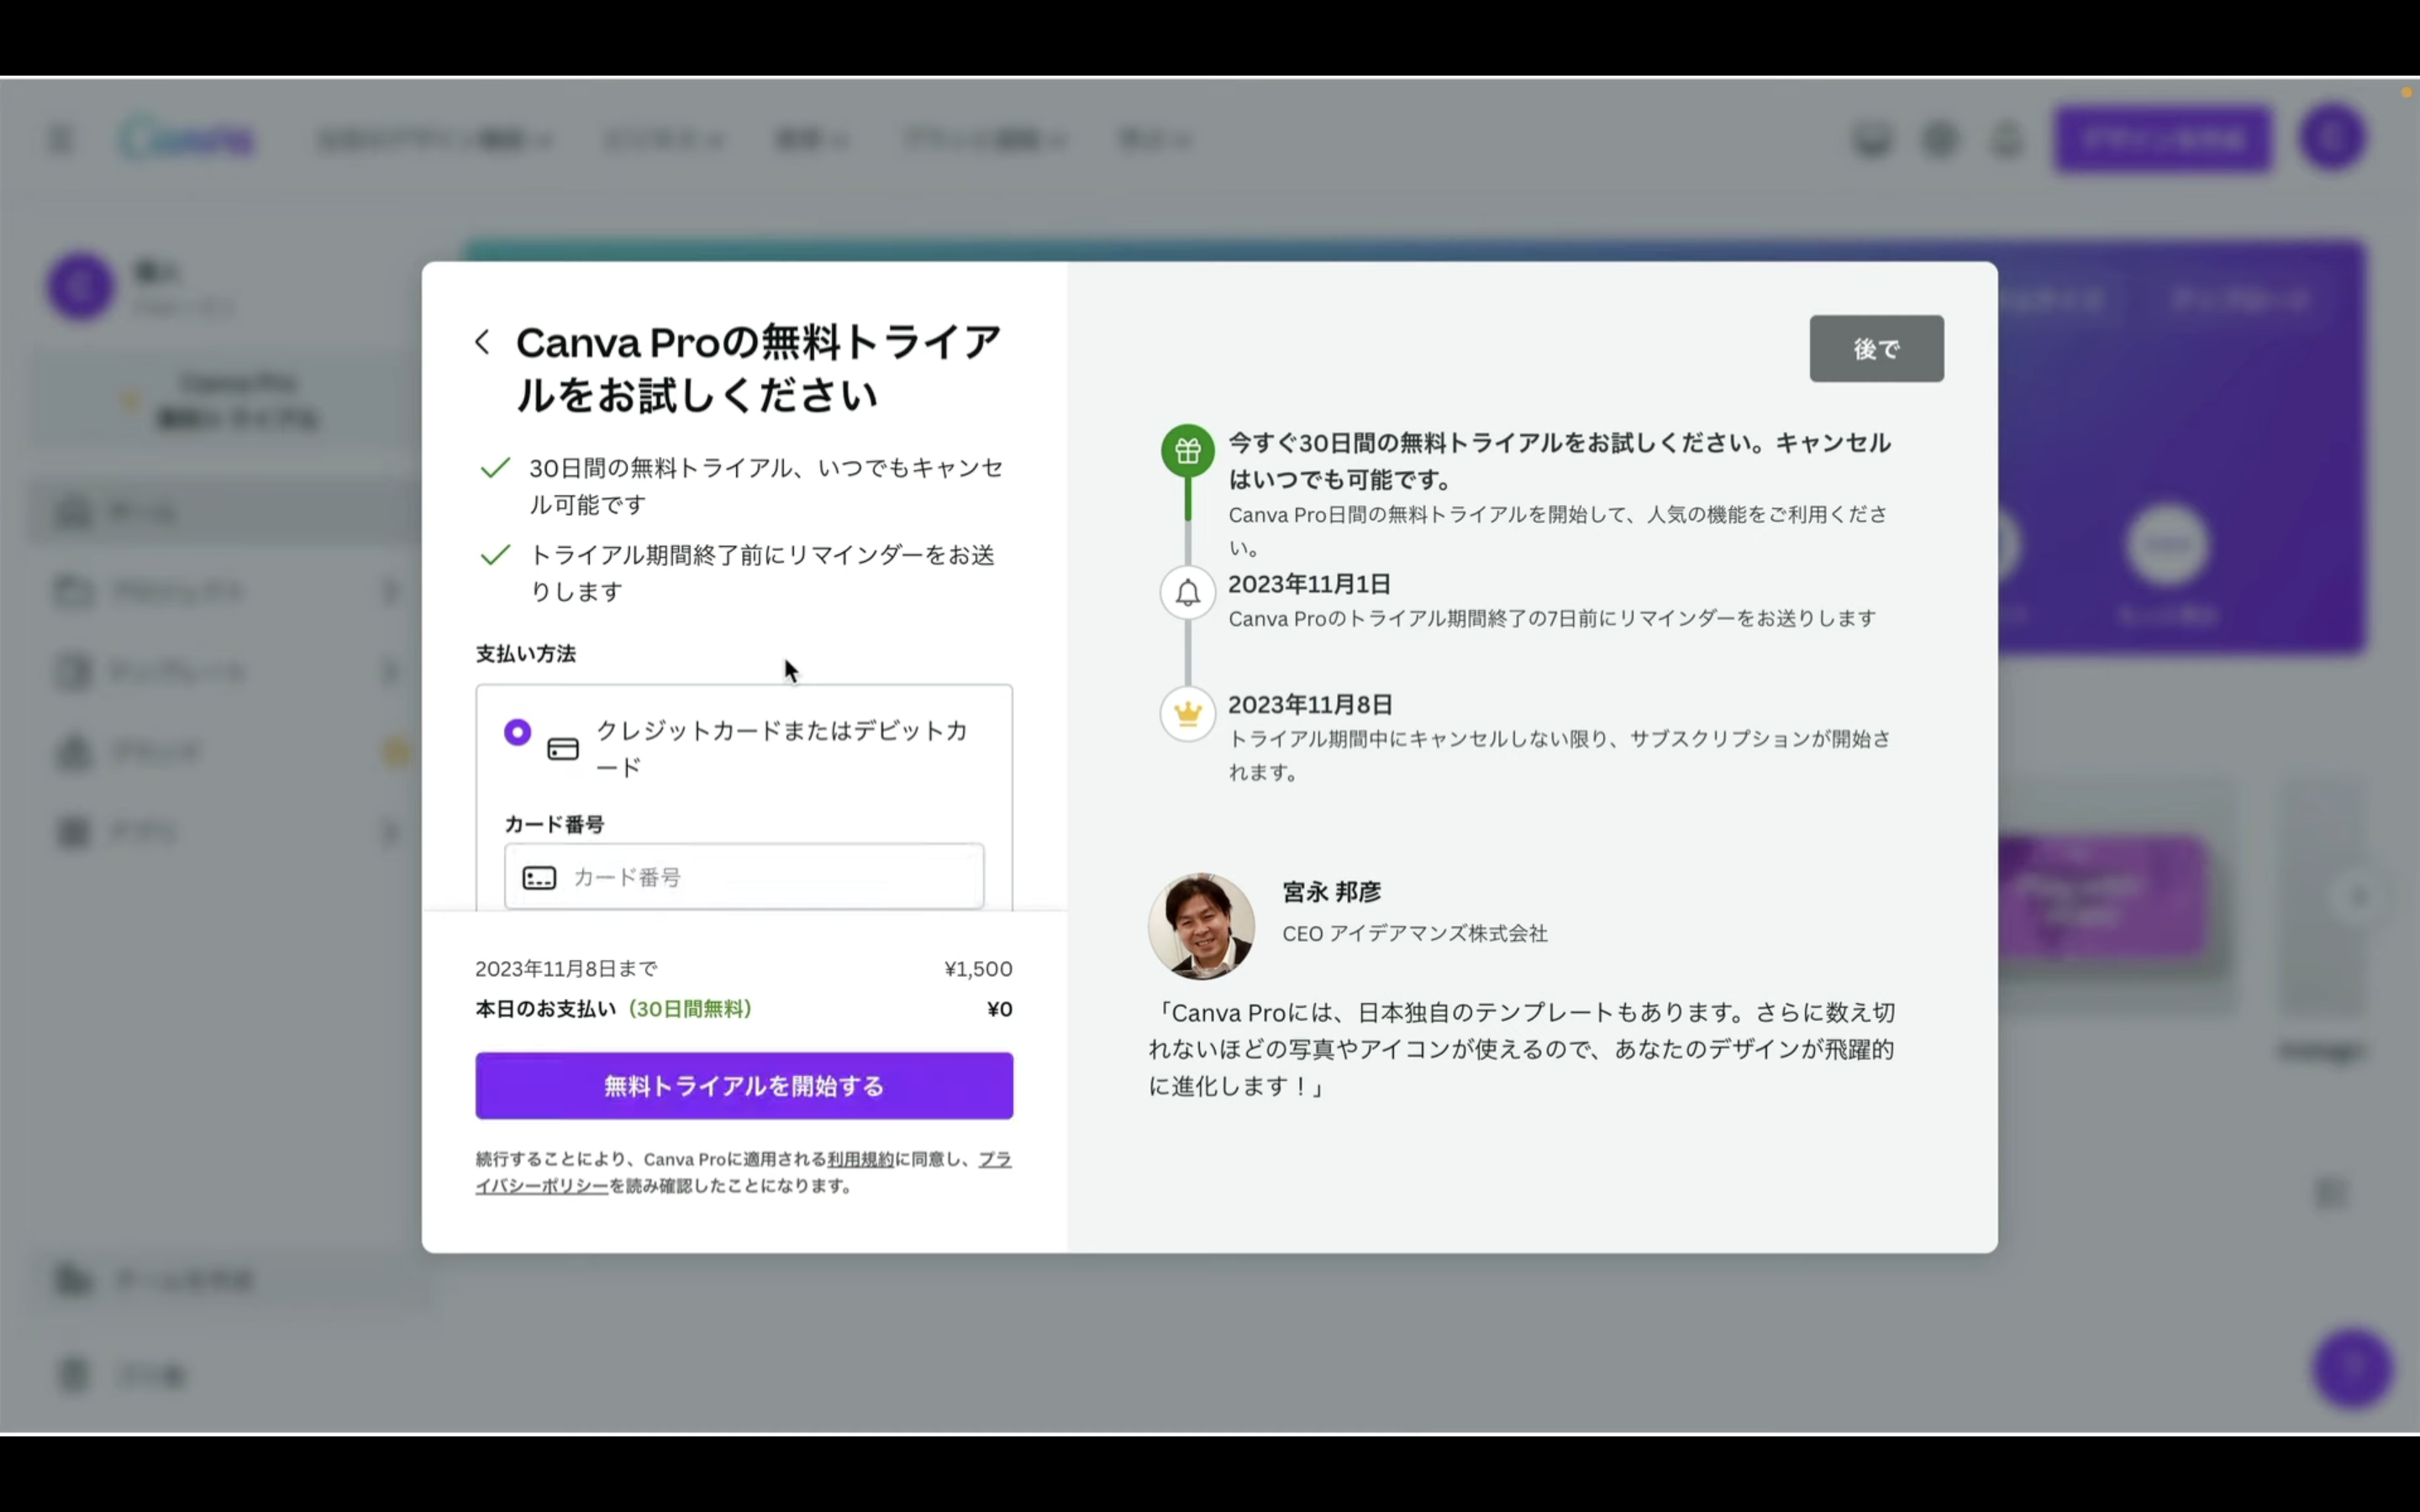
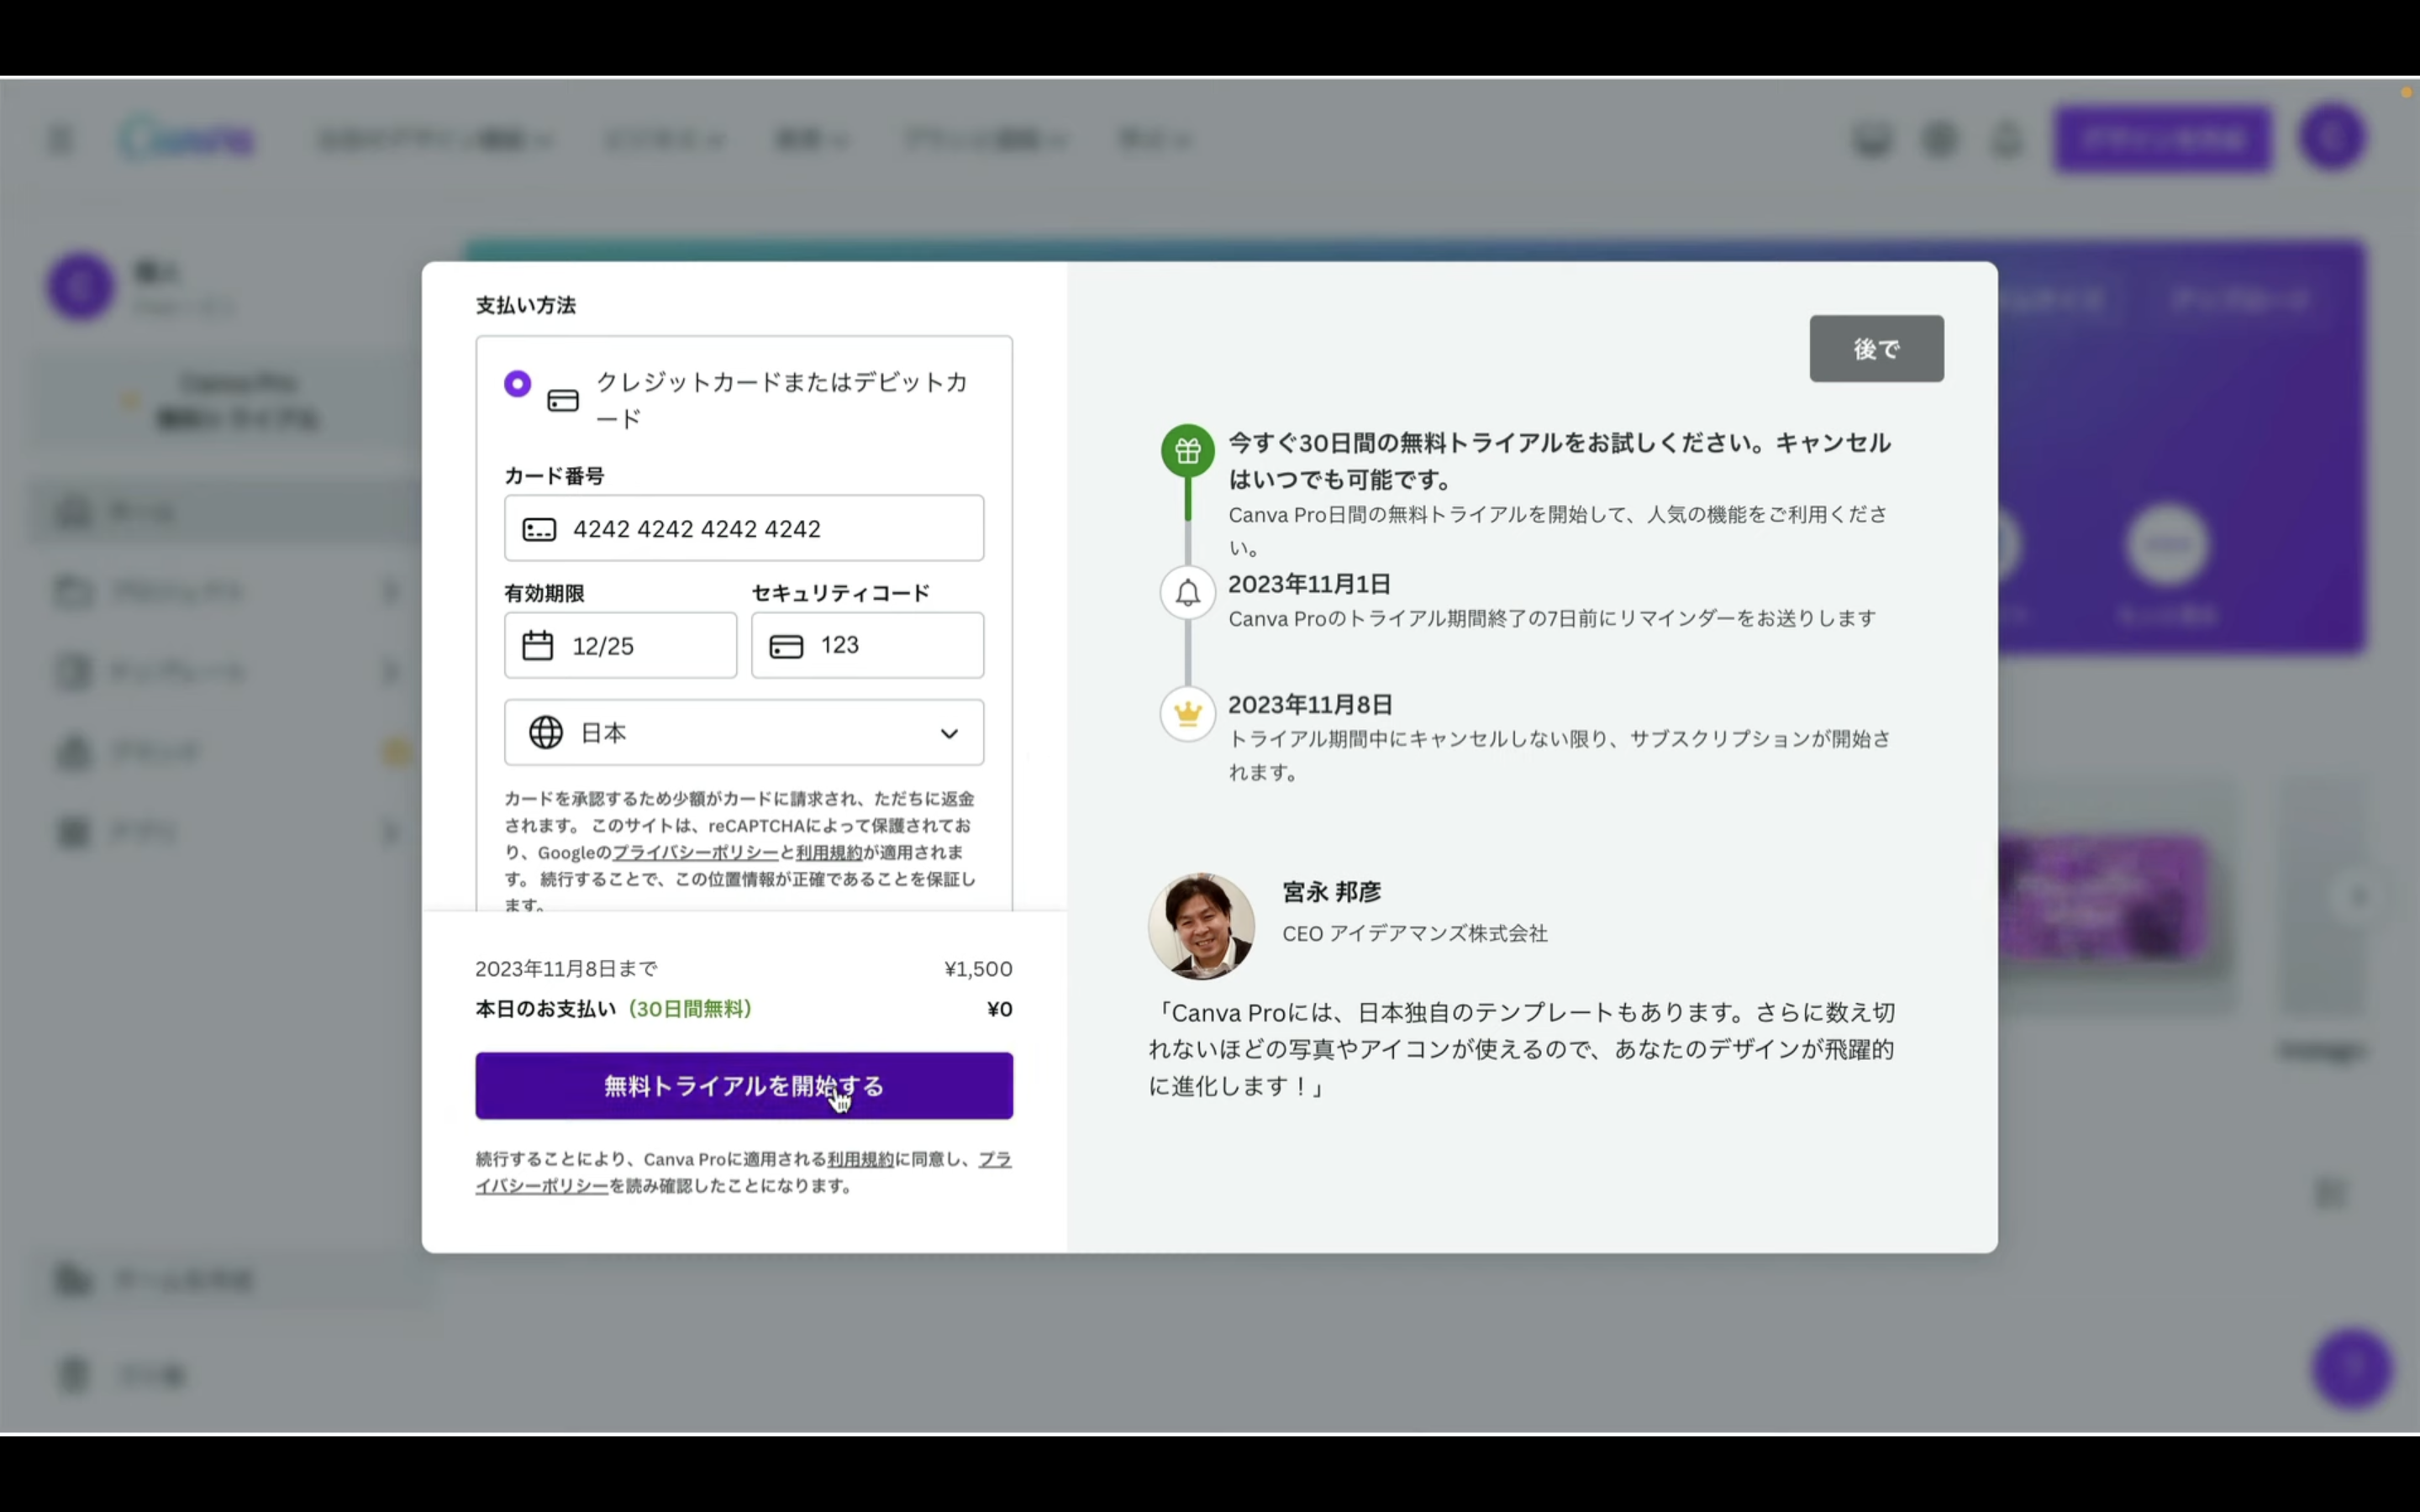
クレジットカードの入力欄に適切な情報を入力します。
入力が完了したら「無料トライアルを開始する」と書かれているボタンをクリックします。
使用目的を尋ねられるので、あなたの目的にあった項目を選択します。
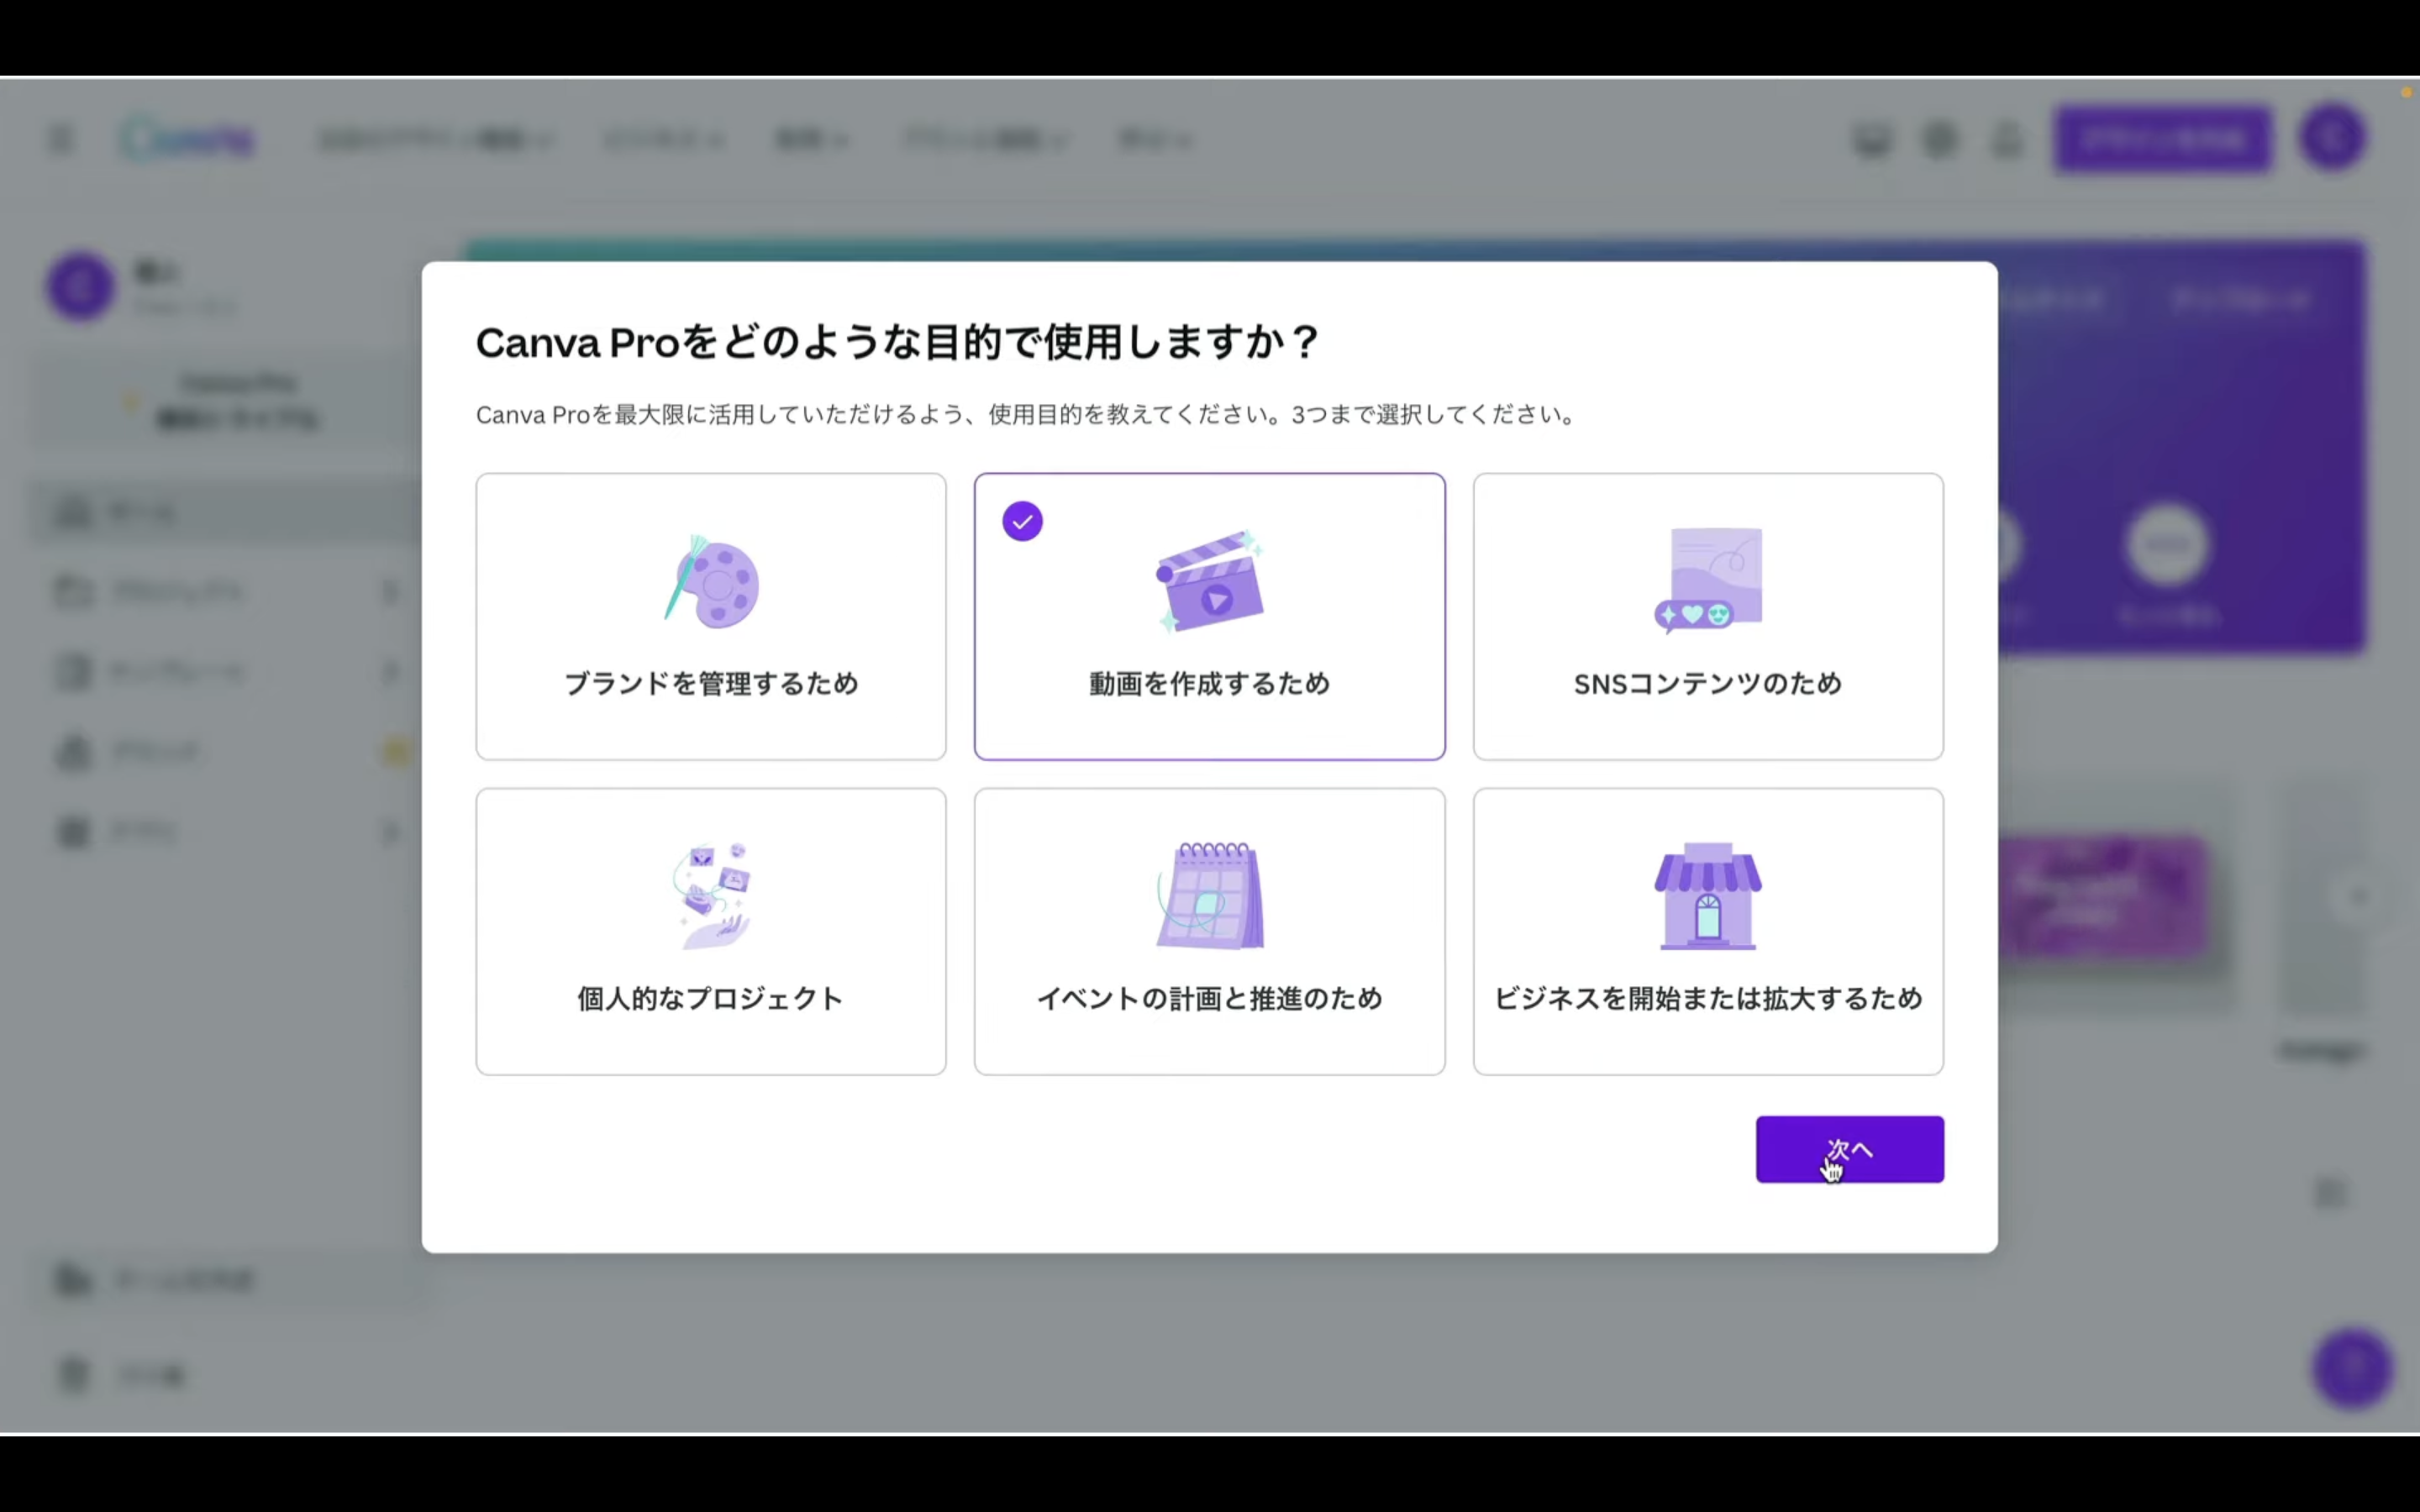
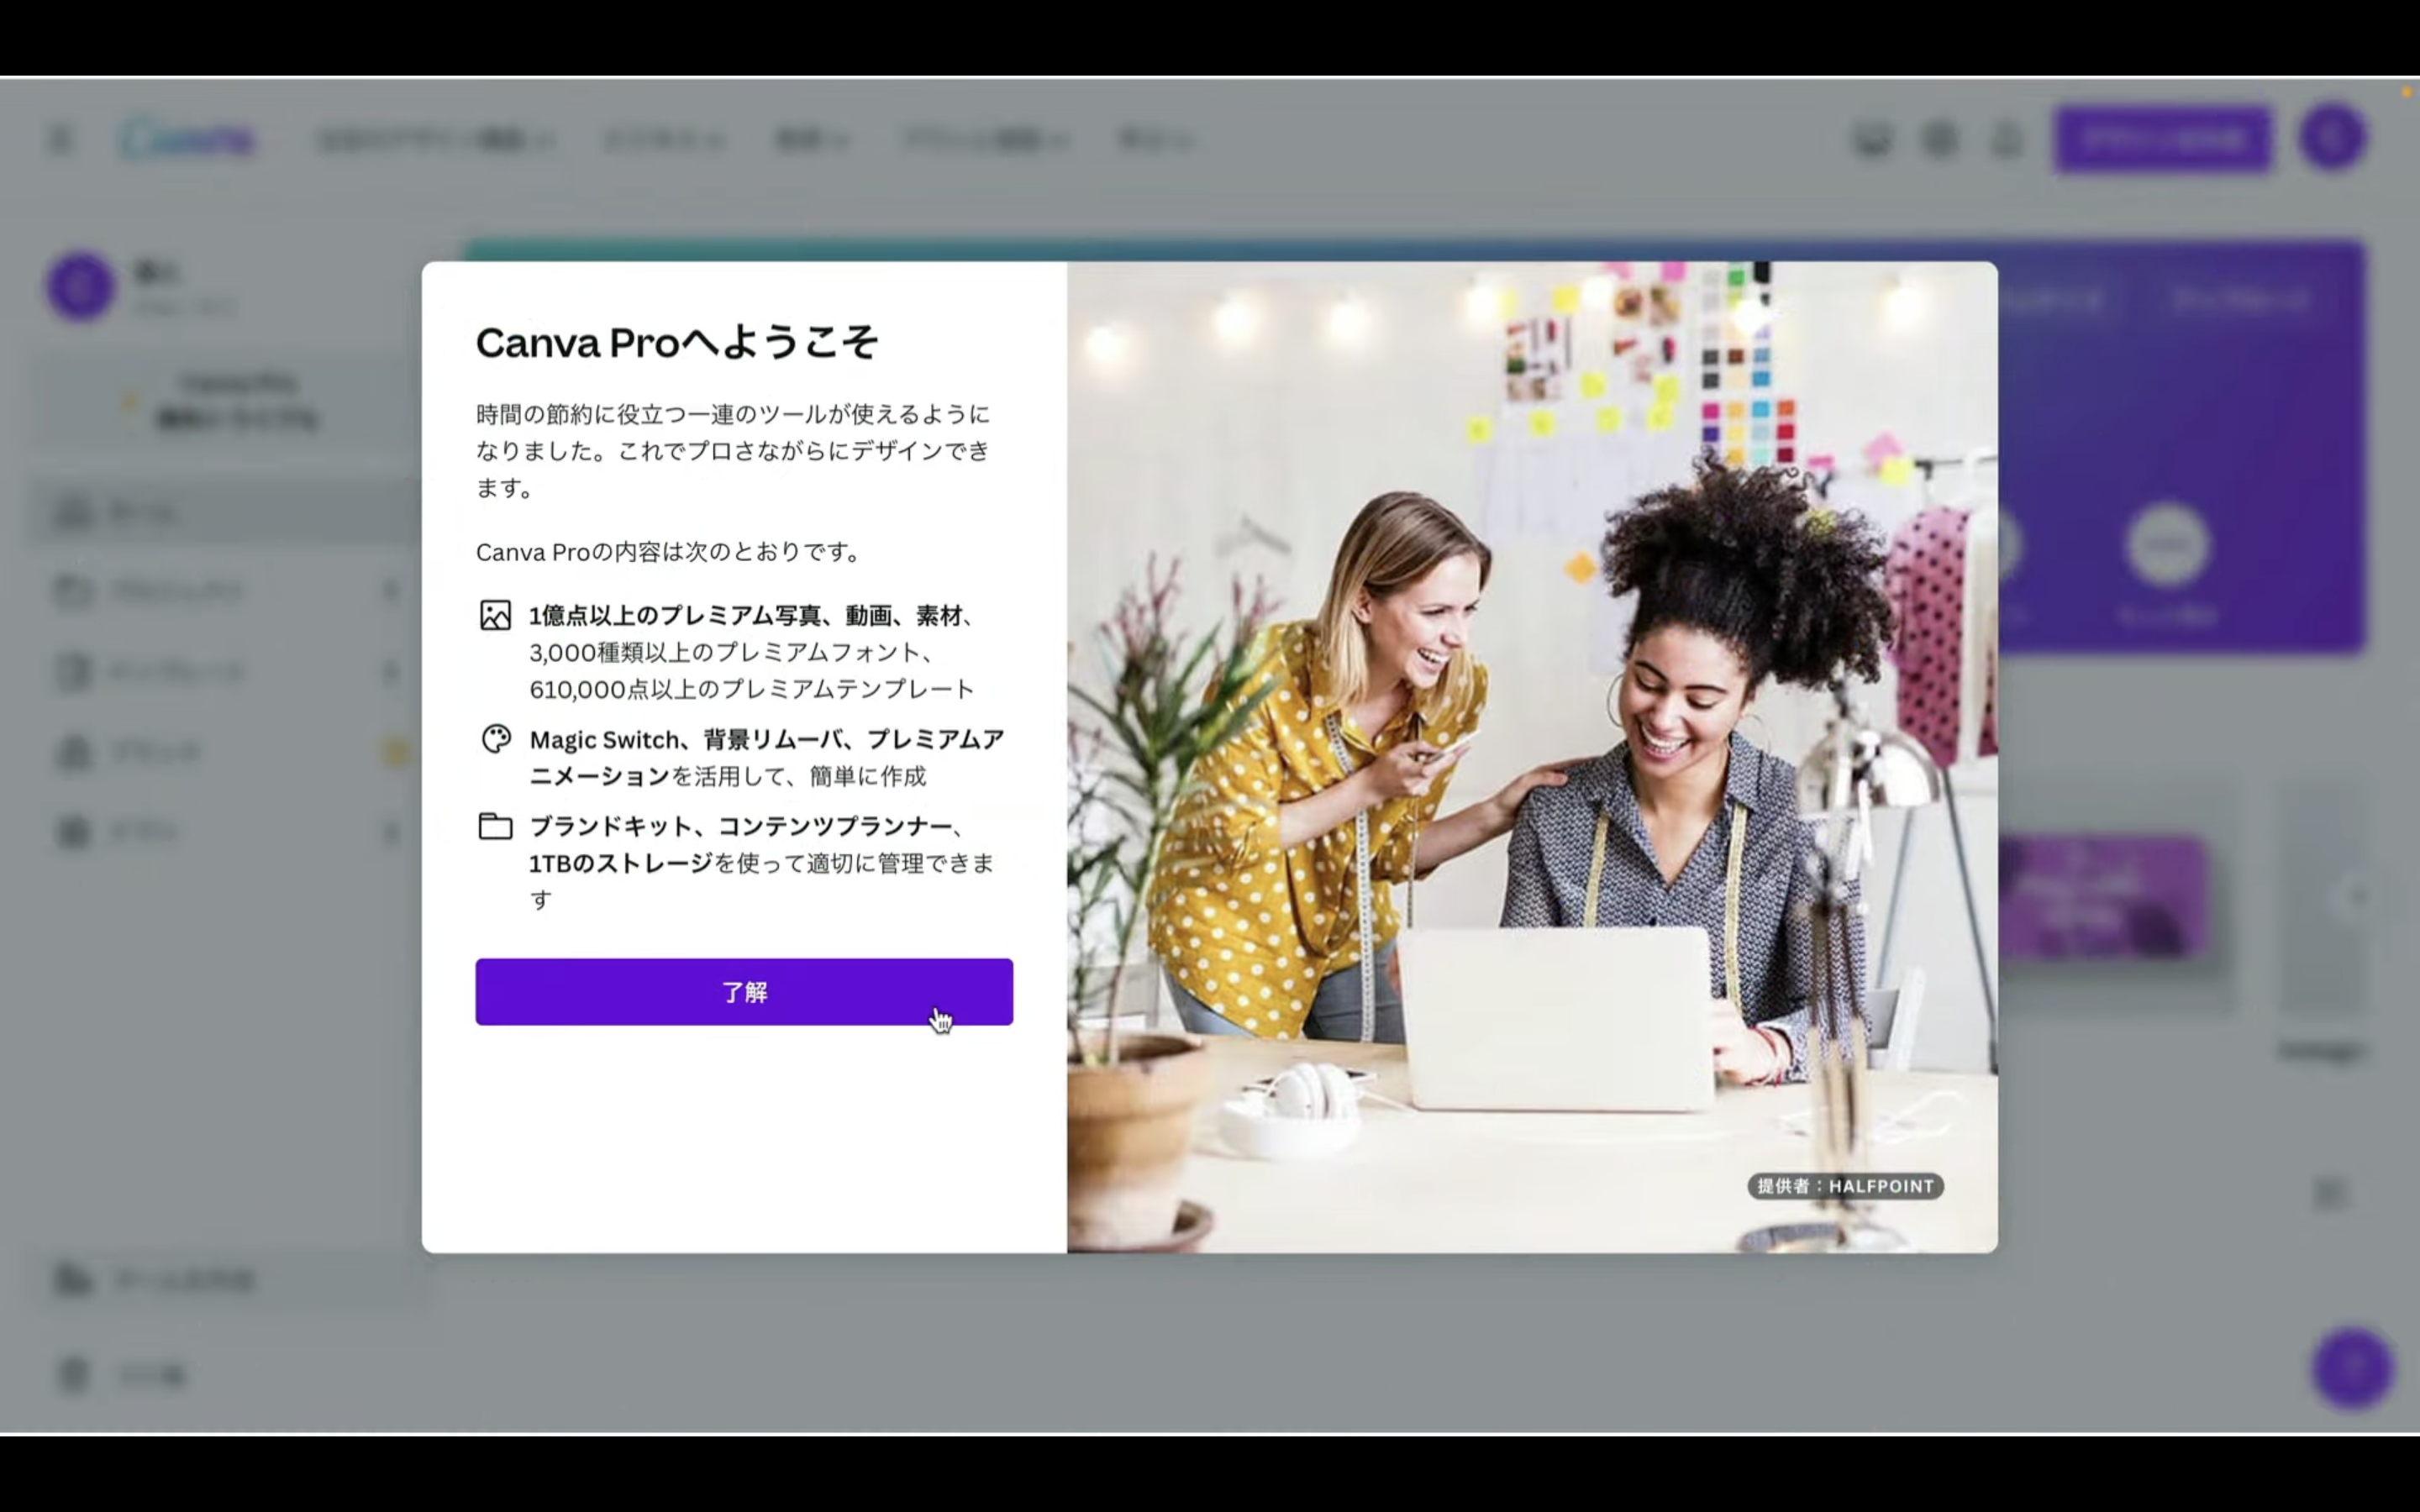
「了解」と書かれているボタンをクリックします。
最後にお役立ち情報の受け取りについて選択します。
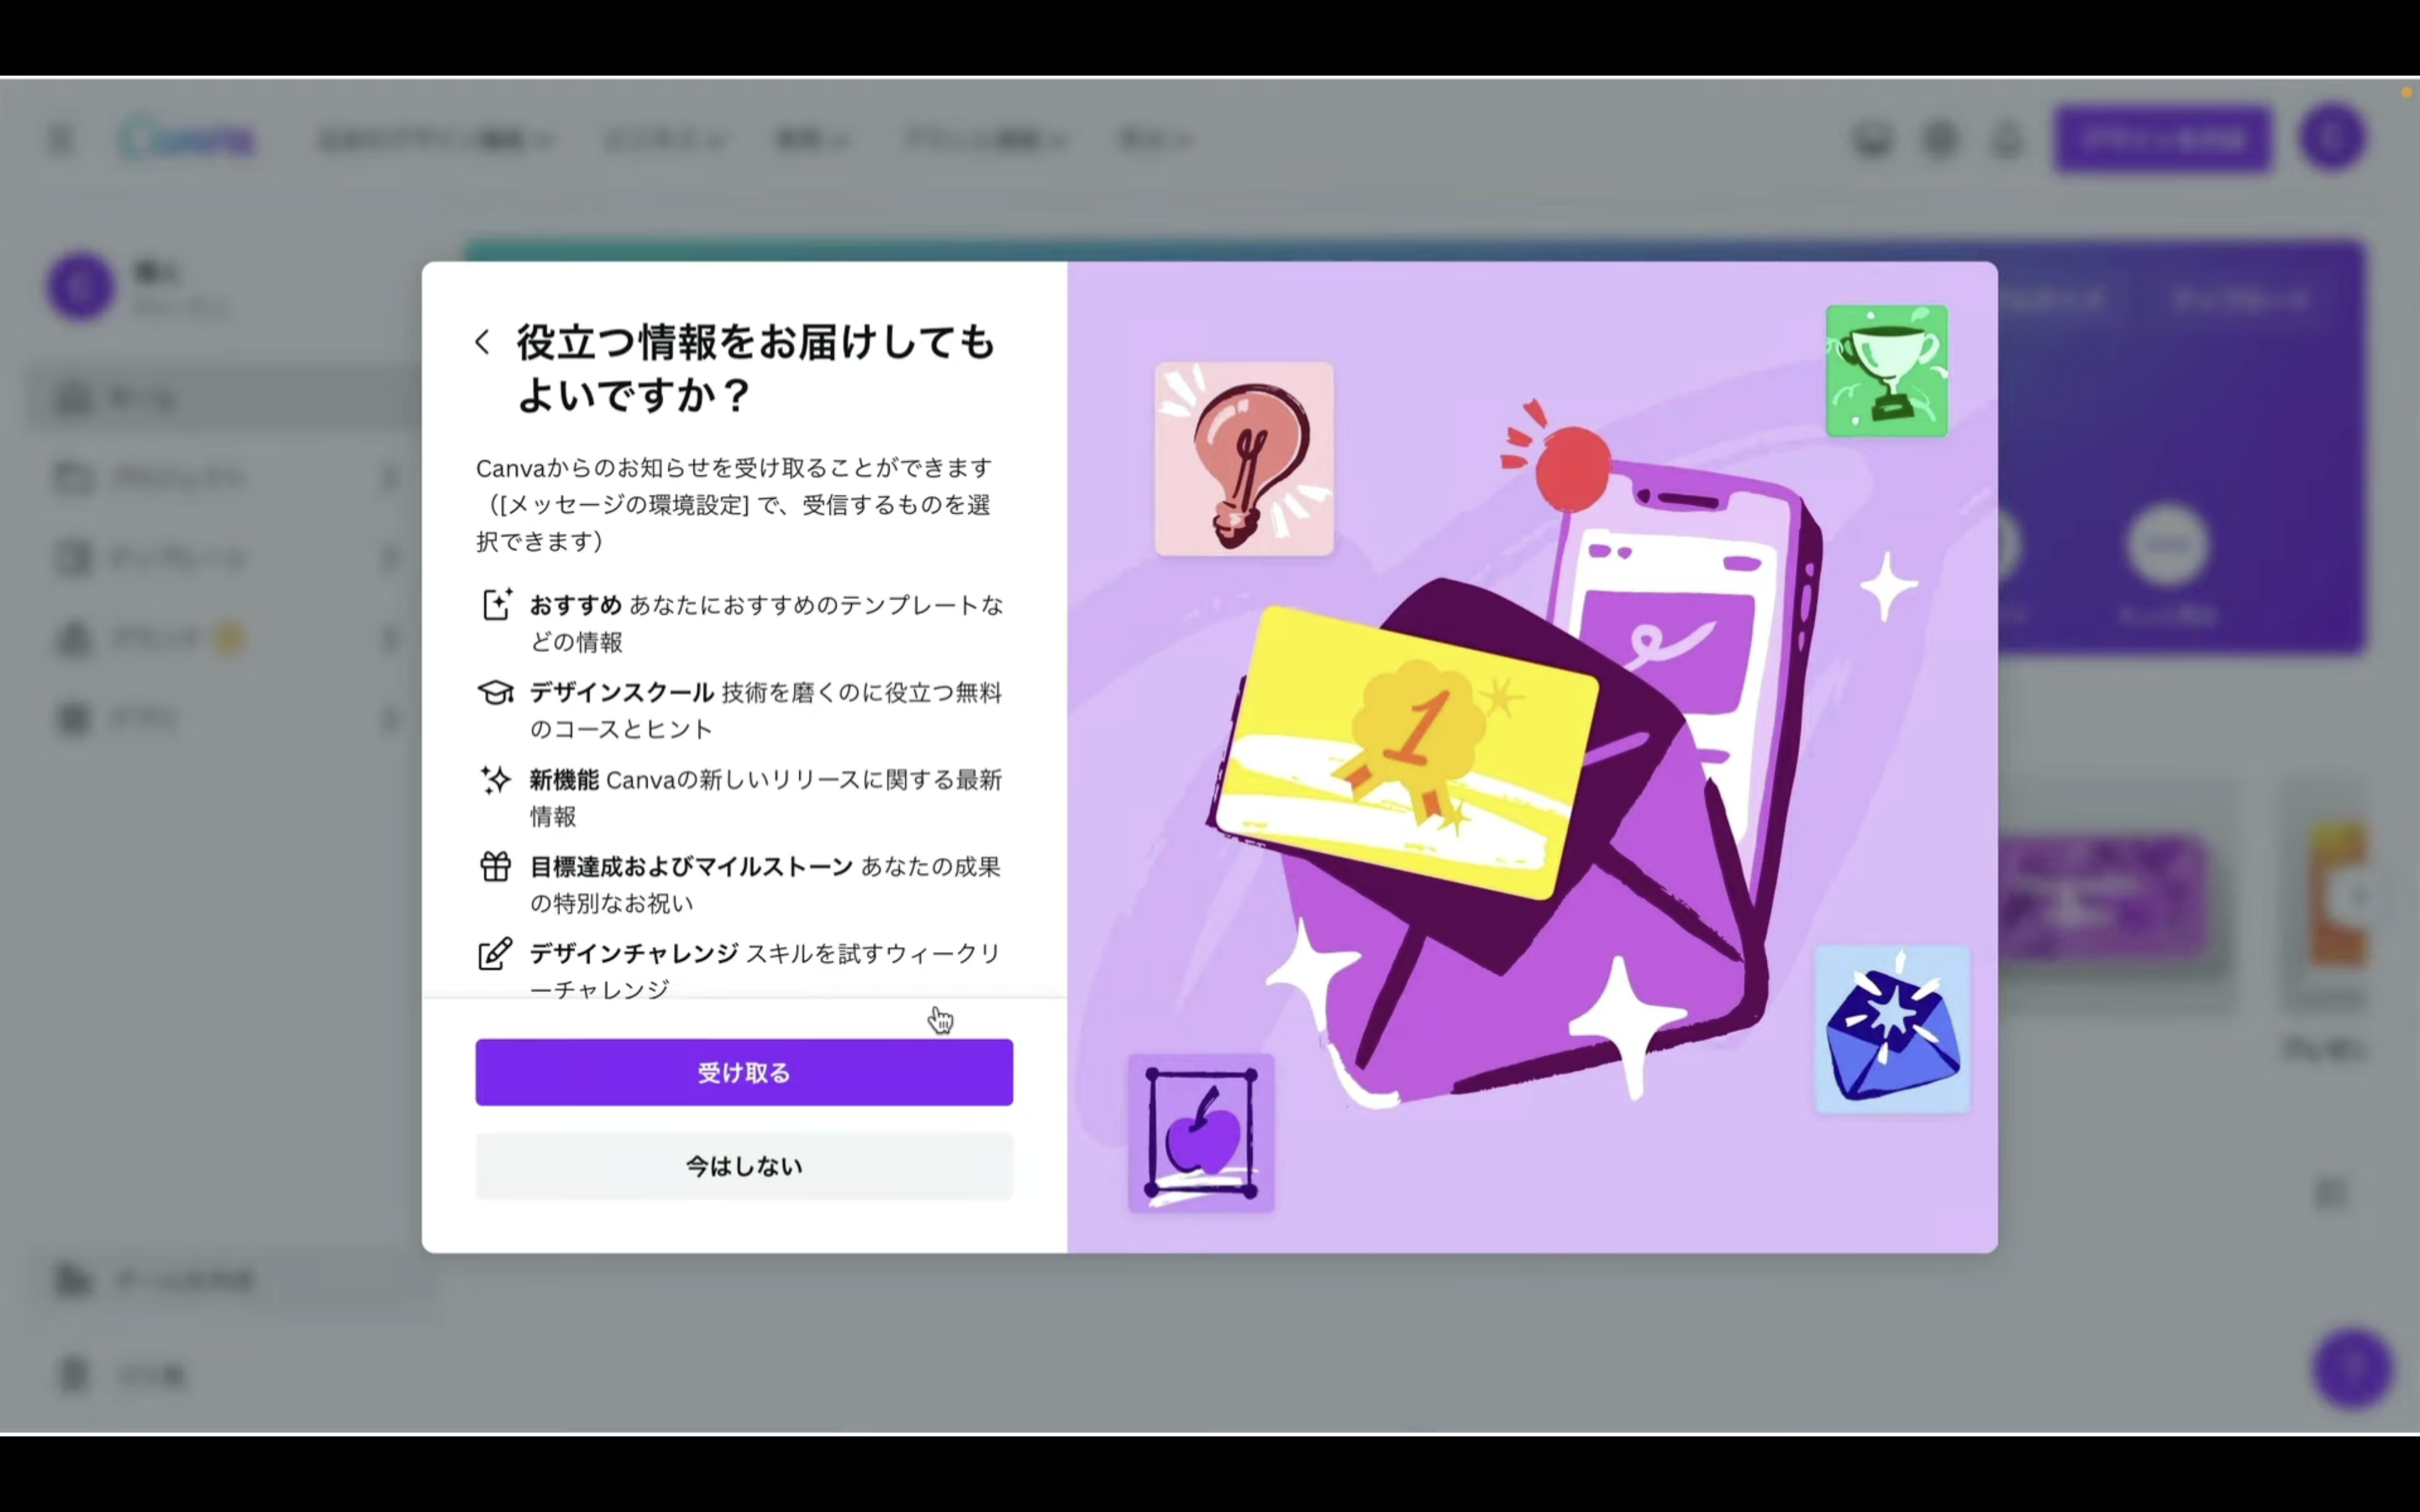
これはお好きな方をお選びください。
これでCanvaのアカウントを作成できました。
Magic Mediaを利用していきましょう!
左側のメニューの中から「アプリ」と書かれているテキストをクリックします。
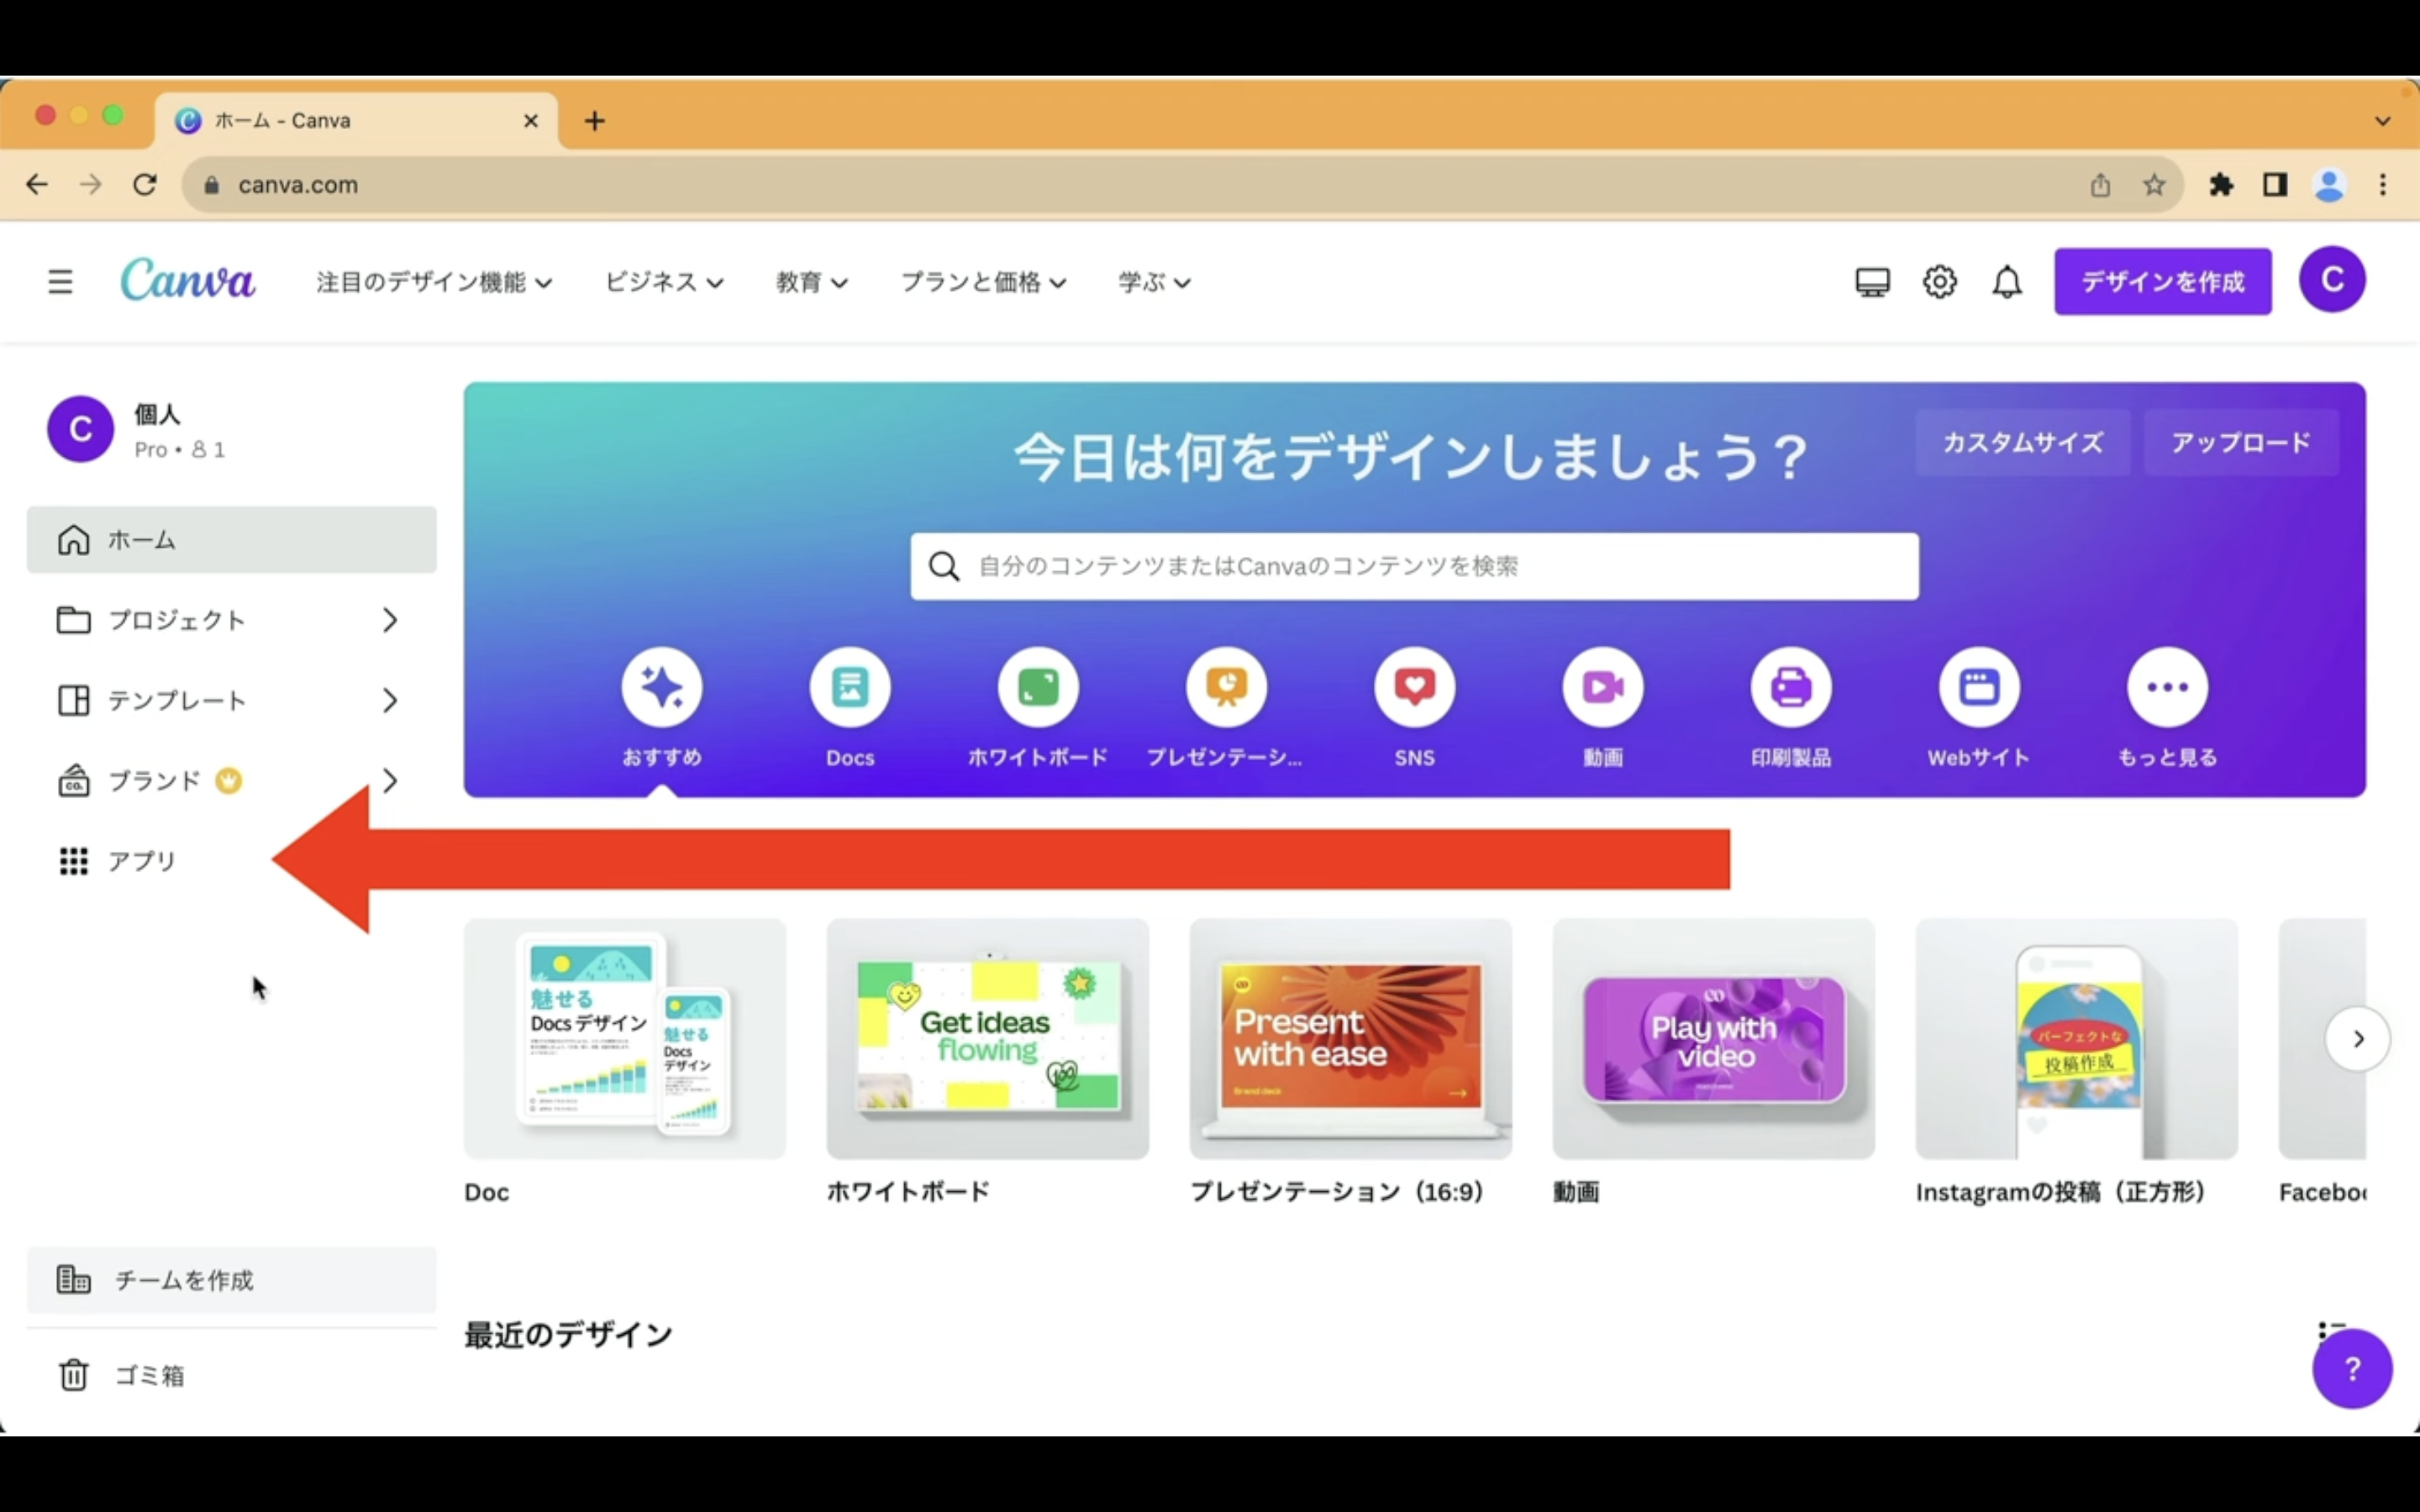
そうするとこのような画面が表示されます。
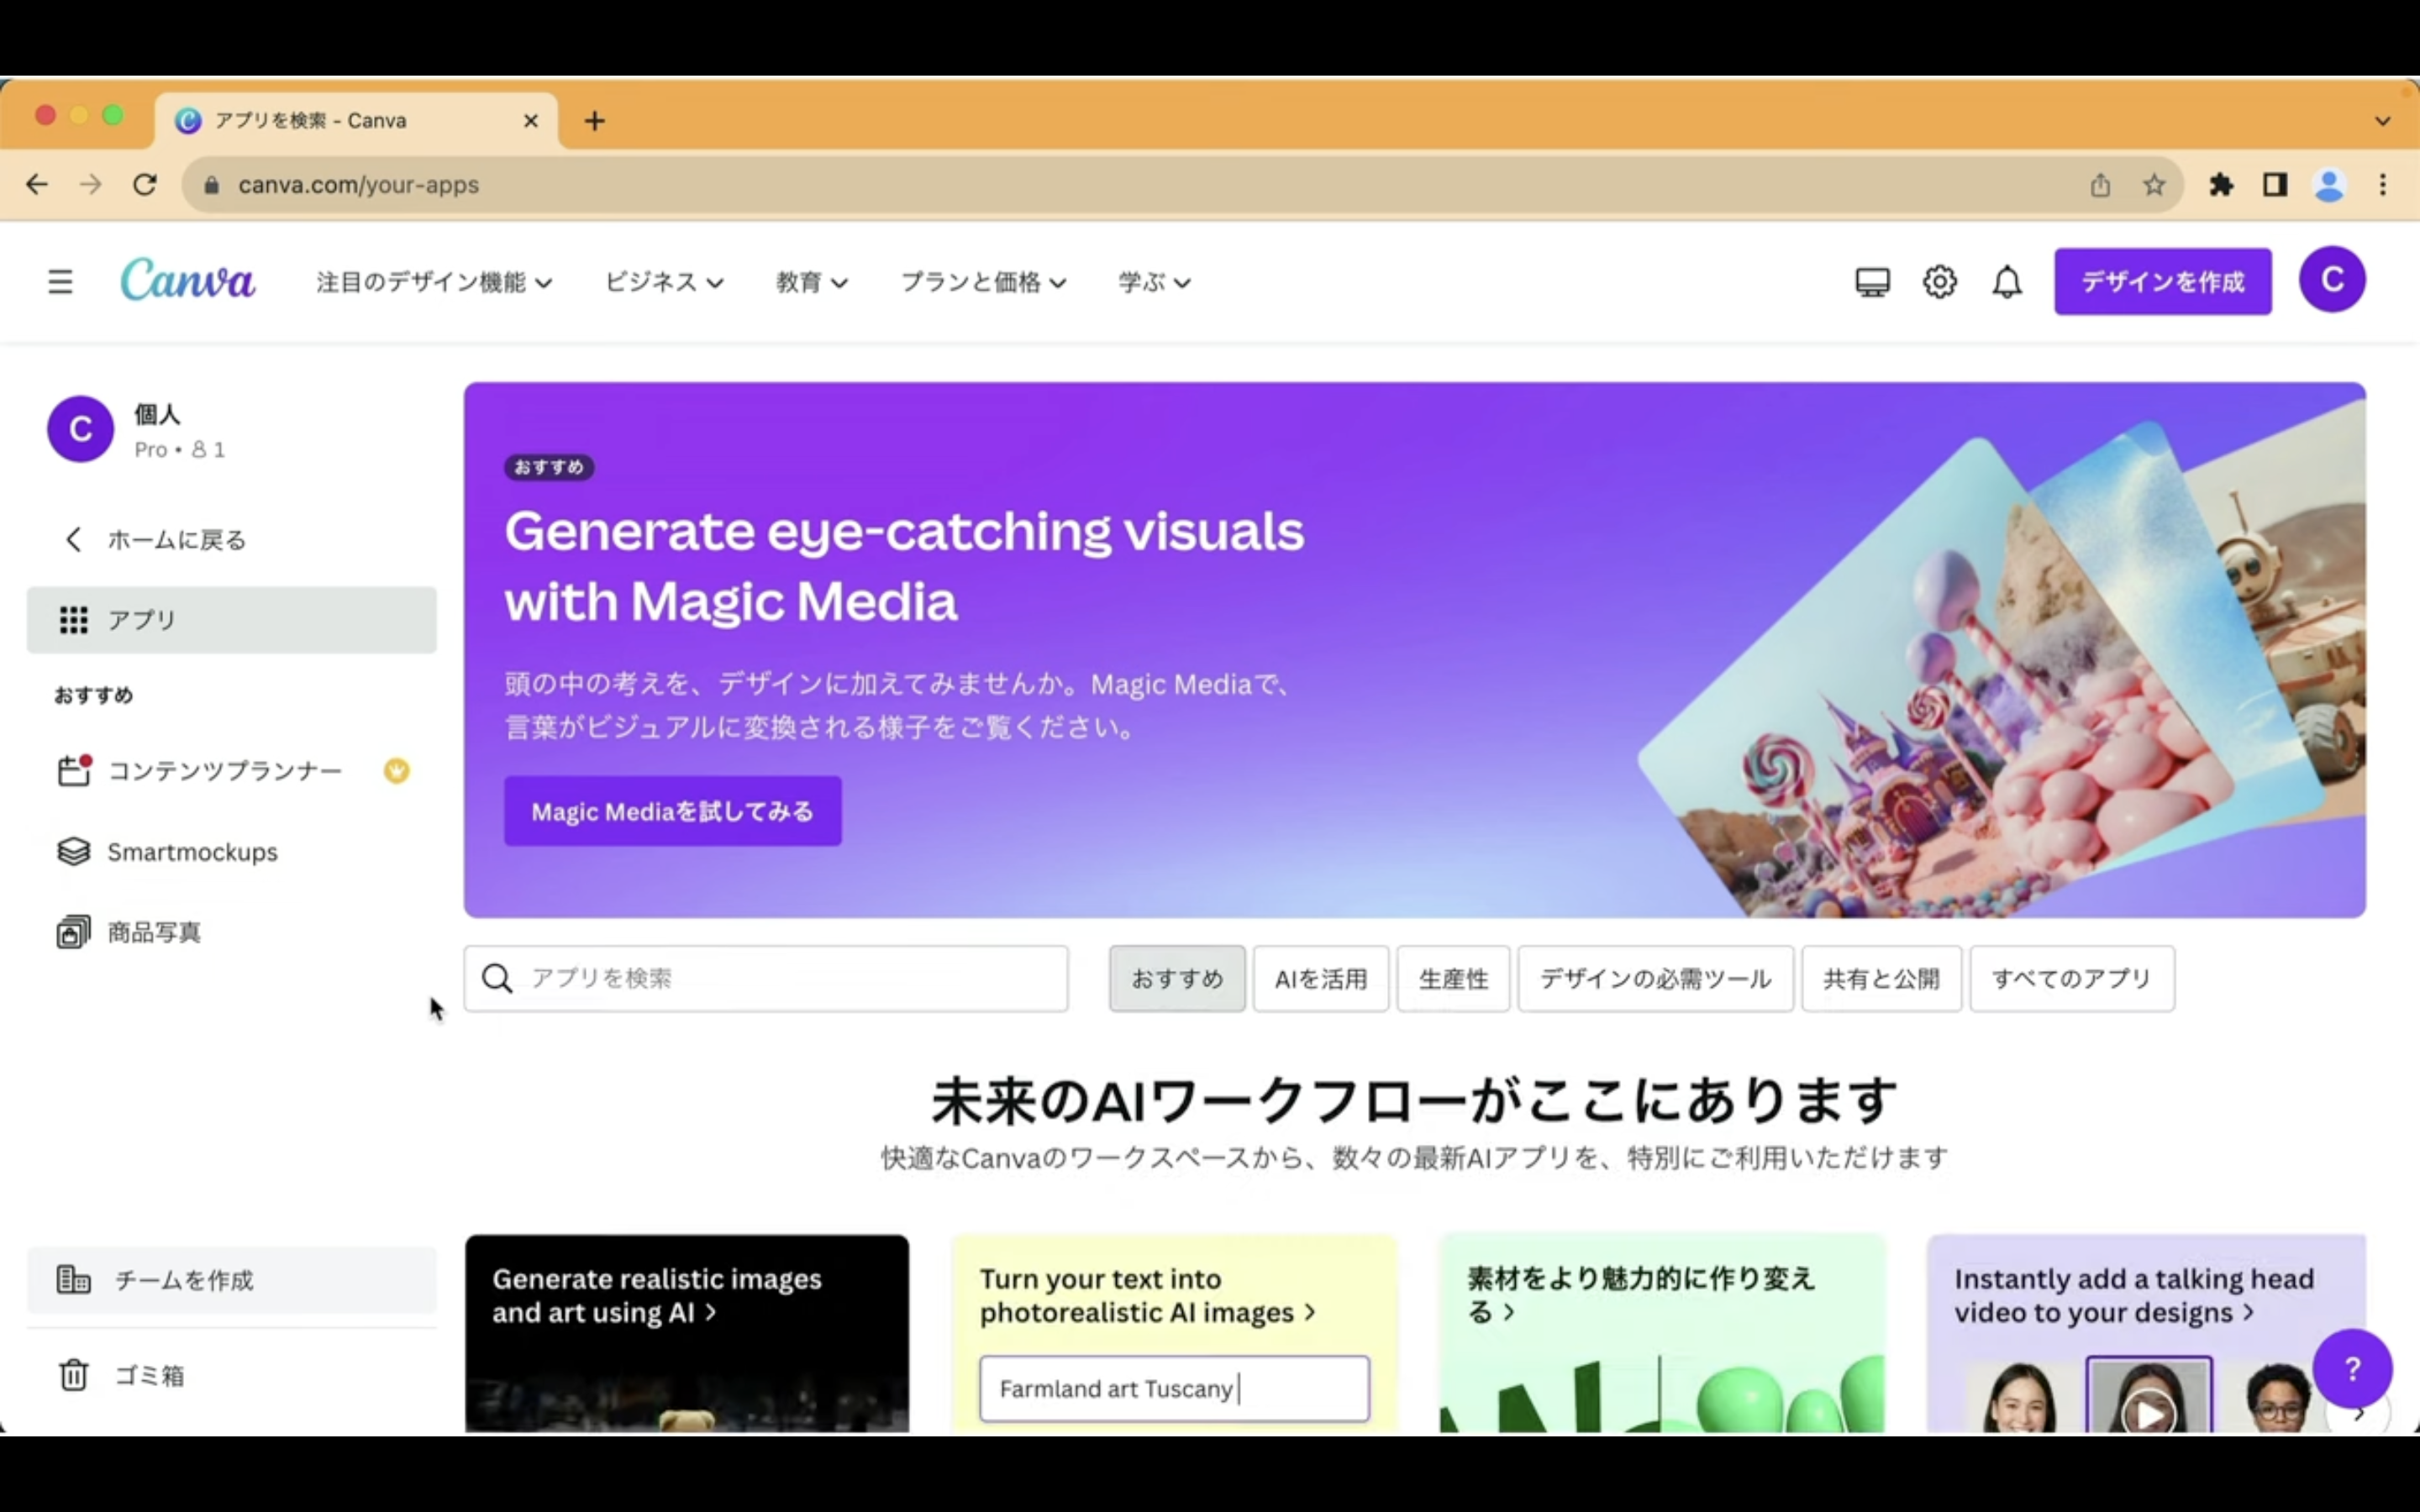
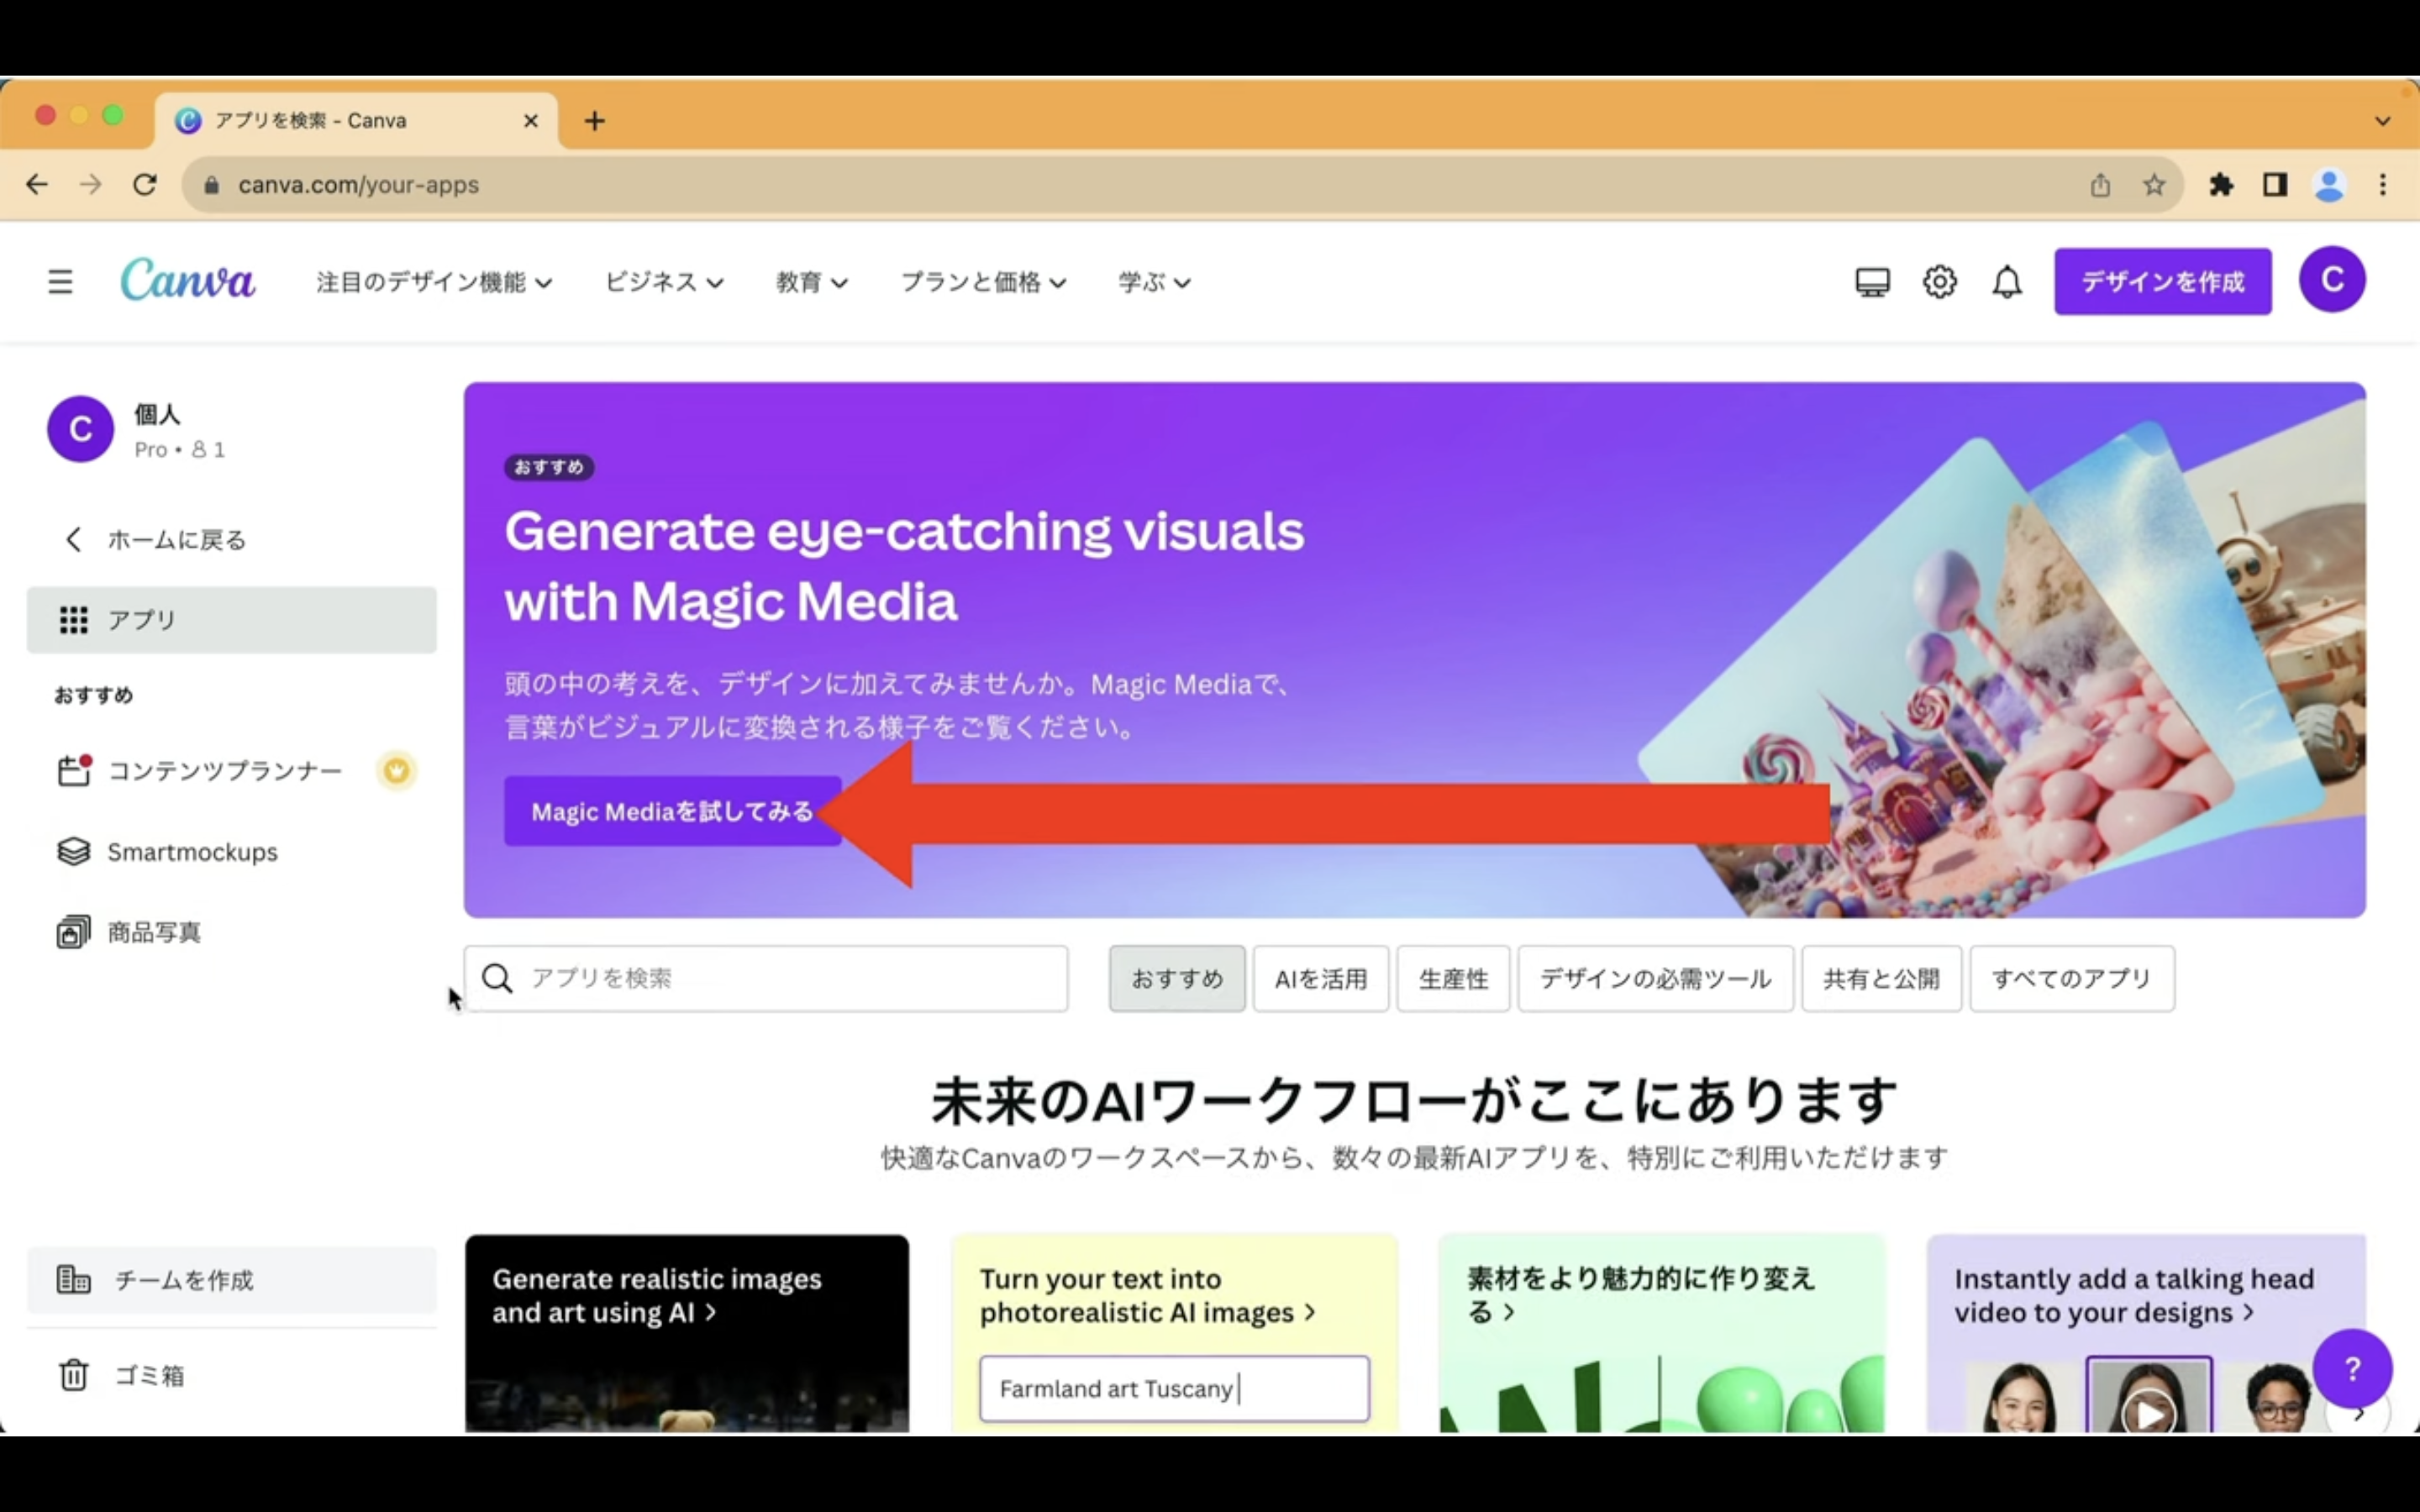
この画面が表示されたら「Magic Mediaを試してみる」と書かれているボタンをクリックします。
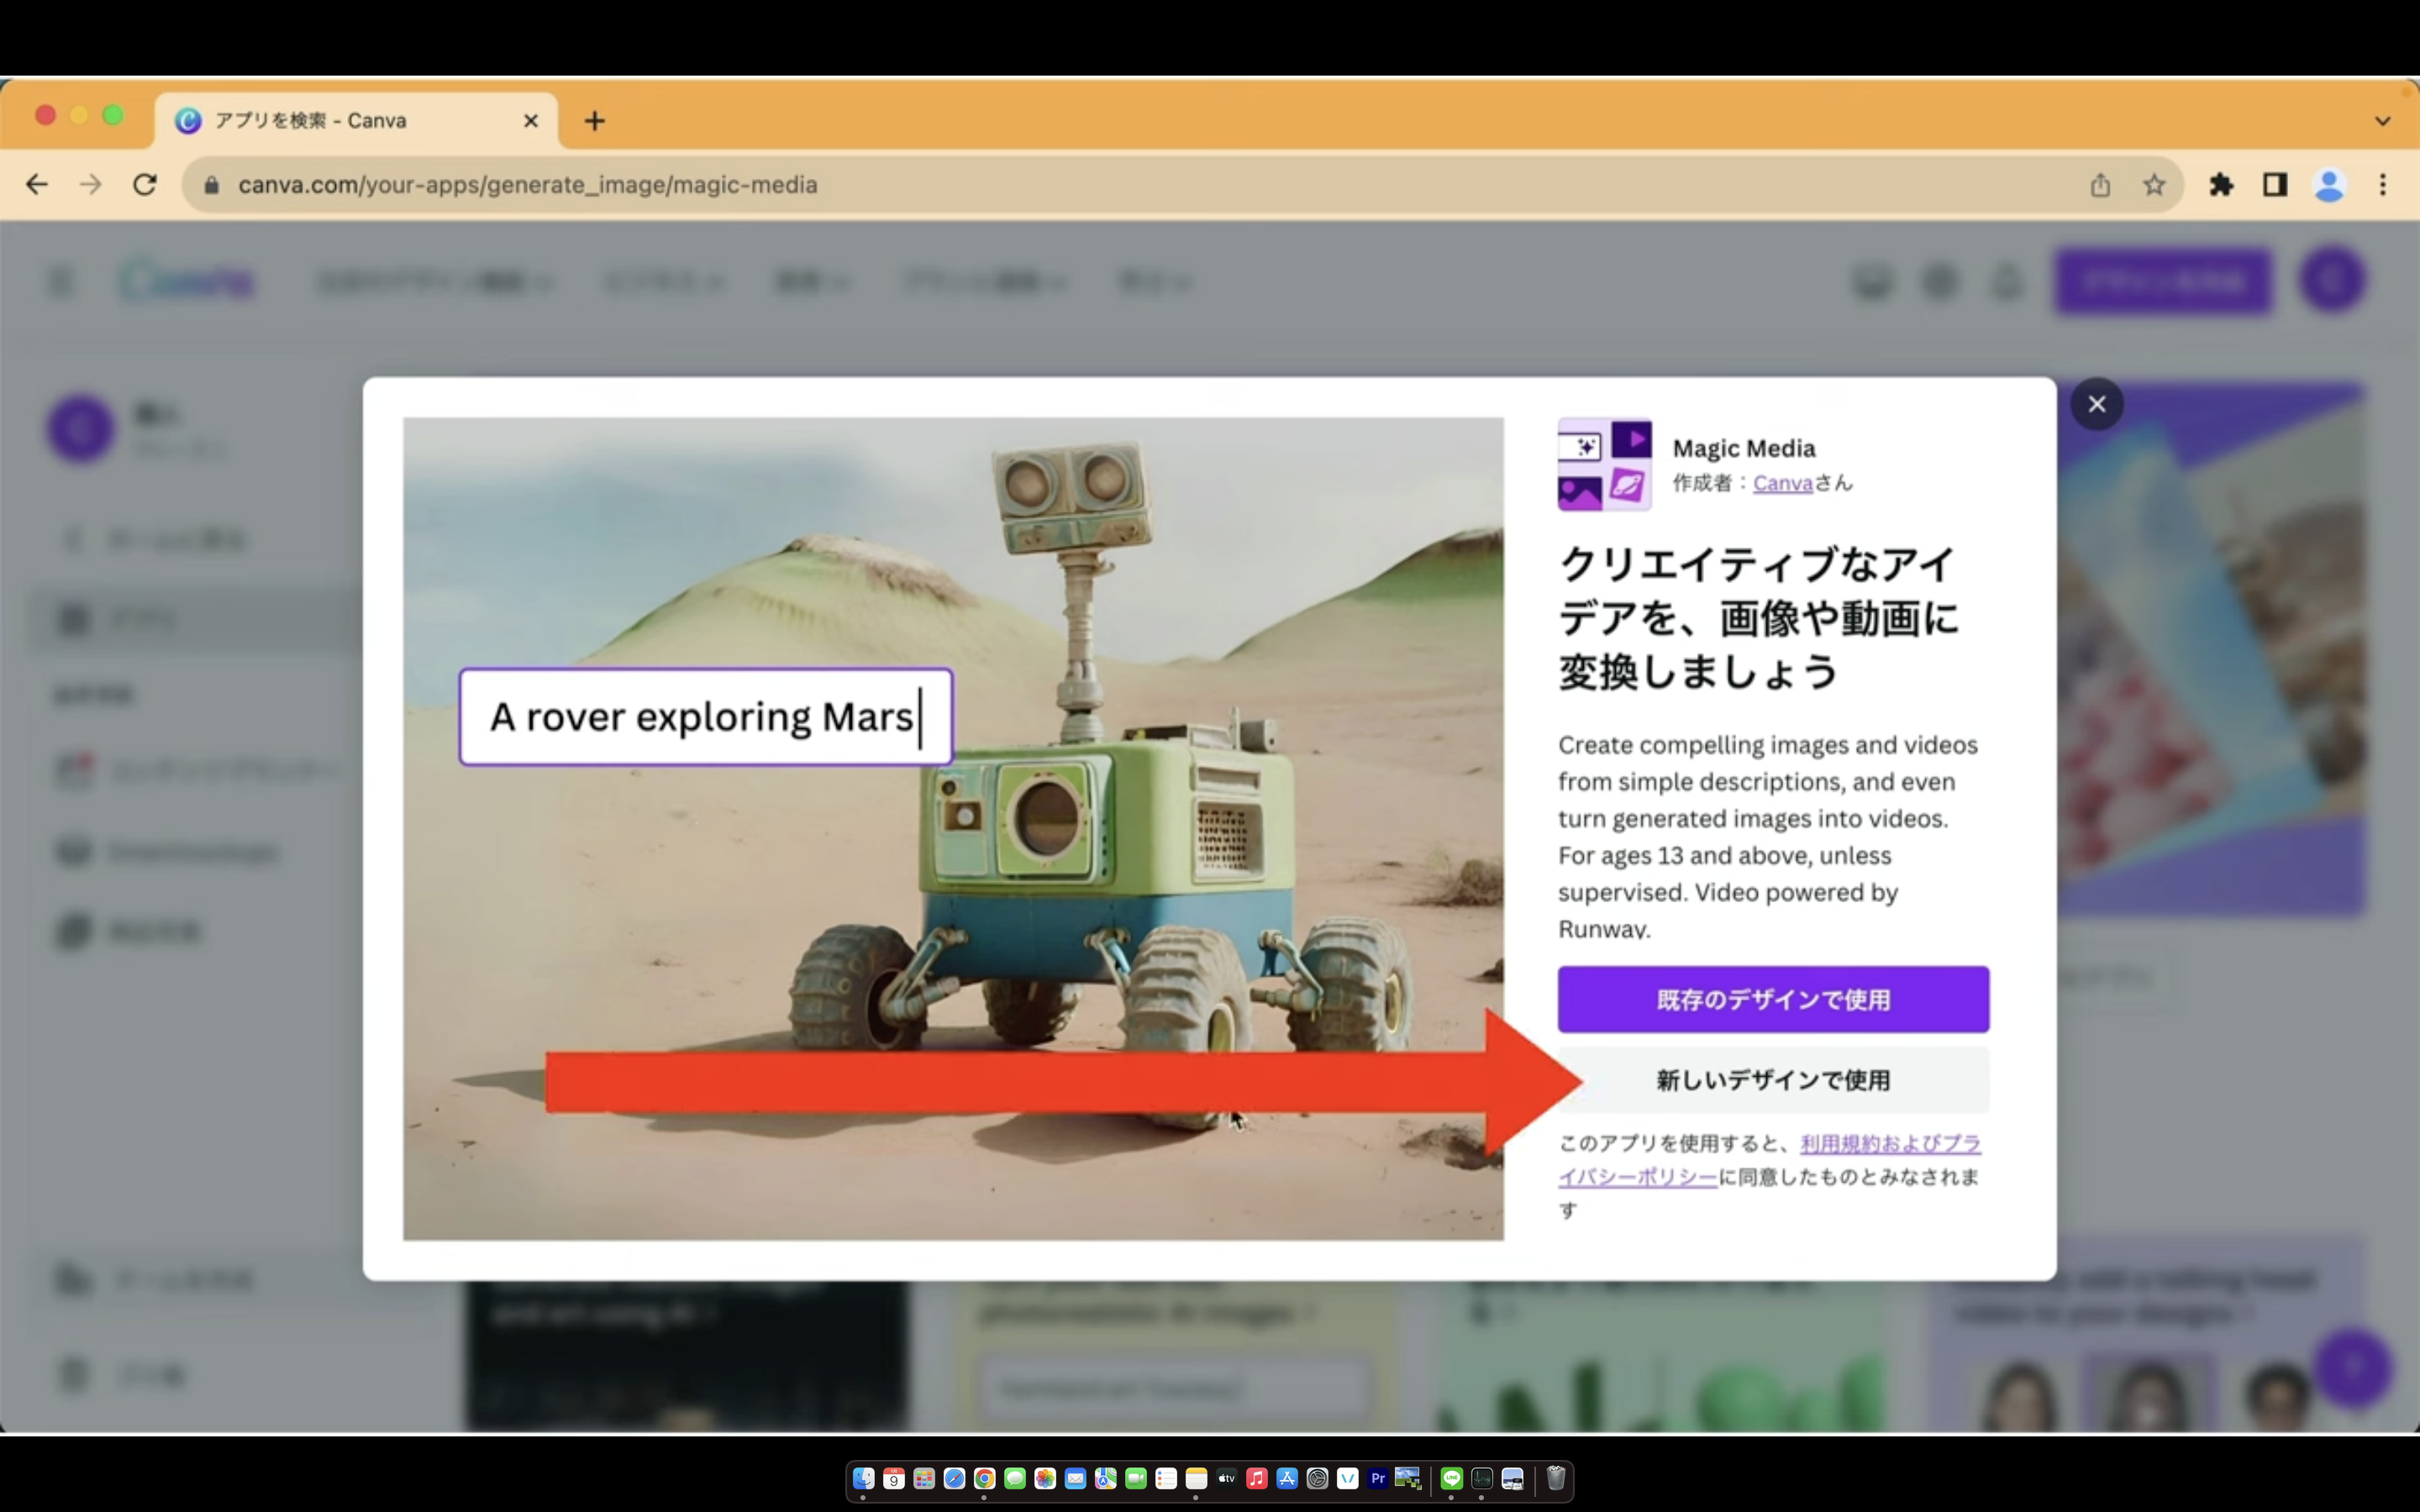
ポップアップ画面が表示されたら右下にある「新しいデザインで使用」と書かれているボタンをクリックします。
そうするとメニューが表示されるのでこの中から「動画」という項目を選択します。
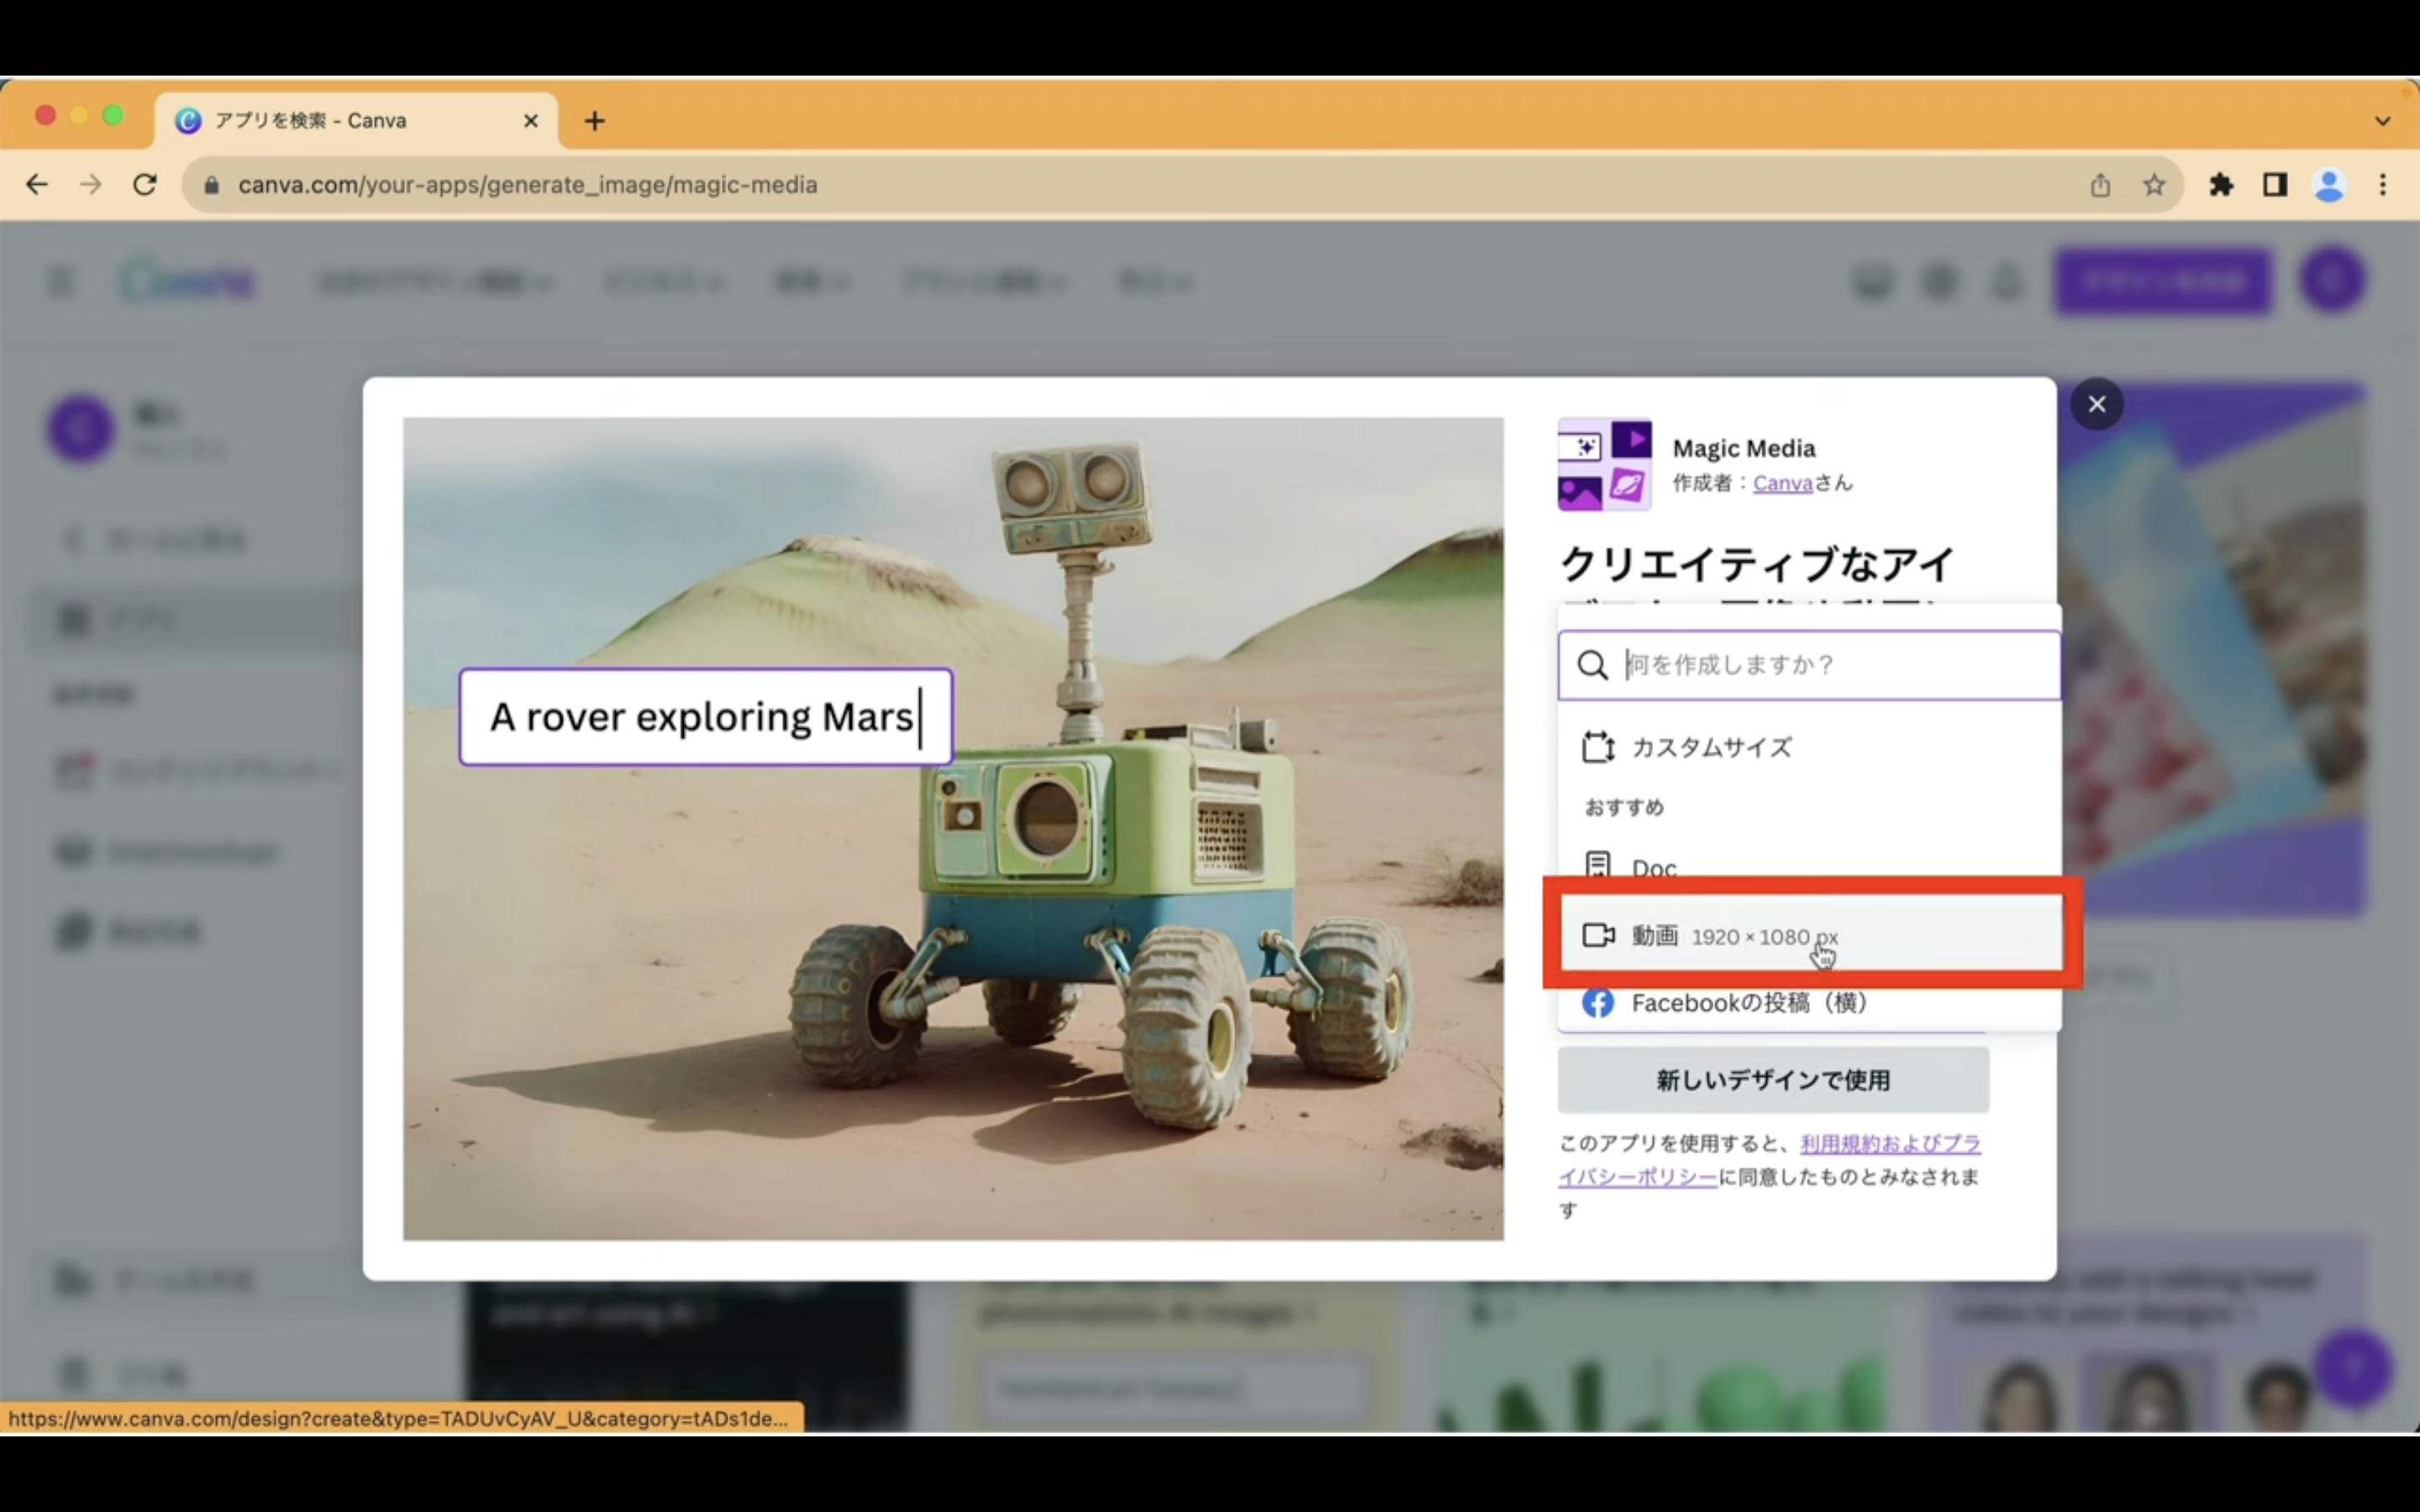
項目を選択したら動画の編集画面に移動します。
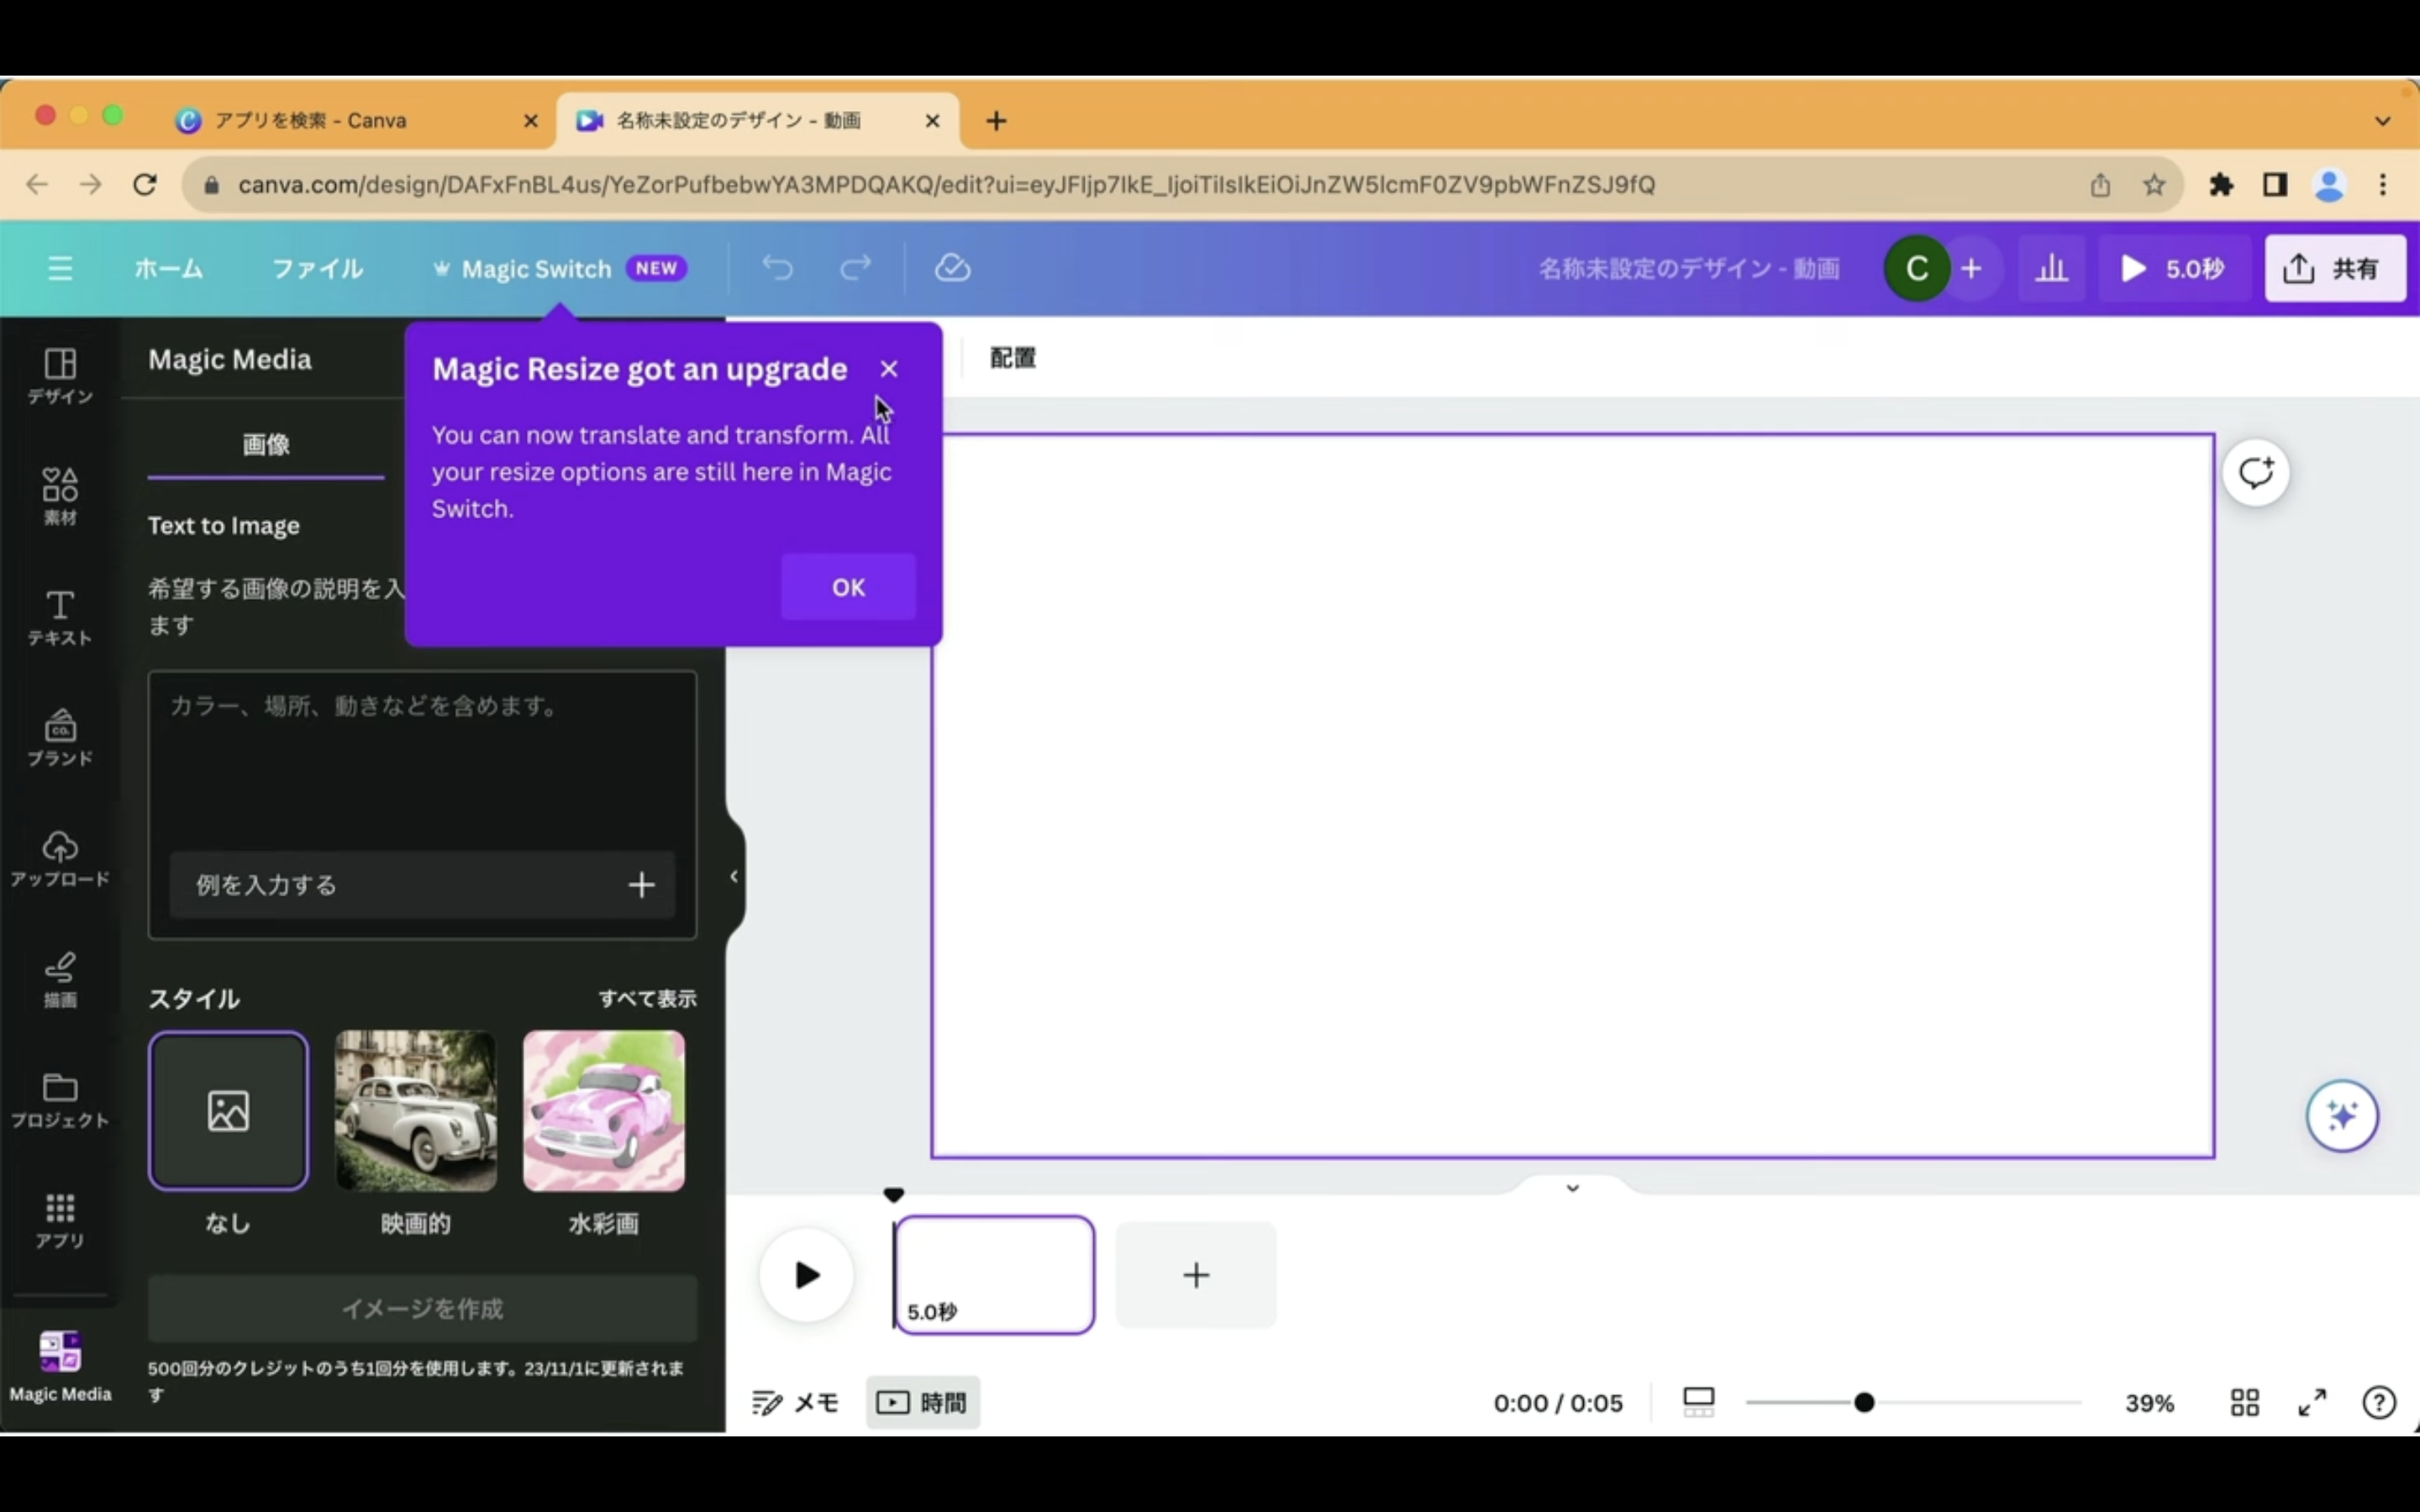
この画面が表示されたらタブの中から「動画」と書かれているテキストをクリックします。
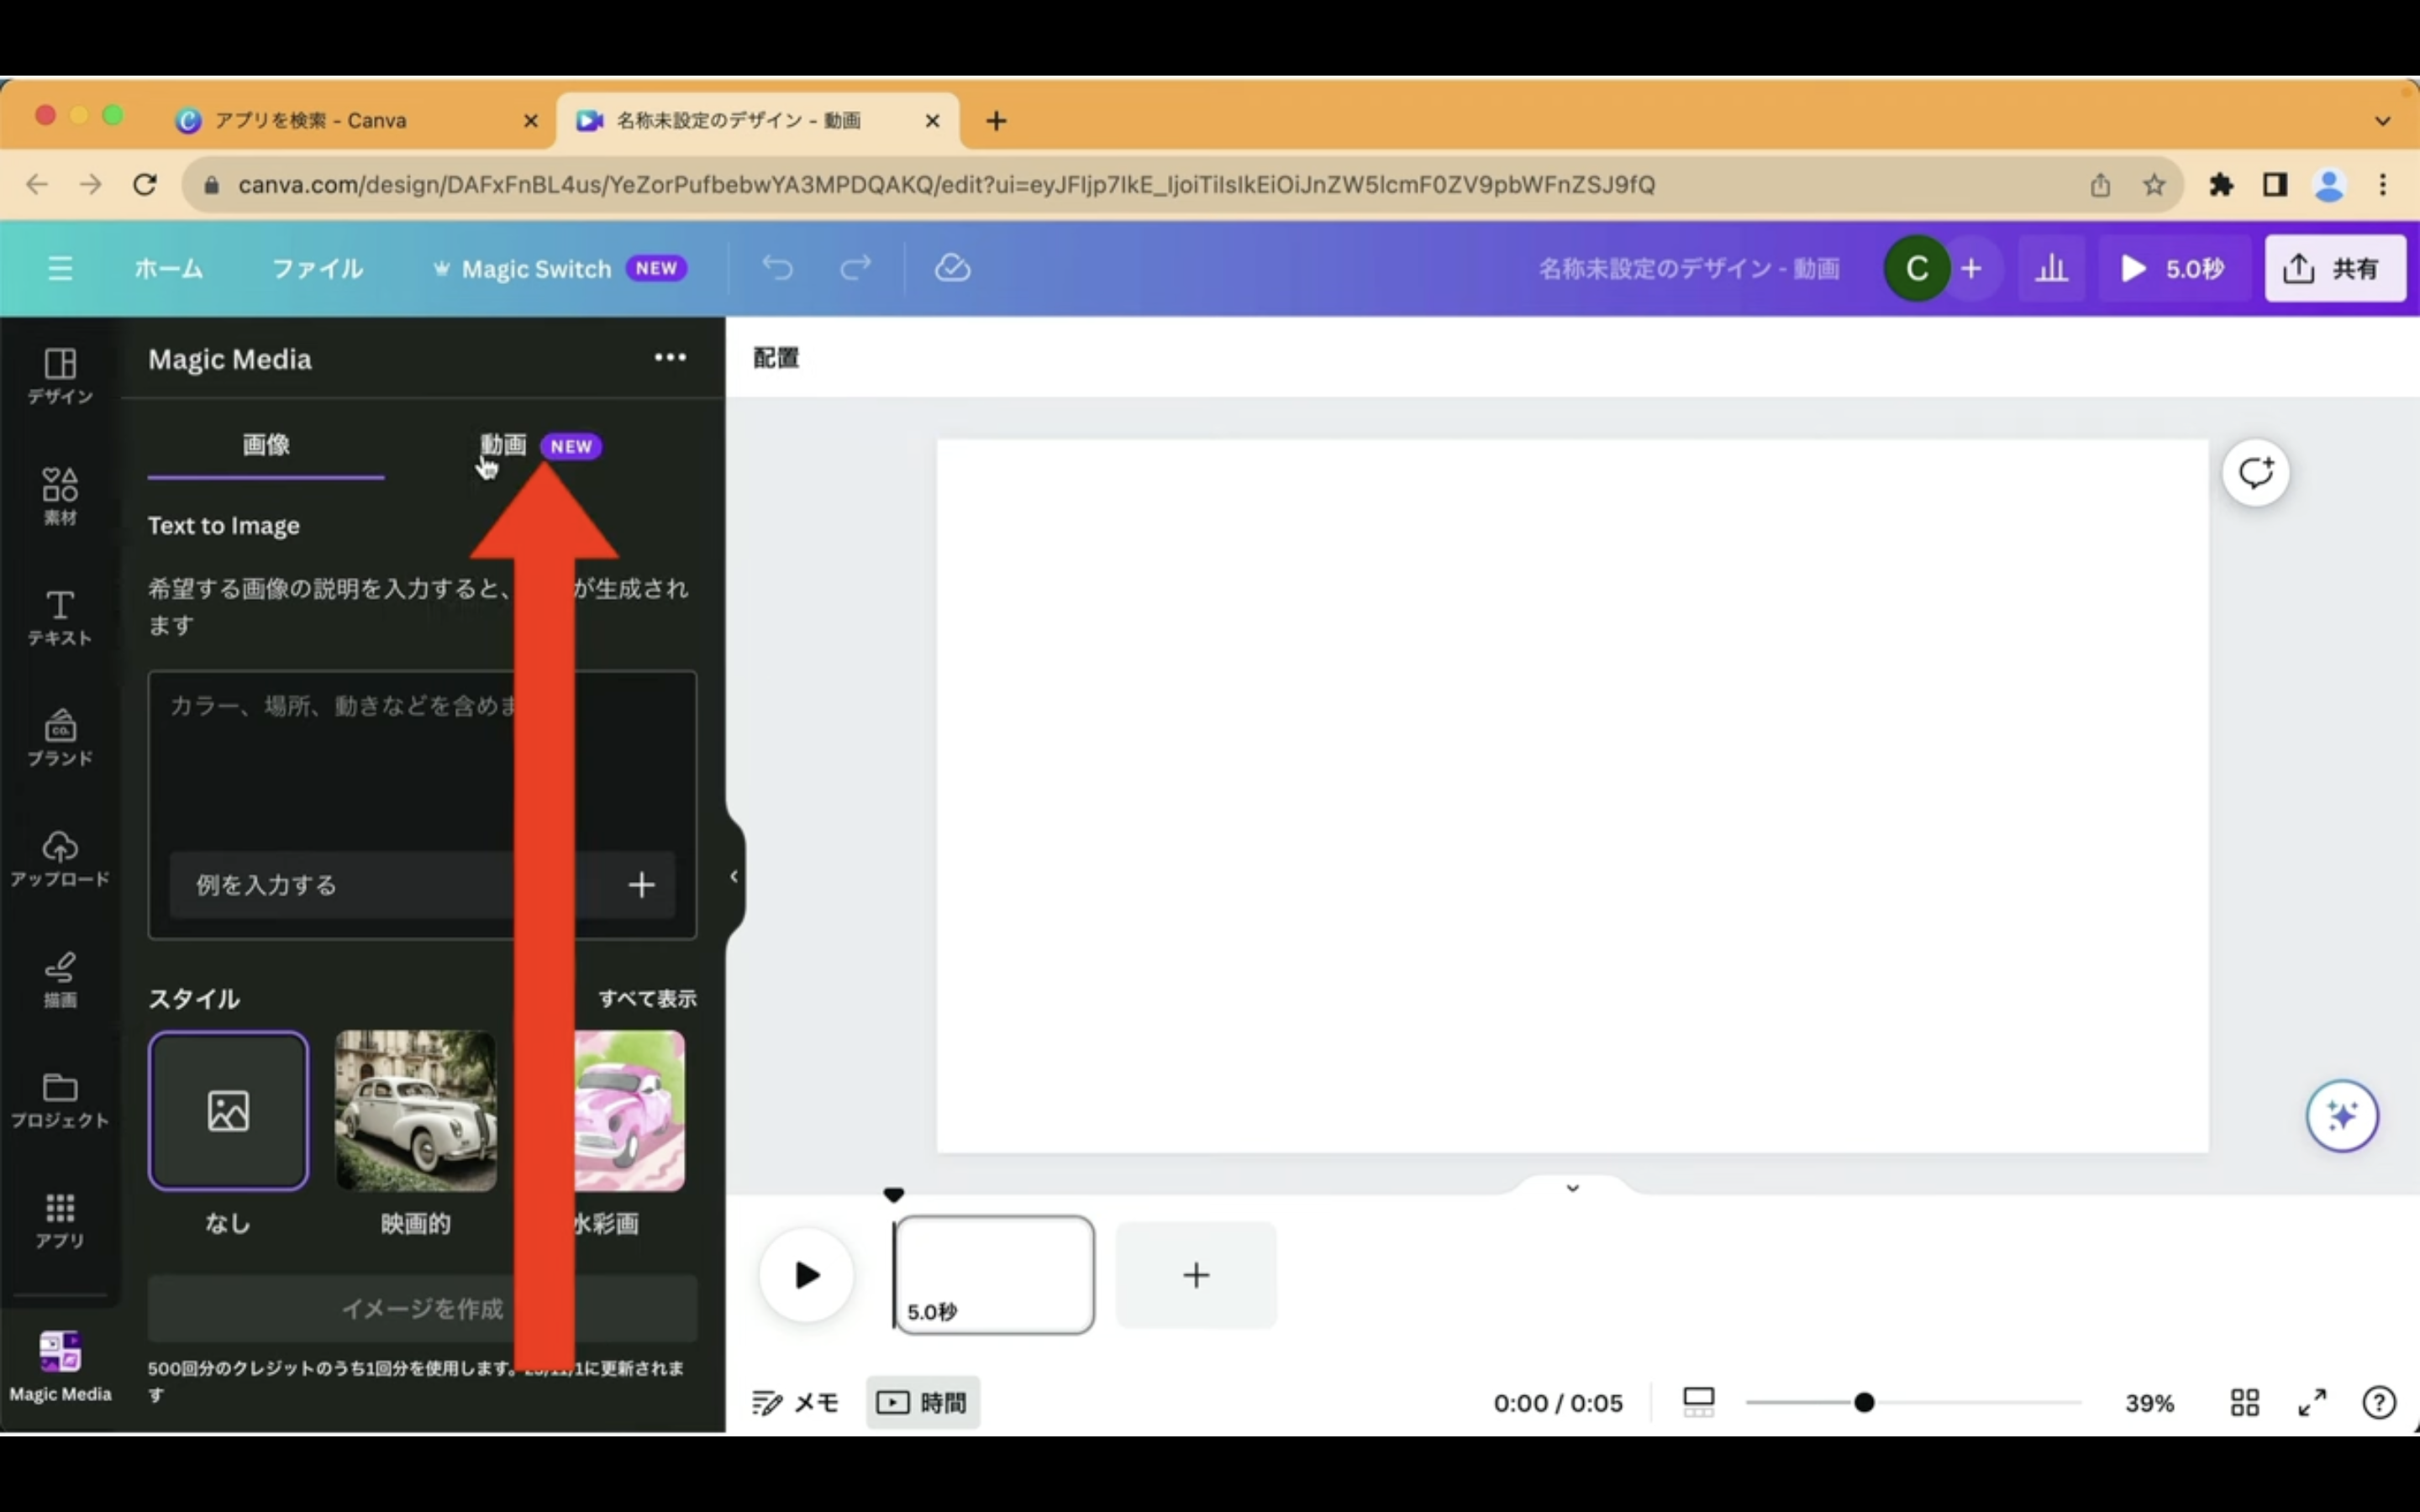
これでテキストから動画を生成するための準備が整いました。
それでは早速動画を生成していきましょう。
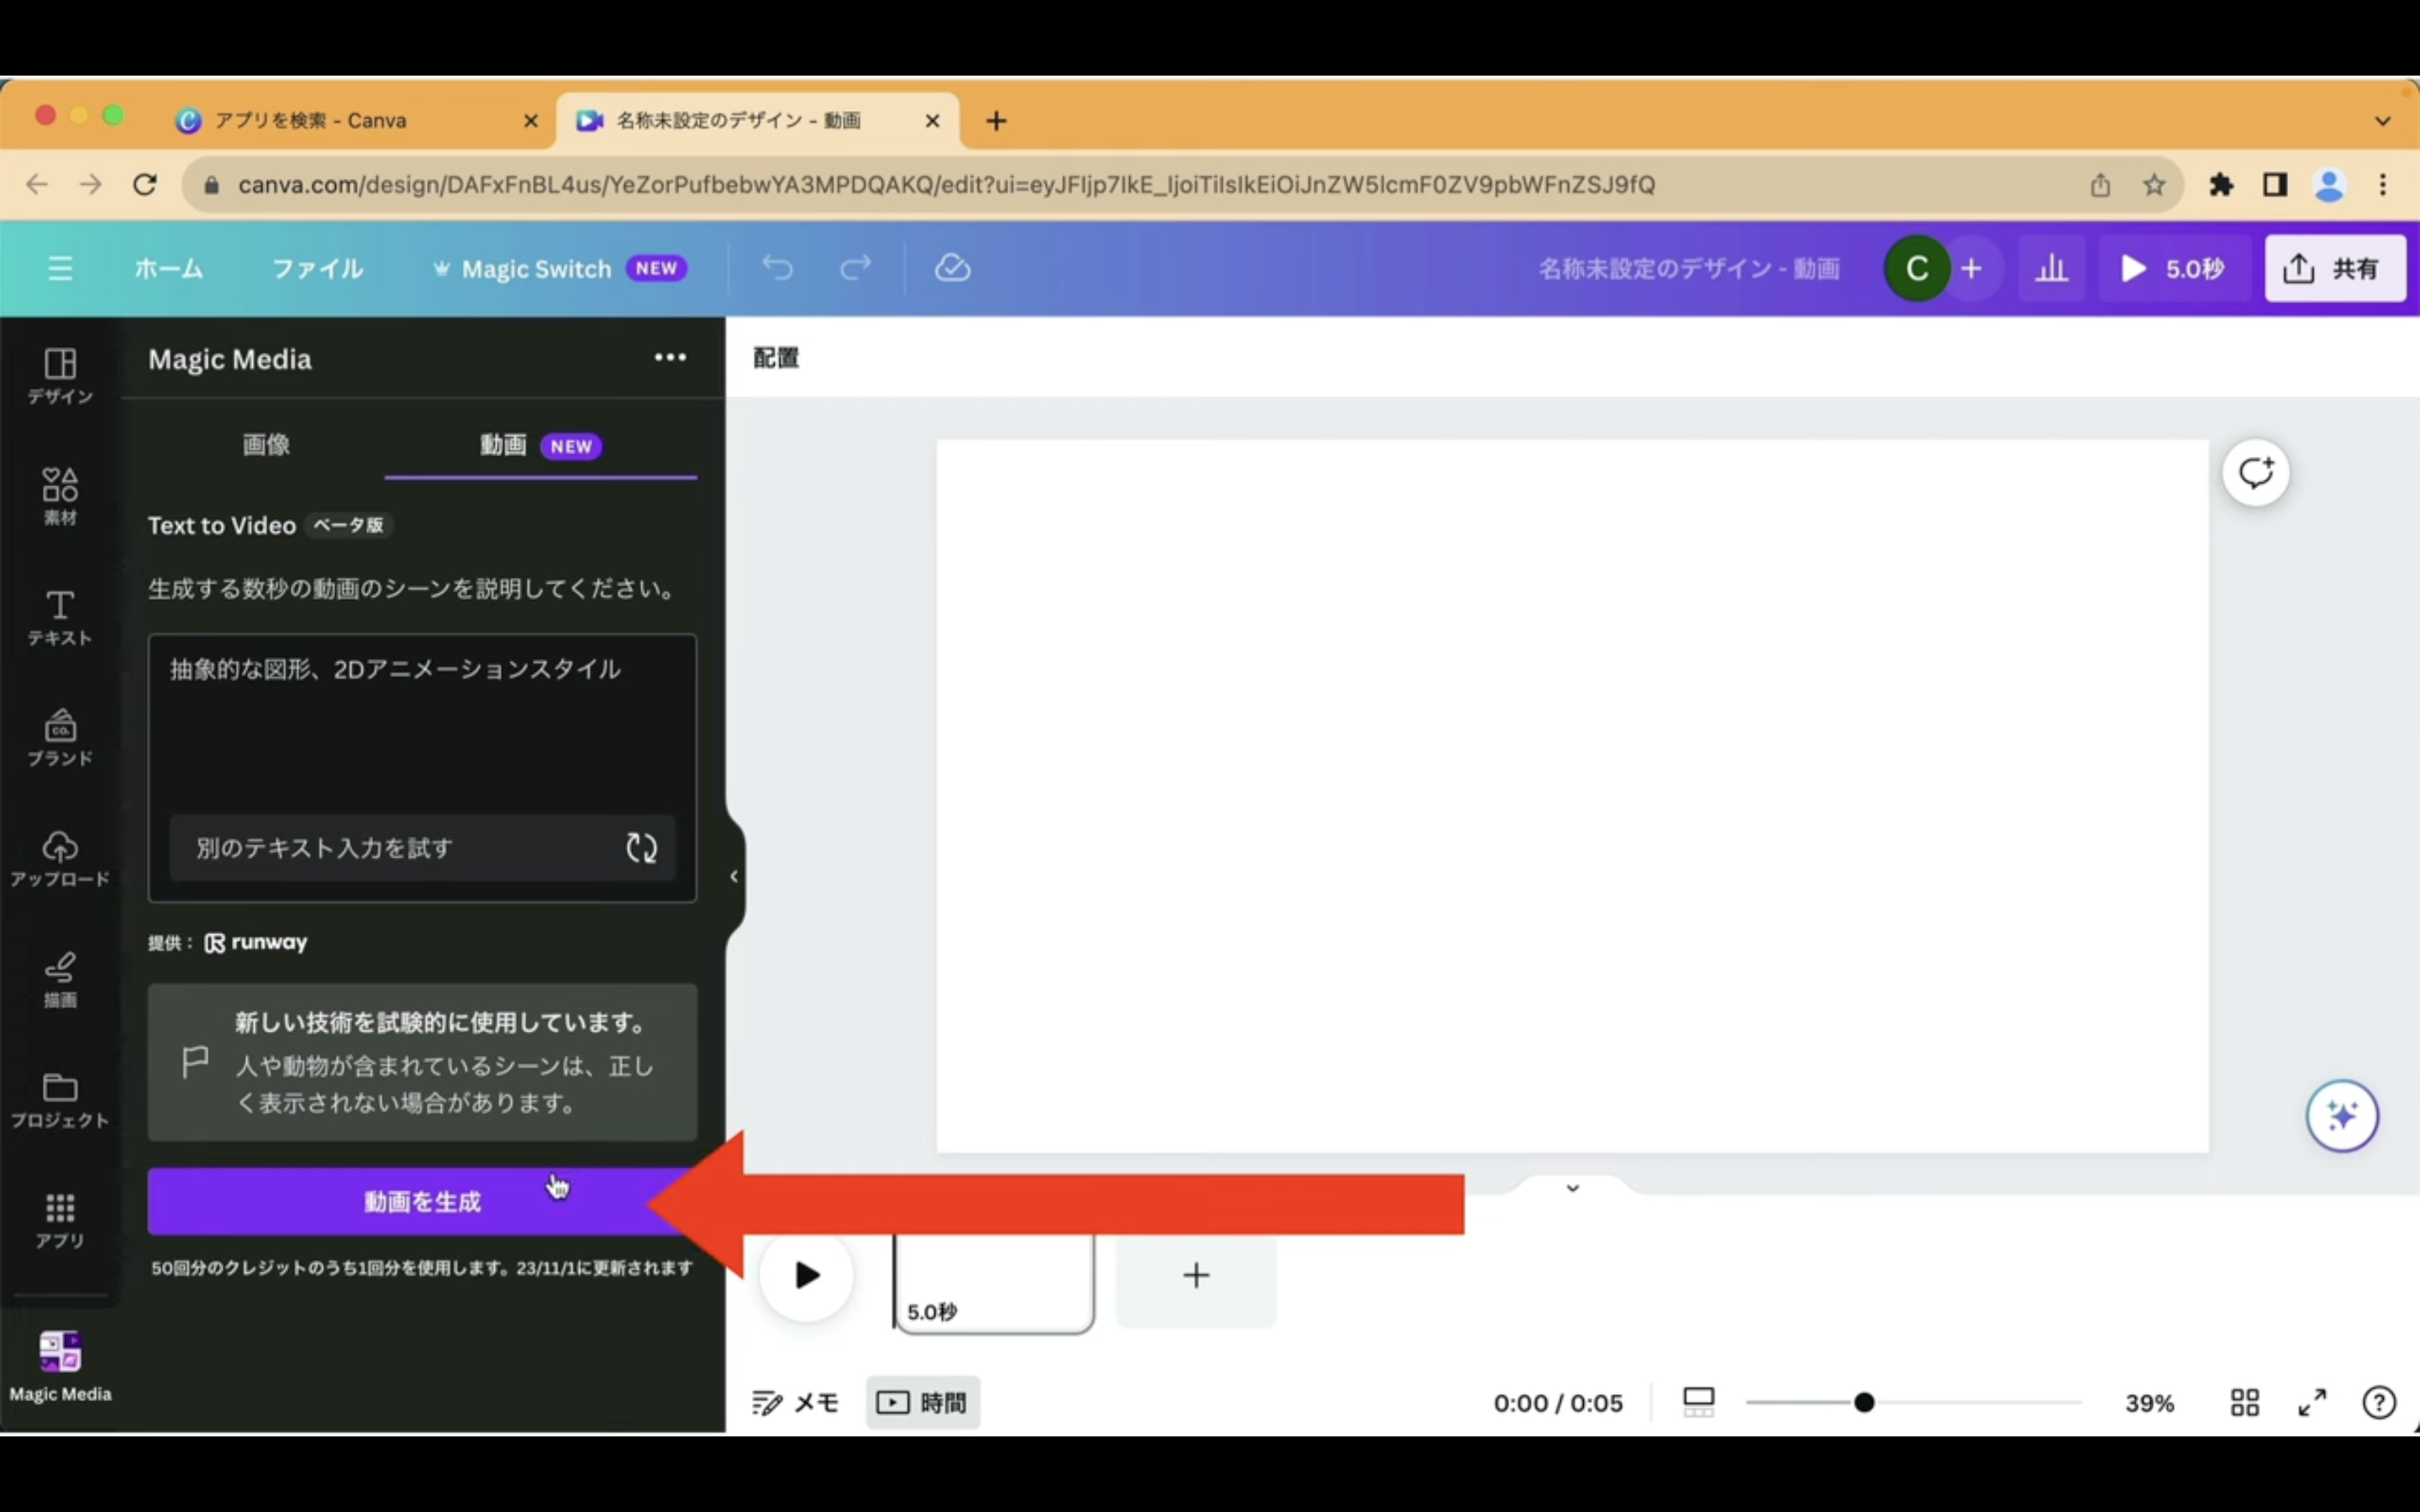
まずはあらかじめサンプルのテキストが用意されているのでそれを利用してみます。
「例を入力する」と書かれているボタンをクリックします。
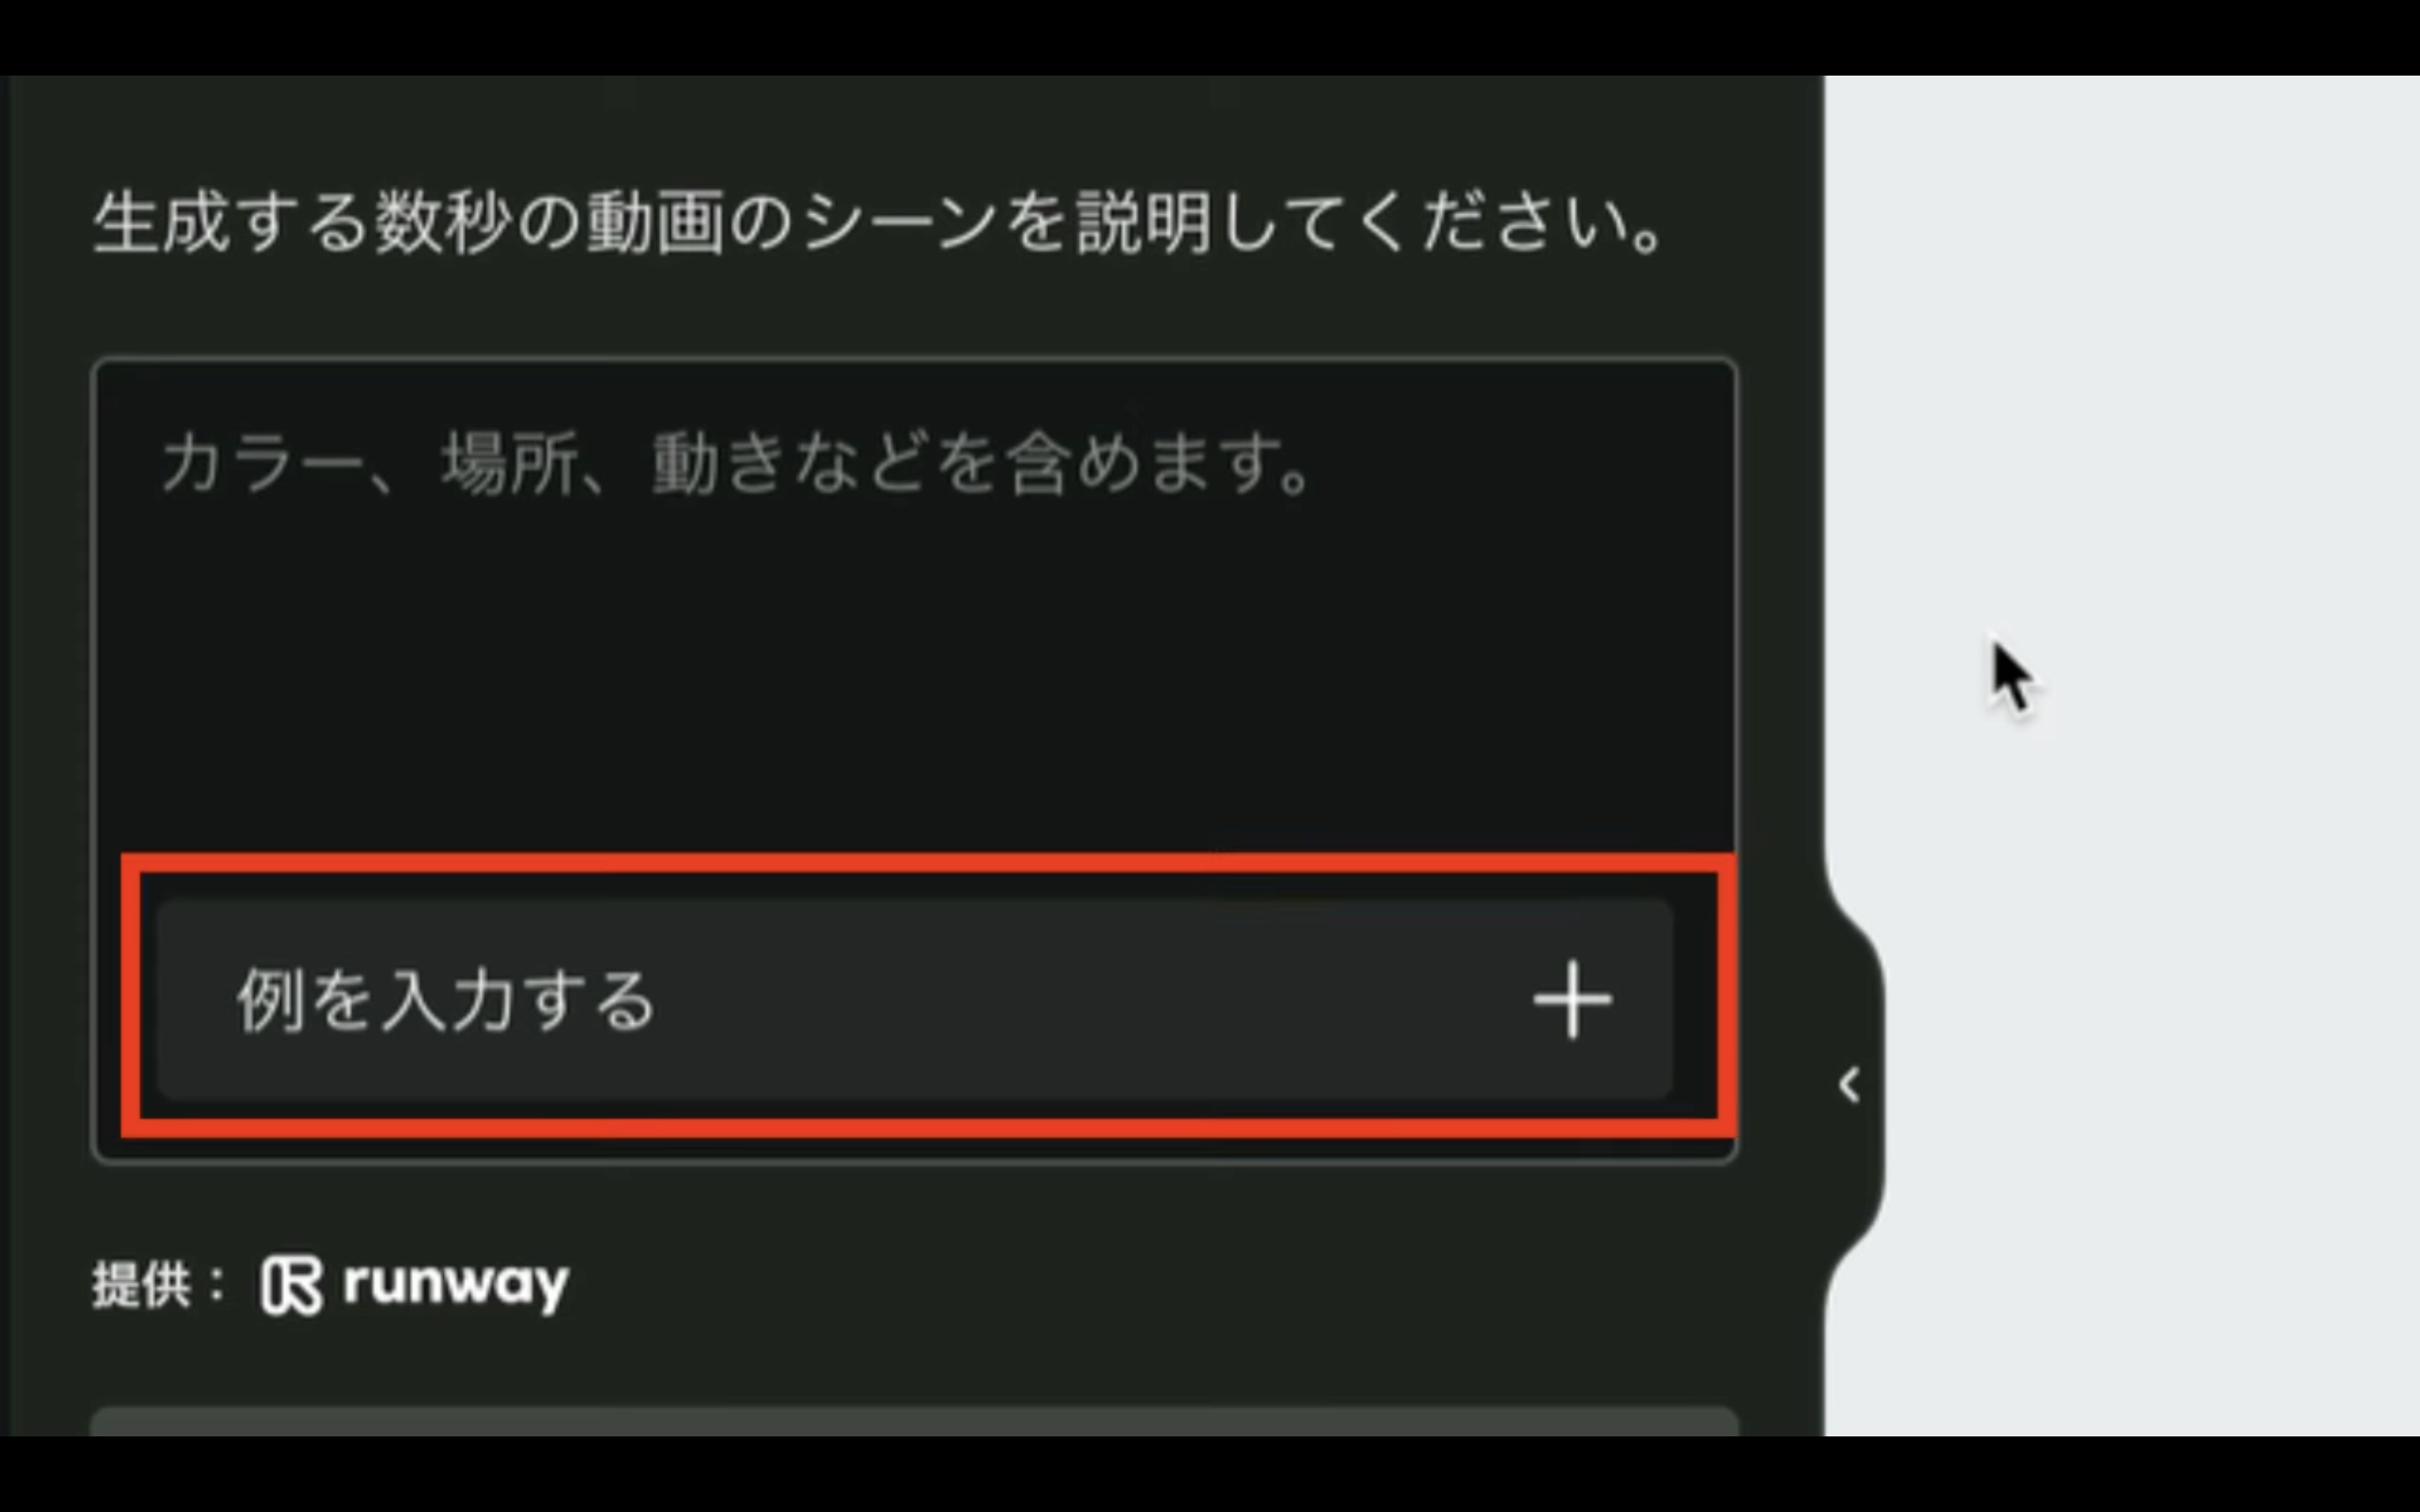
そうするとテキストボックスに動画を生成するためのサンプルテキストが自動的に指定されます。
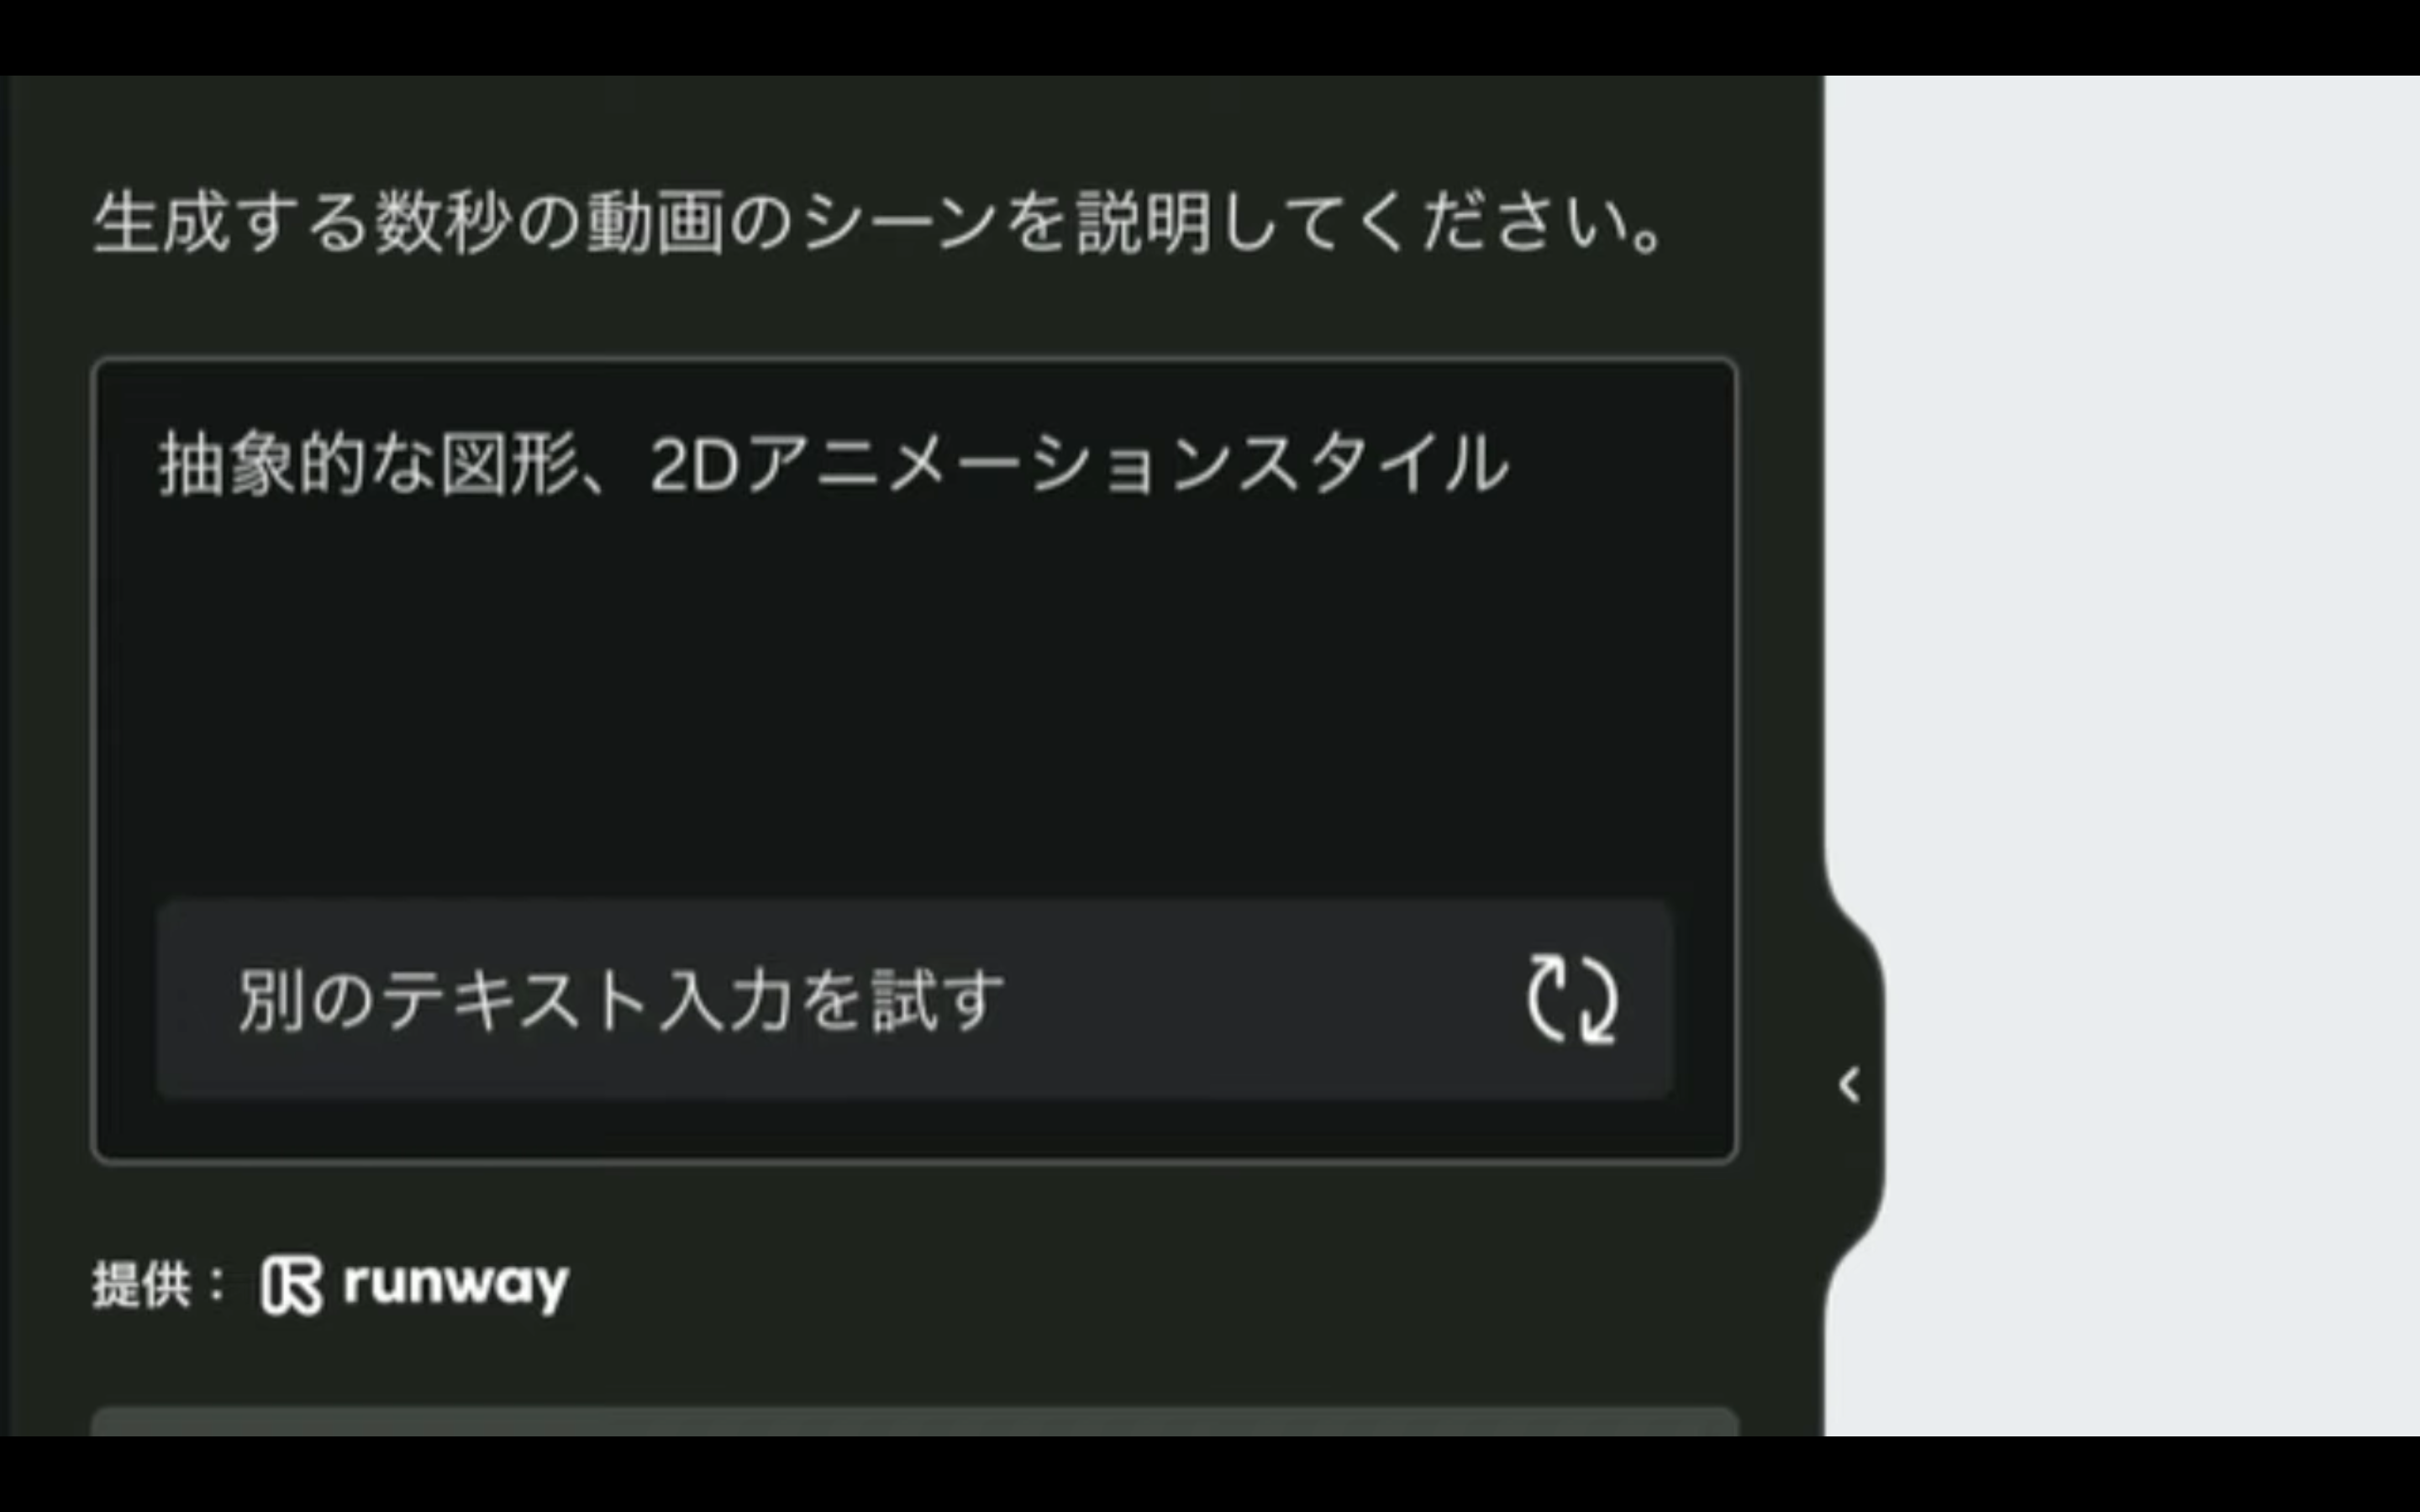
それではこのテキストで指定している動画を生成してみましょう。
「動画を生成」と書かれているボタンをクリックします。
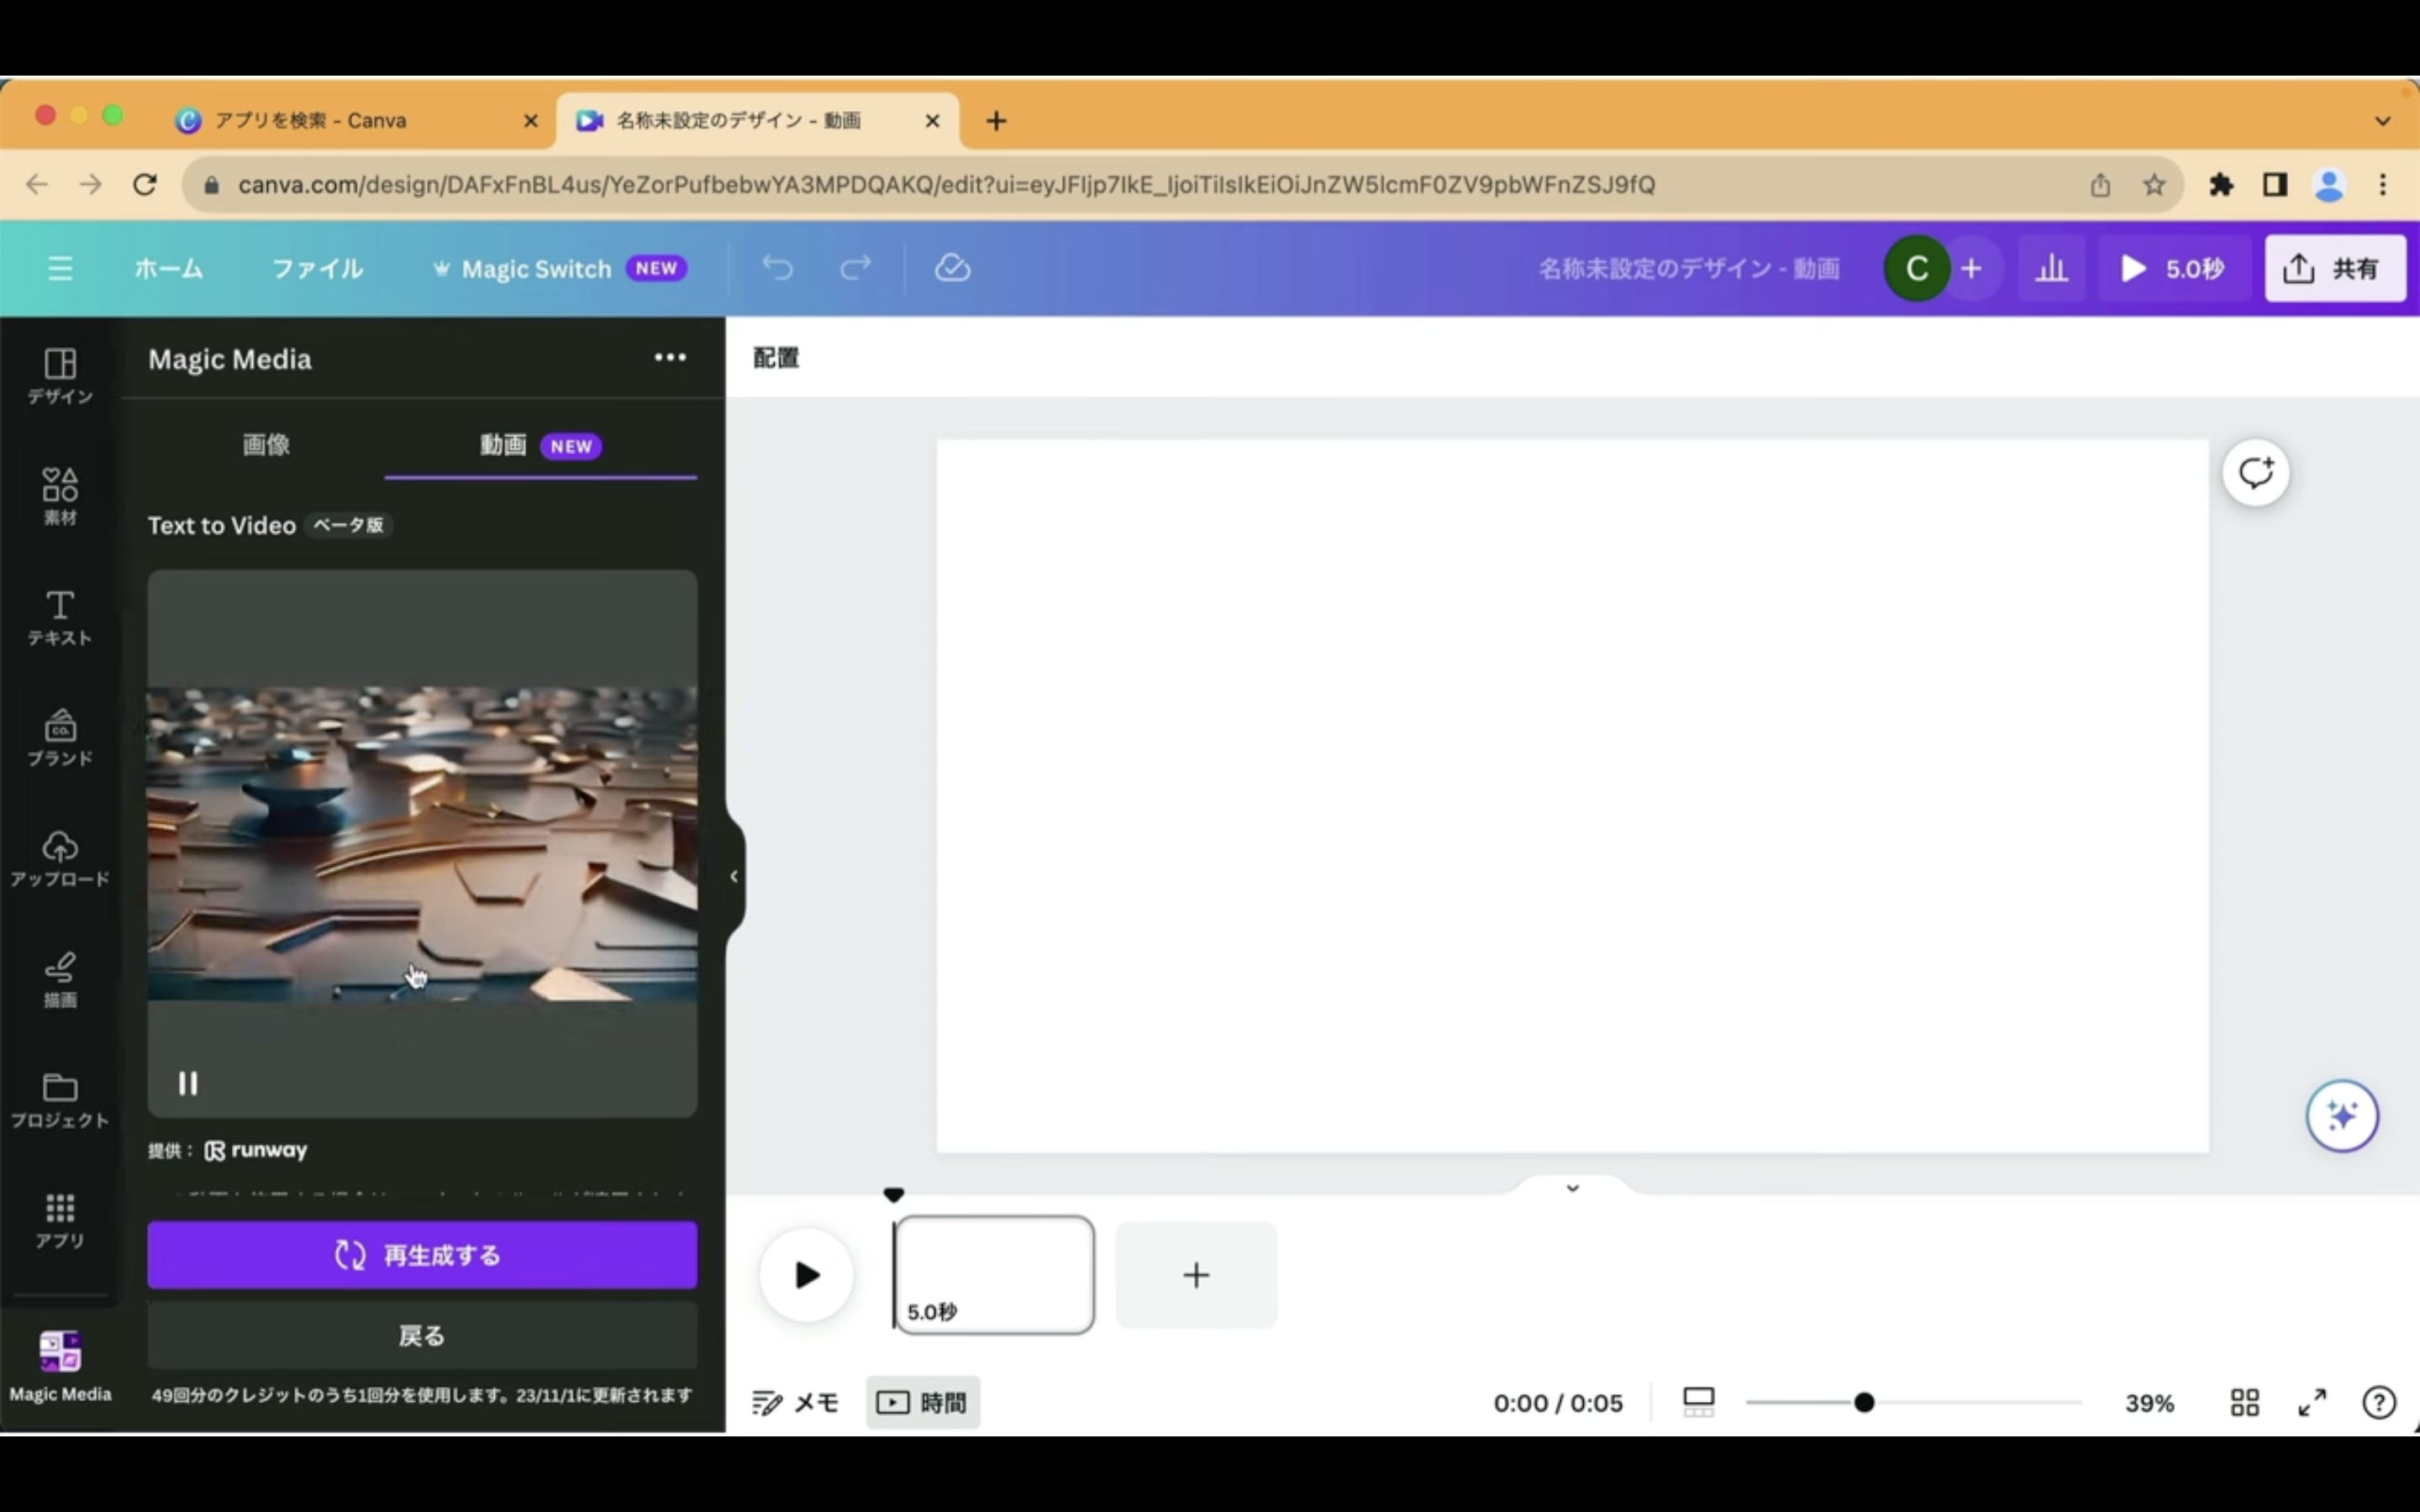
動画が生成されるまでしばらく待ちます。
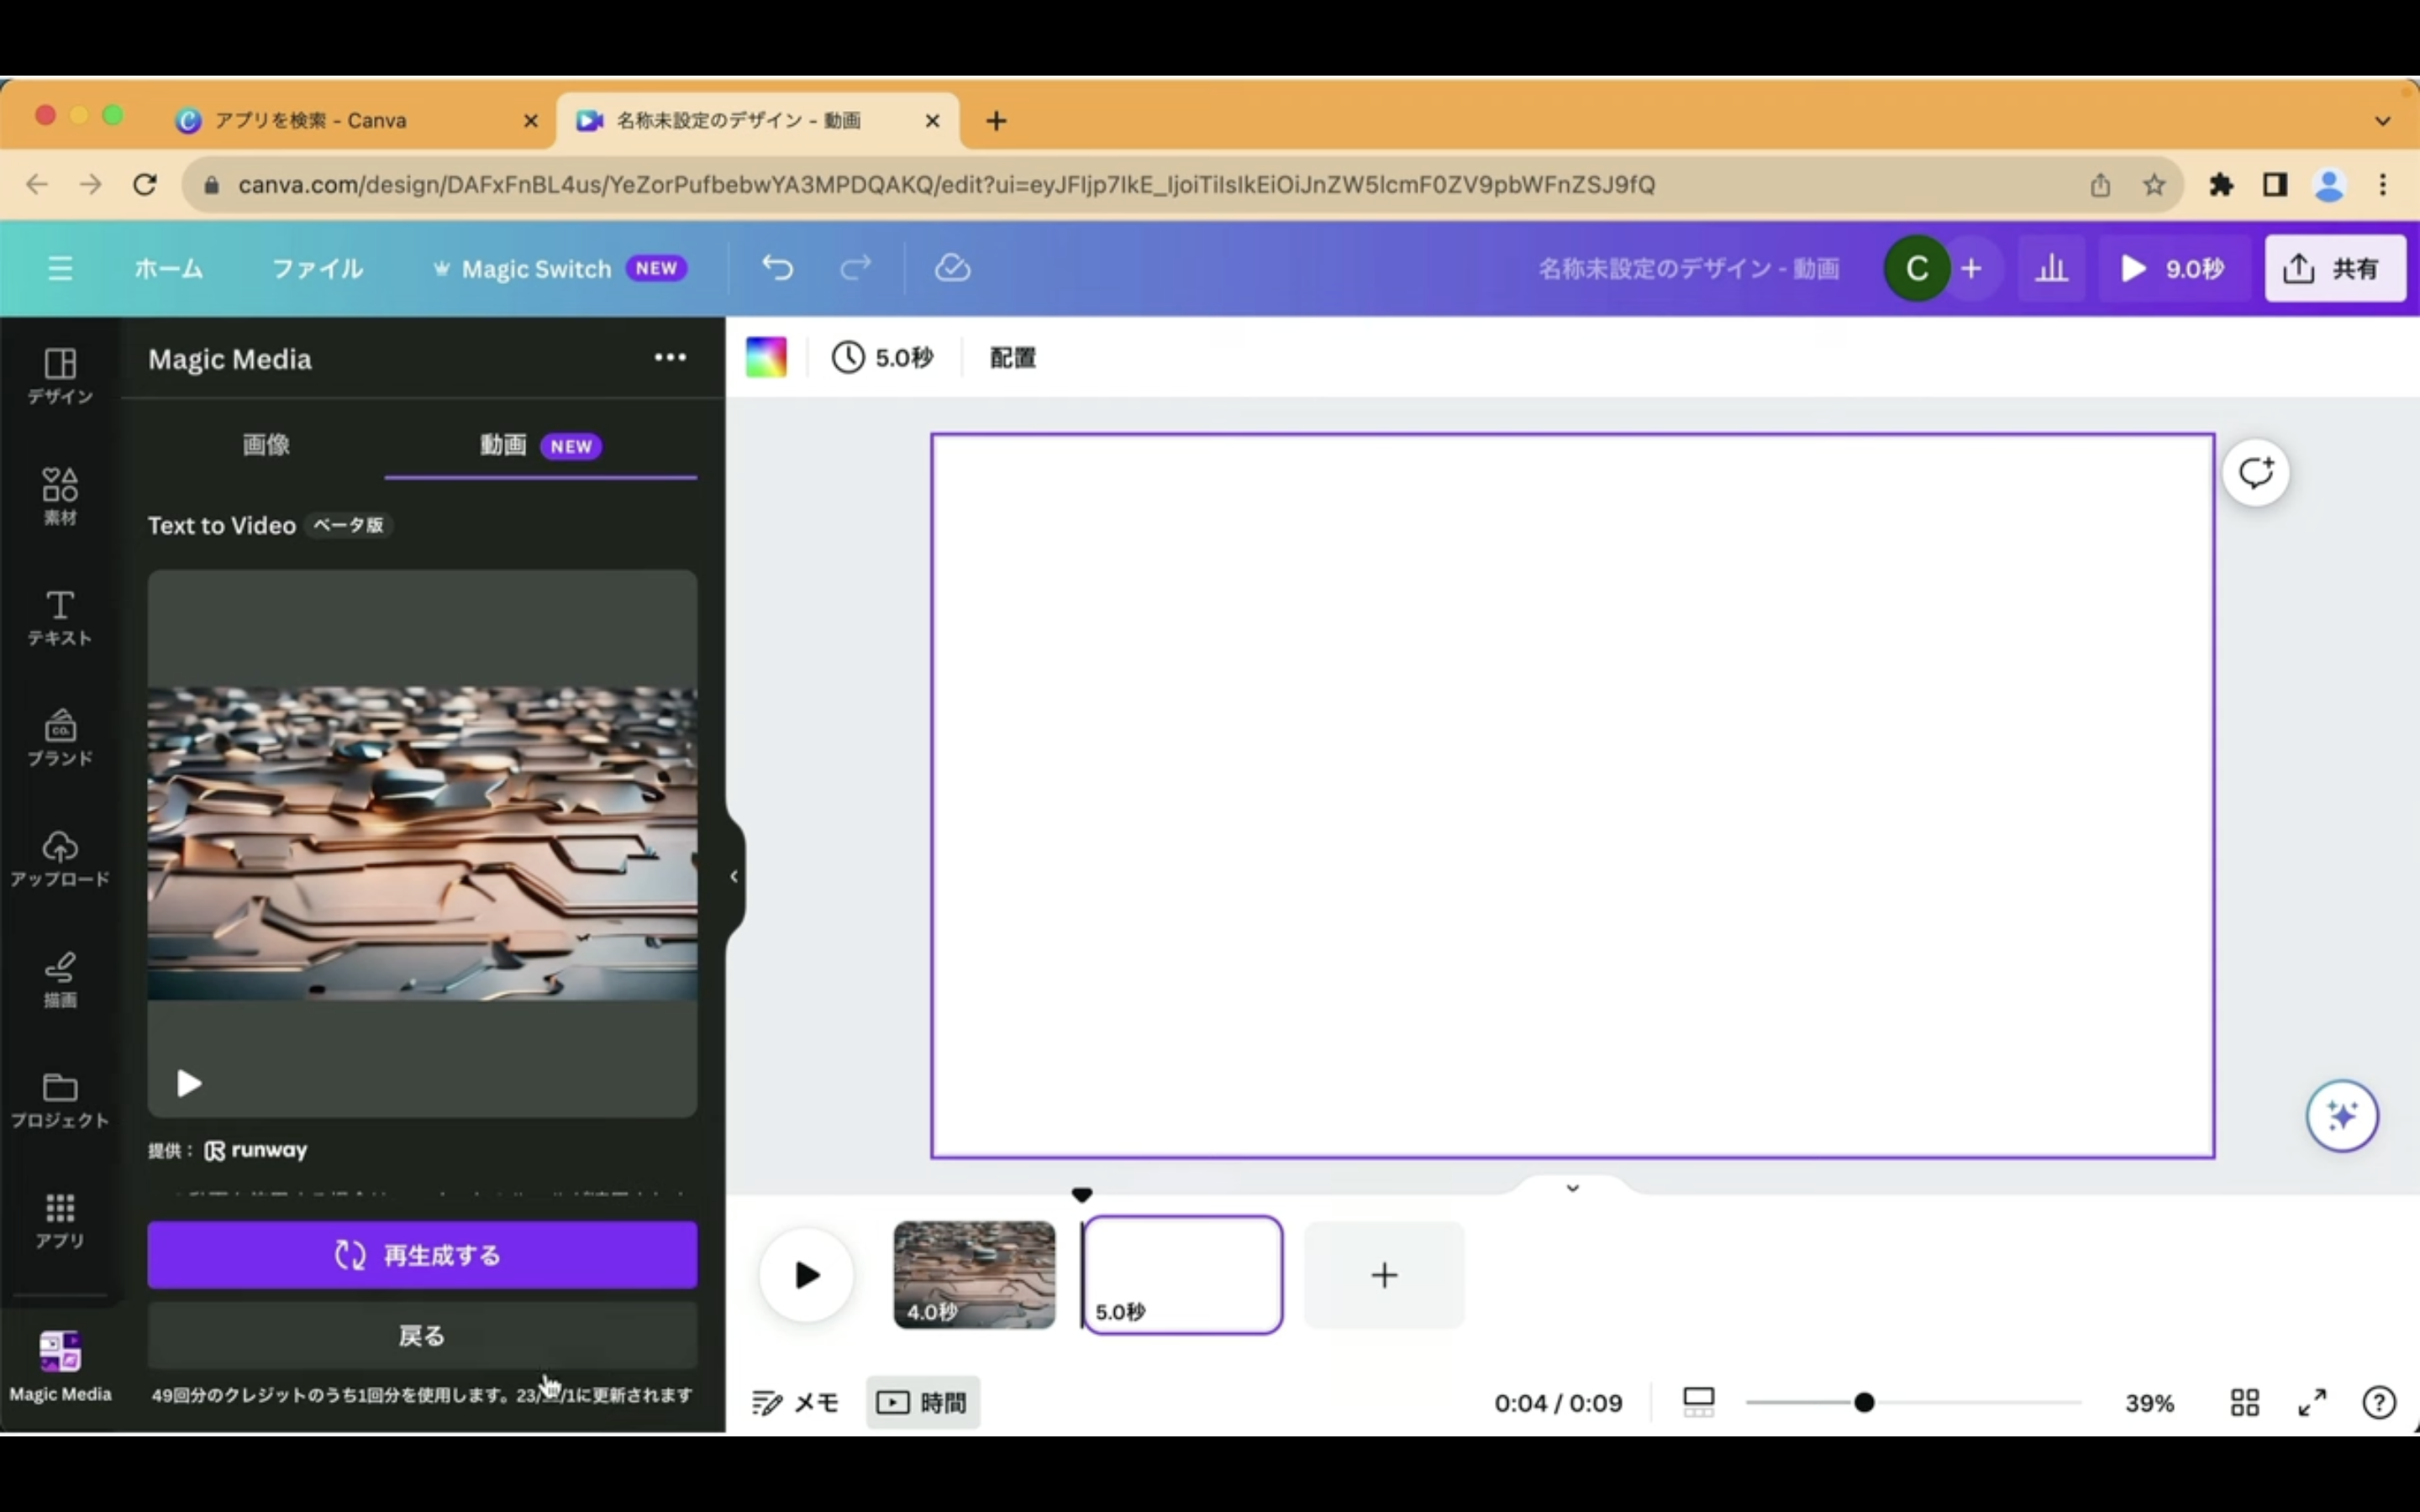
しばらく待っていると動画が生成されました。

指定した通り抽象的な図形の2Dアニメーションの動画になっています。
この動画をクリックすると右側の編集画面に追加されます。
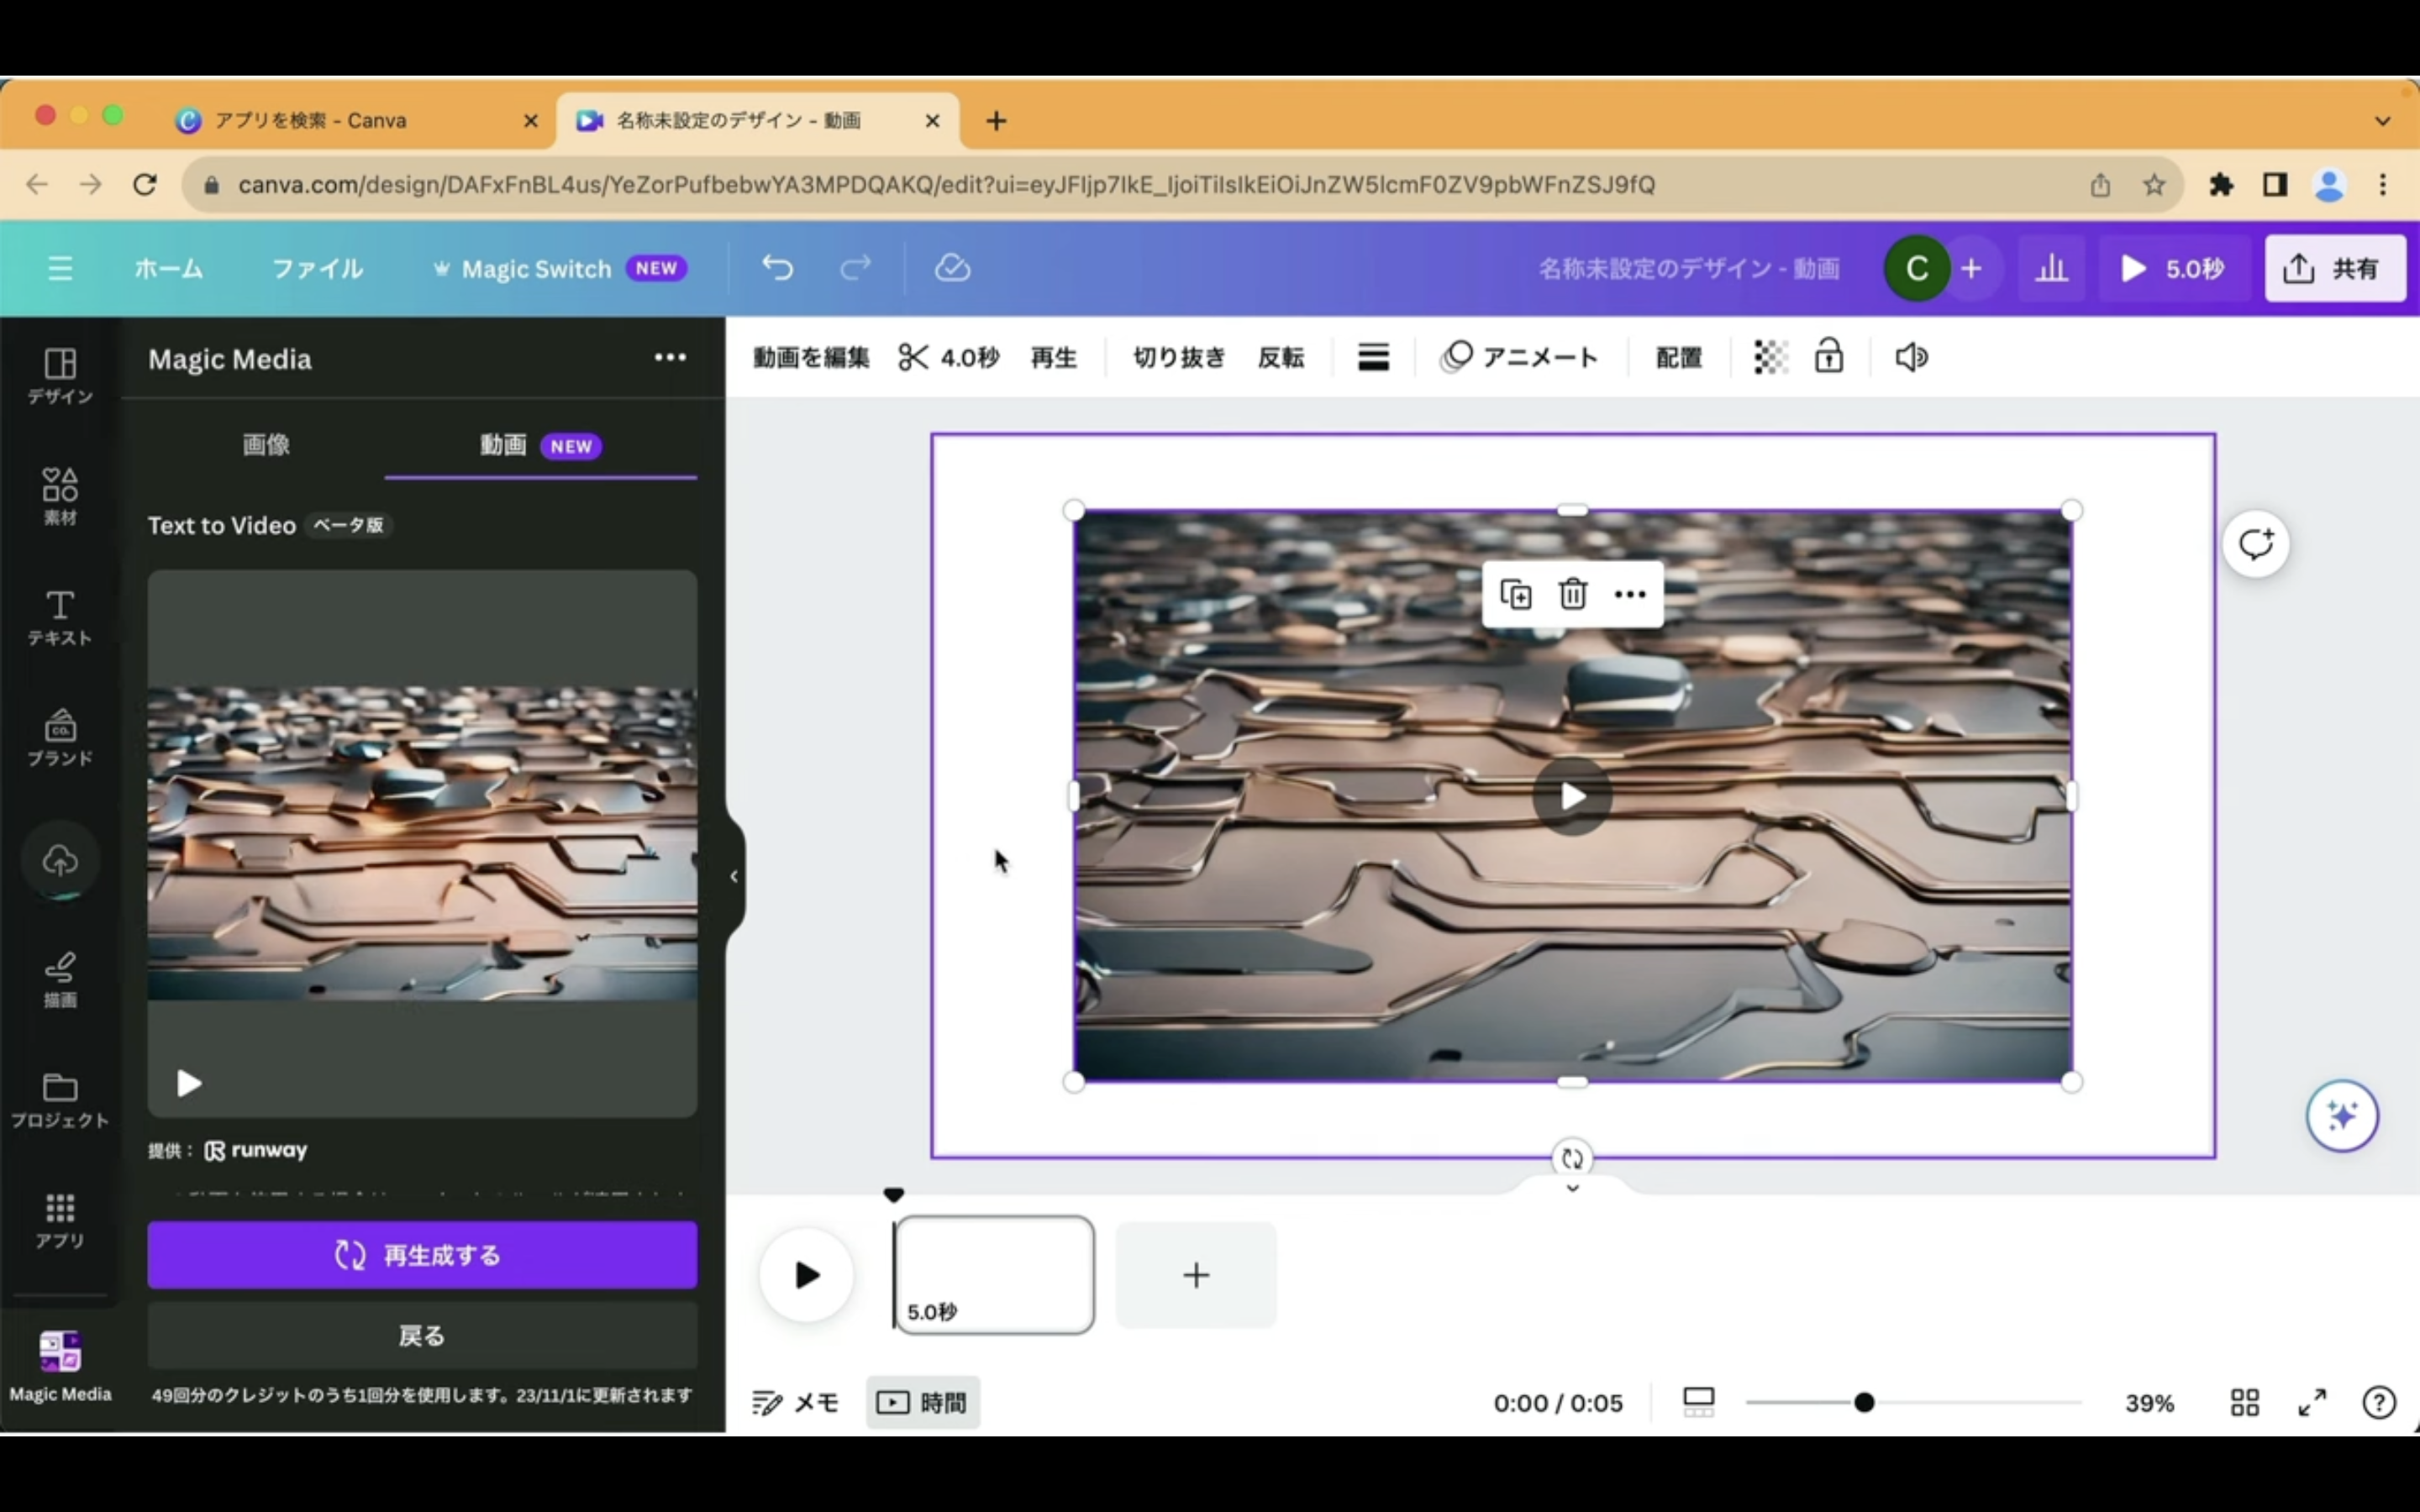
それでは画面いっぱいにこの動画を指定しておきましょう。
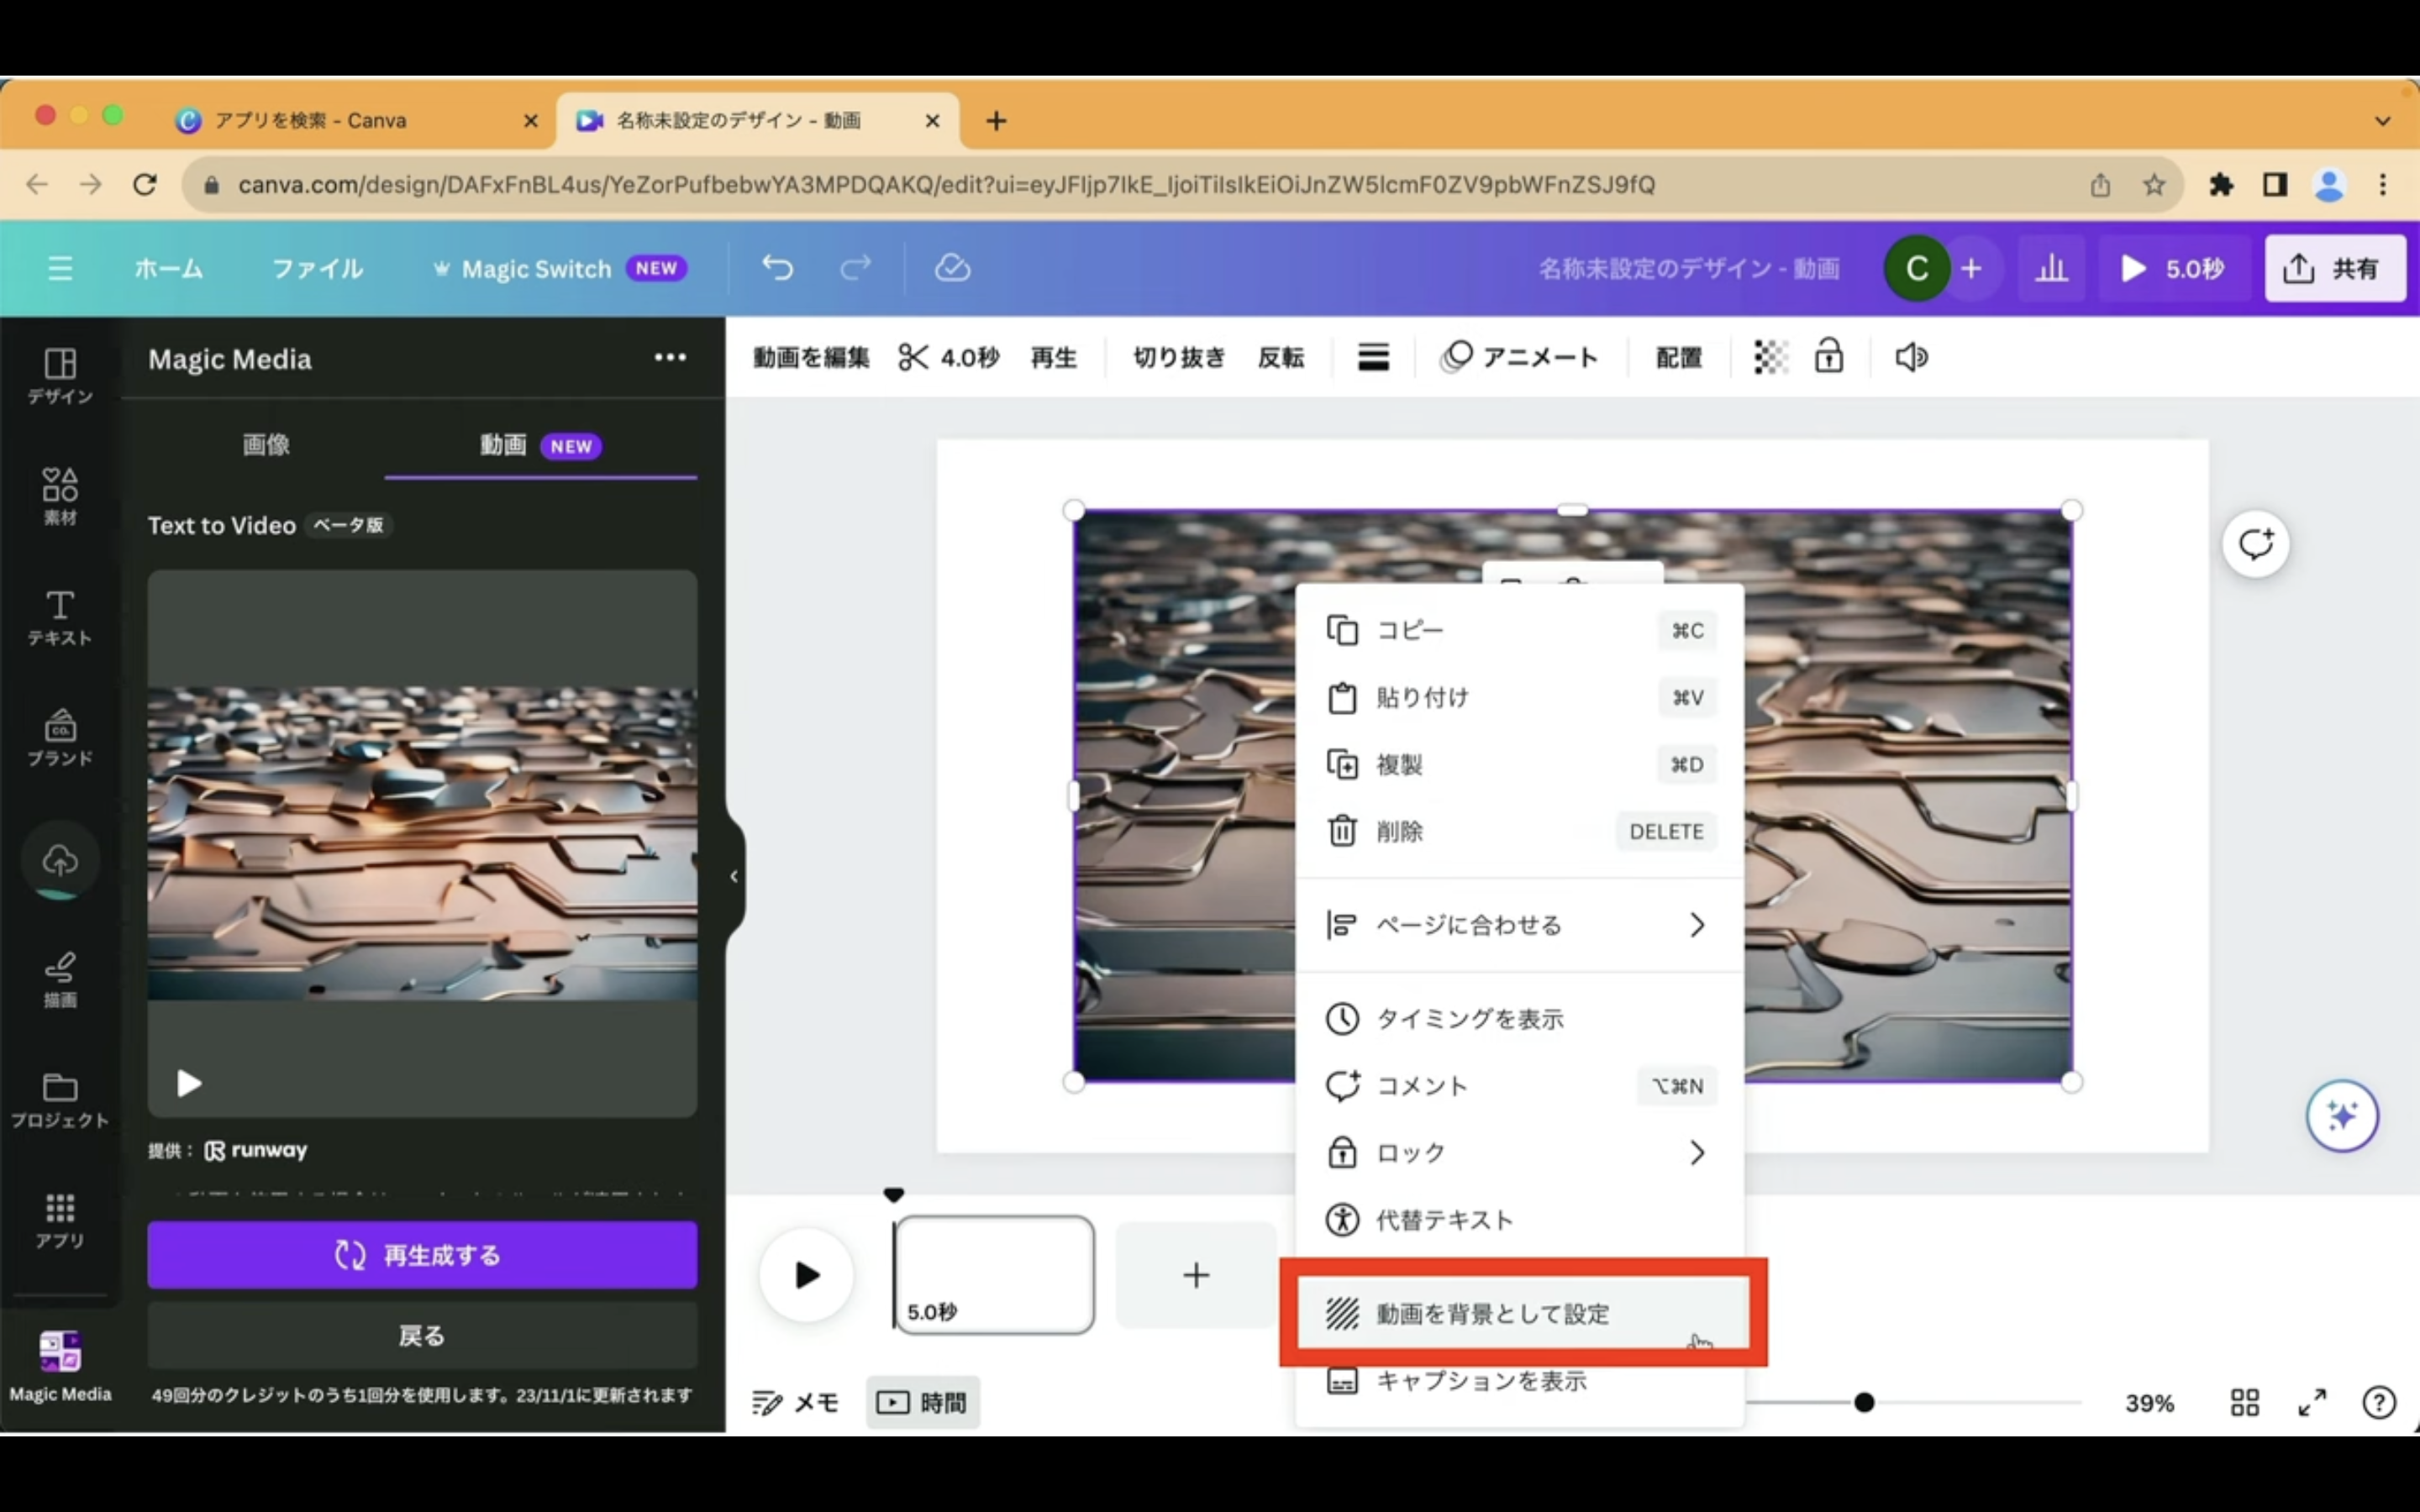
動画を右クリックします。
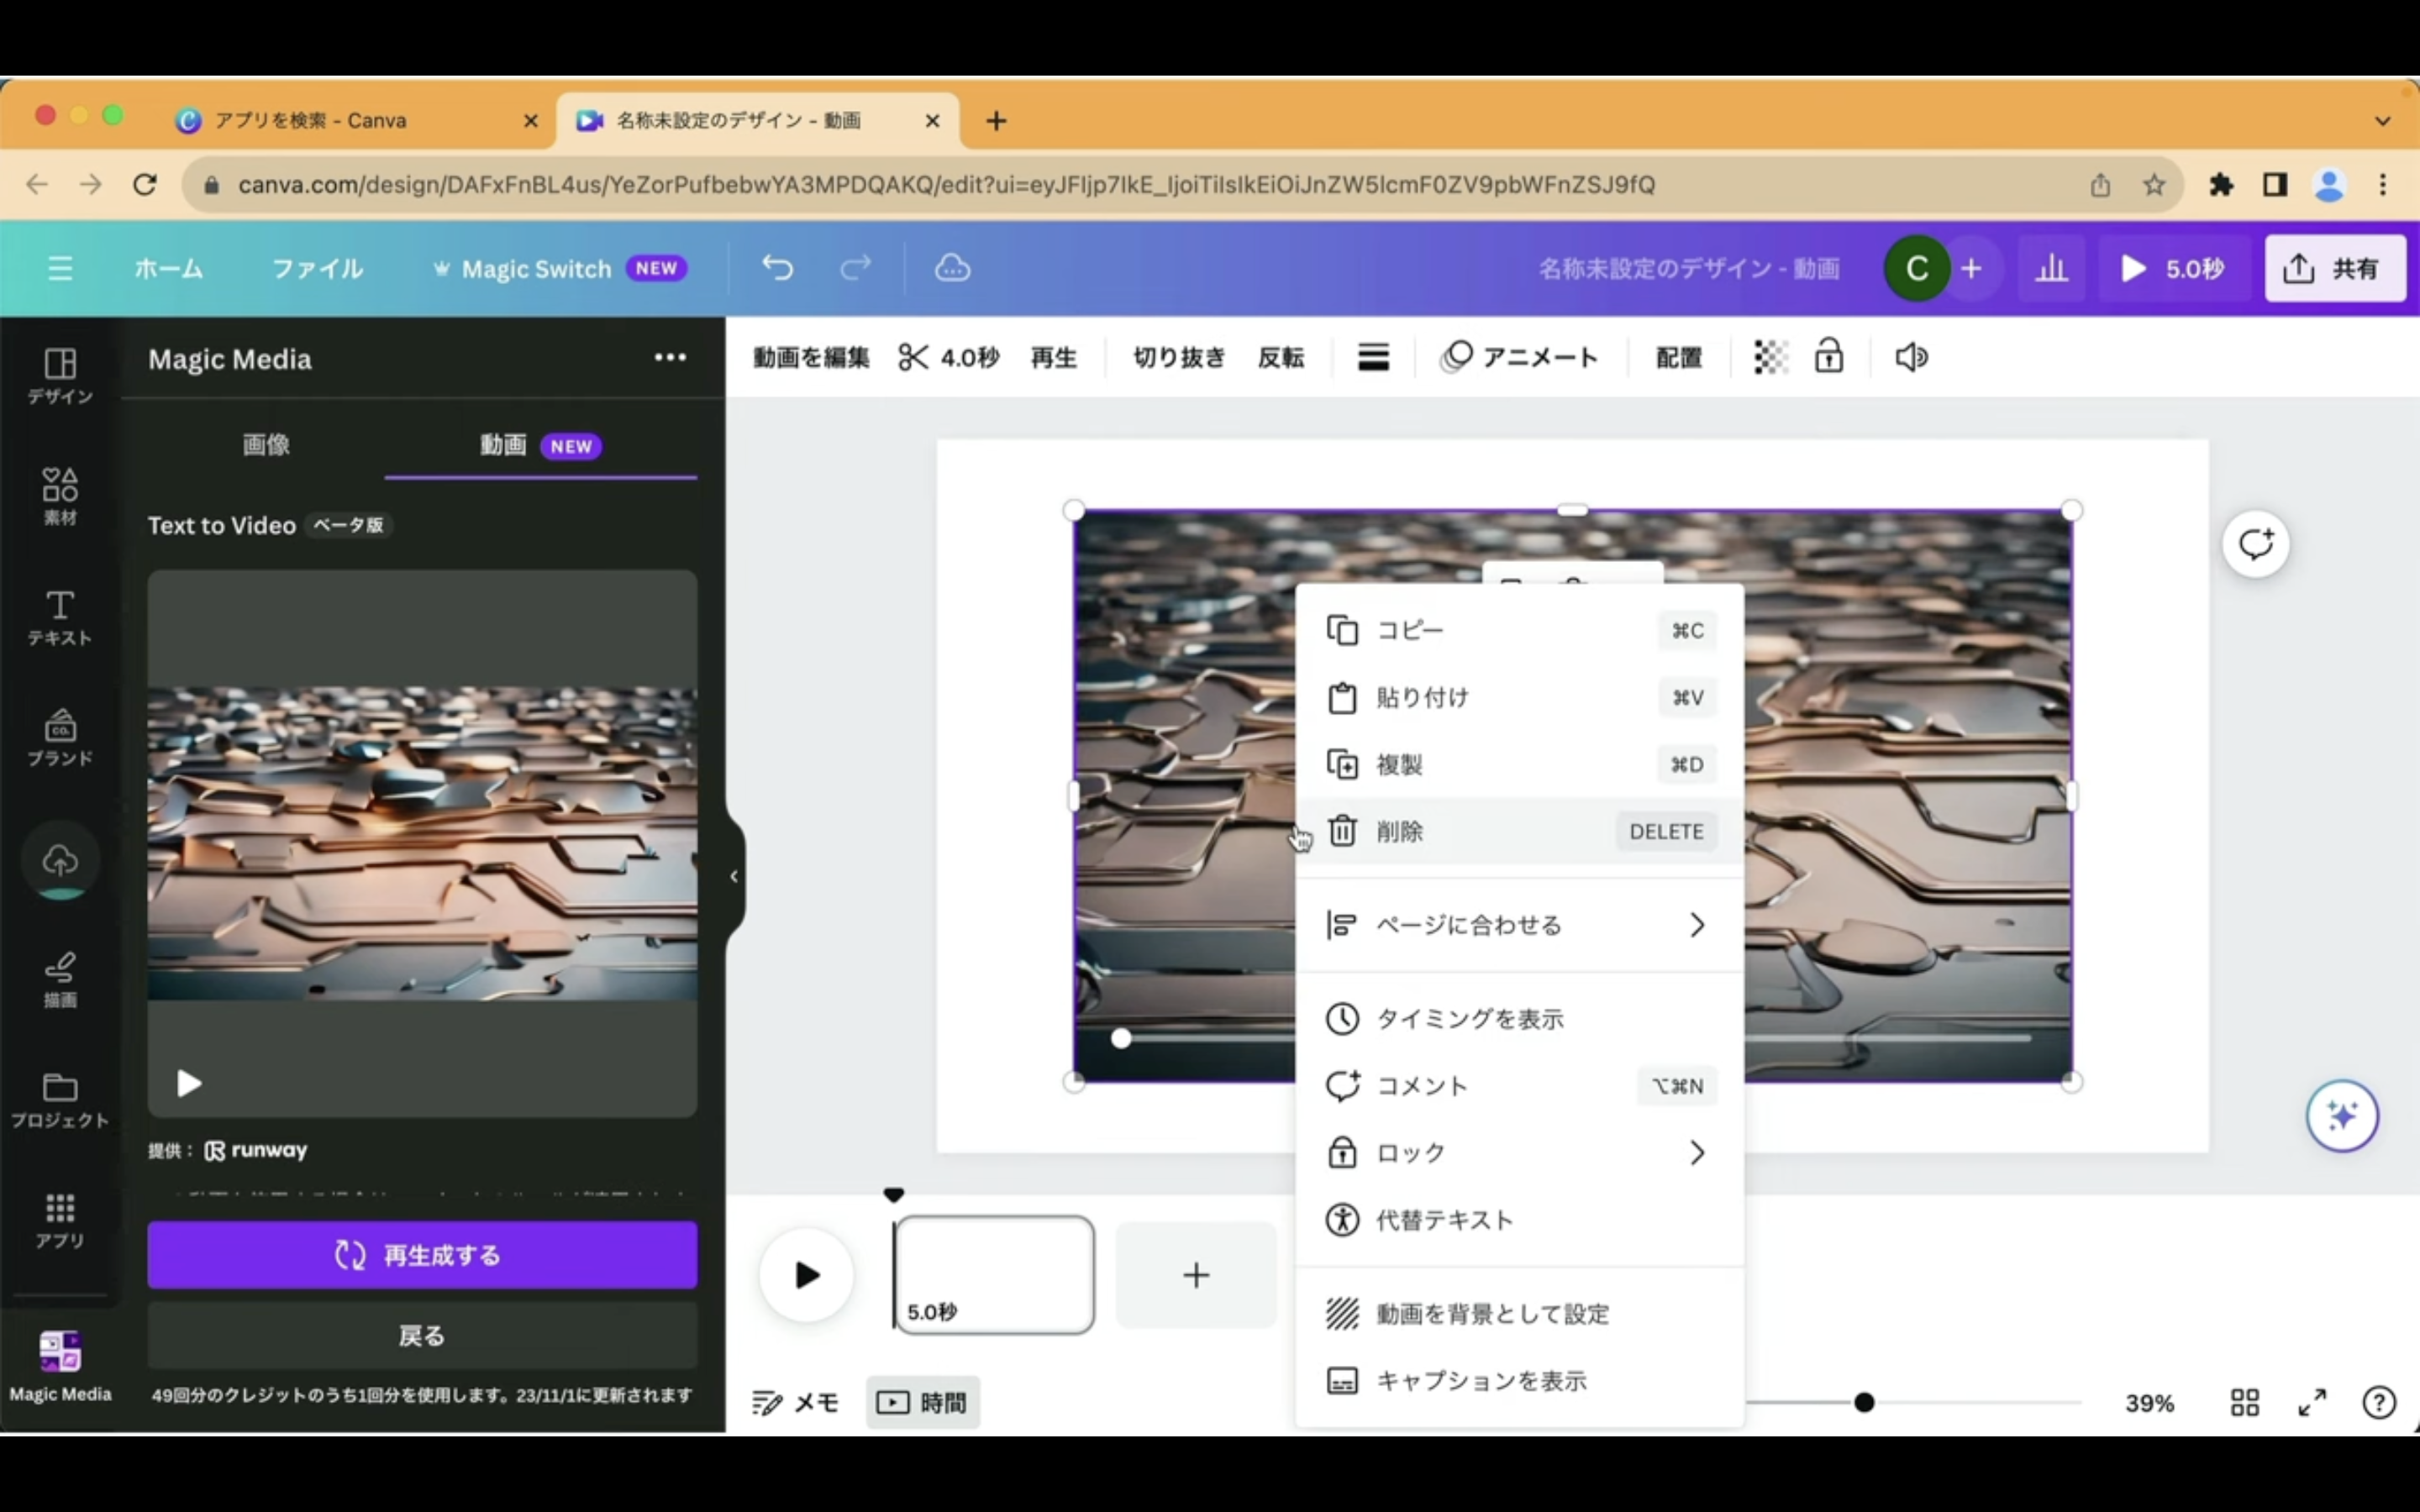
表示されたメニューの中から「動画を背景として設定」と書かれている項目を選択します。
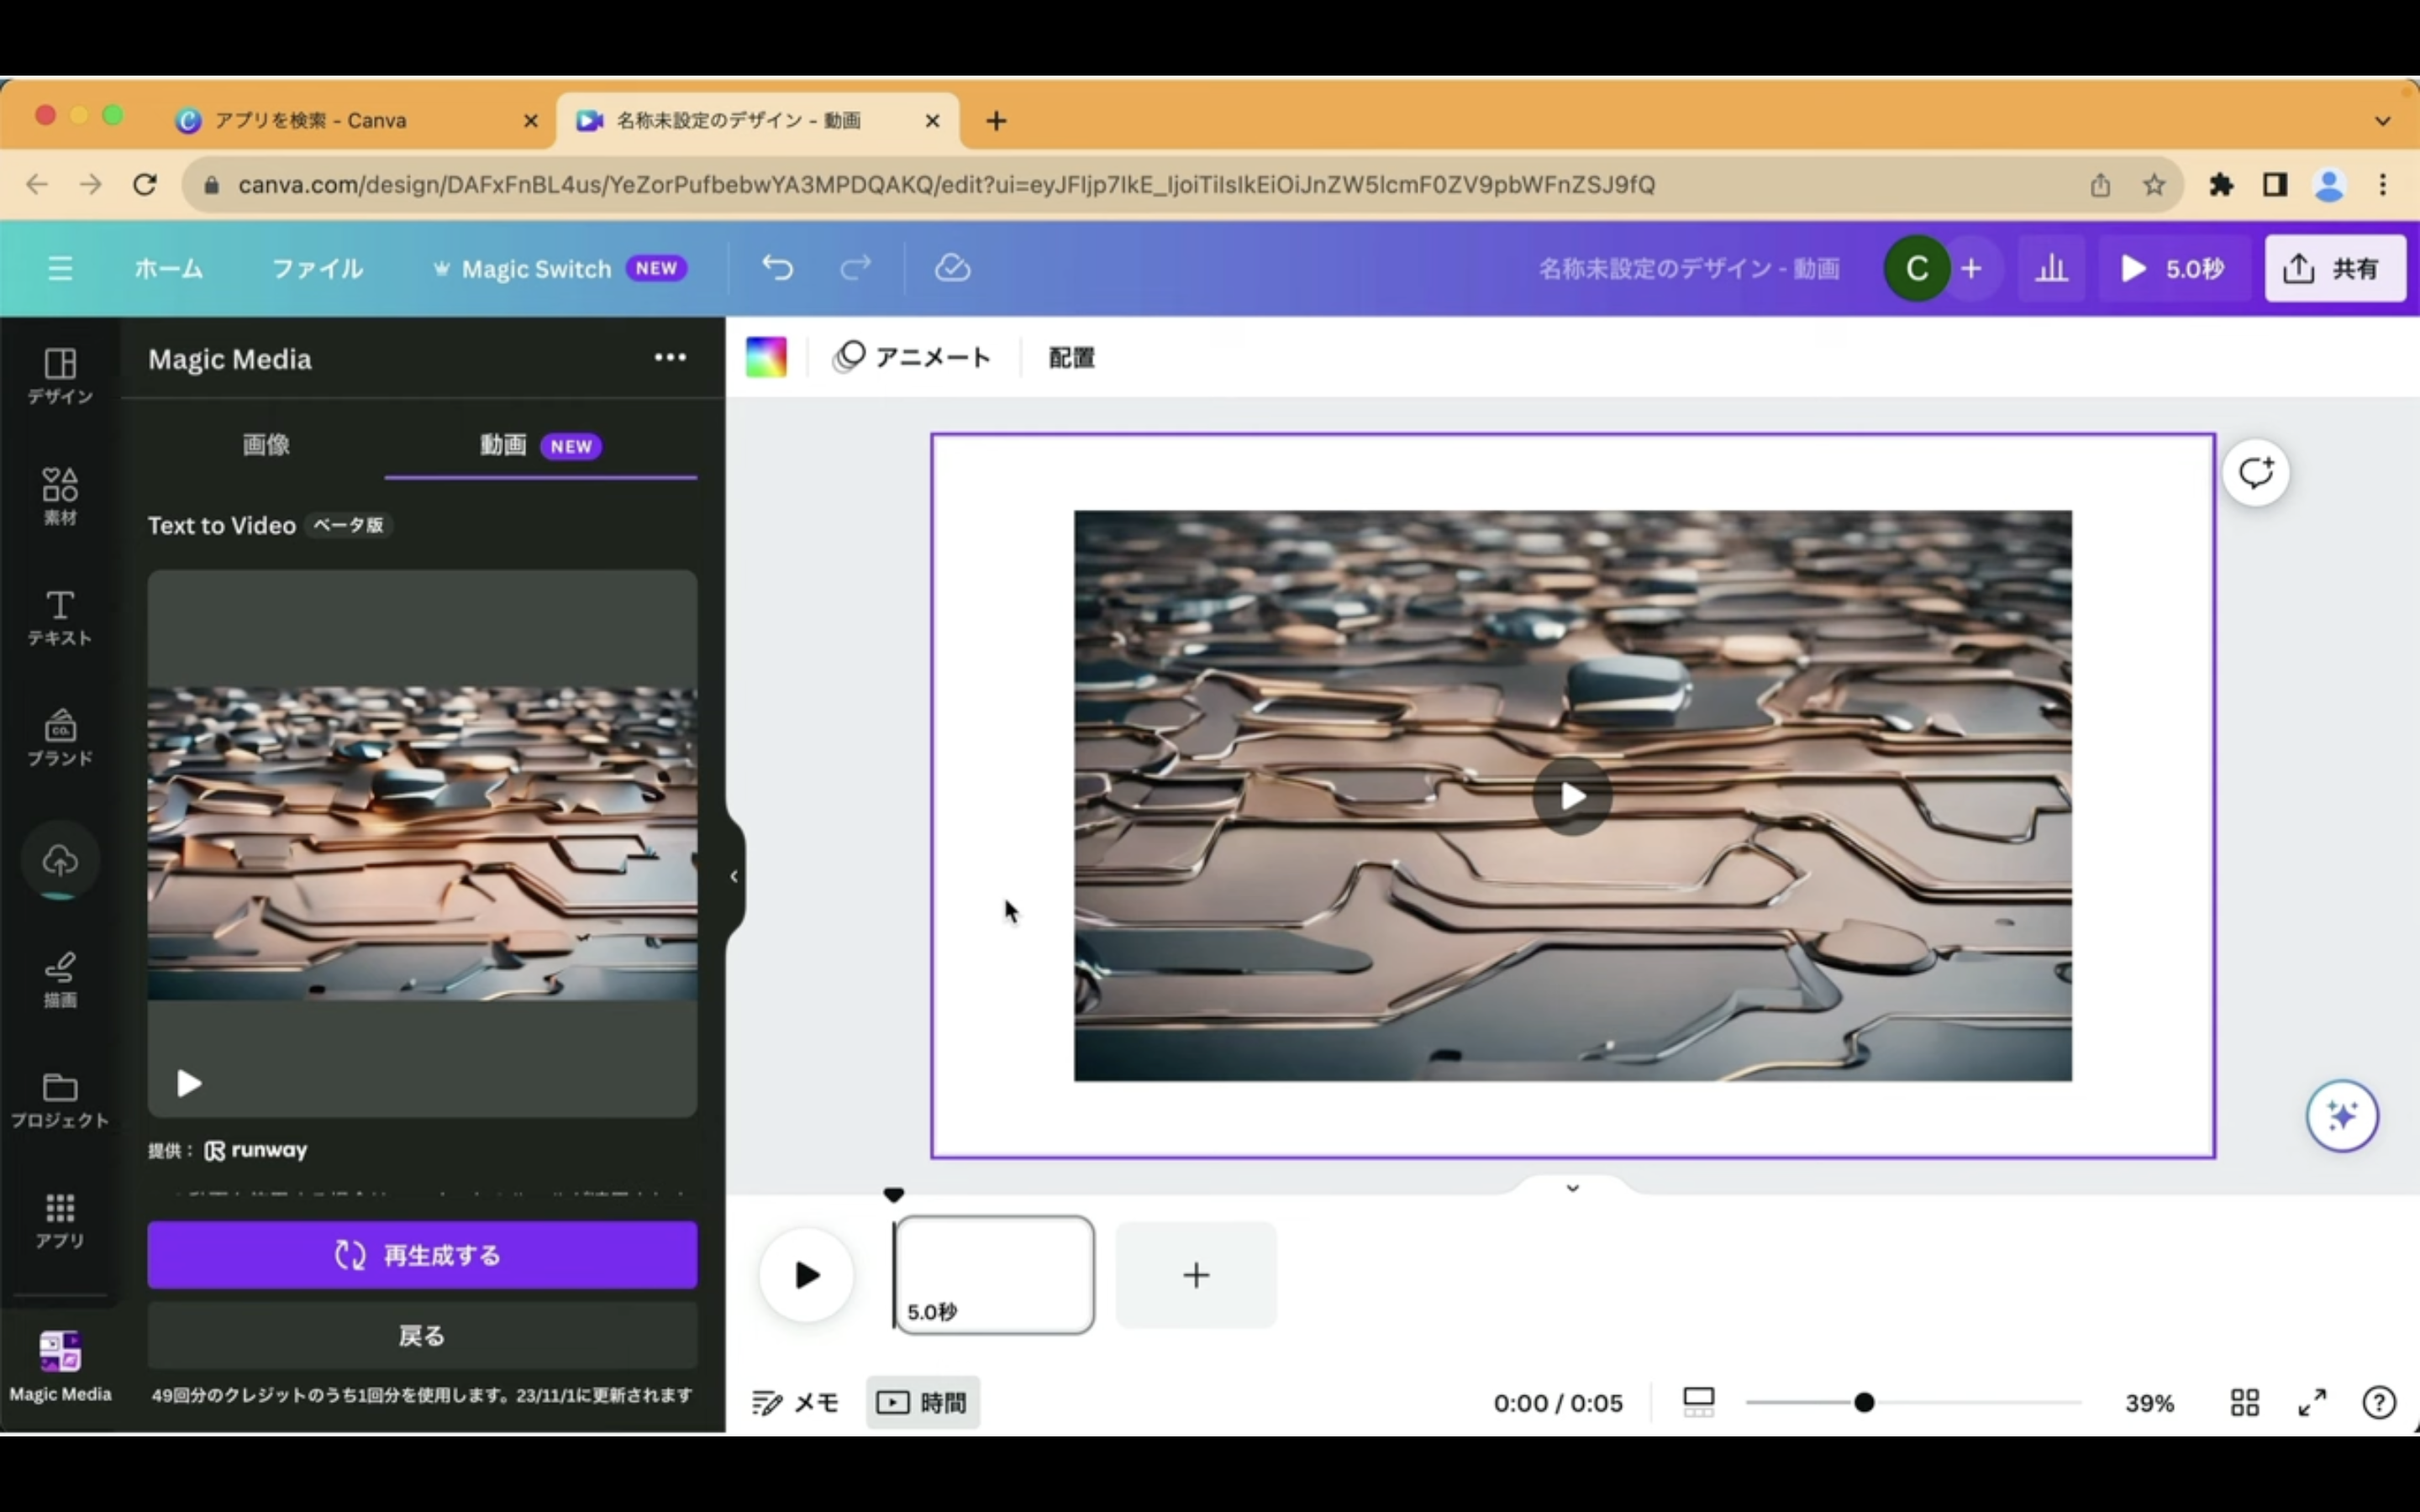
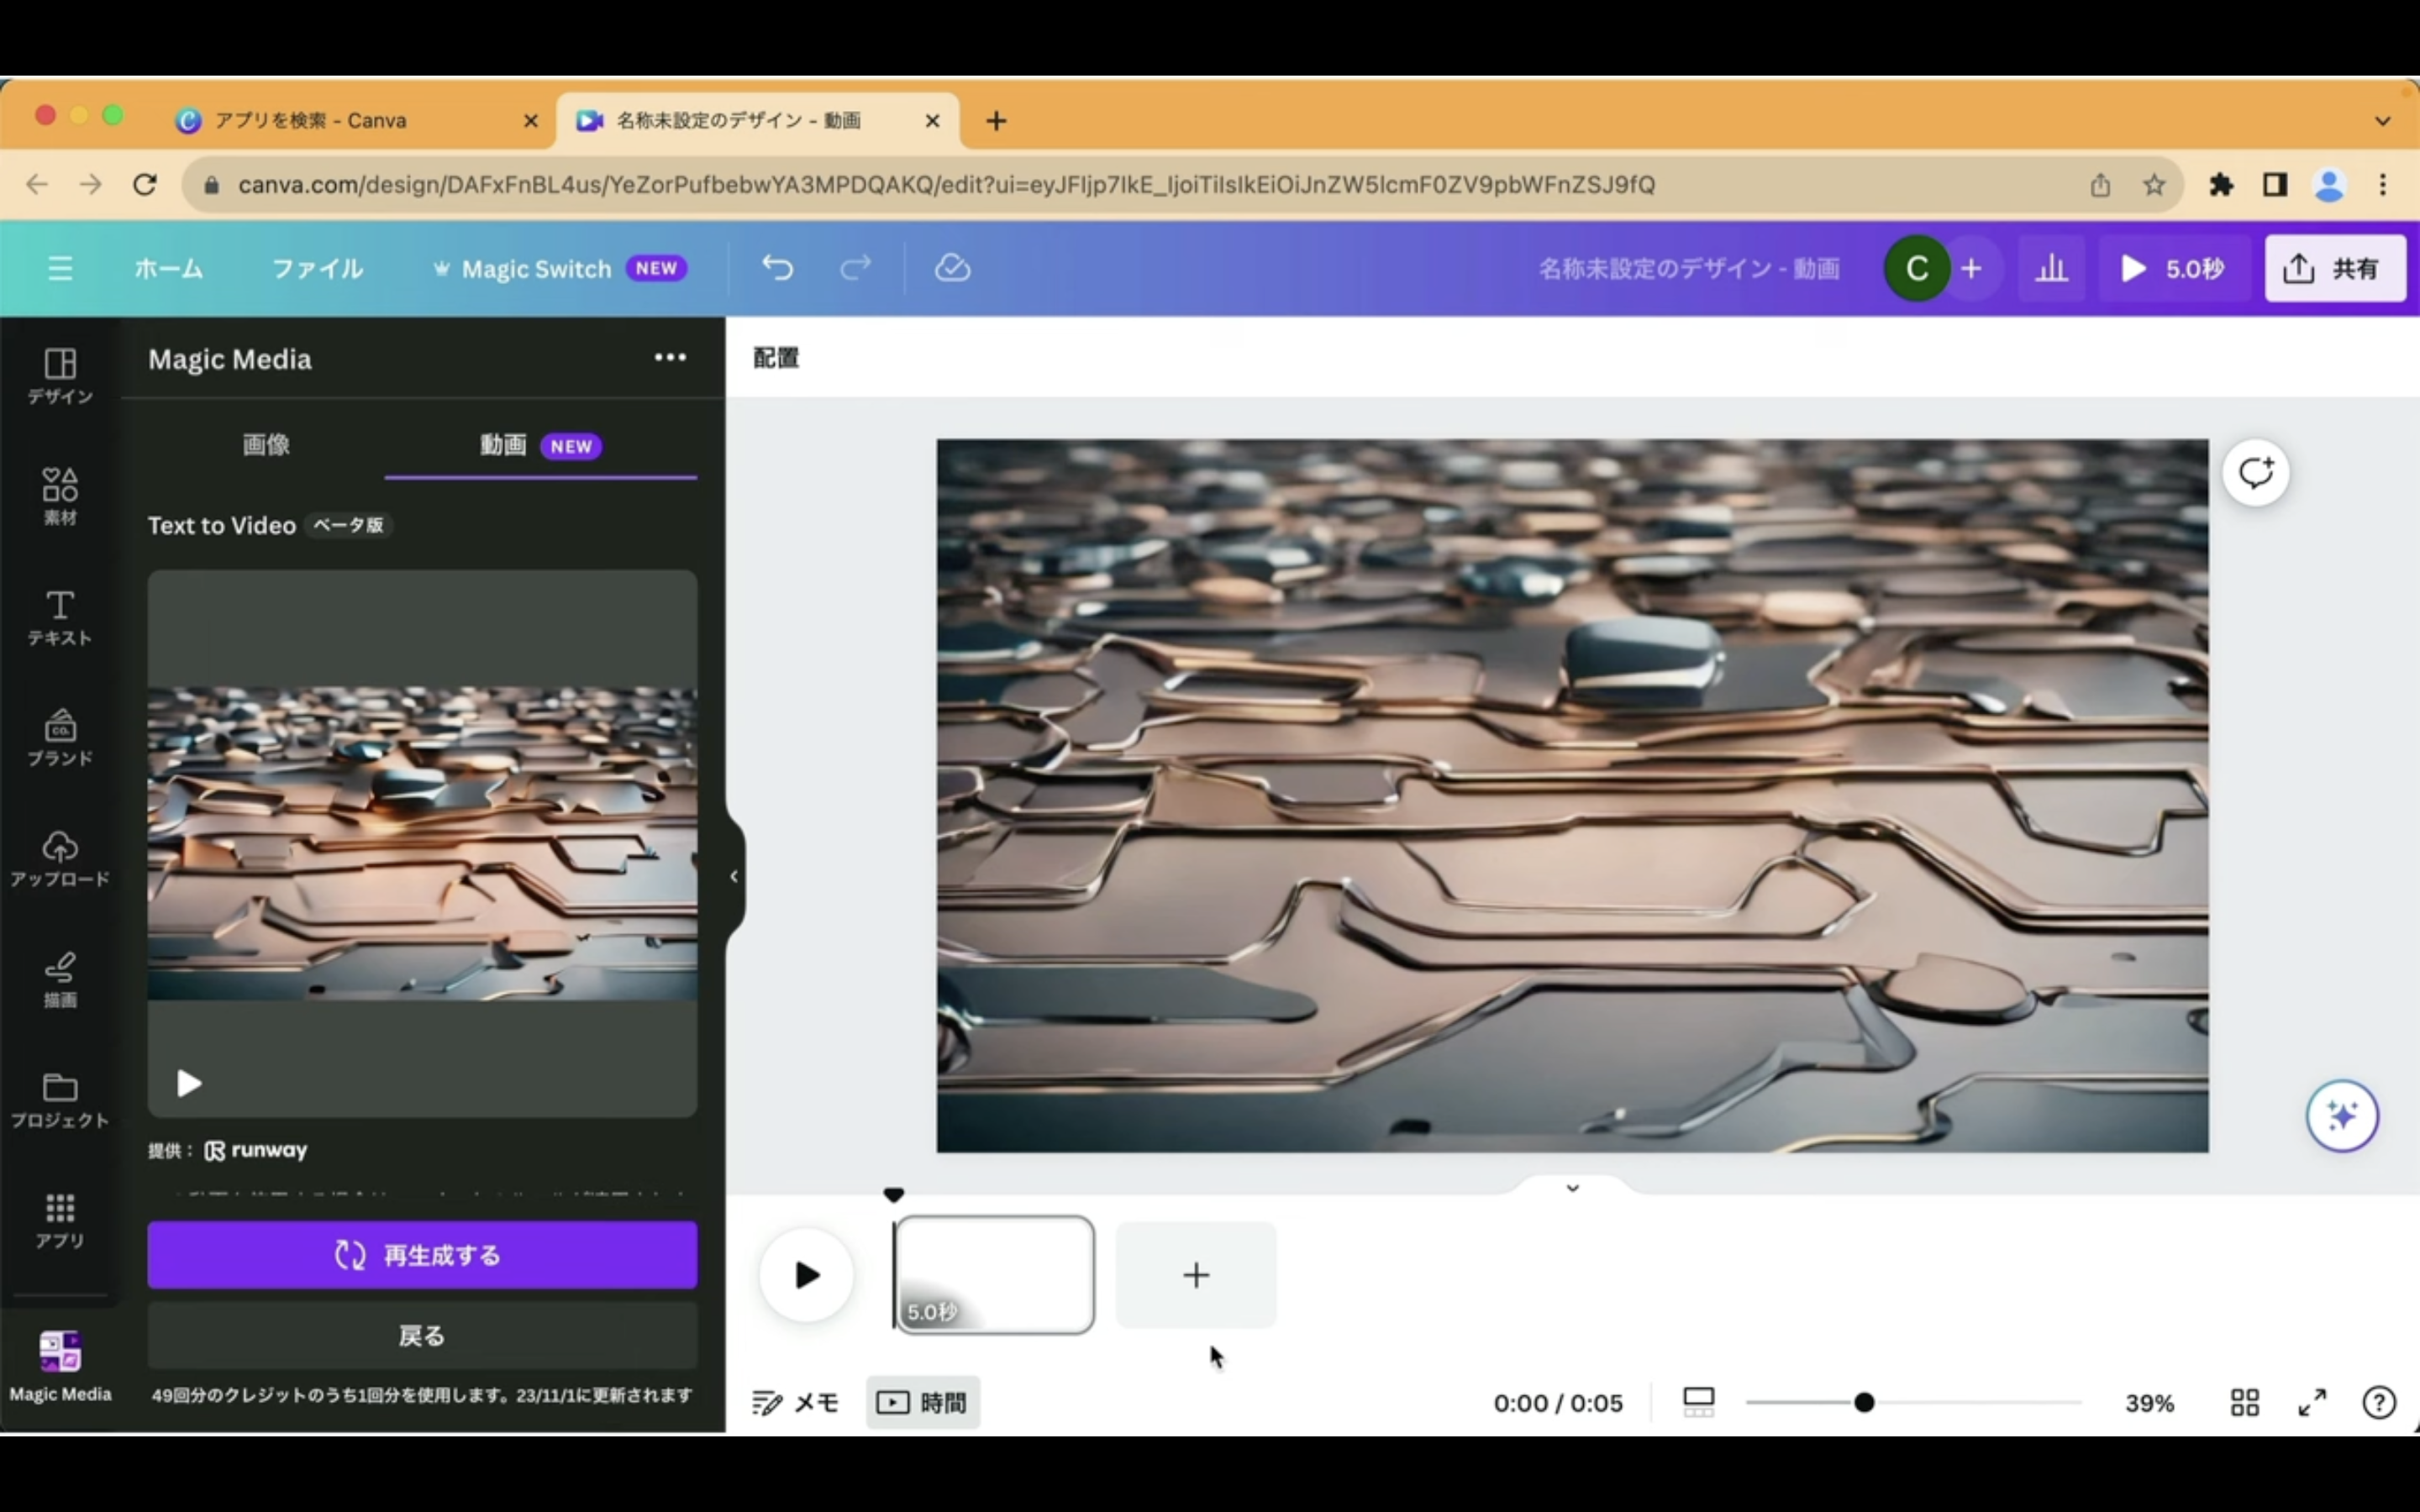
これで動画が画面いっぱいのサイズで配置されました。
次に他の動画を生成してみましょう。
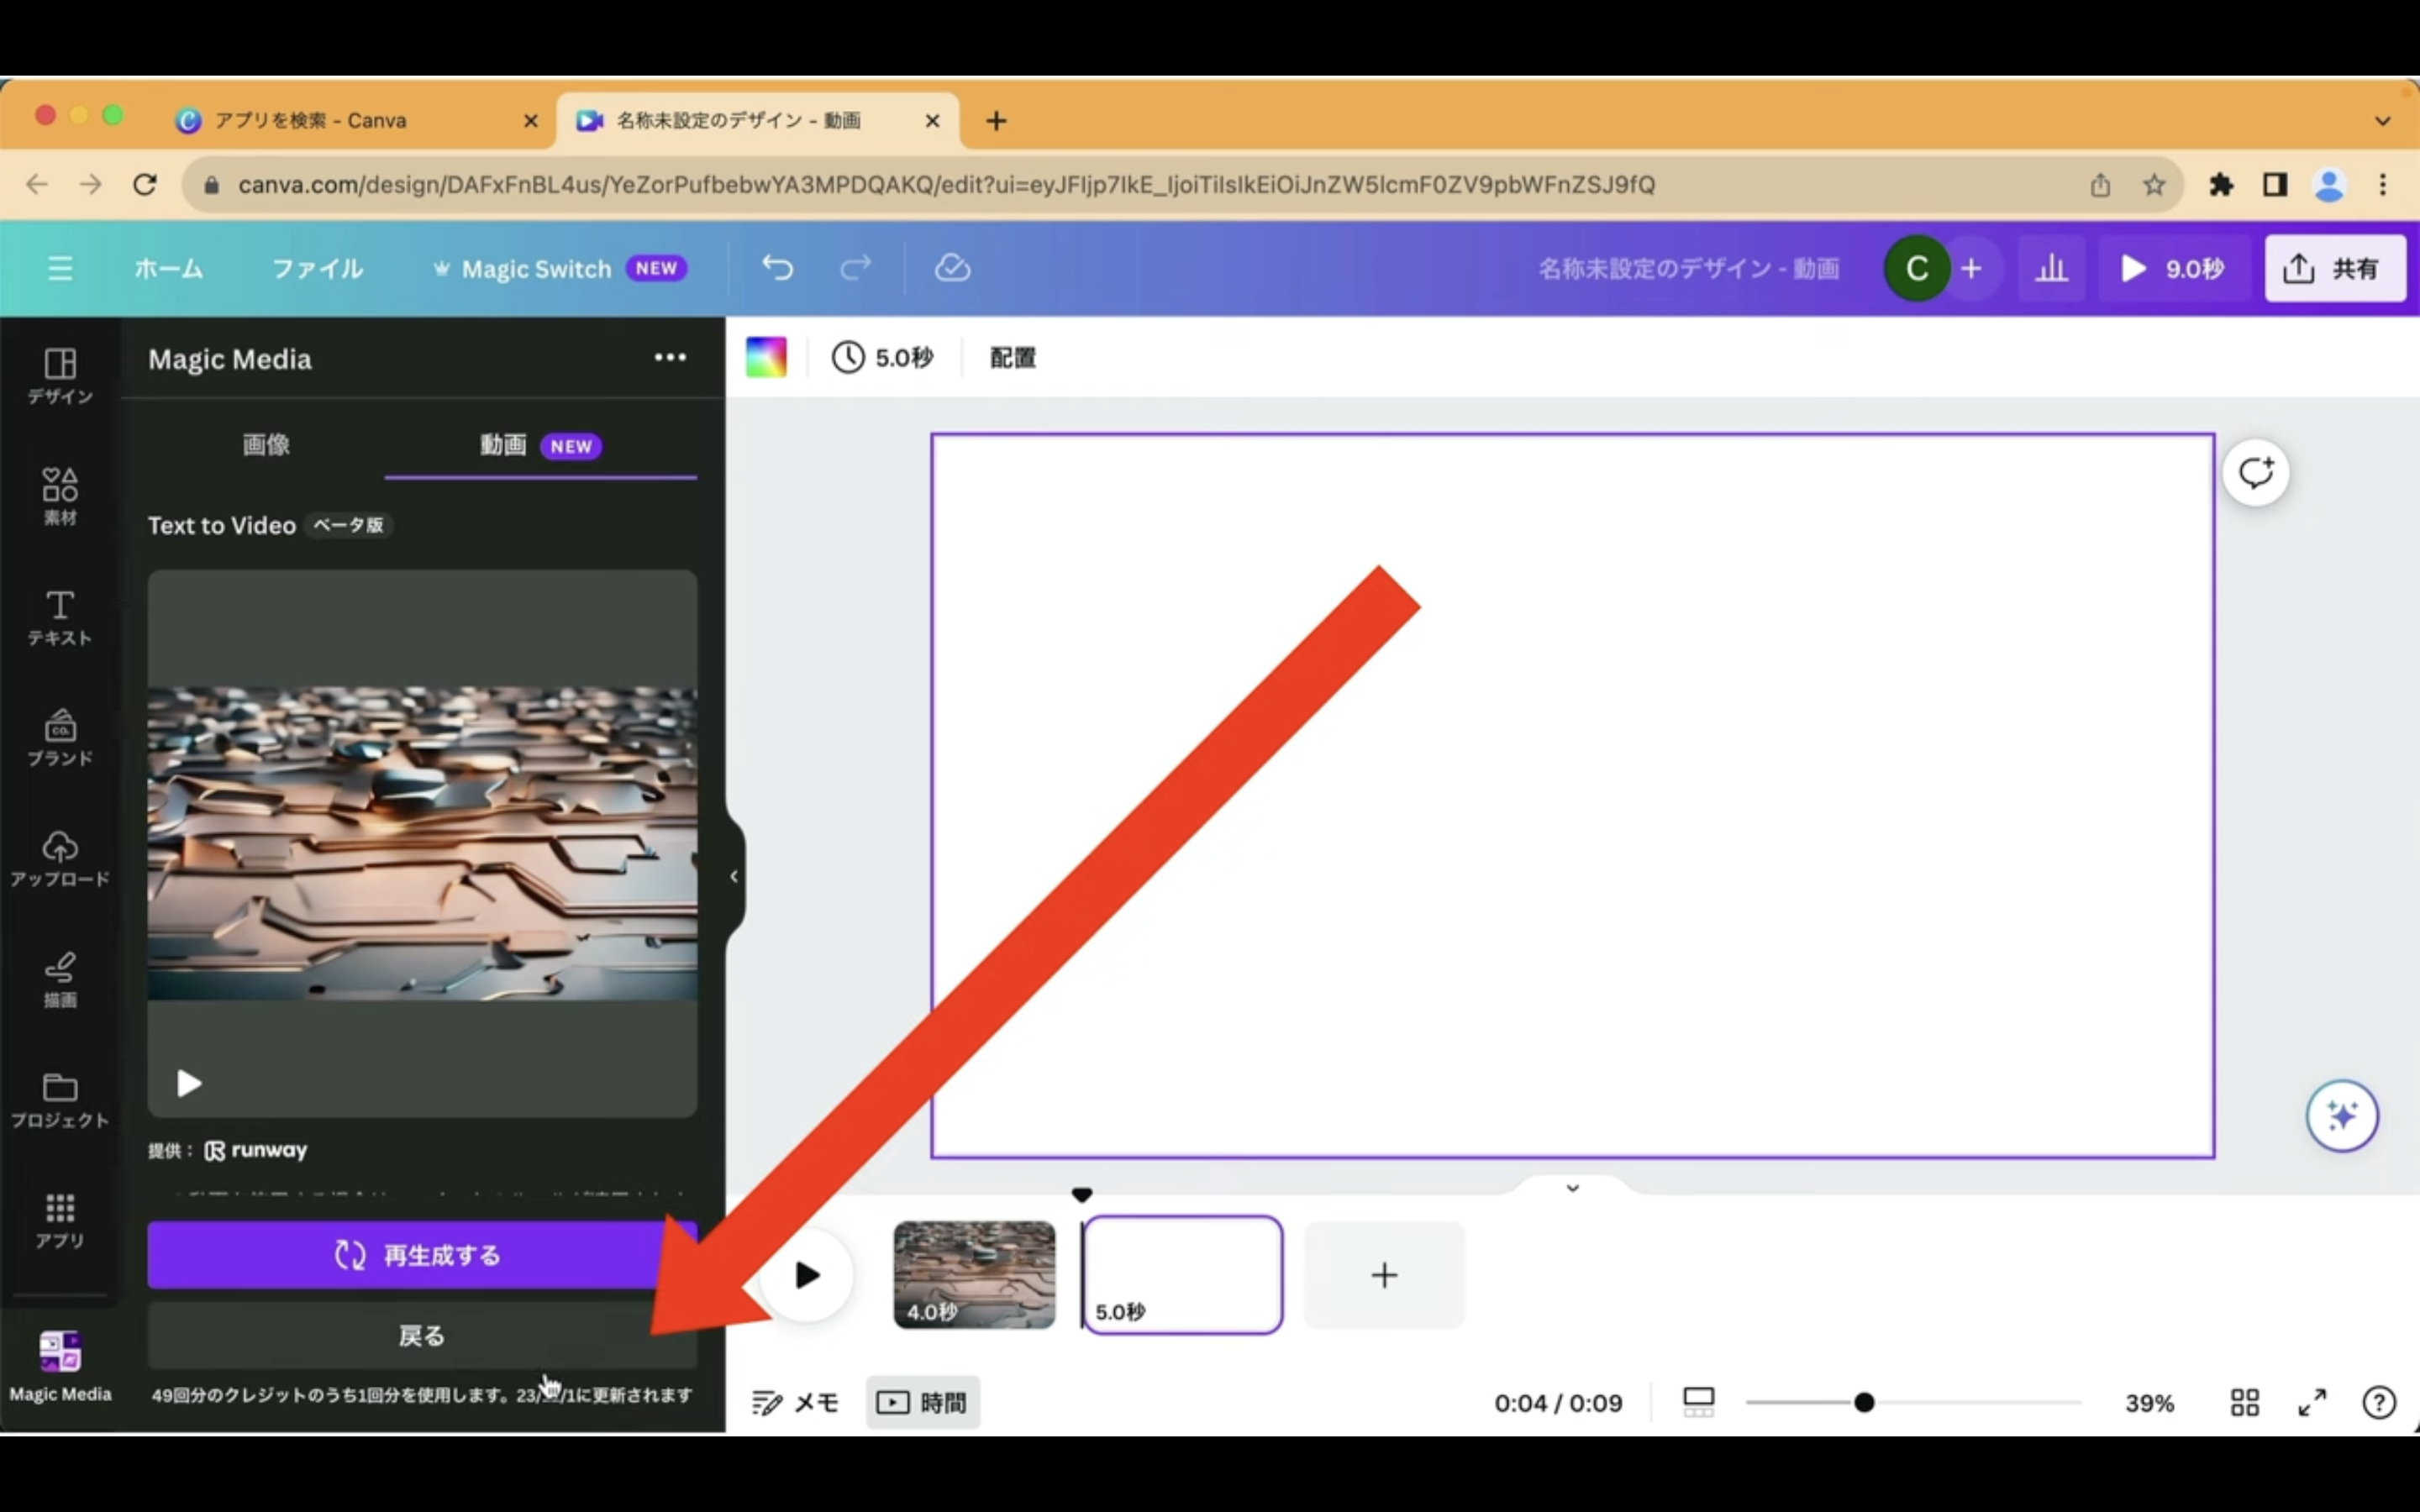
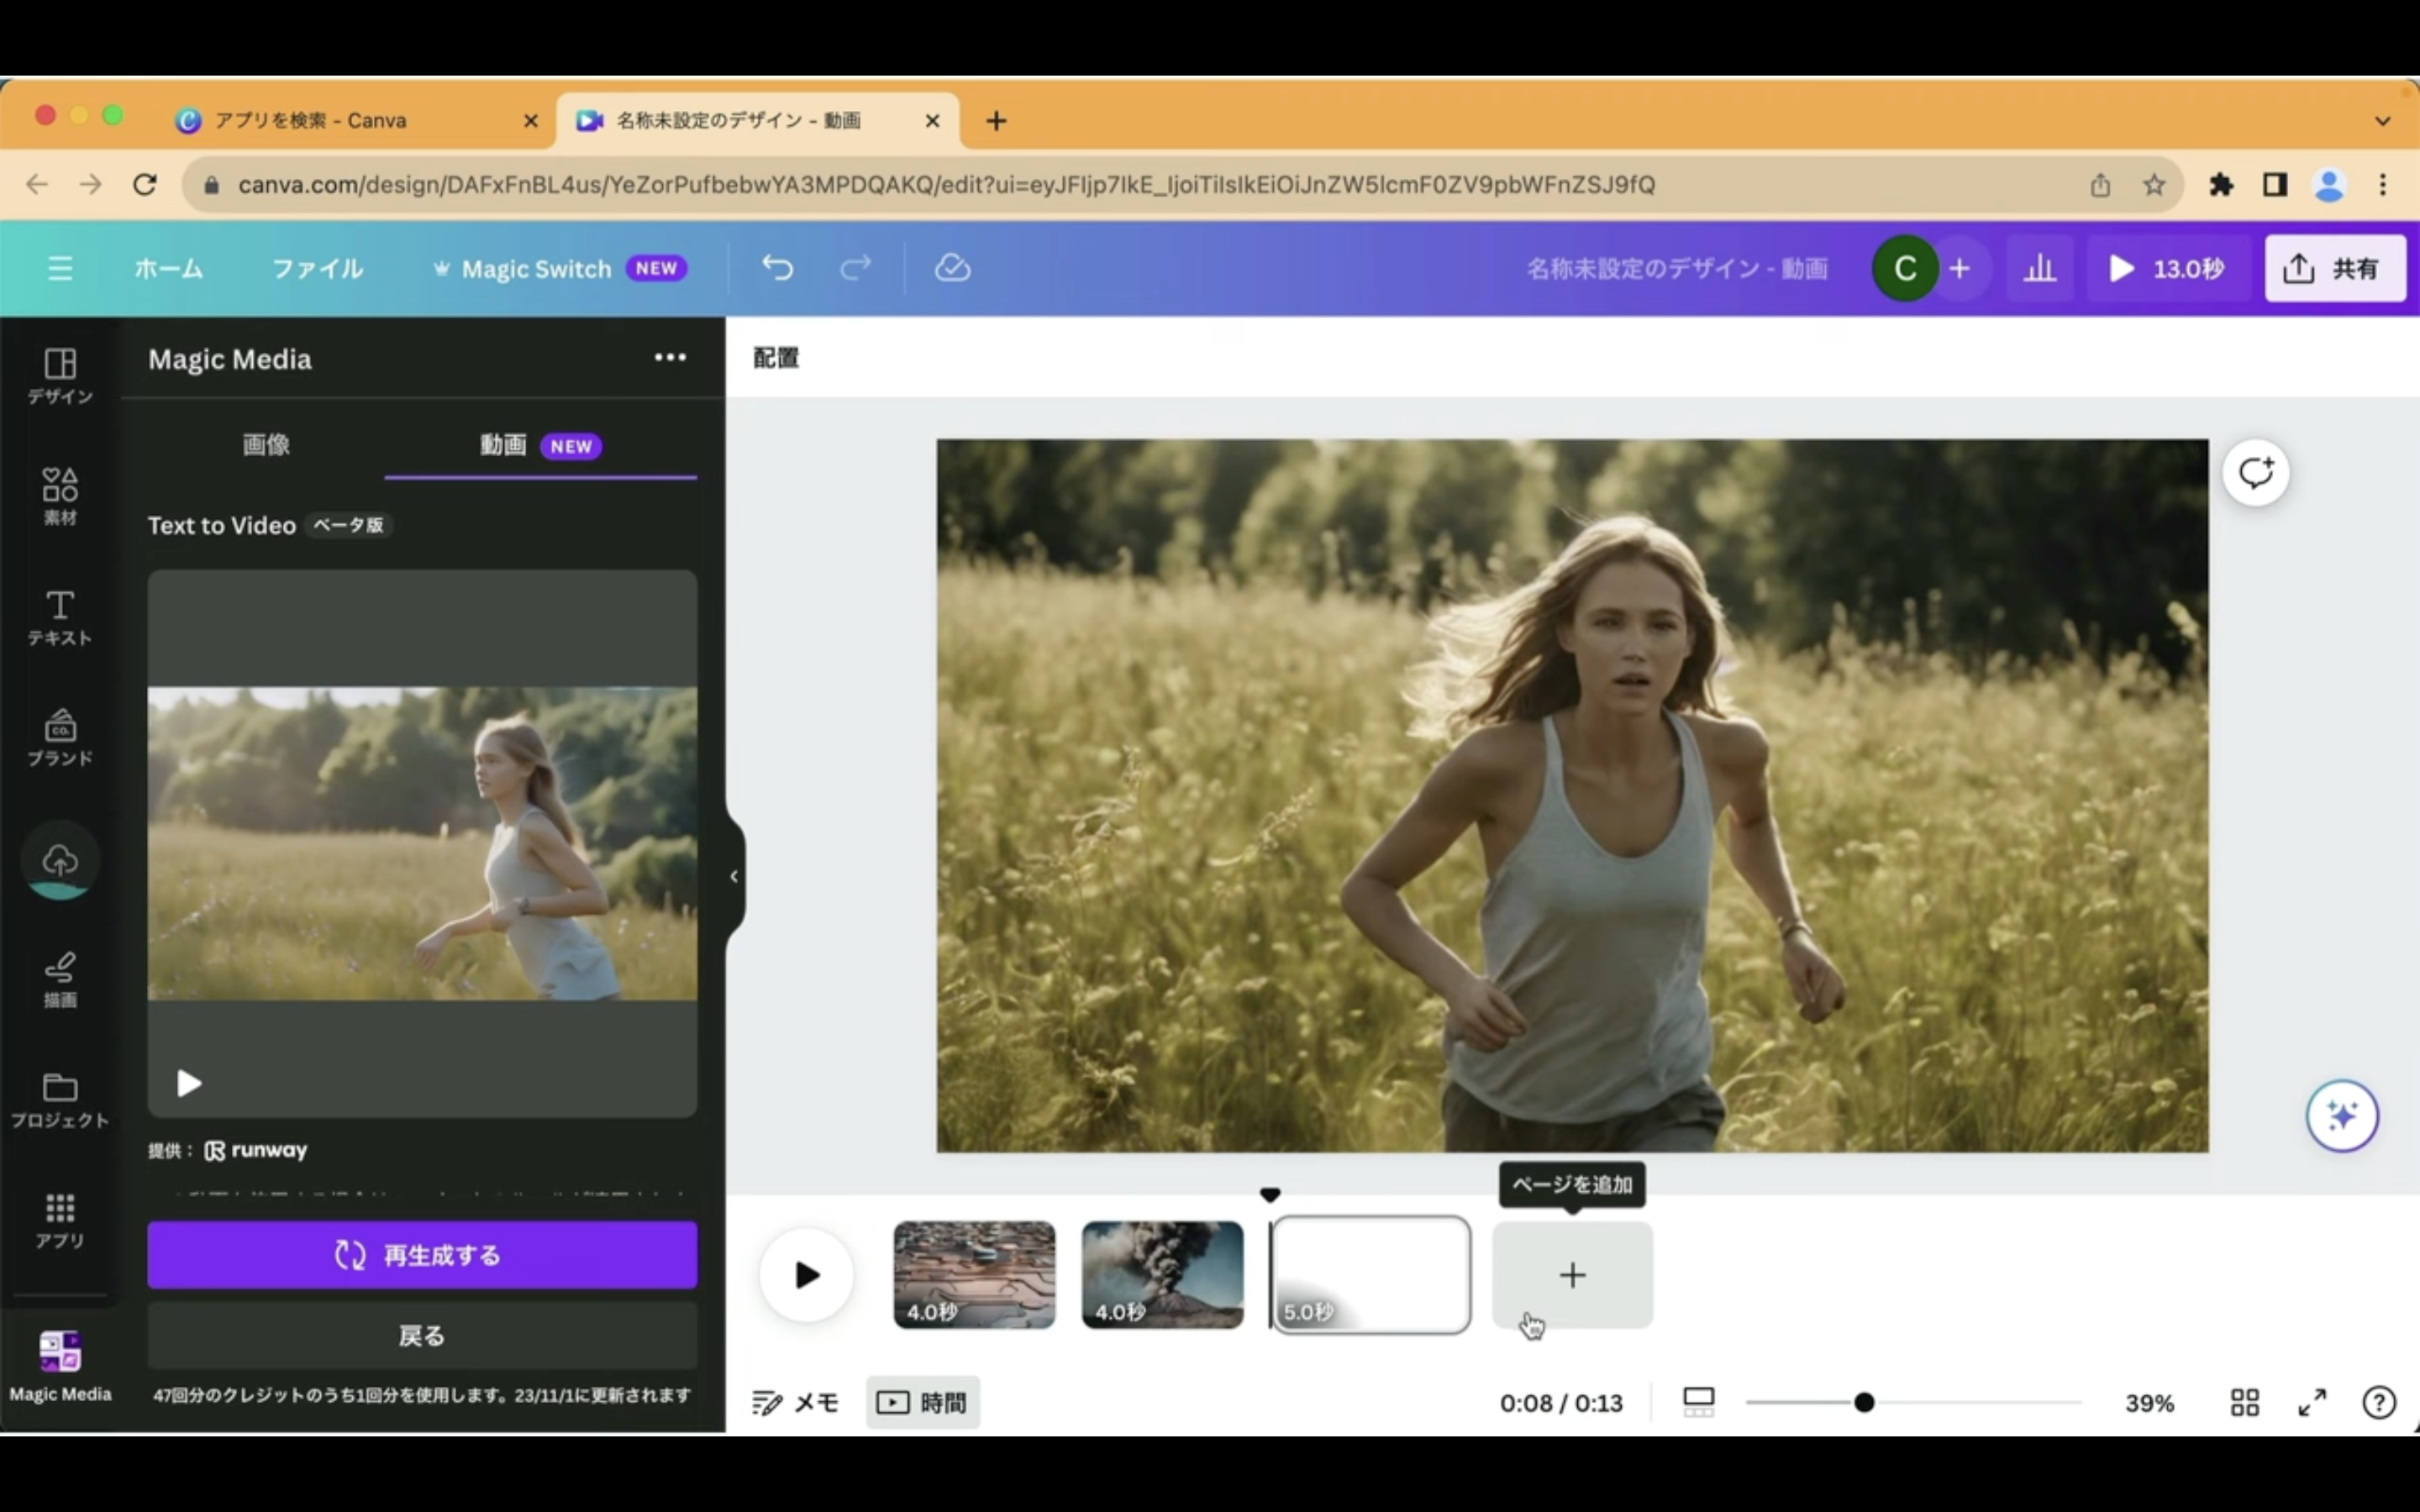
「プラス」のマークをクリックします。
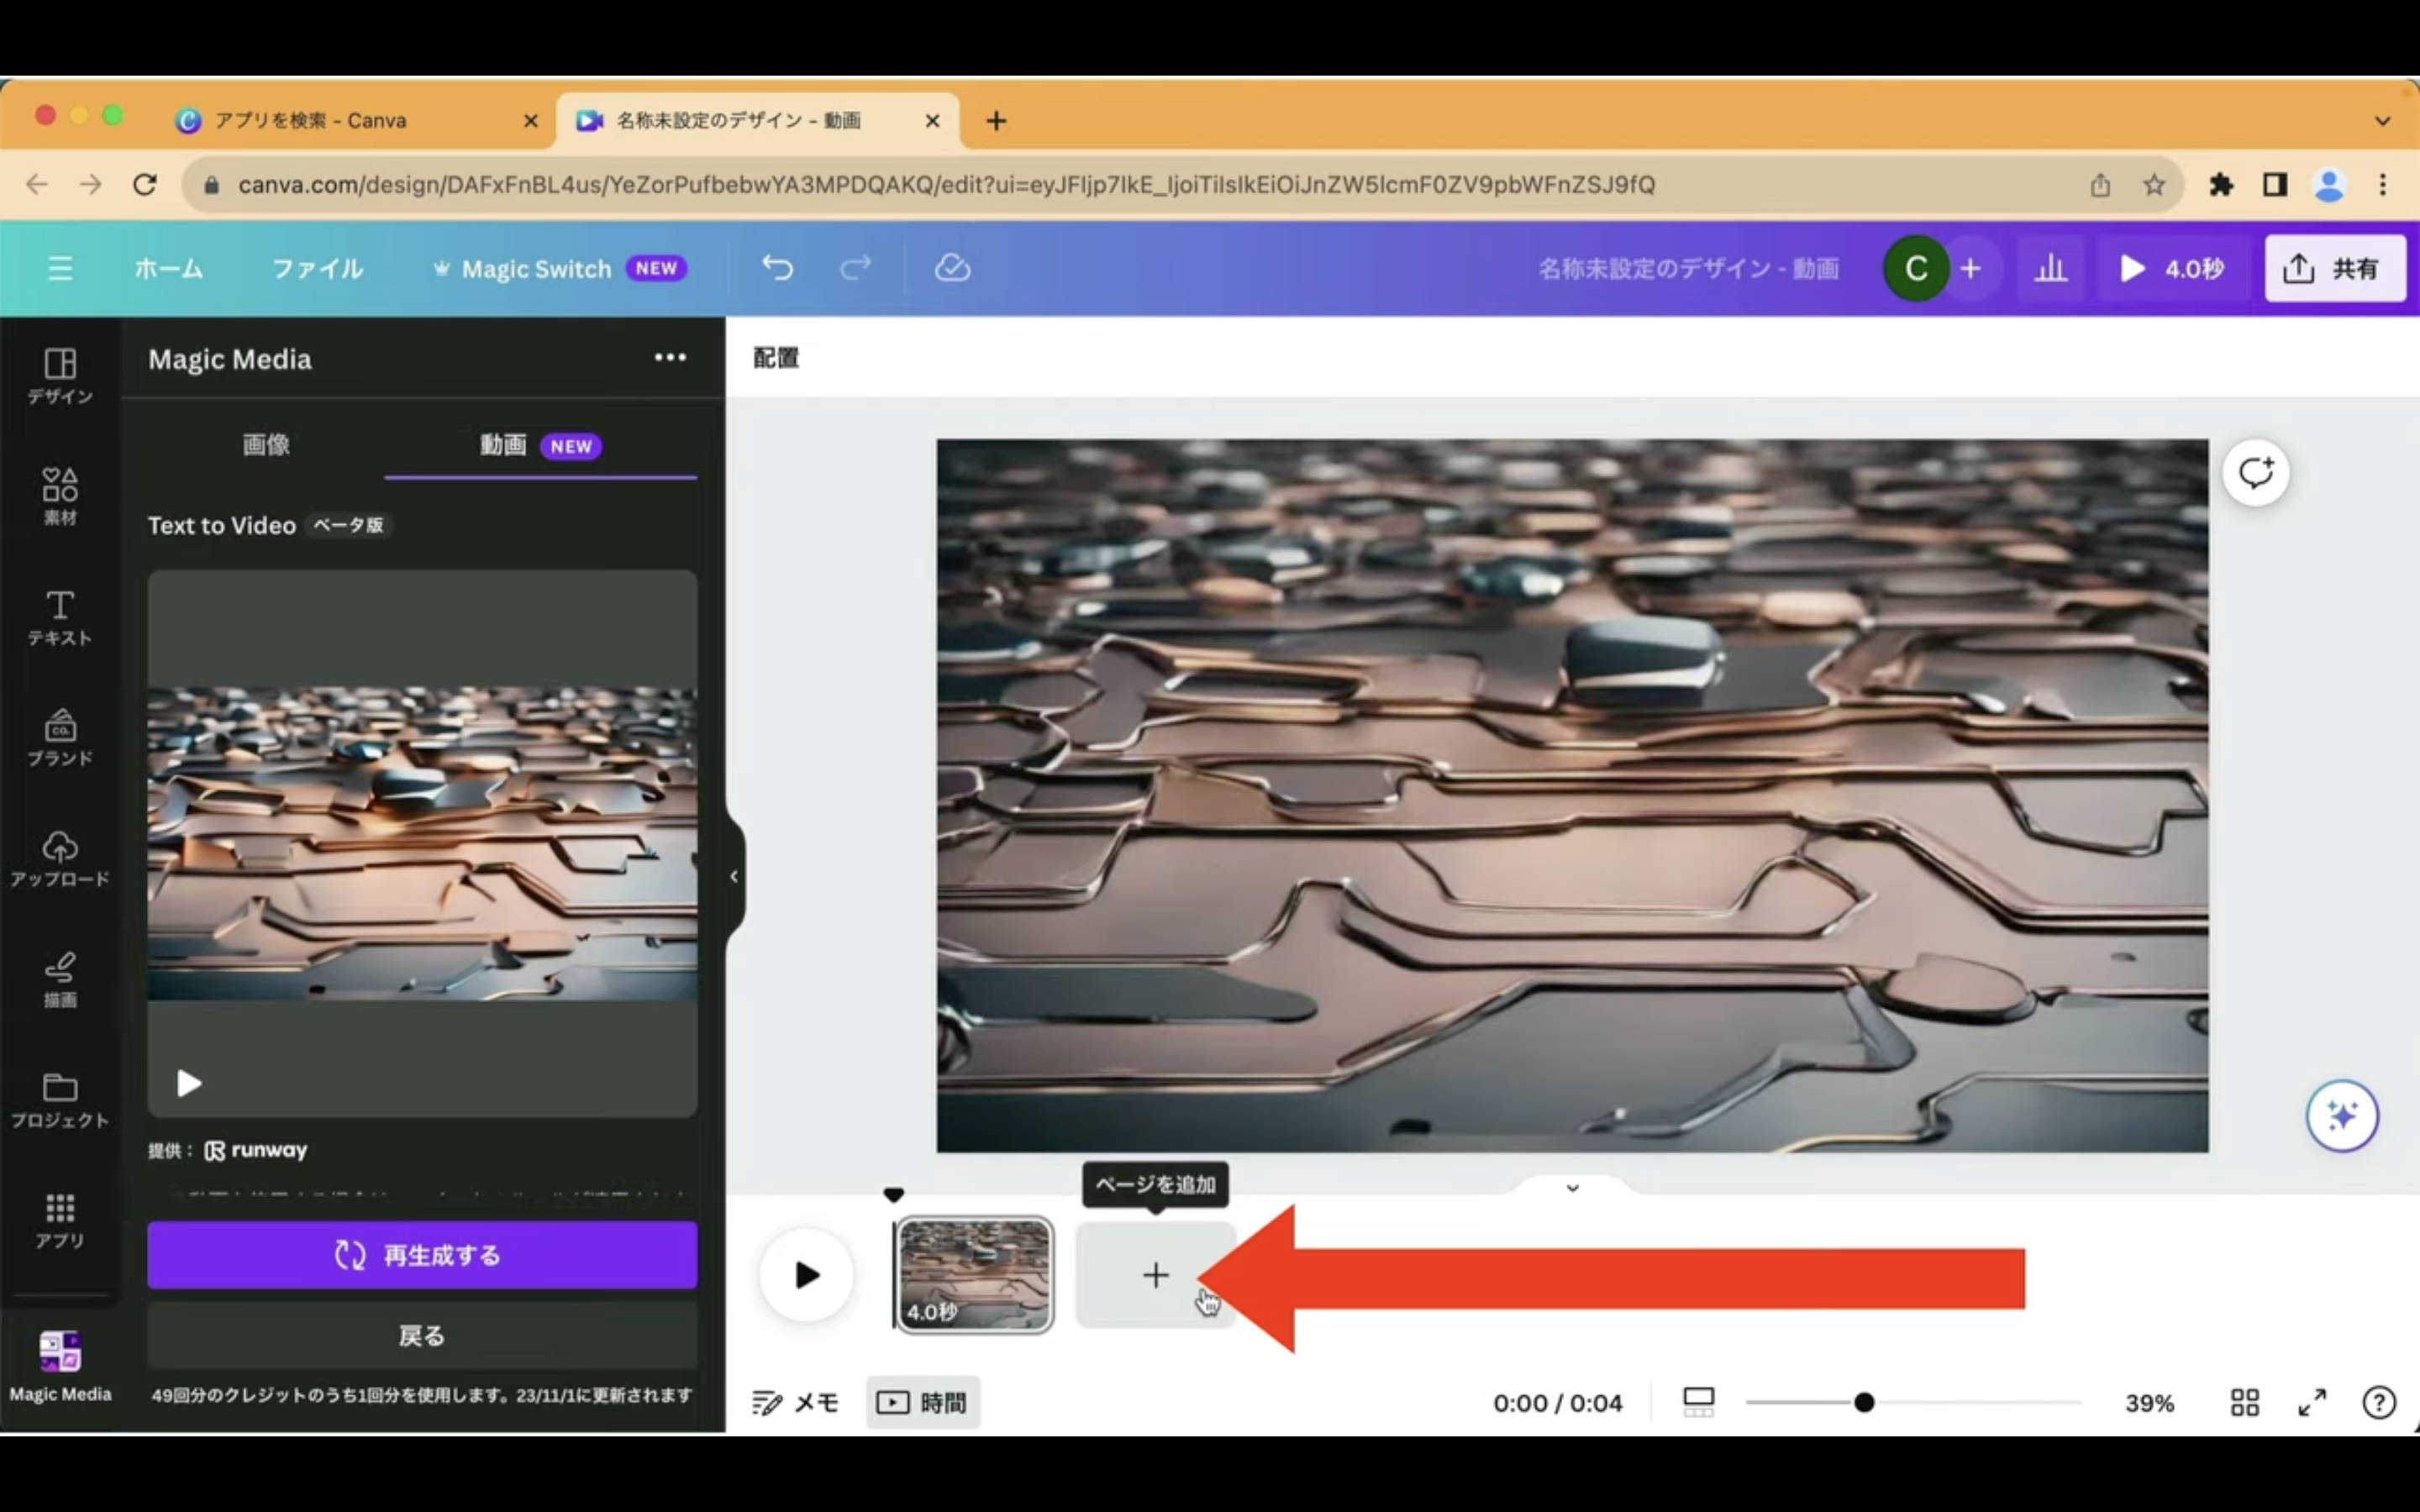
これで動画のシーンが追加されました。
次に「戻る」と書かれているボタンをクリックして先ほどの画面に戻ります。
そして「例を入力する」と書かれているボタンをクリックします。
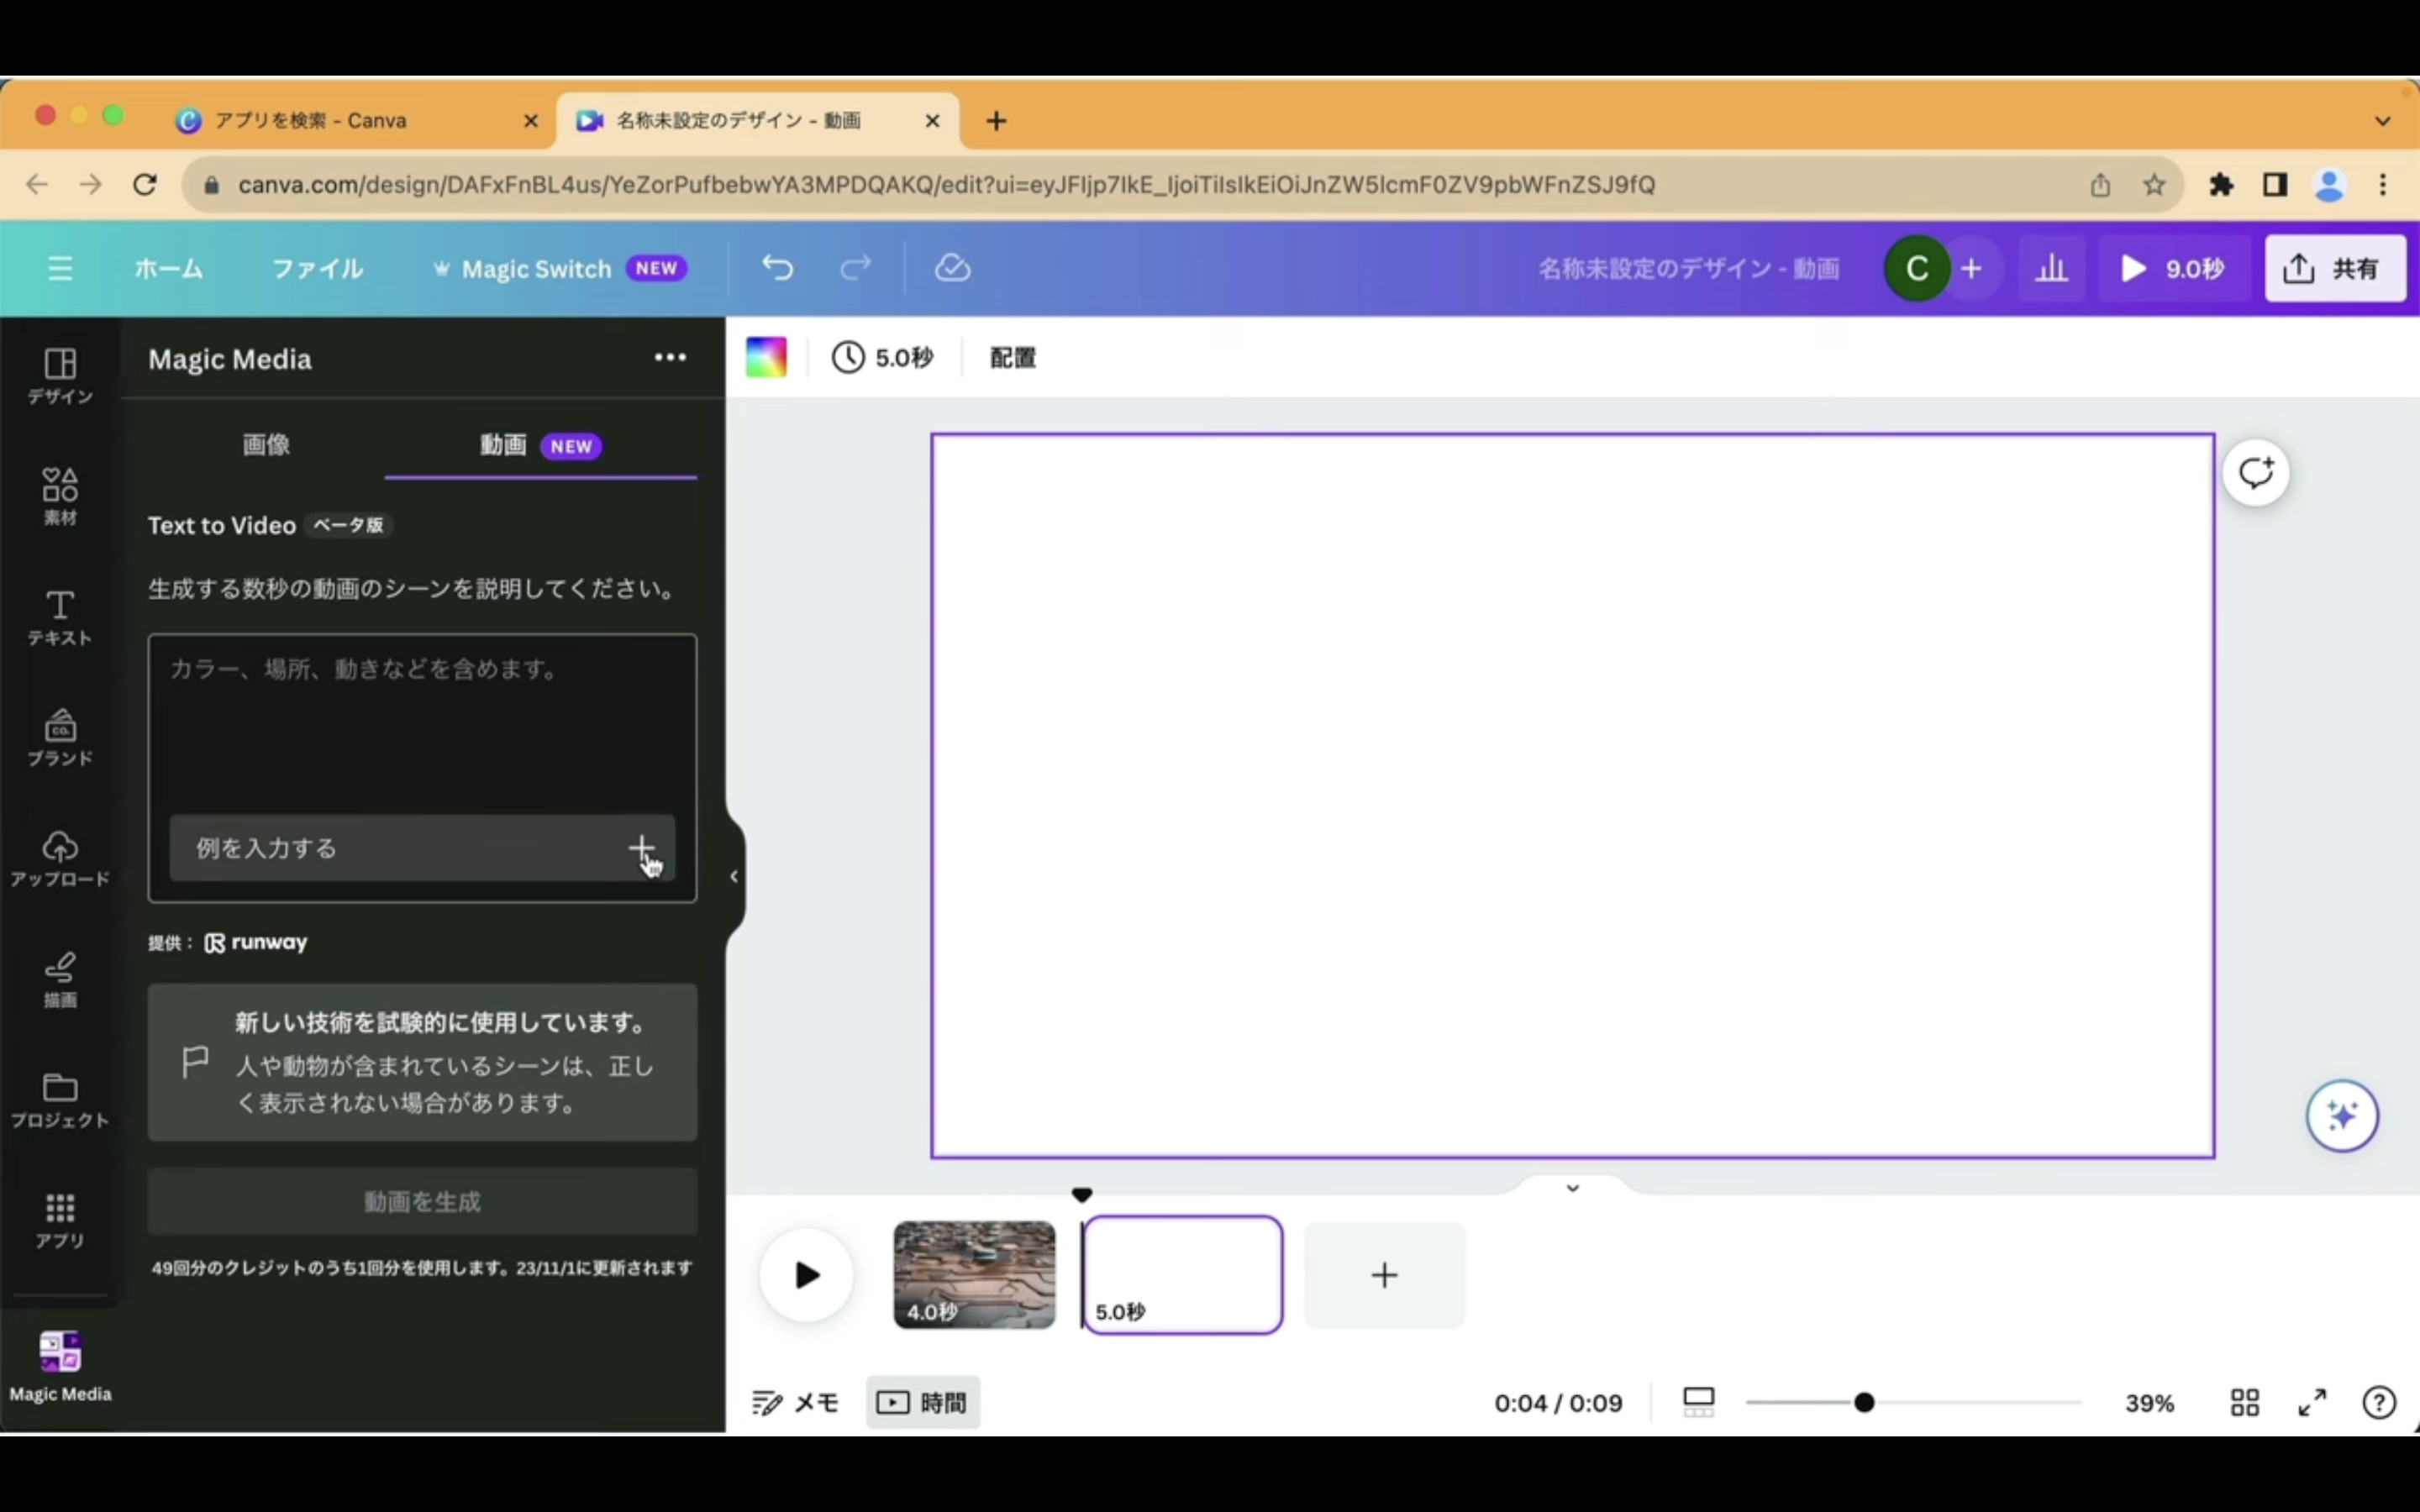
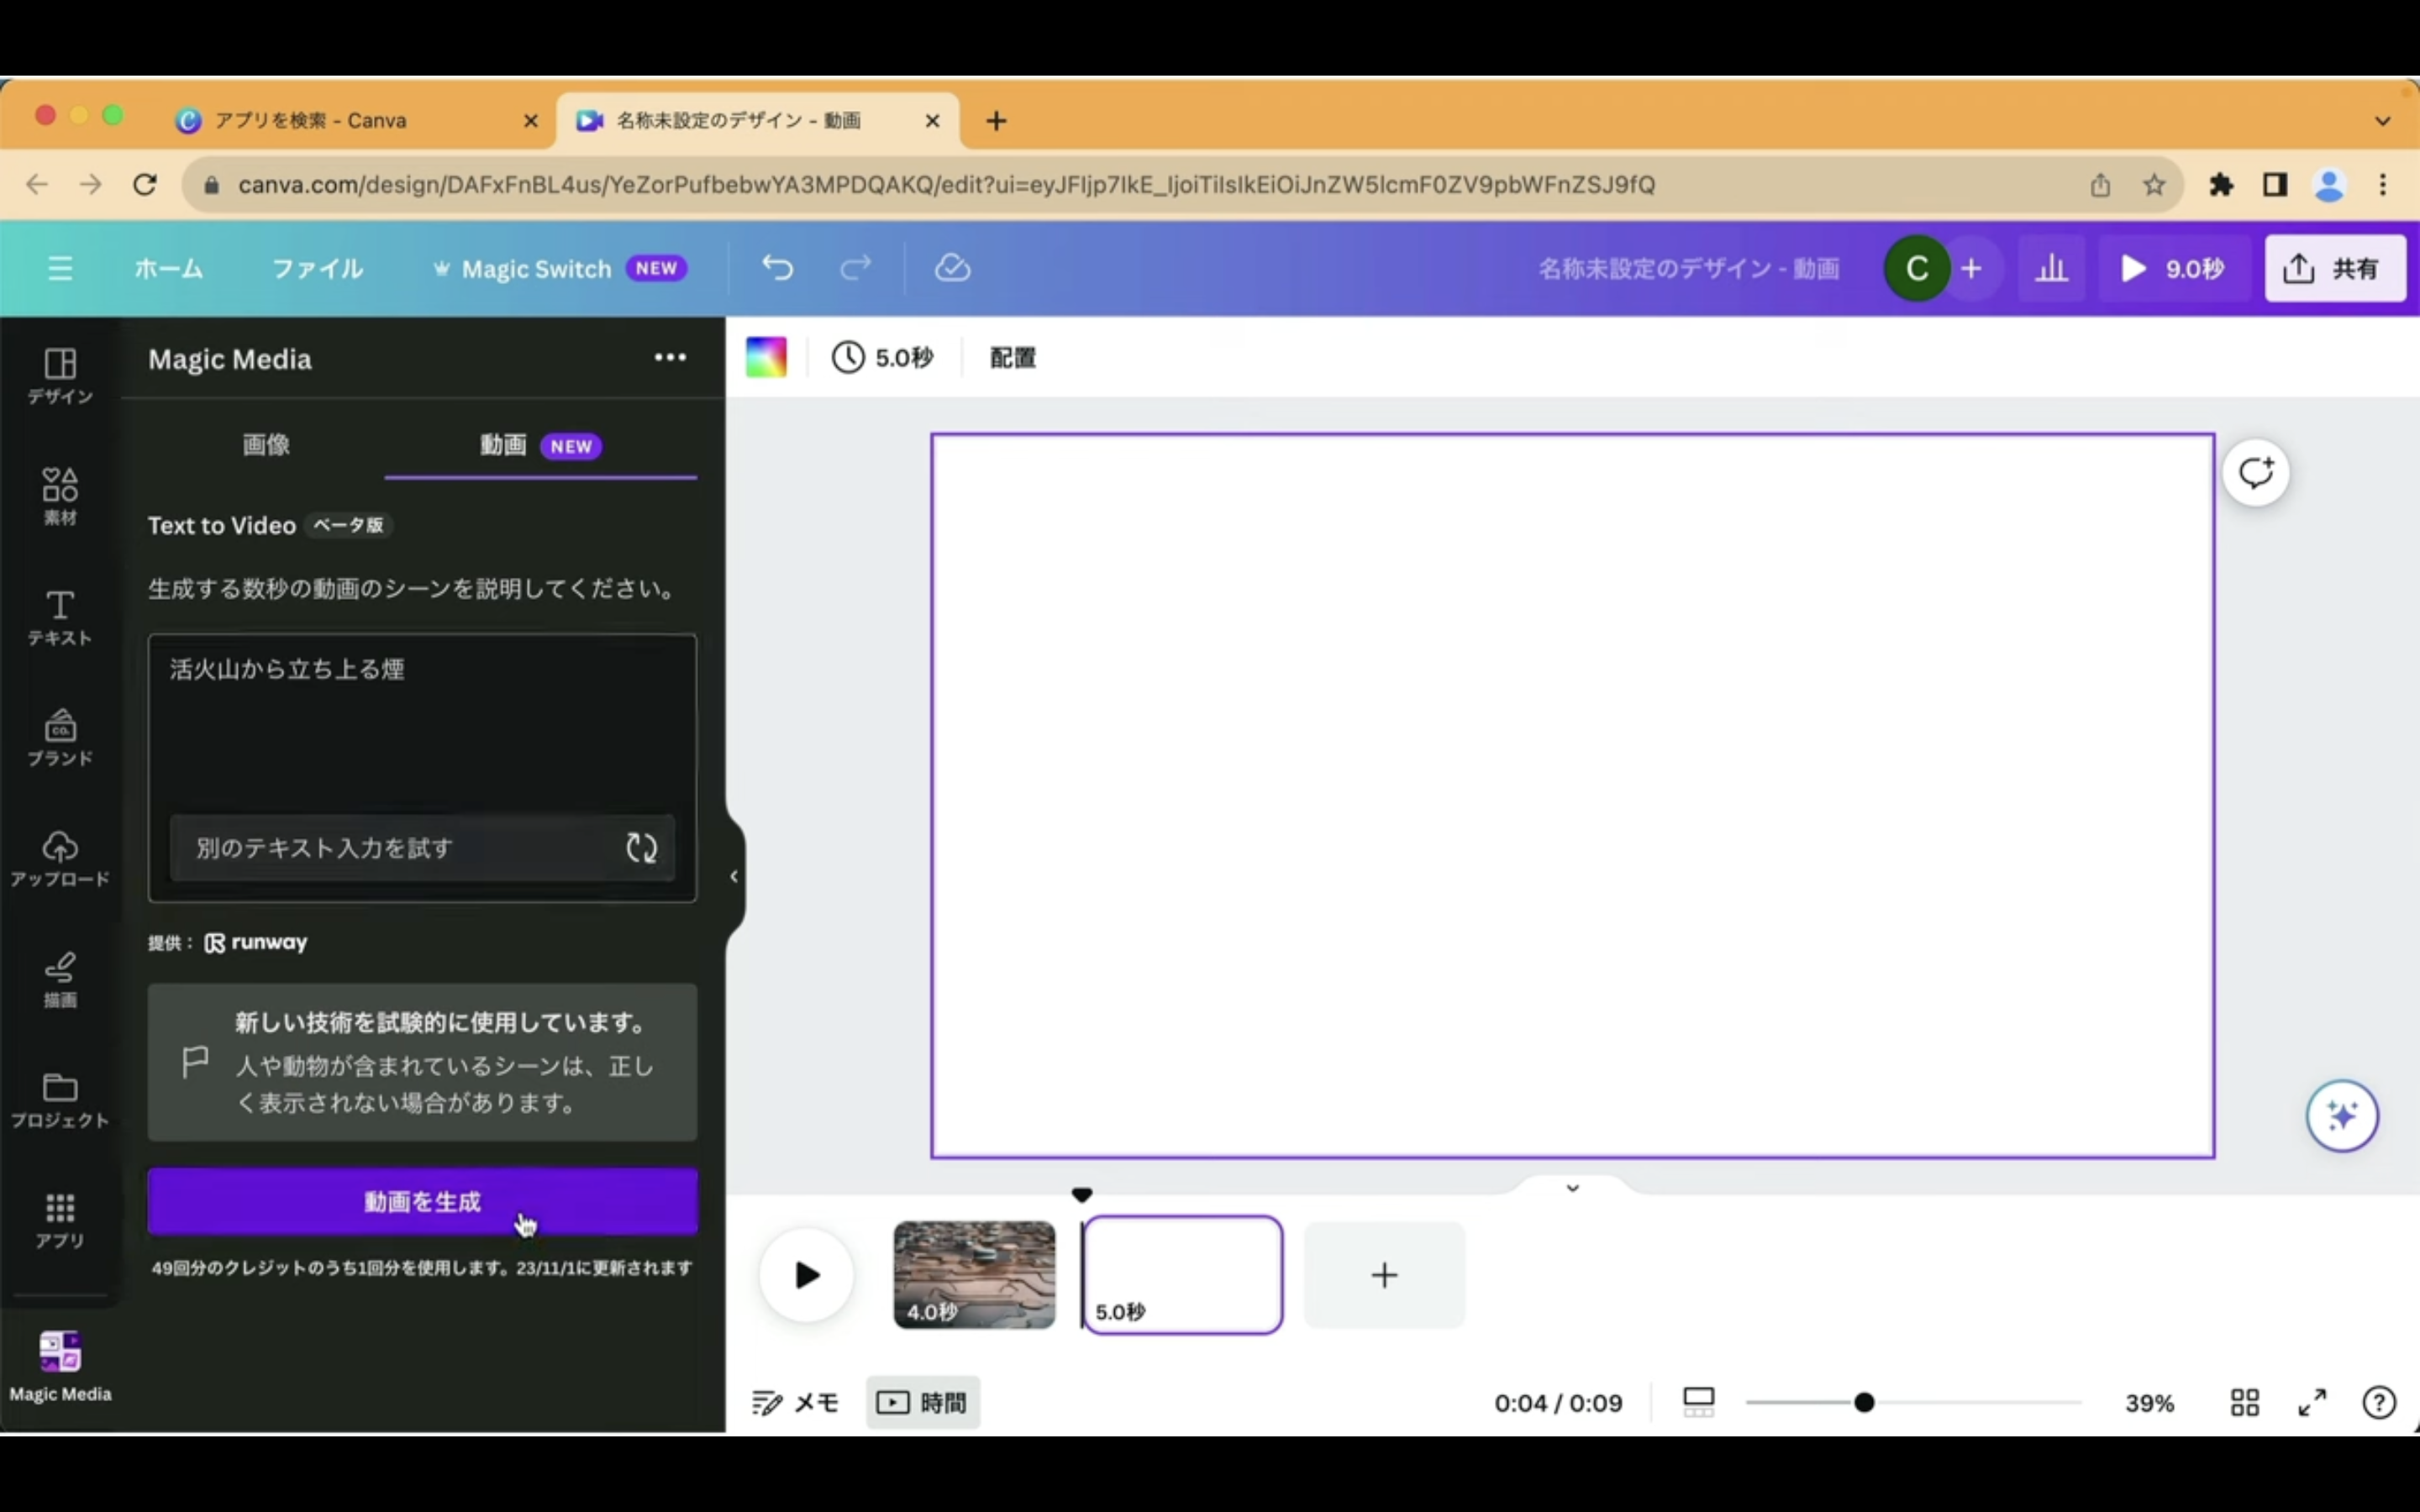
そうすると別のサンプルテキストが設定されます。

テキストが設定されたら「動画を生成する」と書かれているボタンをクリックします。
動画が生成されるまでしばらく待ちます。
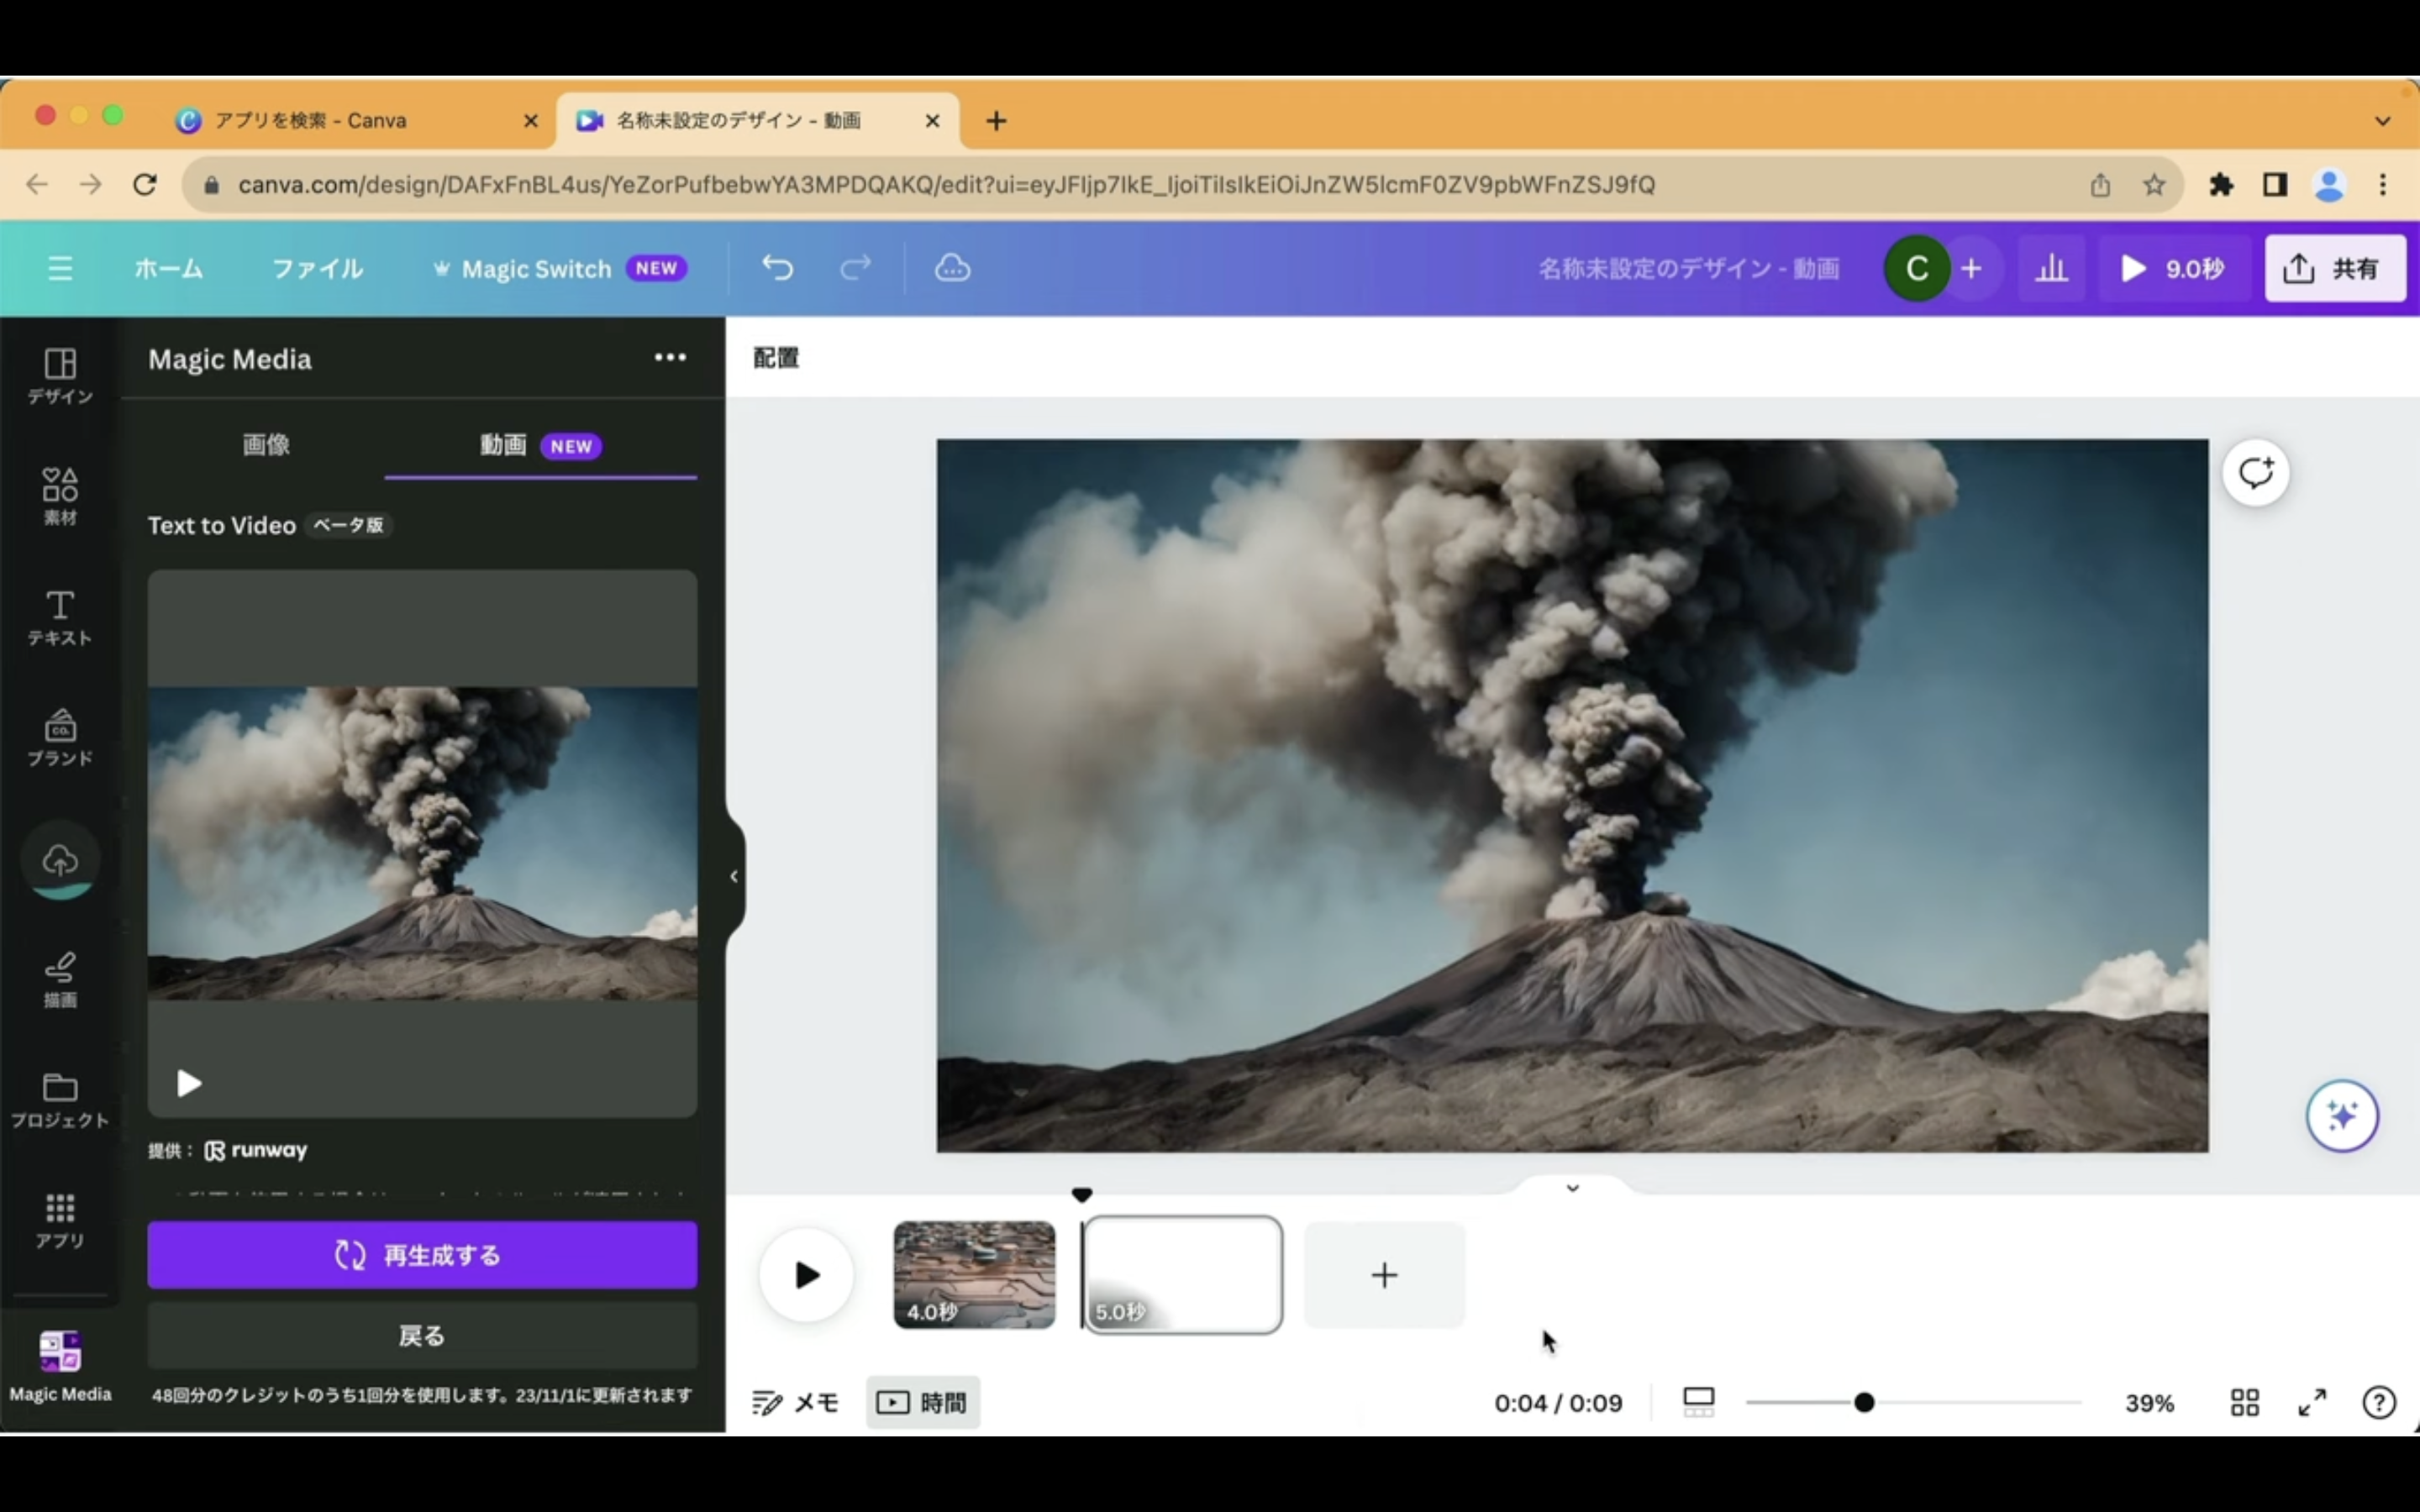
しばらく待っているとこのような動画が生成されました。
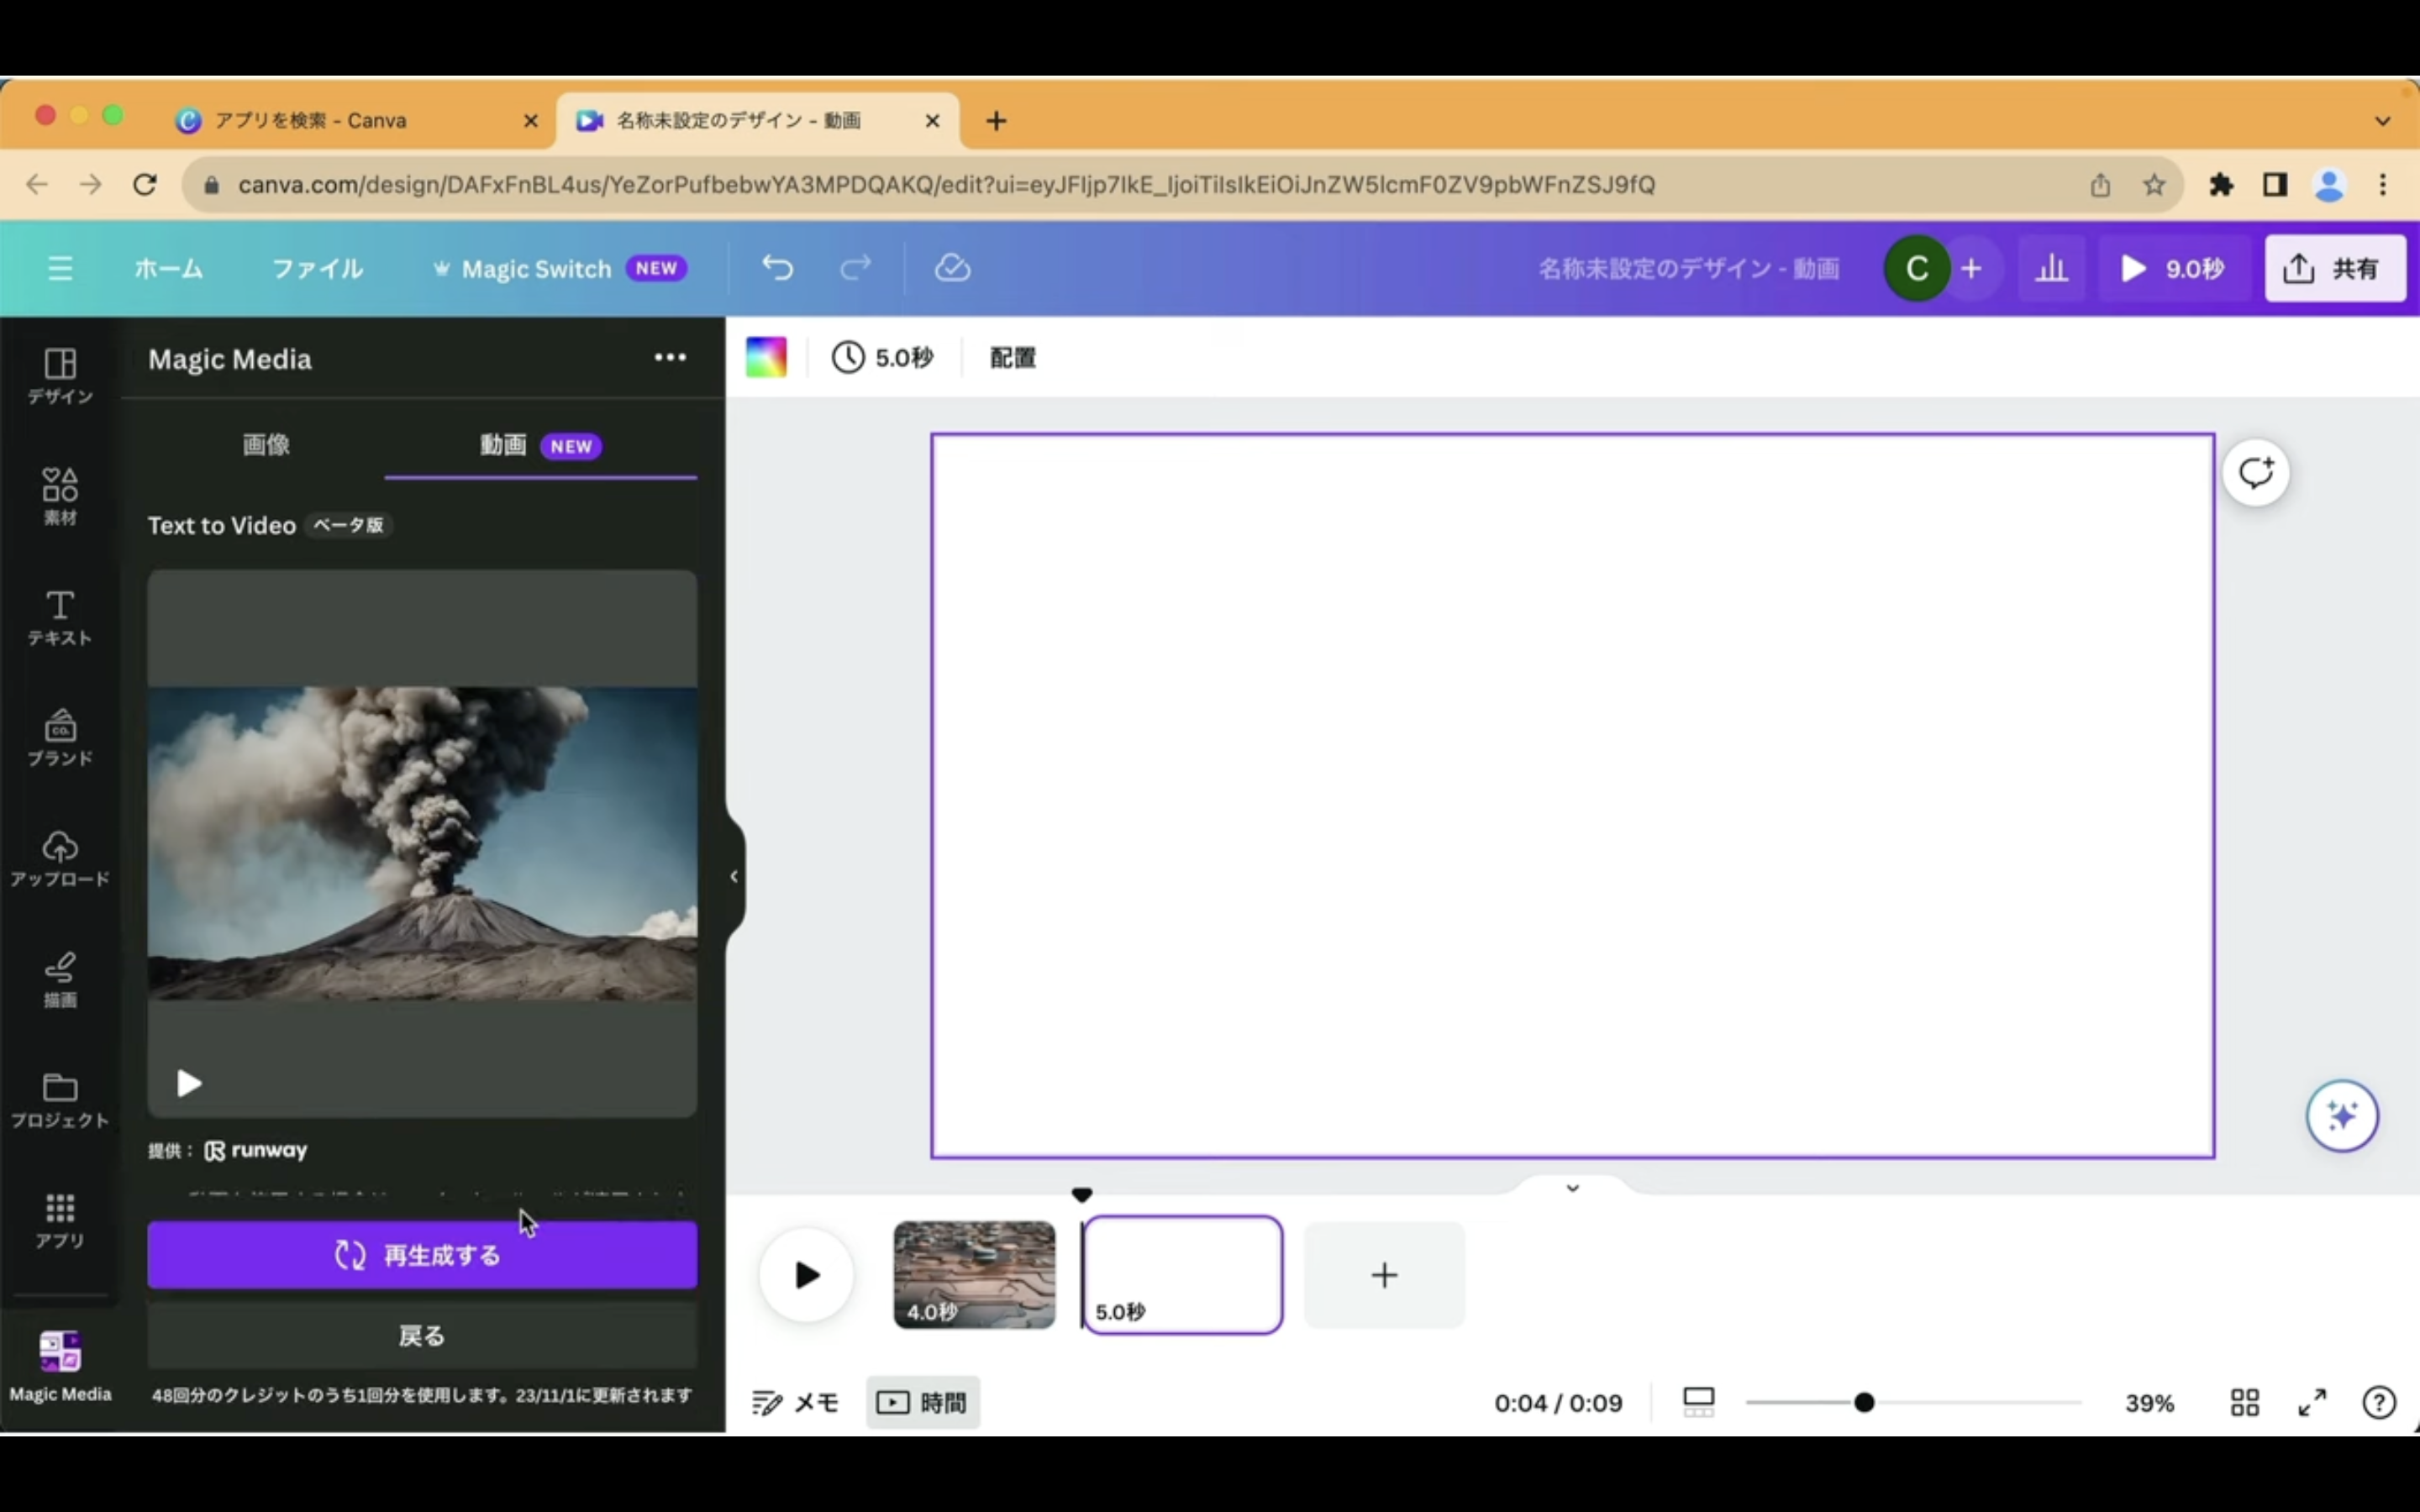
指定した通り煙が出ている火山の動画になっています。
こちらの動画もシーンに追加しておきます。
それでは新しいシーンを追加して続けて別の動画を生成してみましょう。

今度はテキストを直接指定していきます。
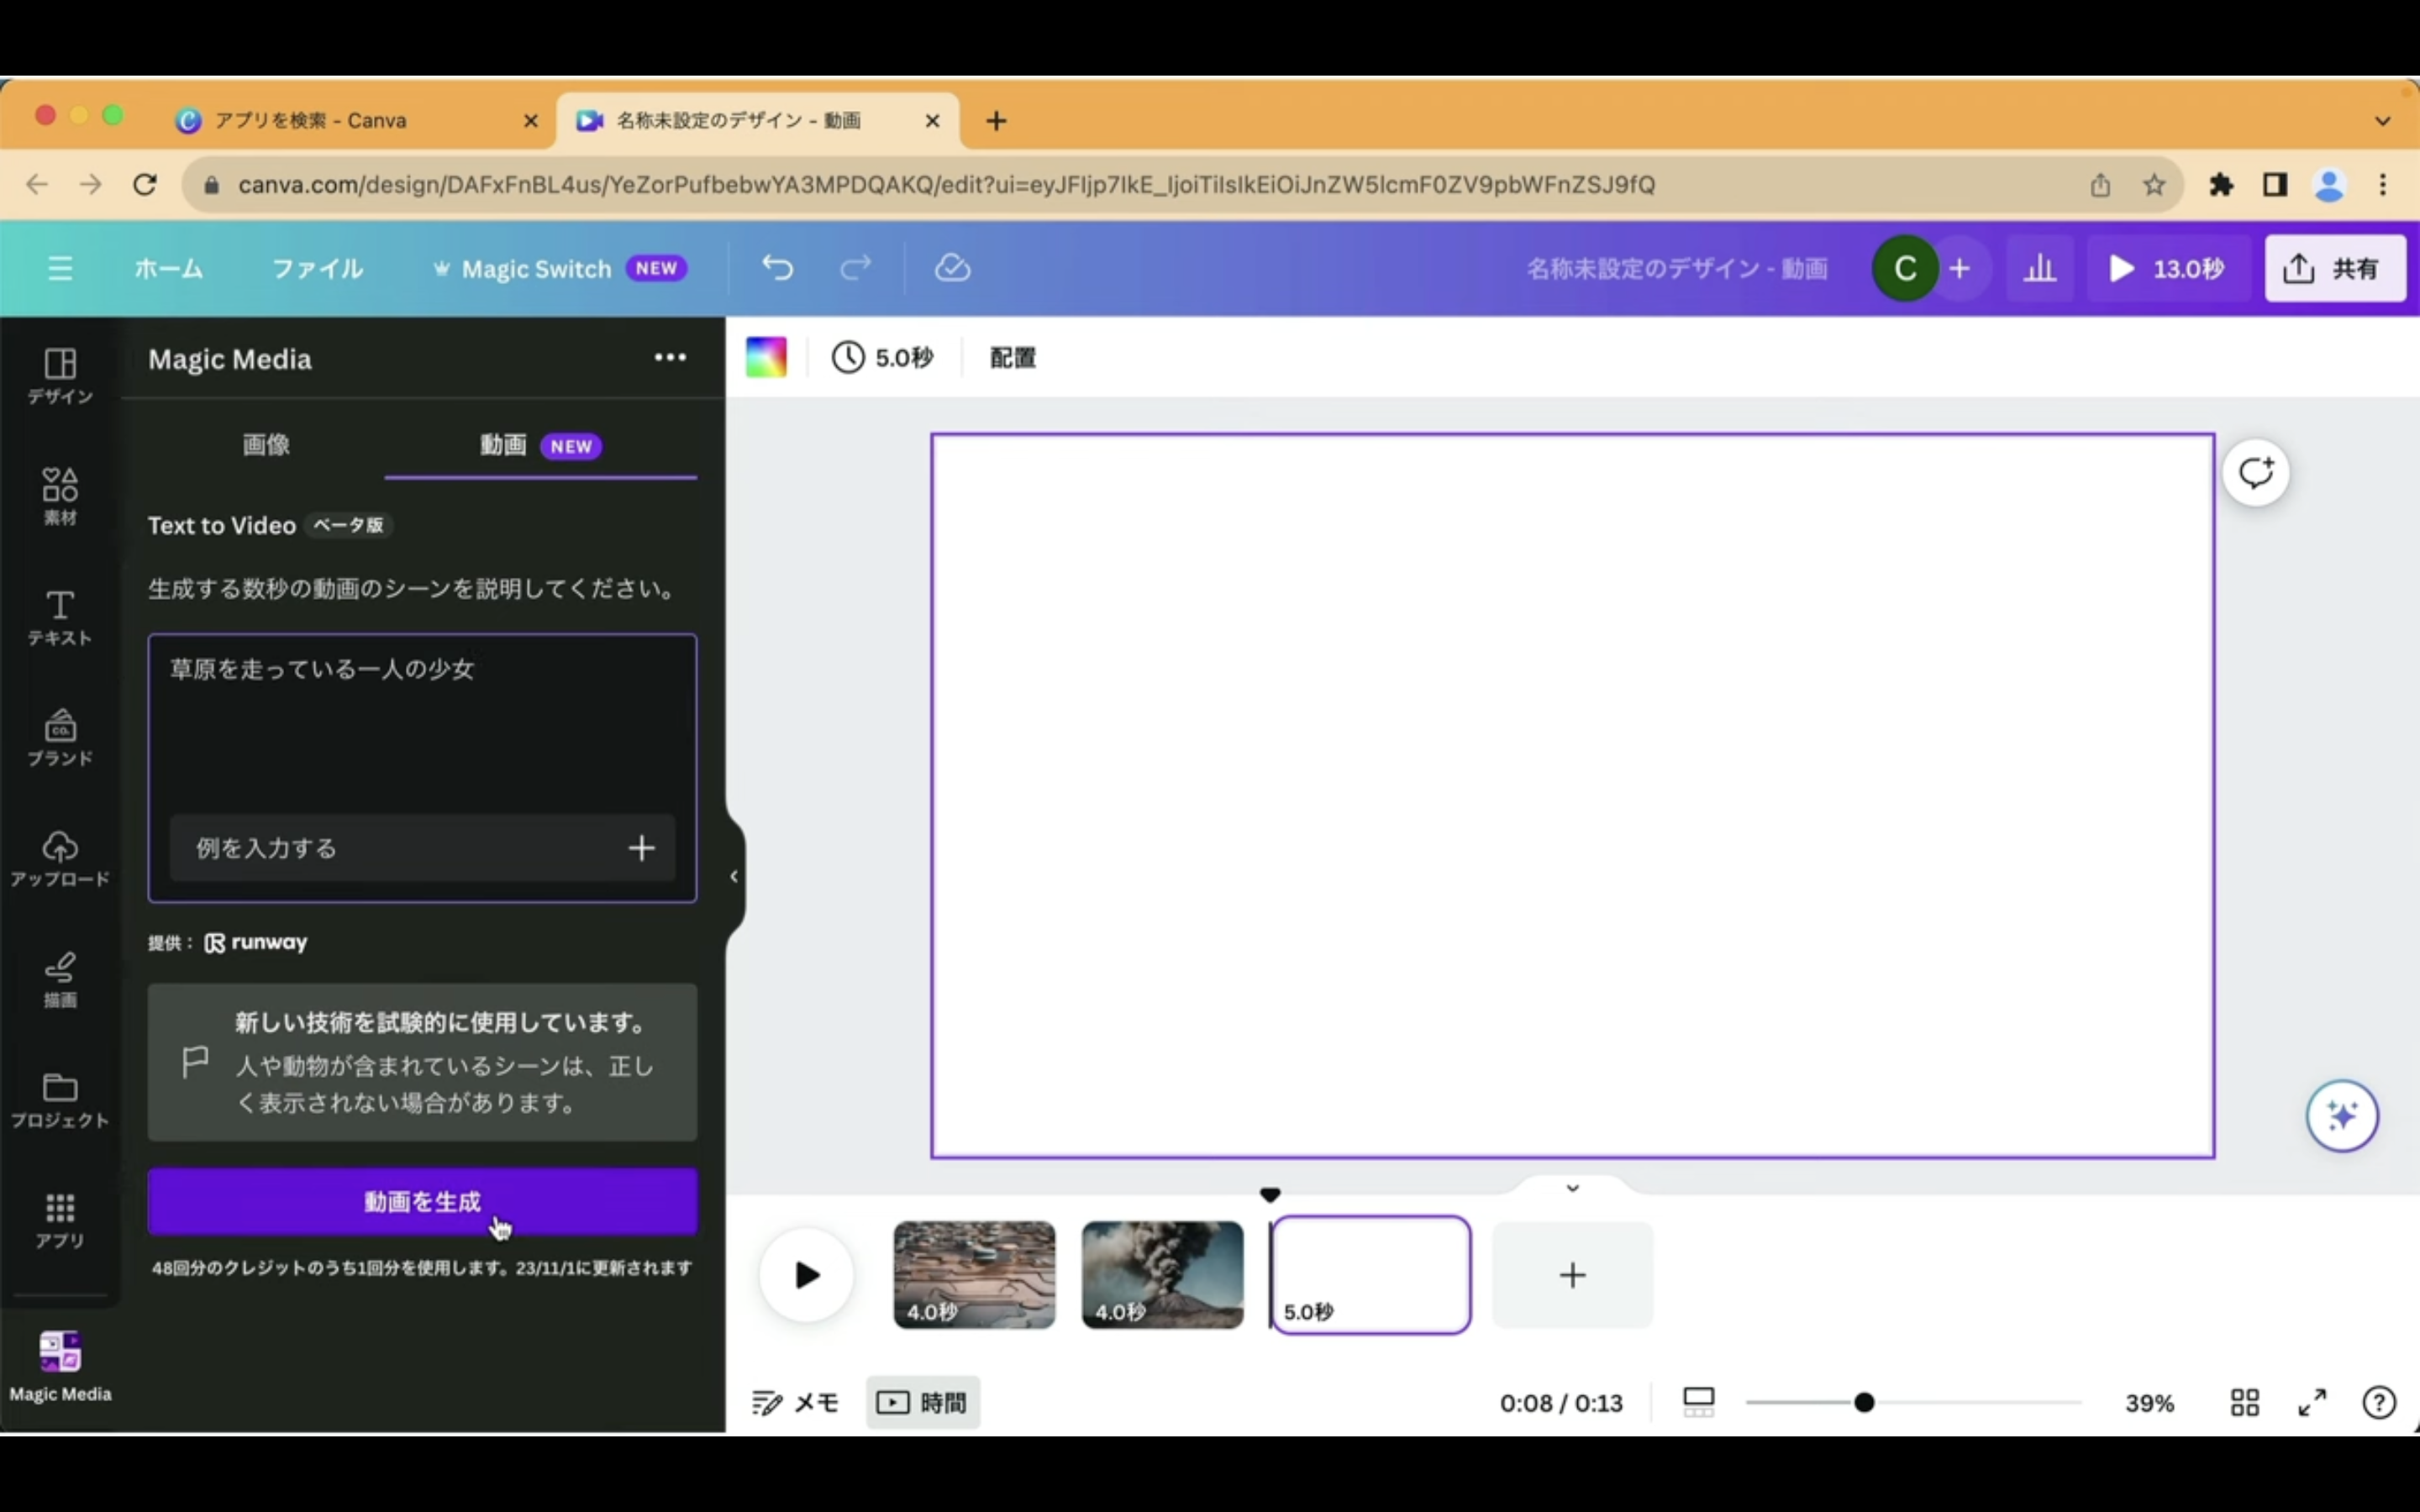
今回は「草原を走っている1人の少女」という指定にしてみました。
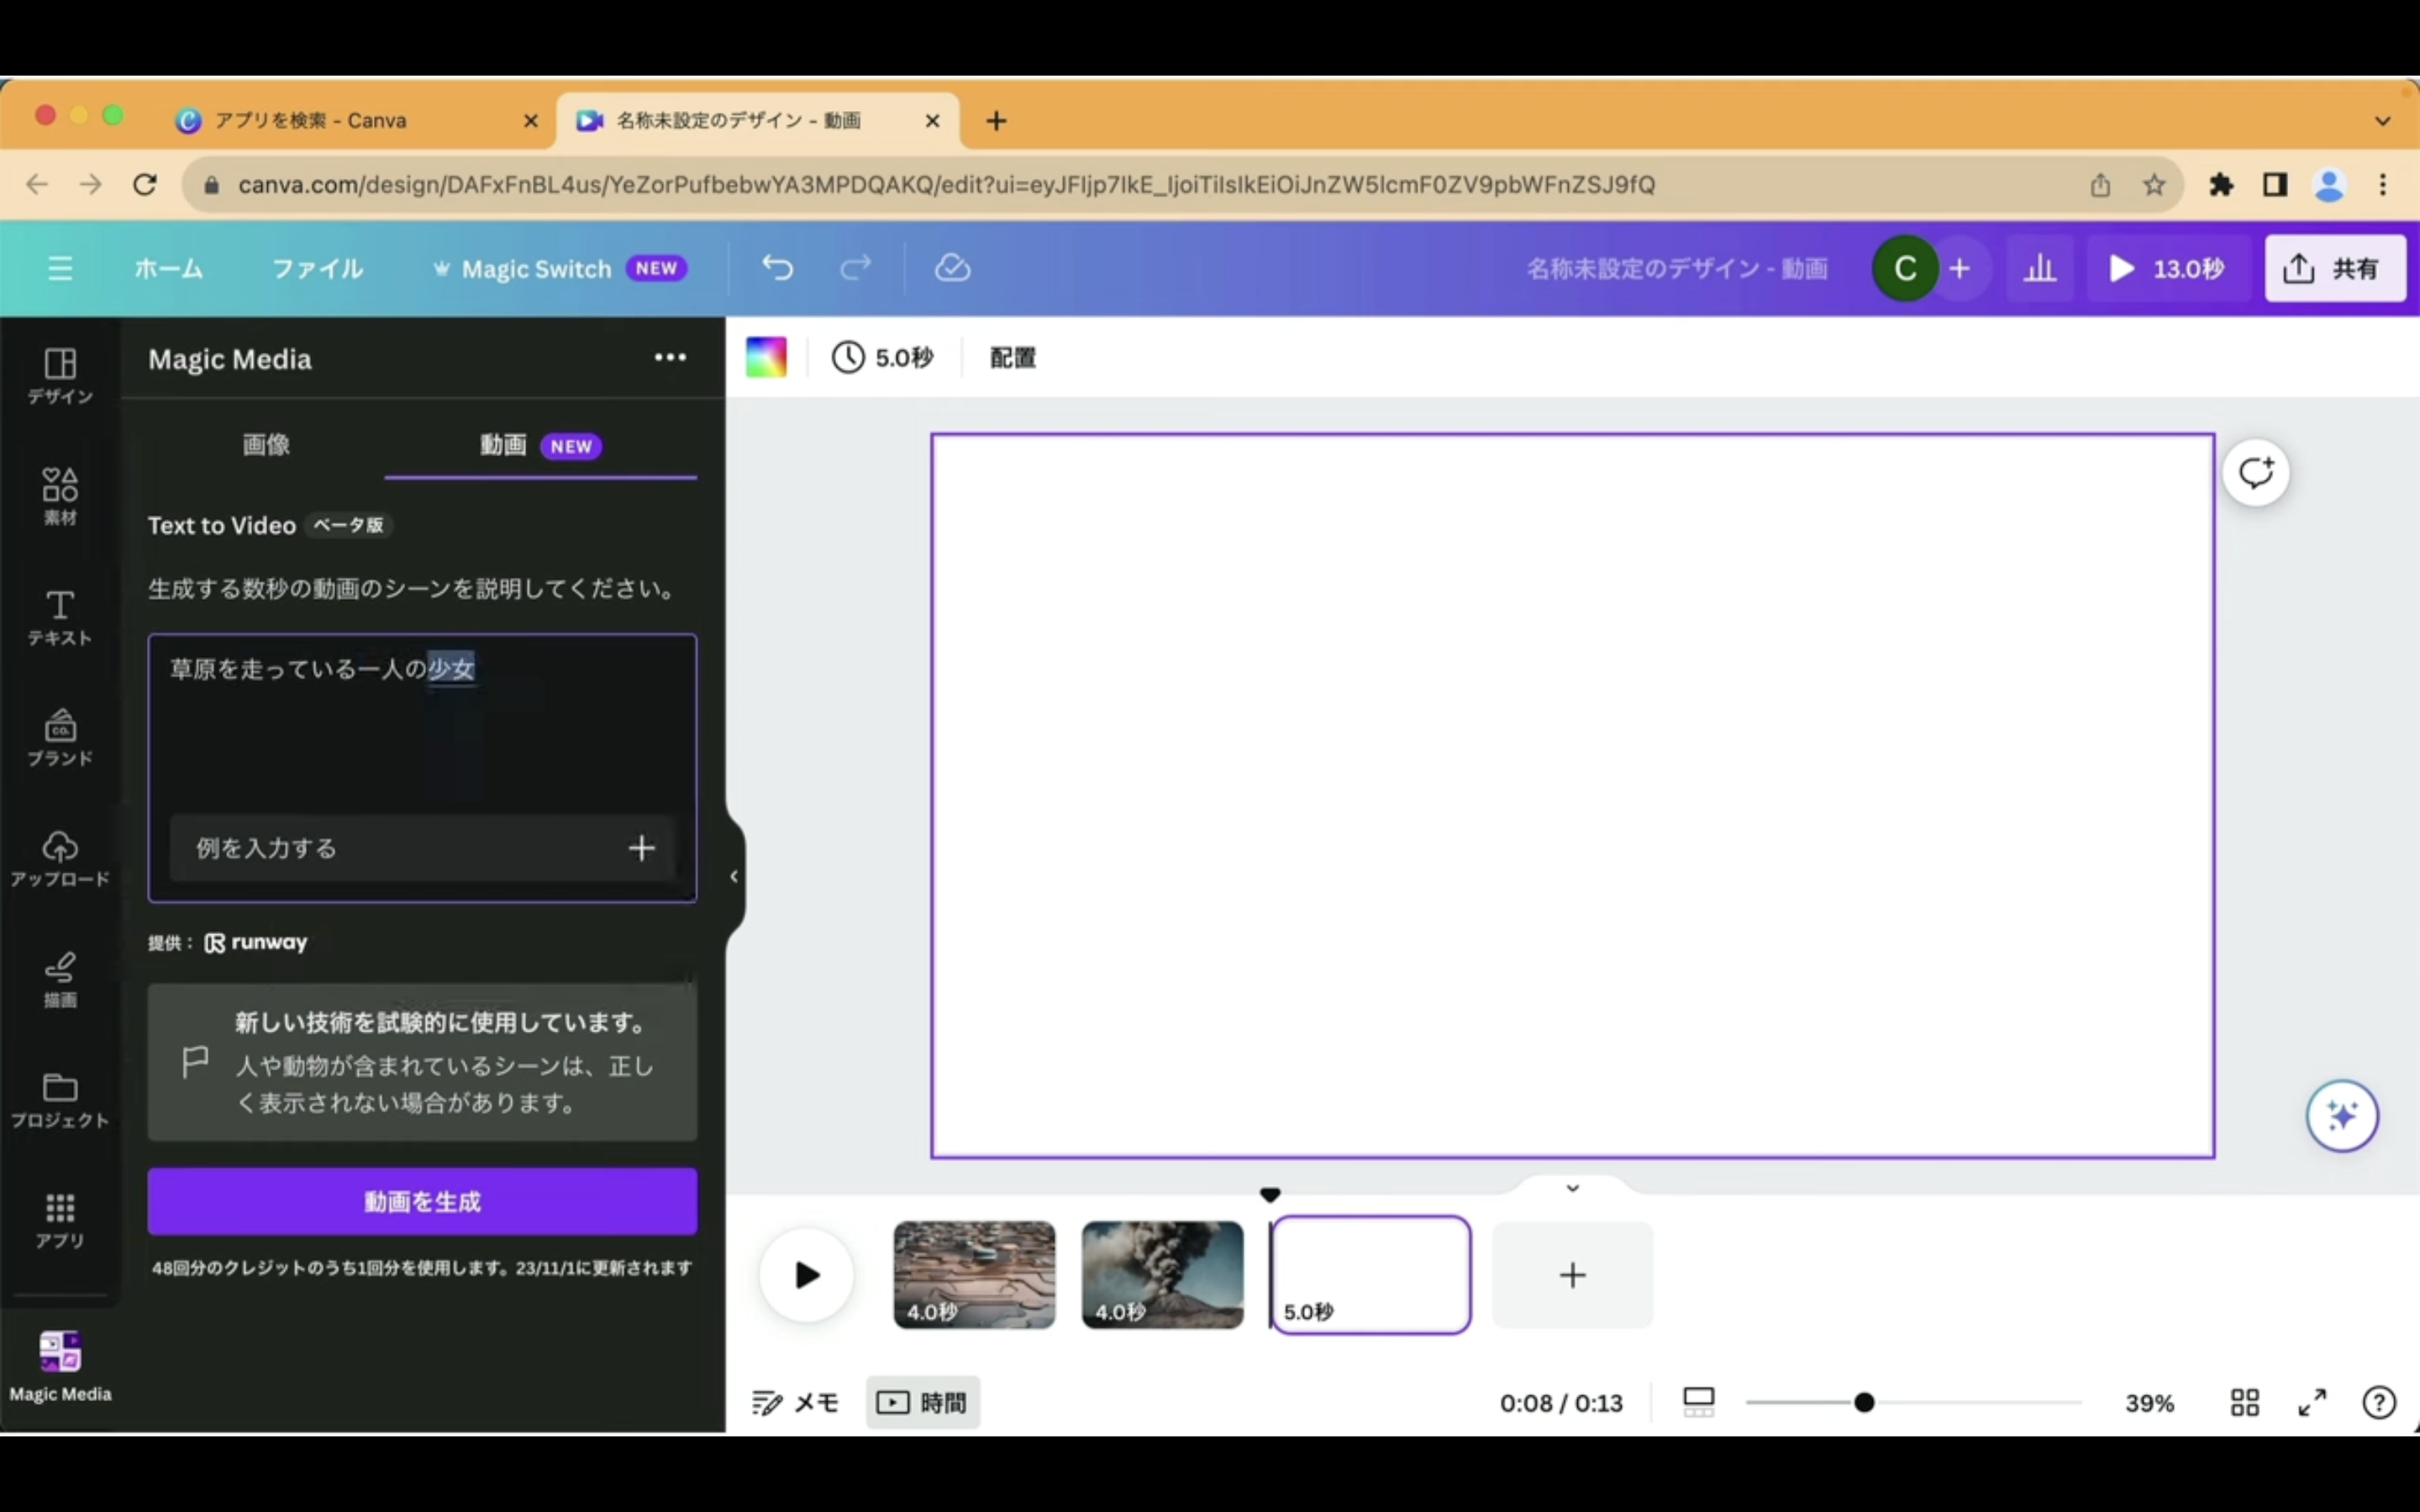
「動画を生成する」と書かれているボタンをクリックします。
動画が生成されるまでしばらく待ちます。
しばらく待っているとこのような動画が生成されました。
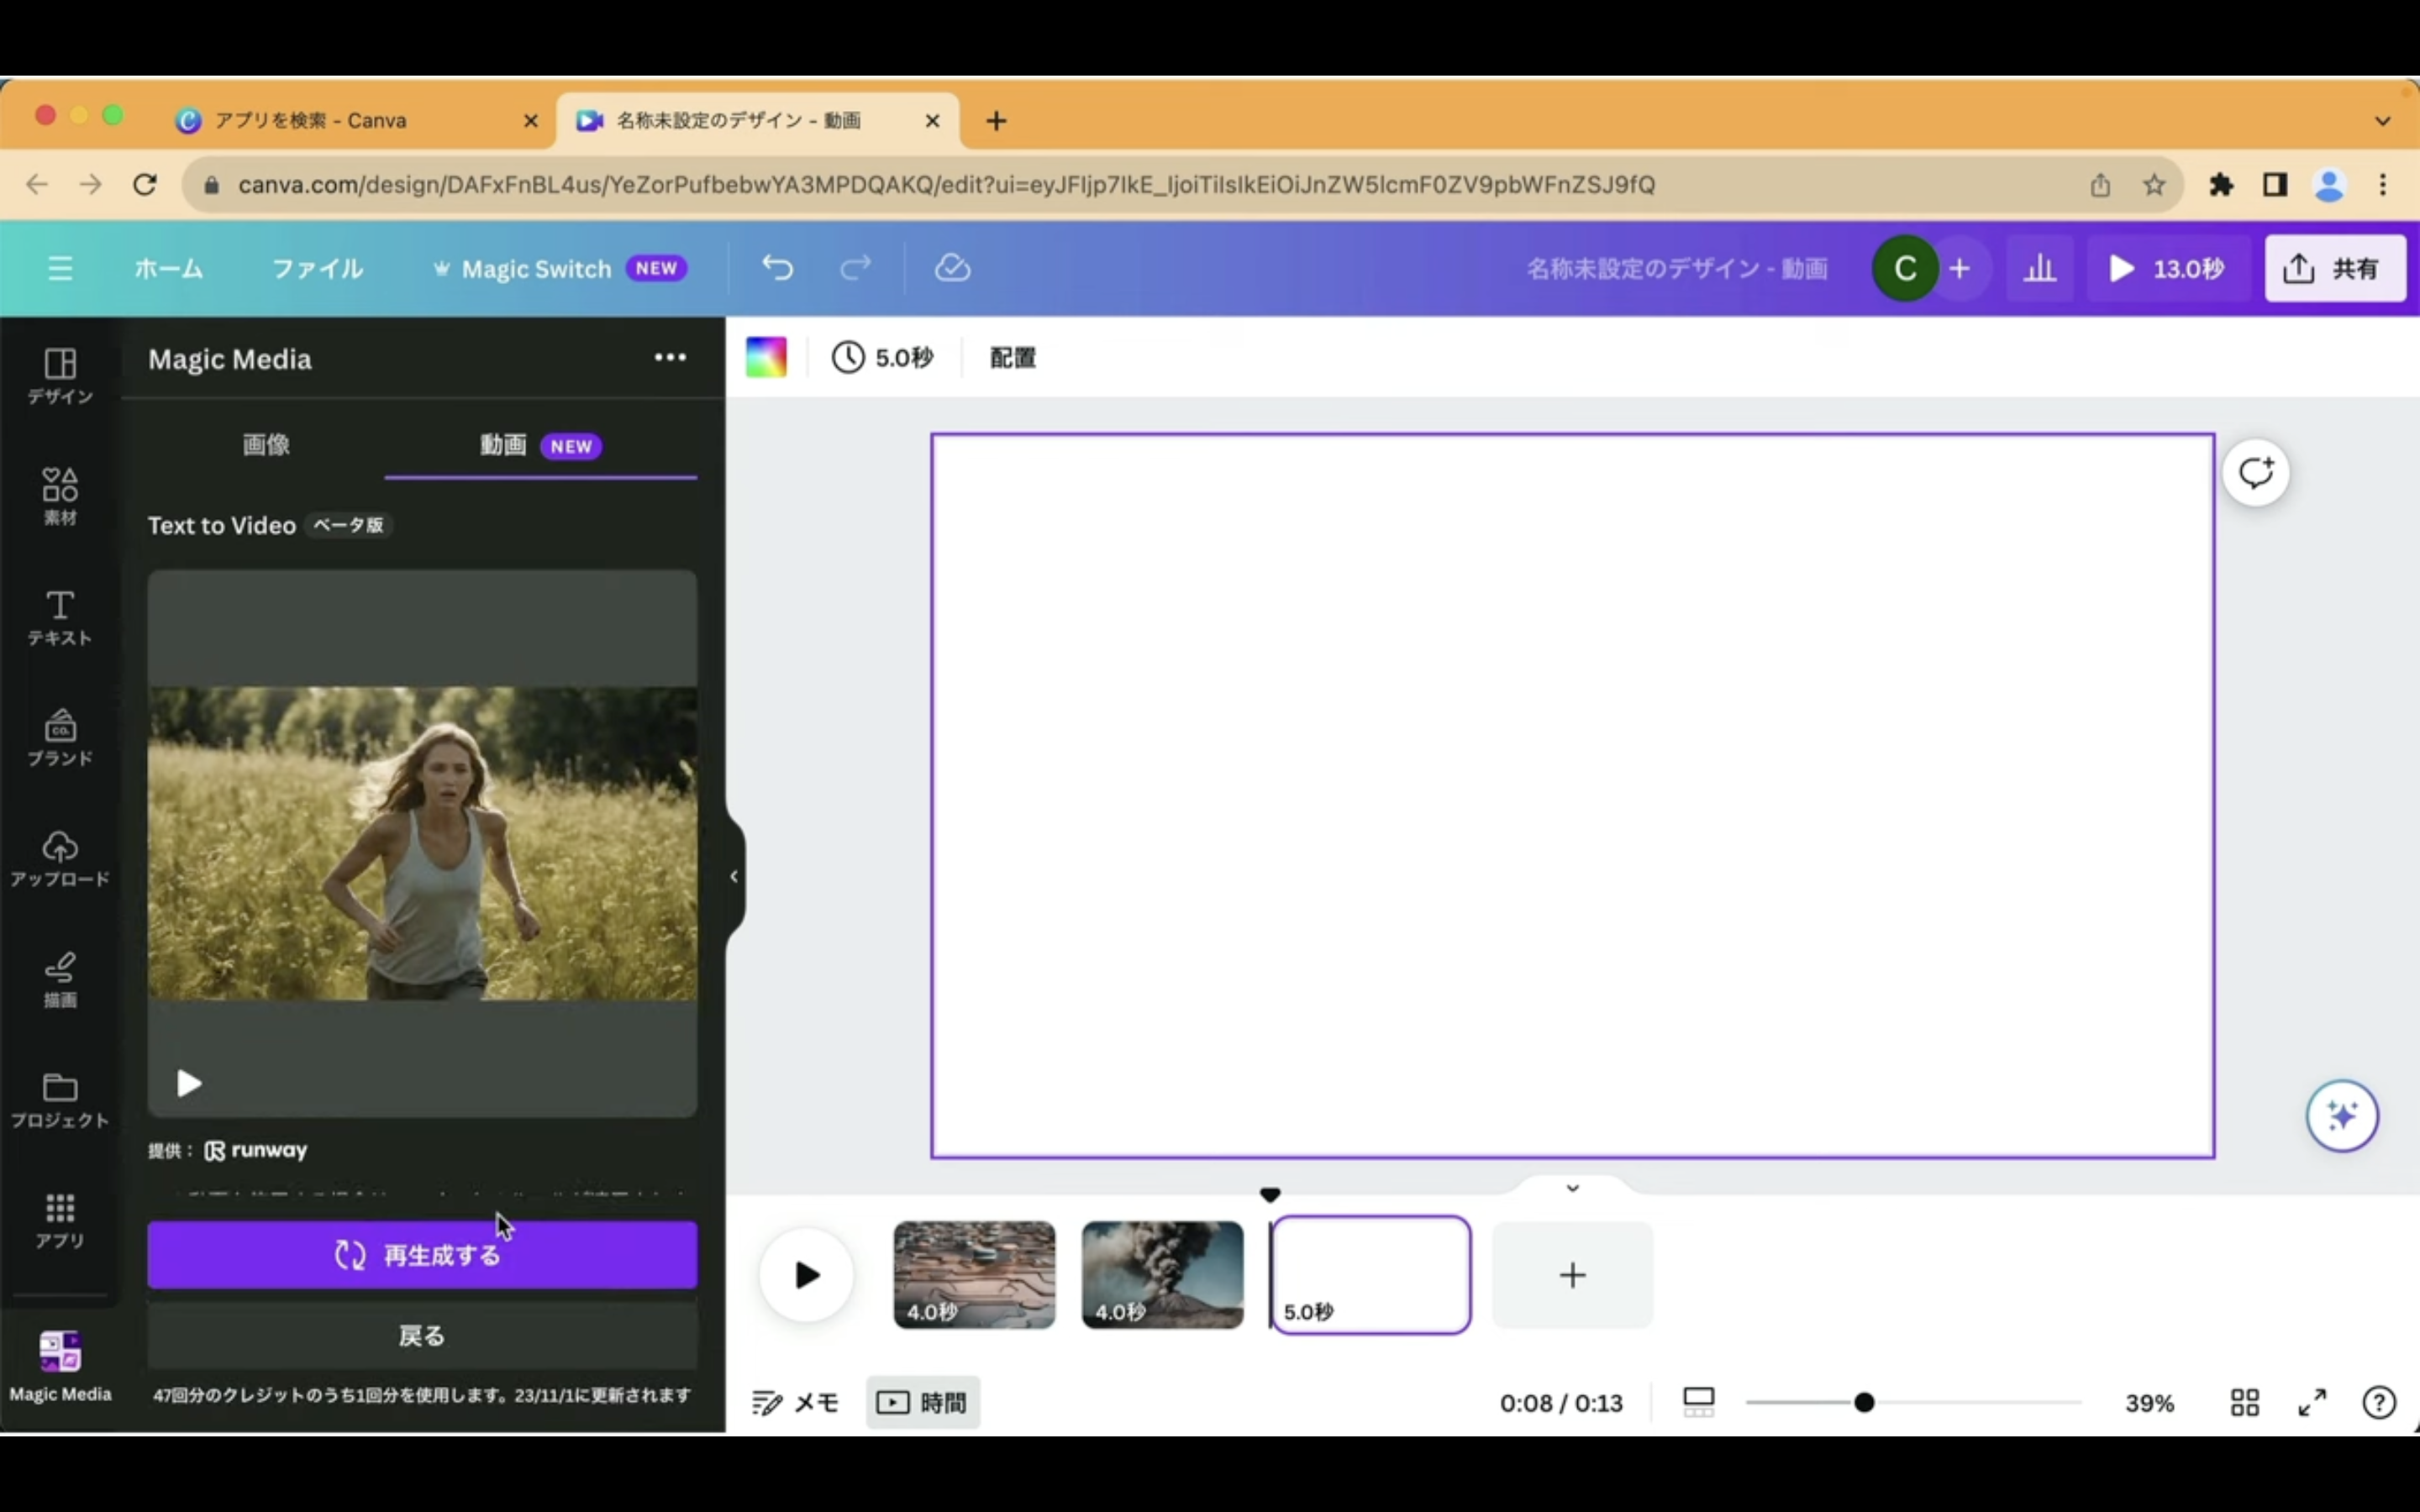
指定した通り草原を走っている女性の動画になります。
こちらの動画もシーンに追加しておきます。
それではこれまで作成した動画をプレビューで確認してみましょう。
タイムラインのバーを最初に戻してから再生ボタンをクリックします。
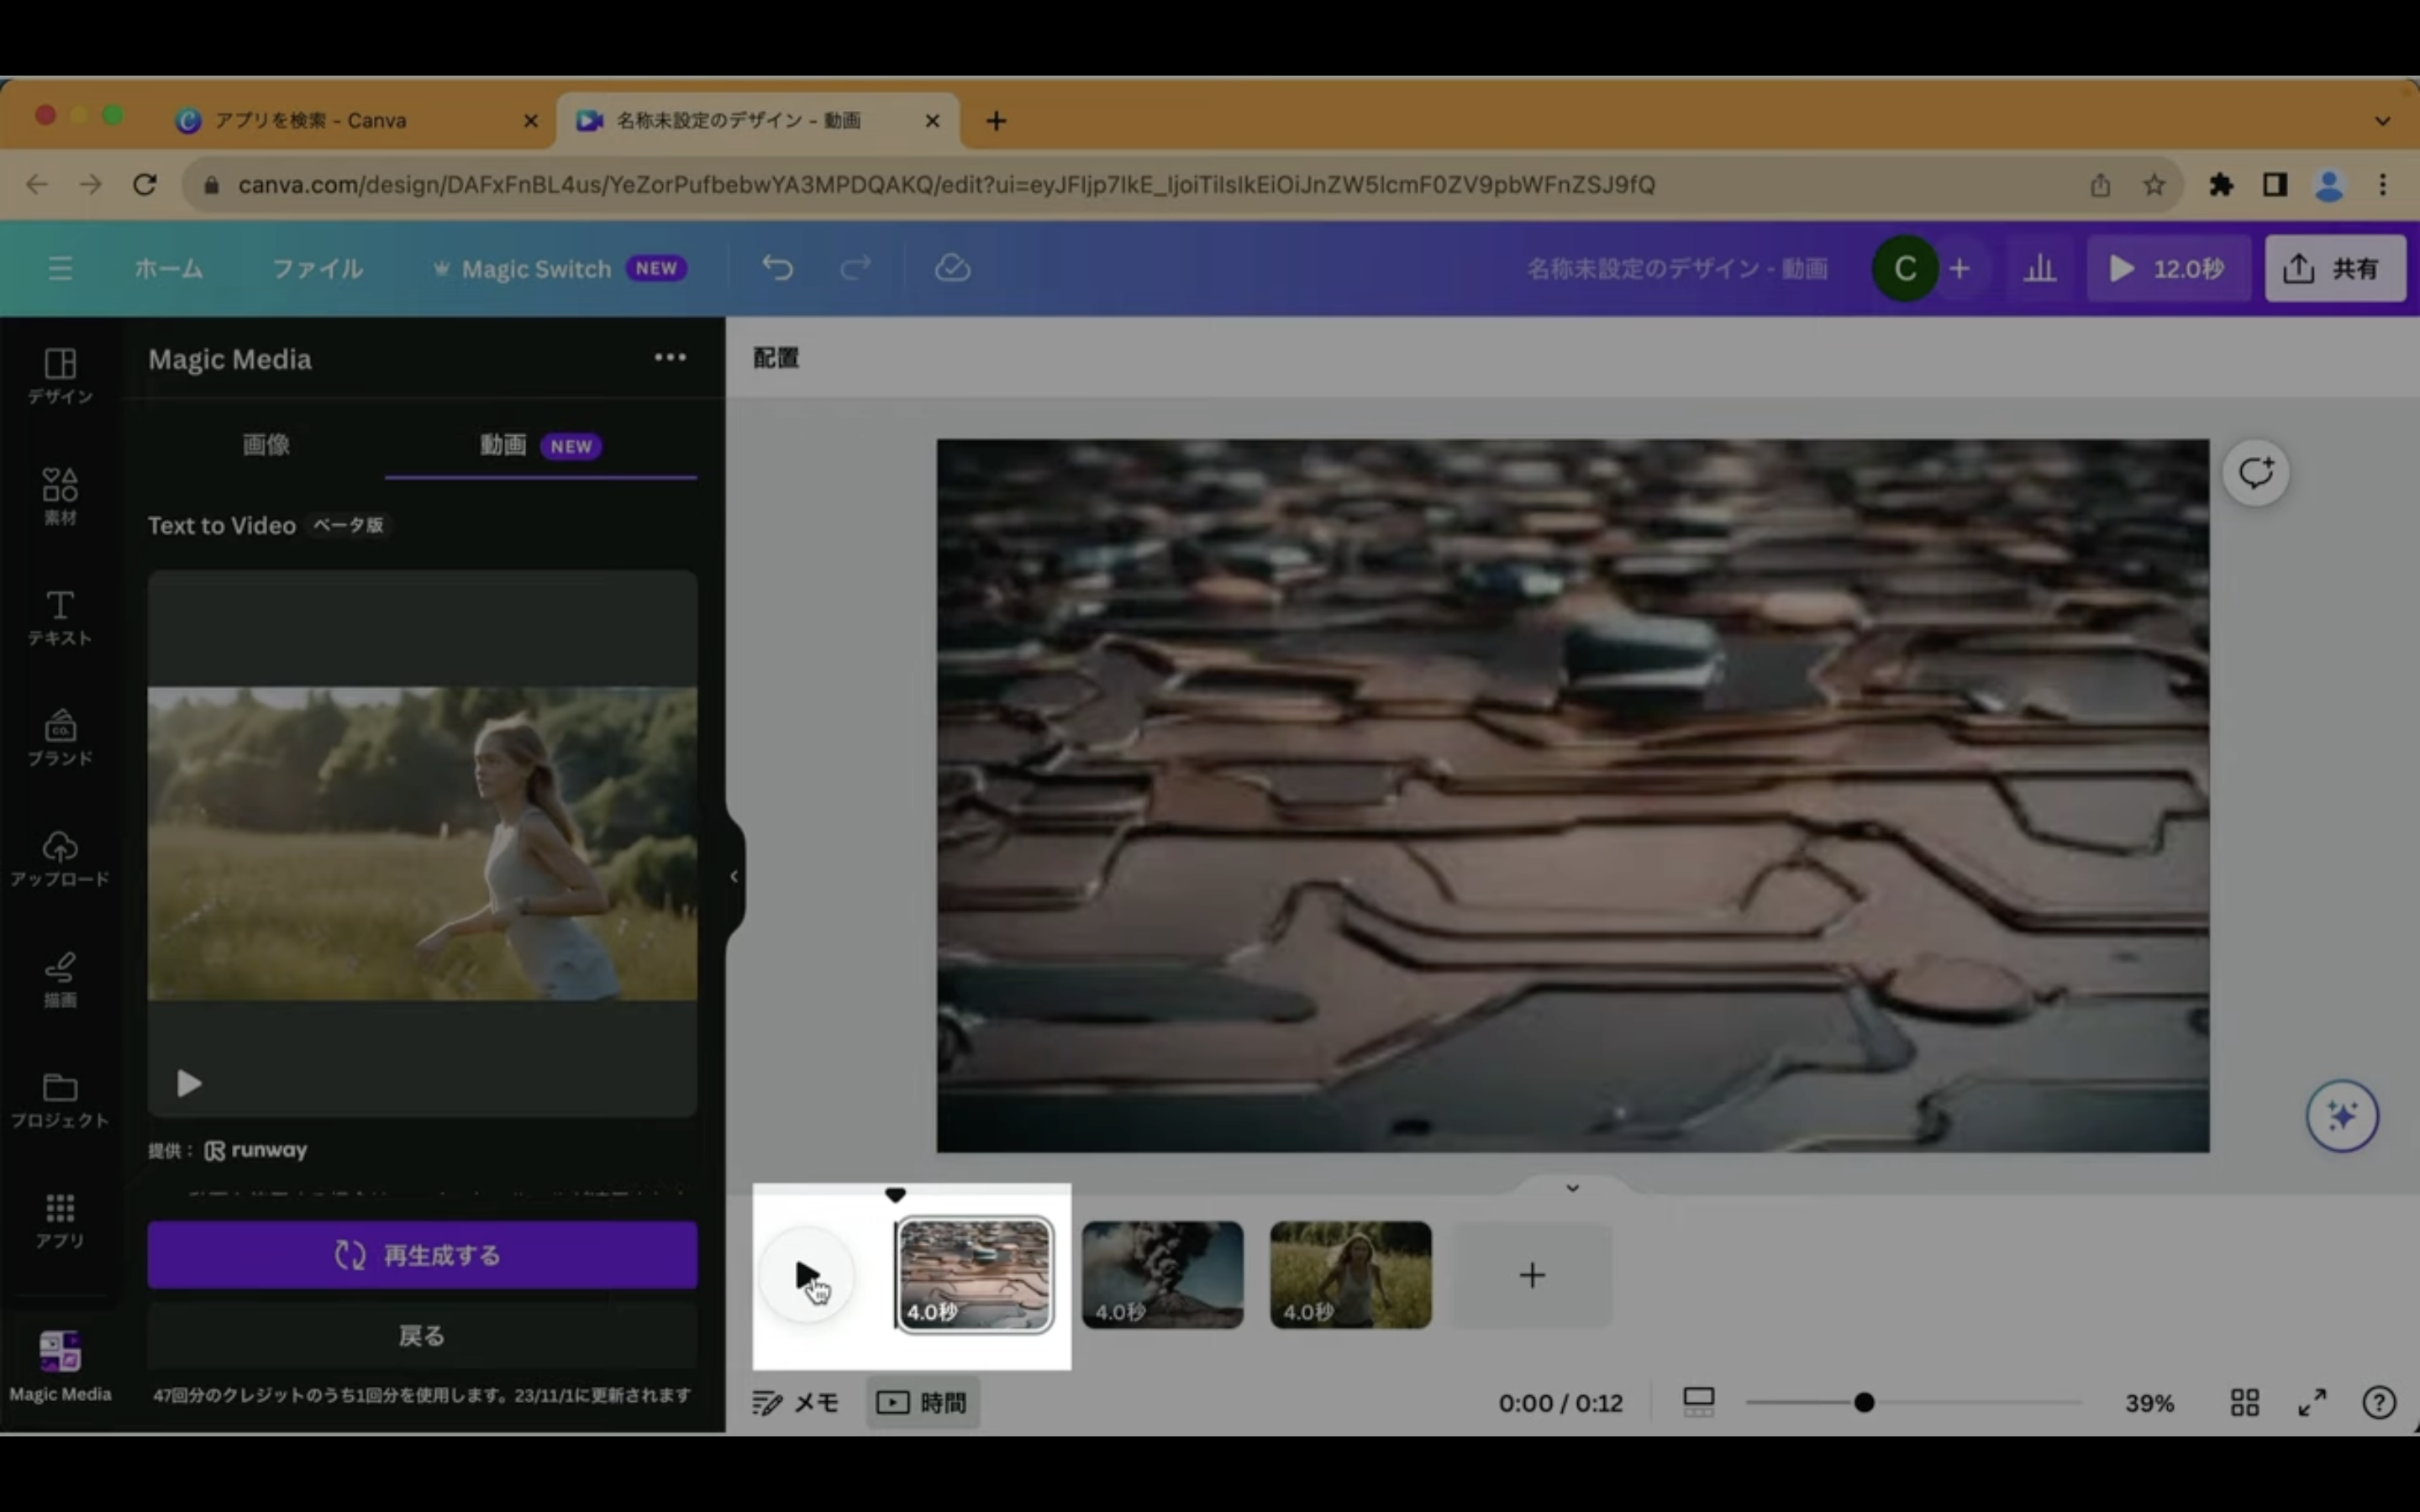
そうするとこれまで指定していた動画のシーンが続けて再生されます。
このようにMagic Mediaを使うとテキストで指定した動画を生成することができます。
是非お試しください。