▶︎動画でも話してるので、文章読むのが面倒な方はこちらをみてもらえればと思います。
今回はAnimate Diff CLI Prompt Travelを使って動画を作成する方法について解説します。

これを読めば誰でも簡単にクオリティーの高いAI美女が作れるようになっているので興味がある人は、下のバナーをクリックして購入してみてね🎶

Animate Diff CLI Prompt Travelを使って動画を作成する方法について
Animate Diff CLI Prompt Travelのソースコードは公開されています。
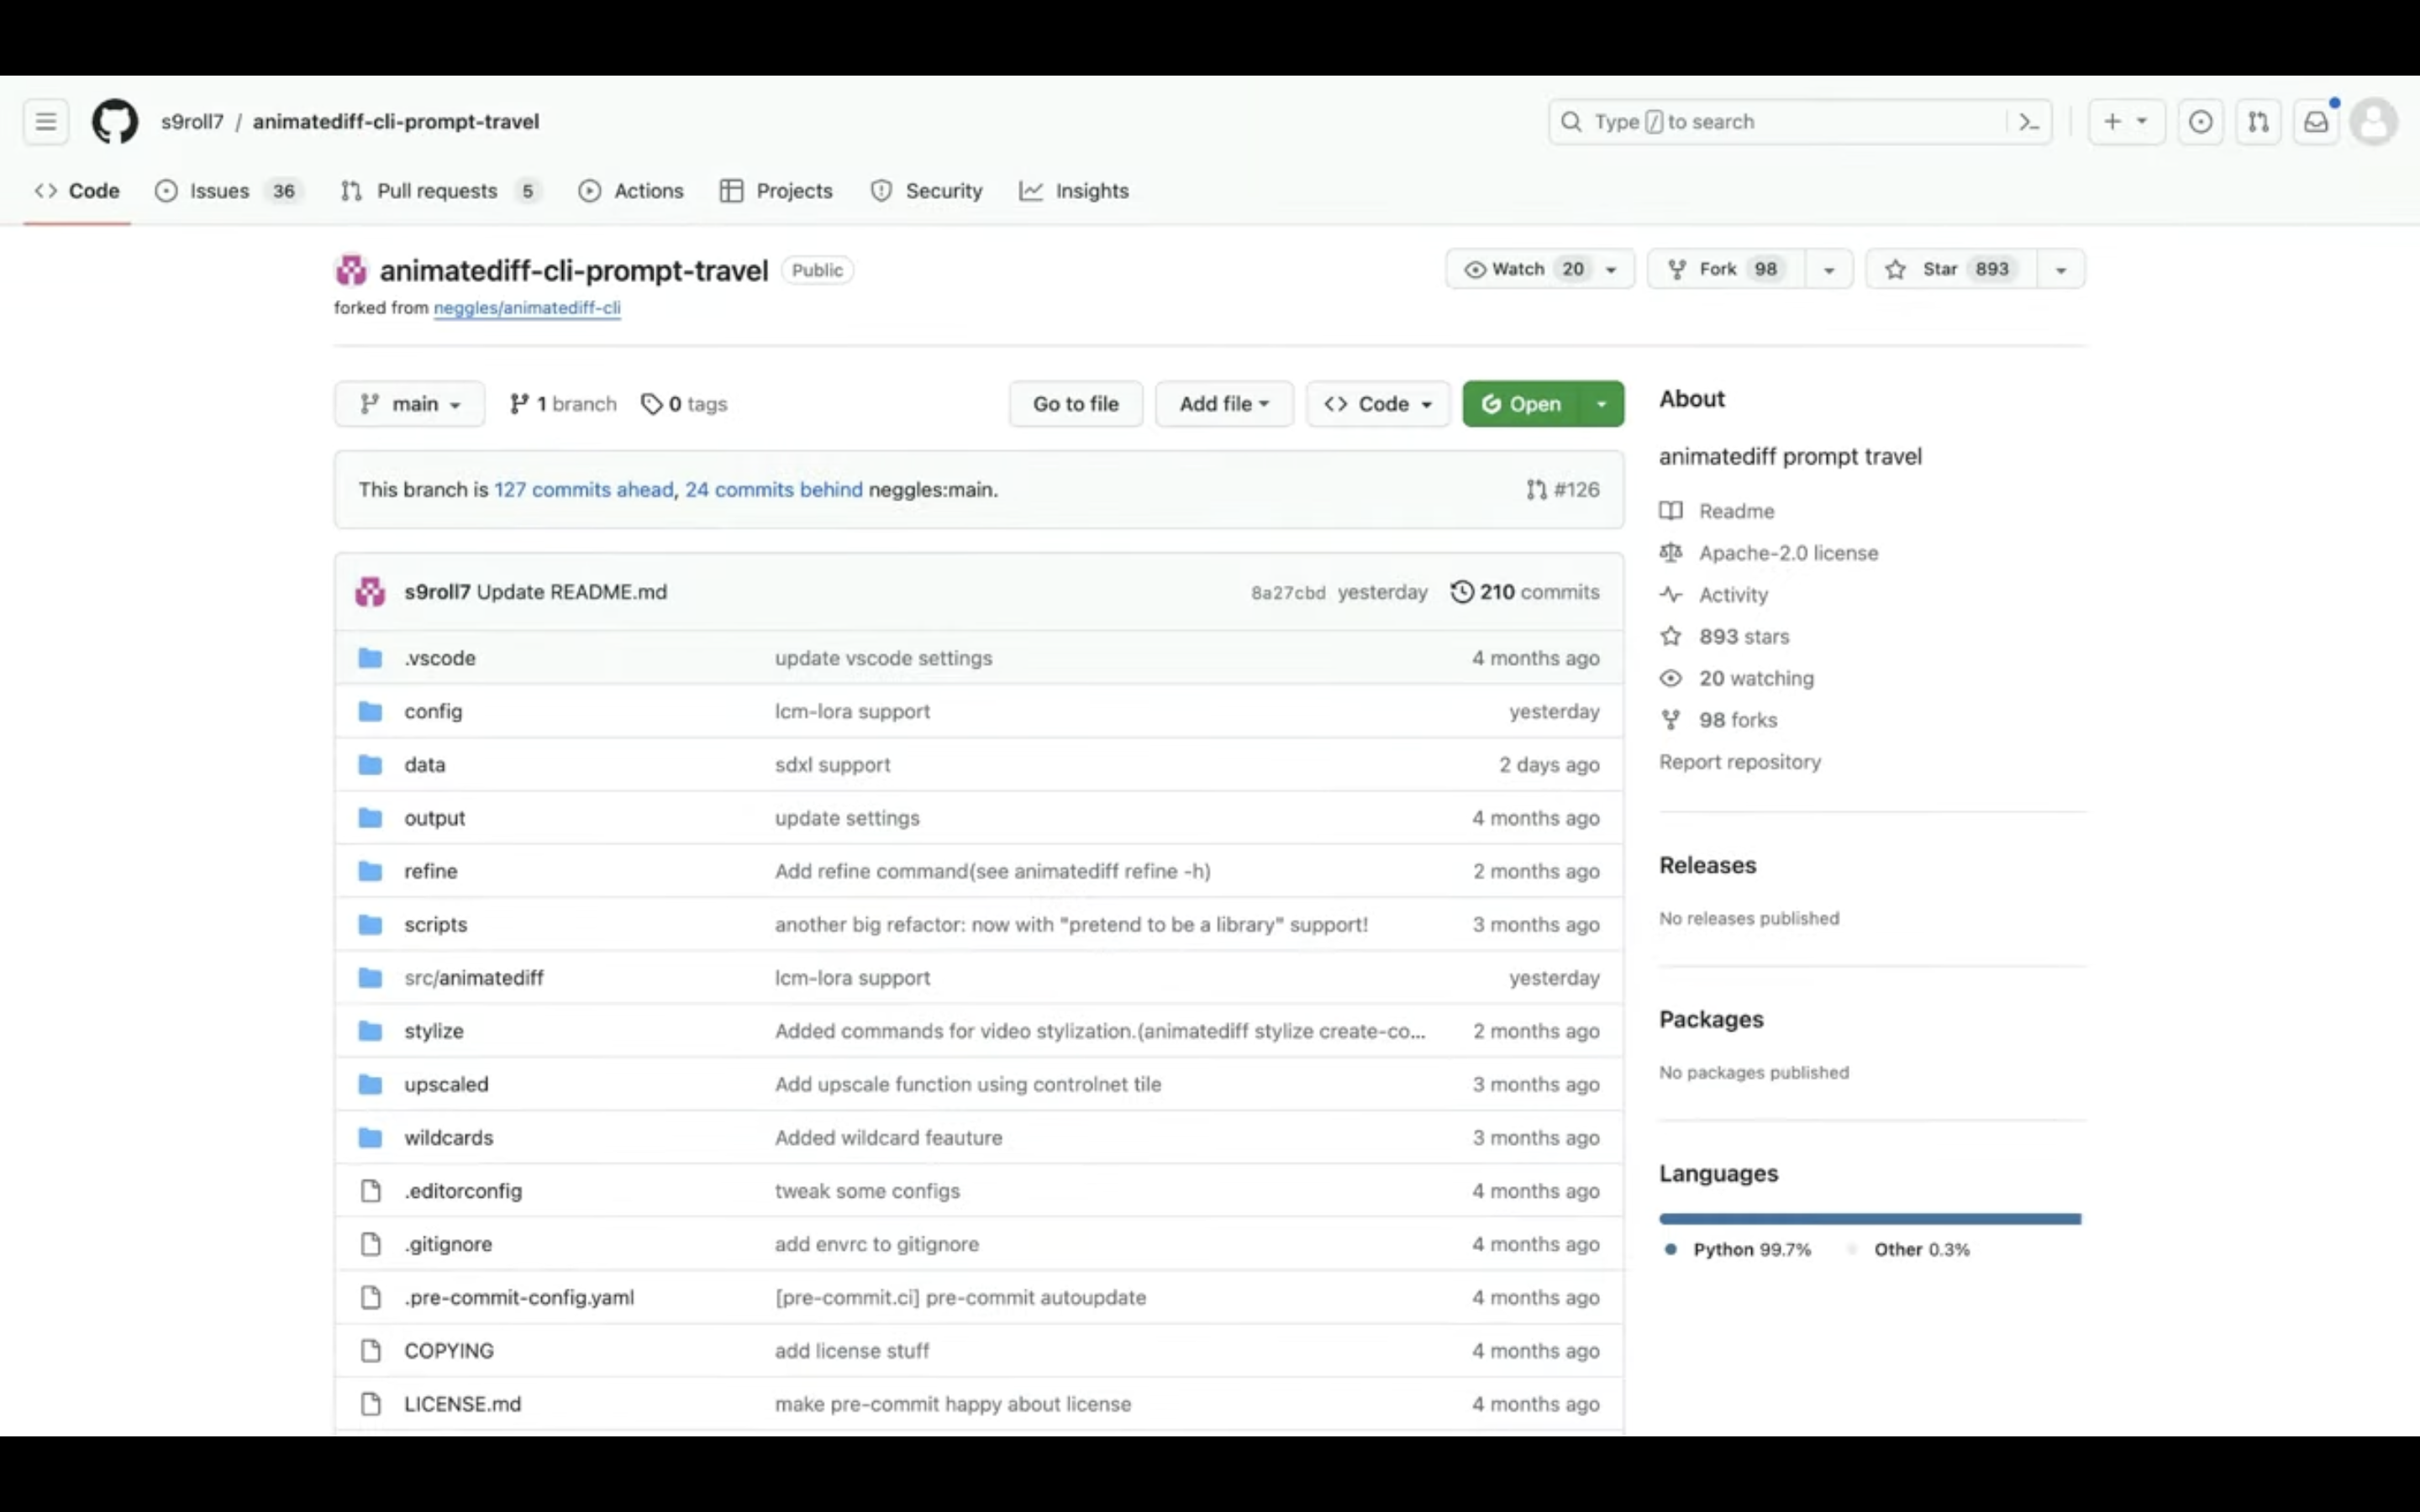
公開されているコードへのリンクは以下に貼っておきますので、そちらをご確認ください。
この動画では、この公開されているソースコードをGoogle Colabで動作させていきます。
まずはGoogle Colabのサイトにアクセスします。
ここの流れは下記に詳細リンクを貼っておきますので、そちらからご参照ください。
これでGoogle Colabでソースコードを実行するための準備が整いました。
ソースコードを実行
それでは早速、ソースコードを実行していきましょう。
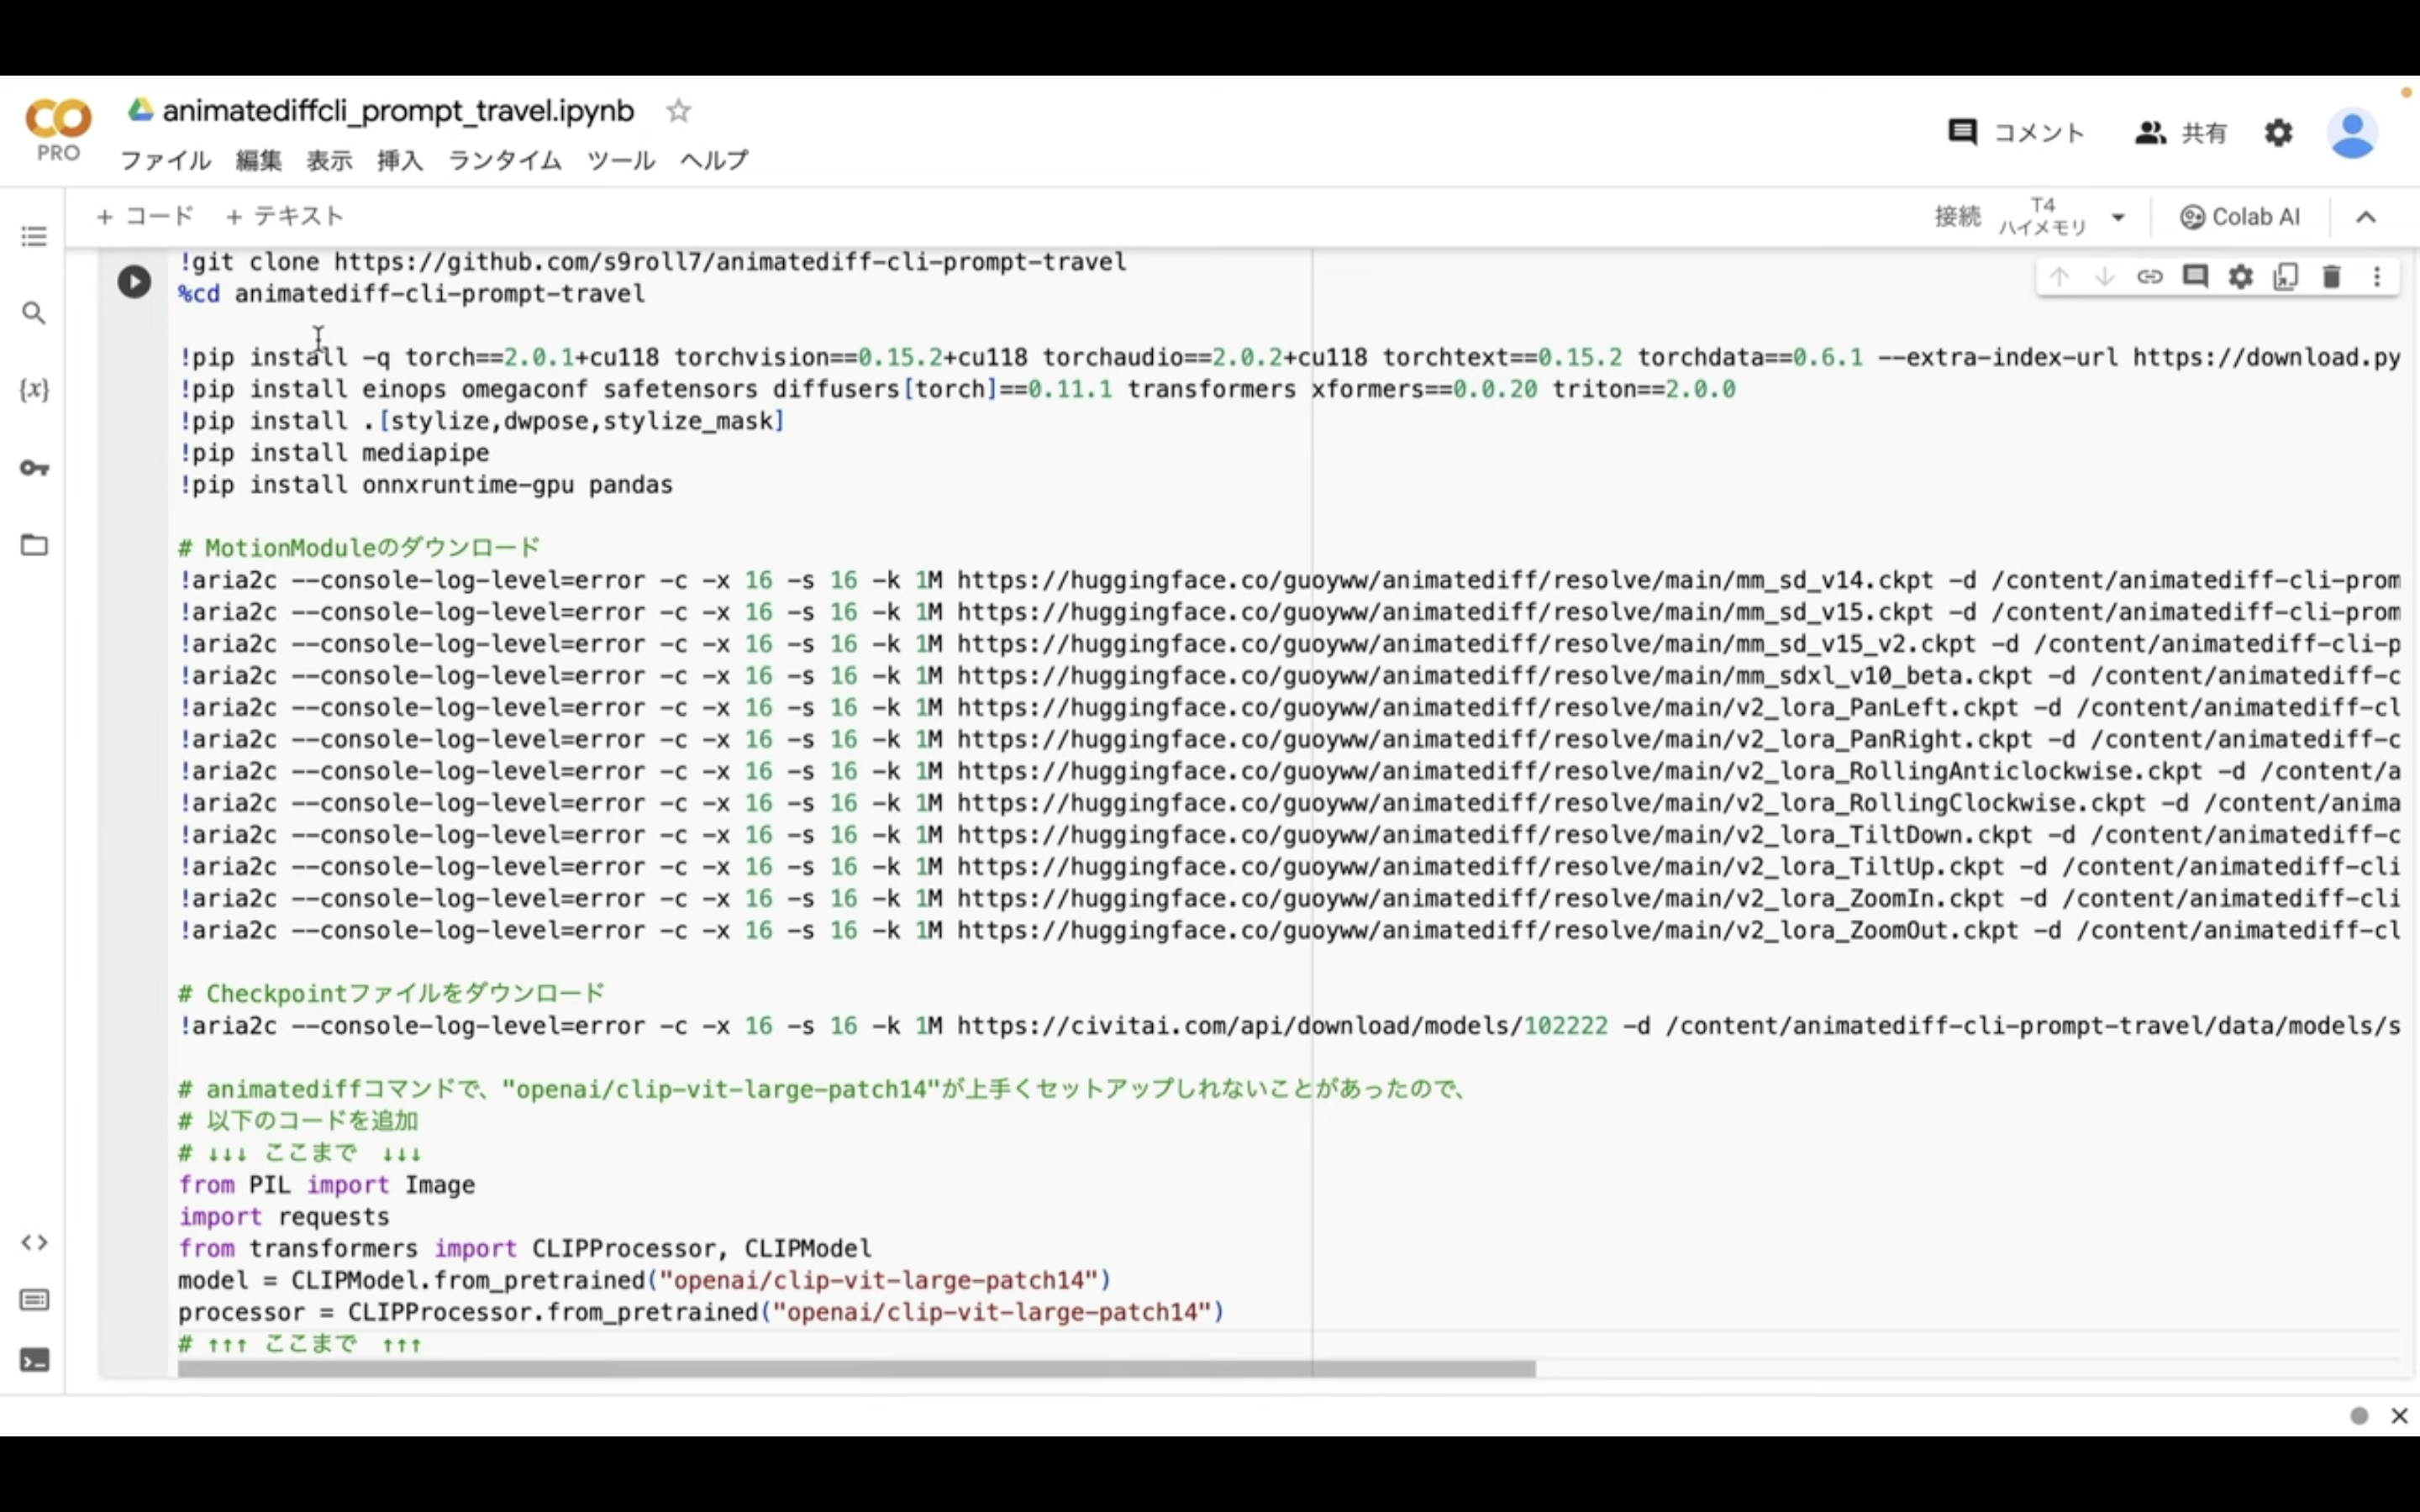
概要欄に貼ってあるテキストをコピーします。
!apt-get -qq install aria2
import os, shutil, gc, time

%cd /content
!git clone https://github.com/s9roll7/animatediff-cli-prompt-travel
%cd animatediff-cli-prompt-travel

!pip install -q torch==2.0.1+cu118 torchvision==0.15.2+cu118 torchaudio==2.0.2+cu118 torchtext==0.15.2 torchdata==0.6.1 --extra-index-url https://download.pytorch.org/whl/cu118 -U
!pip install einops omegaconf safetensors diffusers[torch]==0.11.1 transformers xformers==0.0.20 triton==2.0.0
!pip install .[stylize,dwpose,stylize_mask]
!pip install mediapipe
!pip install onnxruntime-gpu pandas

# MotionModuleのダウンロード
!aria2c --console-log-level=error -c -x 16 -s 16 -k 1M https://huggingface.co/guoyww/animatediff/resolve/main/mm_sd_v14.ckpt -d /content/animatediff-cli-prompt-travel/data/models/motion-module -o mm_sd_v14.ckpt
!aria2c --console-log-level=error -c -x 16 -s 16 -k 1M https://huggingface.co/guoyww/animatediff/resolve/main/mm_sd_v15.ckpt -d /content/animatediff-cli-prompt-travel/data/models/motion-module -o mm_sd_v15.ckpt
!aria2c --console-log-level=error -c -x 16 -s 16 -k 1M https://huggingface.co/guoyww/animatediff/resolve/main/mm_sd_v15_v2.ckpt -d /content/animatediff-cli-prompt-travel/data/models/motion-module -o mm_sd_v15_v2.ckpt
!aria2c --console-log-level=error -c -x 16 -s 16 -k 1M https://huggingface.co/guoyww/animatediff/resolve/main/mm_sdxl_v10_beta.ckpt -d /content/animatediff-cli-prompt-travel/data/models/motion-module -o mm_sdxl_v10_beta.ckpt
!aria2c --console-log-level=error -c -x 16 -s 16 -k 1M https://huggingface.co/guoyww/animatediff/resolve/main/v2_lora_PanLeft.ckpt -d /content/animatediff-cli-prompt-travel/data/models/motion-module -o v2_lora_PanLeft.ckpt
!aria2c --console-log-level=error -c -x 16 -s 16 -k 1M https://huggingface.co/guoyww/animatediff/resolve/main/v2_lora_PanRight.ckpt -d /content/animatediff-cli-prompt-travel/data/models/motion-module -o v2_lora_PanRight.ckpt
!aria2c --console-log-level=error -c -x 16 -s 16 -k 1M https://huggingface.co/guoyww/animatediff/resolve/main/v2_lora_RollingAnticlockwise.ckpt -d /content/animatediff-cli-prompt-travel/data/models/motion-module -o v2_lora_RollingAnticlockwise.ckpt
!aria2c --console-log-level=error -c -x 16 -s 16 -k 1M https://huggingface.co/guoyww/animatediff/resolve/main/v2_lora_RollingClockwise.ckpt -d /content/animatediff-cli-prompt-travel/data/models/motion-module -o v2_lora_RollingClockwise.ckpt
!aria2c --console-log-level=error -c -x 16 -s 16 -k 1M https://huggingface.co/guoyww/animatediff/resolve/main/v2_lora_TiltDown.ckpt -d /content/animatediff-cli-prompt-travel/data/models/motion-module -o v2_lora_TiltDown.ckpt
!aria2c --console-log-level=error -c -x 16 -s 16 -k 1M https://huggingface.co/guoyww/animatediff/resolve/main/v2_lora_TiltUp.ckpt -d /content/animatediff-cli-prompt-travel/data/models/motion-module -o v2_lora_TiltUp.ckpt
!aria2c --console-log-level=error -c -x 16 -s 16 -k 1M https://huggingface.co/guoyww/animatediff/resolve/main/v2_lora_ZoomIn.ckpt -d /content/animatediff-cli-prompt-travel/data/models/motion-module -o v2_lora_ZoomIn.ckpt
!aria2c --console-log-level=error -c -x 16 -s 16 -k 1M https://huggingface.co/guoyww/animatediff/resolve/main/v2_lora_ZoomOut.ckpt -d /content/animatediff-cli-prompt-travel/data/models/motion-module -o v2_lora_ZoomOut.ckpt

# Checkpointファイルをダウンロード
!aria2c --console-log-level=error -c -x 16 -s 16 -k 1M https://civitai.com/api/download/models/102222 -d /content/animatediff-cli-prompt-travel/data/models/sd -o xxmix9realistic_v40.safetensors

# animatediffコマンドで、"openai/clip-vit-large-patch14"が上手くセットアップしれないことがあったので、
# 以下のコードを追加
# ↓↓↓ ここまで ↓↓↓
from PIL import Image
import requests
from transformers import CLIPProcessor, CLIPModel
model = CLIPModel.from_pretrained("openai/clip-vit-large-patch14")
processor = CLIPProcessor.from_pretrained("openai/clip-vit-large-patch14")
# ↑↑↑ ここまで ↑↑↑
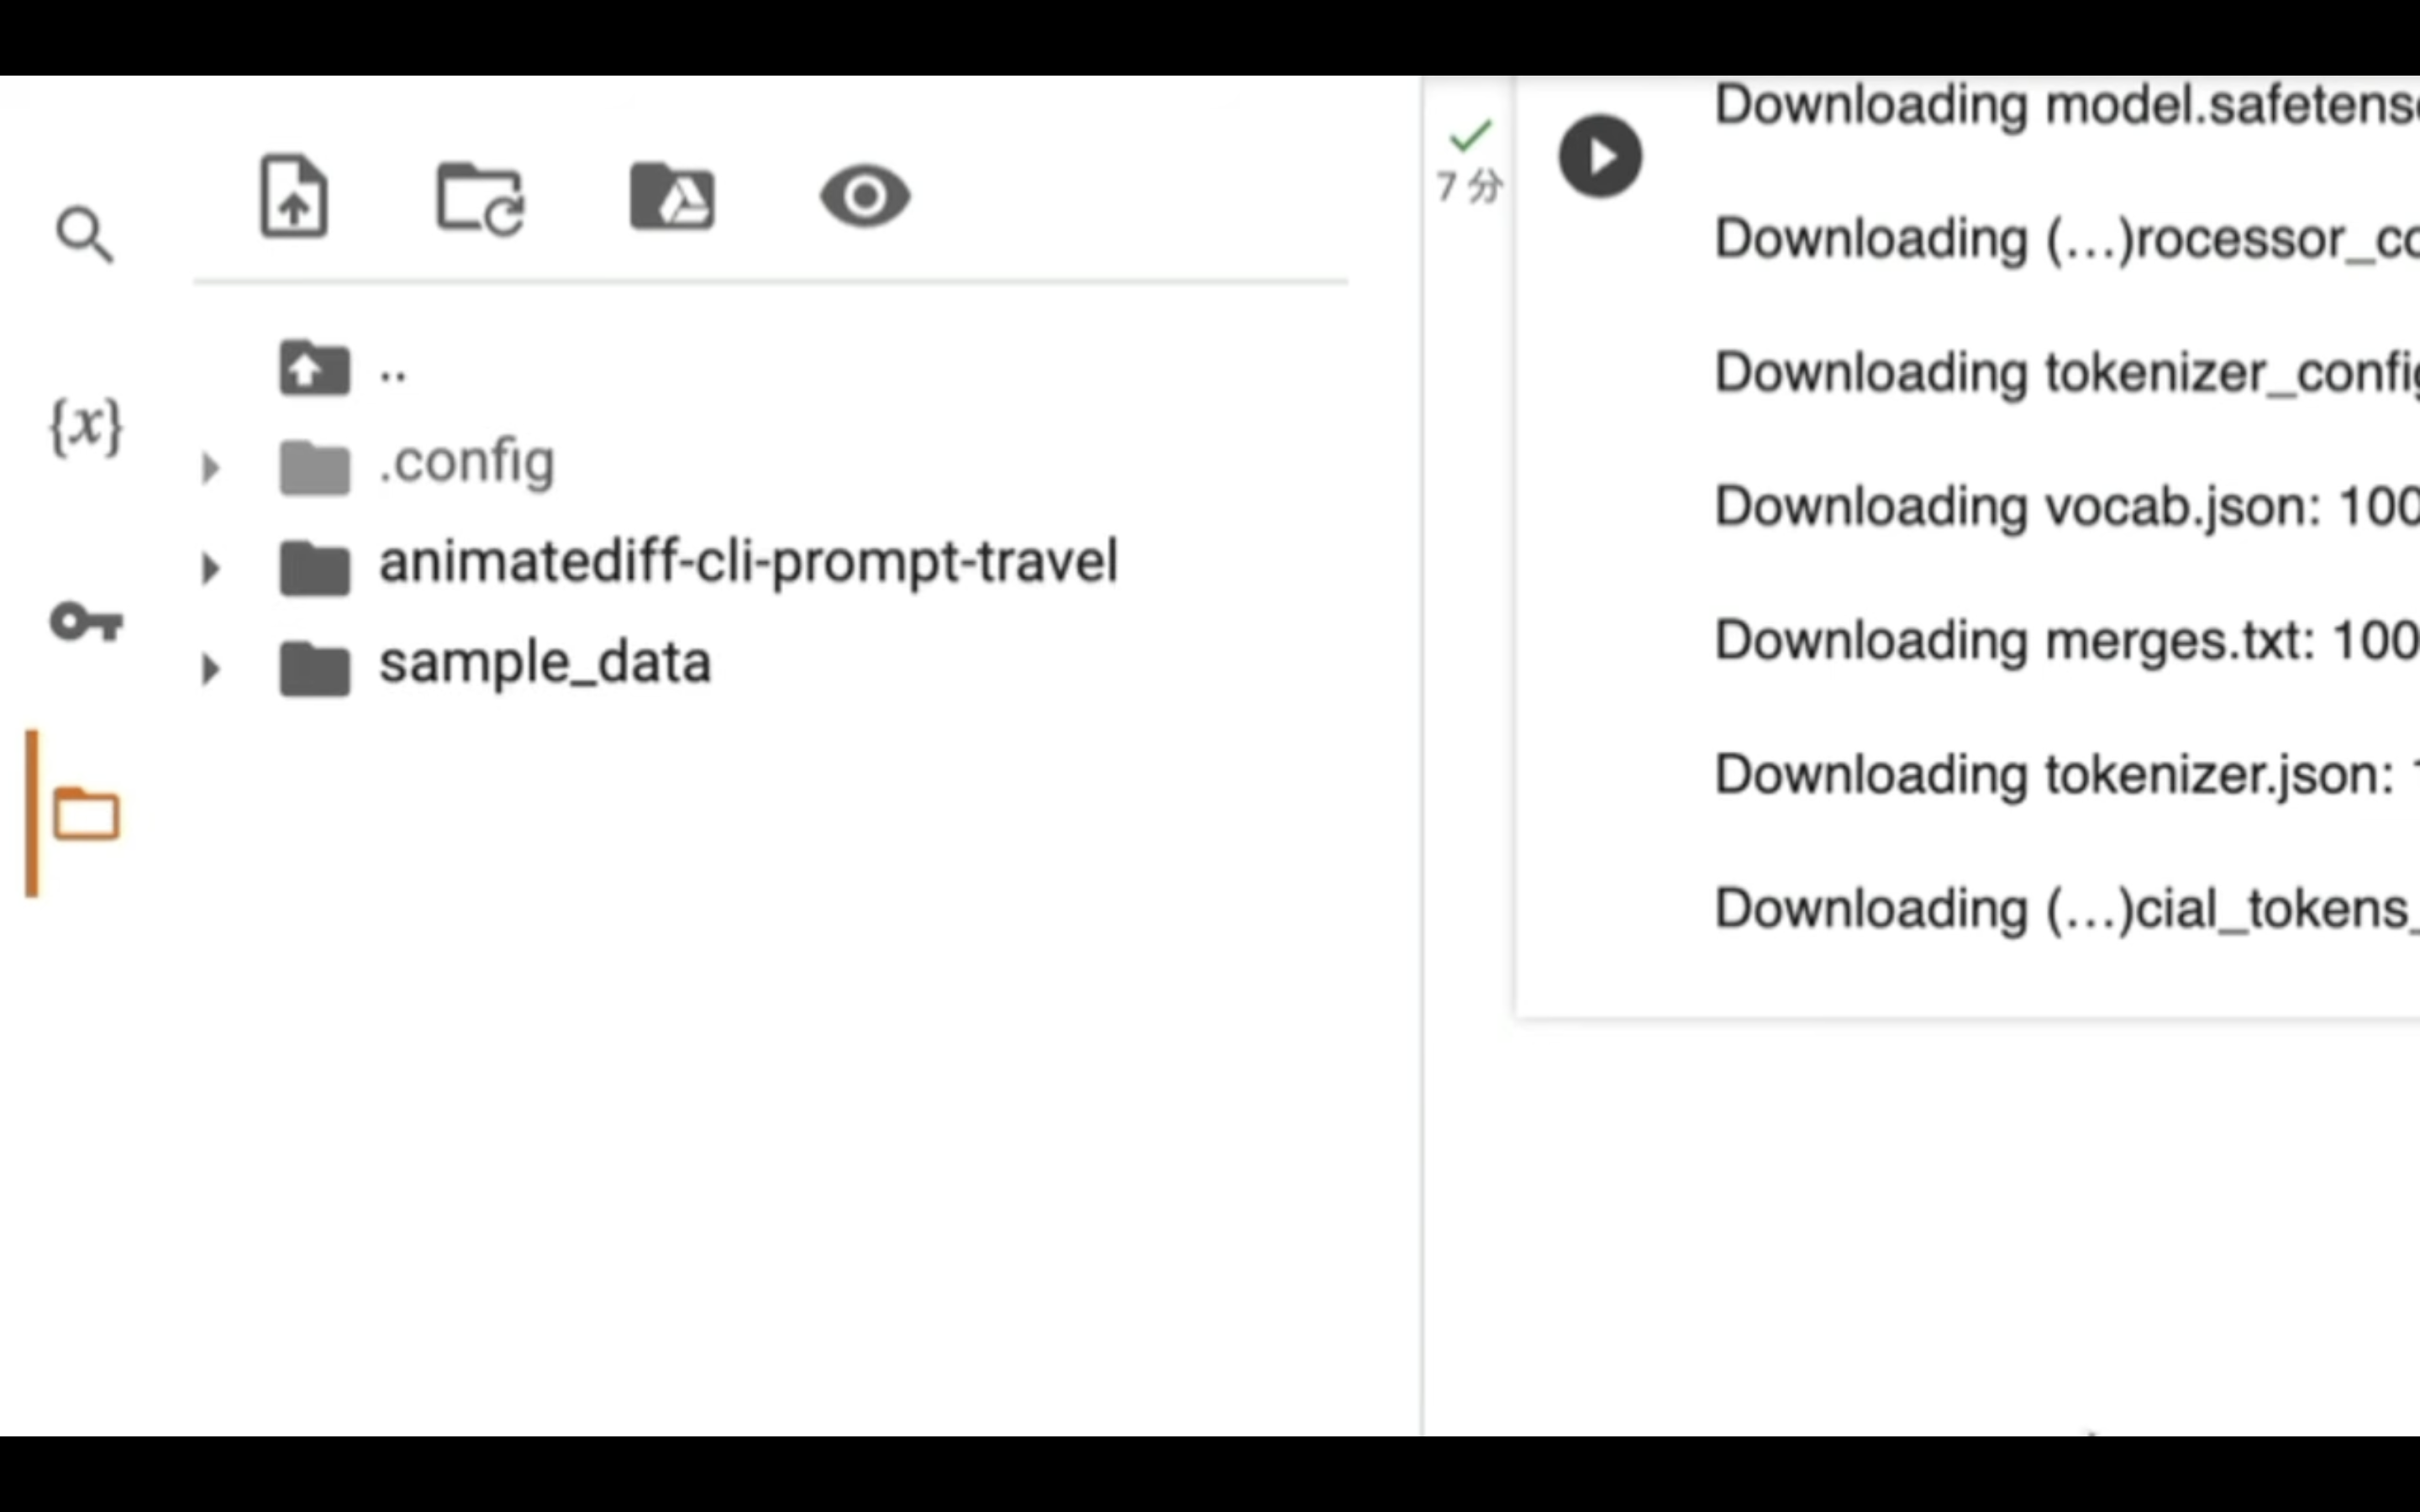
テキストをコピーしたら、Google Colabの画面に戻ります。
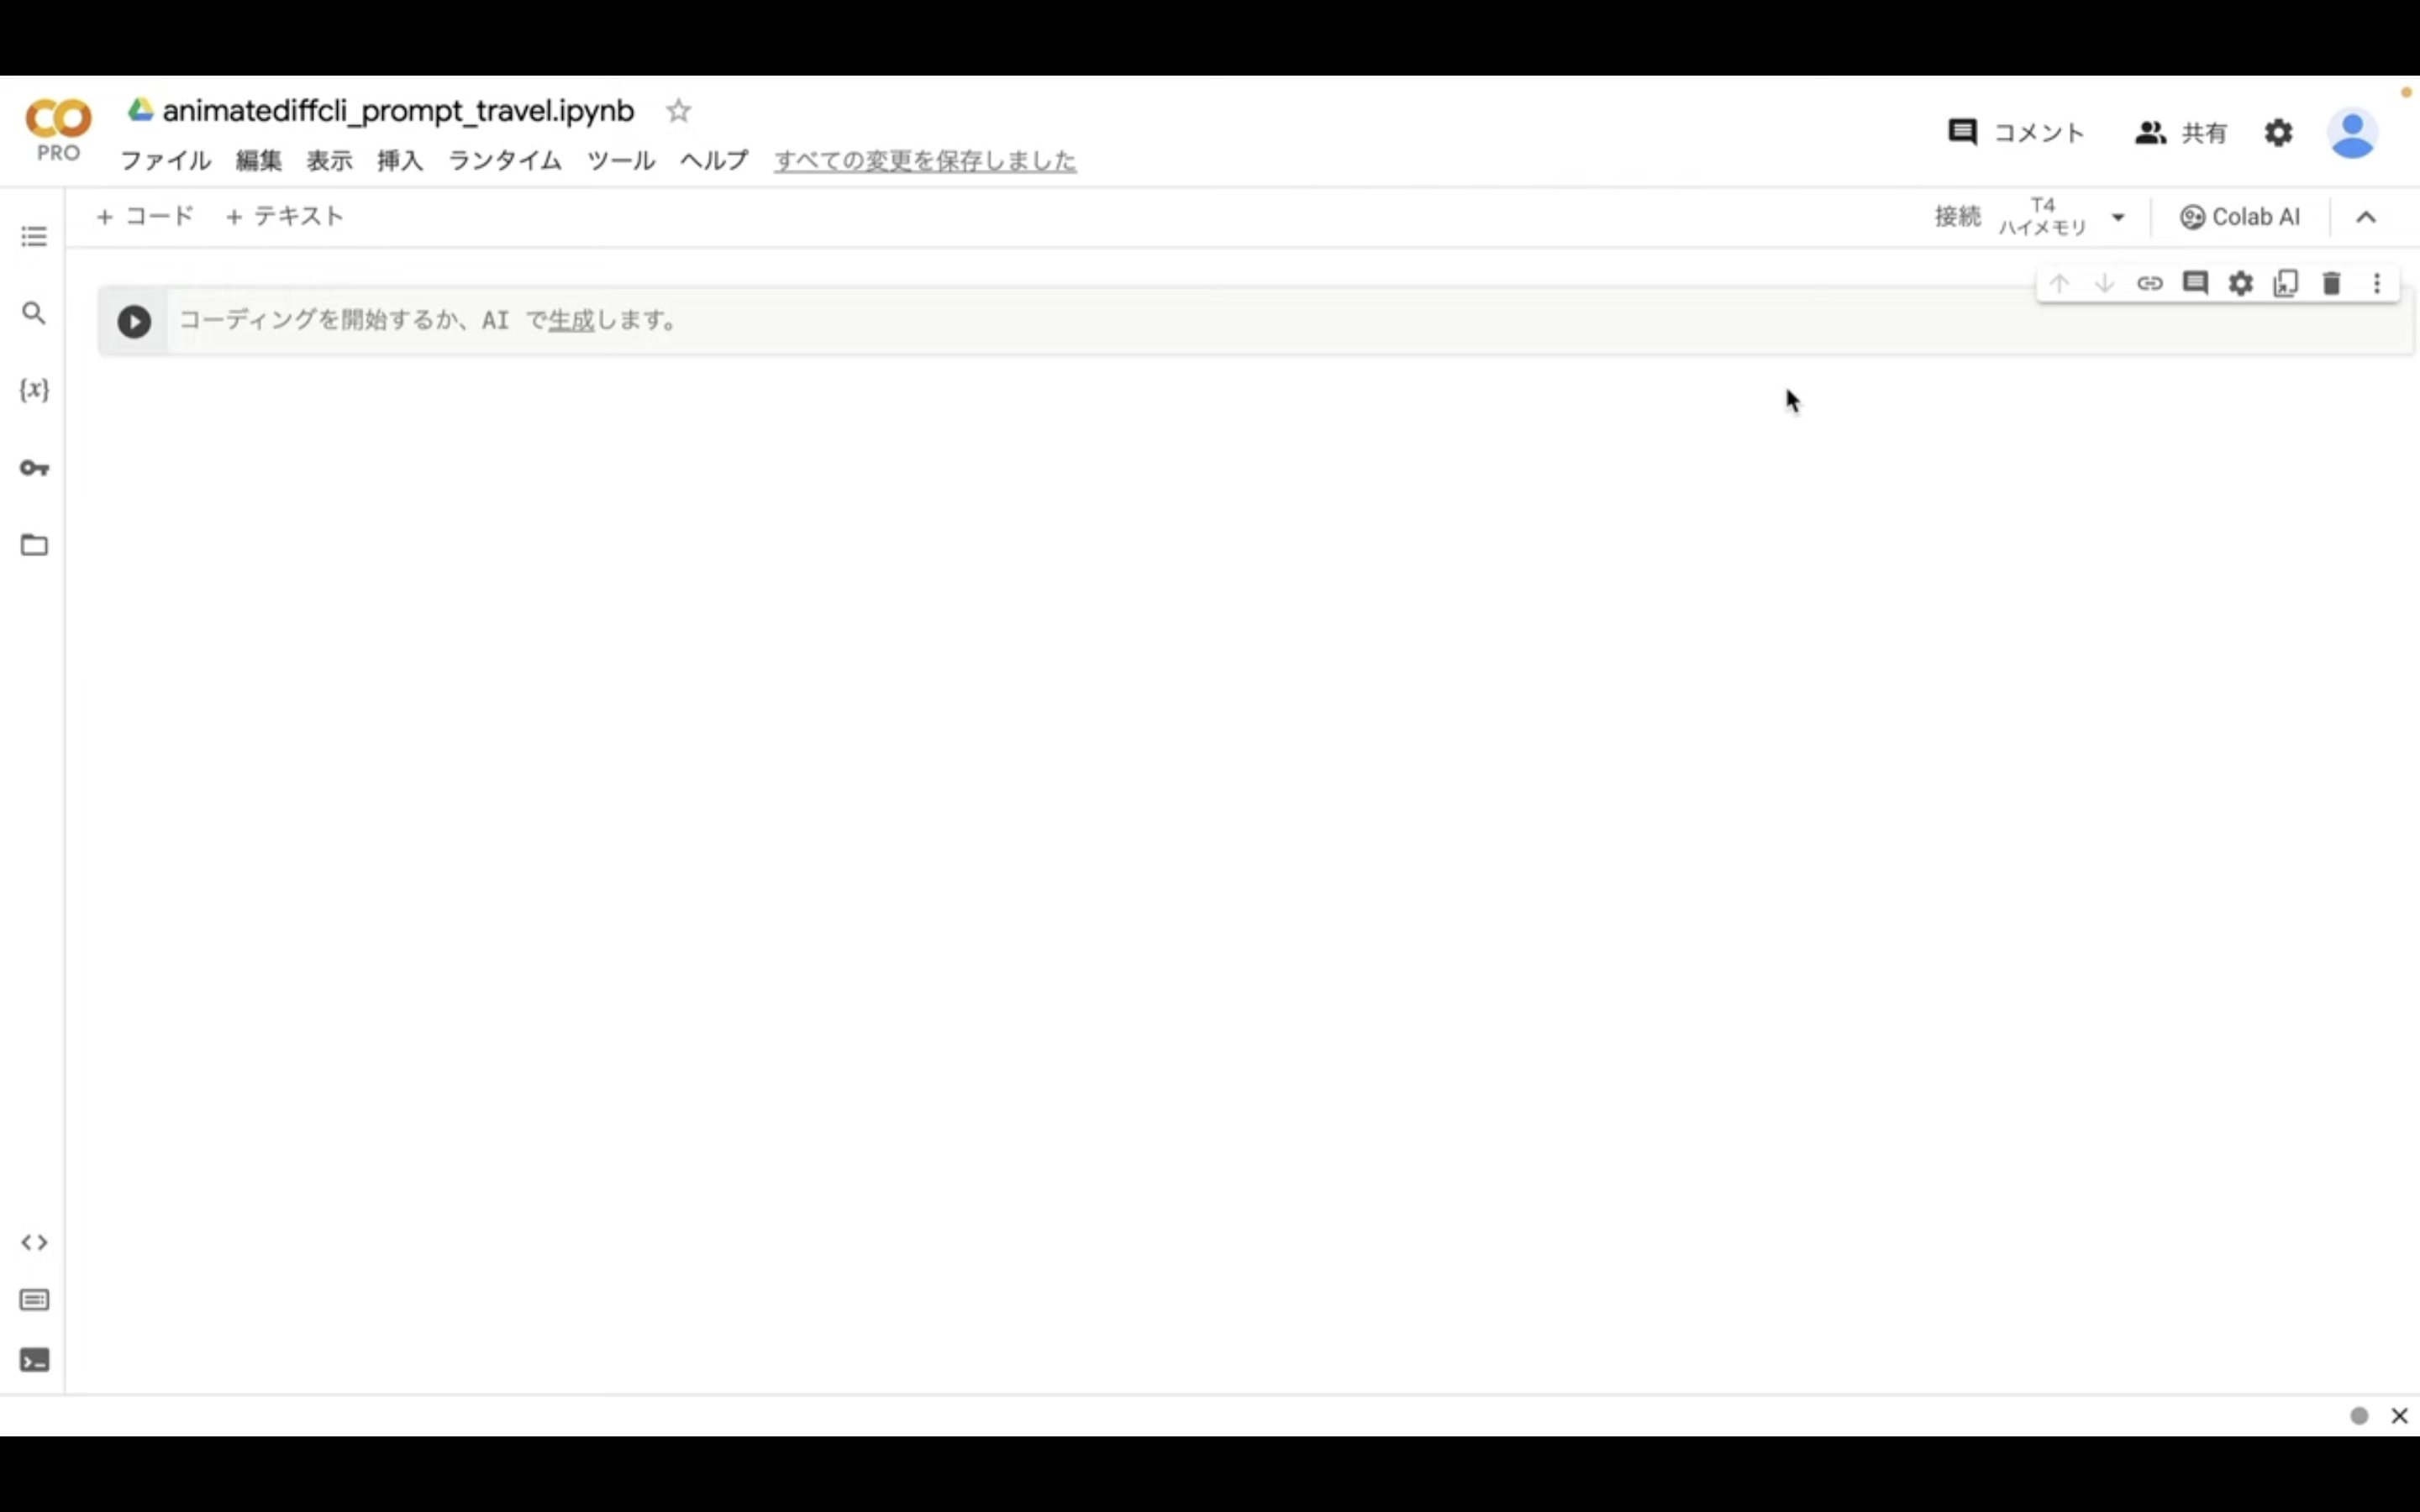
Google Colabの画面に戻ったら、テキストボックスにコピーしたテキストを貼り付けます。
テキストを貼り付けたら、再生ボタンを押します。

これで貼り付けたコマンドが実行されます。
この処理には5分以上かかると思います。
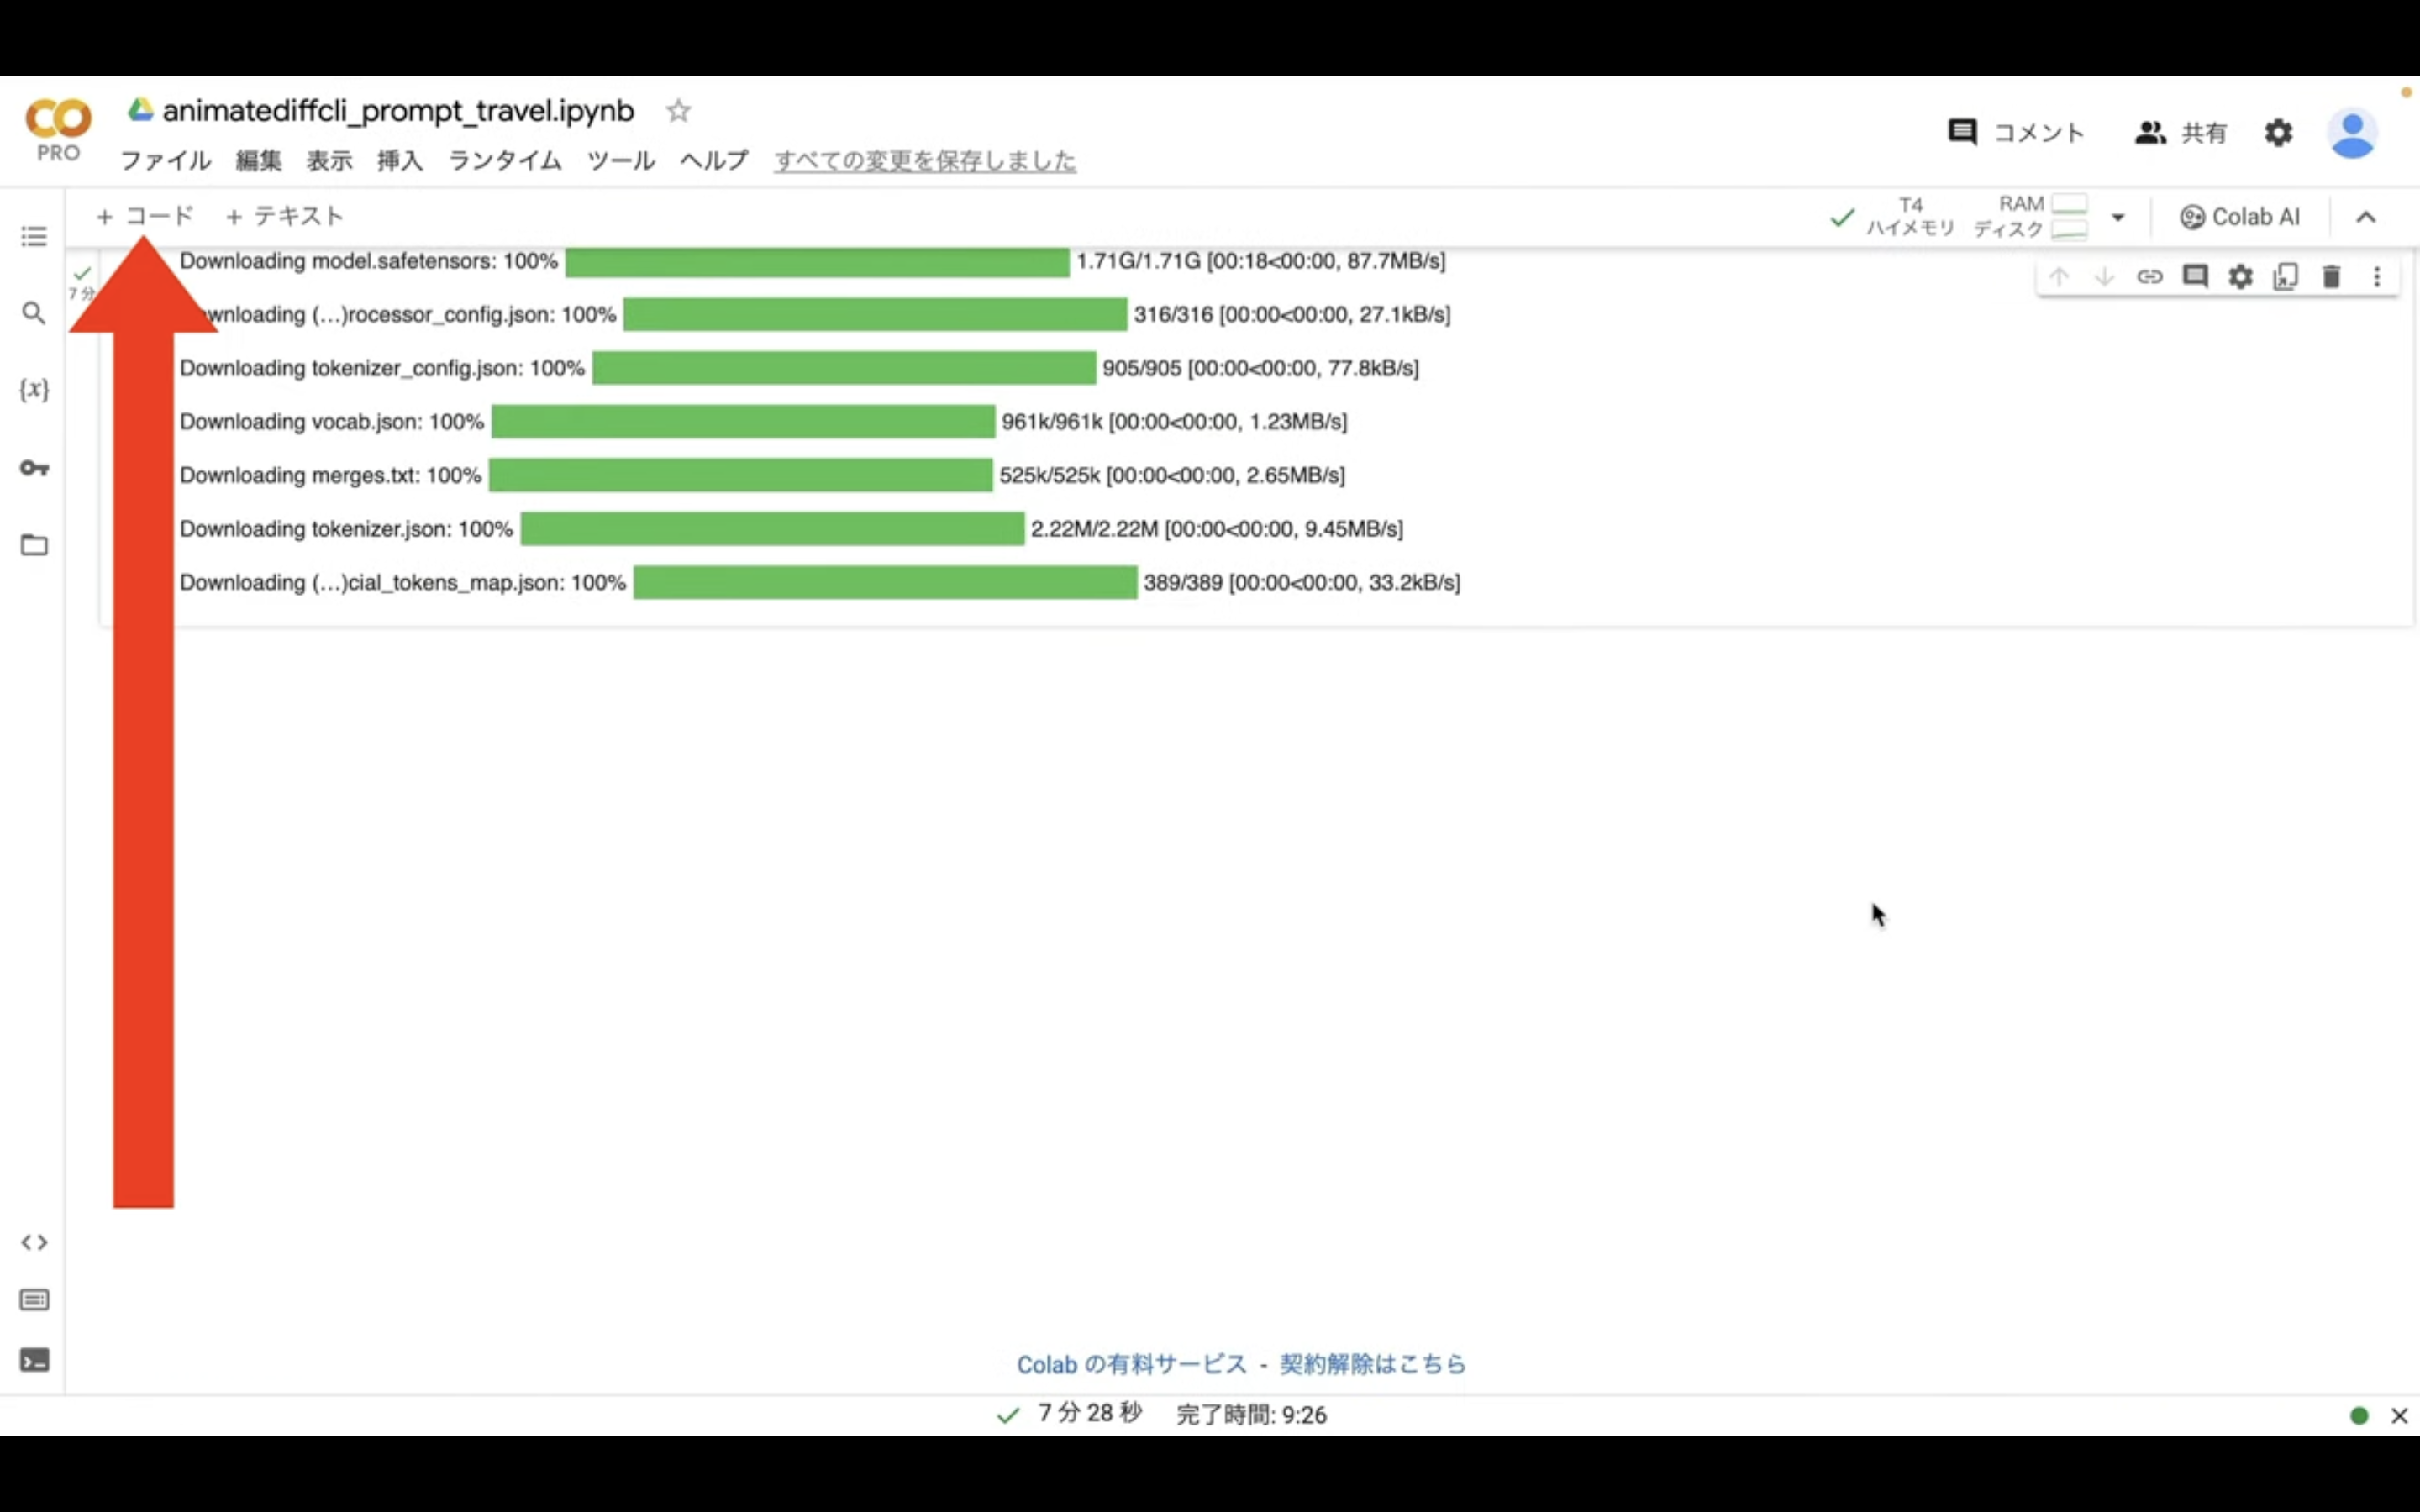
しばらく待っていると、コマンドの実行が完了します。
実行が完了すると、再生ボタンの左側に緑色のチェックマークが表示されます。
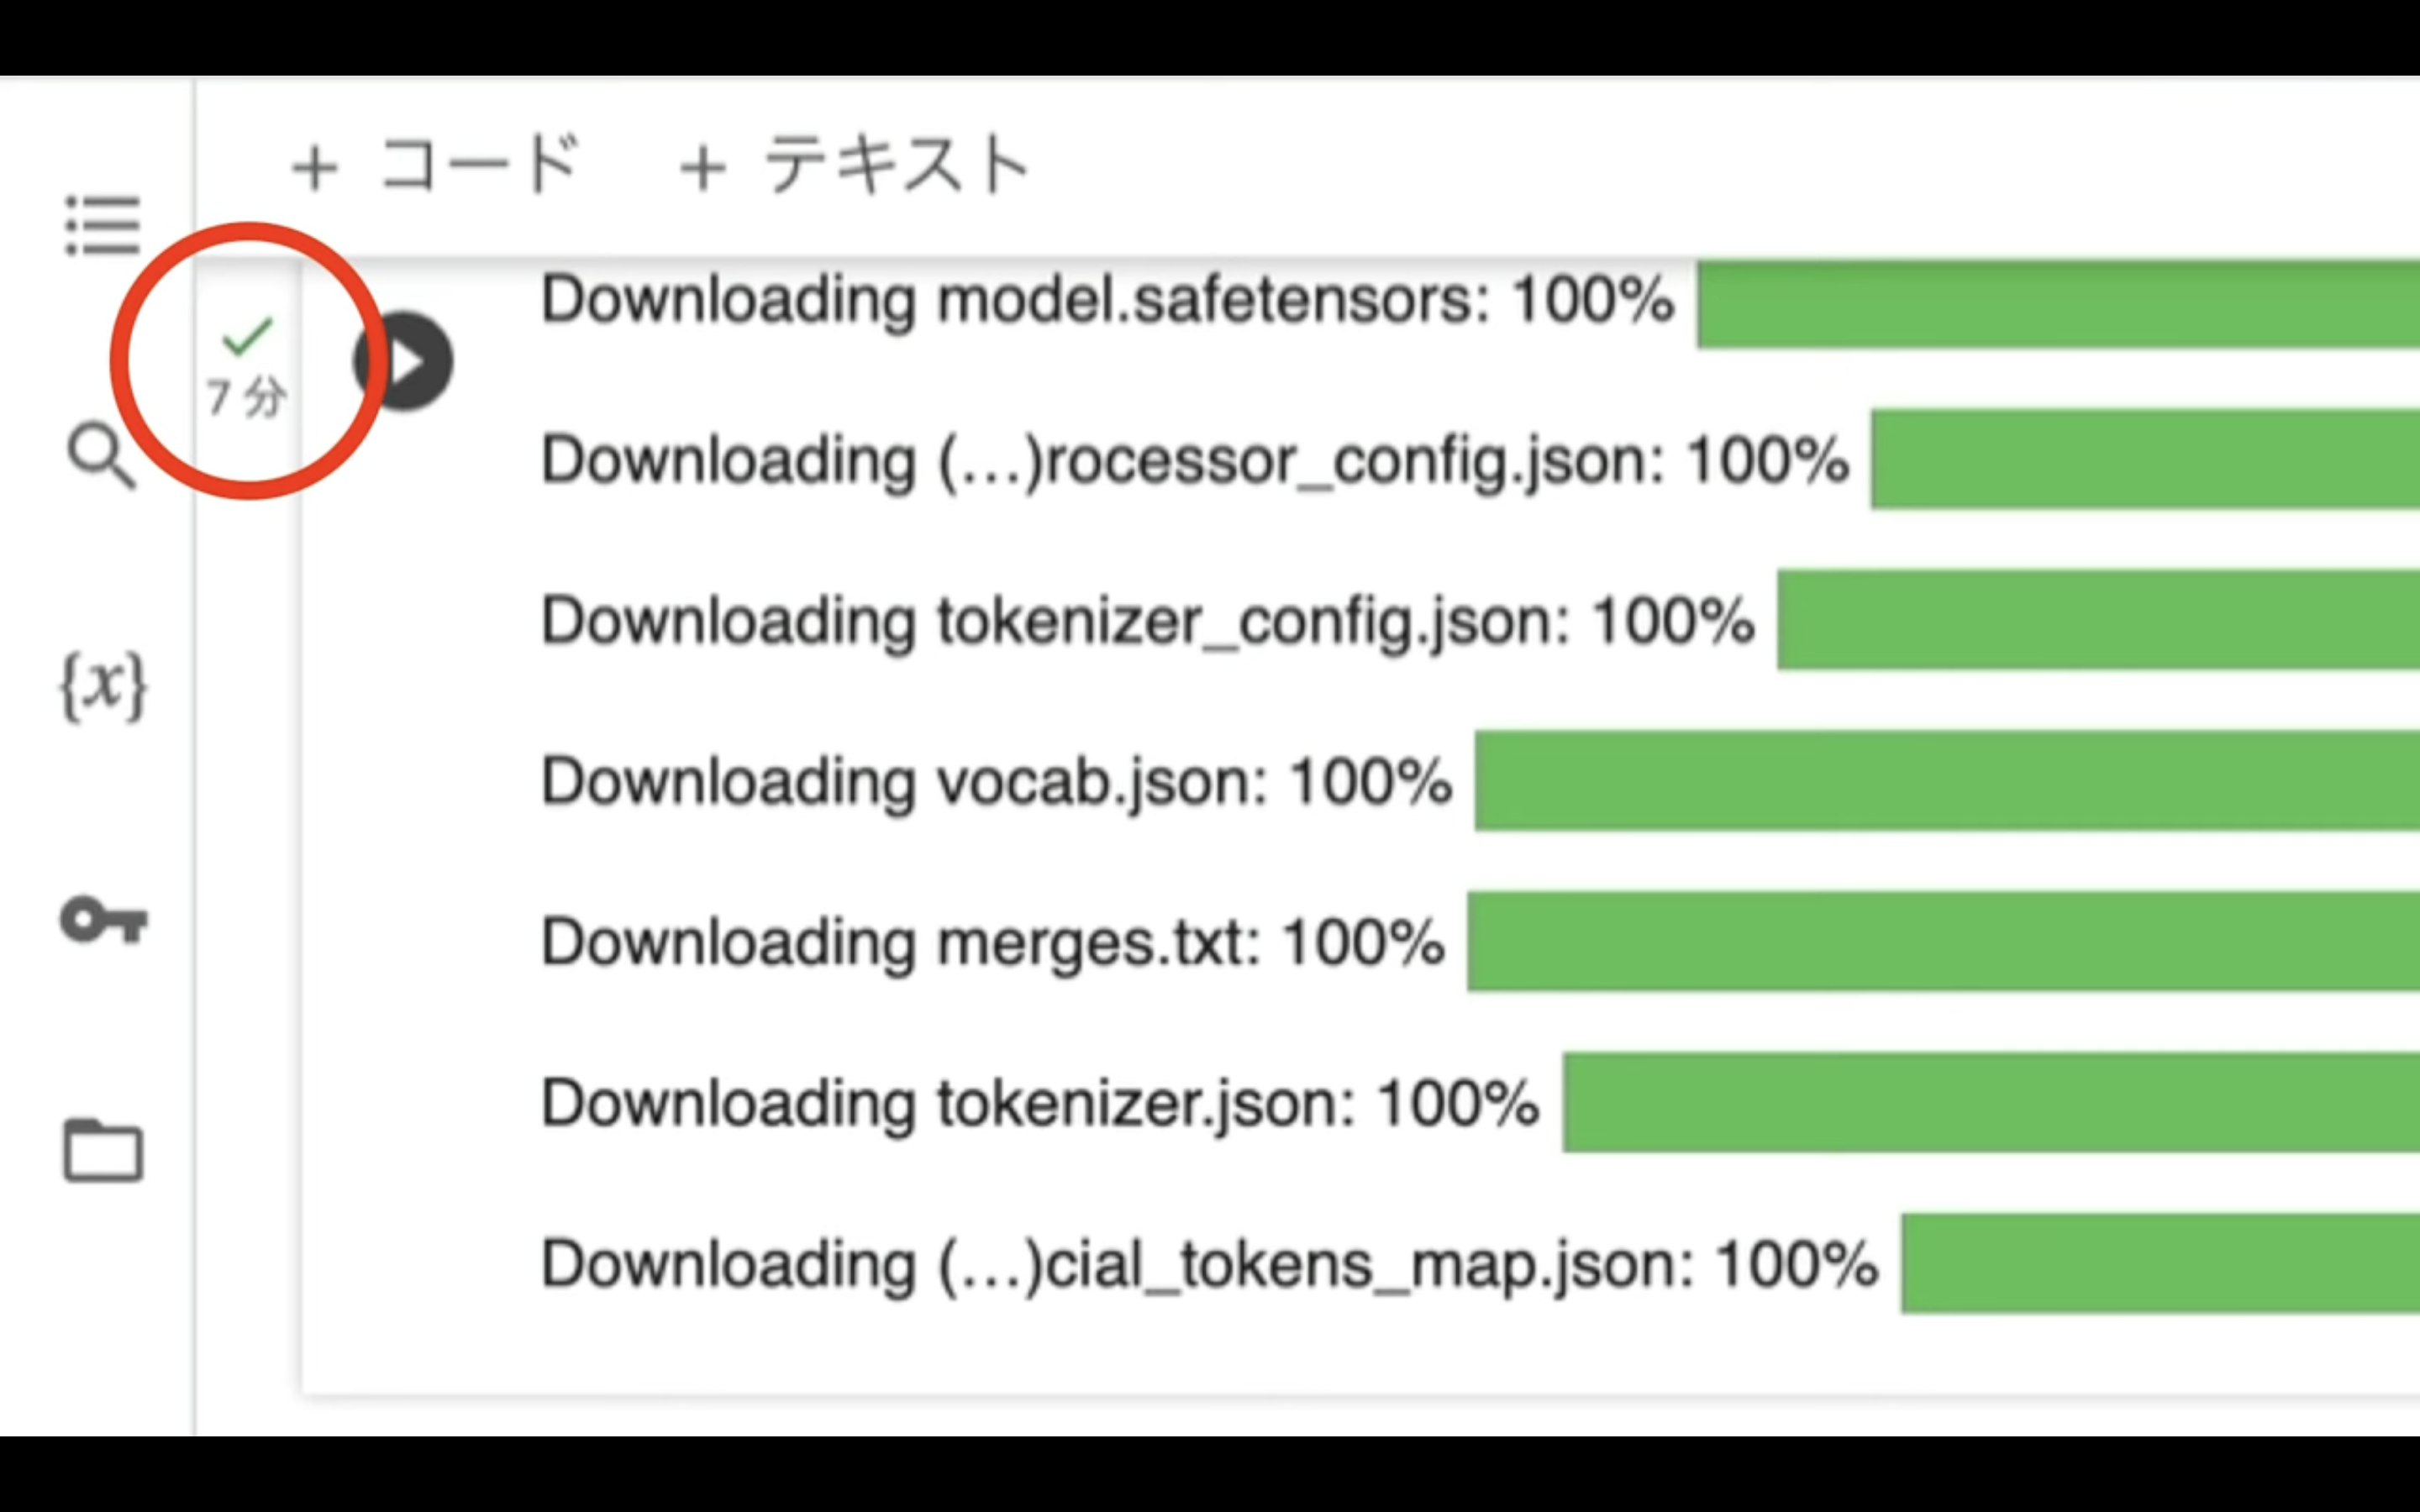
これでインストールコマンドの実行が完了しました。
それでは次に、設定ファイルを作成していきましょう。
下記に貼ってあるリンク先のページを表示します。
このページを表示したら、設定ファイルというタイトルの下にあるZIPファイルをダウンロードします。
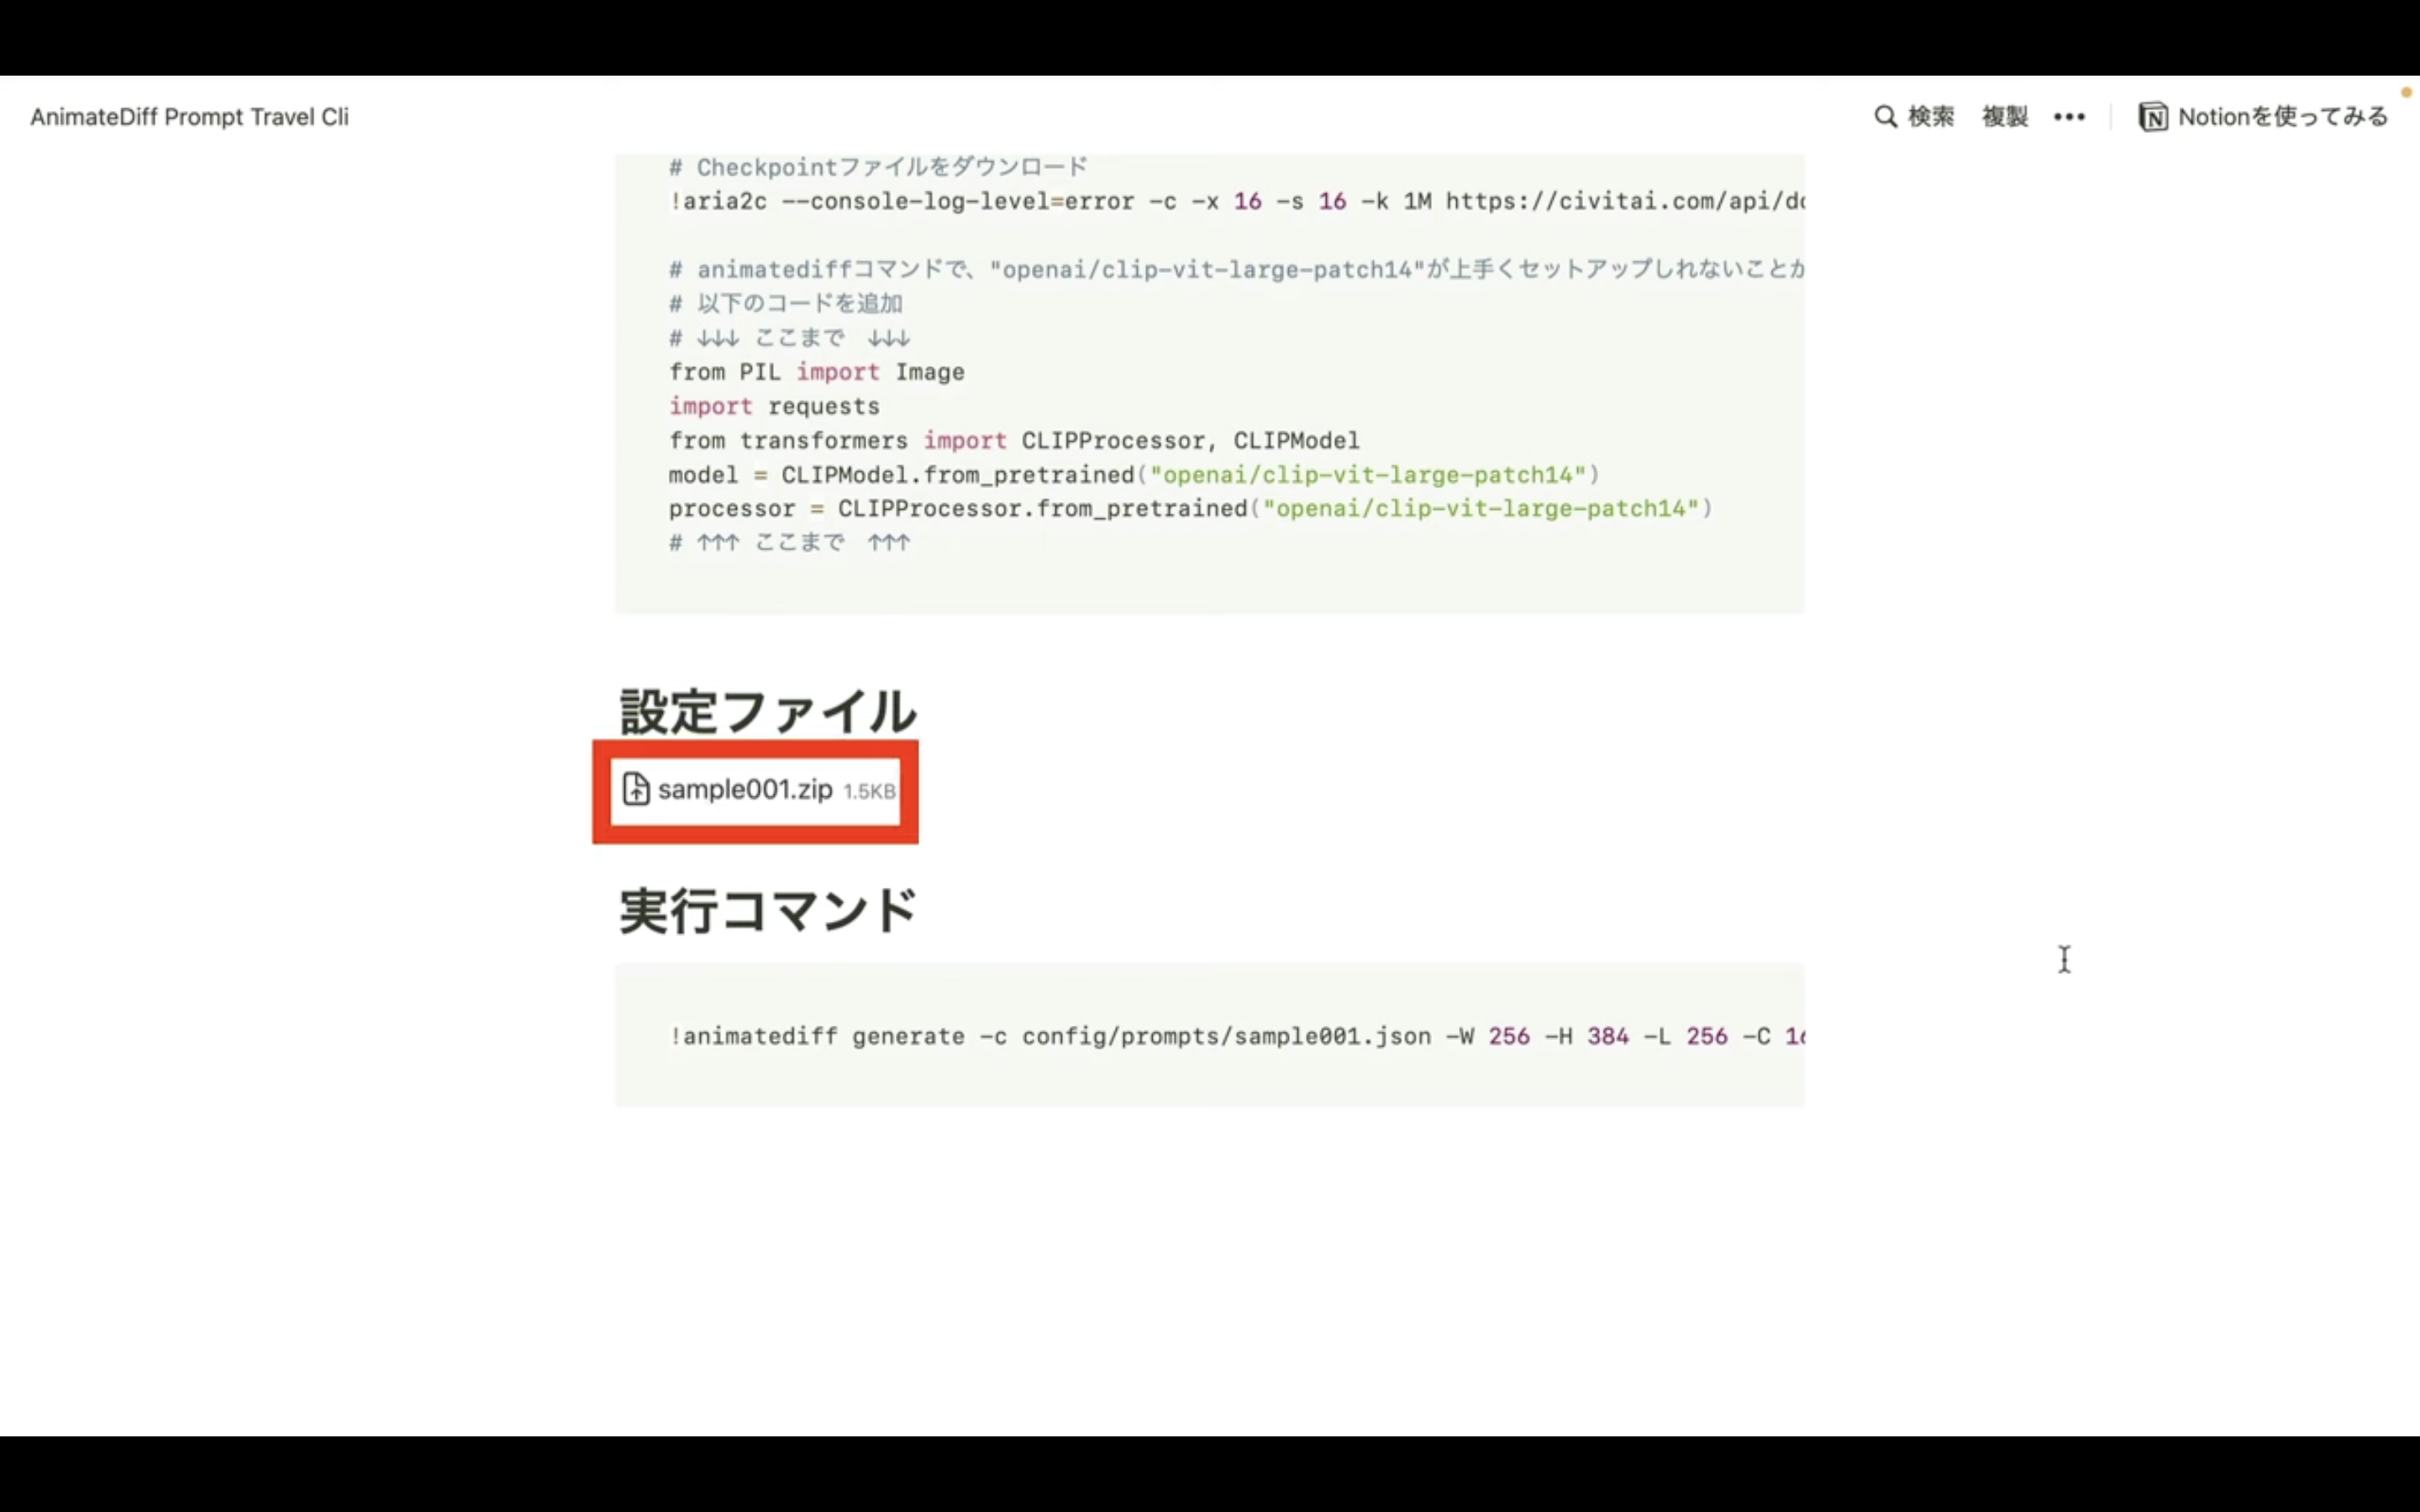
ダウンロードしたZIPファイルにはSLE0011.JSONという名前のファイルが含まれています。
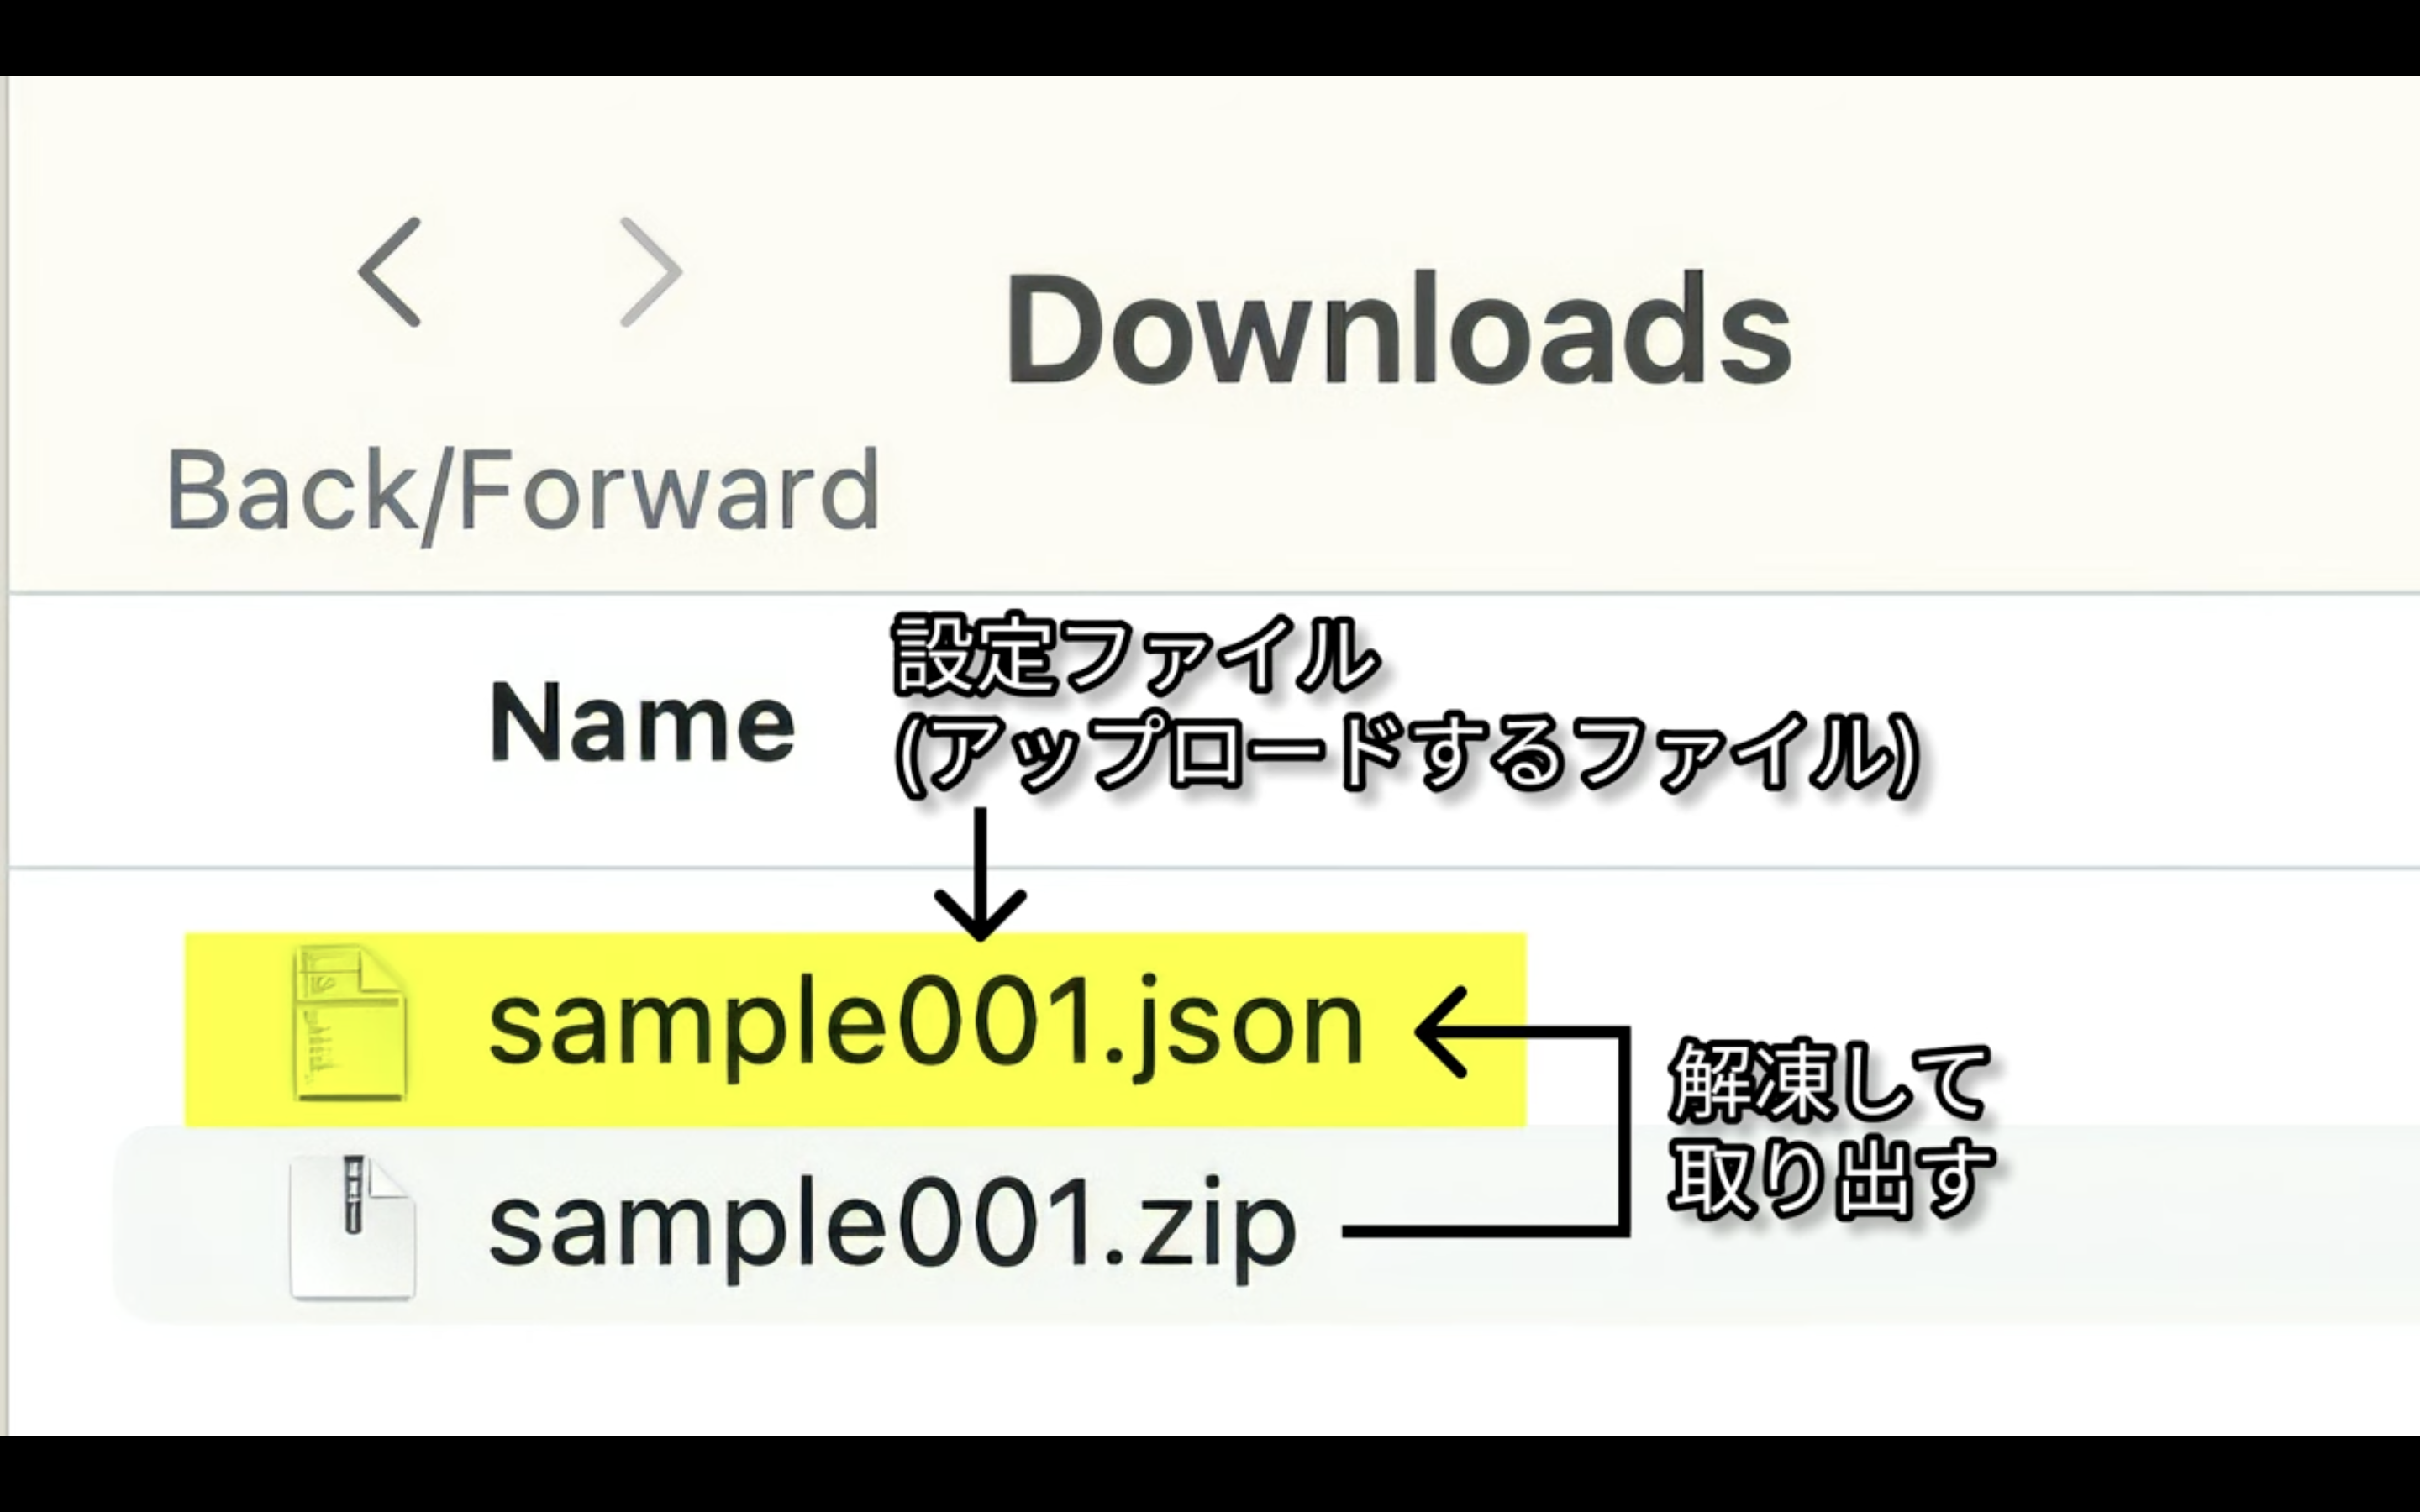
このファイルを回答して取り出します。
SLE001のファイルは、このようになっています。
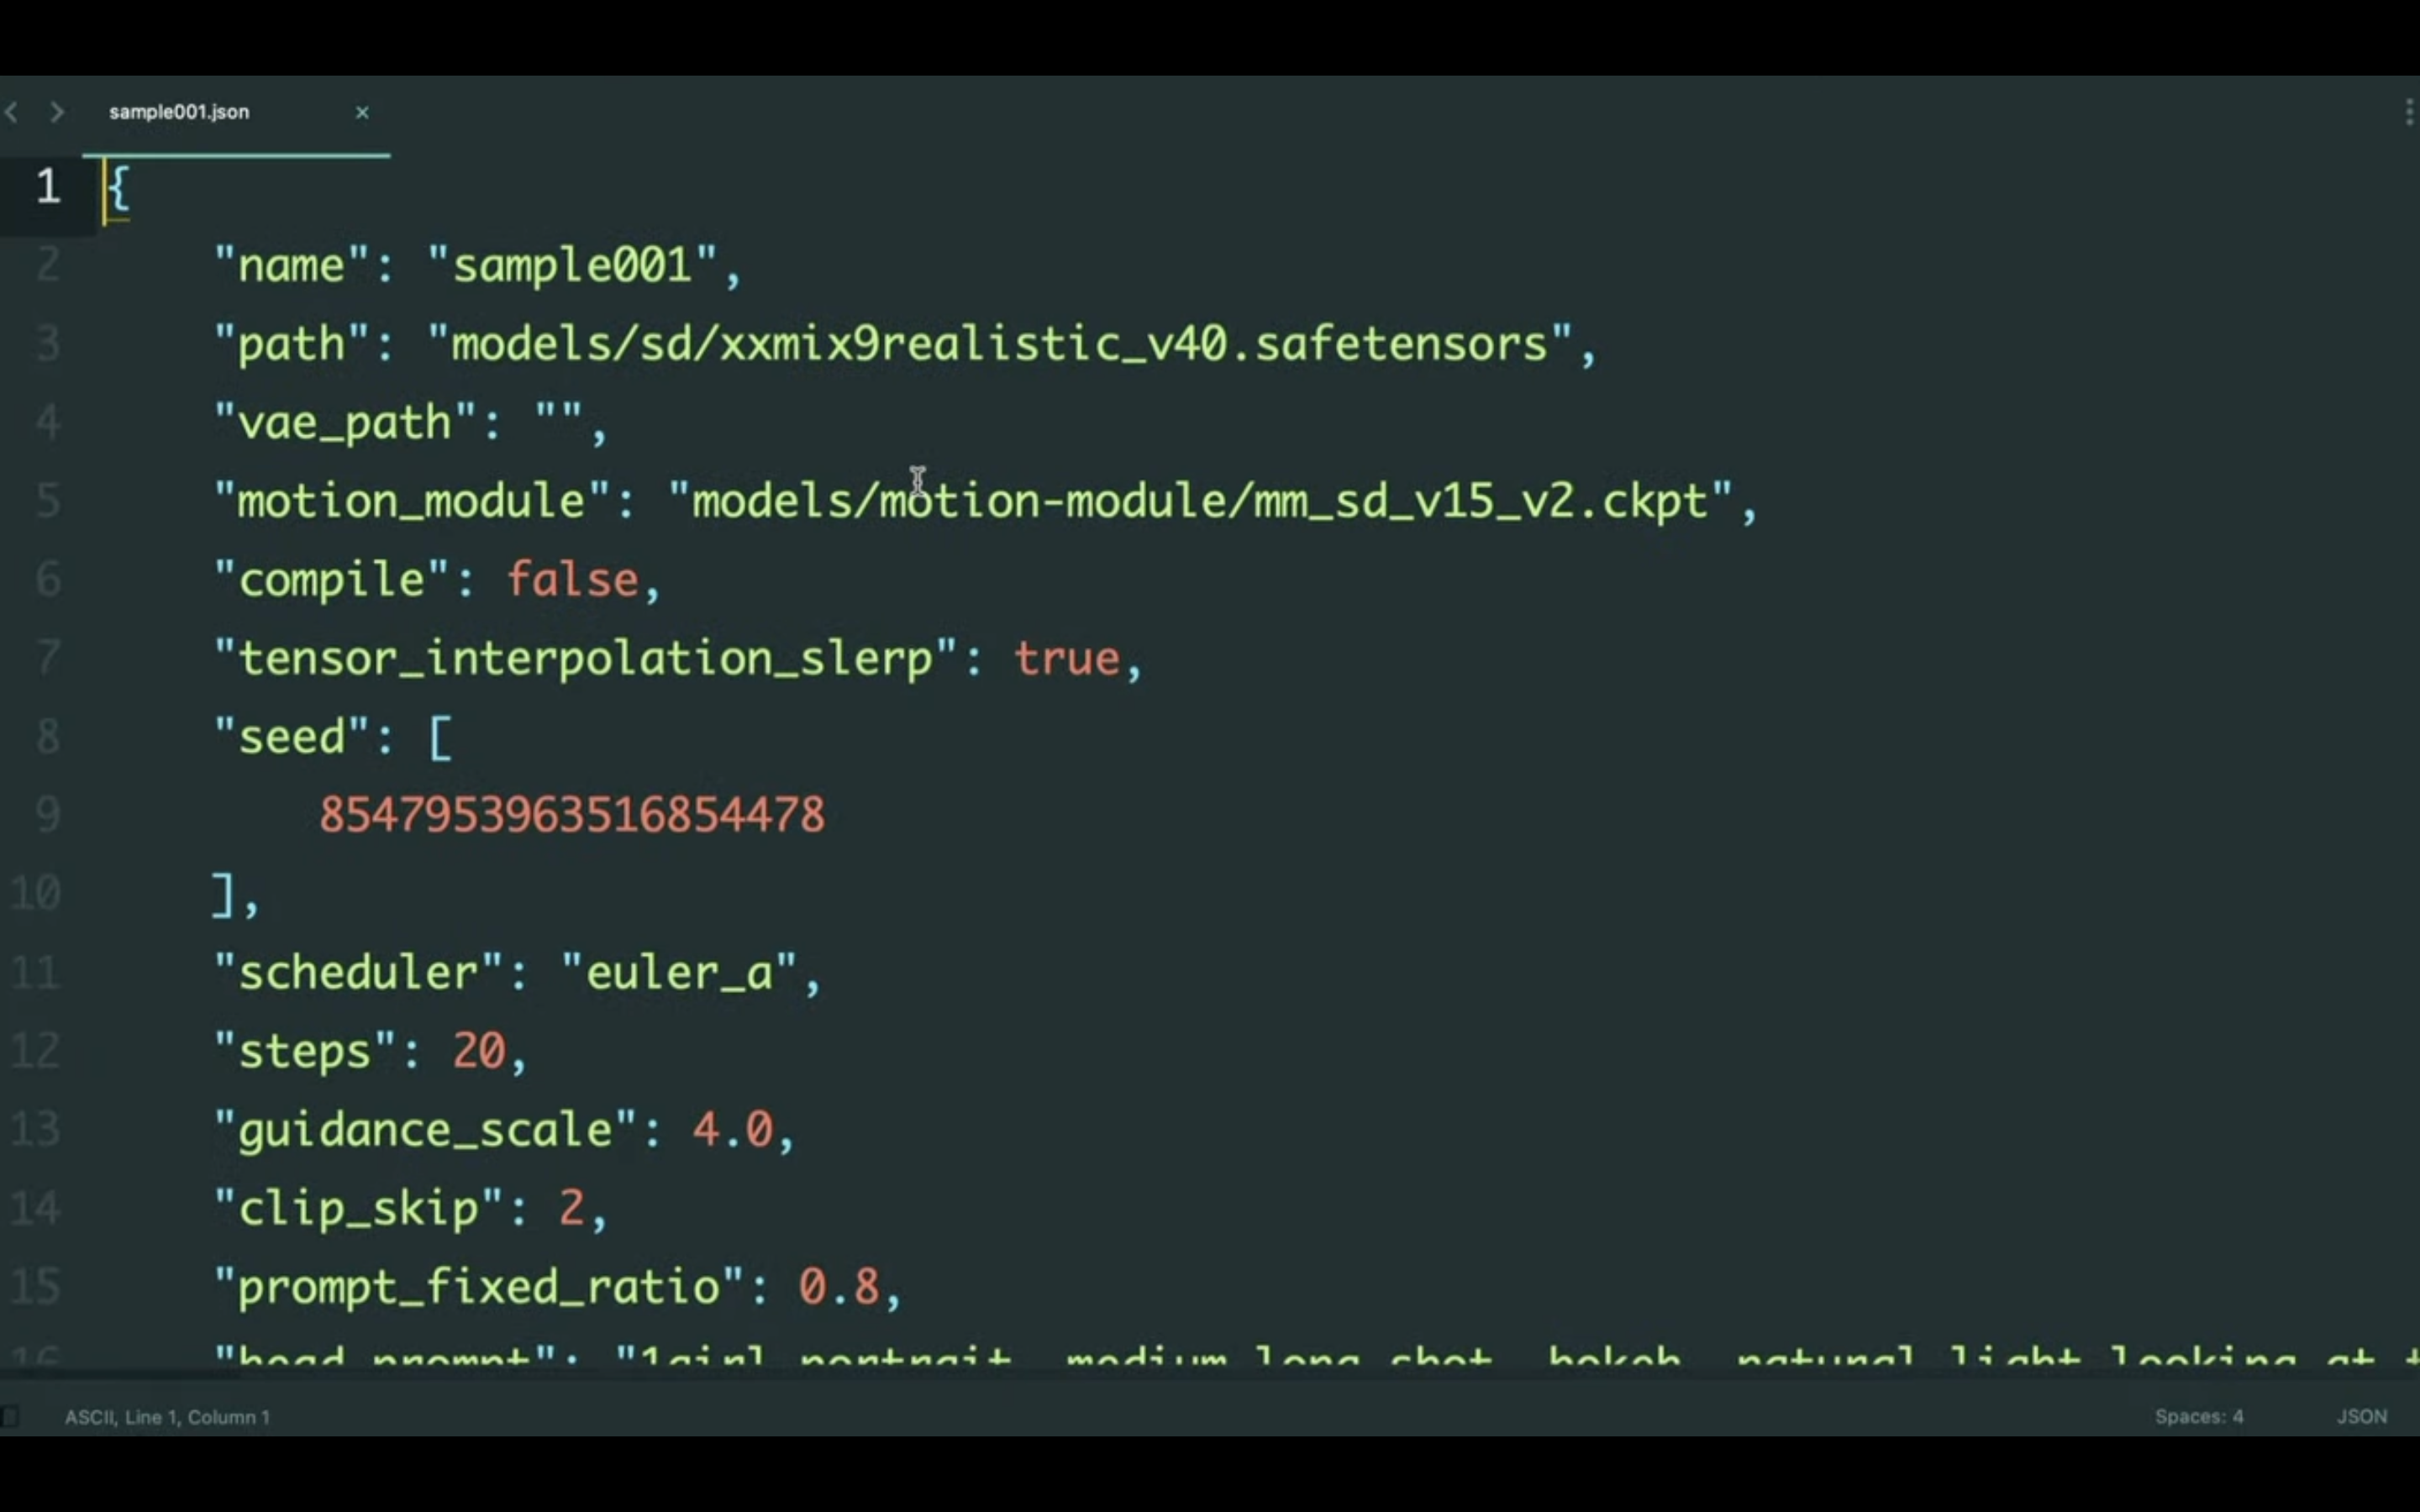
この解説では、あらかじめ設定ファイルを用意していますが、本来はこのような設定ファイルを作成します。
この動画では、Animate Diff CLI Prompt Travelの動作方法の説明を優先させたいので、この設定ファイルの細かい解説は省略して解説を進めます。
ひとまず、プロンプトやネガティブプロンプトなどは、この設定ファイルで指定するということだけを理解しておきましょう。
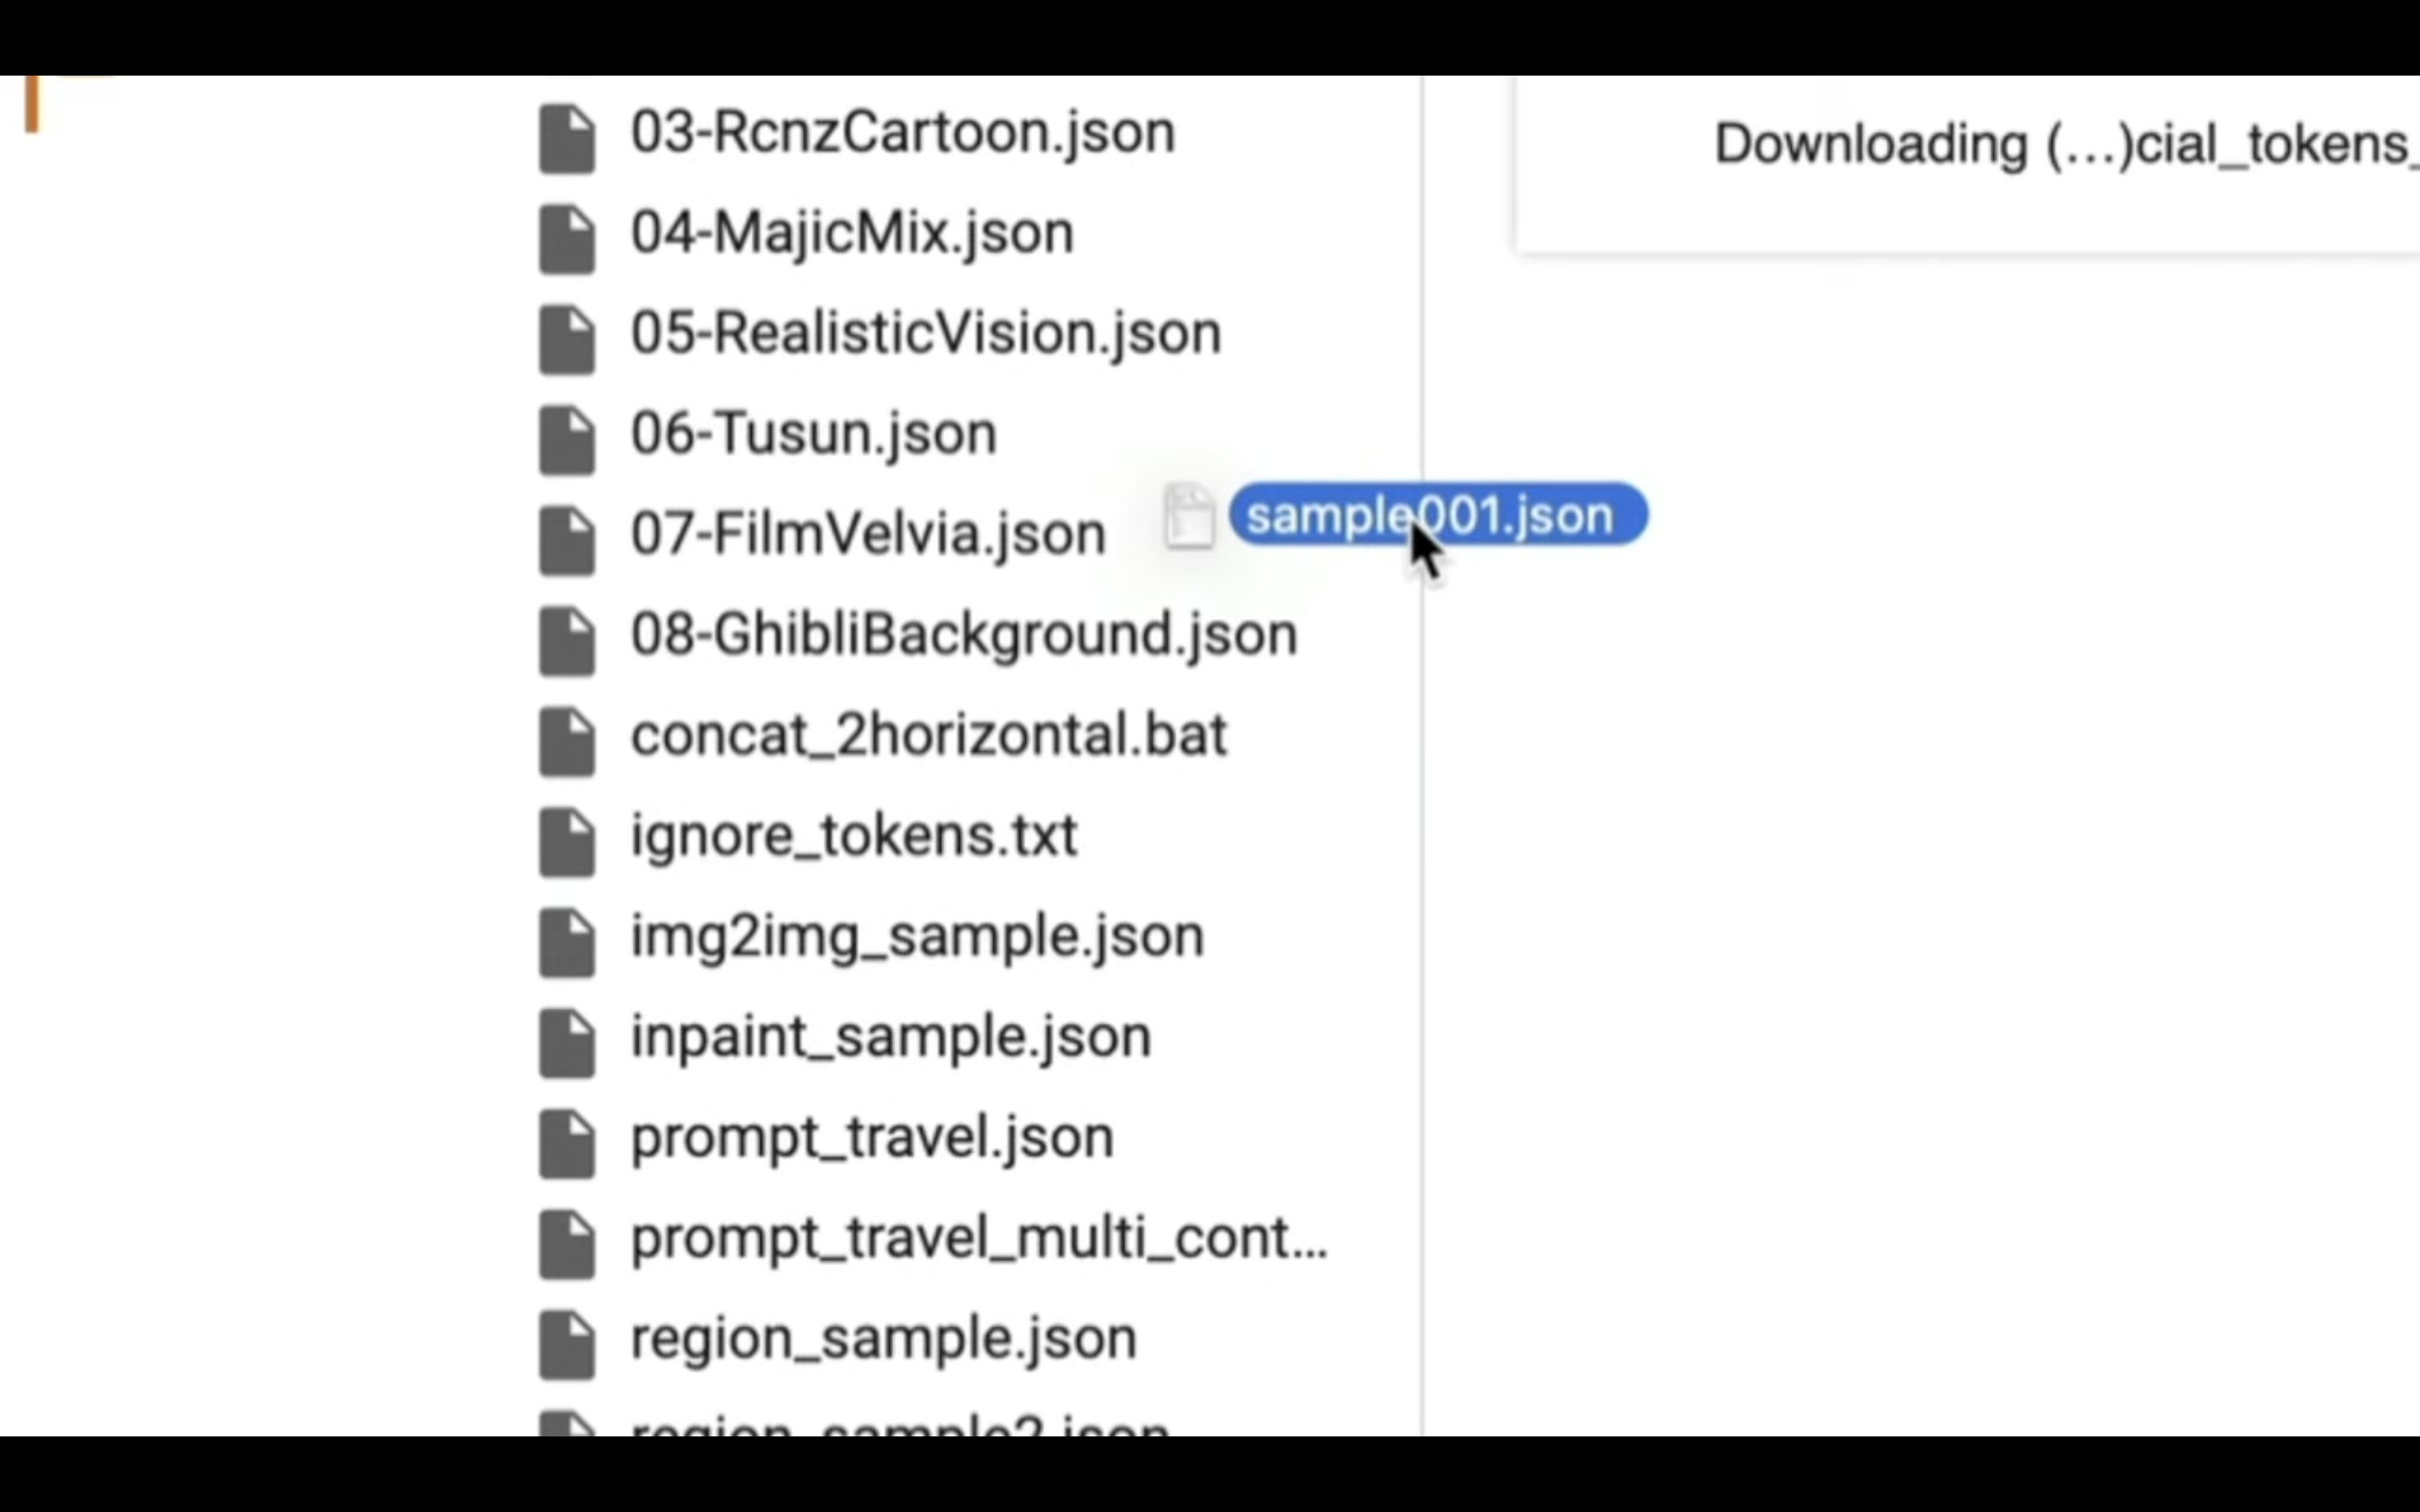
ZIPファイルを解凍して設定ファイルを取り出したら、次にそのファイルをアップロードします。
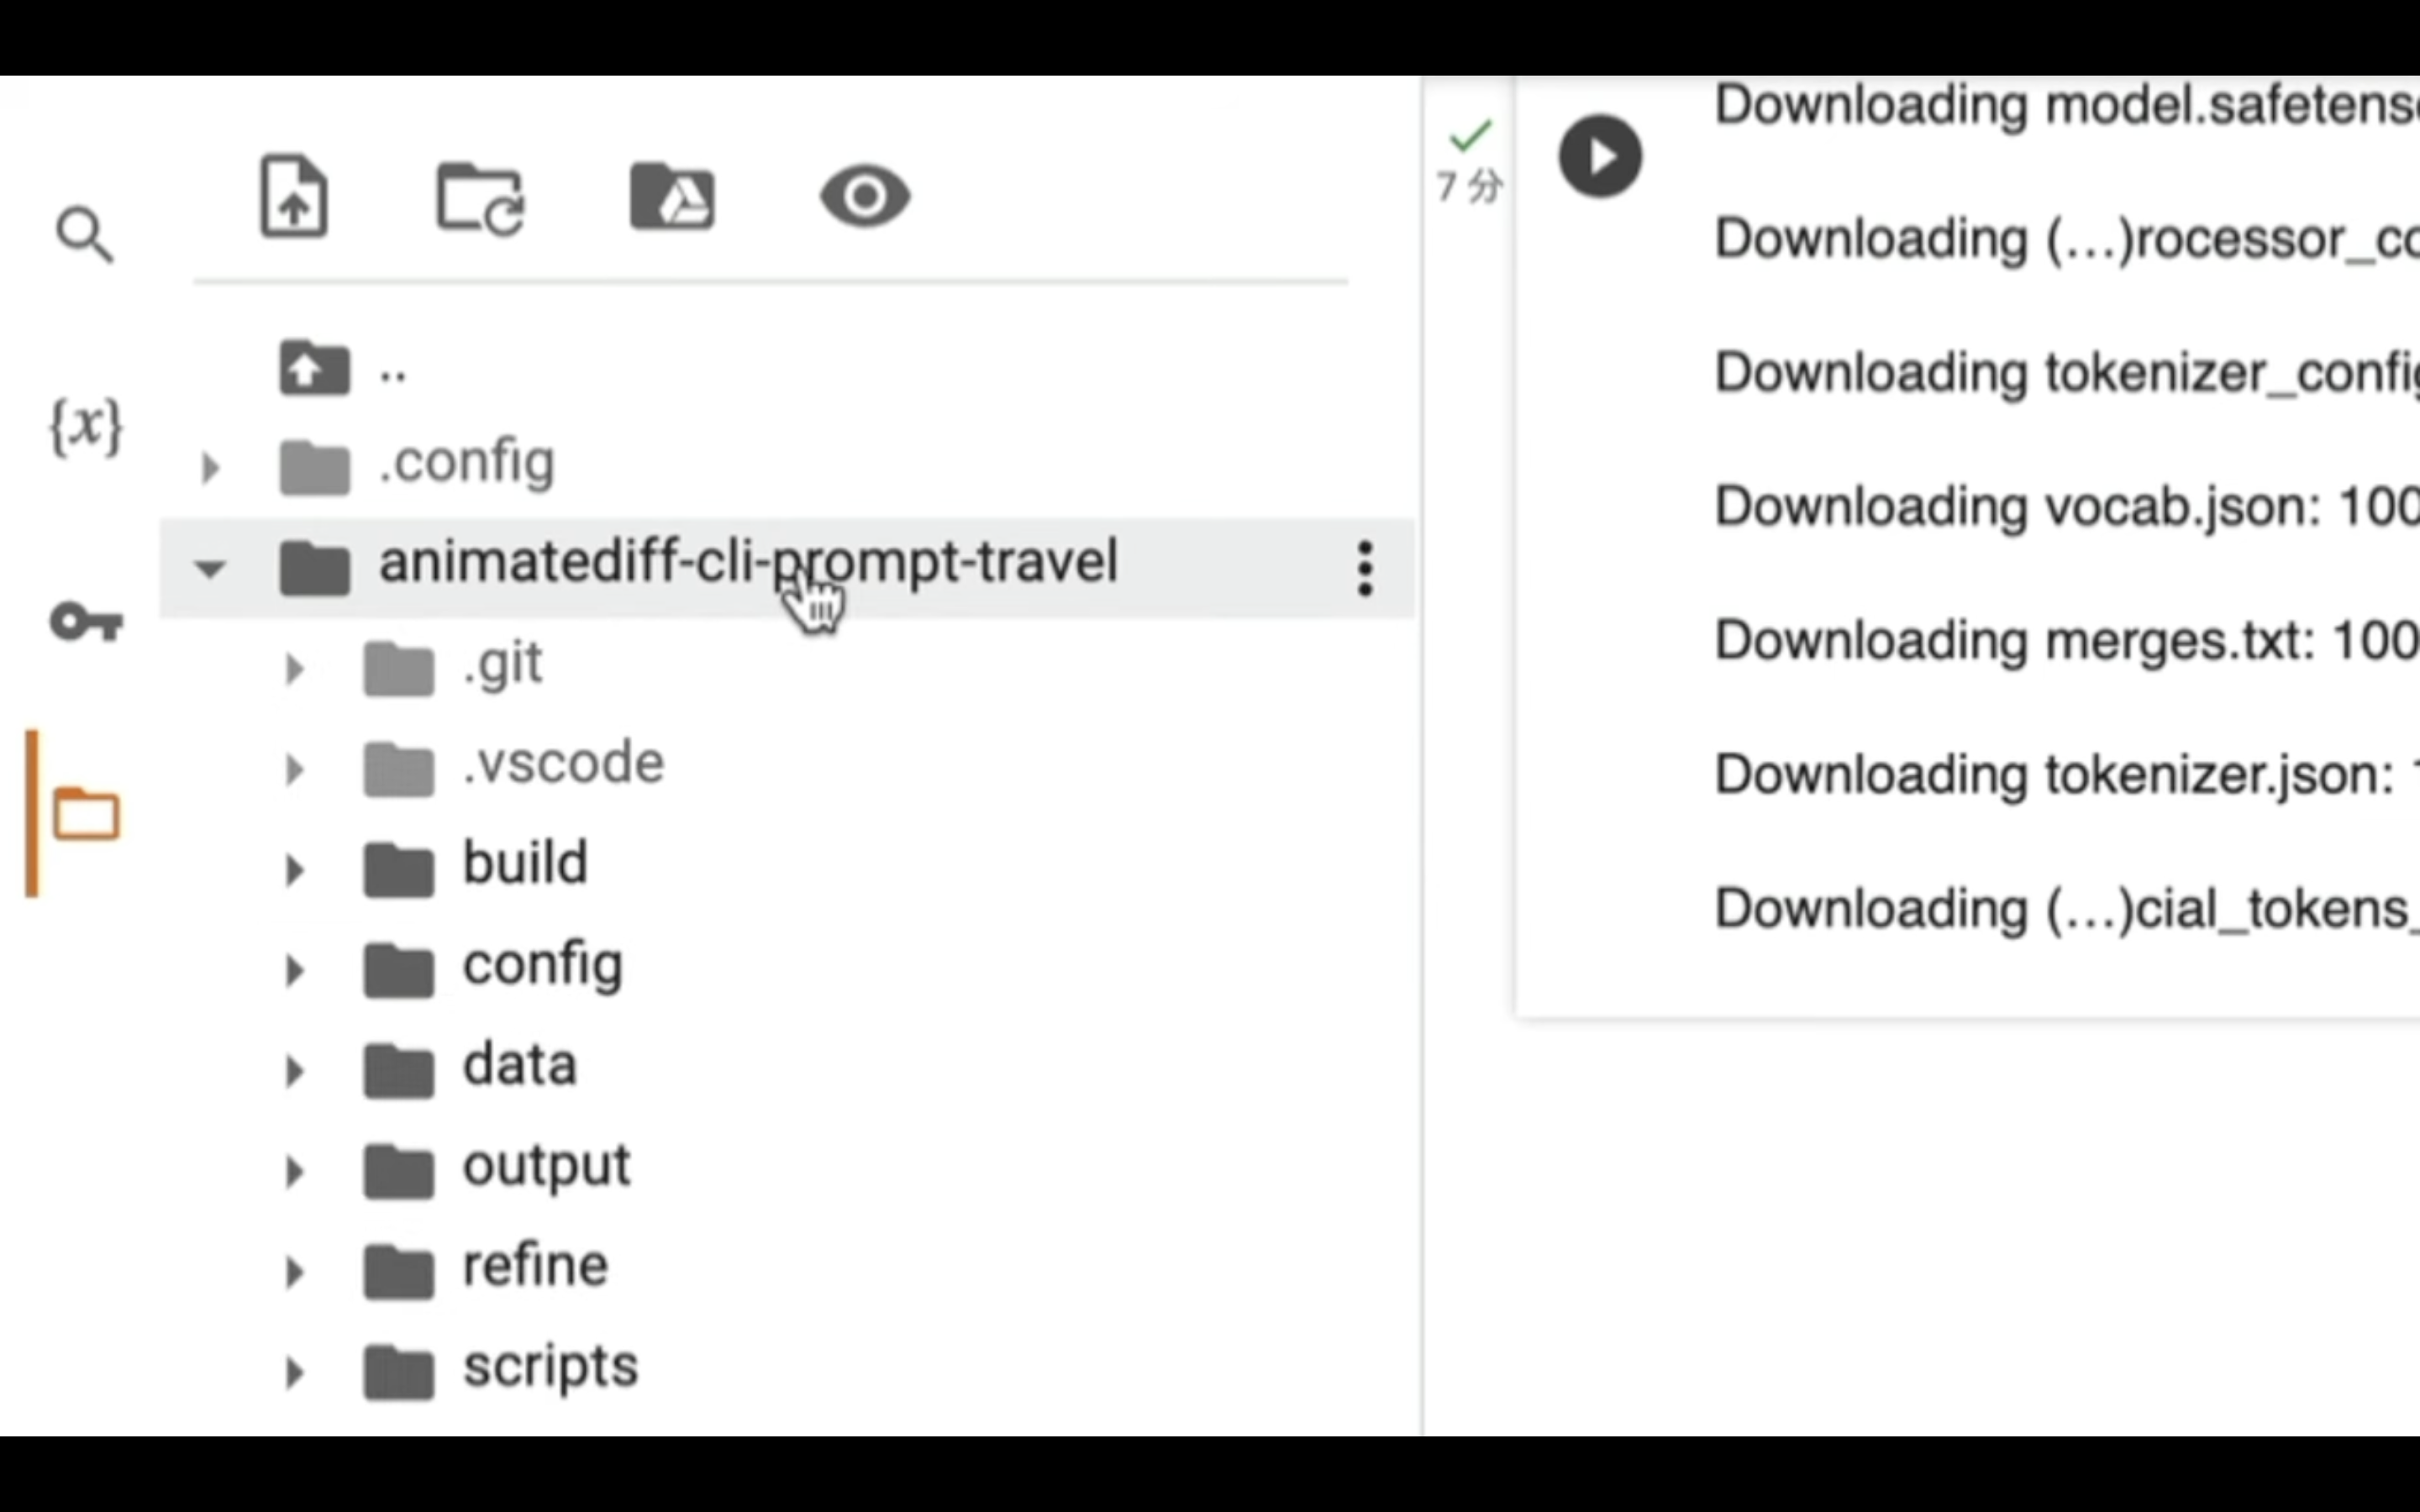
Google Colabの画面に切り替え、フォルダーのマークをクリックします。

そうすると、フォルダーやファイルの一覧画面が表示されます。
Animate Diff CLI Prompt Travelから始まるフォルダーを展開し、その中にあるコンフィグフォルダーを開きます。
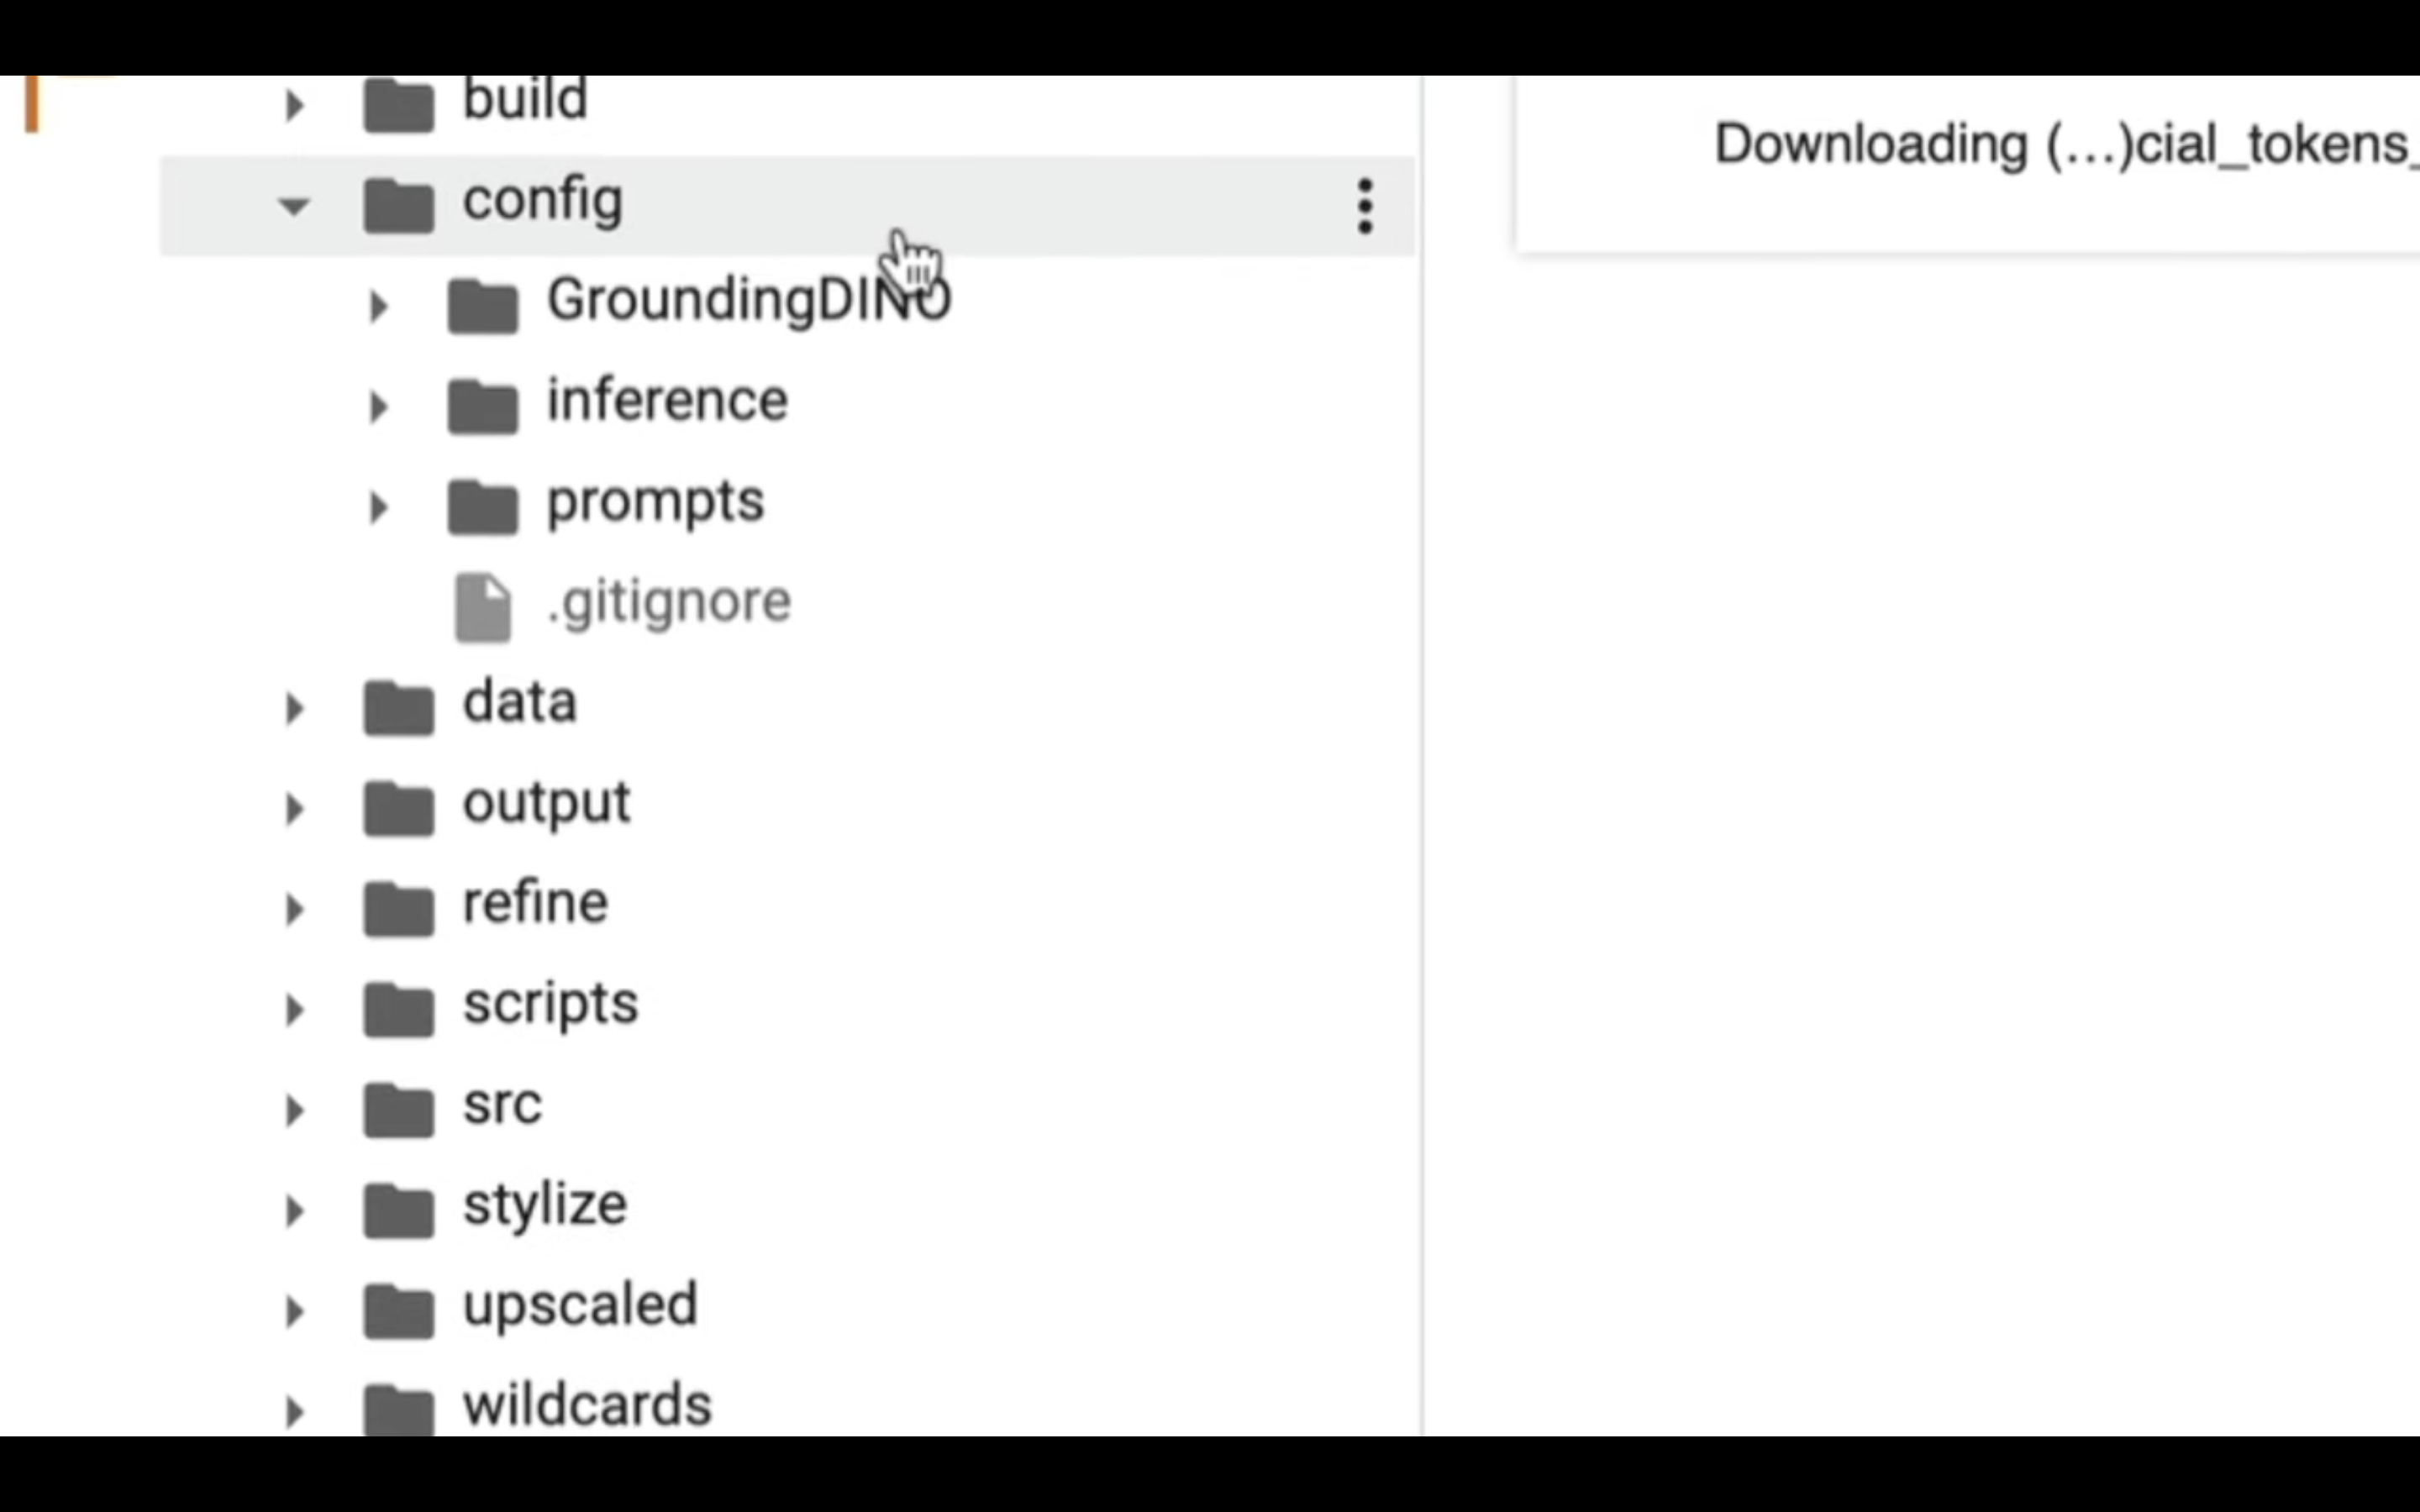
この中にあるプロンプトフォルダーに先ほど解凍したファイルをアップロードします。
具体的には、ファイルをドラッグ&ドロップして設定ファイルをアップロードします。
このような警告メッセージが表示されたら、OKボタンをクリックします。
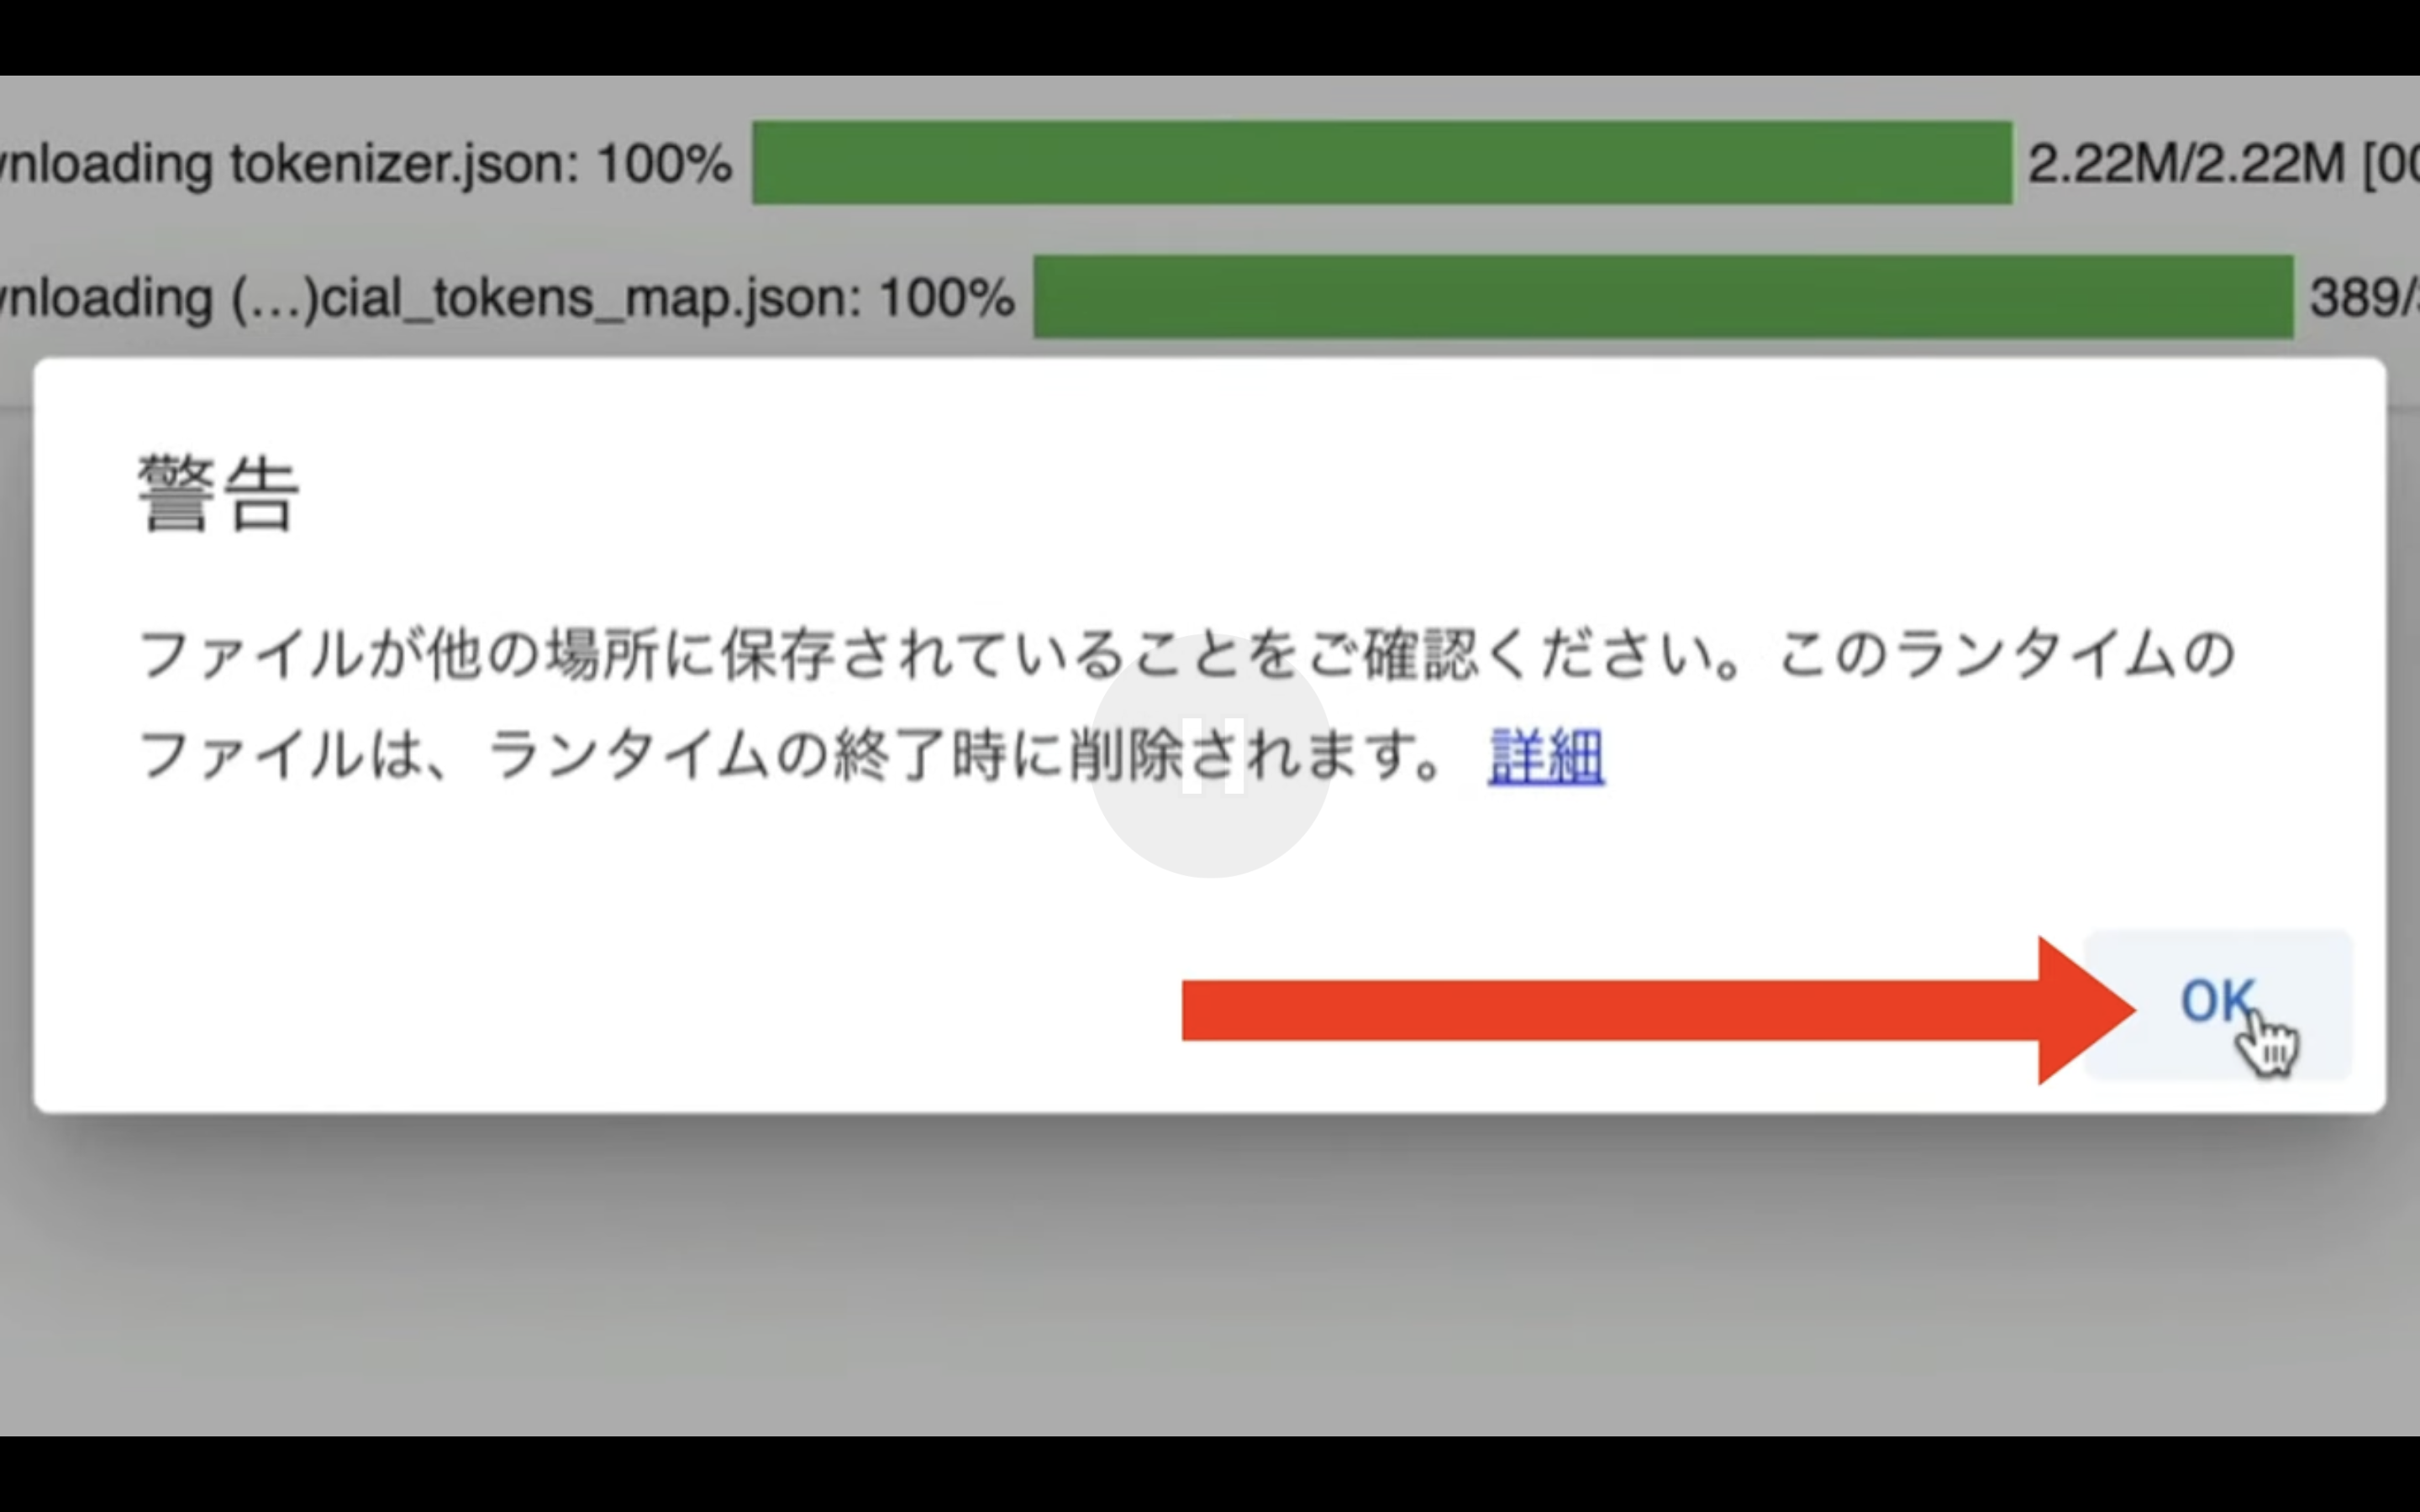
これで設定ファイルがアップロードされます。
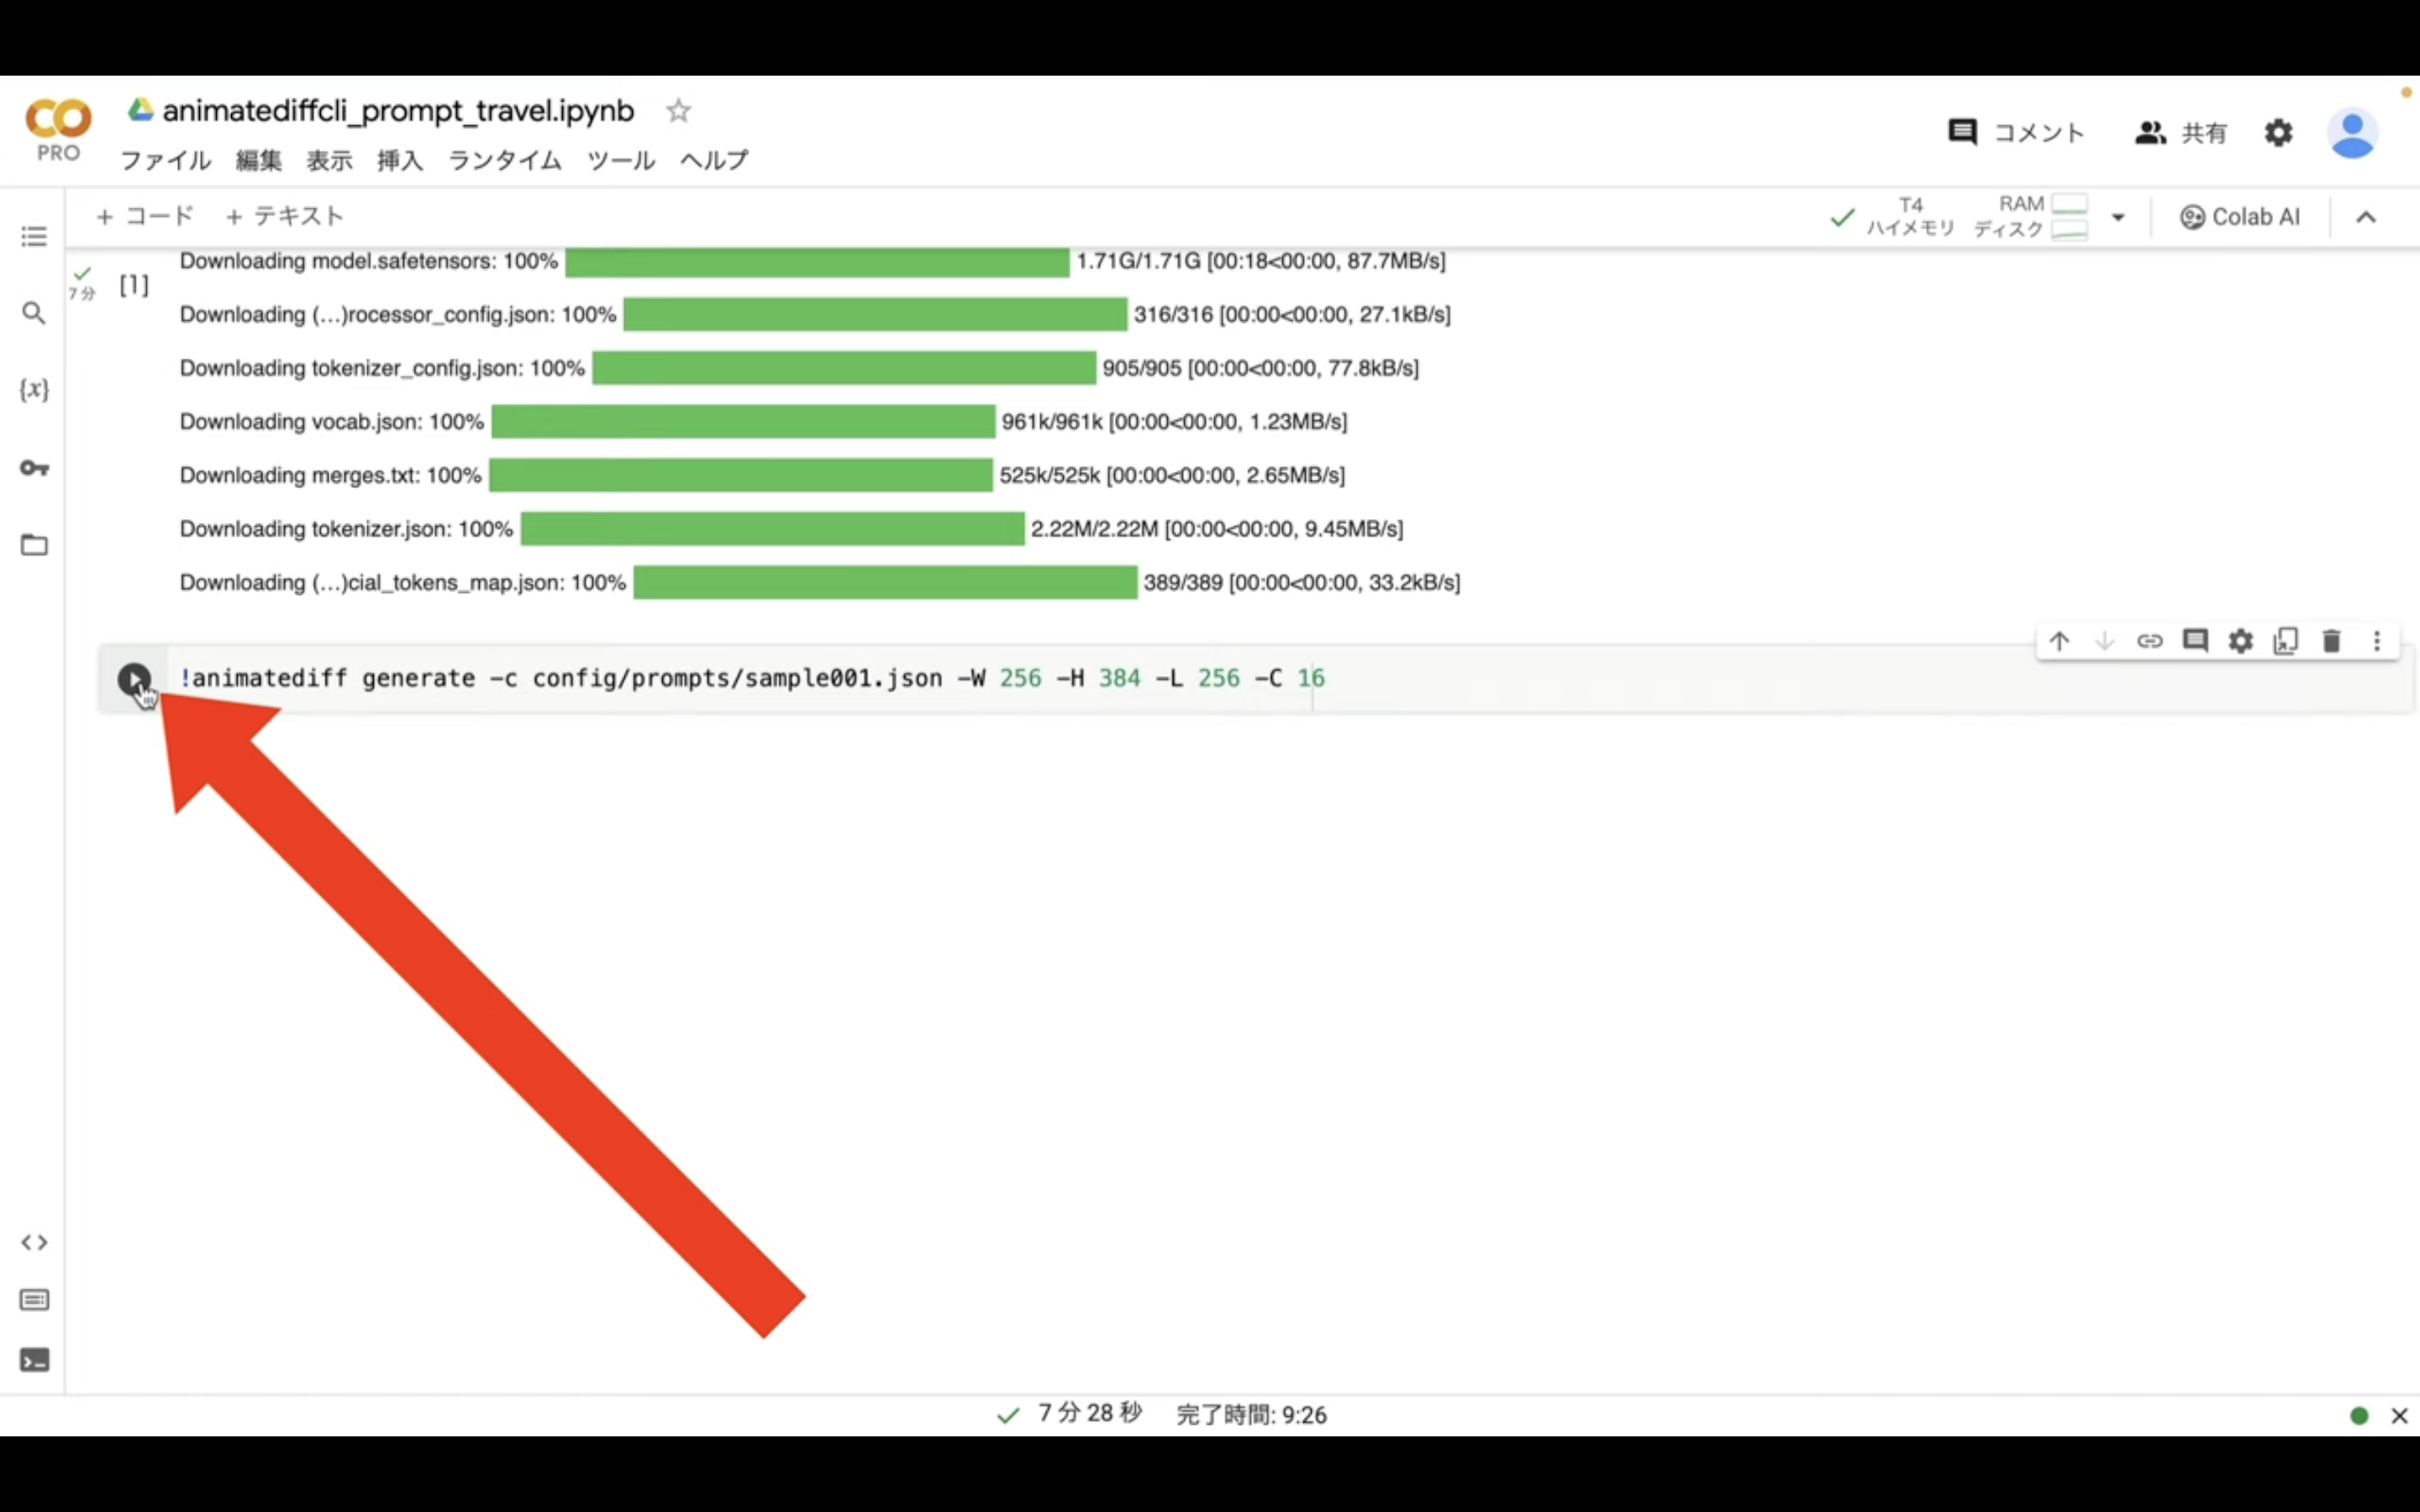
設定ファイルのアップロードが完了したら、以下に貼ってあるテキストをコピーします。
!animatediff generate -c config/prompts/sample001.json -W 256 -H 384 -L 256 -C 16
テキストをコピーしたら、Google Colabの画面に戻り、「コード」と書かれているテキストをクリックします。
新しいテキストボックスが追加されるので、先ほどコピーしたテキストを貼り付けます。
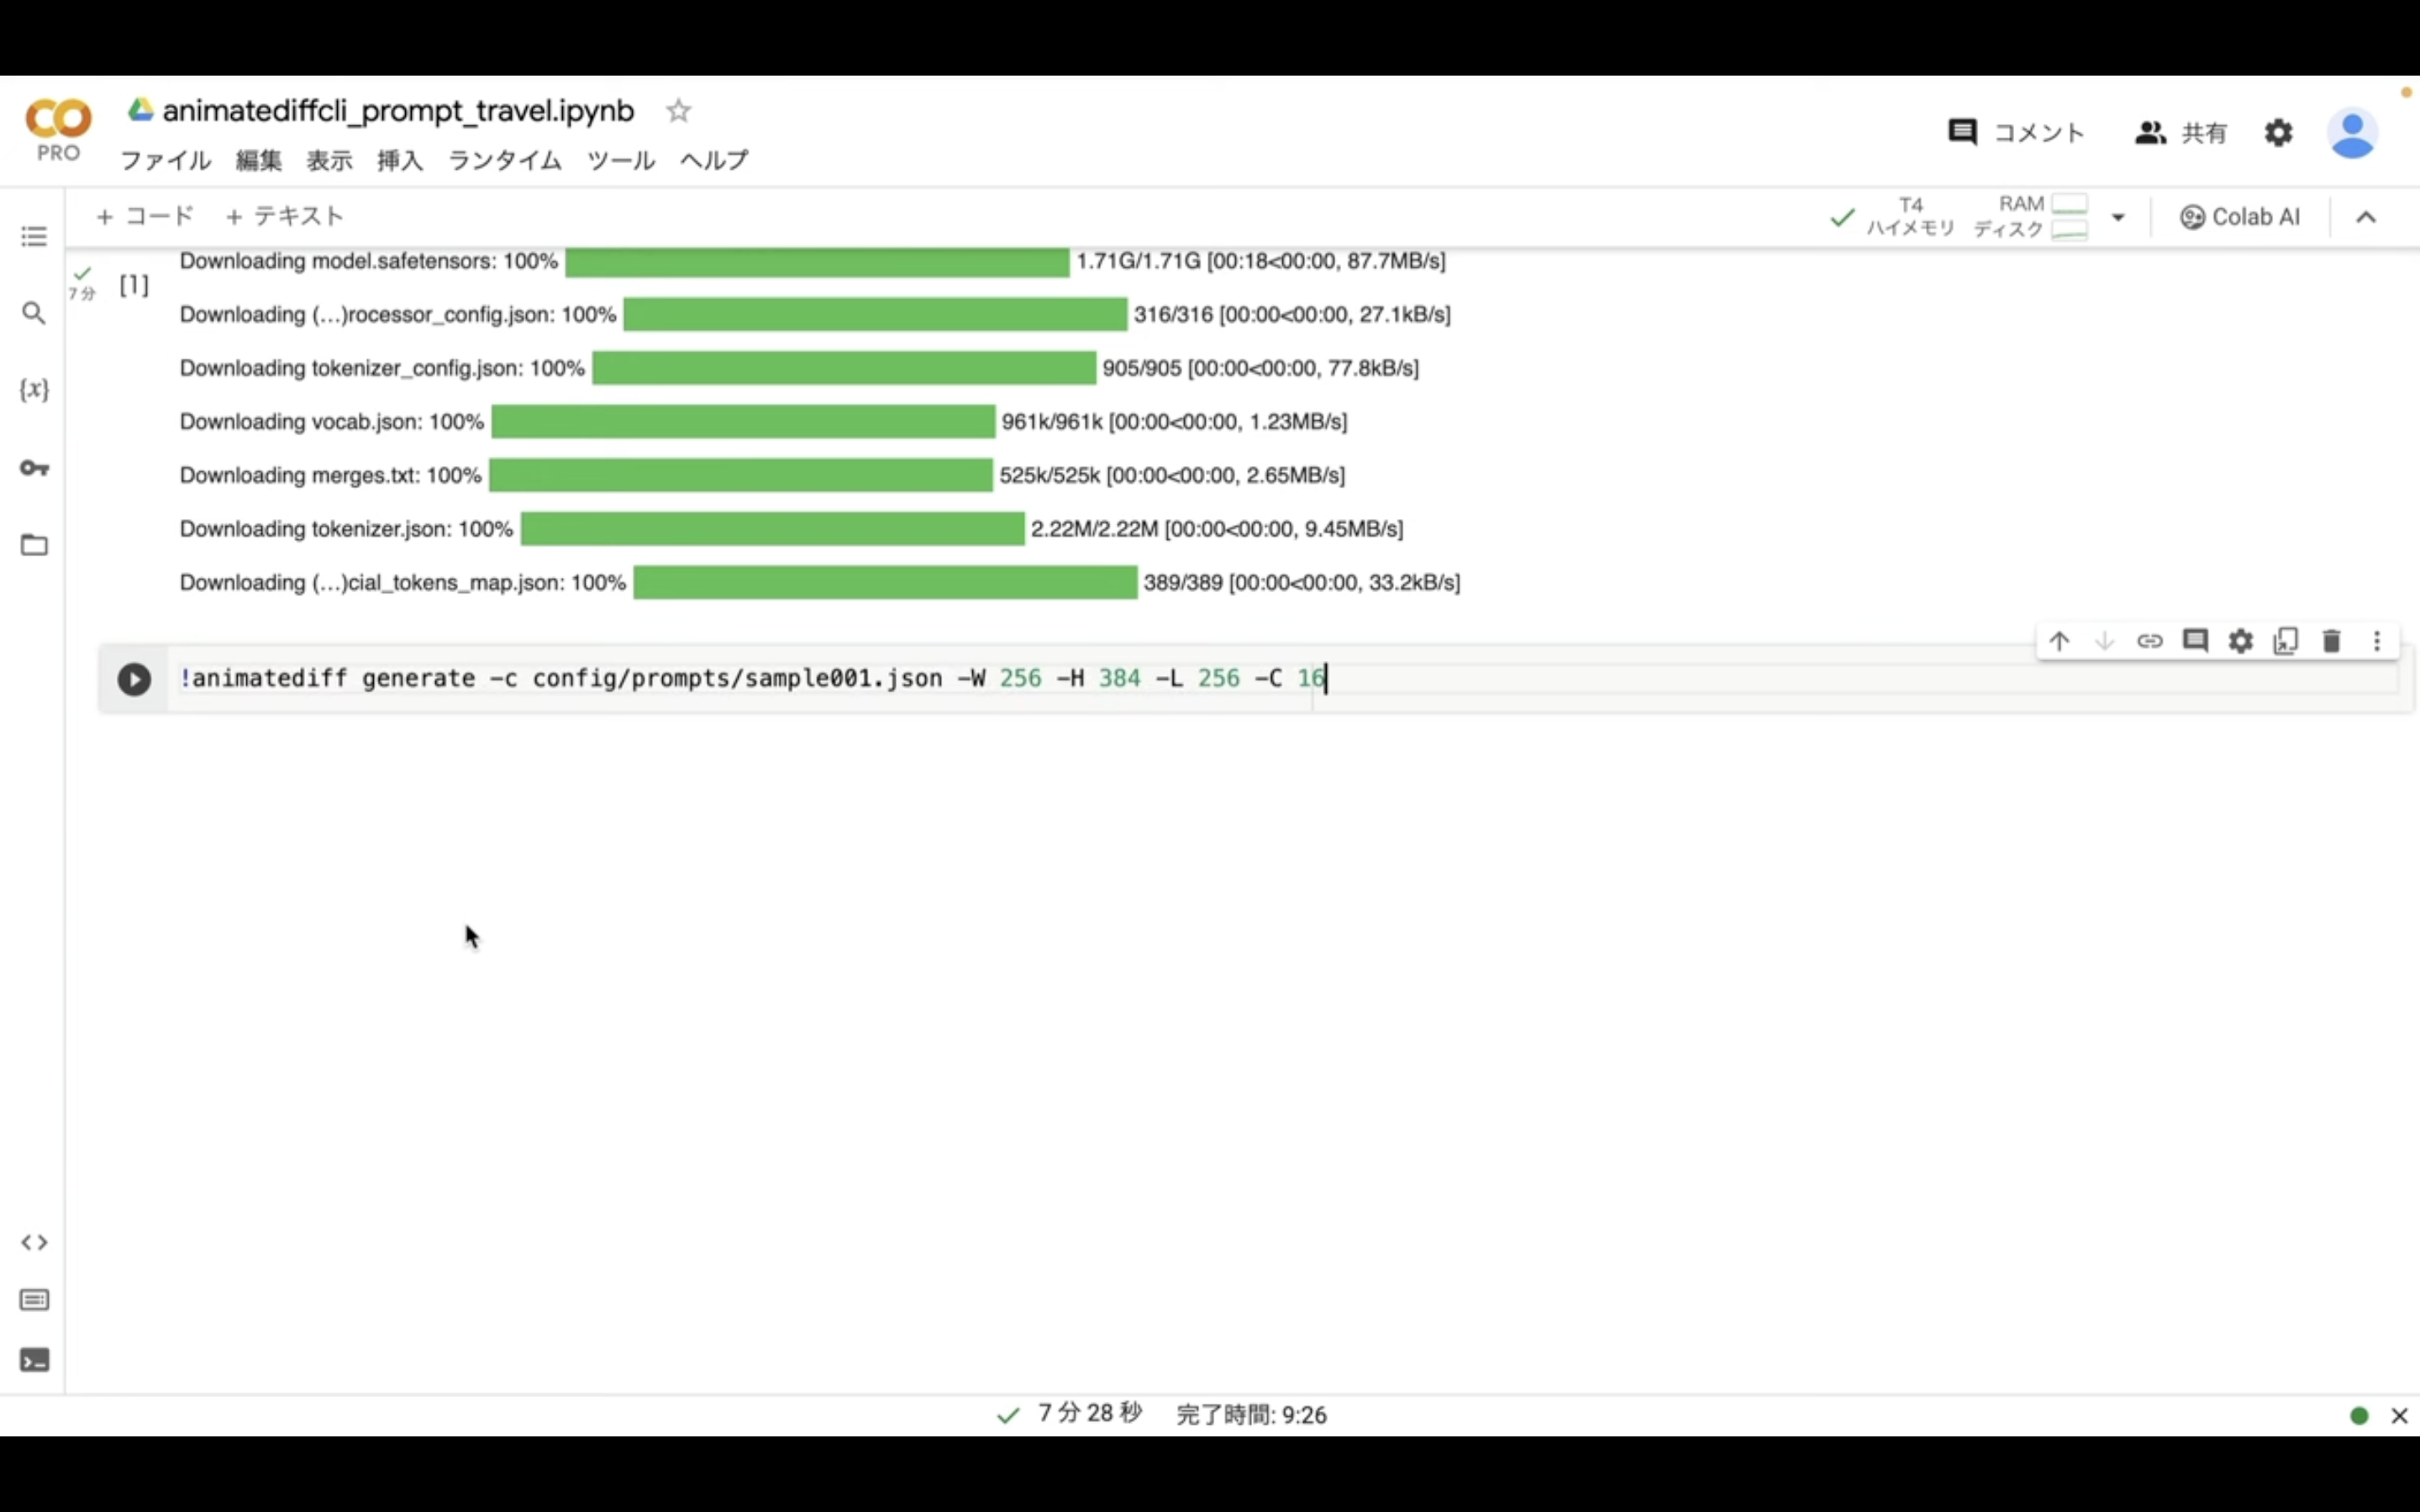
このコマンドで動画を生成するための設定、動画のサイズなどを指定しています。
それでは、早速このコマンドを実行してみましょう。
再生ボタンをクリックします。
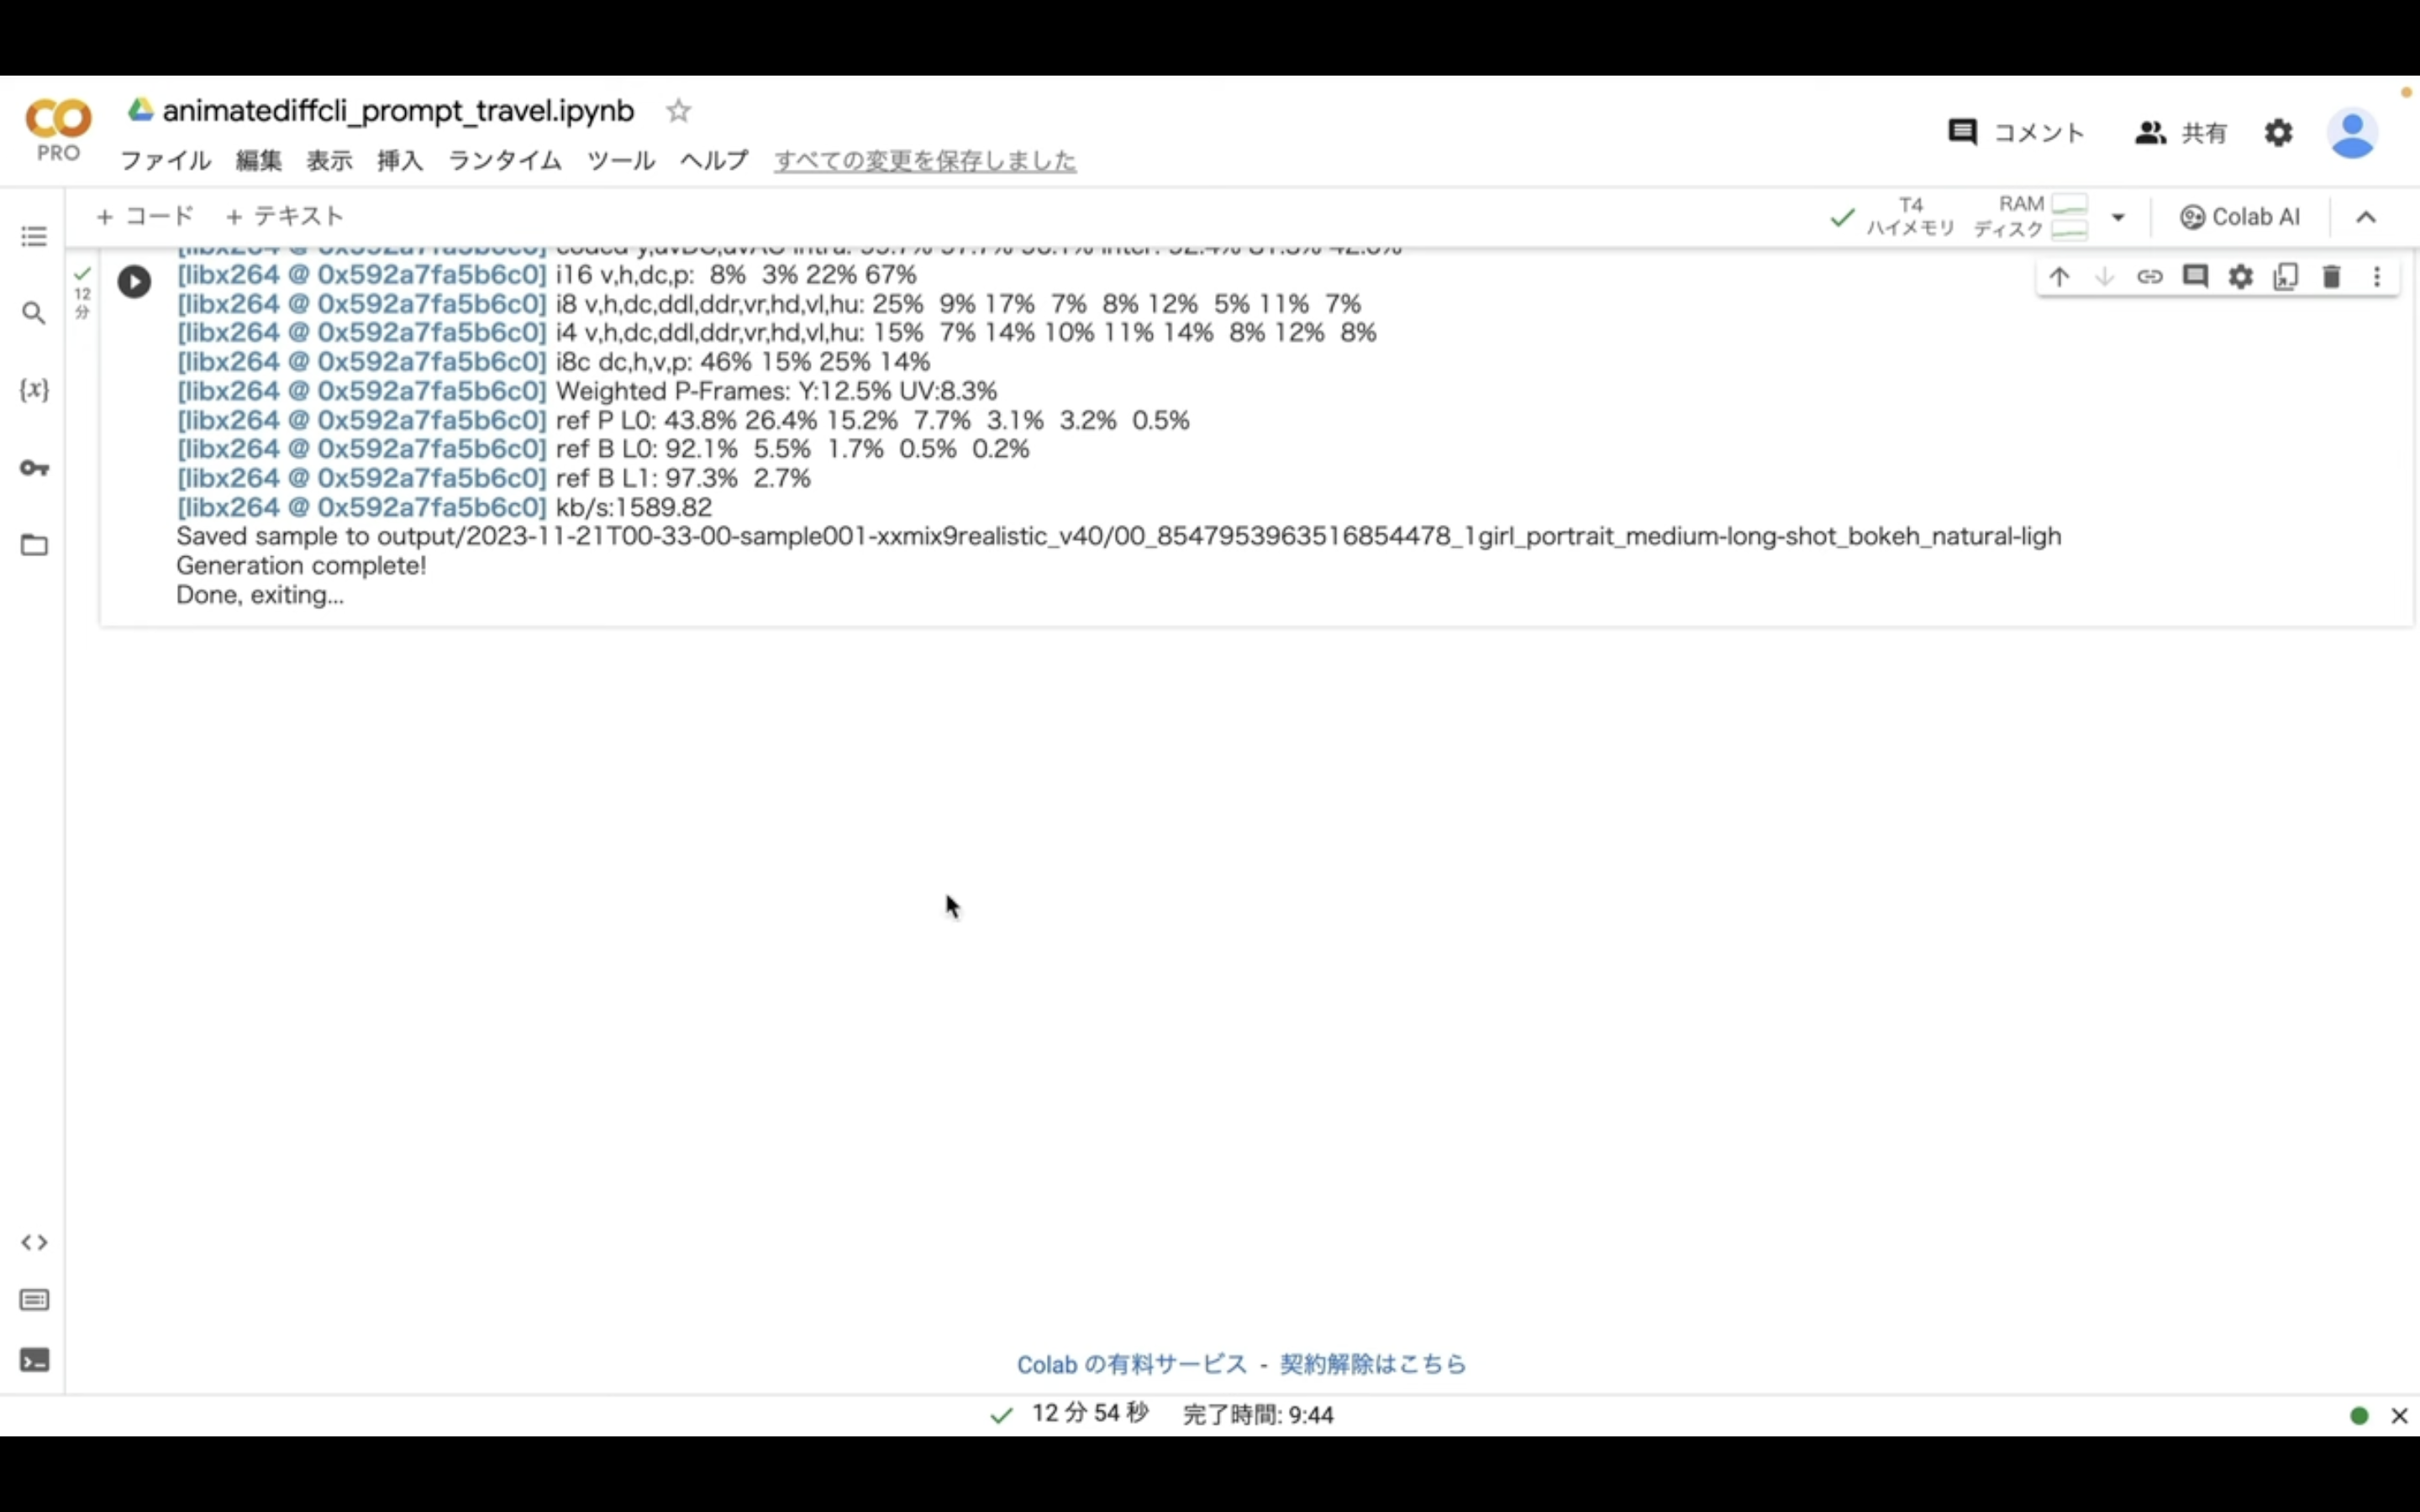
そうすると動画の生成が開始されます。
動画の生成には10分以上かかることもありますが、しばらく待っているとコマンドの実行が完了します。
作成された動画は、アウトプットフォルダーの中に保存されています。
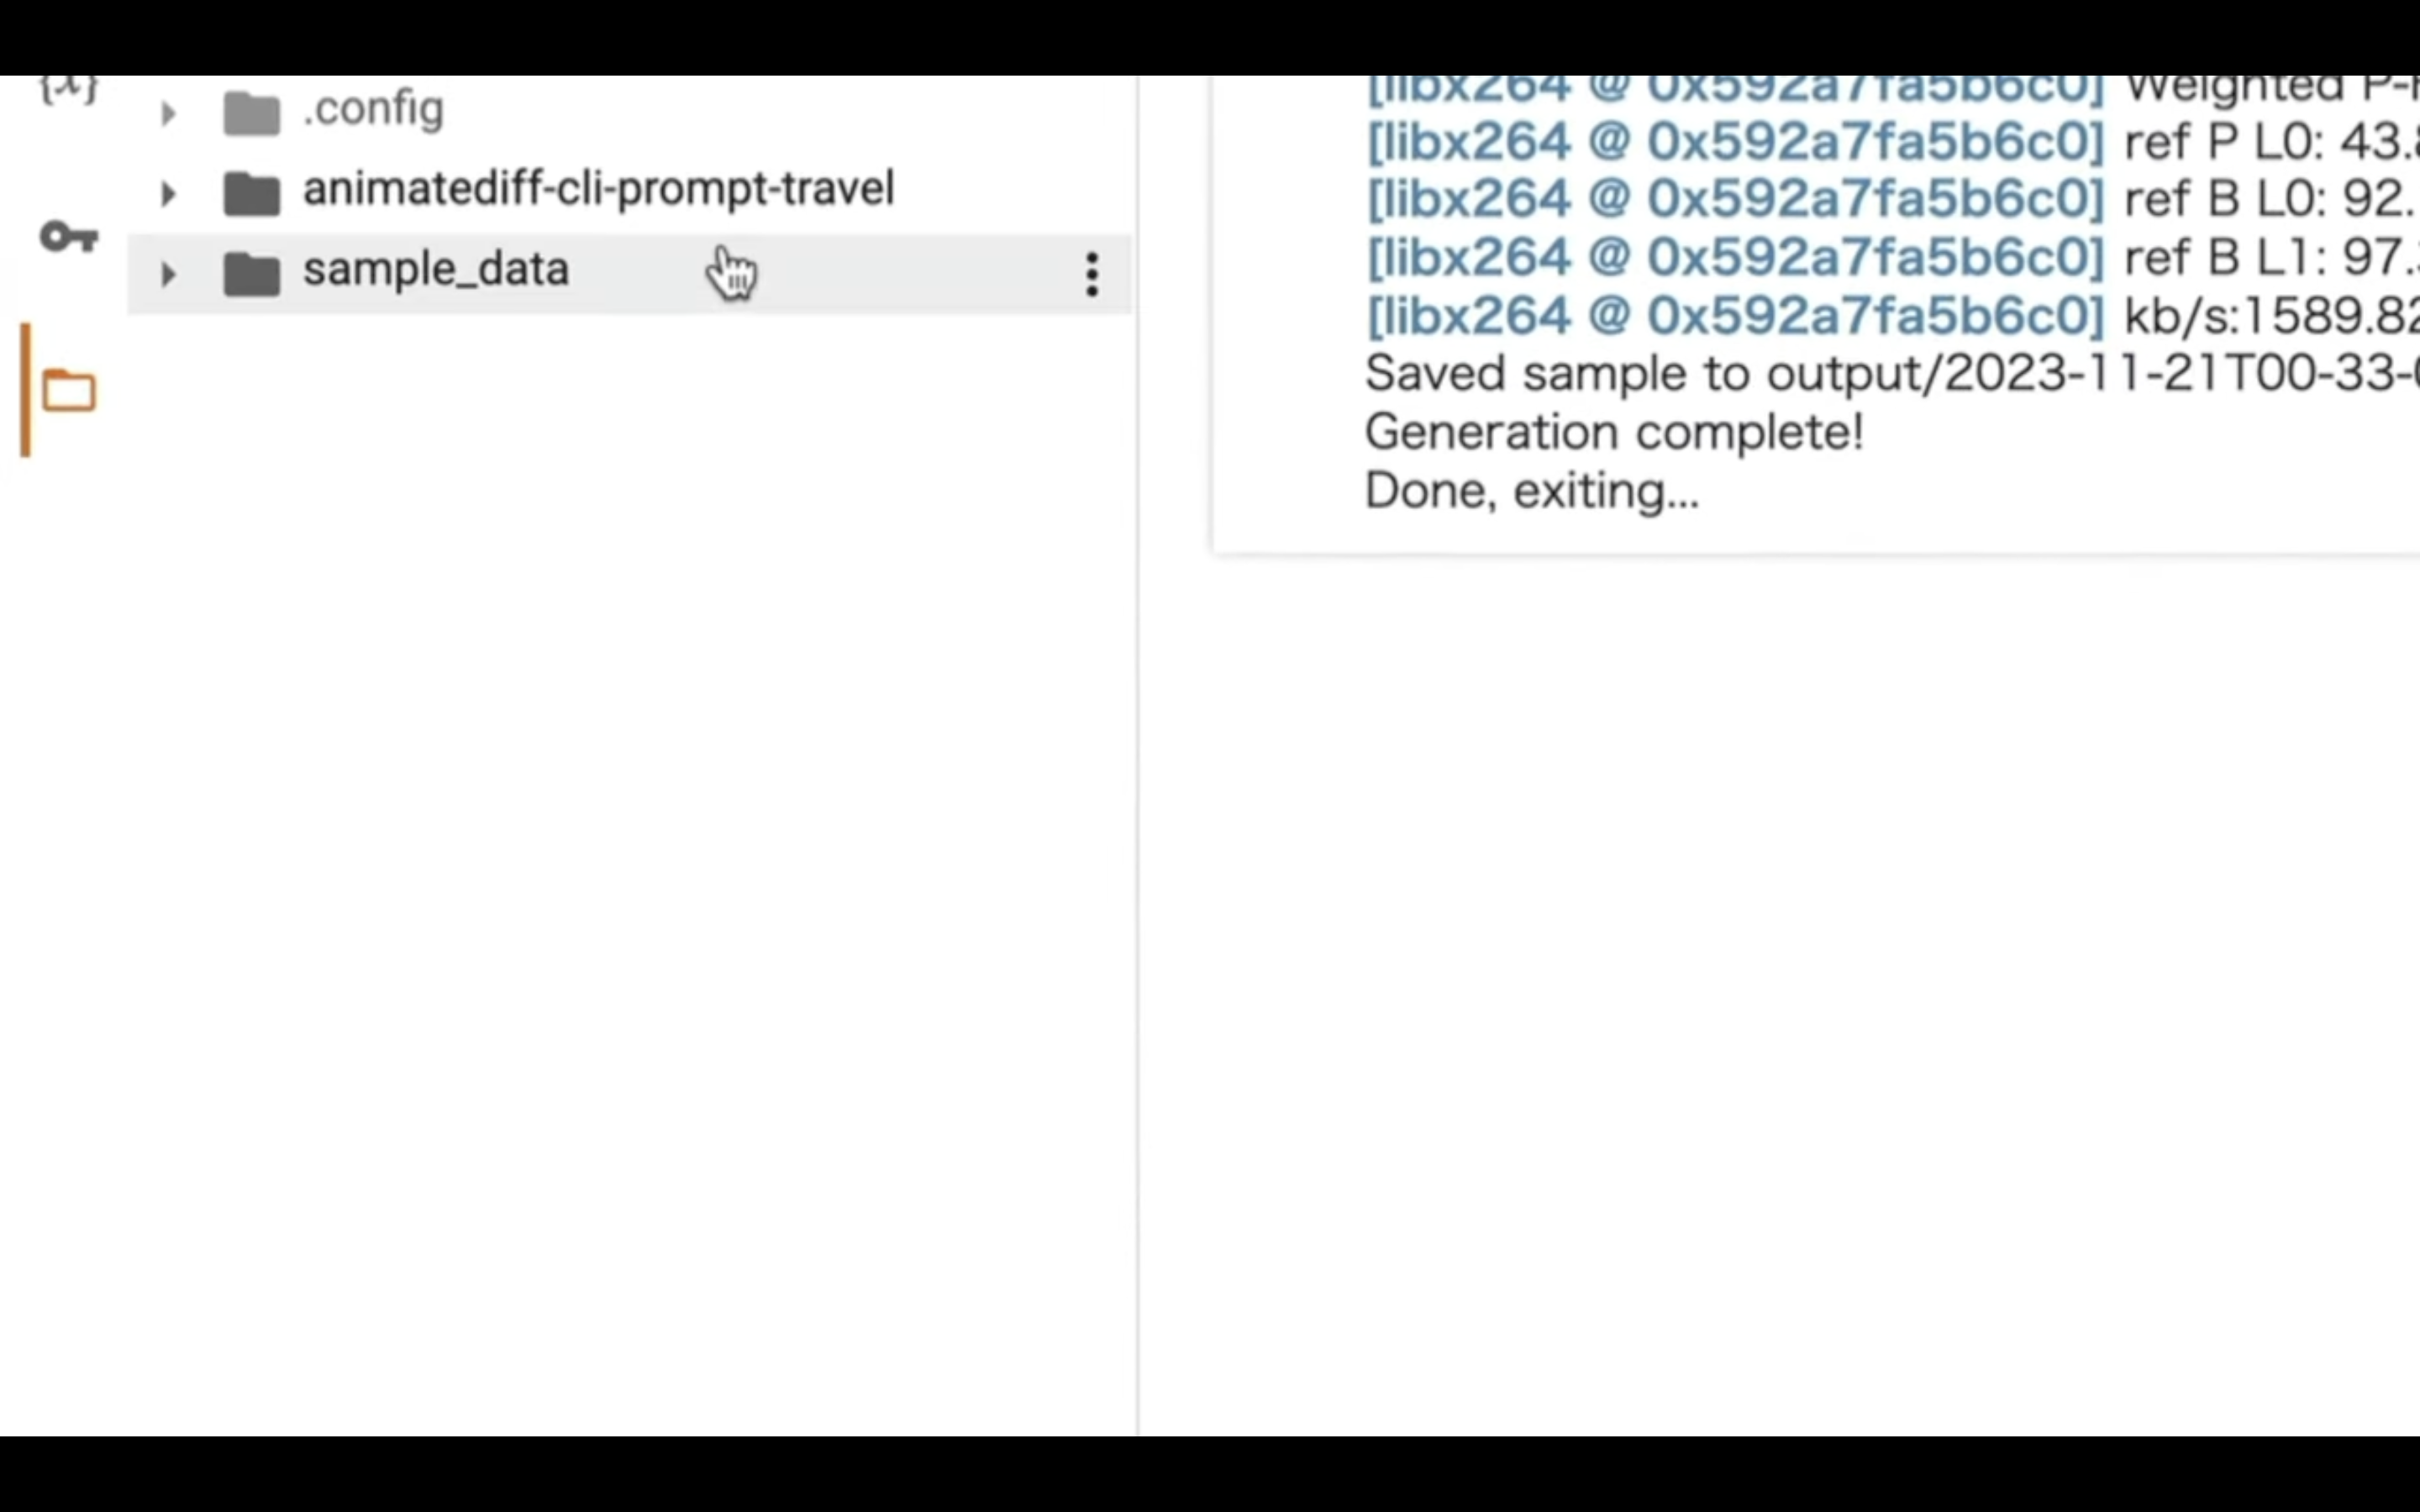
具体的には、Animate Diff CLI Prompt Travelから始まるフォルダーの中にあるアウトプットフォルダーの中に保存されています。
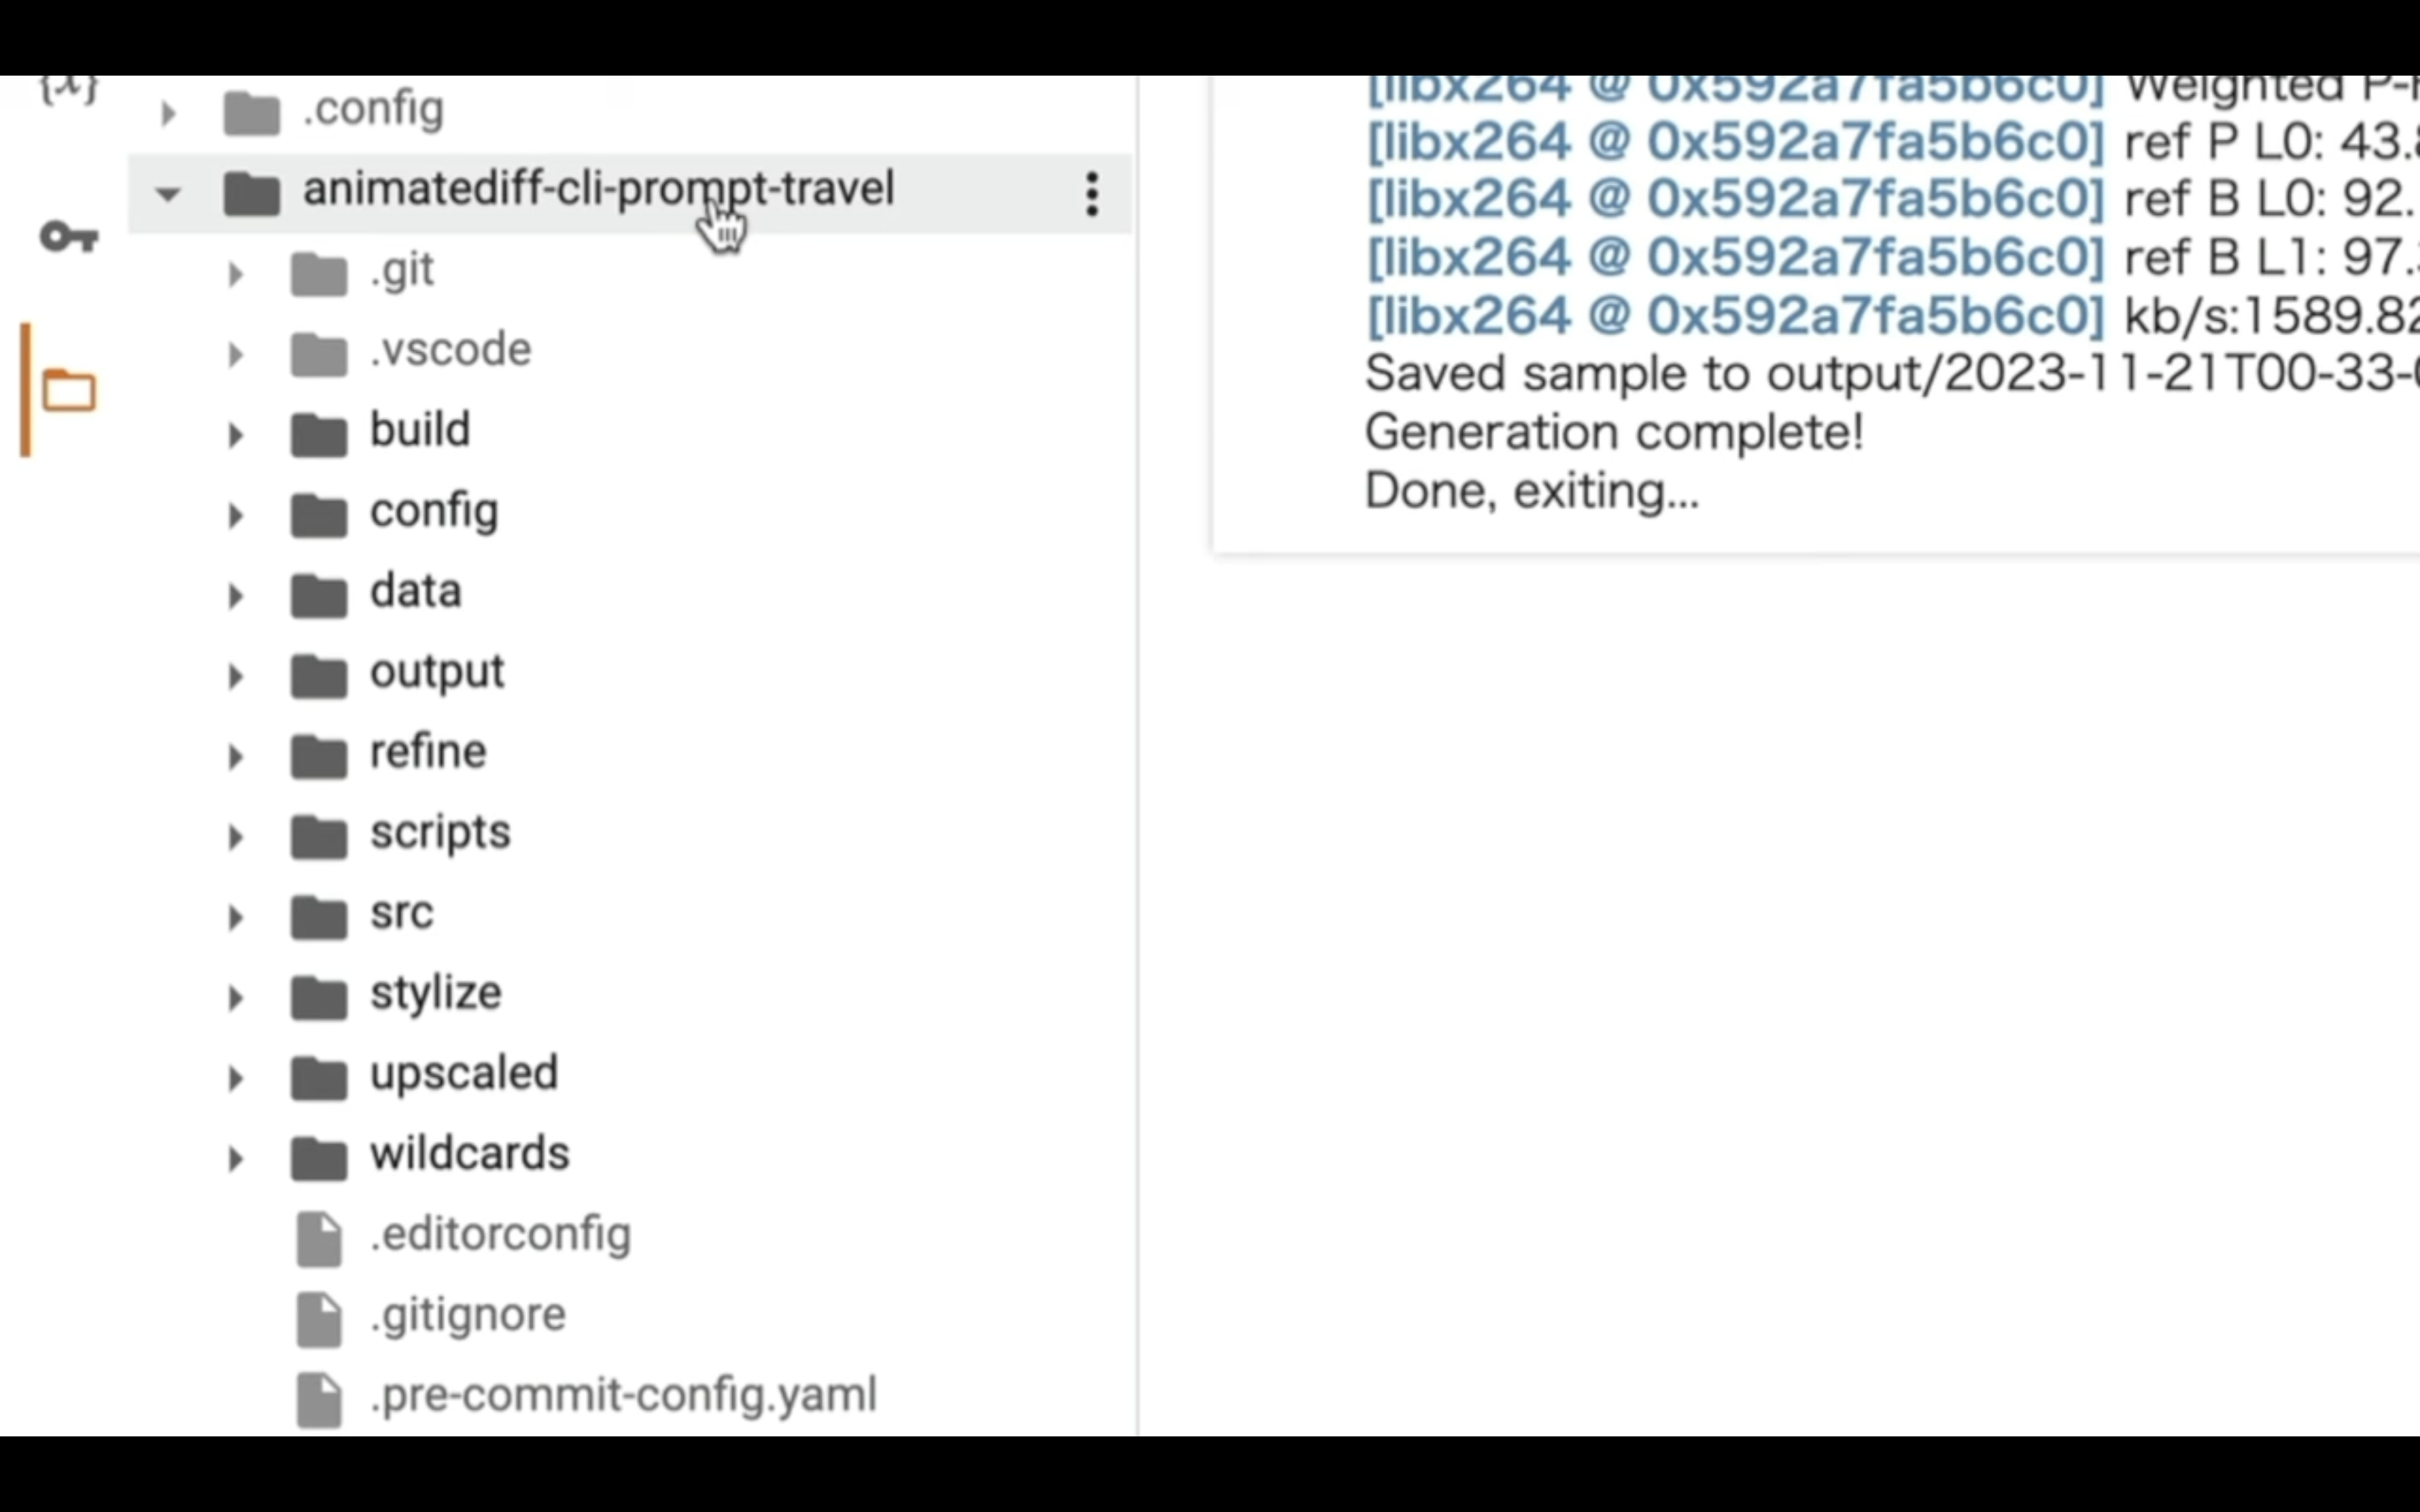
この中の作成日時から始まるフォルダーに、MP4ファイルが保存されています。
このMP4ファイルが生成された動画ファイルです。

ファイルの右側にあるドットのマークをクリックします。
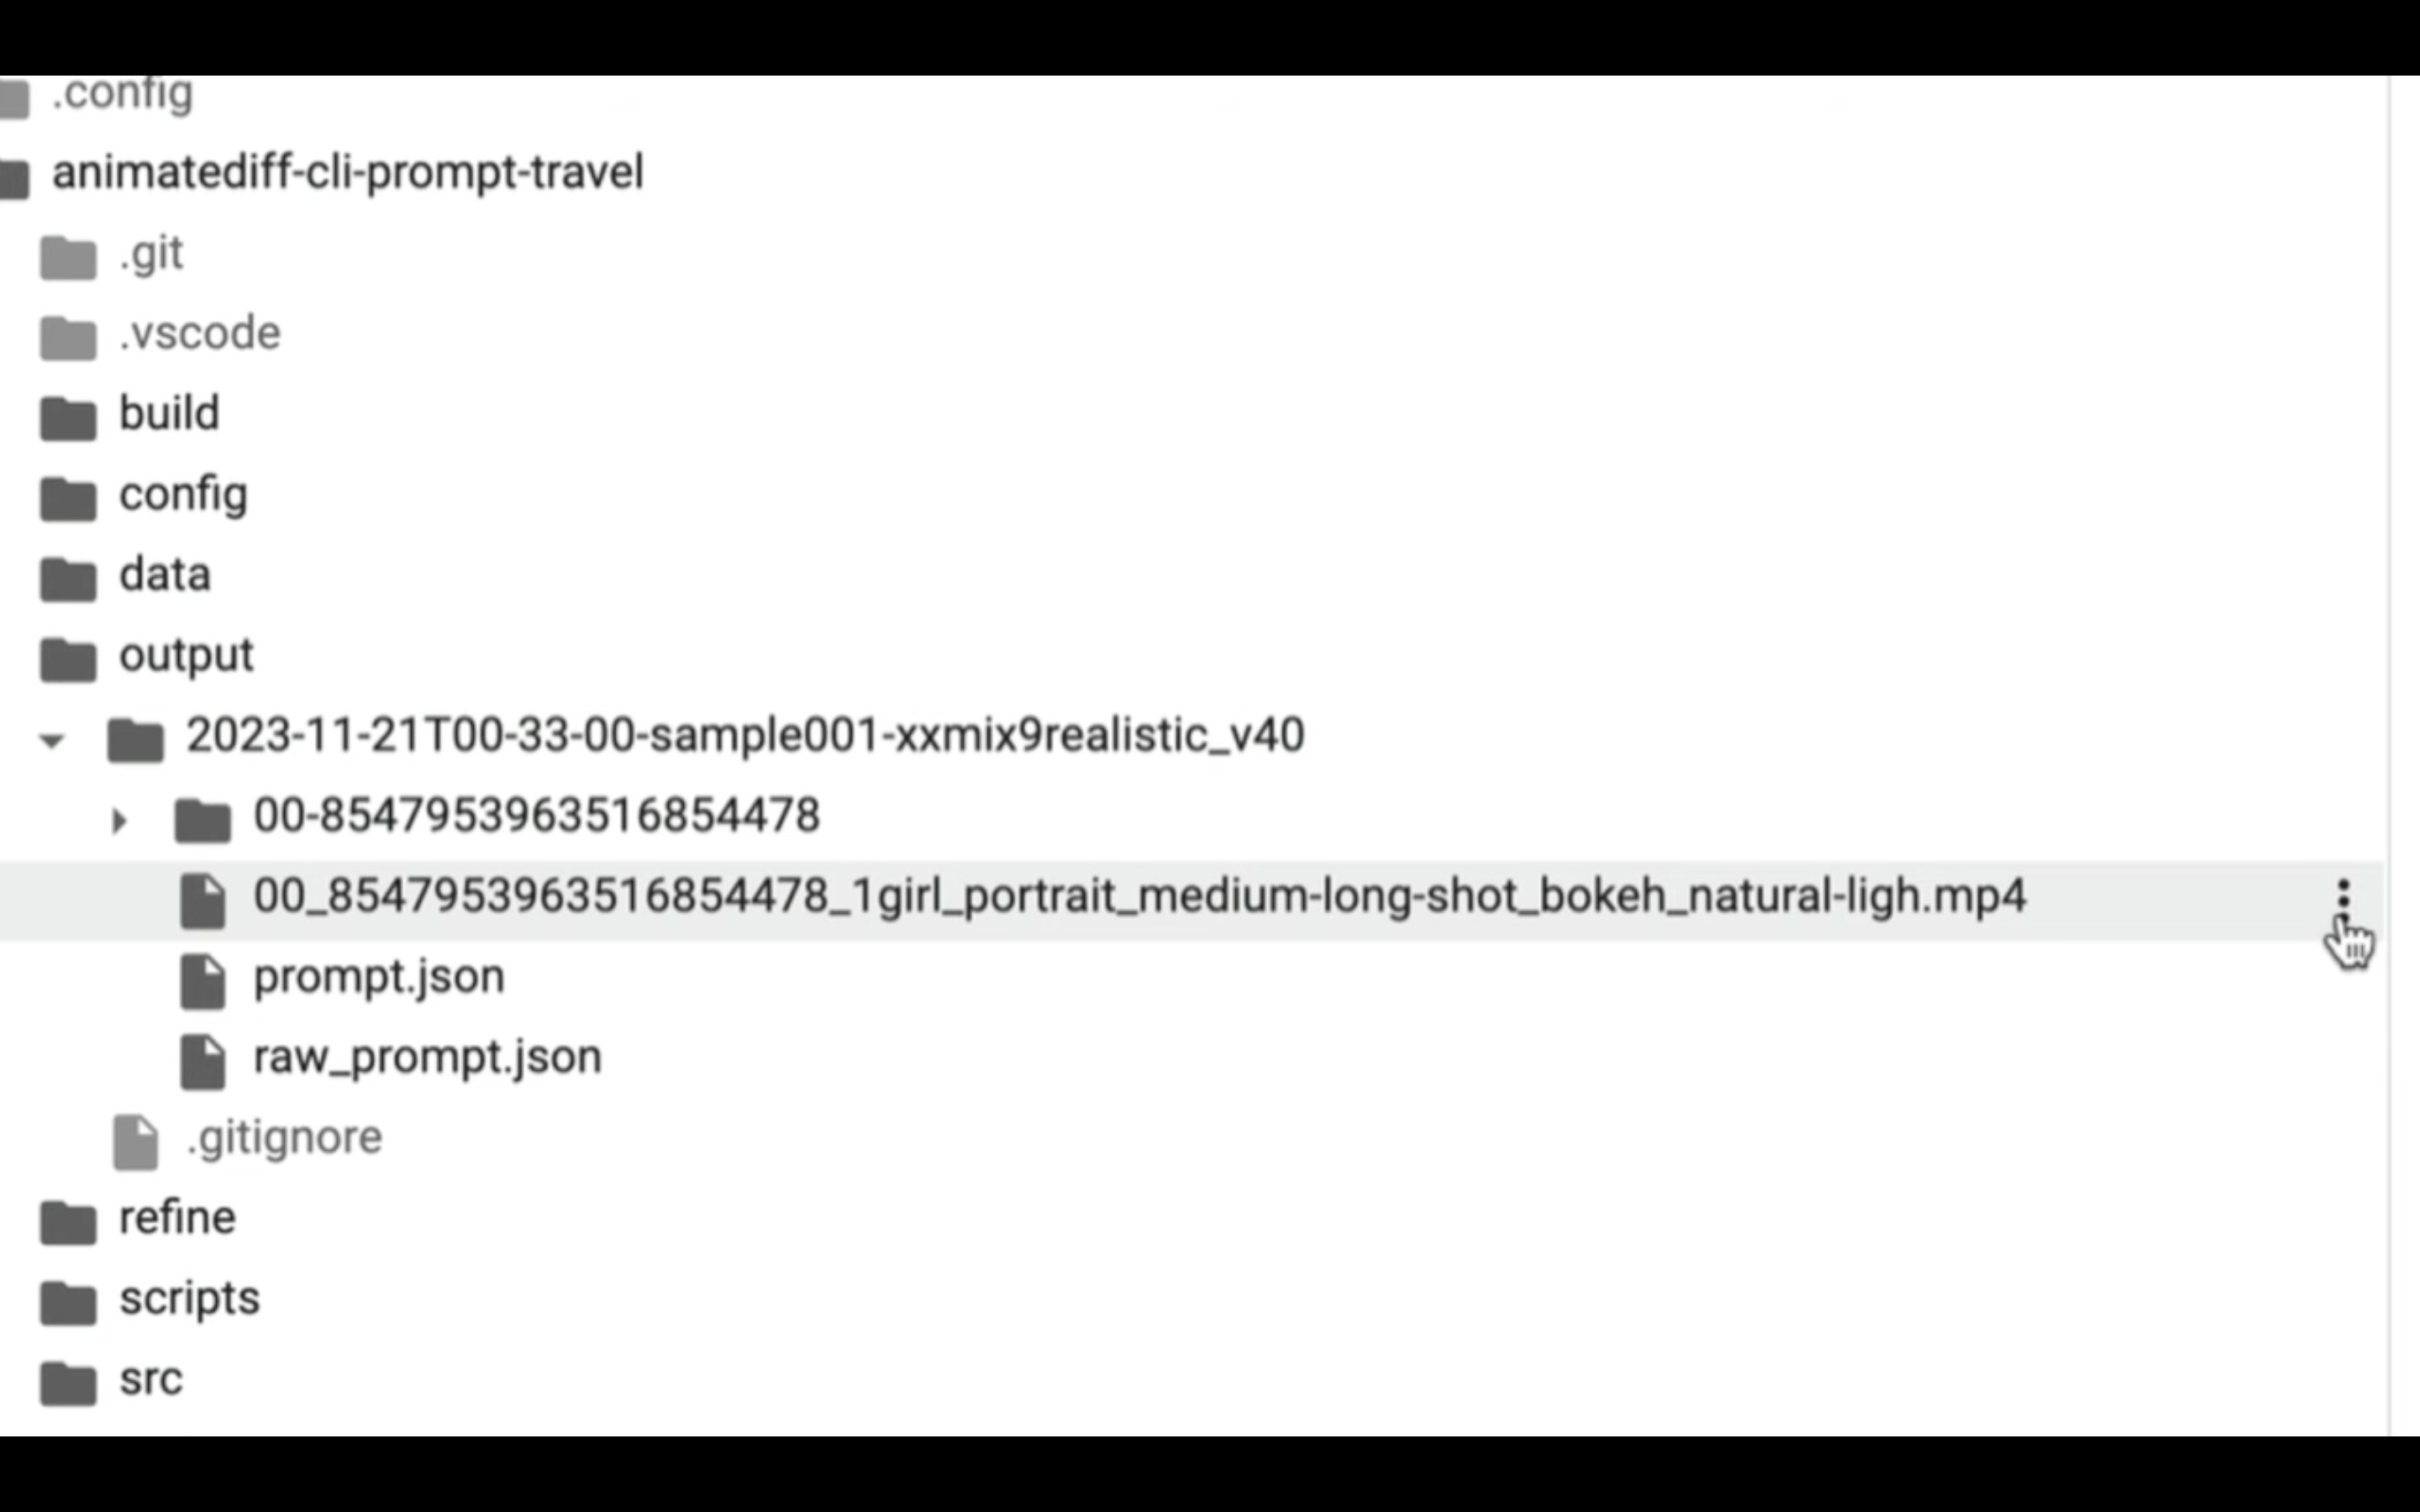
表示されたメニューの中からダウンロードを選択します。

ダウンロードには時間がかかるので、しばらく待ちます。
これで、生成された動画ファイルを自分のパソコンに保存することができます。
今回作成された動画がこちらです。
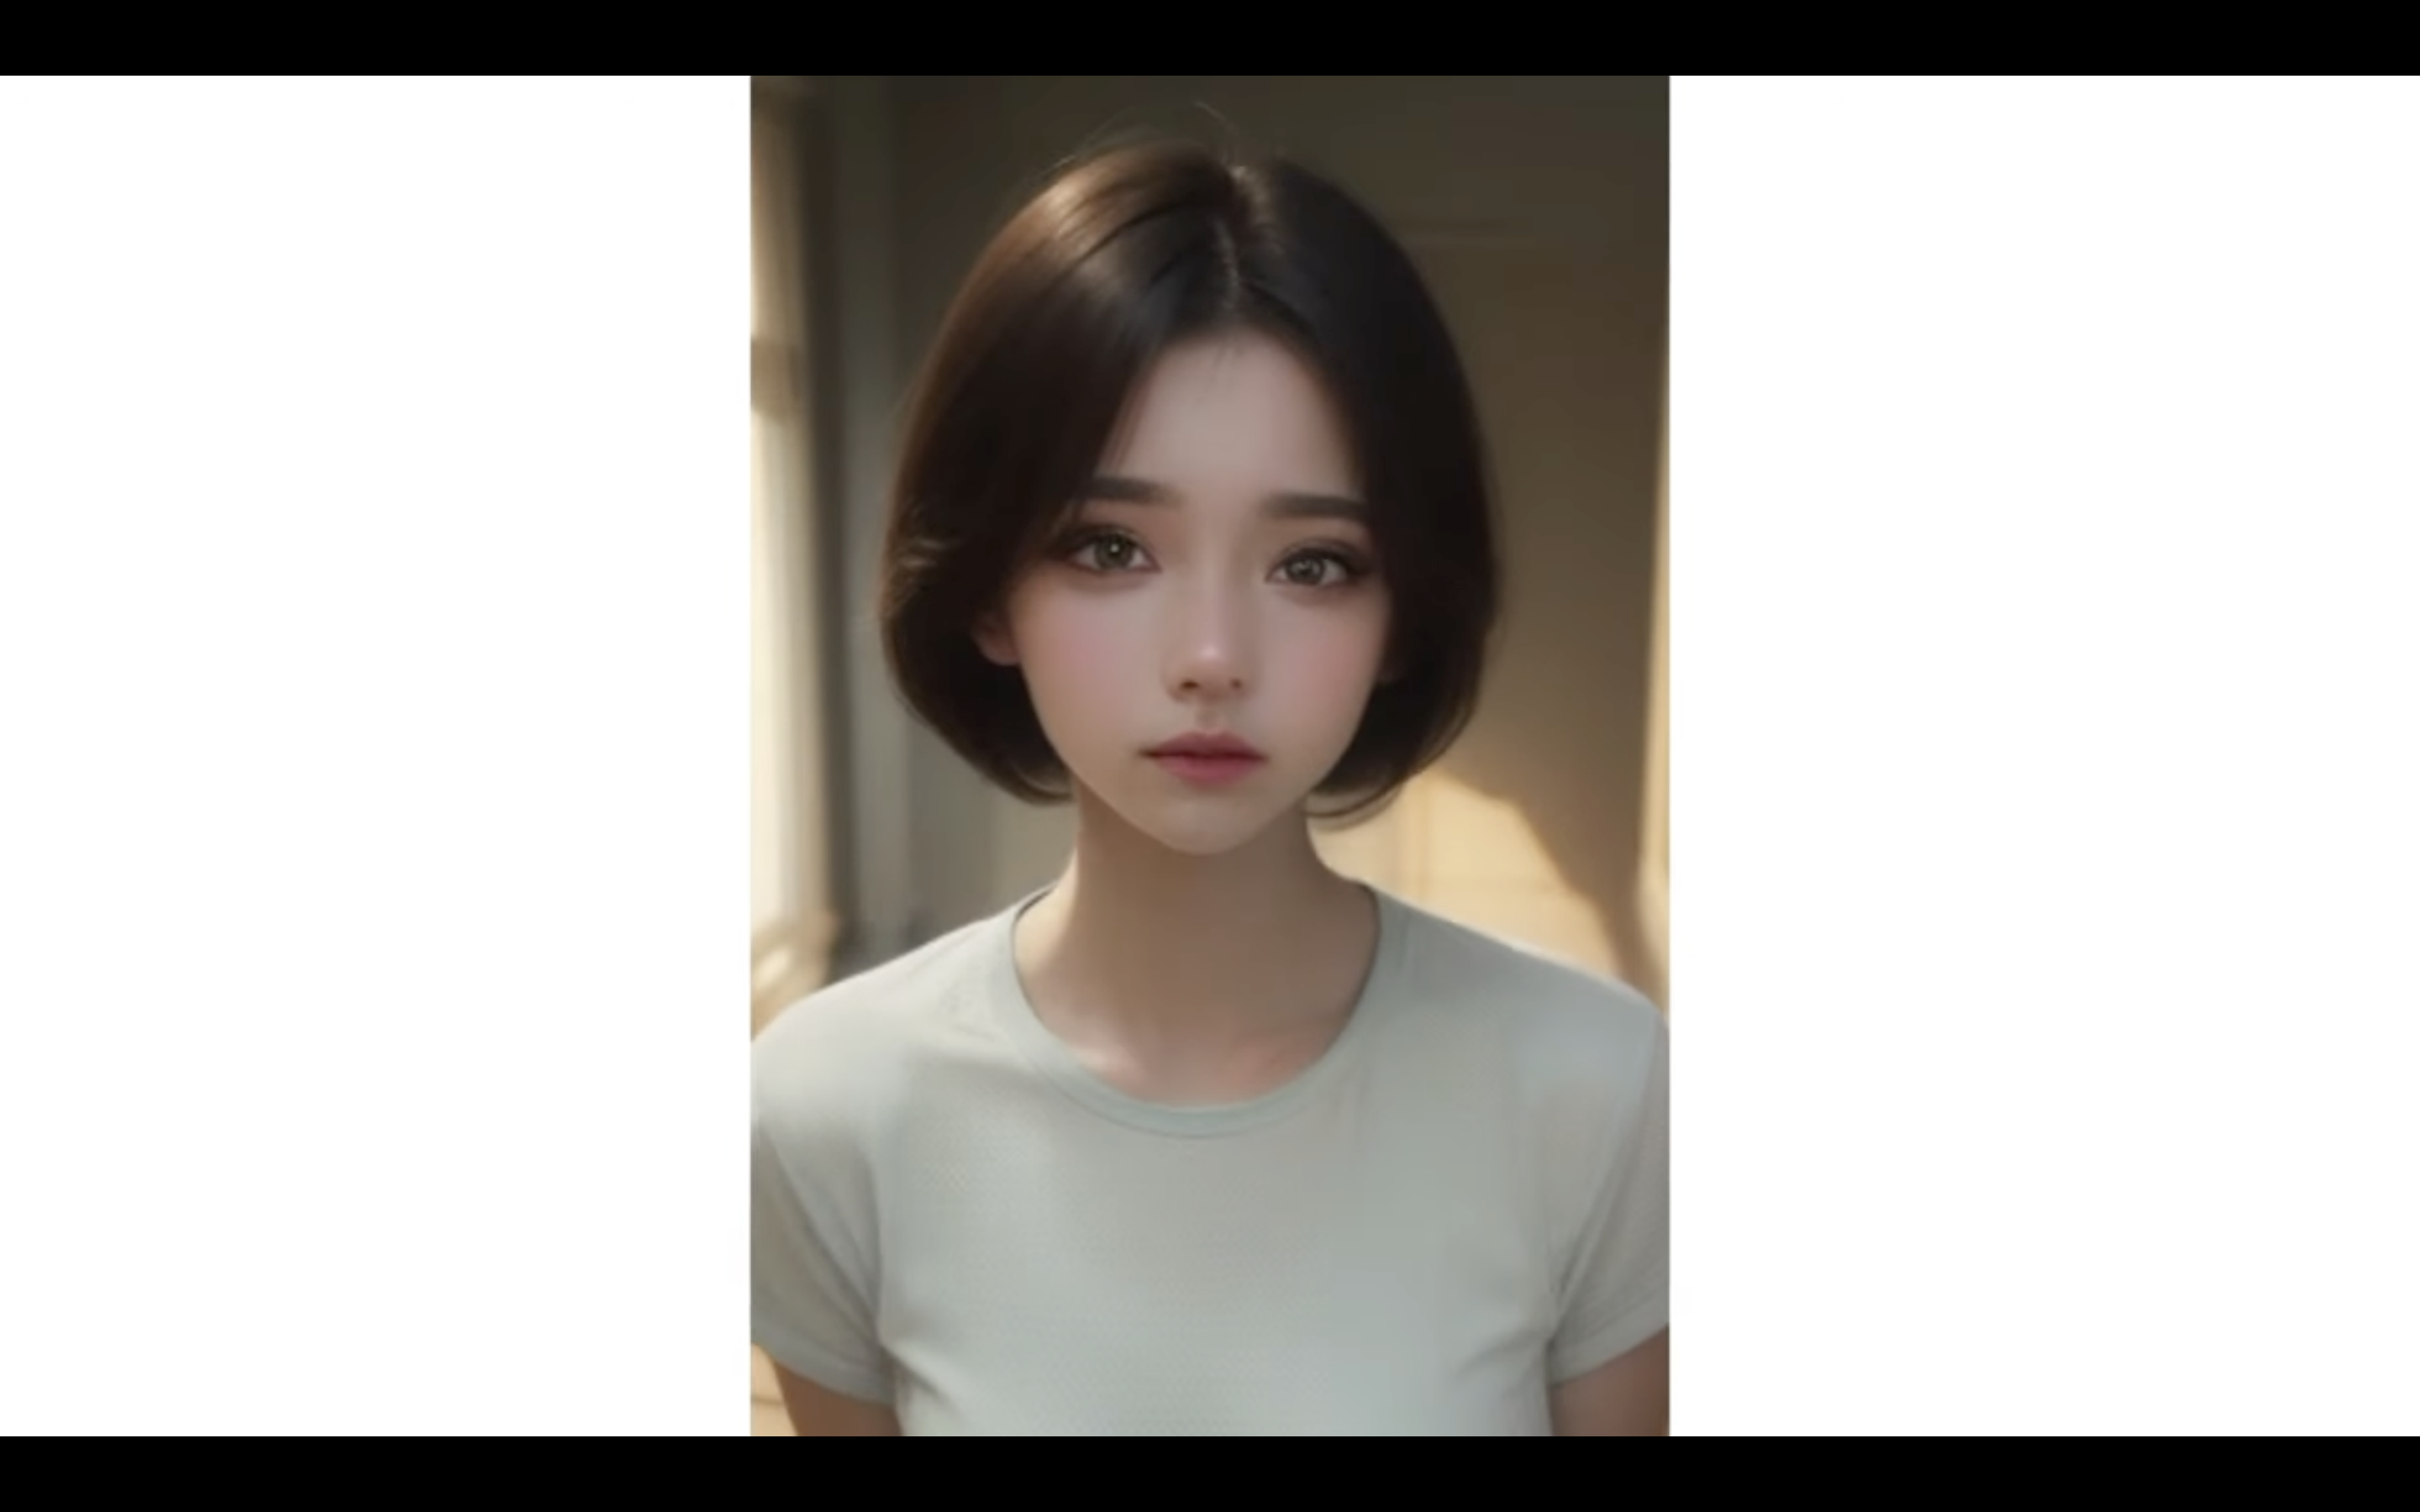
このように、Animate Diff CLI Prompt Travelを利用すると、簡単に動画を作成することができます。
是非お試しください。