
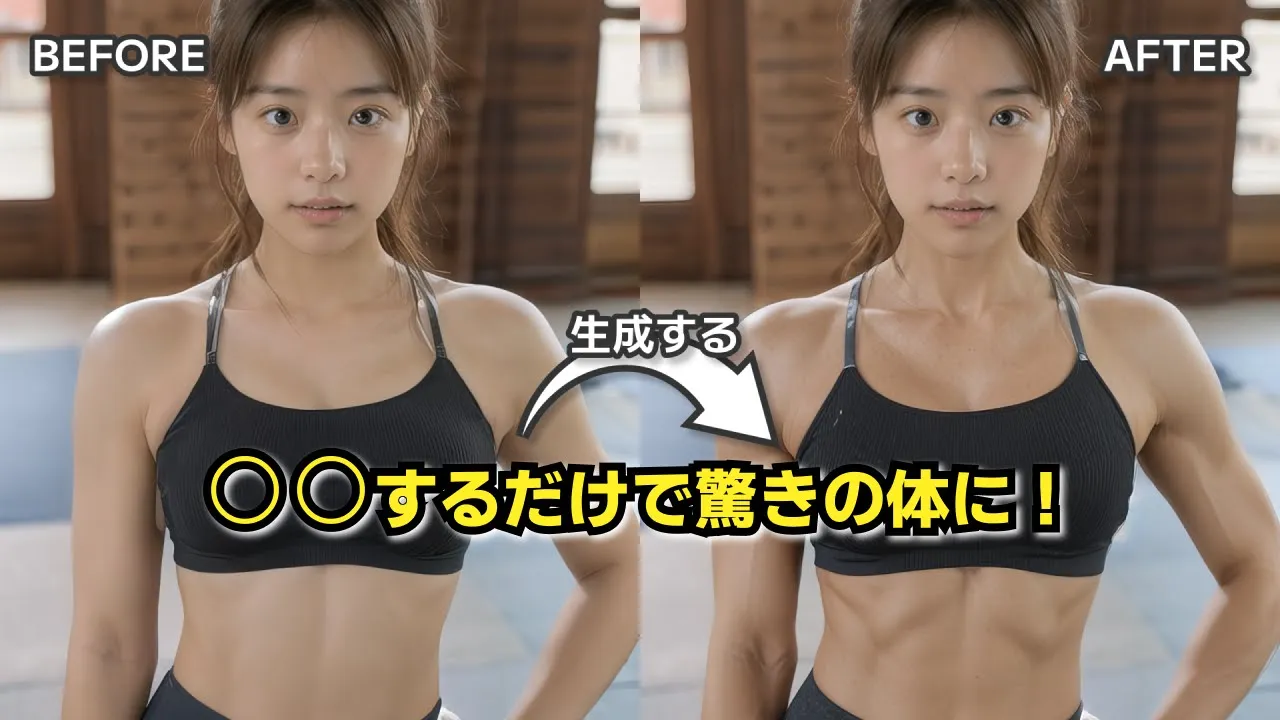
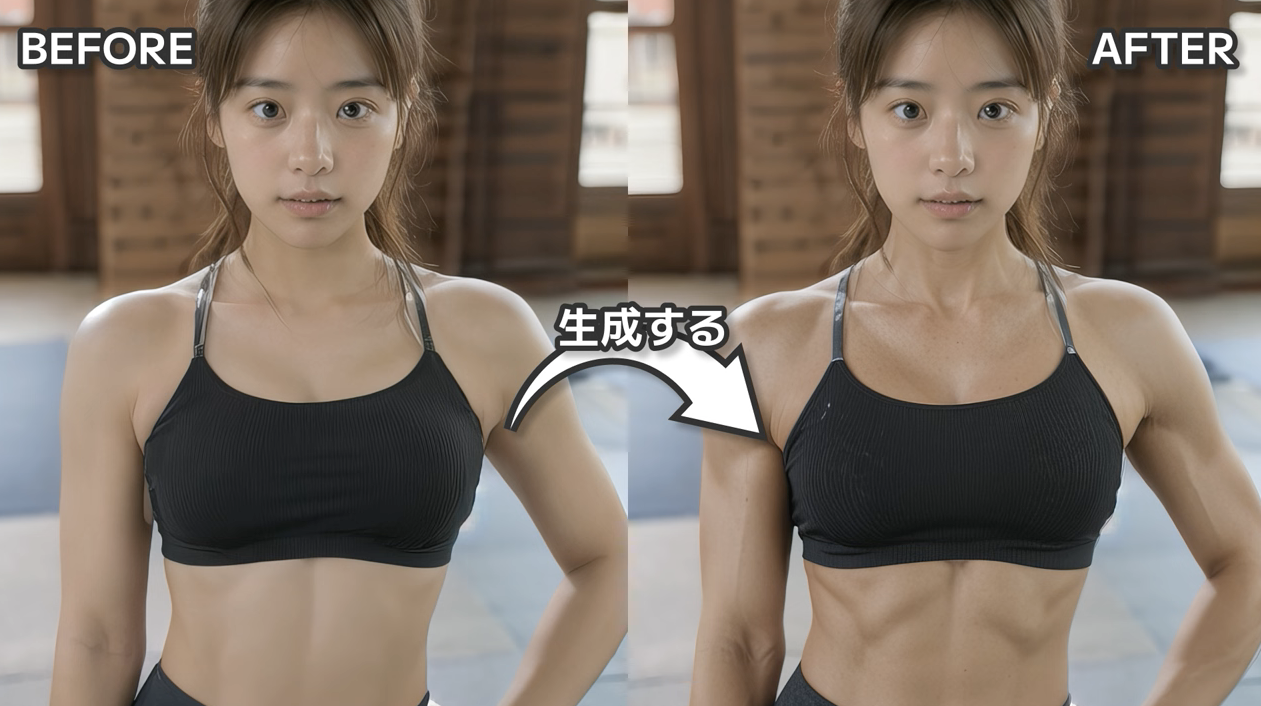
今回は筋肉ムキムキのAI美女を生成する方法について解説します。
この動画を最後まで見ていただければ、元の画像の美女の肉体をムキムキな体に変換する方法を理解することができます。
ぜひ最後までご覧ください。

これを読めば誰でも簡単にクオリティーの高いAI美女が作れるようになっているので興味がある人は、下のバナーをクリックして購入してみてね🎶

誰でも簡単!ComfyUIを使って筋肉AI美女を生成する方法とは?
この動画で紹介する内容は、「Open Art」というサイトにあるconfUIの設定ファイルを参考にしております。
この解説ではGoogleコラボでconfUIを動作させていきます。
Google Colabを準備する
まずはGoogle Colabのサイトにアクセスします。
Google Colabの画面を表示したら、「ノートブックを新規作成」と書かれているボタンをクリックします。
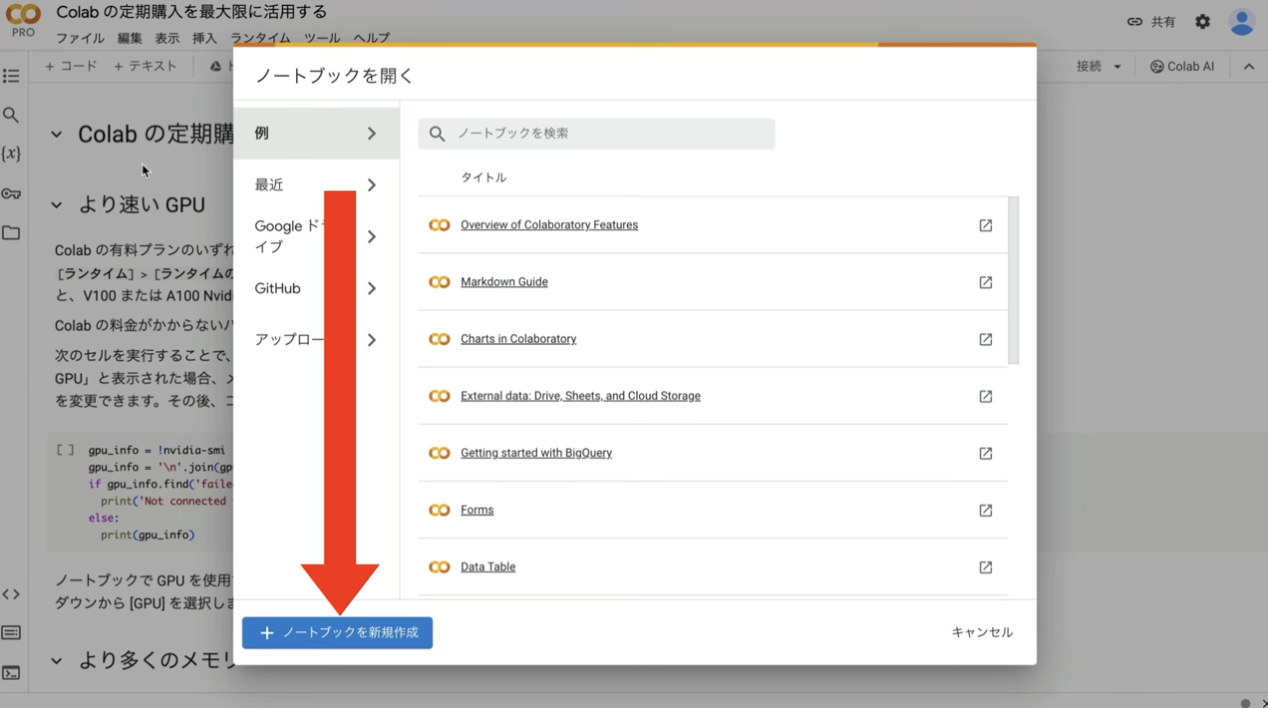
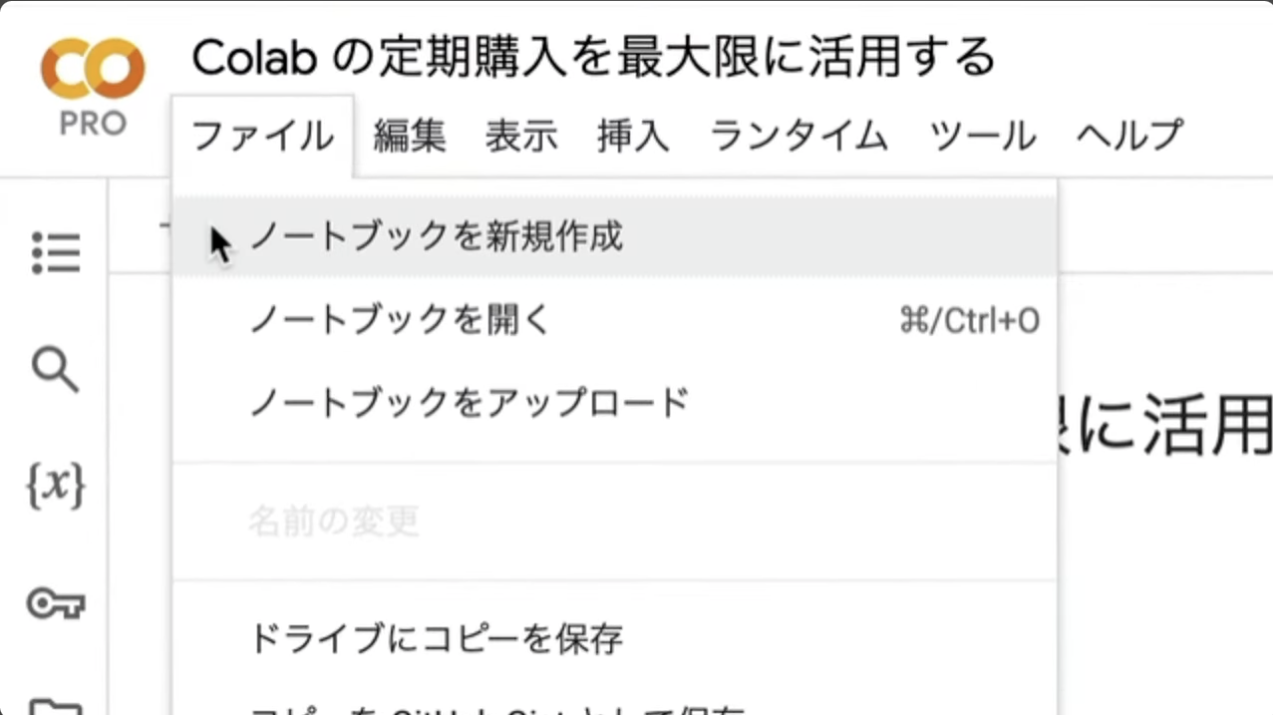
もしこのようなポップアップ画面が表示されない場合は、メニューの中から「ファイル」を選択して「ノートブックを新規作成」を選択します。
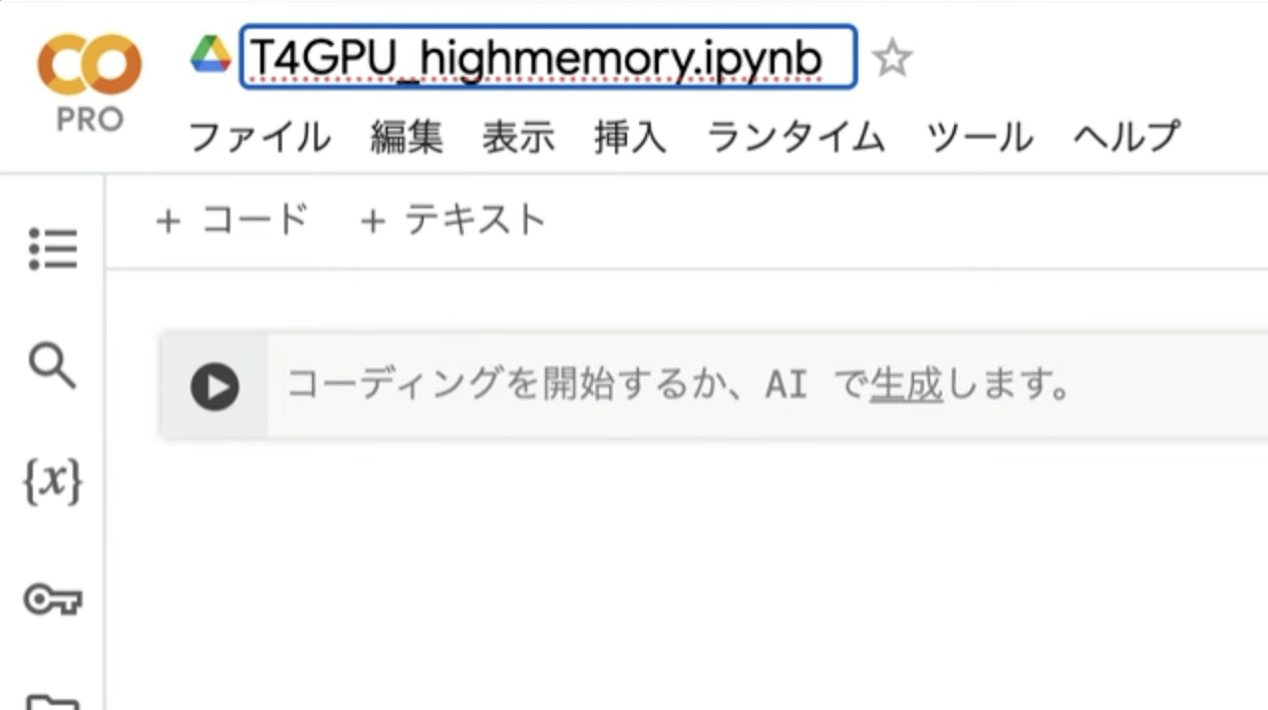
ノートブックを新規作成したら、名前を変更しておきましょう。この解説では、以下のような名前にしておきました。
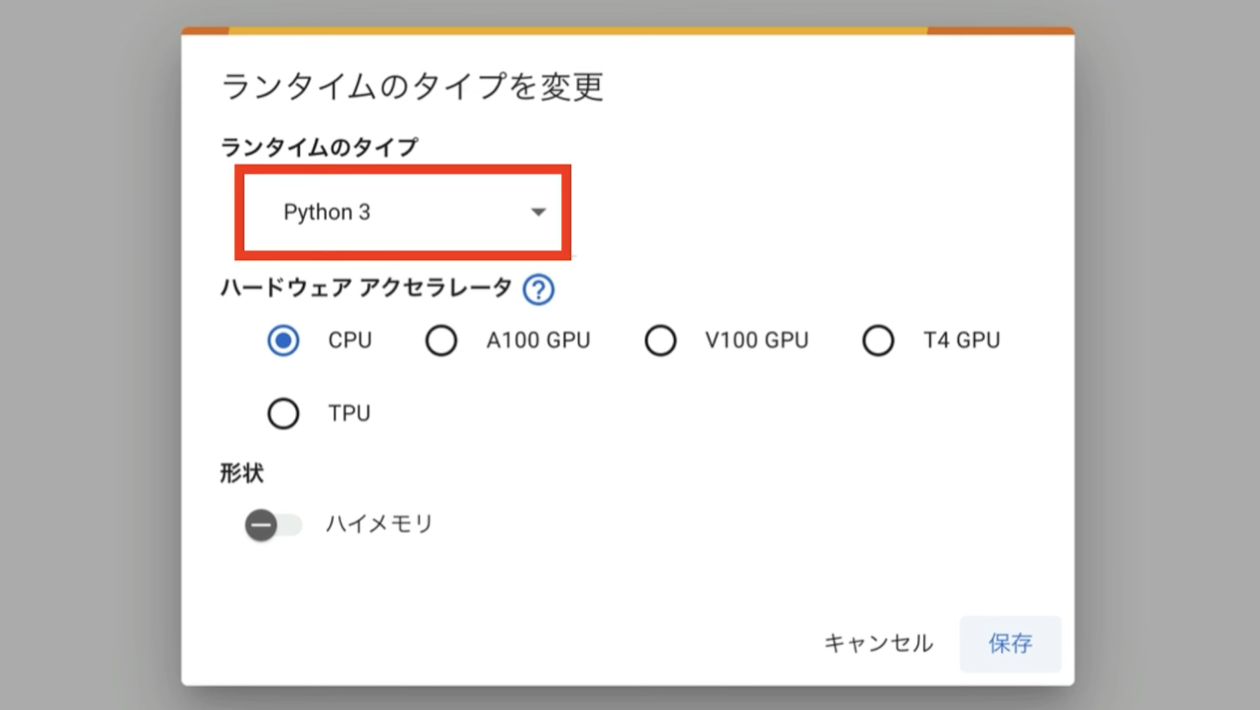
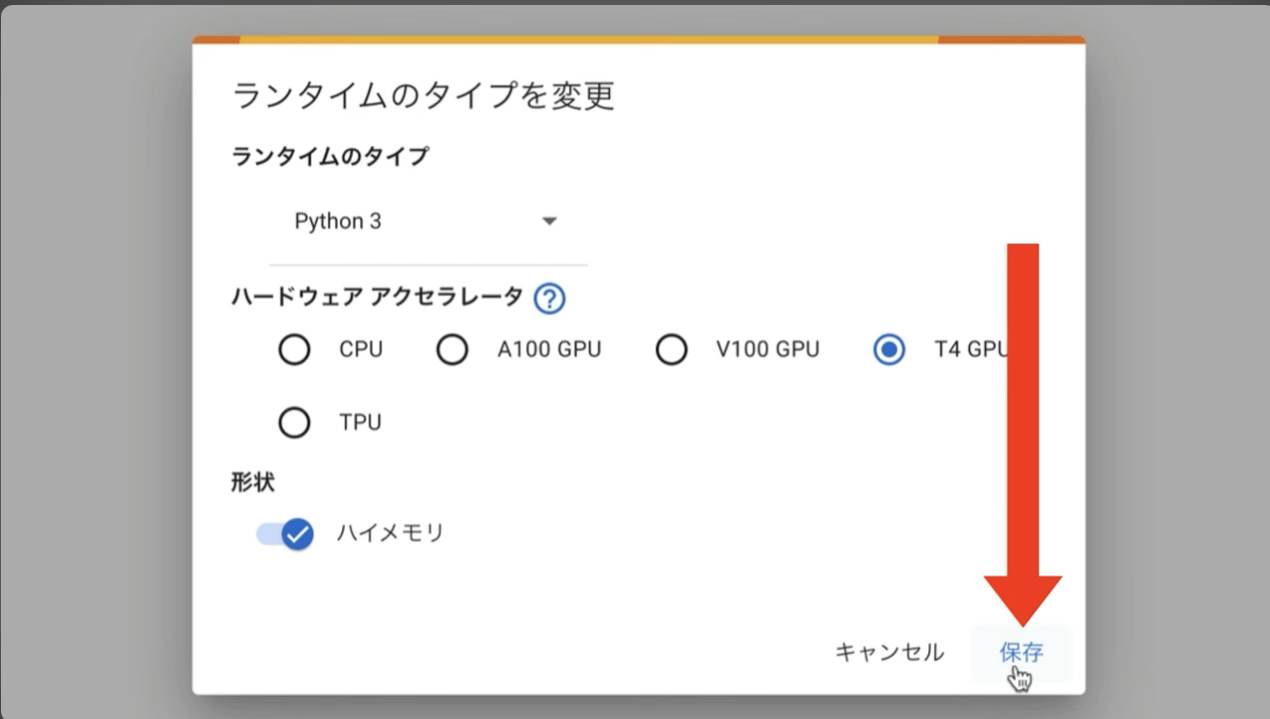
次に、ランタイムのタイプを変更します。メニューの中から「ランタイム」を選択して、「ランタイムのタイプを変更」を選択します。

そうするとランタイムのタイプの設定画面が表示されます。ランタイムのタイプはPython3にしておきます。
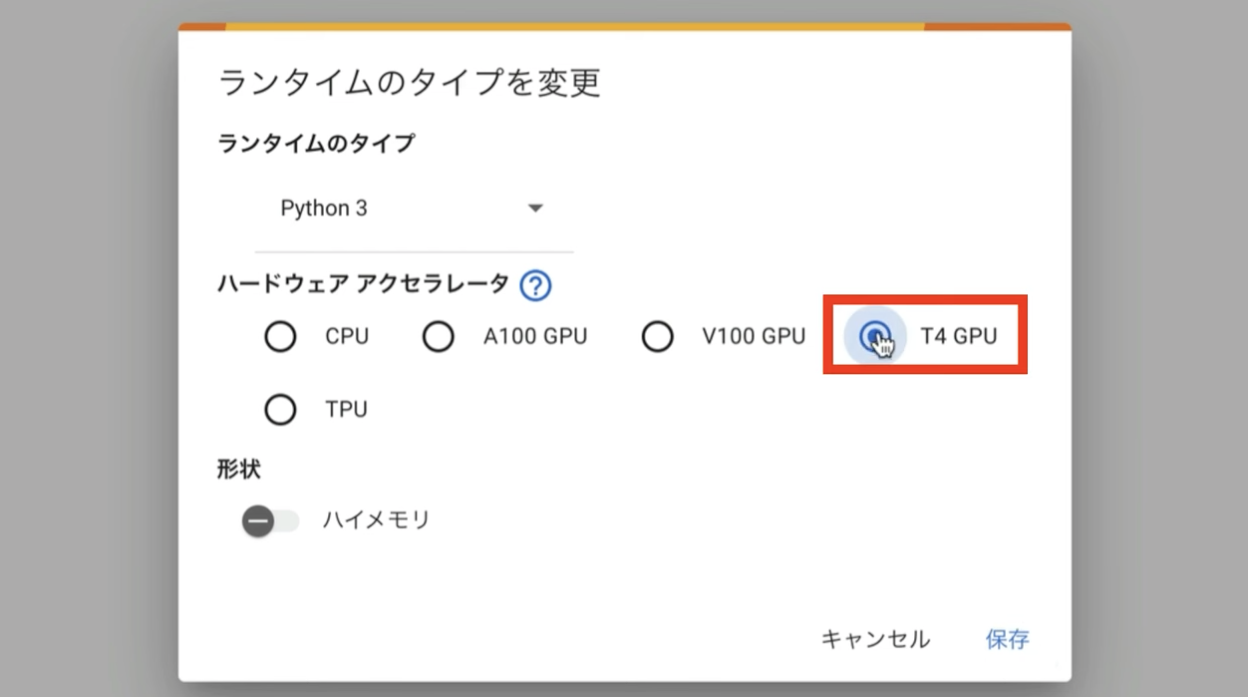
ハードウェアアクセラレーターはT4 GPUを選択します。
そして、ハイメモリーの設定を有効にしておきます。ハイメモリーの設定は無料版のGoogle Colabでは有効にすることができません。
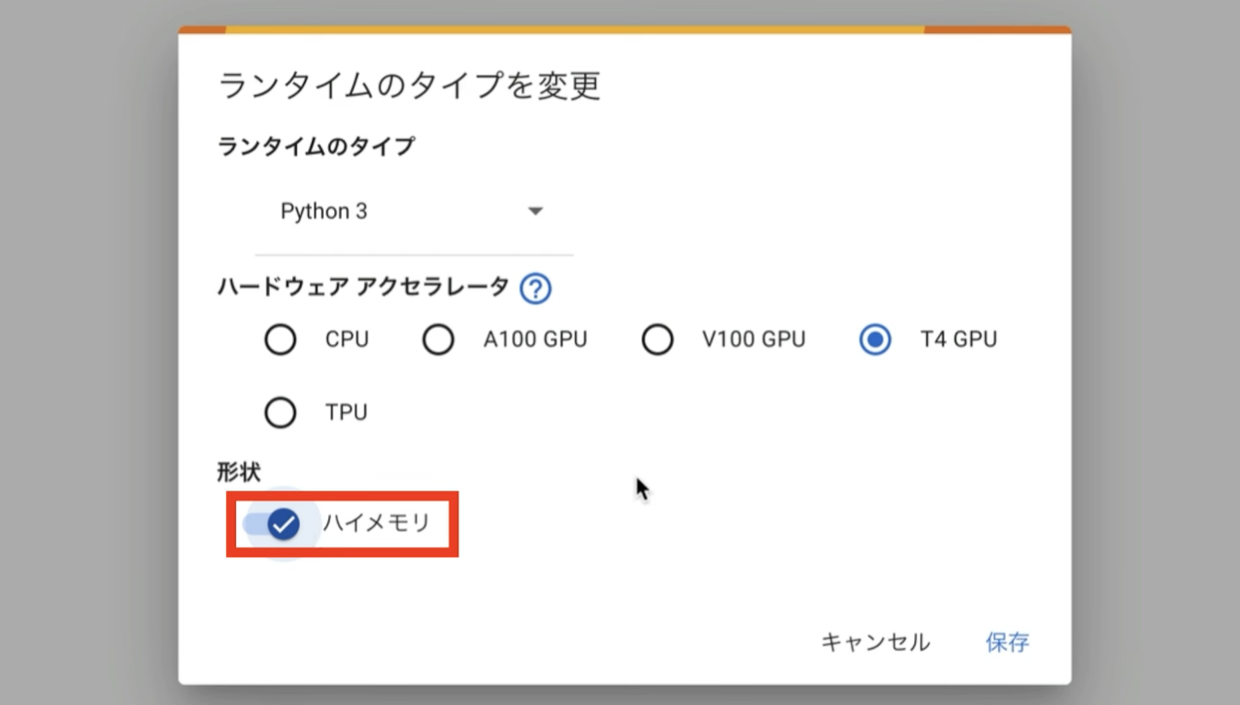
そのため、この動画では有料版のGoogle Colabで解説を進めます。ランタイムのタイプをこのように変更したら、保存ボタンをクリックします。
これでGoogle Colabでコードを実行するための準備が整いました。
コードを実行する
以下のコードをコピーします。
!apt -y install -qq aria2

%cd /content
!git clone https://github.com/comfyanonymous/ComfyUI

%cd /content/ComfyUI
!git reset --hard 7cd0cdfce601a52c52252ace517b9f52f6237fdb
!pip install -r requirements.txt

# ComfyUI Managerのインストール
%cd /content/ComfyUI/custom_nodes
!git clone https://github.com/ltdrdata/ComfyUI-Manager.git

%cd /content/ComfyUI/custom_nodes
!git clone https://github.com/rgthree/rgthree-comfy
%cd rgthree-comfy
!pip install -r requirements.txt
%cd /content/ComfyUI/custom_nodes

# ---------------- efficiency-nodes-comfyuiの設定開始 ---------------------
%cd /content/ComfyUI/custom_nodes

!pip install simpleeval
!git clone https://github.com/jags111/efficiency-nodes-comfyui.git
#  Evaluate Strings

%cd /content/ComfyUI/custom_nodes
# ---------------- efficiency-nodes-comfyuiの設定終了 ---------------------


# ---------------- ComfyUI_LayerStyleの設定開始 ---------------------
%cd /content/ComfyUI/custom_nodes

!git clone https://github.com/chflame163/ComfyUI_LayerStyle
%cd ComfyUI_LayerStyle
!pip install -r requirements.txt
!aria2c --console-log-level=error -c -x 16 -s 16 -k 1M https://storage.googleapis.com/mediapipe-models/image_segmenter/selfie_multiclass_256x256/float32/latest/selfie_multiclass_256x256.tflite -d /content/ComfyUI/models/mediapipe -o selfie_multiclass_256x256.tflite
# ---------------- ComfyUI_LayerStyleの設定終了 ---------------------

# ---------------- ComfyUI-Custom-Scriptsの設定開始 ---------------------
%cd /content/ComfyUI/custom_nodes

!git clone https://github.com/pythongosssss/ComfyUI-Custom-Scripts.git

# 「Image Feed」を表示させたくないため、該当ファイルを削除.
# 表示させたい場合は、下記のコマンドをコメントアウトすること
!rm -rf /content/ComfyUI/custom_nodes/ComfyUI-Custom-Scripts/web/js/imageFeed.js

%cd /content/ComfyUI/custom_nodes
# ---------------- ComfyUI-Custom-Scriptsの設定終了 ---------------------


# ---------------- comfyui_controlnet_auxの設定開始 ---------------------
%cd /content/ComfyUI/custom_nodes

!git clone https://github.com/Fannovel16/comfyui_controlnet_aux.git
!pip install -r /content/ComfyUI/custom_nodes/comfyui_controlnet_aux/requirements.txt
# ControlNetのモデルは別途インストール

%cd /content/ComfyUI/custom_nodes
# ---------------- comfyui_controlnet_auxの設定終了 ---------------------

!aria2c --console-log-level=error -c -x 16 -s 16 -k 1M https://huggingface.co/stabilityai/control-lora/resolve/main/control-LoRAs-rank256/control-lora-depth-rank256.safetensors -d /content/ComfyUI/models/controlnet -o control-lora-depth-rank256.safetensors

# Checkpointをダウンロード
!aria2c --console-log-level=error -c -x 16 -s 16 -k 1M https://civitai.com/api/download/models/354657 -d /content/ComfyUI/models/checkpoints -o dreamshaperXL_lightningDPMSDE.safetensors

# VAEをダウンロード
!aria2c --console-log-level=error -c -x 16 -s 16 -k 1M https://huggingface.co/stabilityai/sd-vae-ft-mse-original/resolve/main/vae-ft-mse-840000-ema-pruned.safetensors -d /content/ComfyUI/models/vae -o vae-ft-mse-840000-ema-pruned.safetensors

# Negative Promptをダウンロード
!git clone https://huggingface.co/embed/negative /content/ComfyUI/models/embeddings/negative
!aria2c --console-log-level=error -c -x 16 -s 16 -k 1M https://civitai.com/api/download/models/77169 -d /content/ComfyUI/models/embeddings/negative -o BadDream.pt
!aria2c --console-log-level=error -c -x 16 -s 16 -k 1M https://civitai.com/api/download/models/77173 -d /content/ComfyUI/models/embeddings/negative -o UnrealisticDream.pt
!aria2c --console-log-level=error -c -x 16 -s 16 -k 1M https://civitai.com/api/download/models/25820 -d /content/ComfyUI/models/embeddings/negative -o verybadimagenegative_v1.3.pt

# ControlNetをダウンロード
!aria2c --console-log-level=error -c -x 16 -s 16 -k 1M https://huggingface.co/stabilityai/control-lora/resolve/main/control-LoRAs-rank256/control-lora-depth-rank256.safetensors -d /content/ComfyUI/models/controlnet -o control-lora-depth-rank256.safetensors

# Upscalerをダウンロード
!aria2c --console-log-level=error -c -x 16 -s 16 -k 1M https://huggingface.co/uwg/upscaler/resolve/main/ESRGAN/4x-UltraSharp.pth -d /content/ComfyUI/models/upscale_models -o 4x-UltraSharp.pth

# --------------------- 設定・入力ファイルの読み込み開始 ---------------------
prefix = "0012"
uuid = "872a9c4d-f22e-4752-b1b4-58ca57f625f6"
root_path = f"https://archive.creativaier.com/comfyui_materials/{prefix}_{uuid}"

import requests
import json

# URLからJSONデータを取得
url = f"{root_path}/workflow.json"
response = requests.get(url)
data = response.json()

# JavaScriptモジュール形式でデータを整形
js_content = f"export const defaultGraph = {json.dumps(data, indent=2)};"

# ファイルに書き込む
output_path = "/content/ComfyUI/web/scripts/defaultGraph.js"
with open(output_path, "w") as f:
    f.write(js_content)

!aria2c --console-log-level=error -c -x 16 -s 16 -k 1M "{root_path}/photo.png" -d /content/ComfyUI/input -o photo.png
# --------------------- 設定・入力ファイルの読み込み開始 ---------------------

!wget https://github.com/cloudflare/cloudflared/releases/latest/download/cloudflared-linux-amd64.deb
!dpkg -i cloudflared-linux-amd64.deb

import subprocess
import threading
import time
import socket

def iframe_thread(port):
    while True:
        time.sleep(0.5)
        sock = socket.socket(socket.AF_INET, socket.SOCK_STREAM)
        result = sock.connect_ex(('127.0.0.1', port))
        if result == 0:
            break
        sock.close()

    print("\nComfyUI finished loading, trying to launch cloudflared (if it gets stuck here cloudflared is having issues)\n")
    p = subprocess.Popen(["cloudflared", "tunnel", "--url", f"http://127.0.0.1:{port}"], stdout=subprocess.PIPE, stderr=subprocess.PIPE)
    for line in p.stderr:
        l = line.decode()
        if "trycloudflare.com " in l:
            print("This is the URL to access ComfyUI:", l[l.find("http"):], end='')

%cd /content/ComfyUI

# スレッドの開始
threading.Thread(target=iframe_thread, daemon=True, args=(8188,)).start()

# ComfyUIの実行
!python main.py --dont-print-server
テキストをコピーしたら、Google Colabの画面に戻ります。テキストボックスに先ほどコピーしたテキストを貼り付けます。そして再生ボタンを押します。
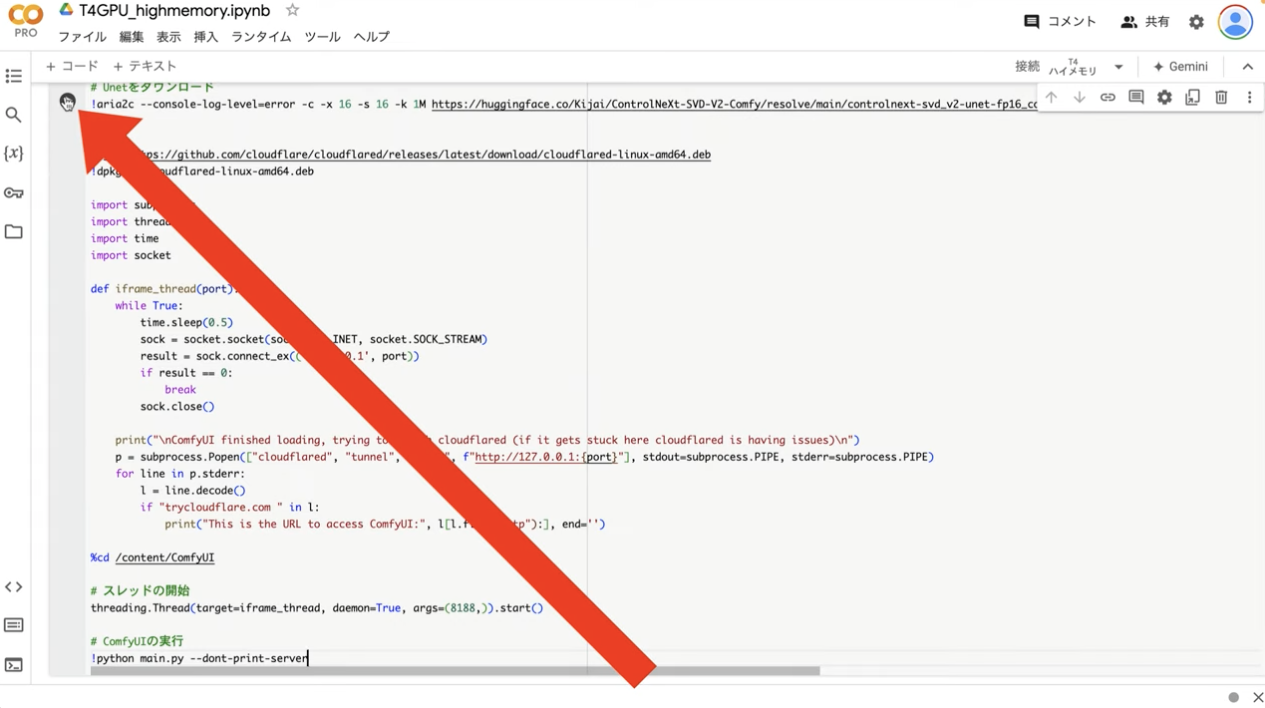
これで貼り付けたテキストの内容が実行されます。再生ボタンを押してから数分程度経ったら、このようなメッセージが表示されることがあります。
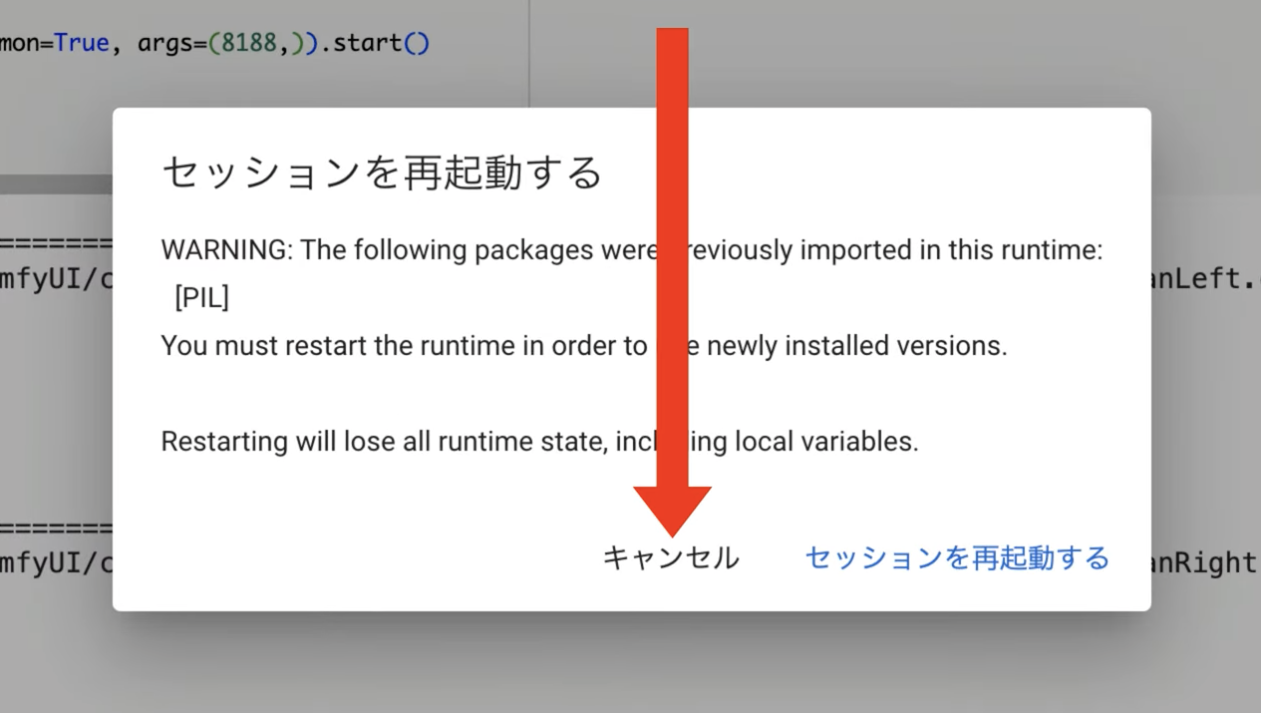
このメッセージが表示された場合は、キャンセルボタンを押して処理を継続します。
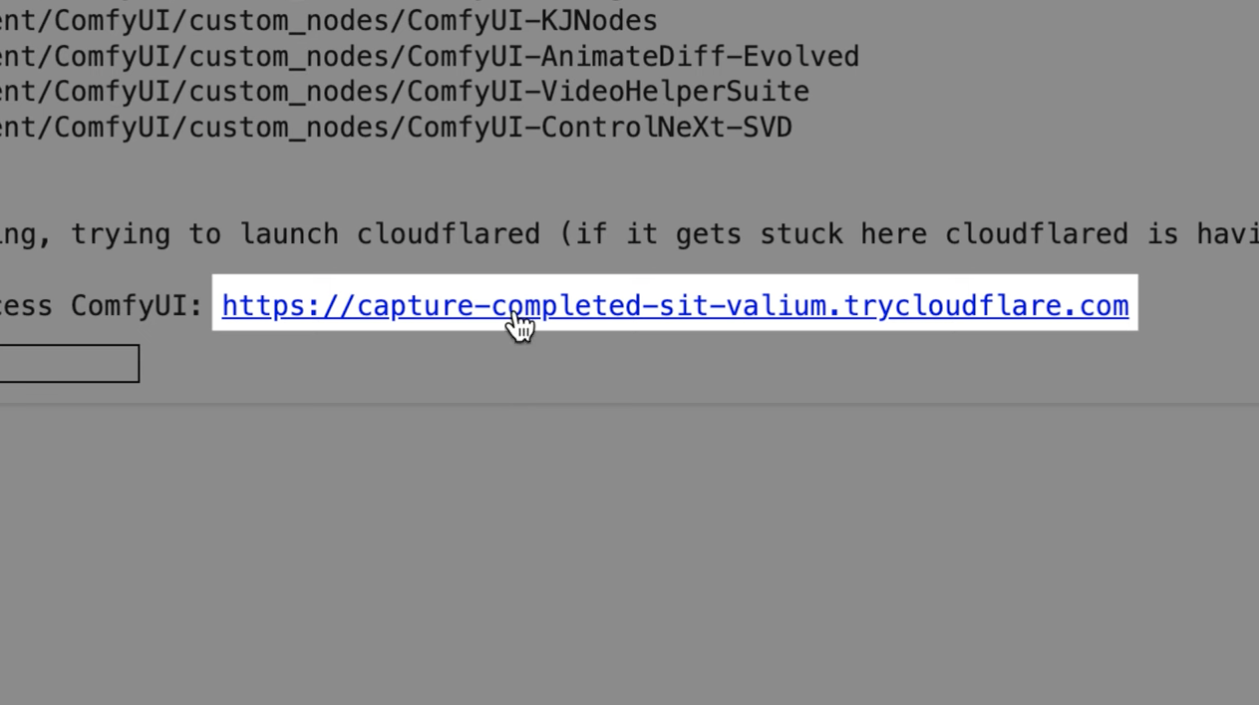
キャンセルボタンを押してからさらに5分ぐらい待っていると、このようなリンクが表示されます。
このページを表示したら「インストールコマンド」と書かれているタイトルの下にあるテキストをコピーします。テキストをコピーしたらGoogleコラボの画面に戻ります。
このリンクをクリックします。そうするとconfUIの画面が表示されます。
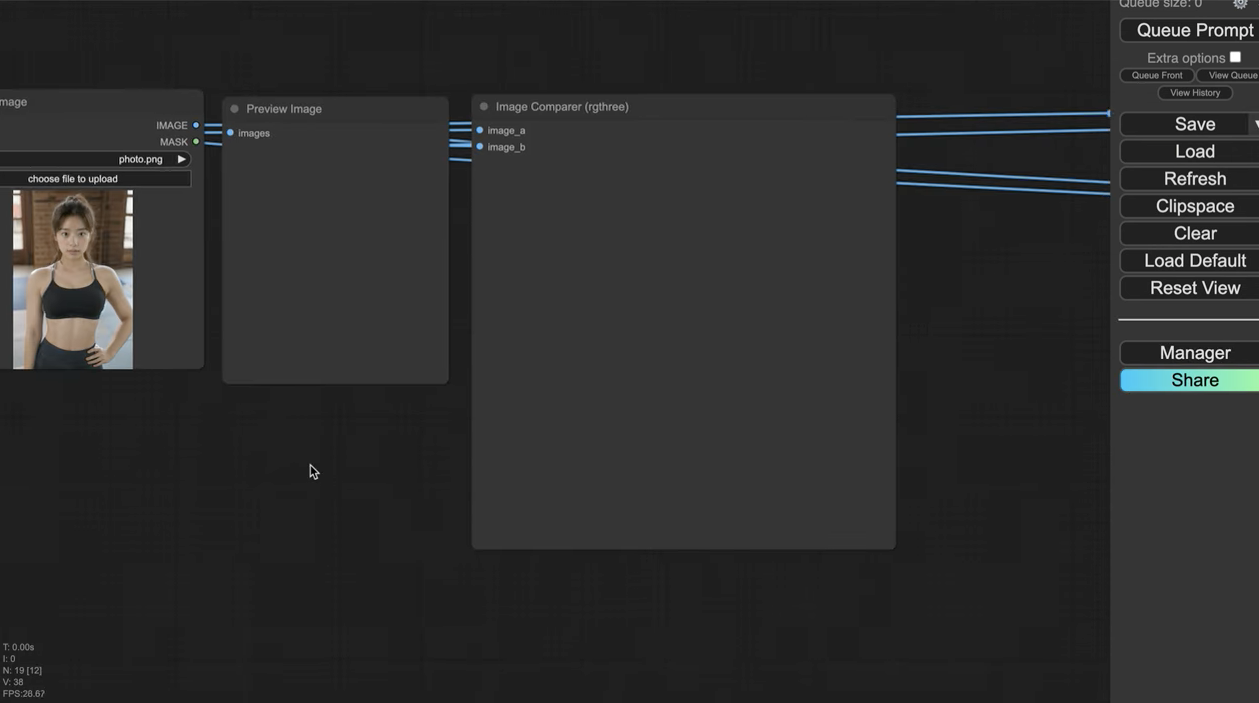
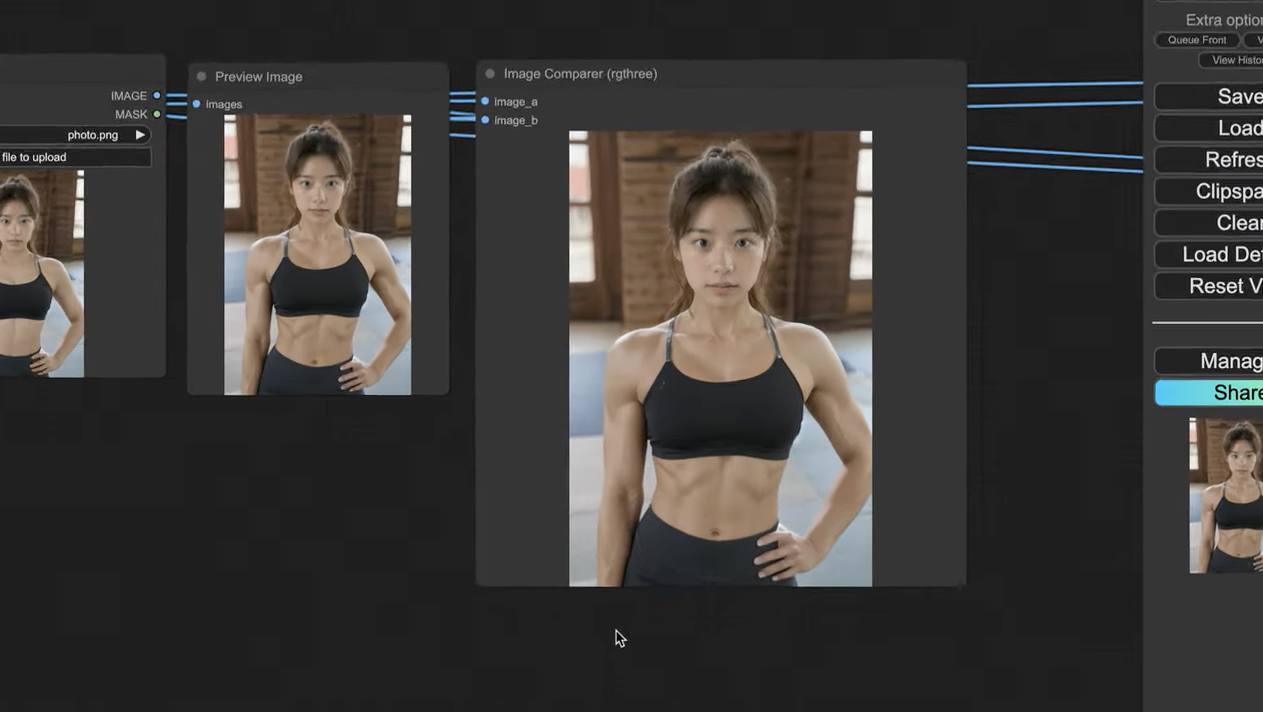
今回はこのような画像ファイルをあらかじめ設定しています。
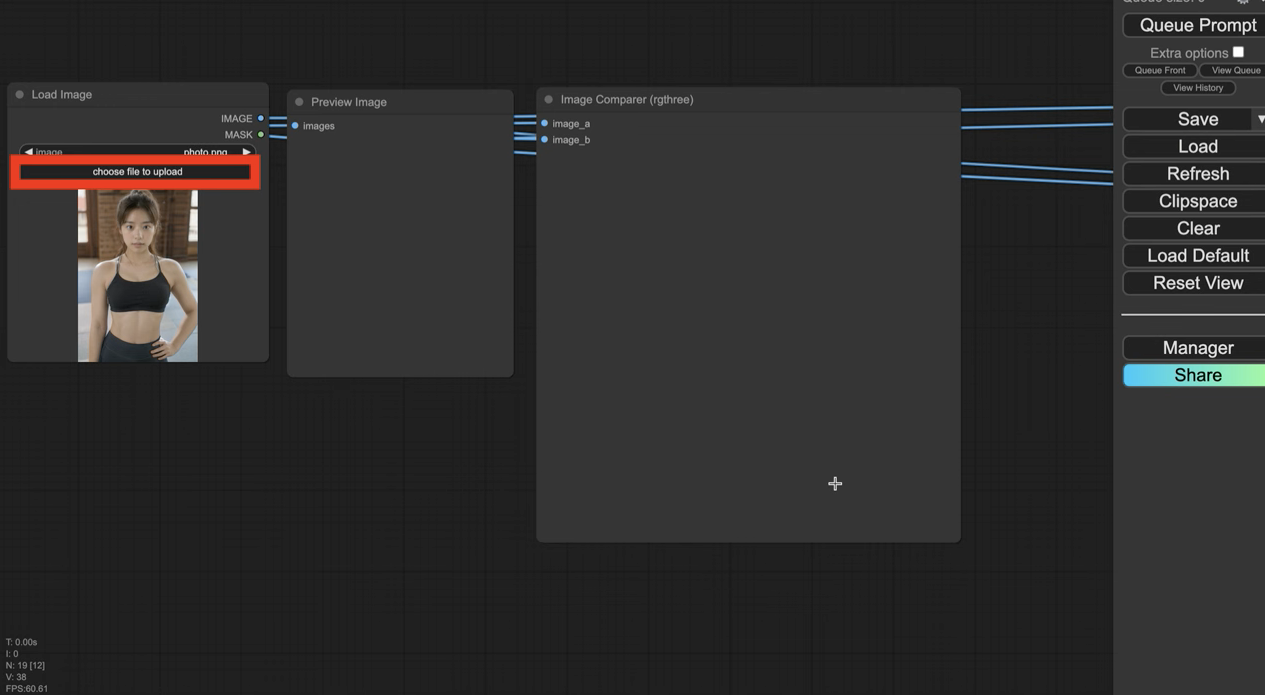
この画像を変更したい場合は「アップロード」ボタンで変更することができます。
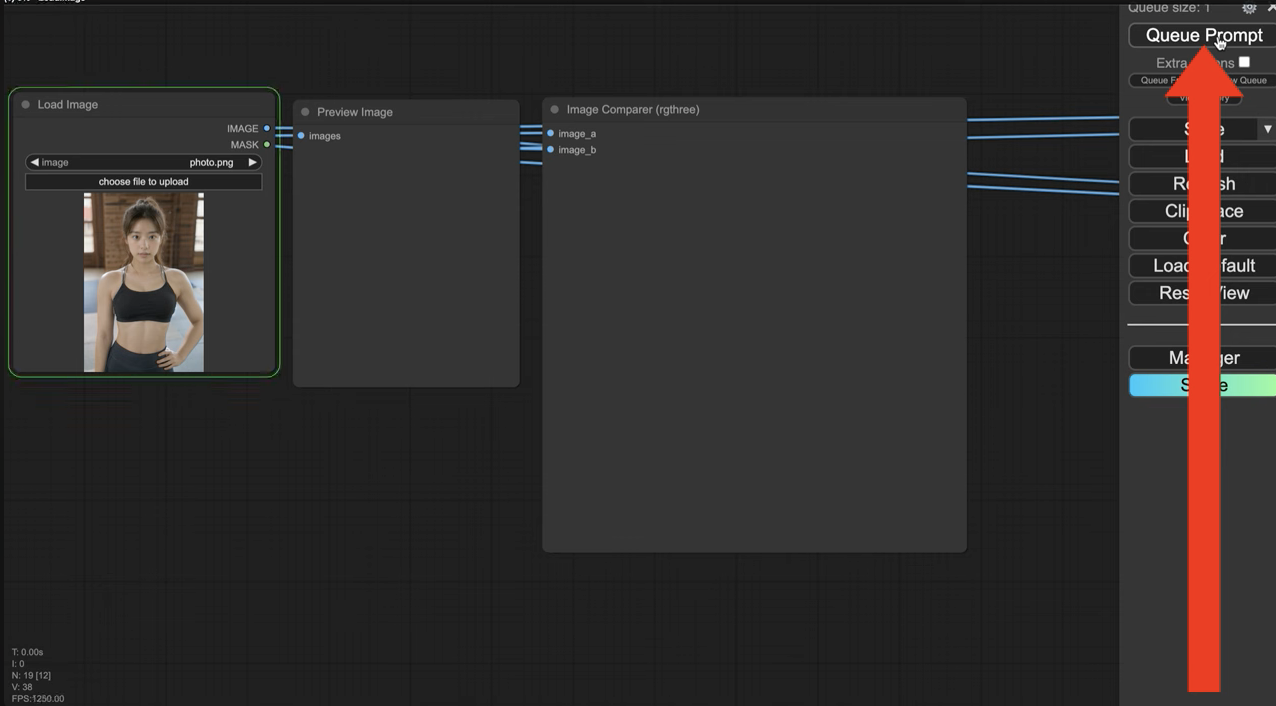
画像を生成するには「Queue Prompt」と書かれているボタンをクリックします。
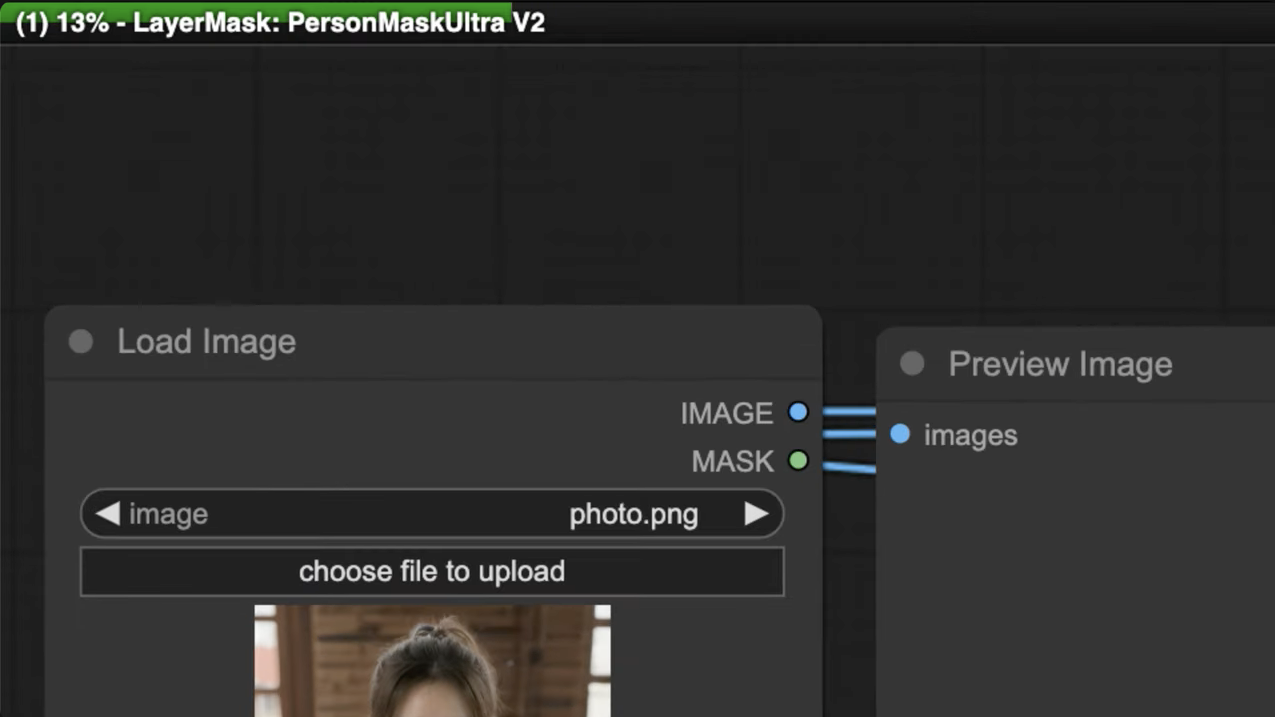
画像が生成されるまでしばらく待ちます。処理の状況は画面上部の緑色のバーで確認できます。画像の生成には数分程度かかると思います。
しばらく待っていると、このような画像が生成されました。期待した通り、筋肉質なAI美女の画像が生成されています。
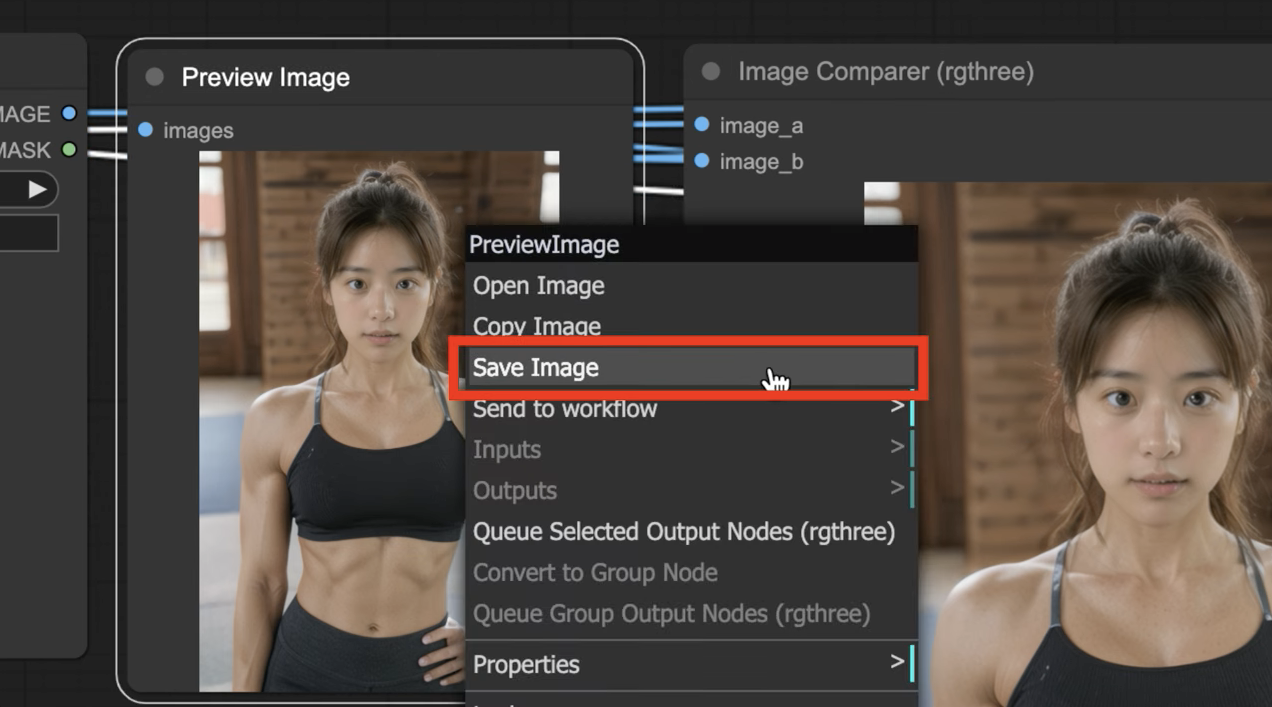
生成された画像をパソコンに保存するには、画像の部分を右クリックします。
そして表示されたメニューの中から「Save image」を選択します。これで生成された画像がパソコンにダウンロードされます。
このように誰でも簡単にComfyUIを使って筋肉AI美女を生成することができるので、ぜひ今回の記事を参考に作成してみてくださいね🎶