

▶︎動画でも話してるので、文章読むのが面倒な方はこちらをみてもらえればと思います。
今回はチャットGPTをカスタマイズできるMyGPTの設定方法について解説します。

これを読めば誰でも簡単にクオリティーの高いAI美女が作れるようになっているので興味がある人は、下のバナーをクリックして購入してみてね🎶

チャットGPTをカスタマイズできるMyGPTの設定方法について
まずはChatGPTのサイトにログインします。
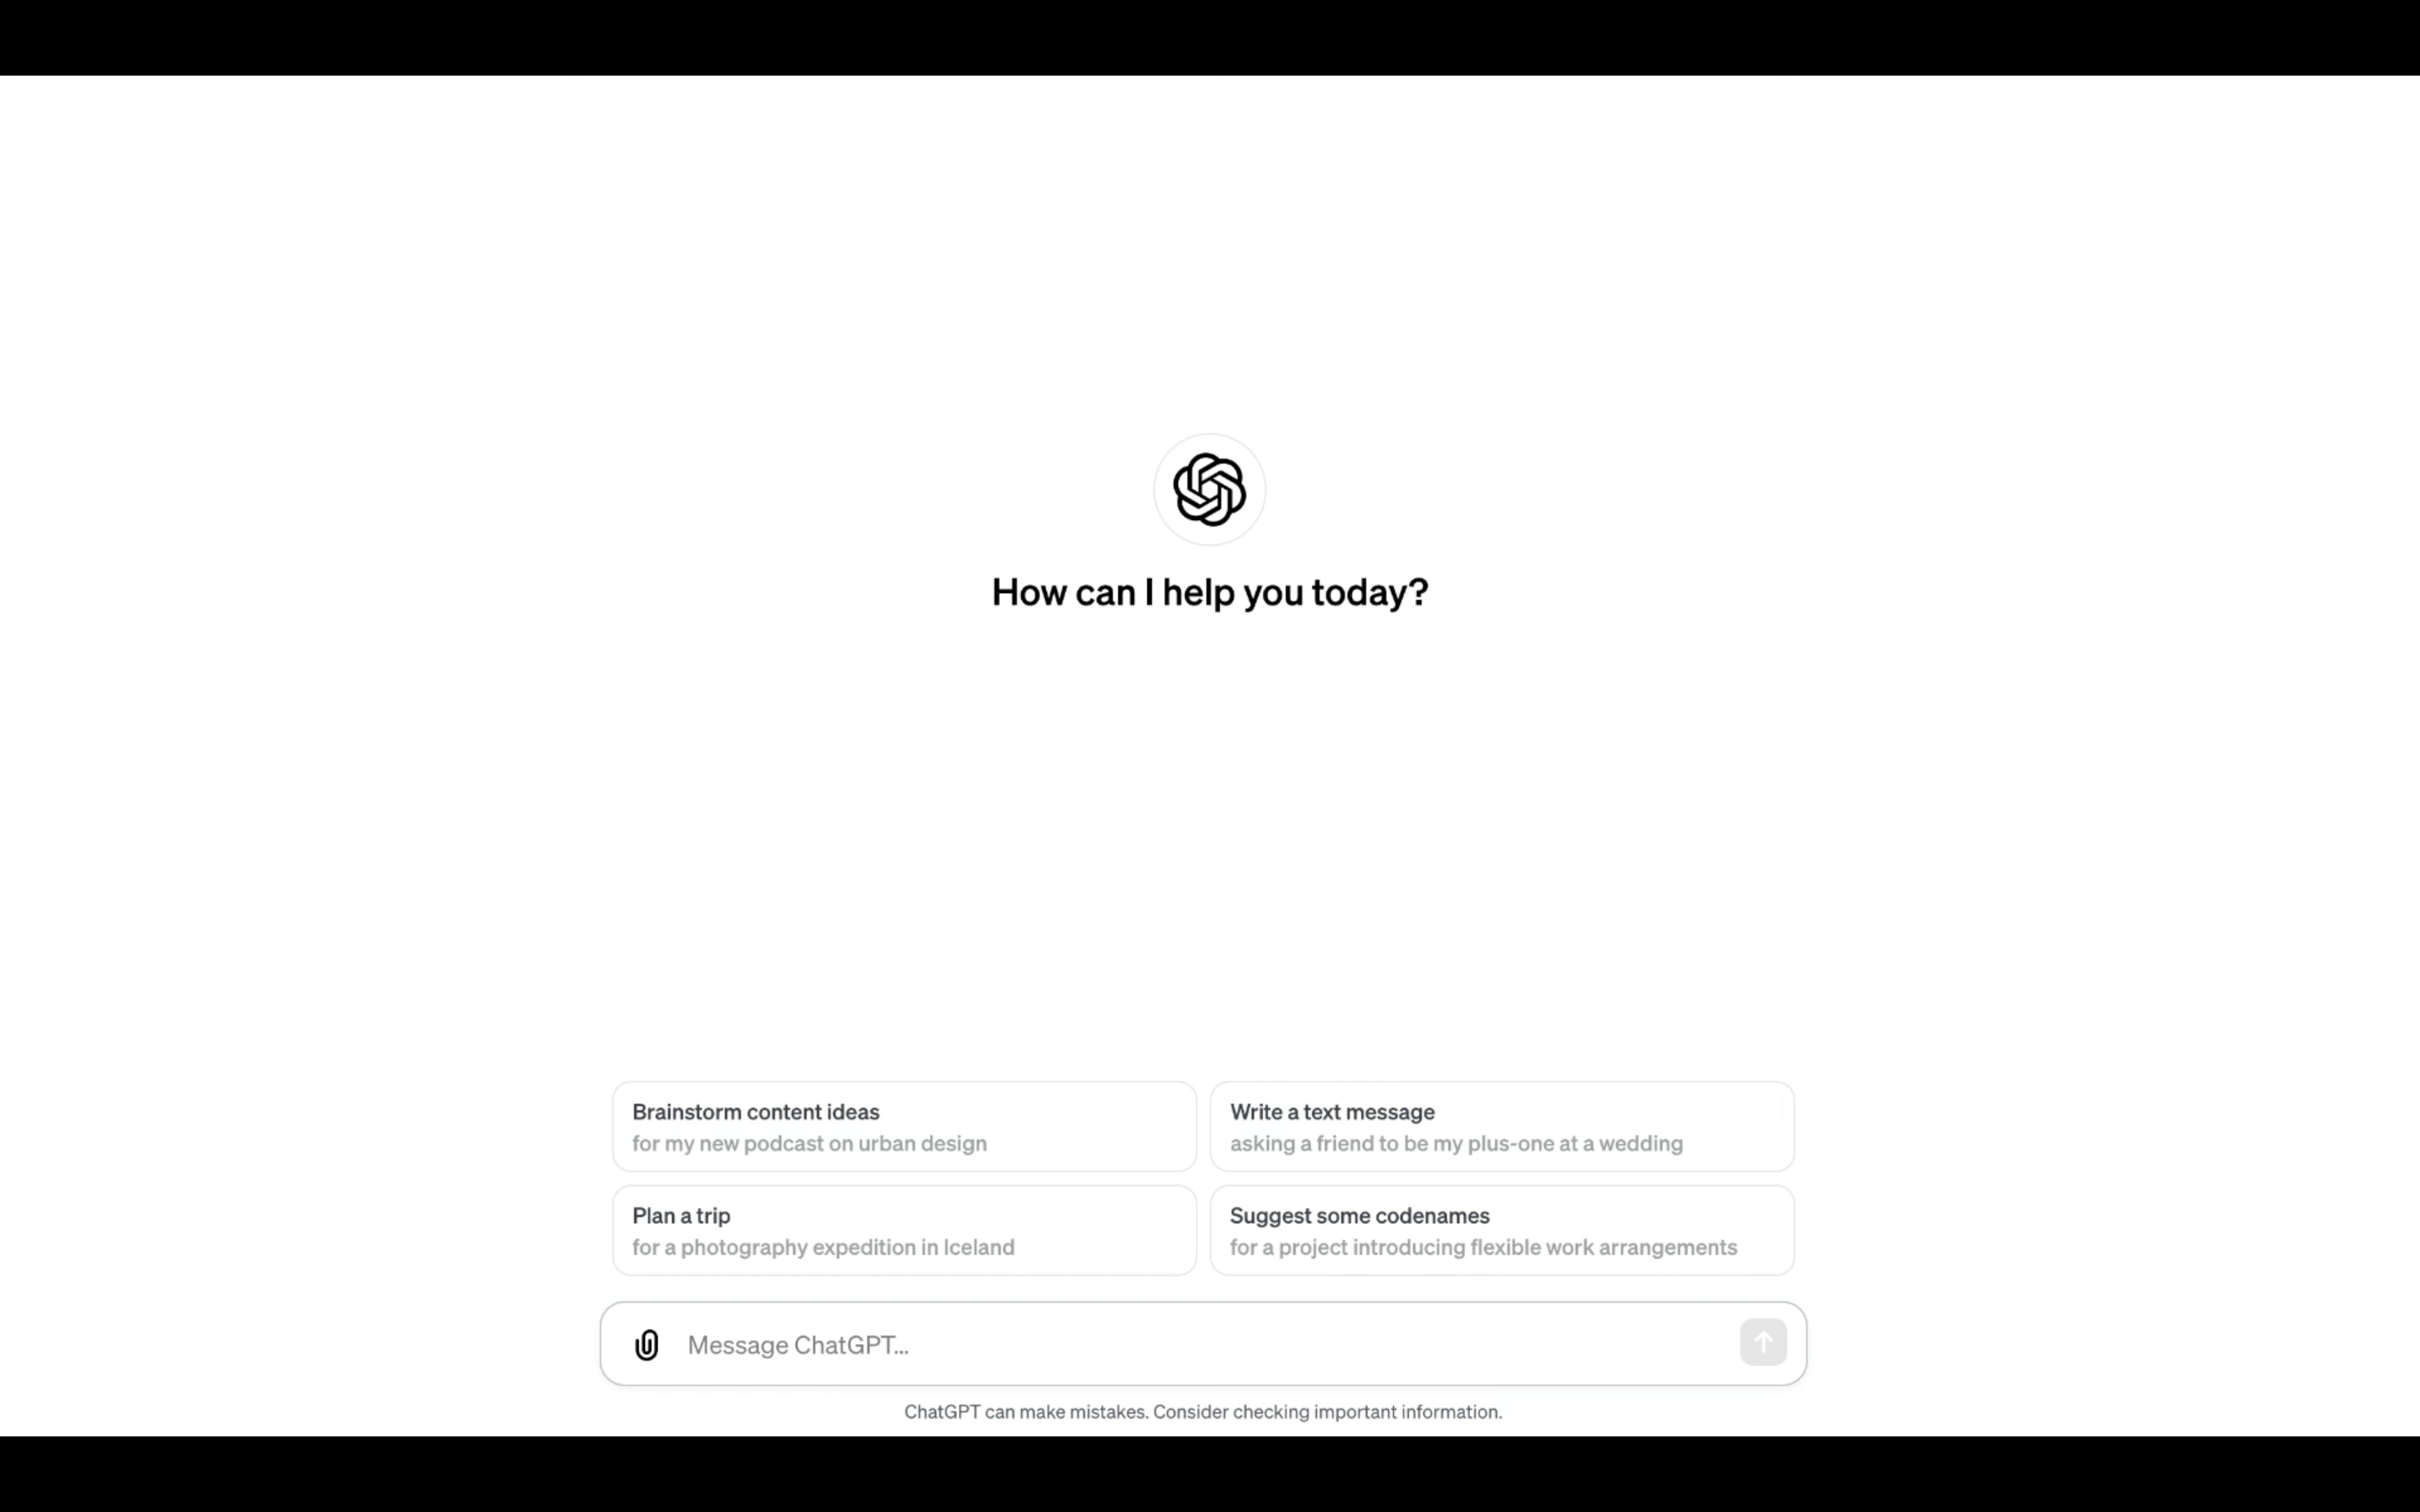
なお、MyGPTを利用するにはChatGPTの有料プランに切り替える必要があります。
ChatGPTのサイトにログインしたら、以下のURLにアクセスします。
そのため、このURLをコピーしてブラウザーのアドレス欄に貼り付けるか、このページに設定してあるリンクをクリックします。
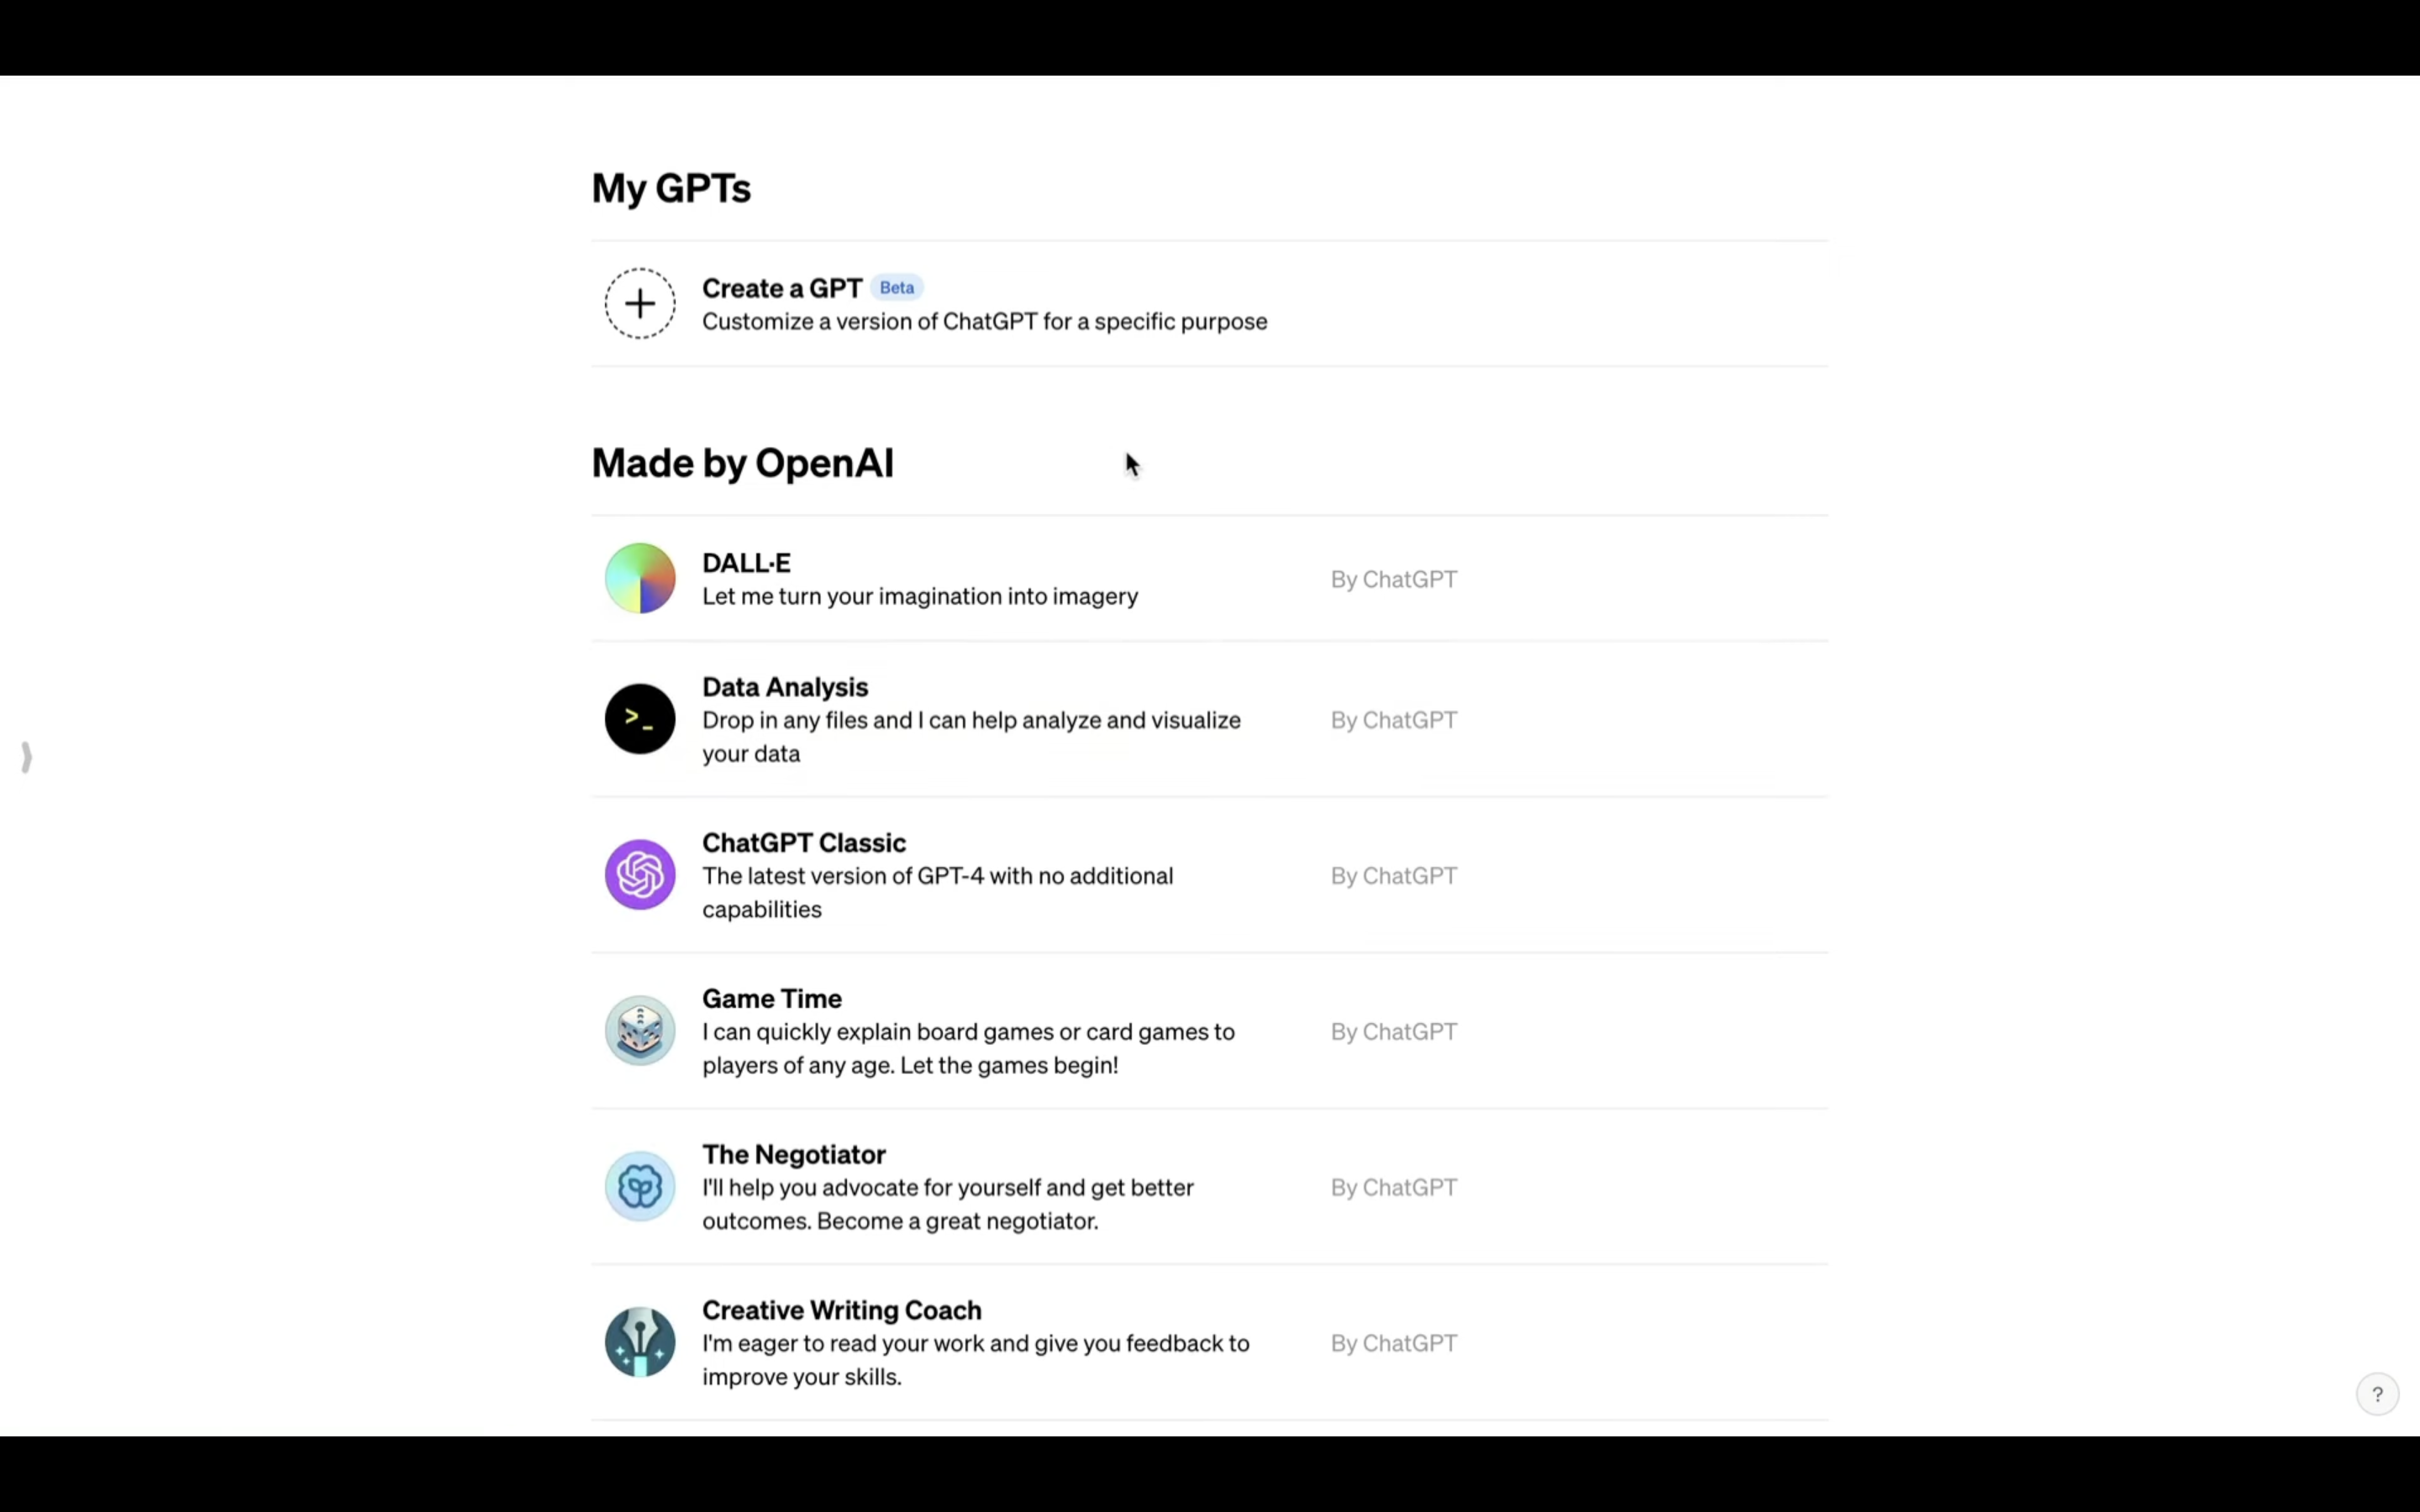
そうすると、MyGPTの一覧画面が表示されます。
この段階で有料プランに切り替えていない場合は、このような画面が表示されます。
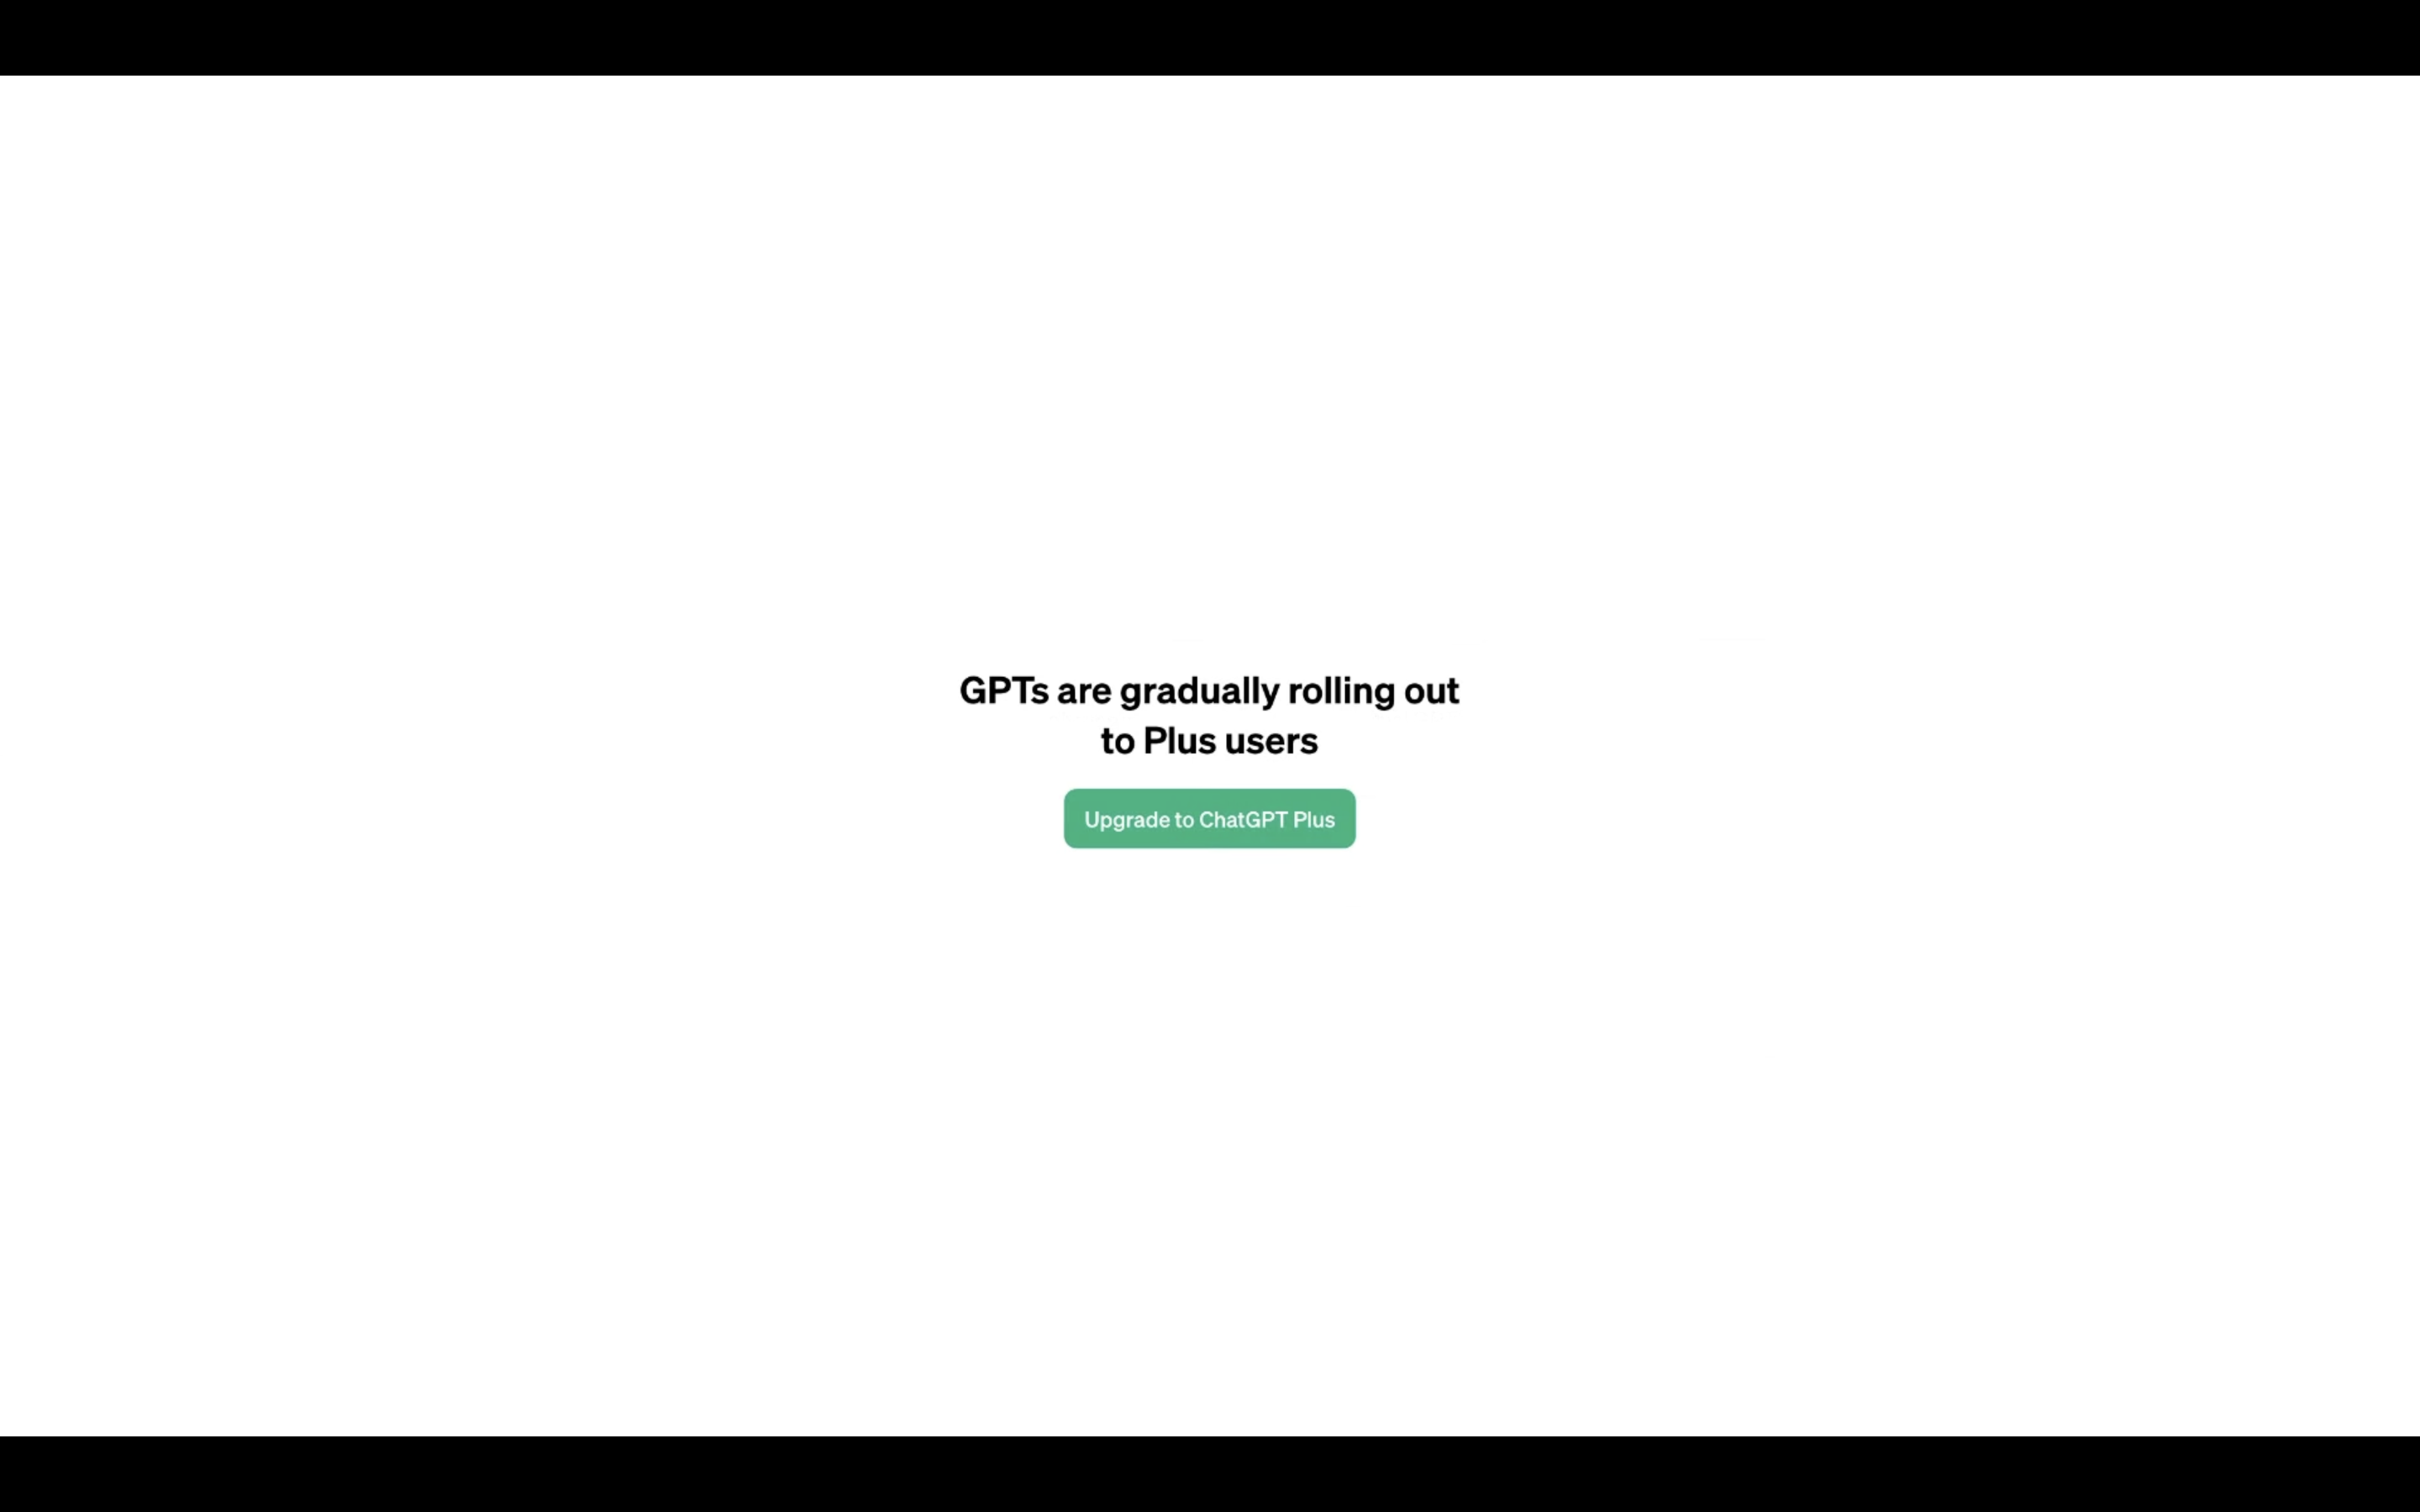
そのため、必ず有料プランに切り替えて、ChatGPTにログインした状態で先ほどのリンクを表示してください。
この画面を表示したら、まず「Create a GPT」と書かれているテキストをクリックします。
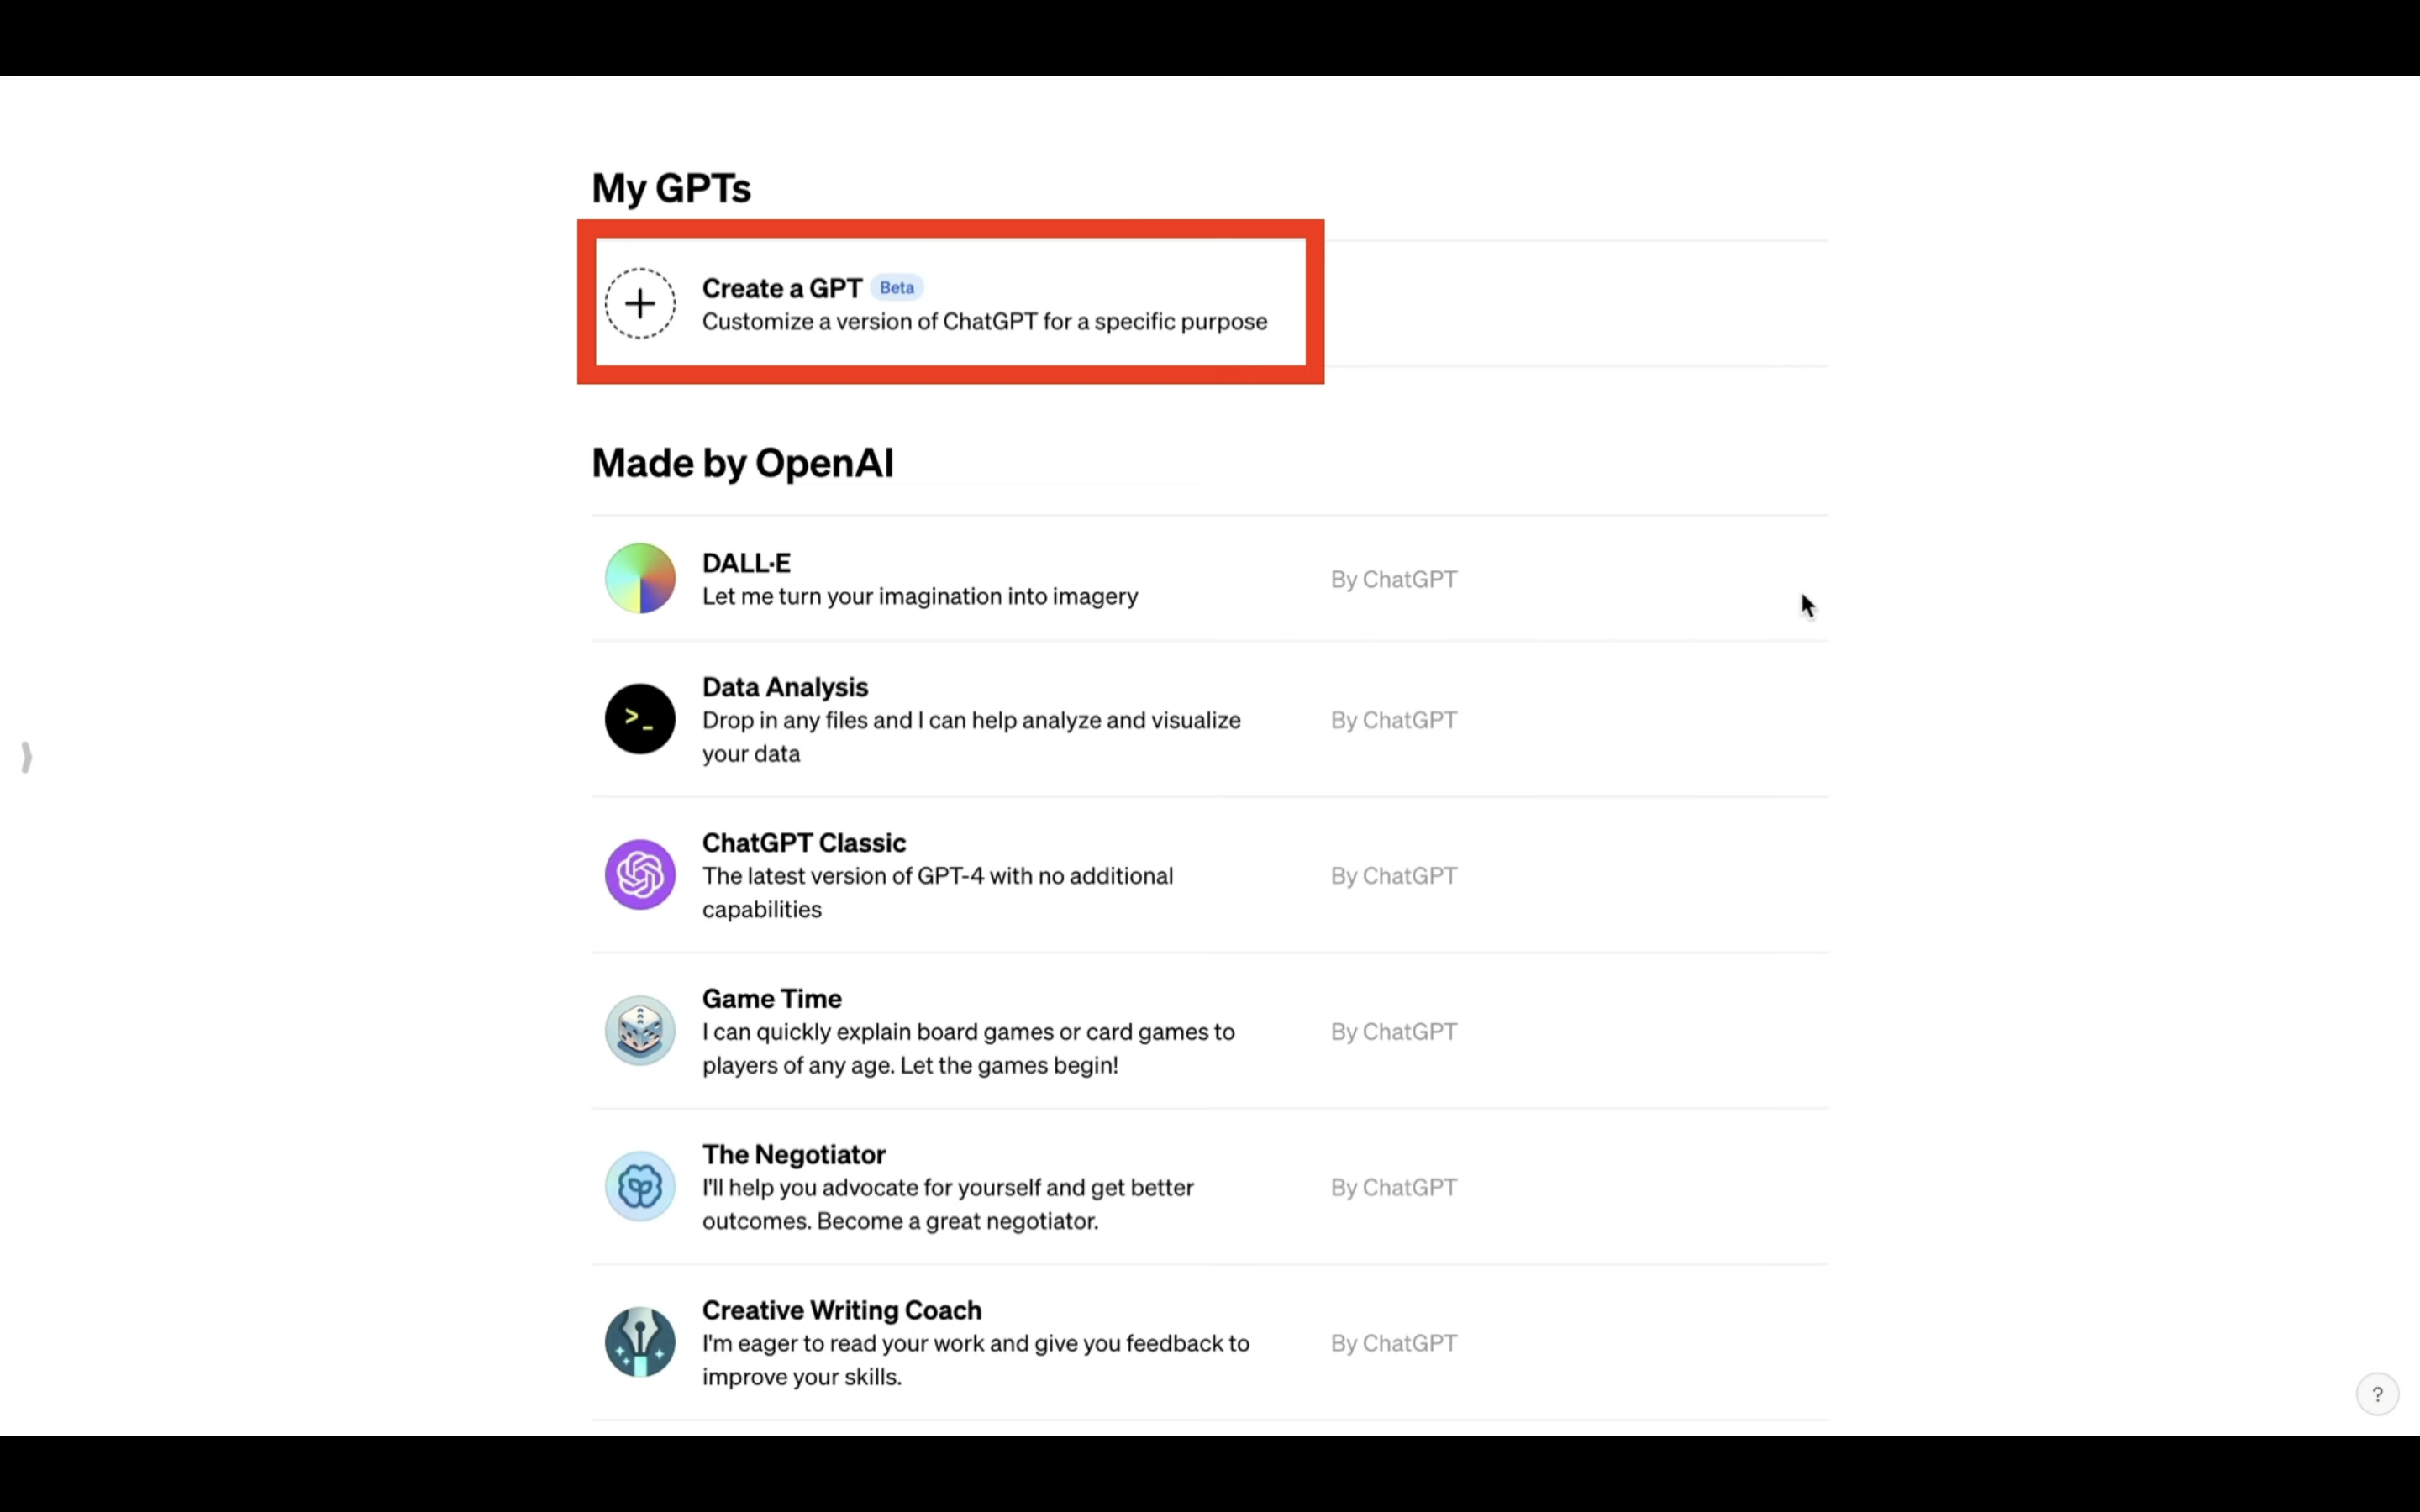
そうすると、MyGPTの設定画面に移動します。
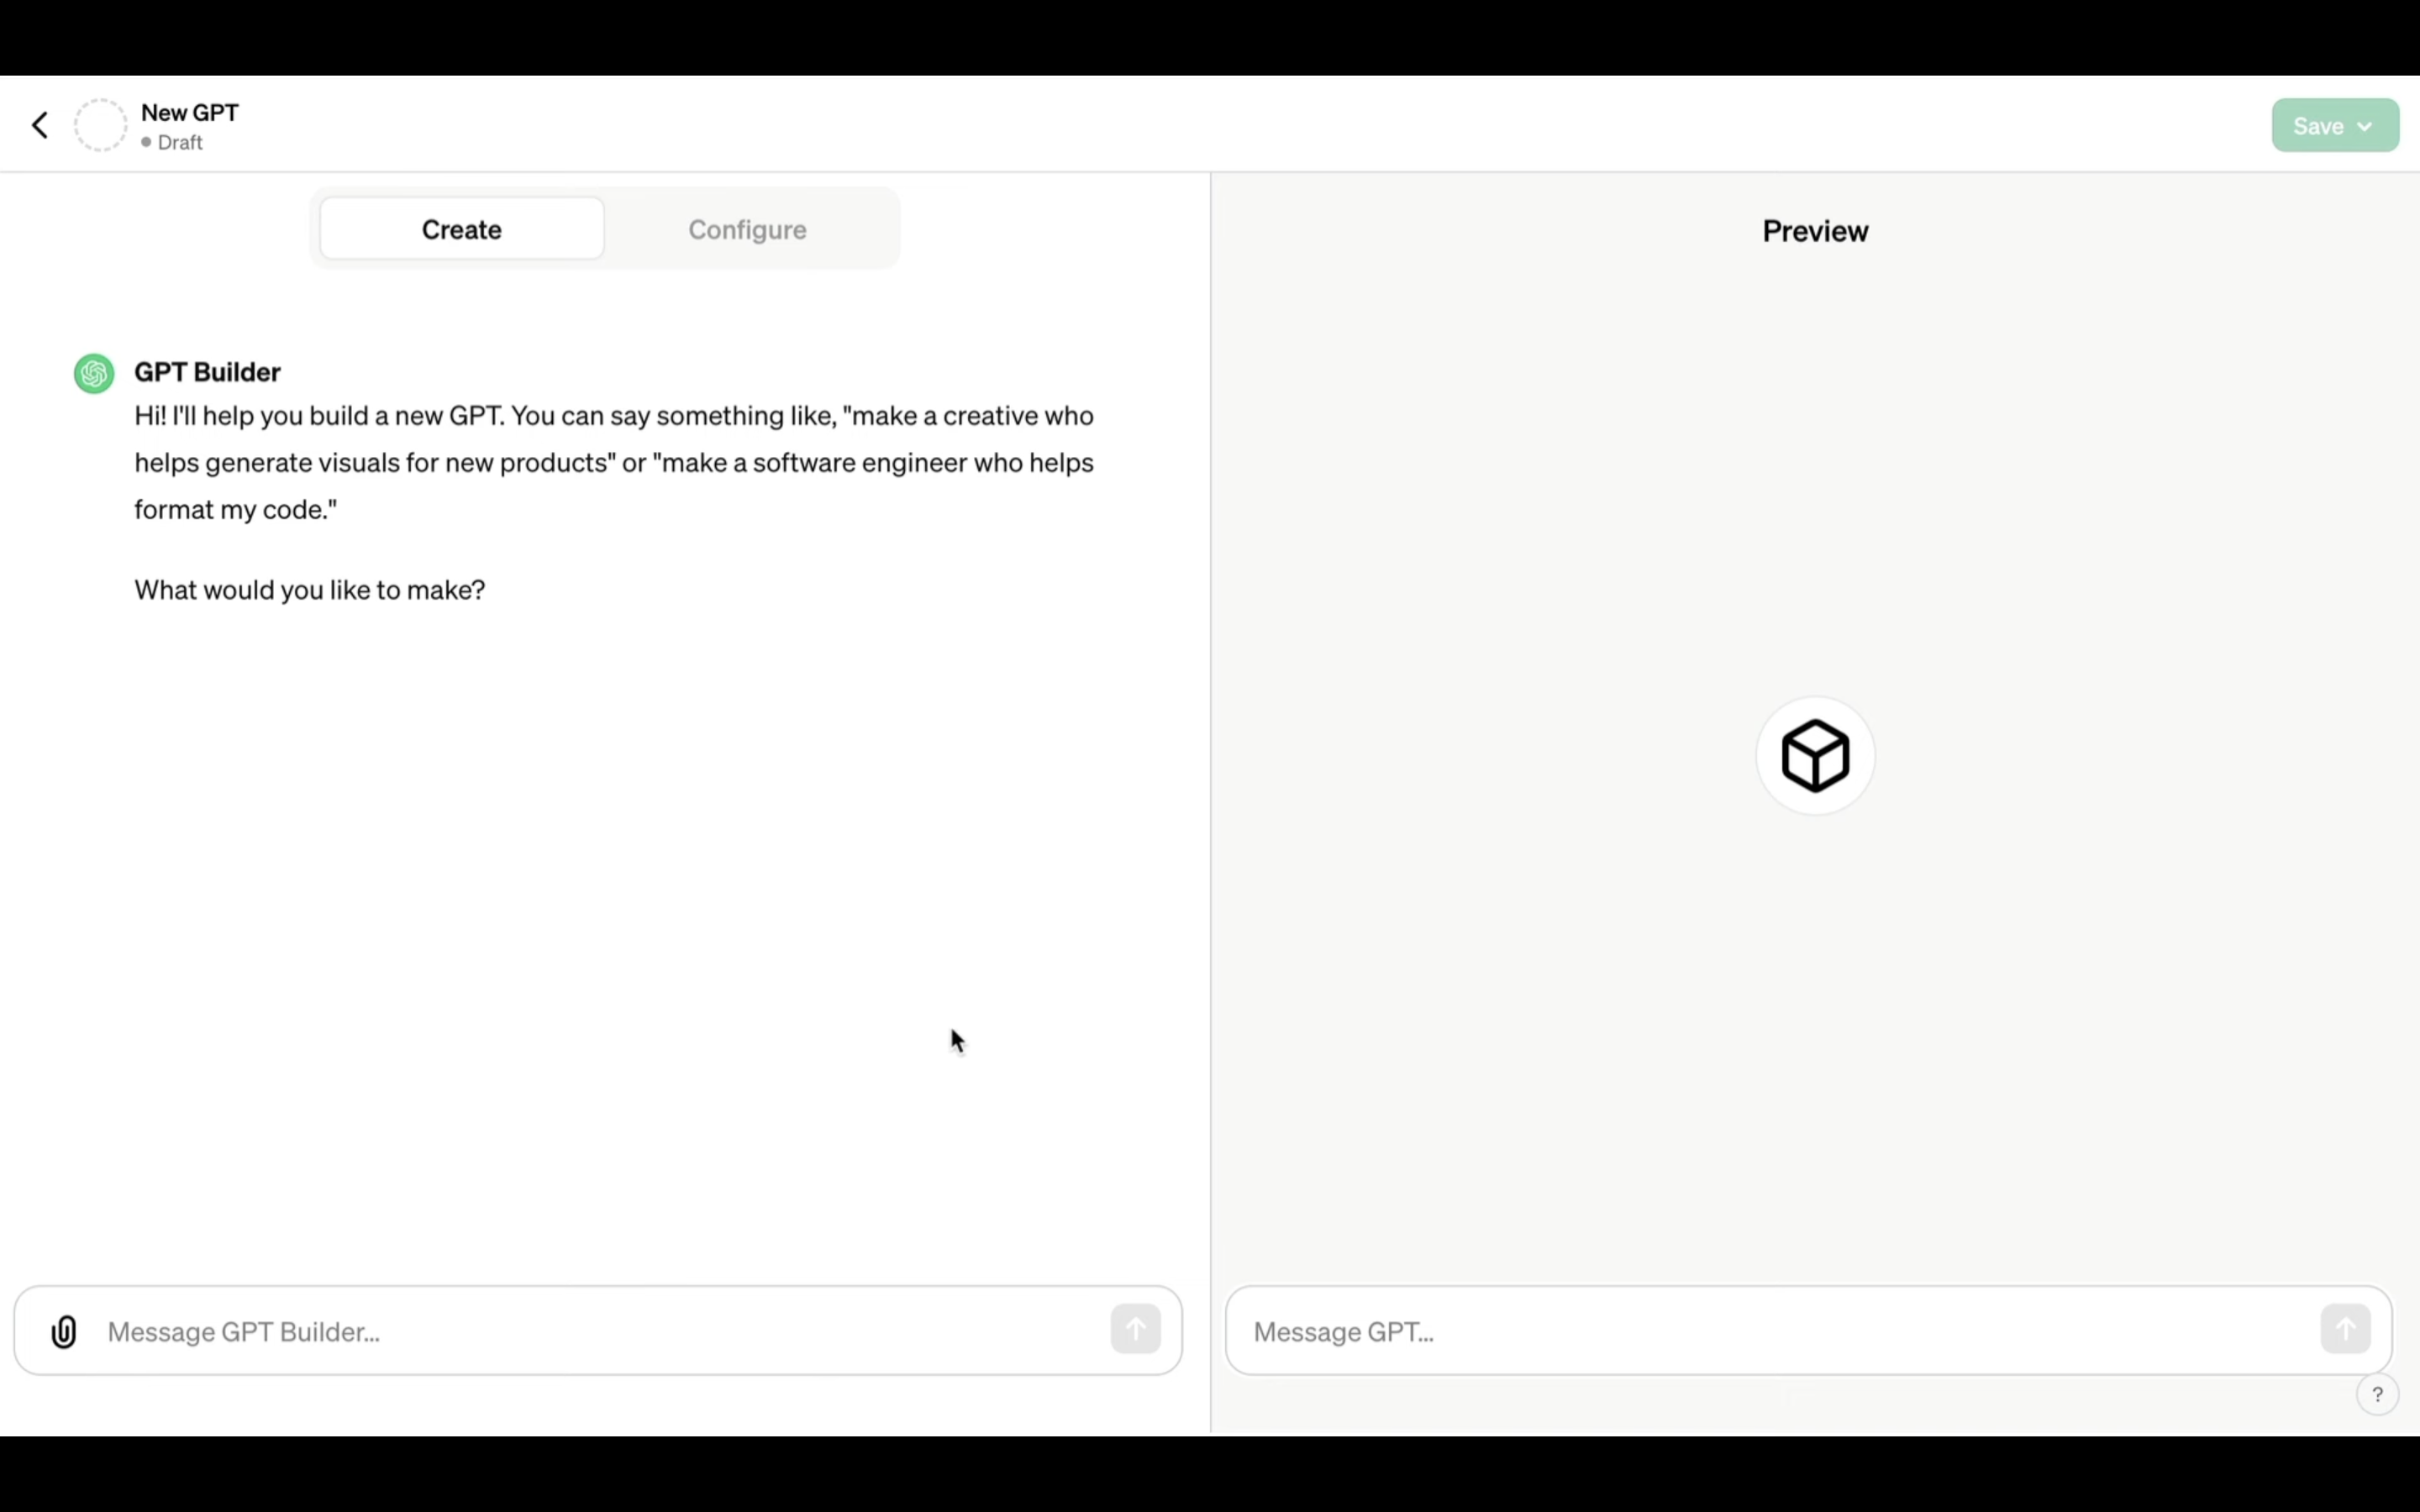
MyGPTは気軽にチャットをする感覚で、カスタマイズしたGPTを生成することができます。
チャットは英語で進めた方がより正確なカスタマイズが行えますが、この解説では英語が苦手な人でも簡単に作成できることを理解して欲しいため、チャットを日本語で行います。
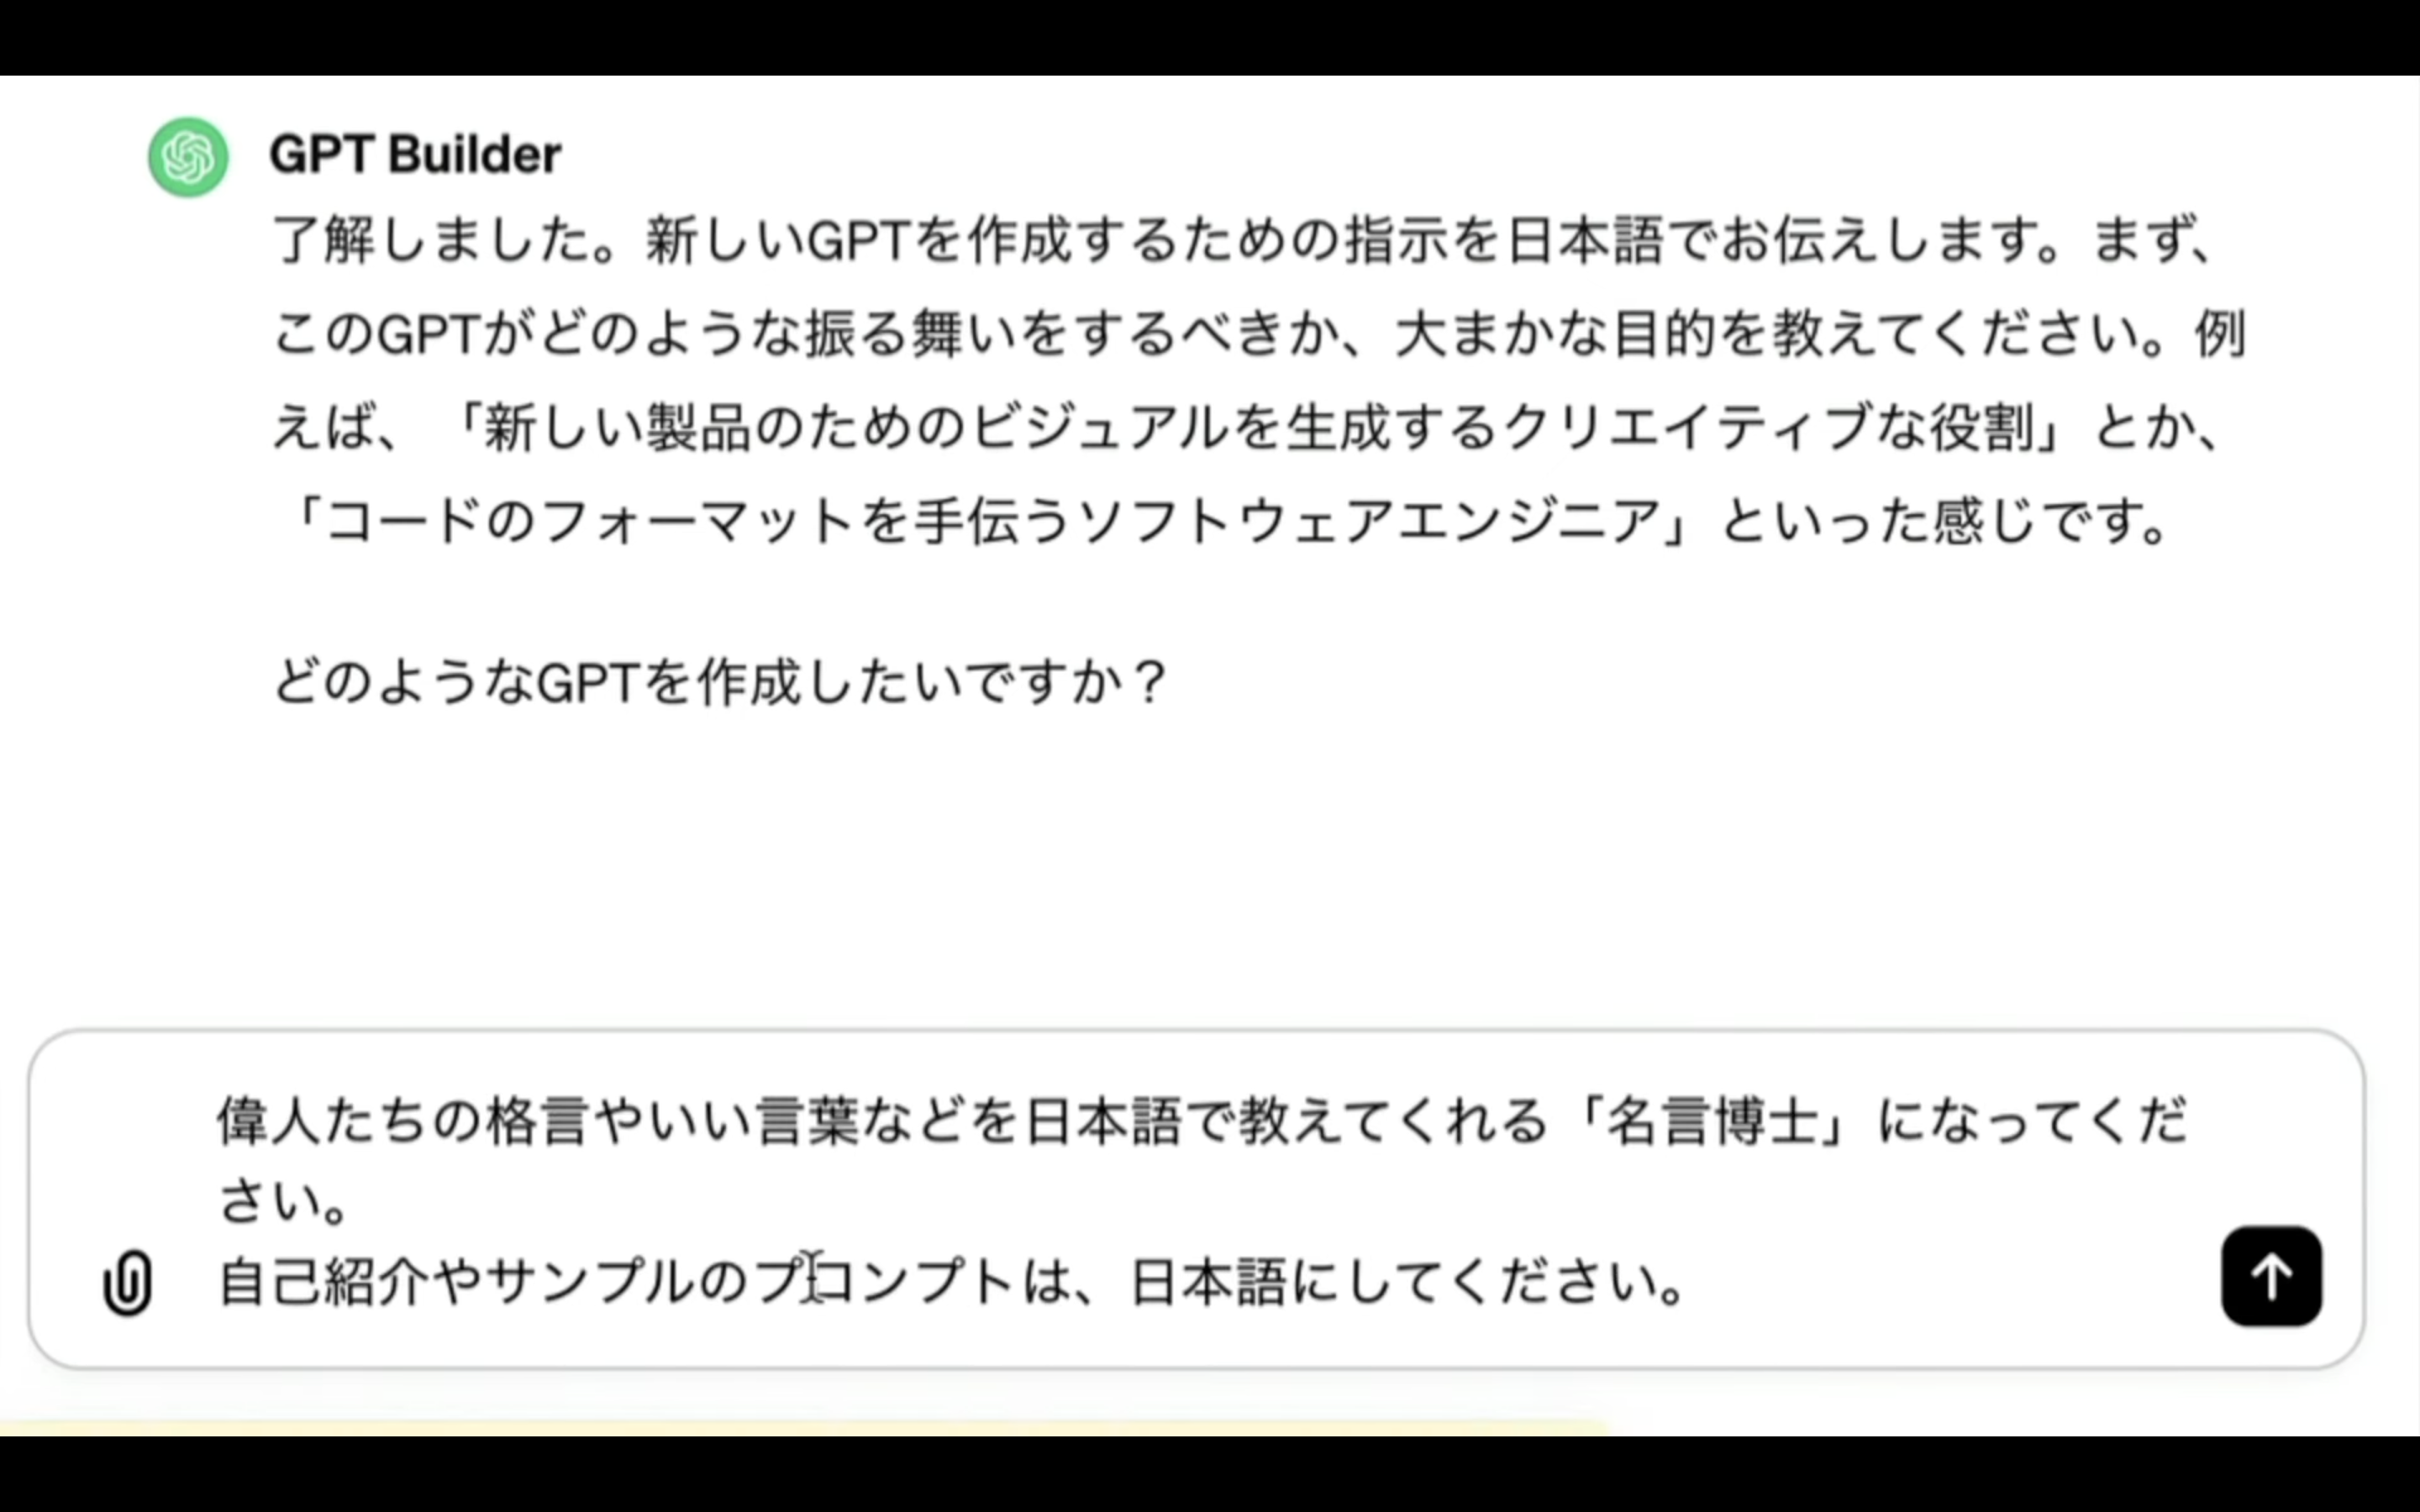
まずは左下のテキストボックスに「以降の指示とこれ以降の指示を日本語でお願いします」と入力して、エンターキーを押します。
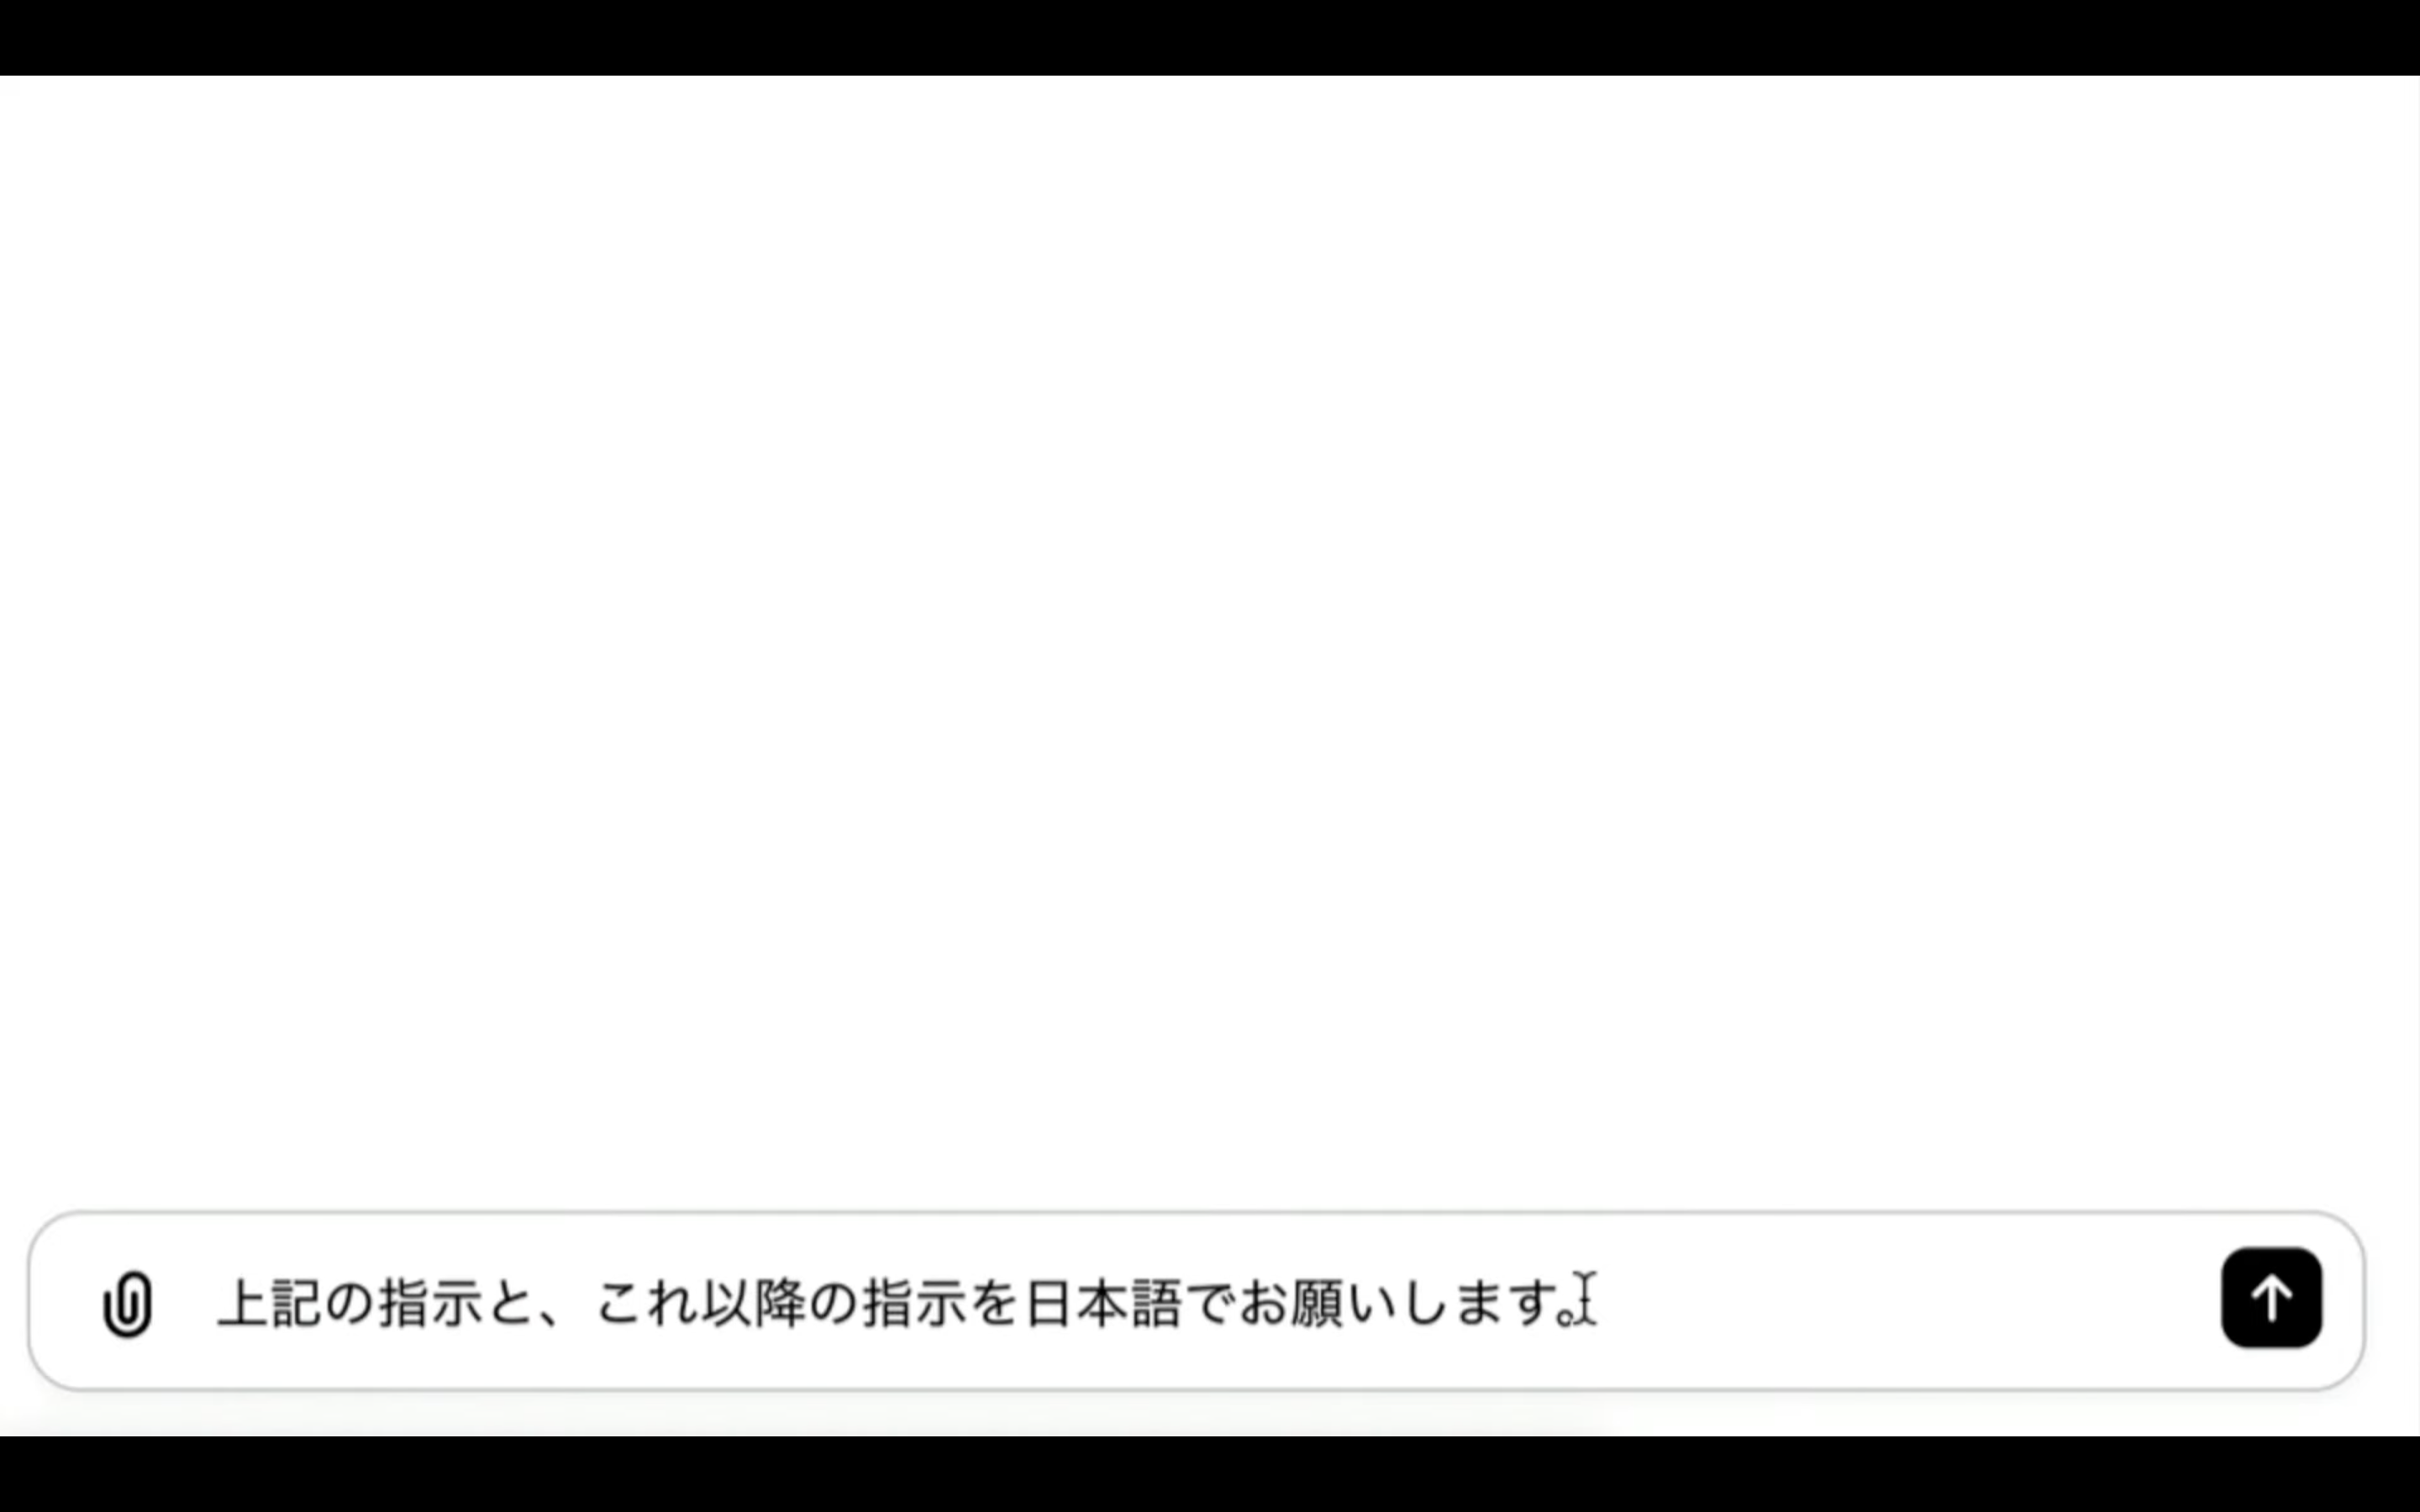
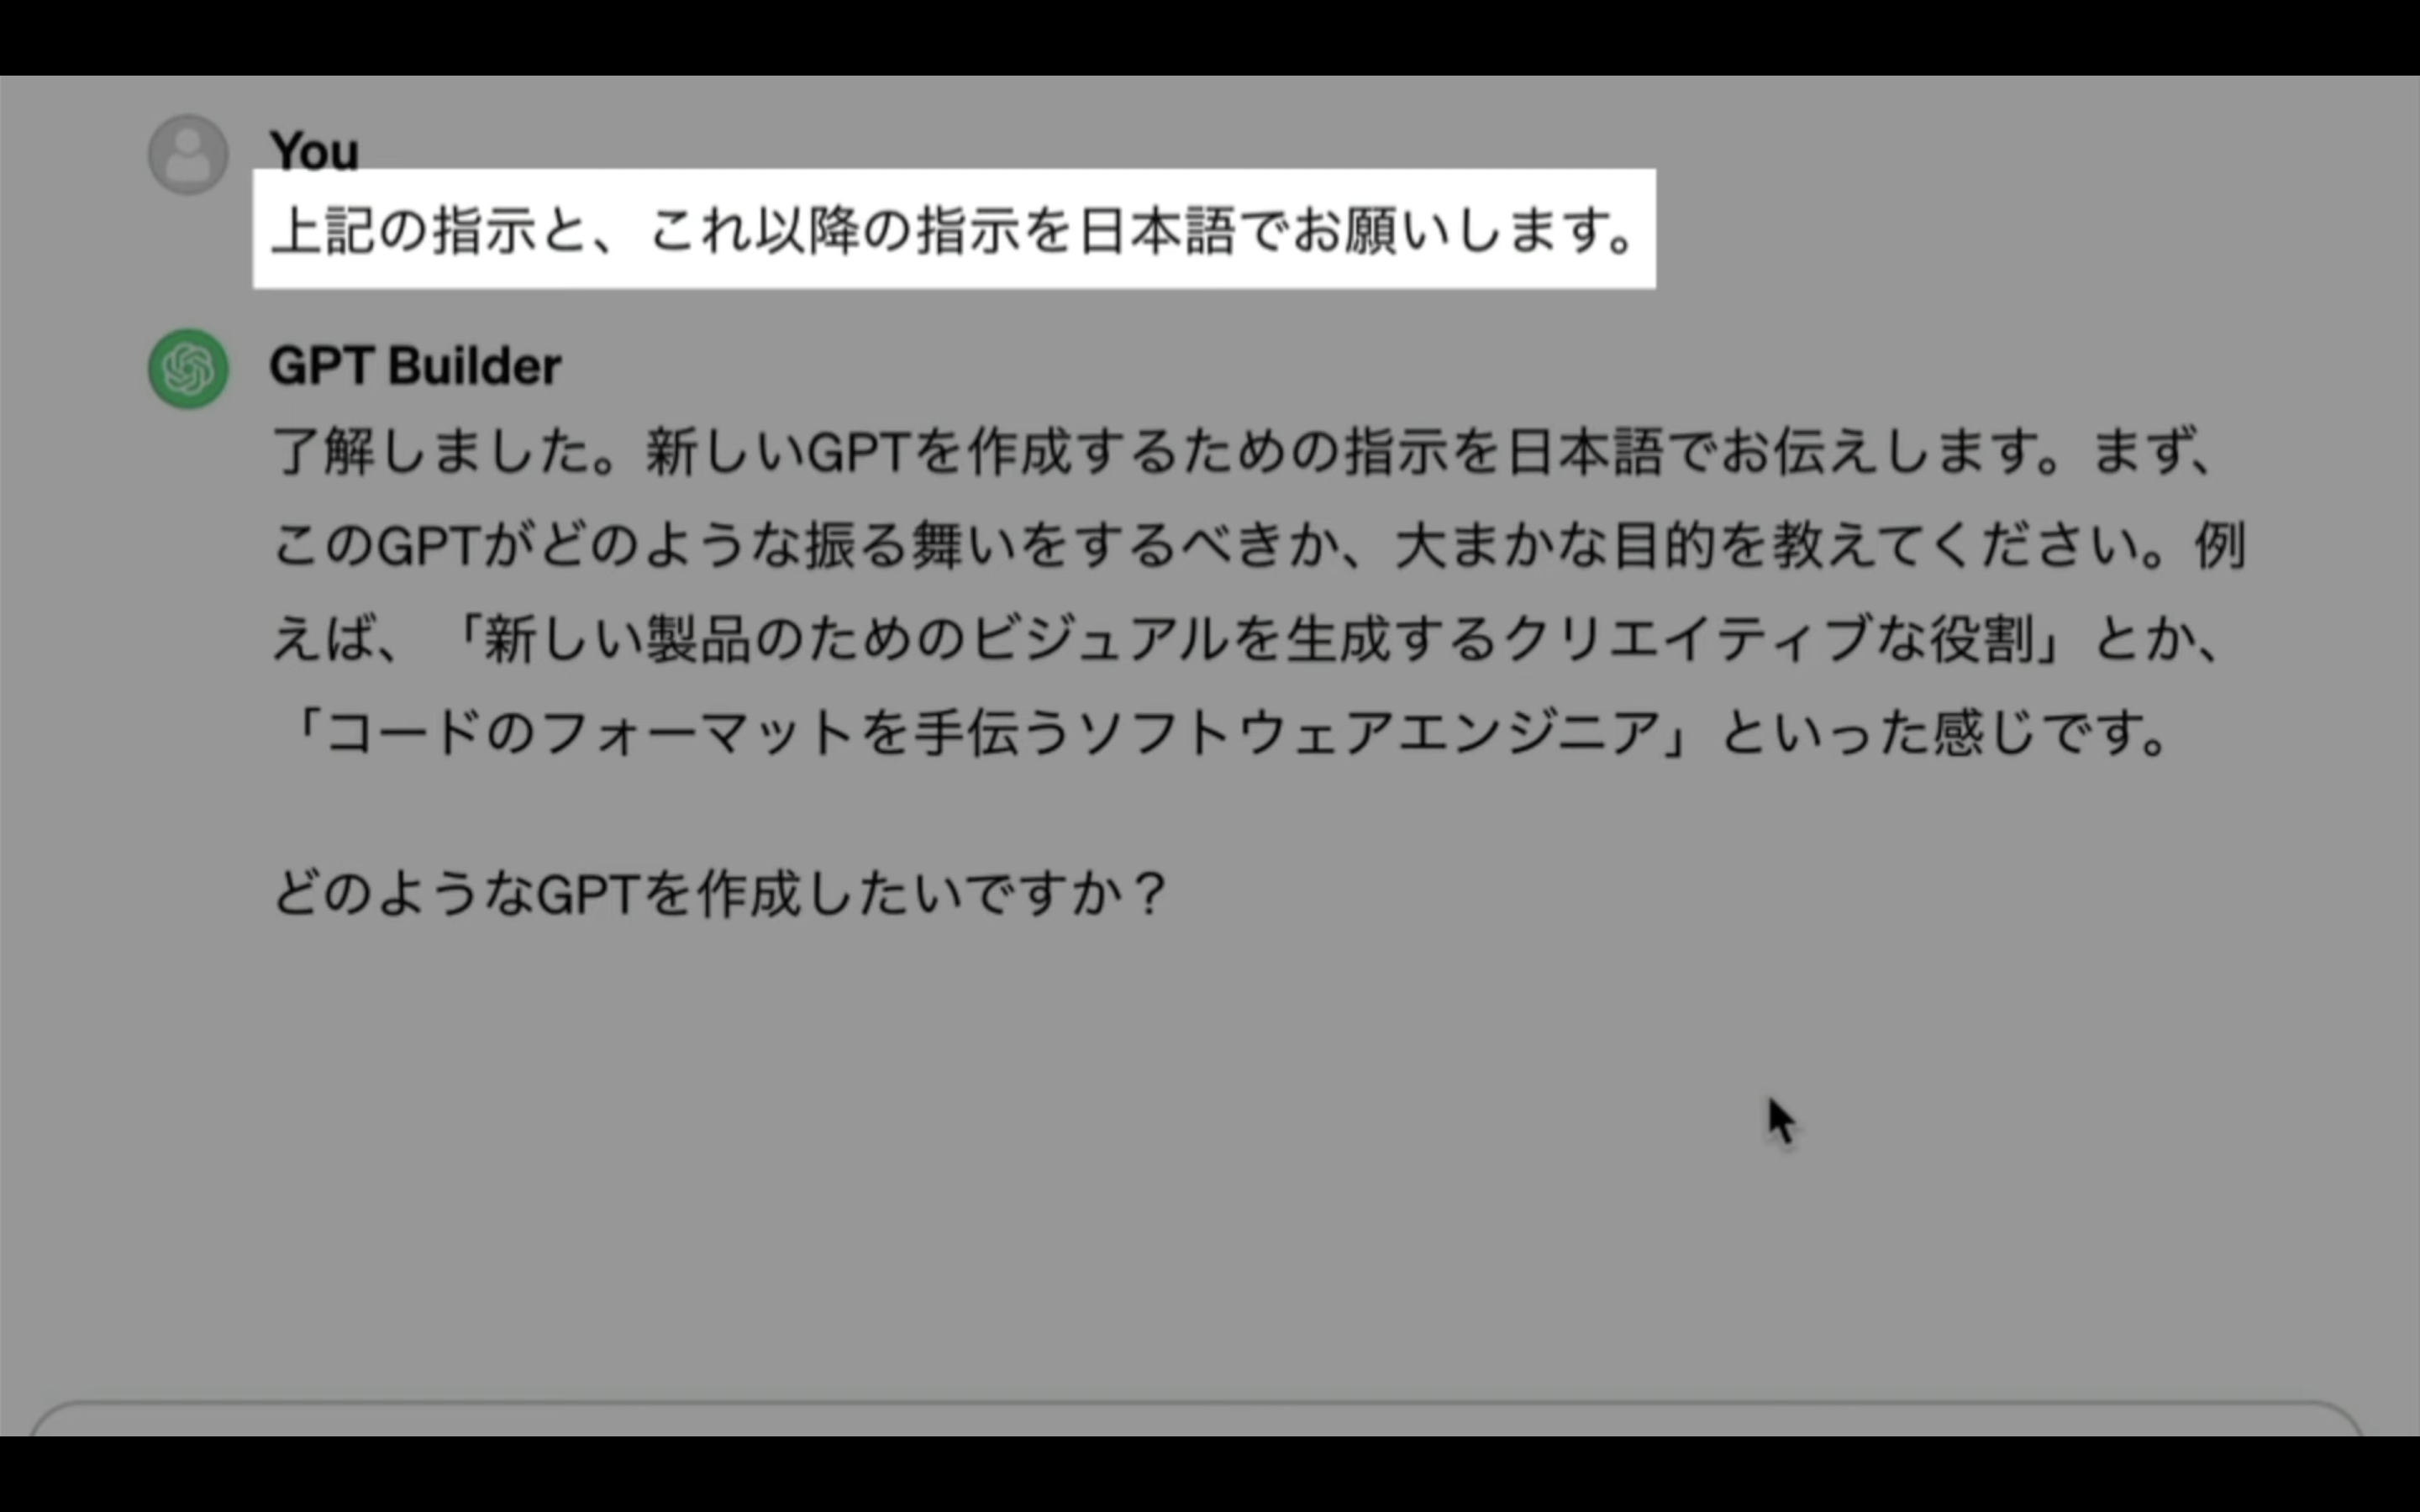
これで指示内容を日本語で書いてくれるようになります。
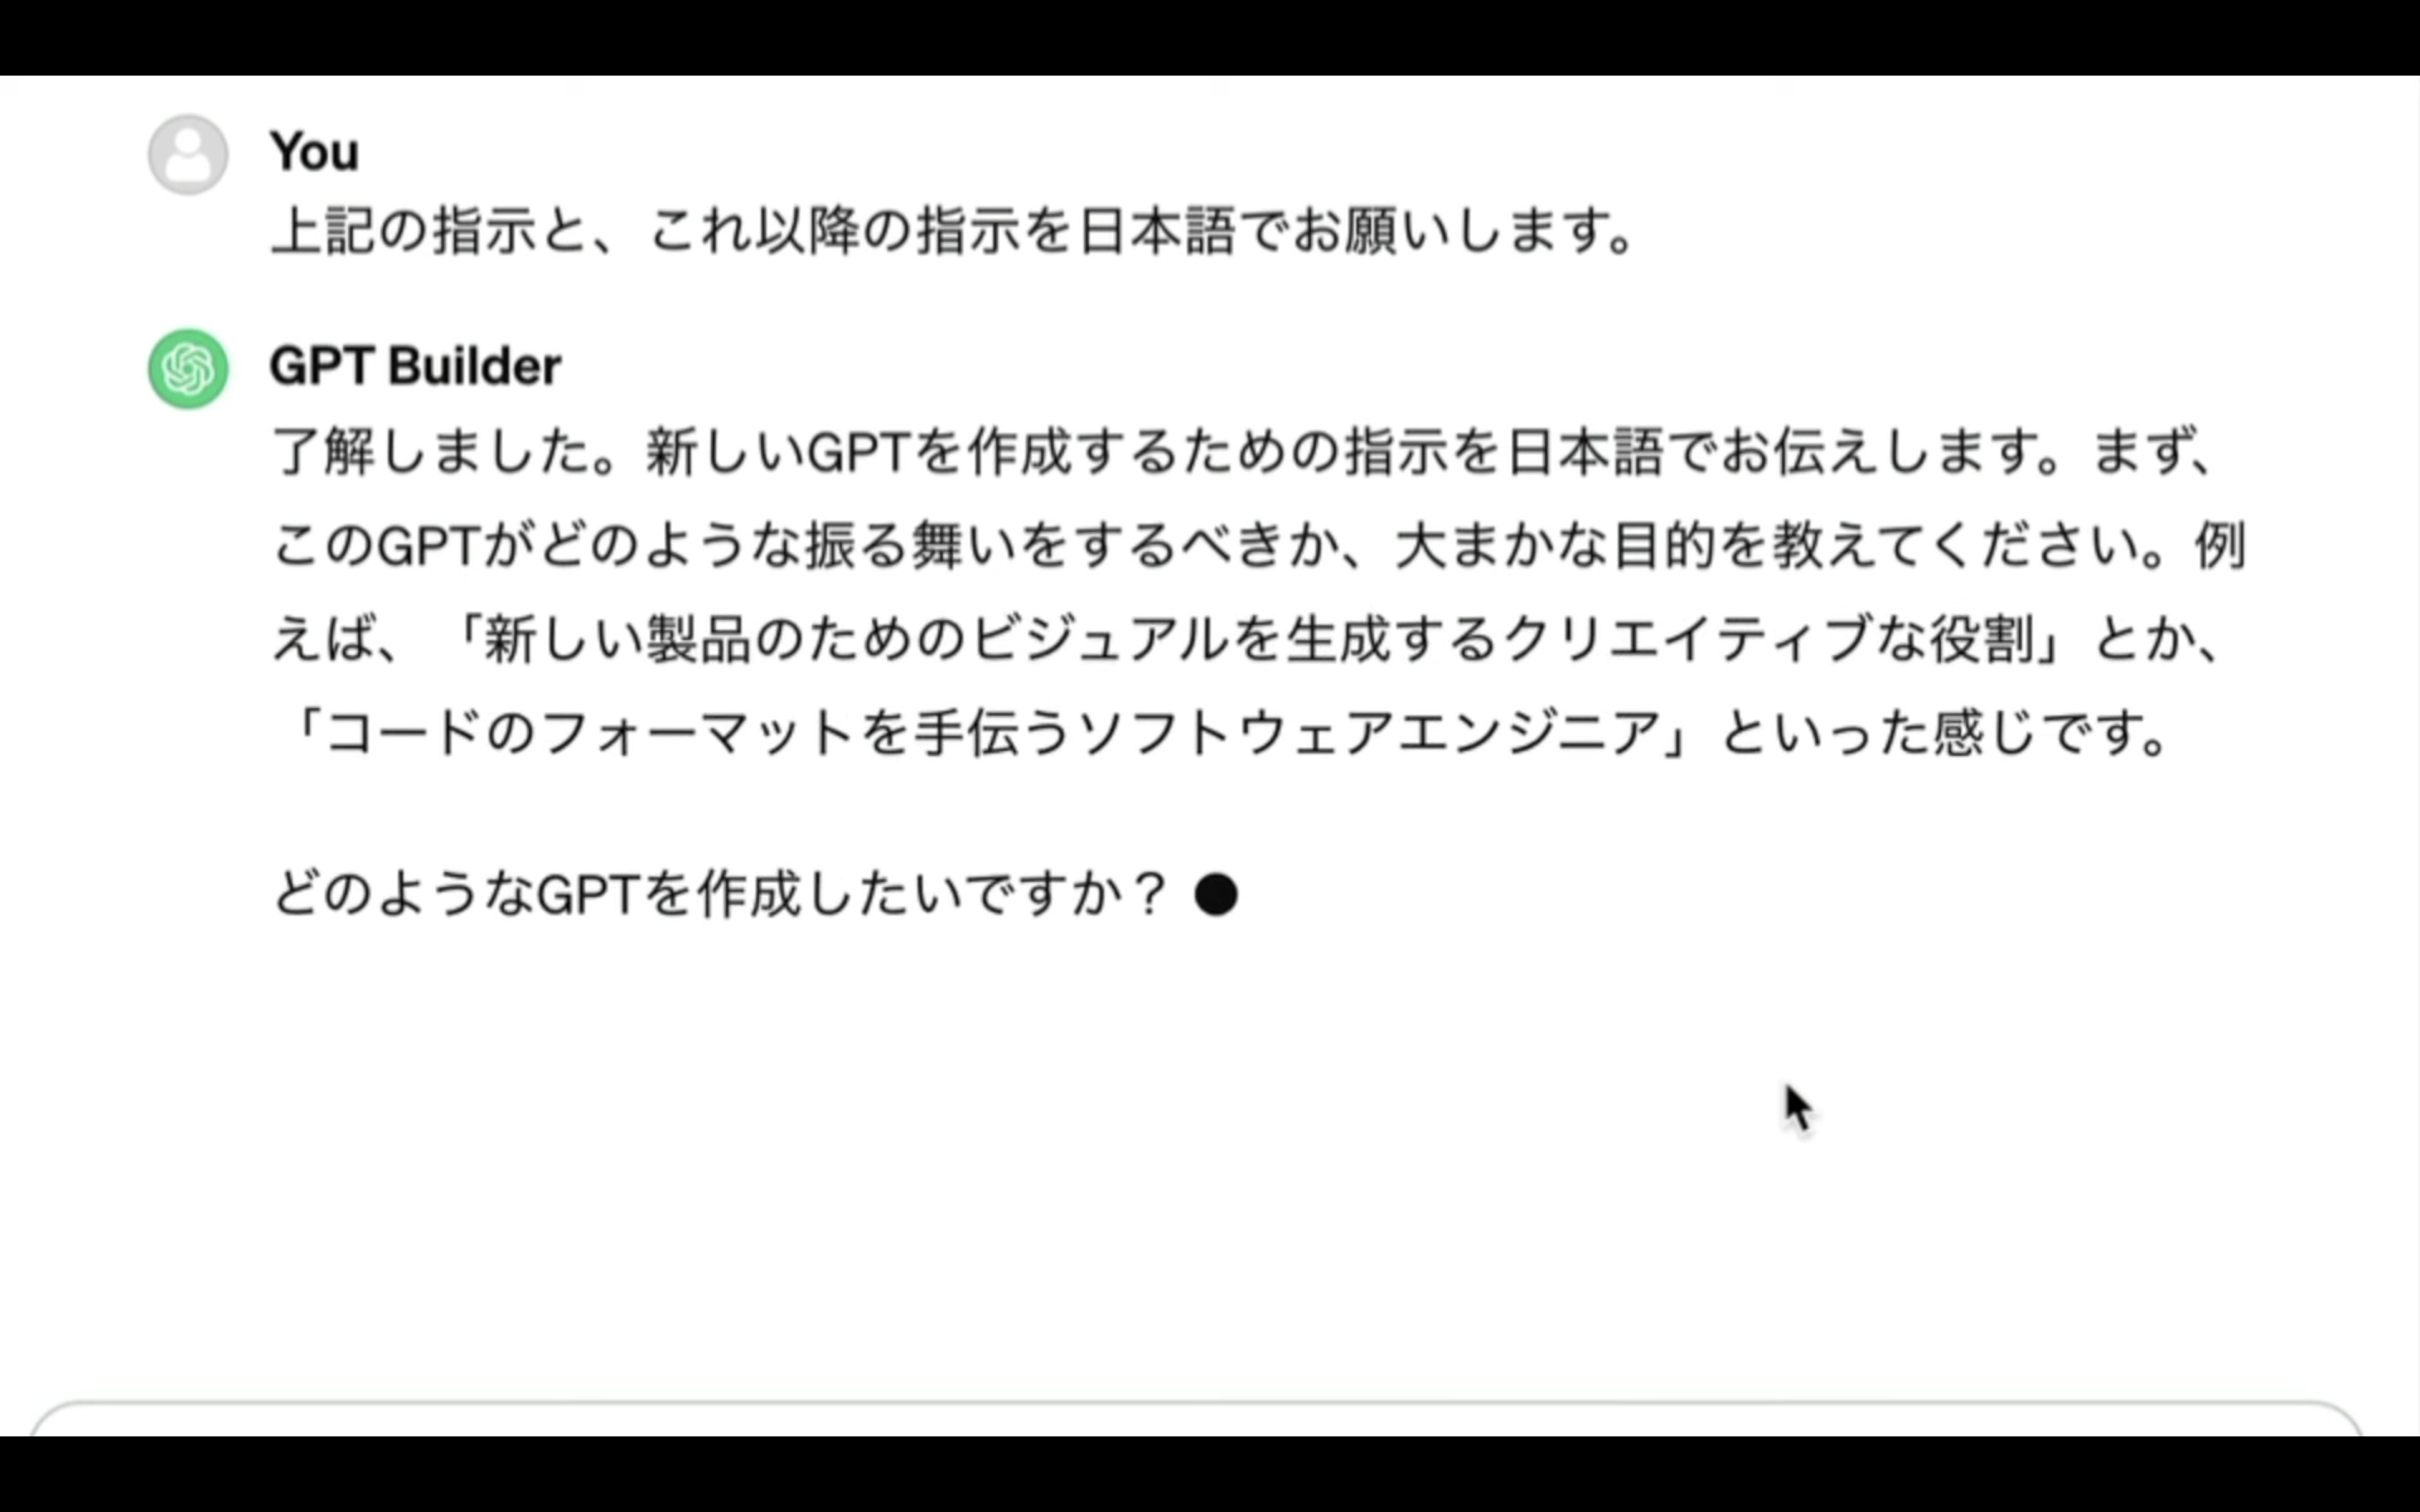
これ以降の指示が英語で表記された場合も、「以降の指示とこれ以降の指示を日本語でお願いします」というようにお願いすると、日本語での指示を書いてくれます。
指示内容を確認すると、新しいGPTを生成するための指示が必要なようです。
そのため、このような感じで新しく作るGPTについての指示を入力します。
しばらく待っていると、このような返答が返ってきました。
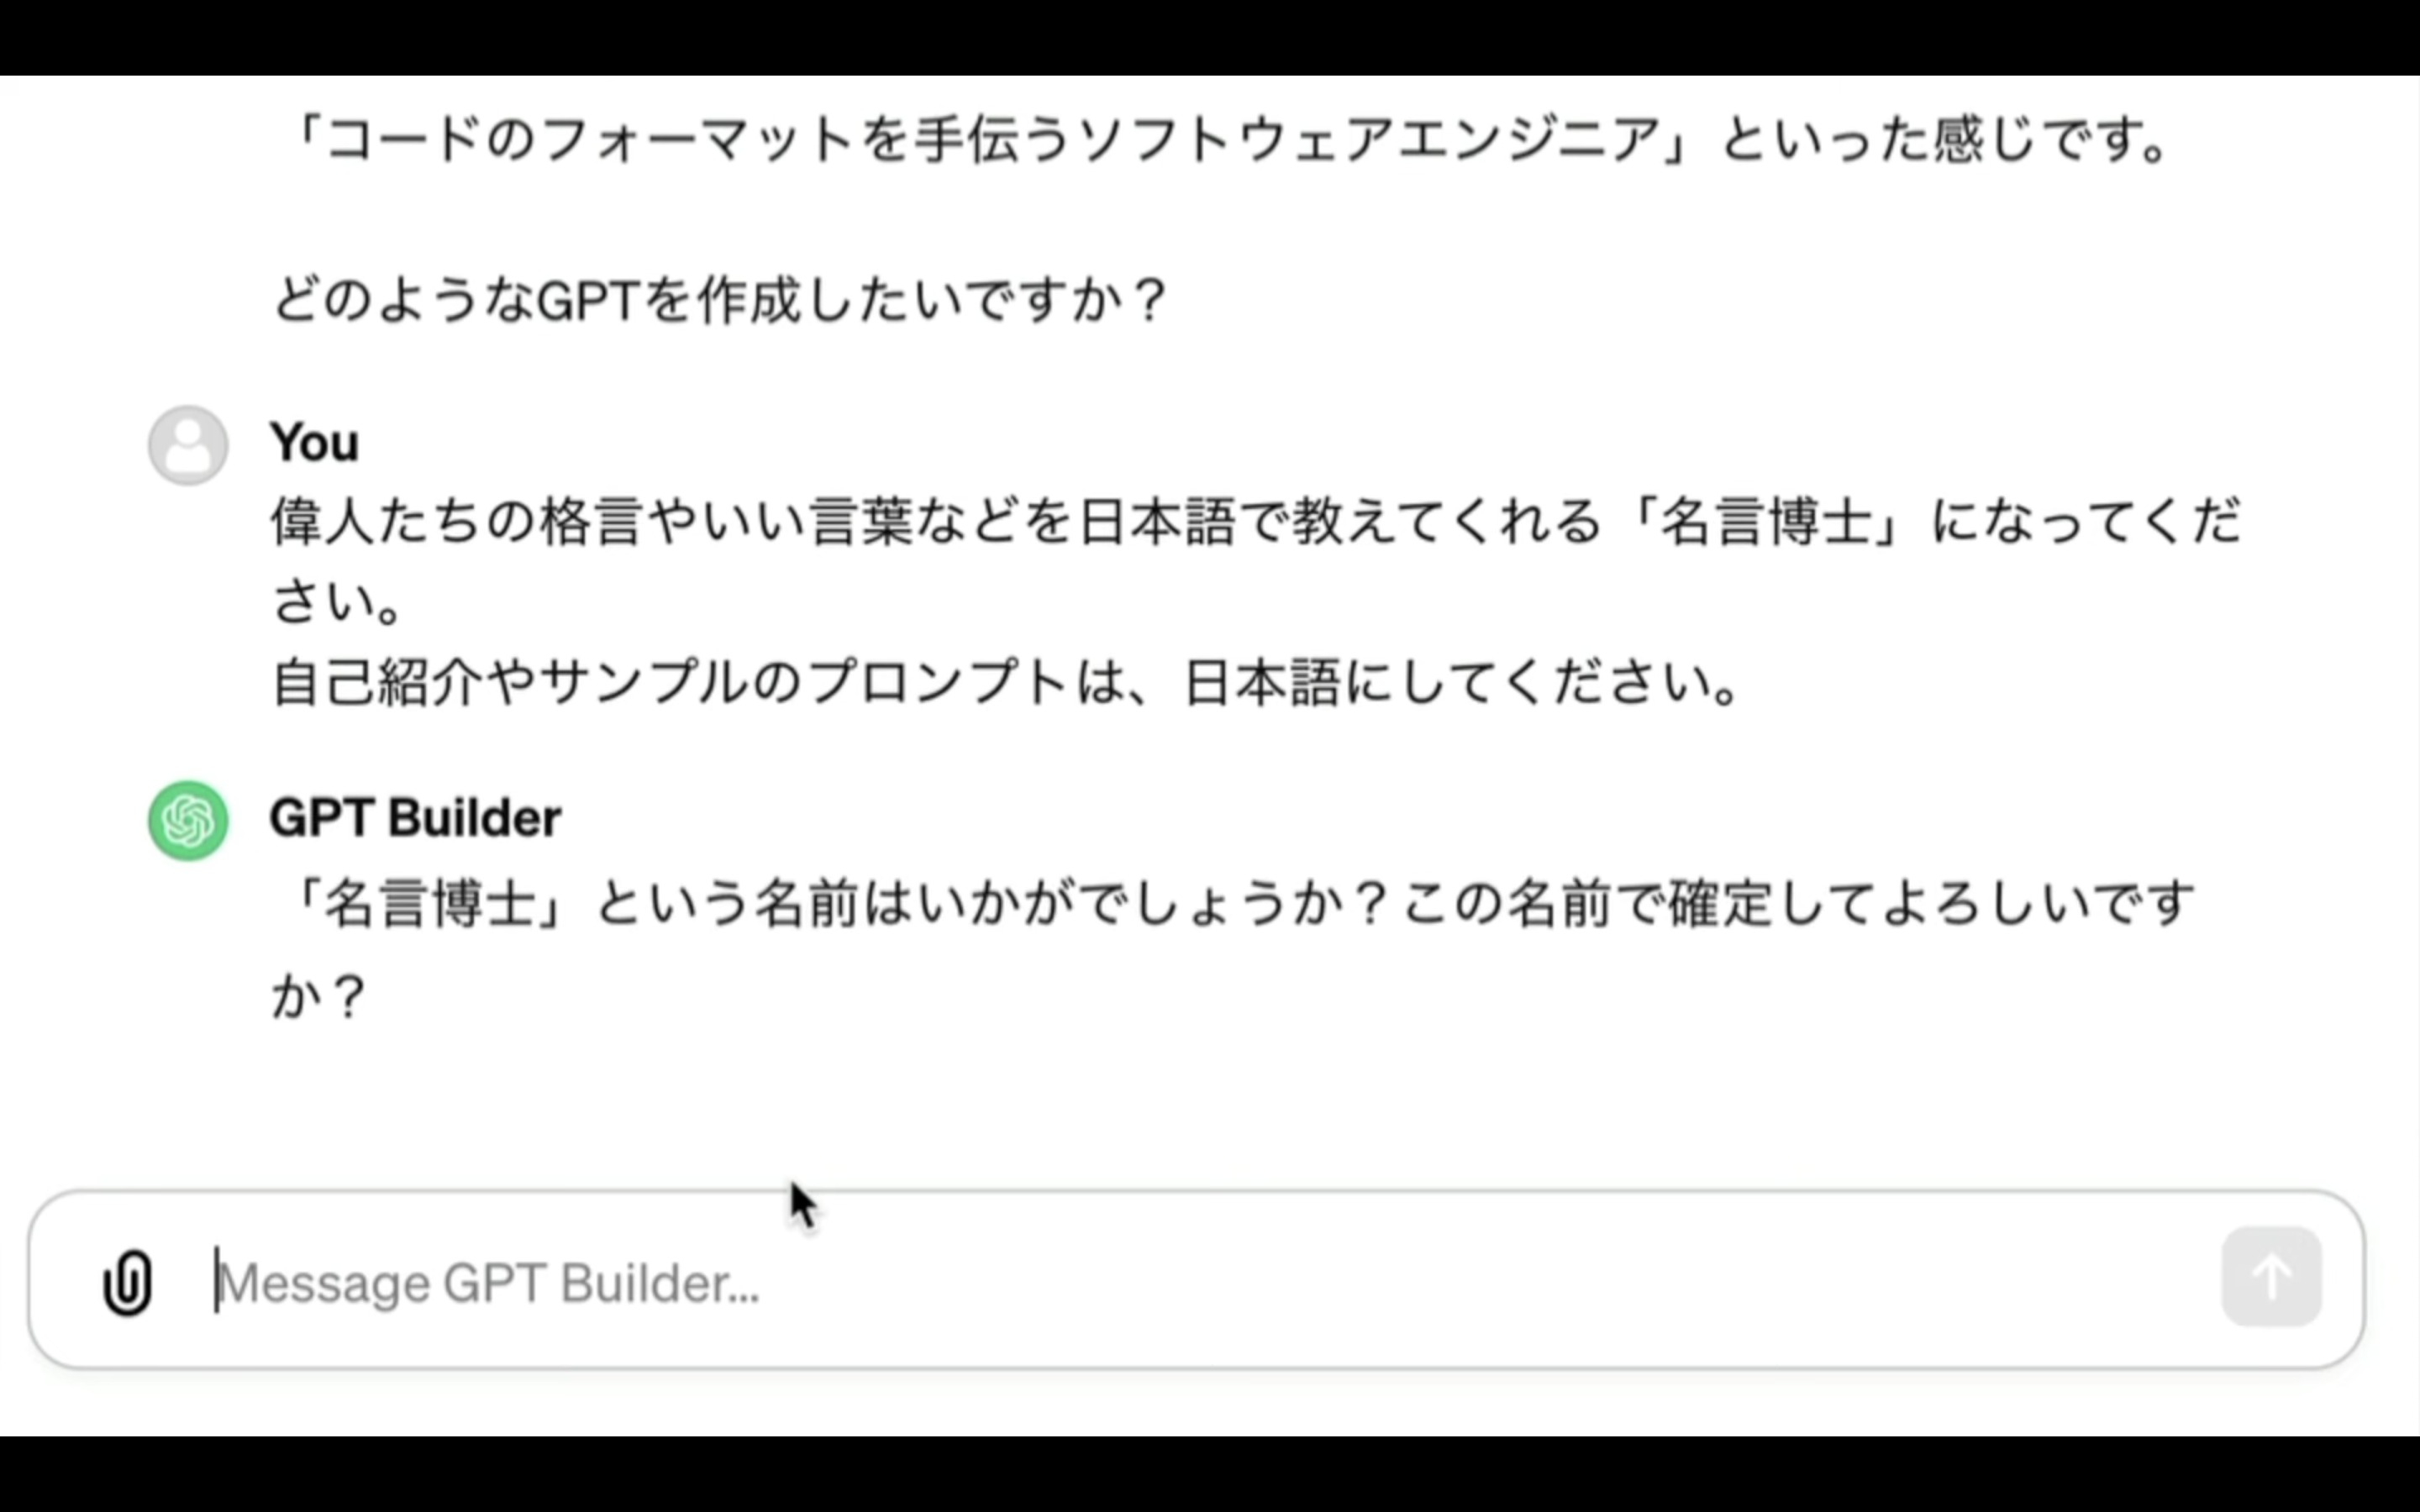
作成するGPTの名前を提案してくれています。
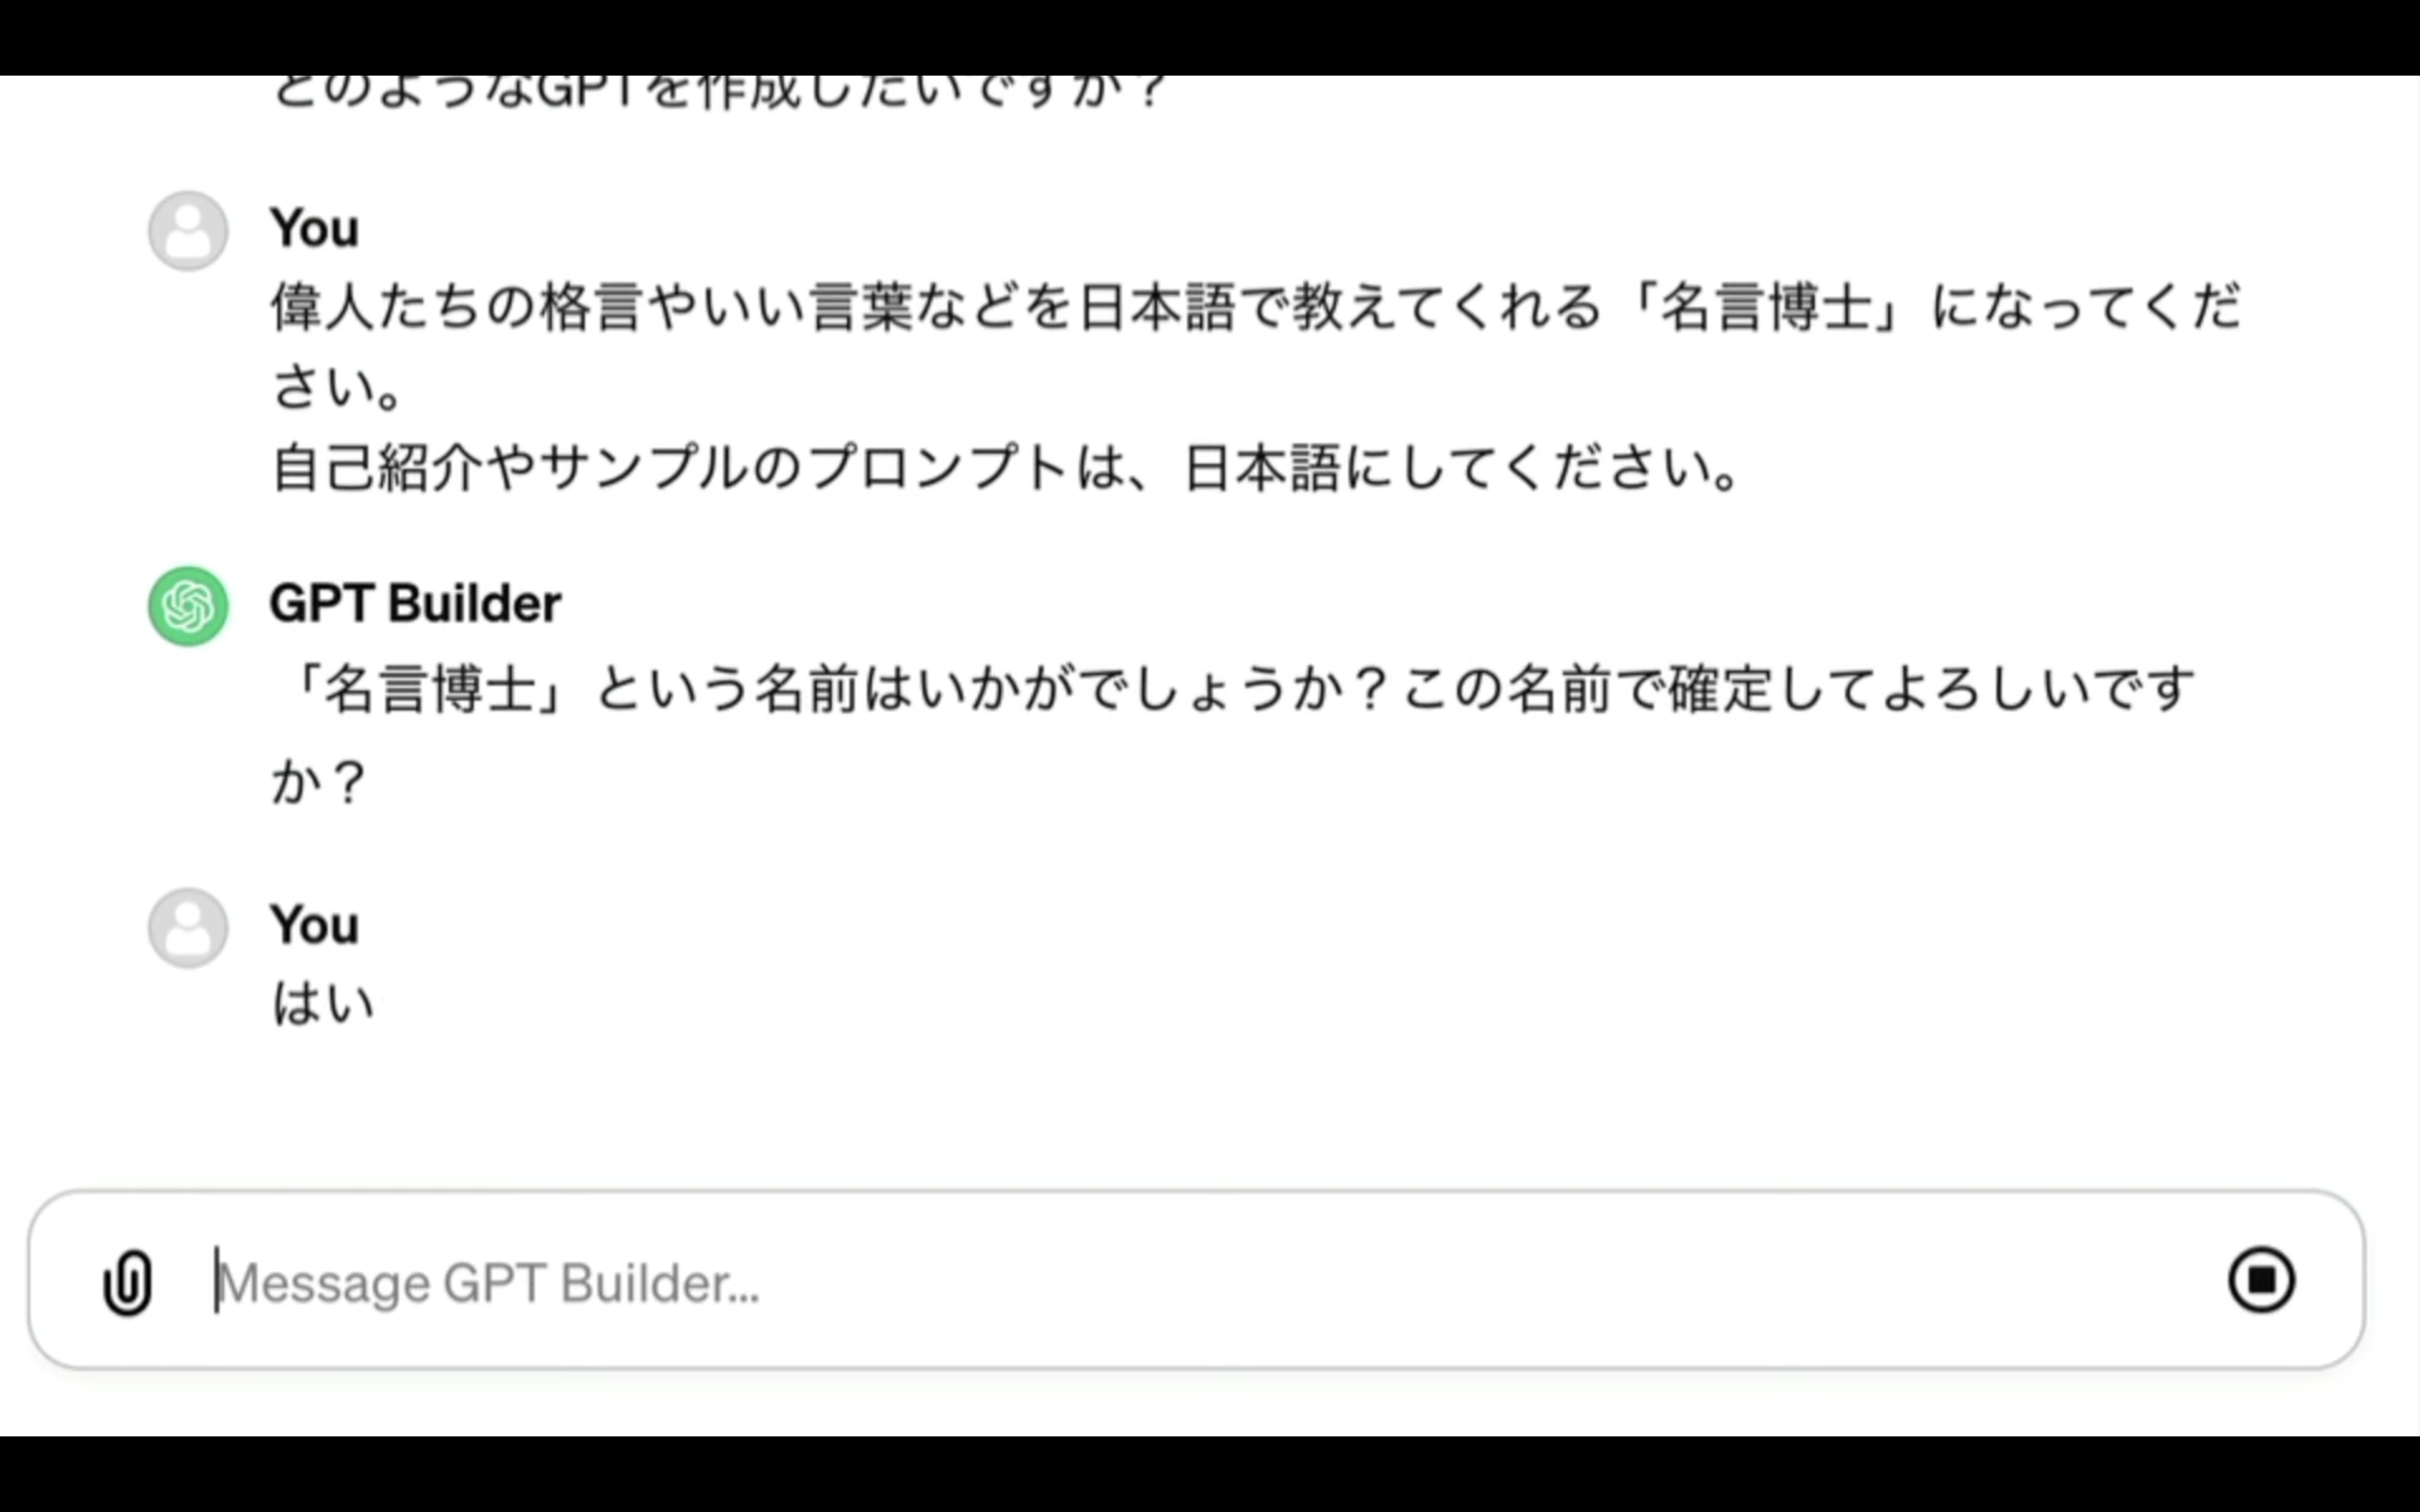
この名前で問題ないので「はい」と返事しておきます。
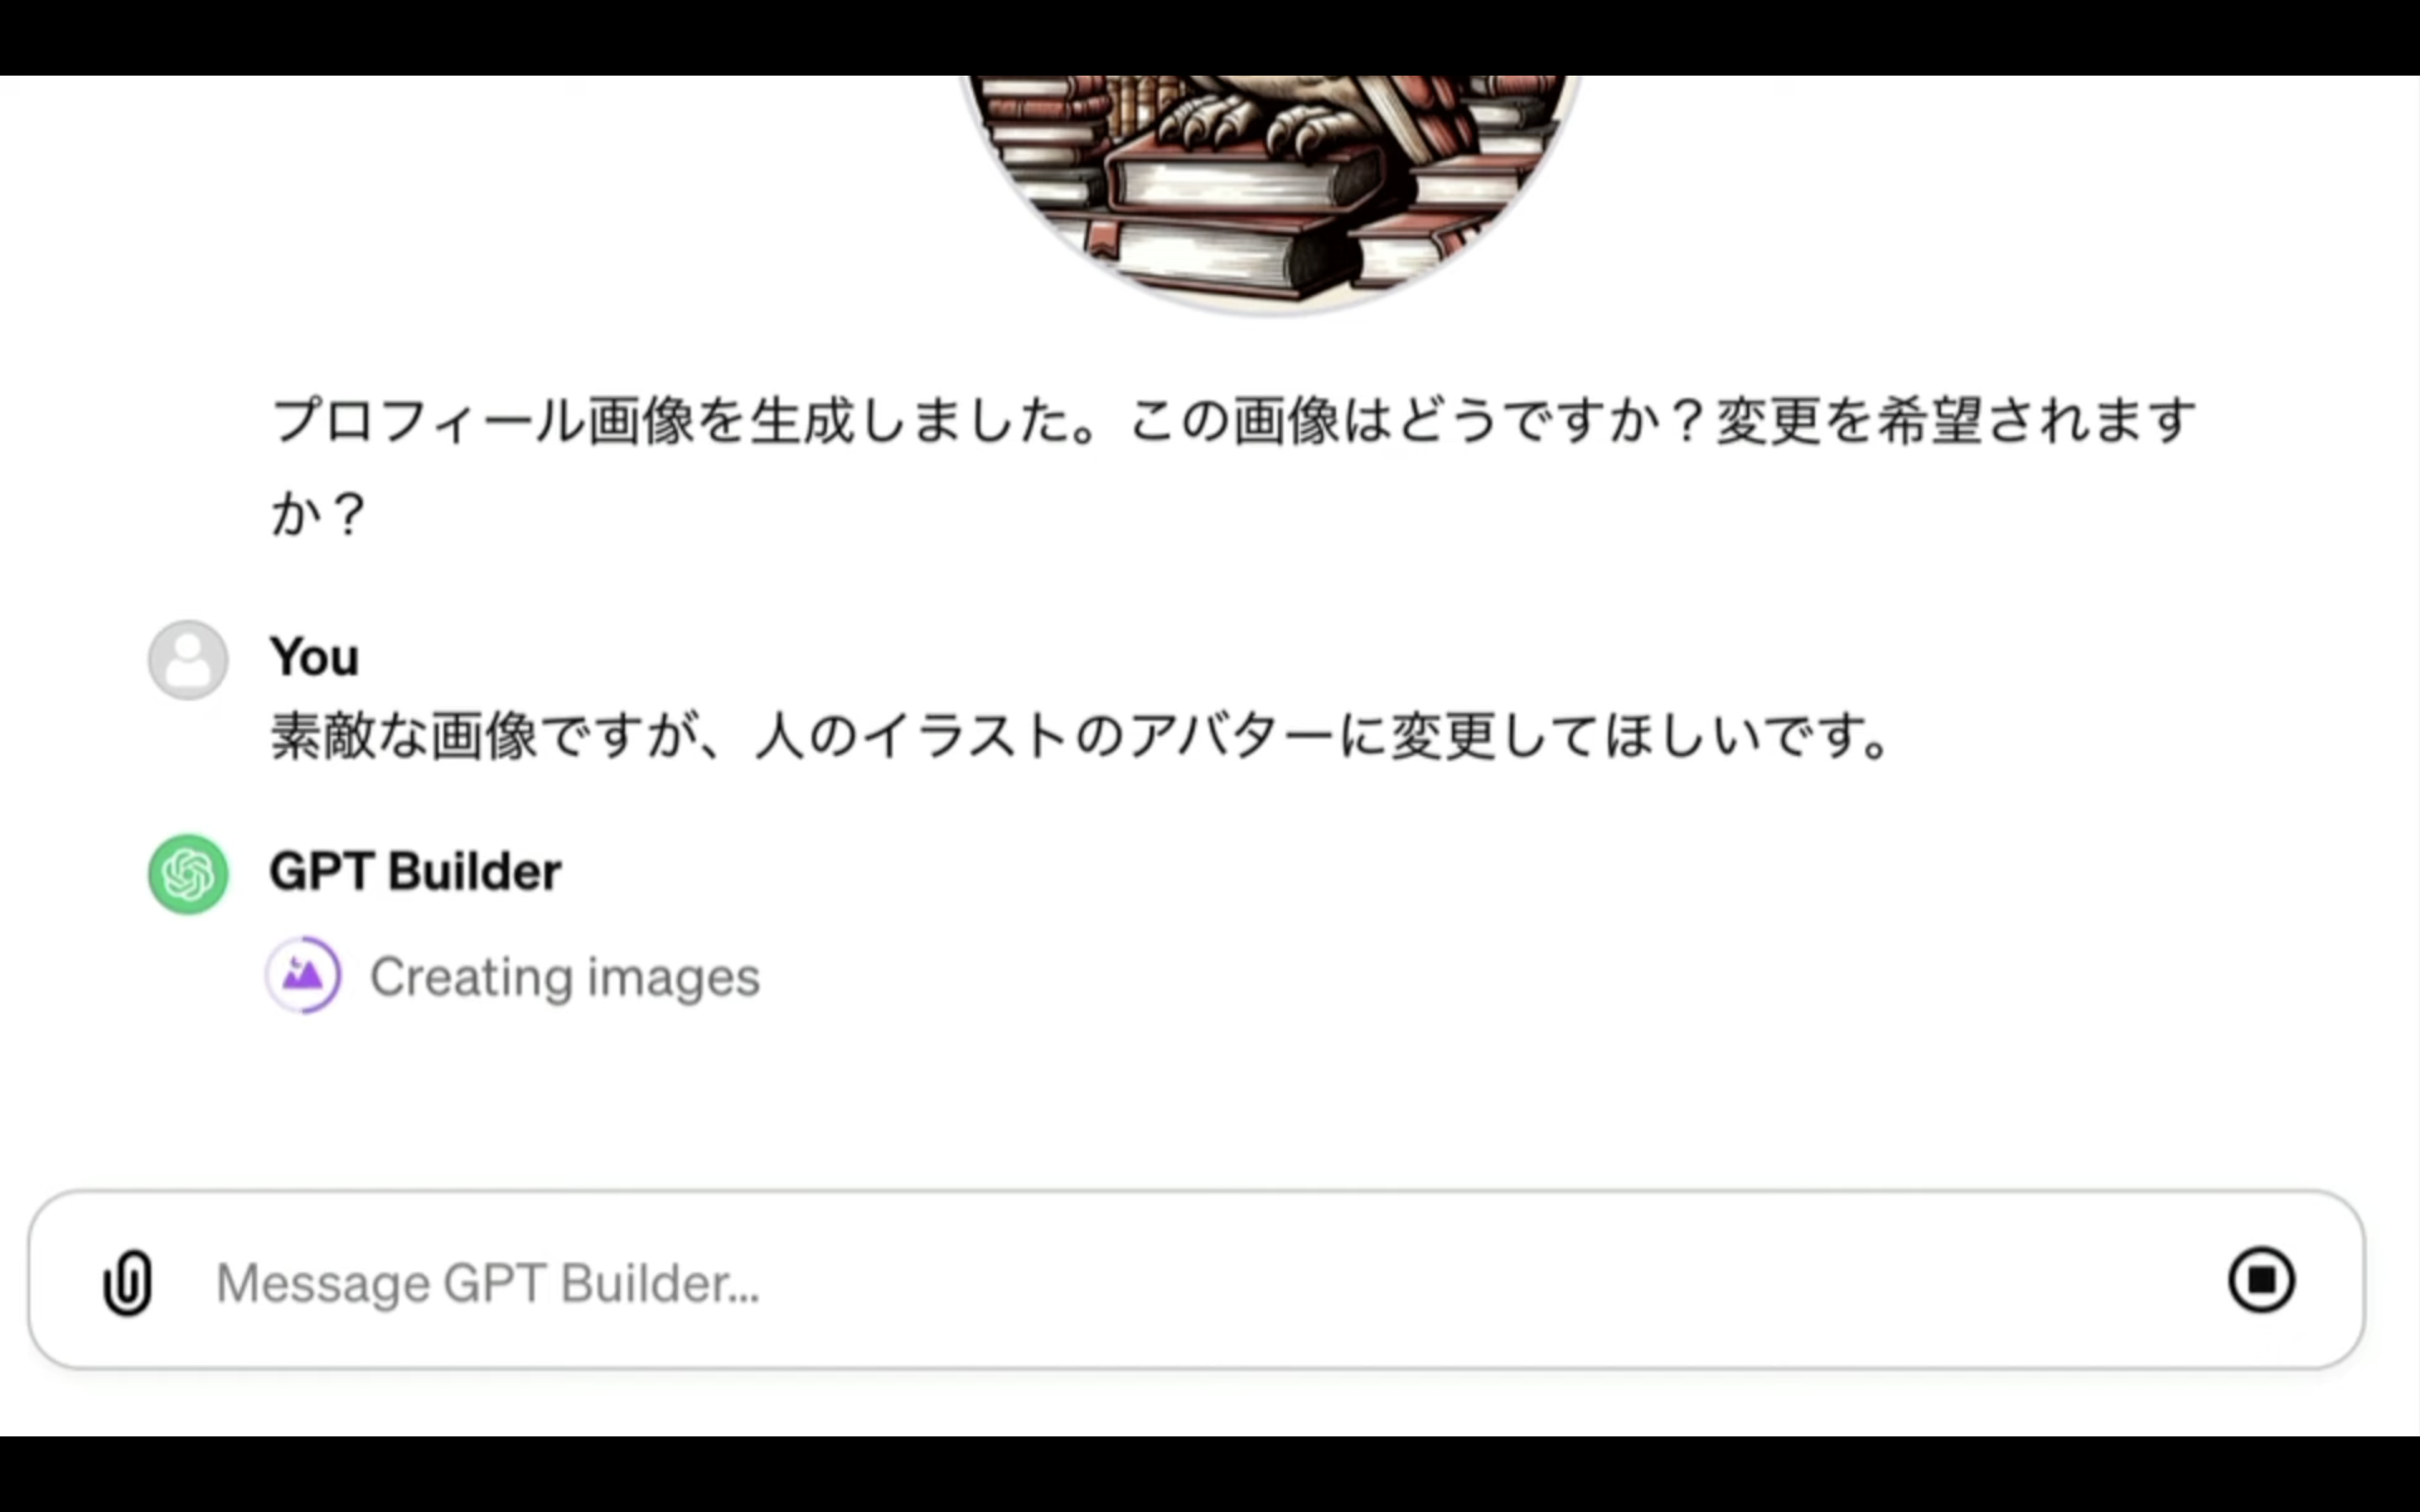
次に、プロフィール写真を自動で生成してくれました。
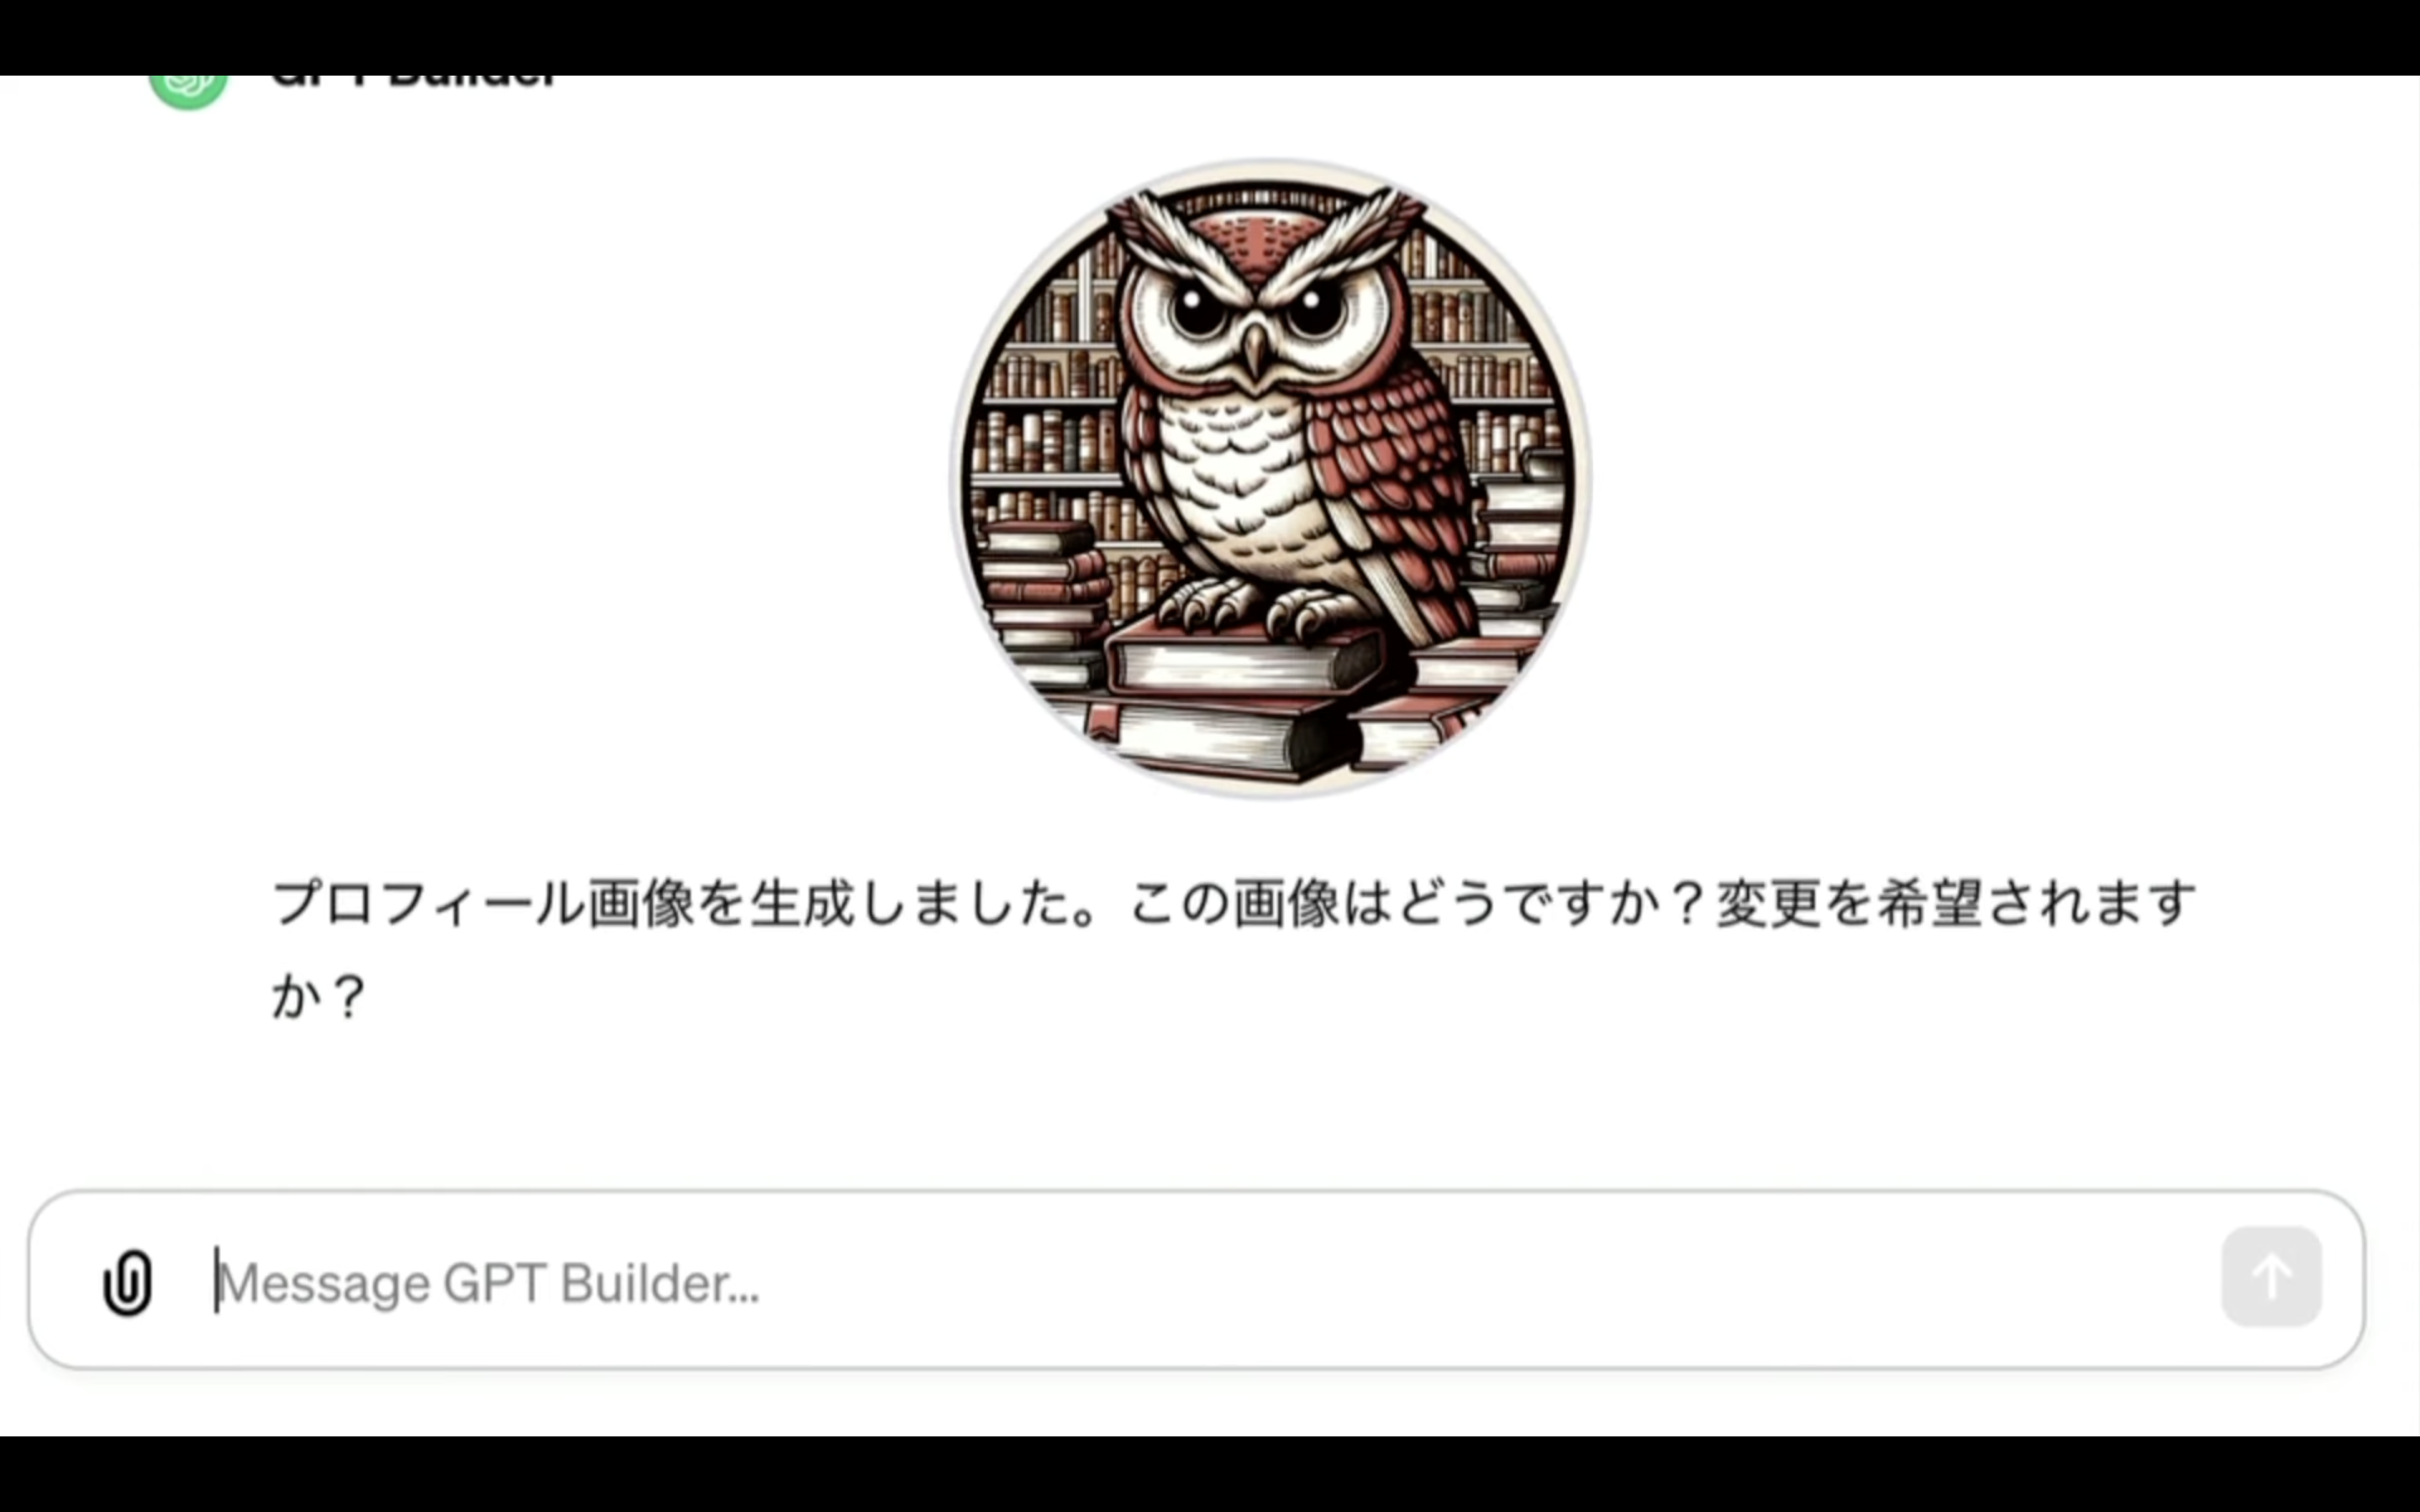
この画像でも問題なさそうですが、人間のアバターの方が名言博士っぽいので、変更してもらうようにお願いしてみました。
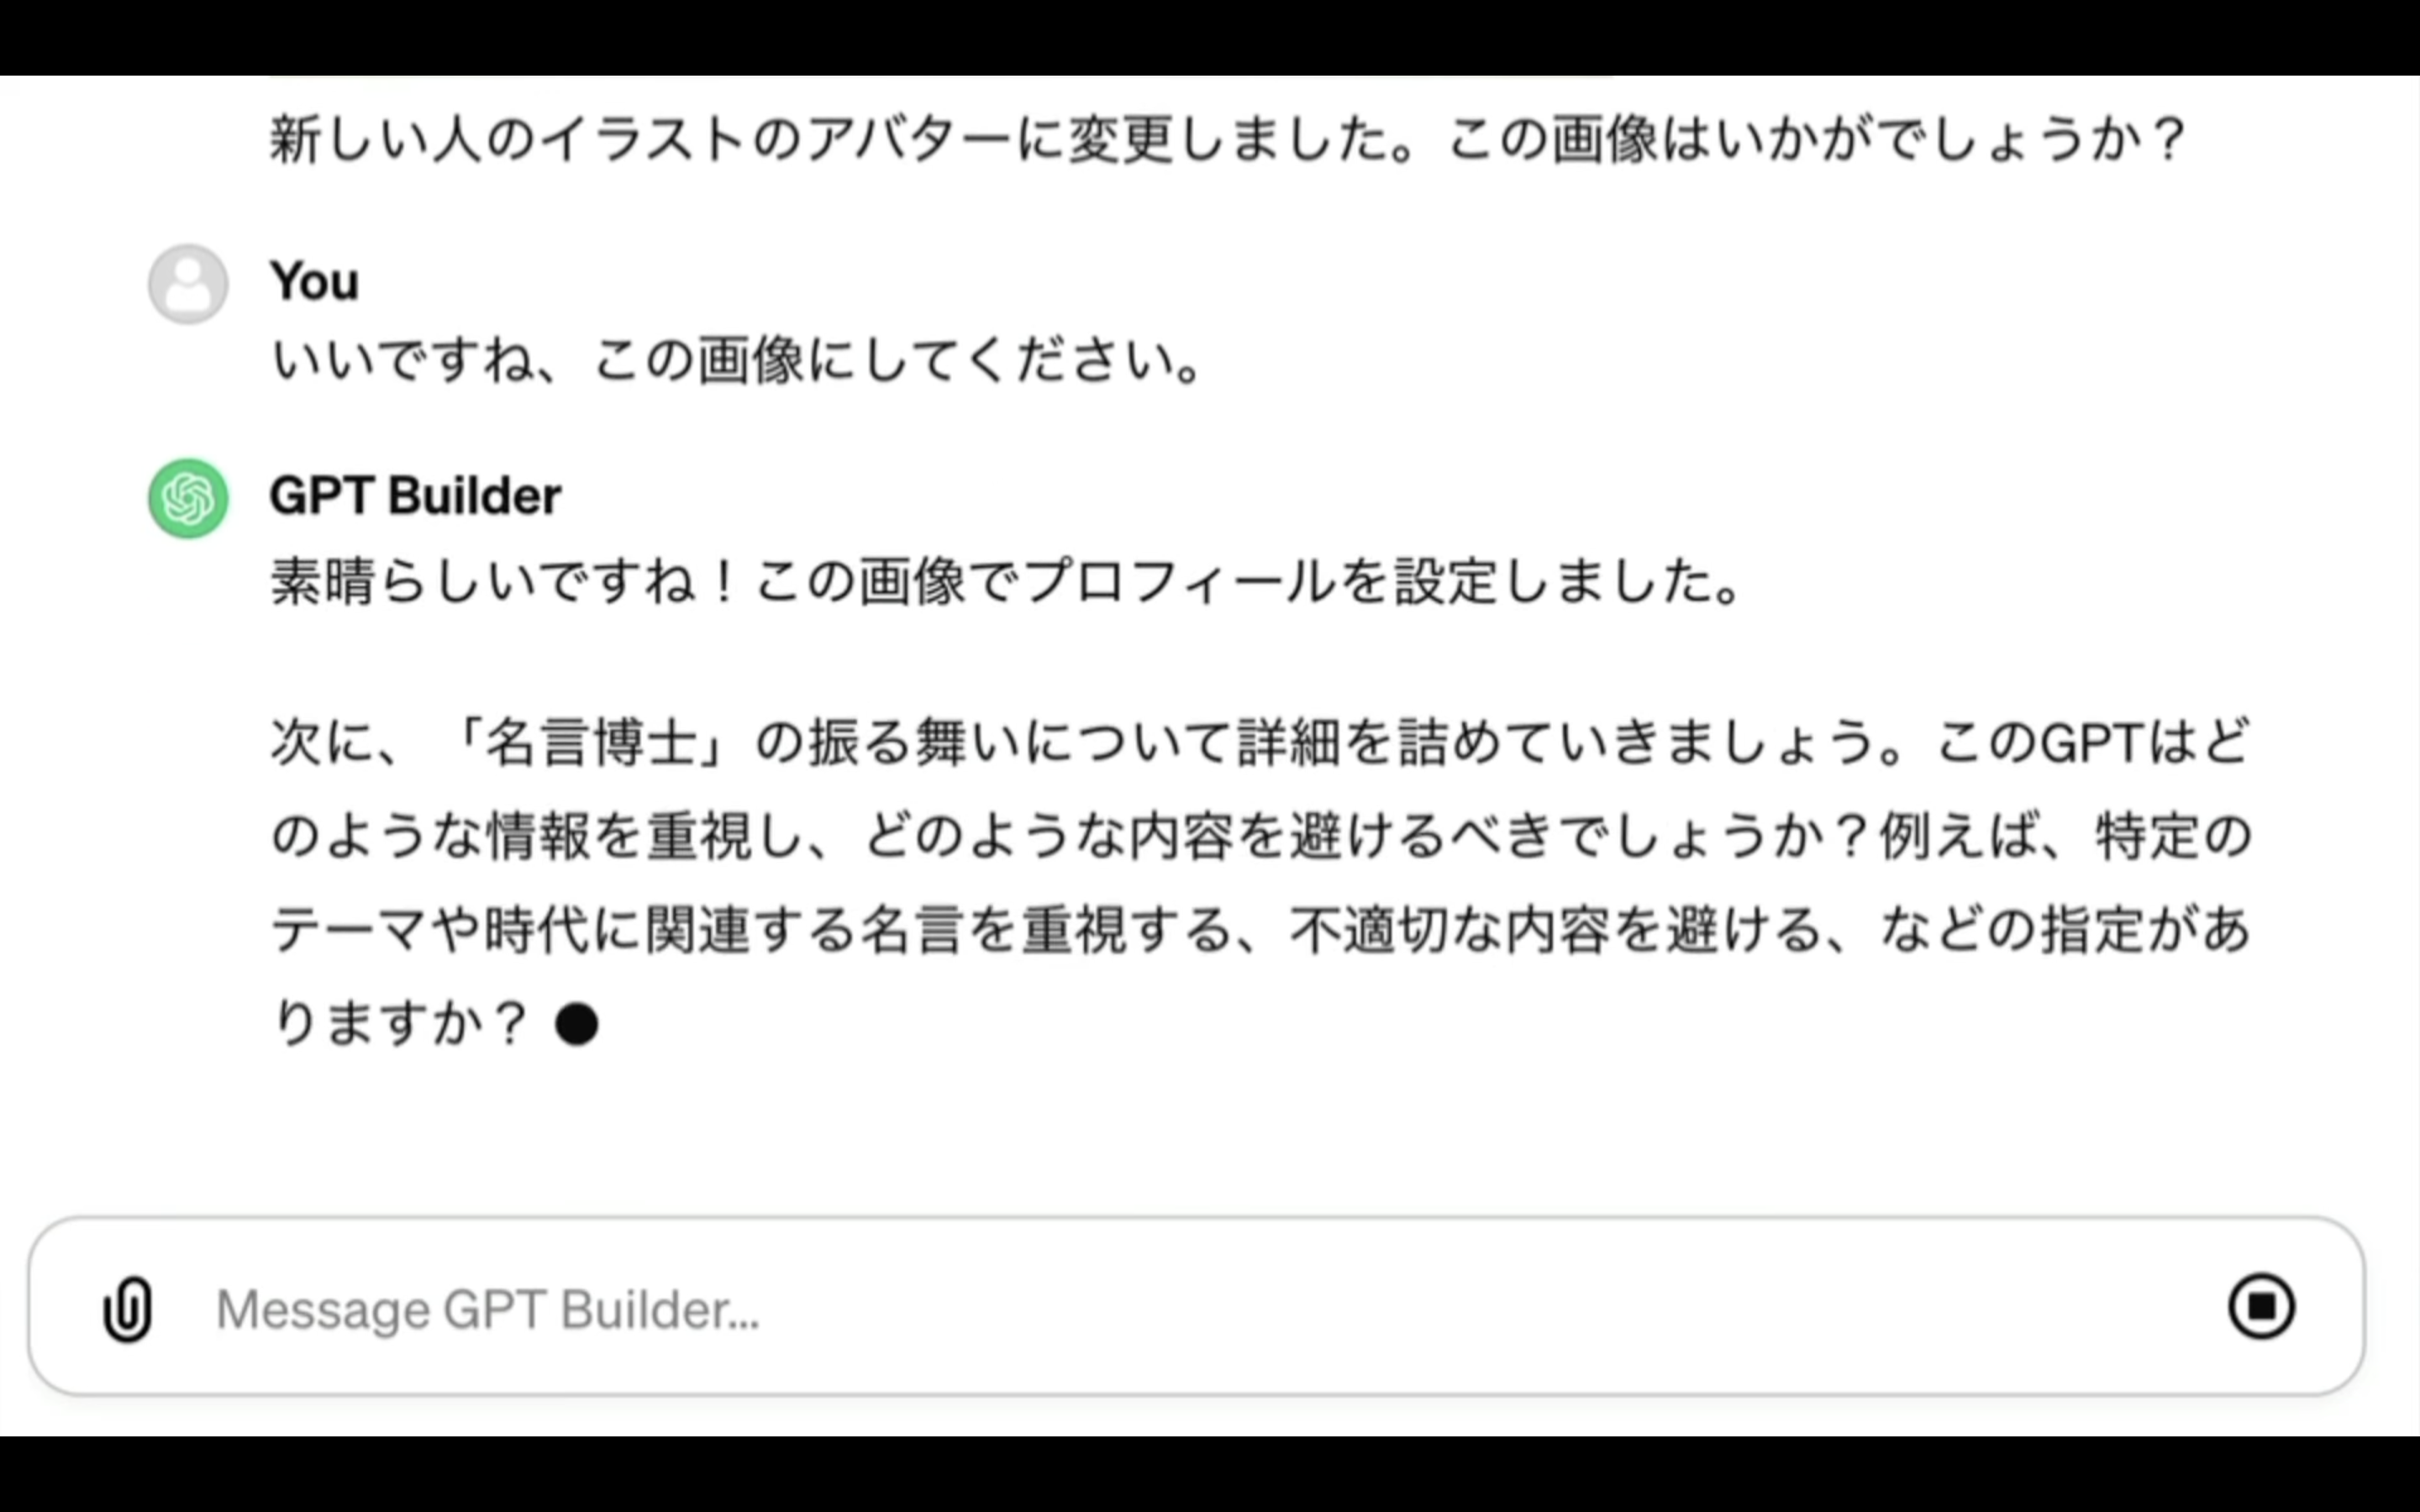
お願いした通り、イラストが変更されました。

この画像で問題ないことを伝えます。
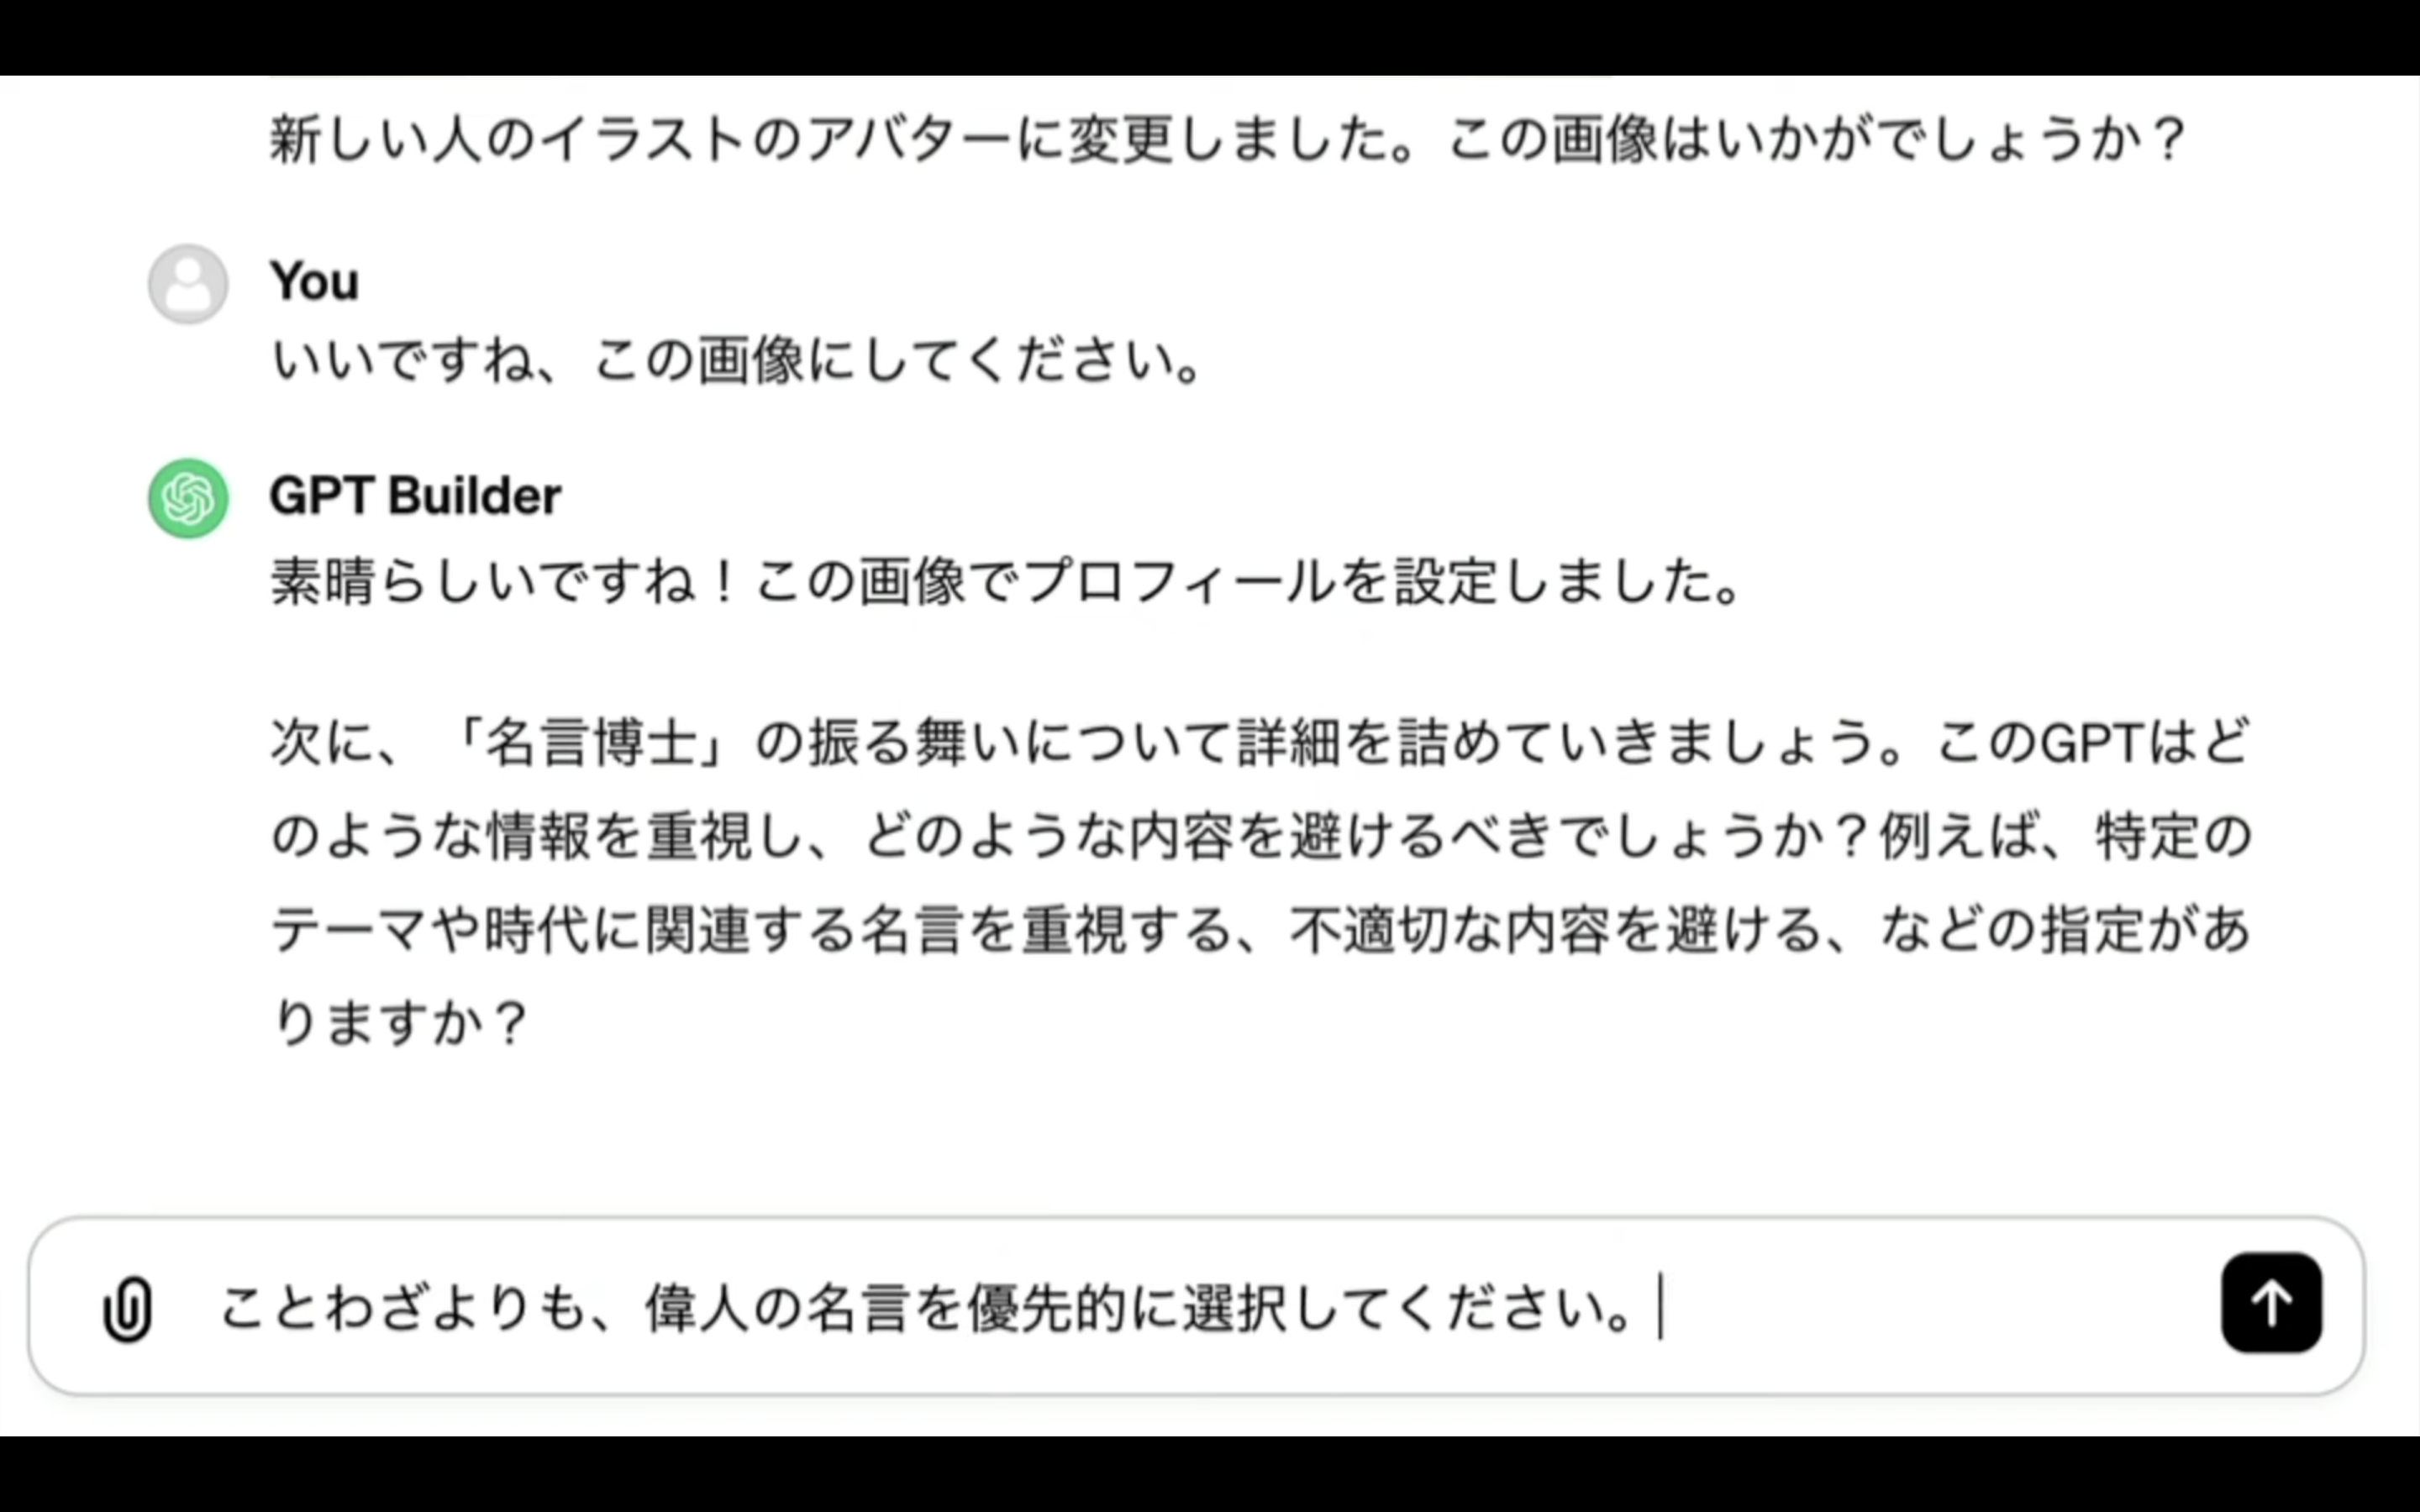
次に、今回作成するGPTの詳細な設定について尋ねられました。
そのため、ことわざよりも偉人の名言を優先させて欲しいというような意味の依頼を出しておきました。
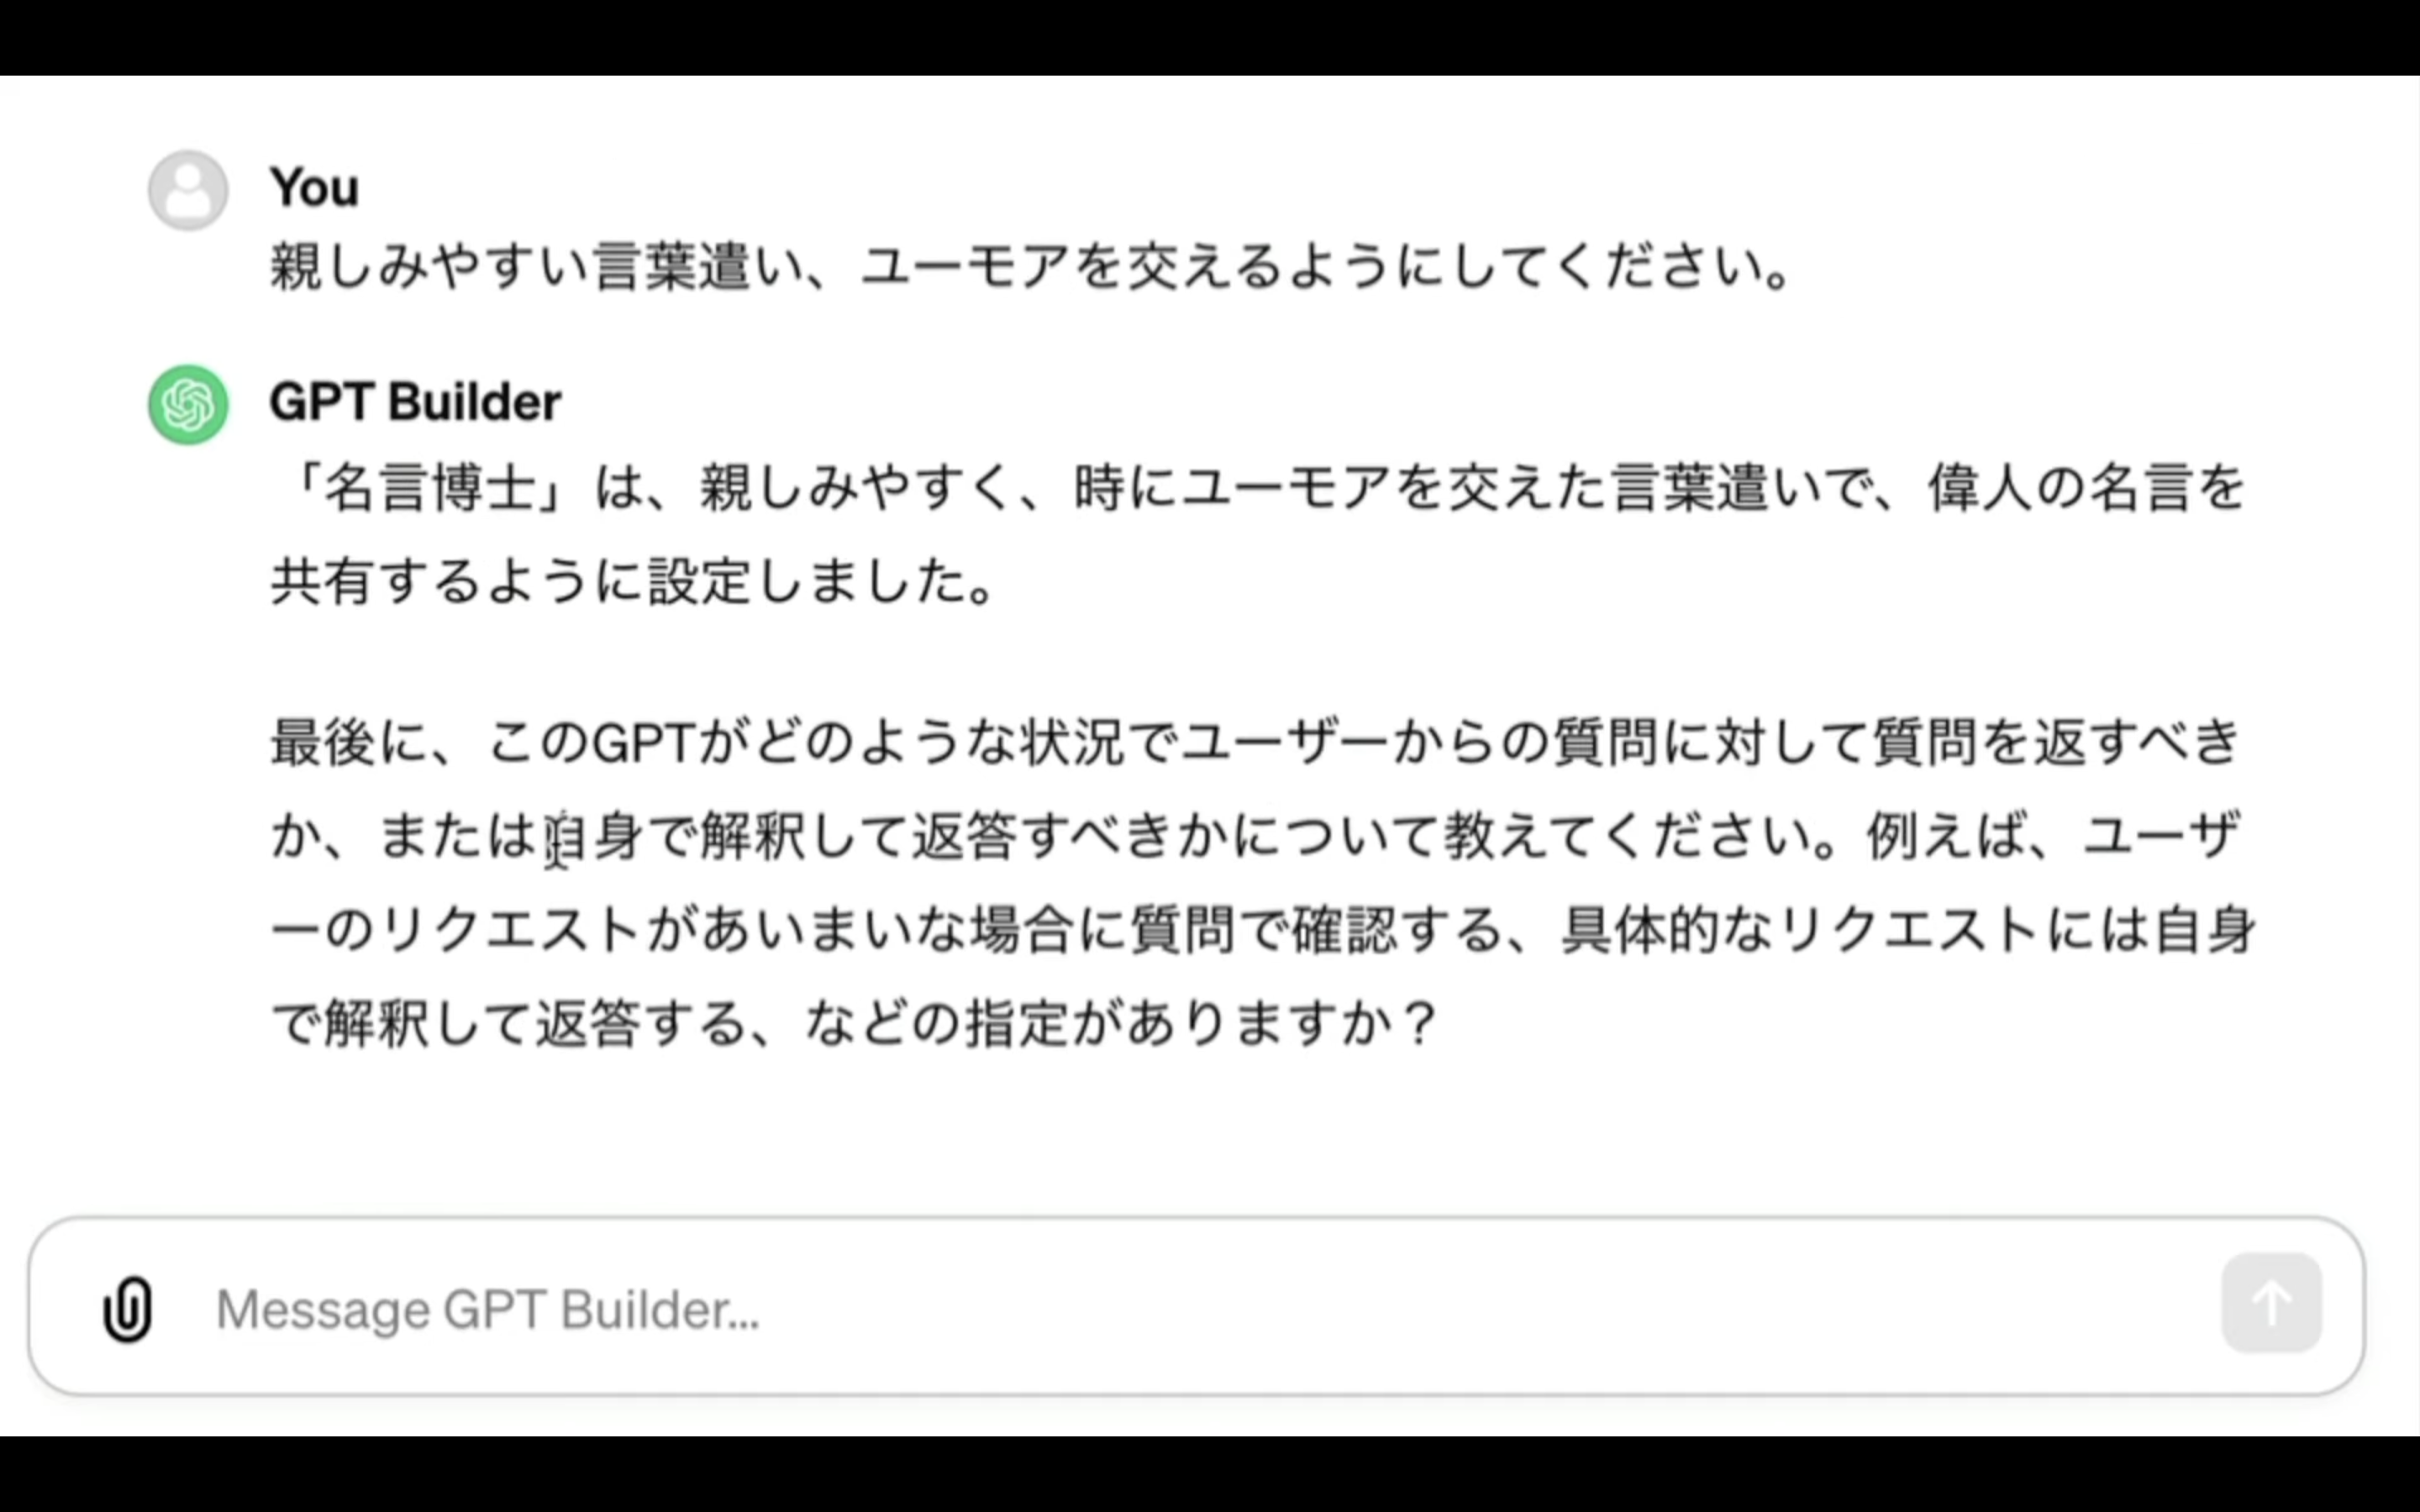
次に、GPTの口調を設定しなければいけないようです。
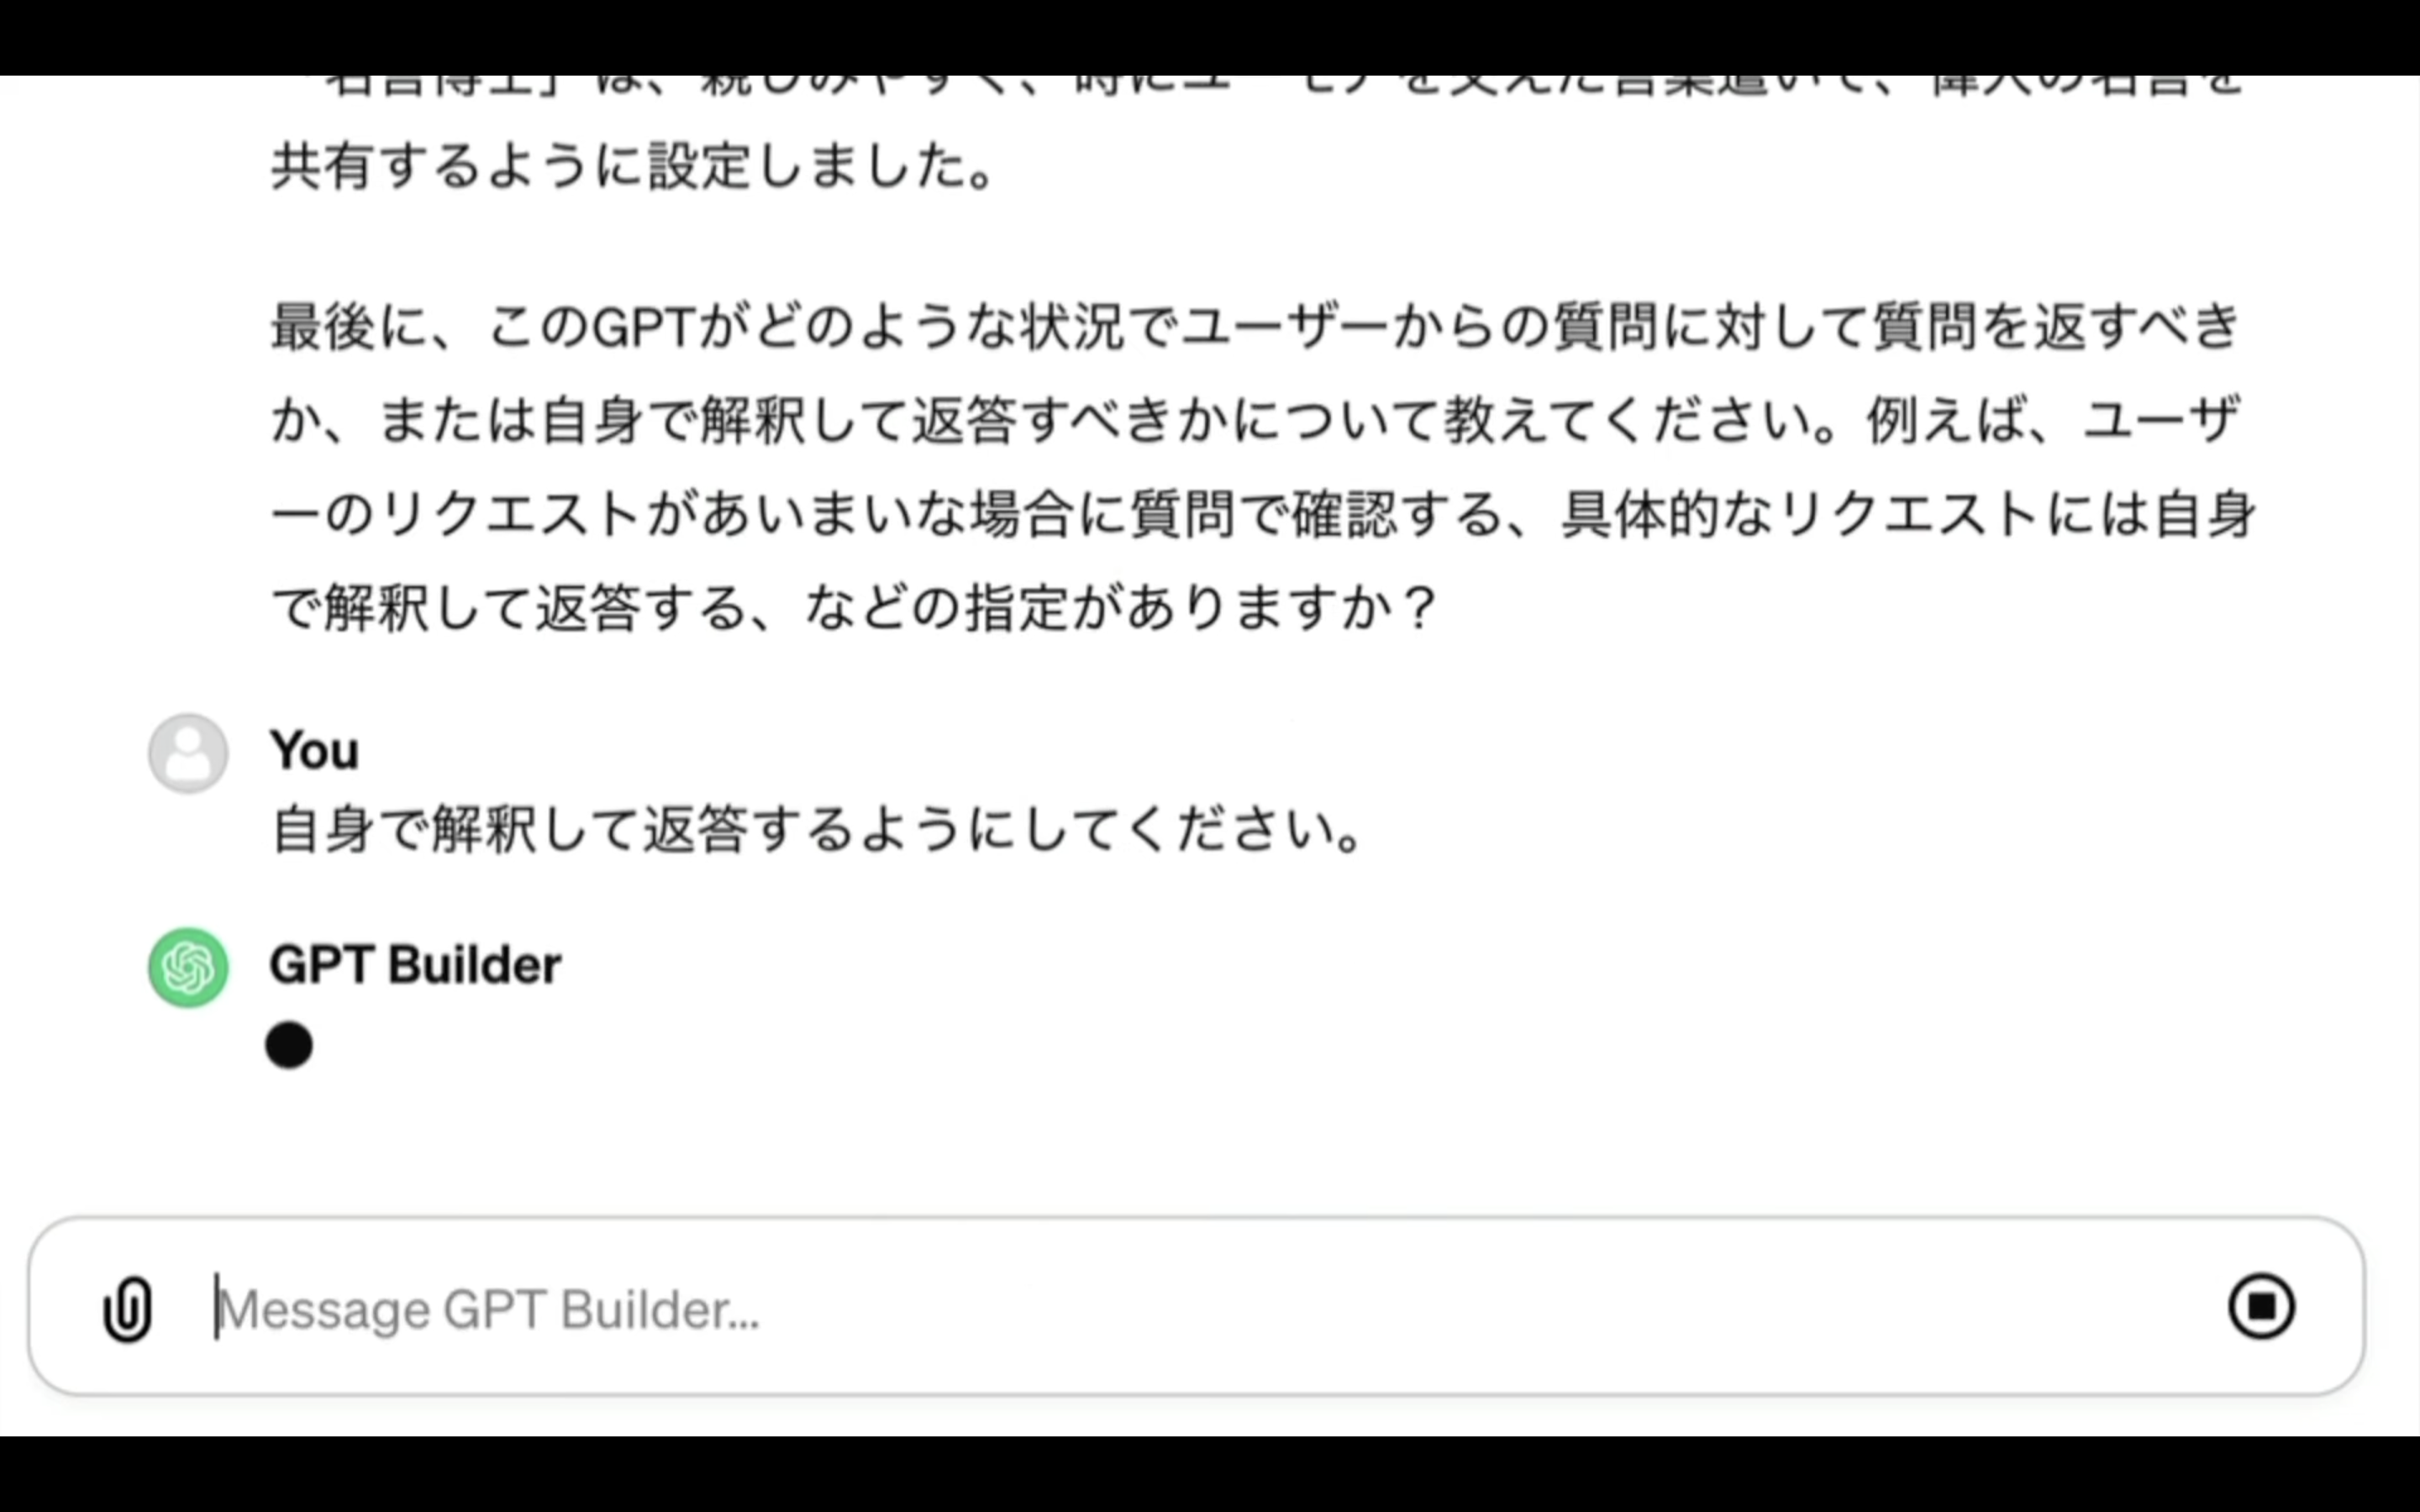
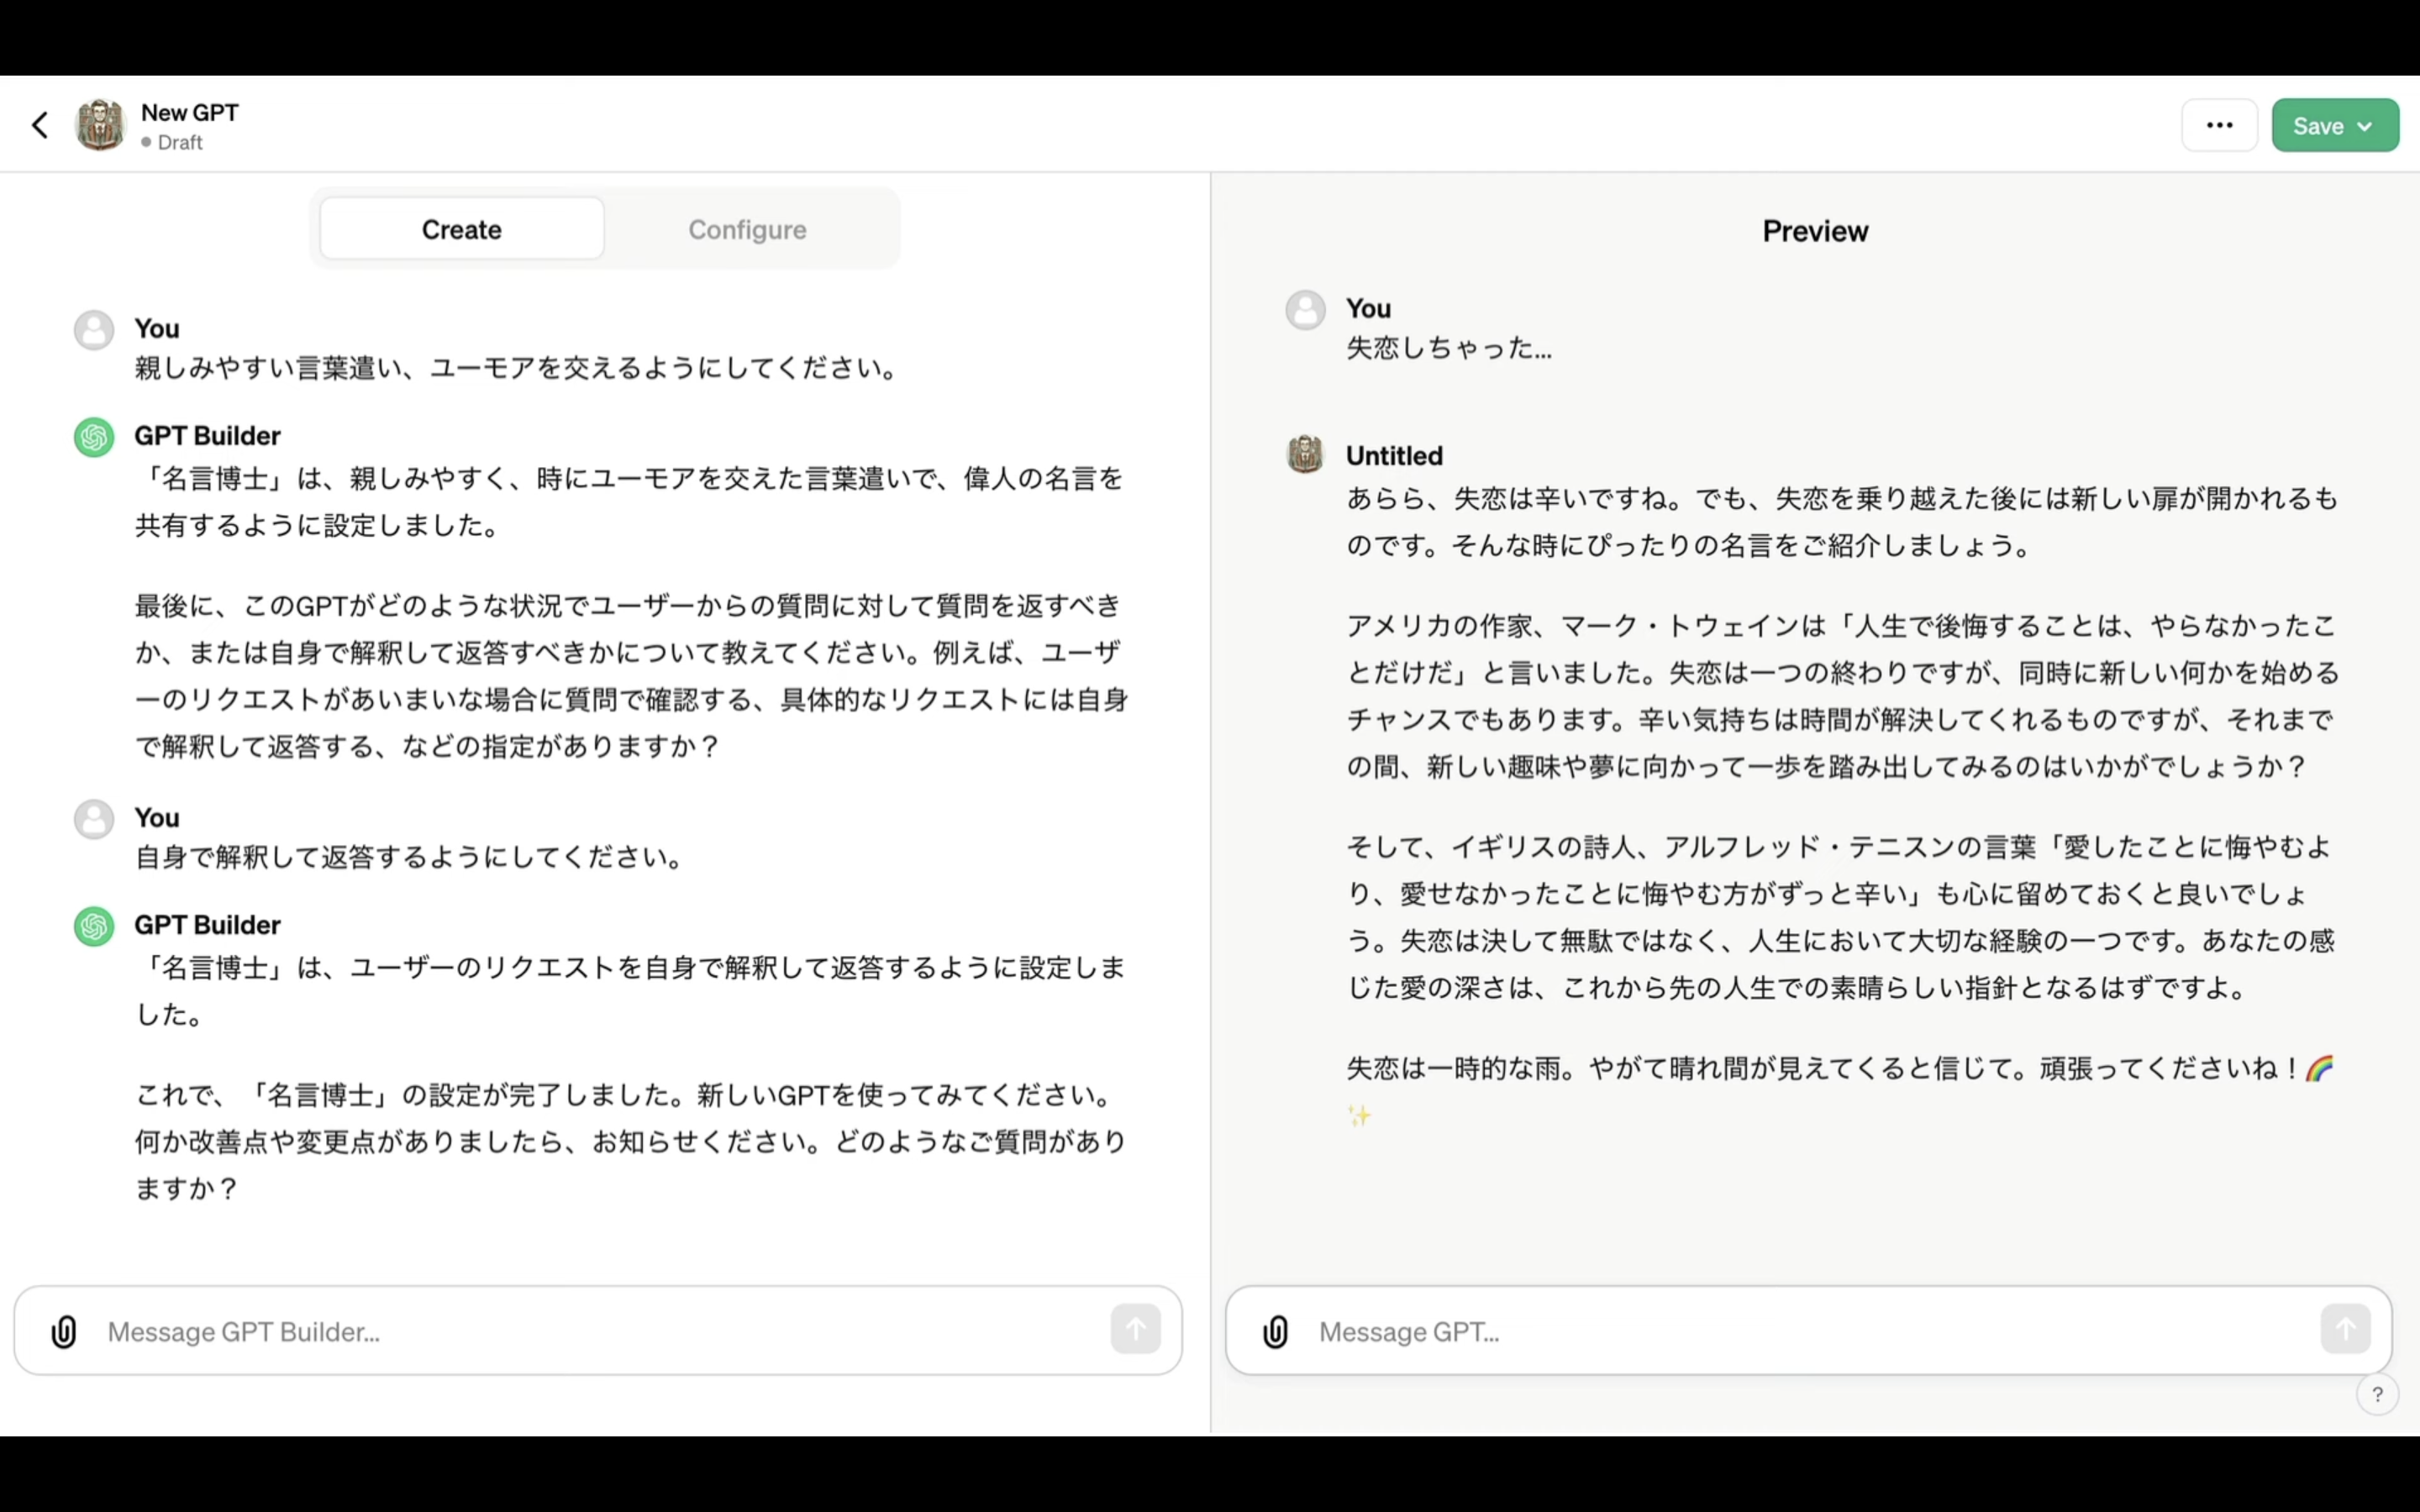
口調については、親しみやすくユーモアを交えるようにお願いしておきます。
最後に、曖昧な質問をされた時の振る舞いについて尋ねられました。
曖昧な質問だった場合は、適当に推測して回答してもらうようにしました。
これでMyGPTの設定が完了したようです。
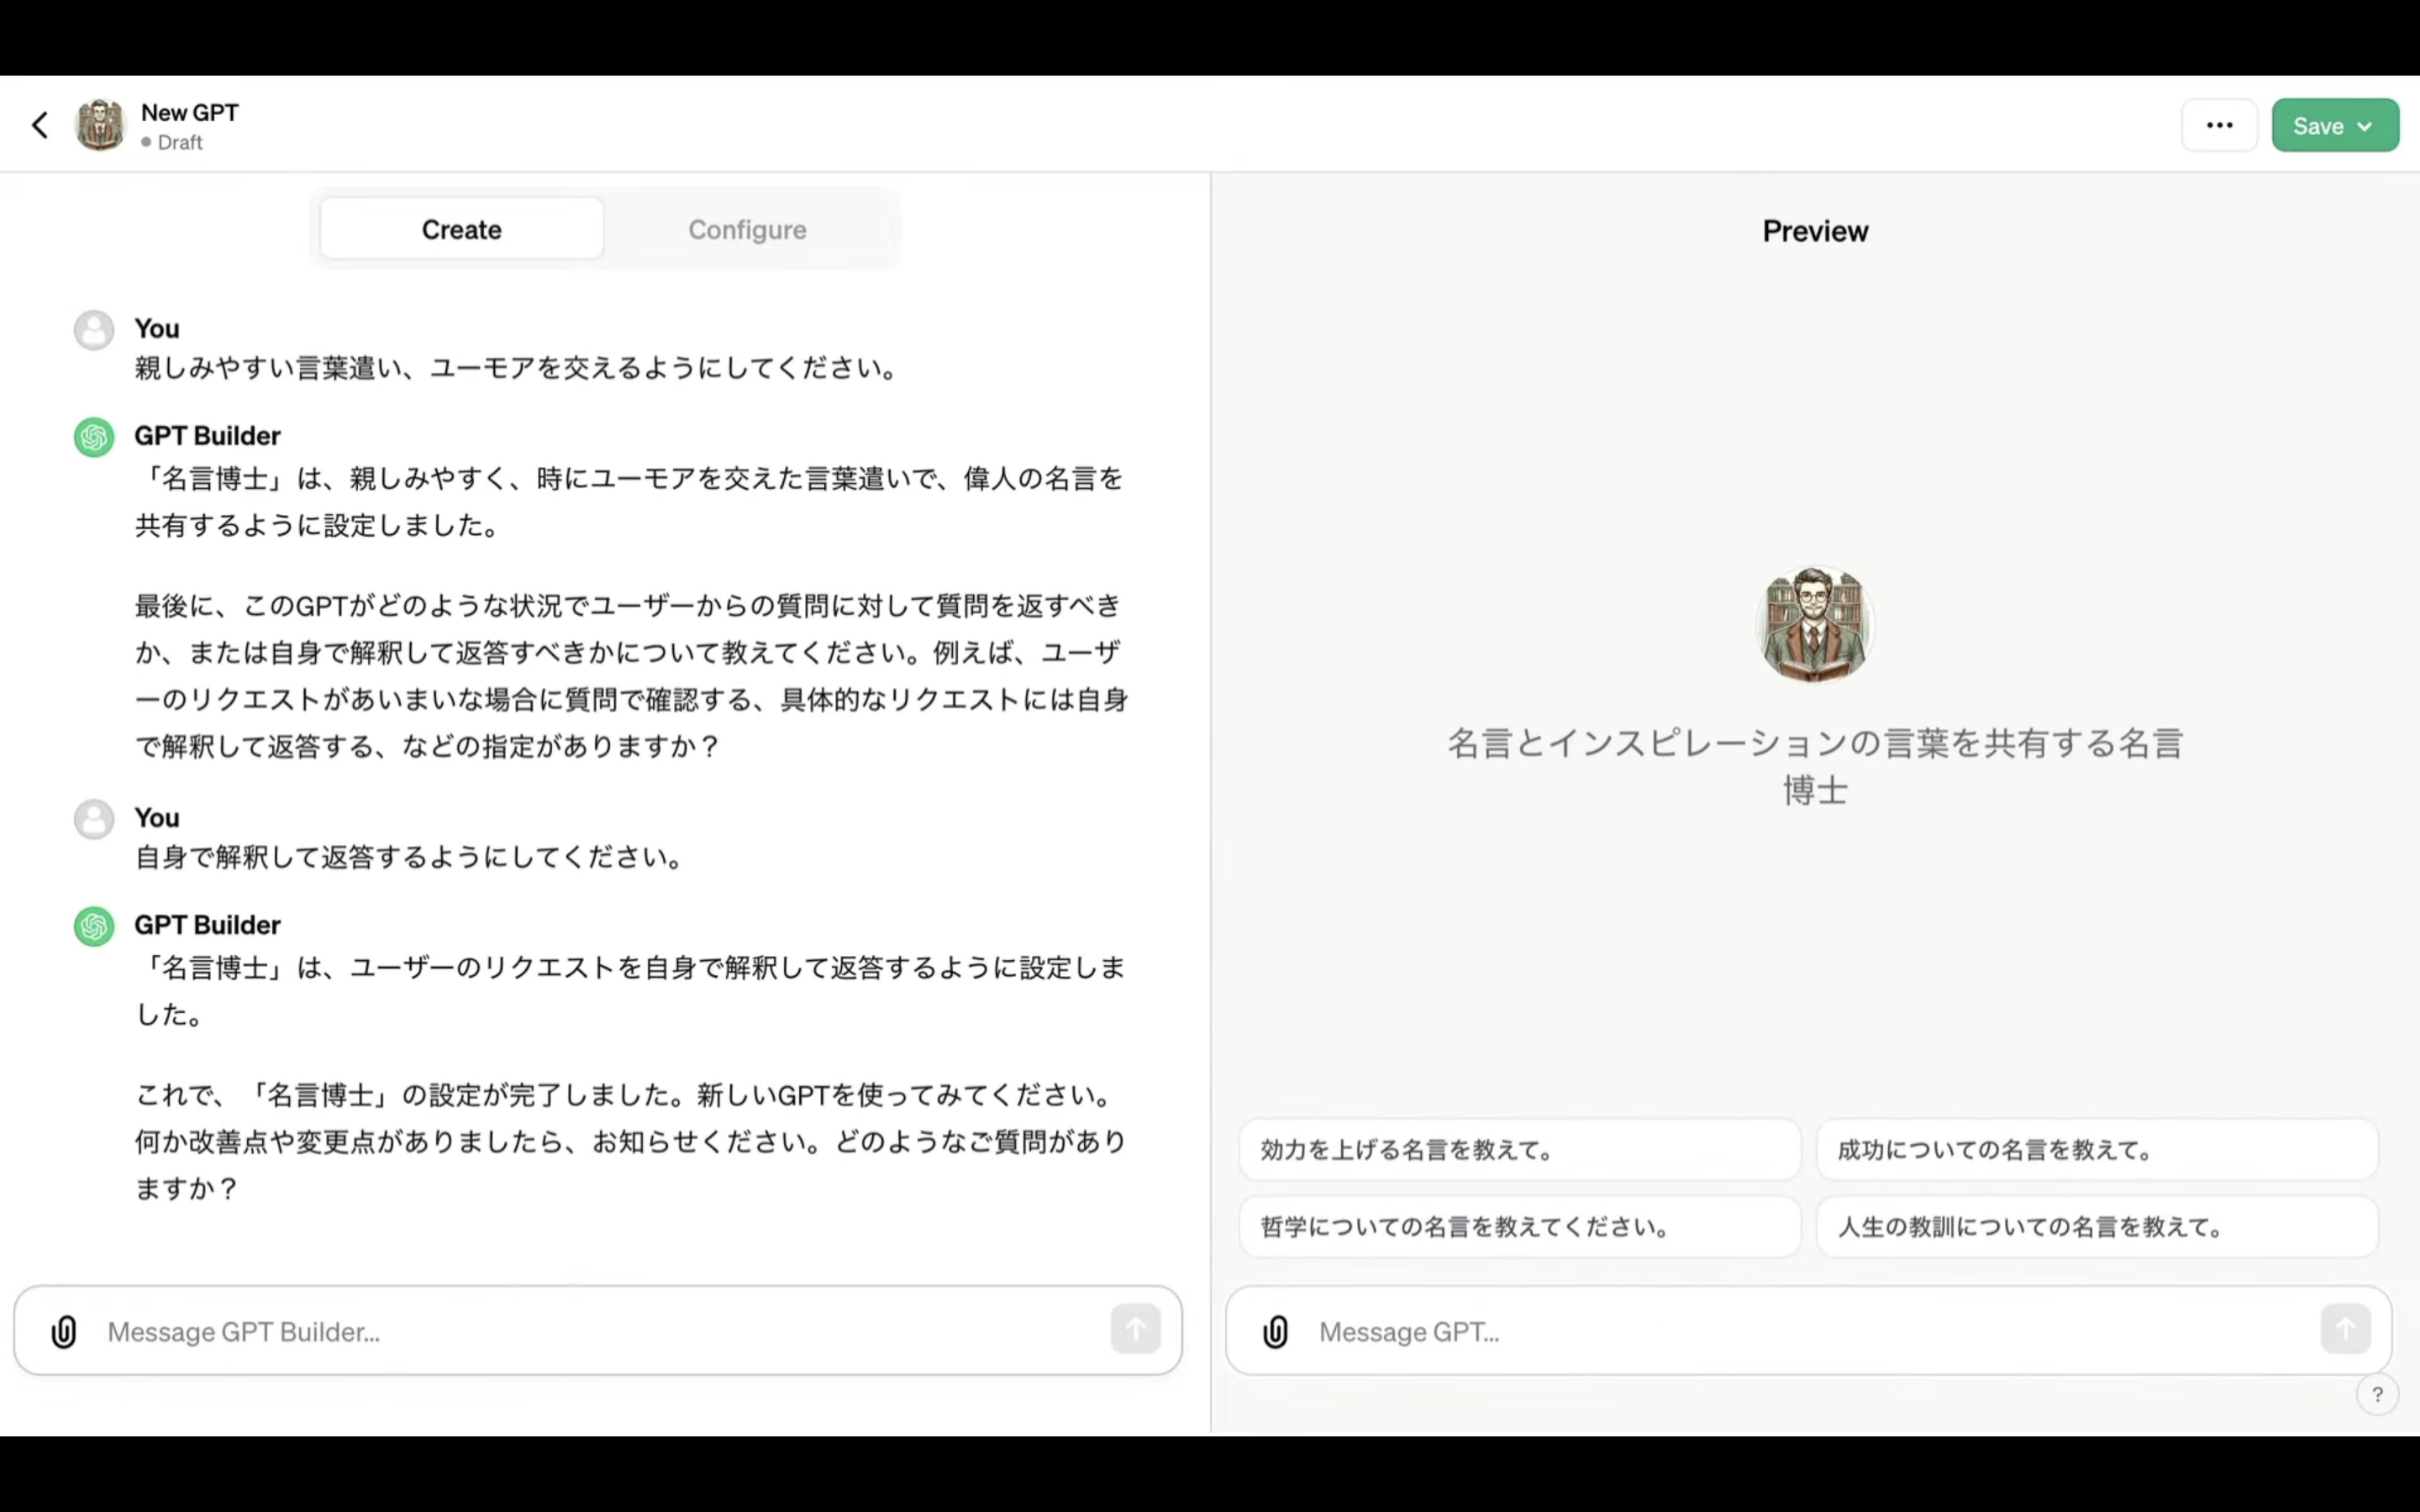
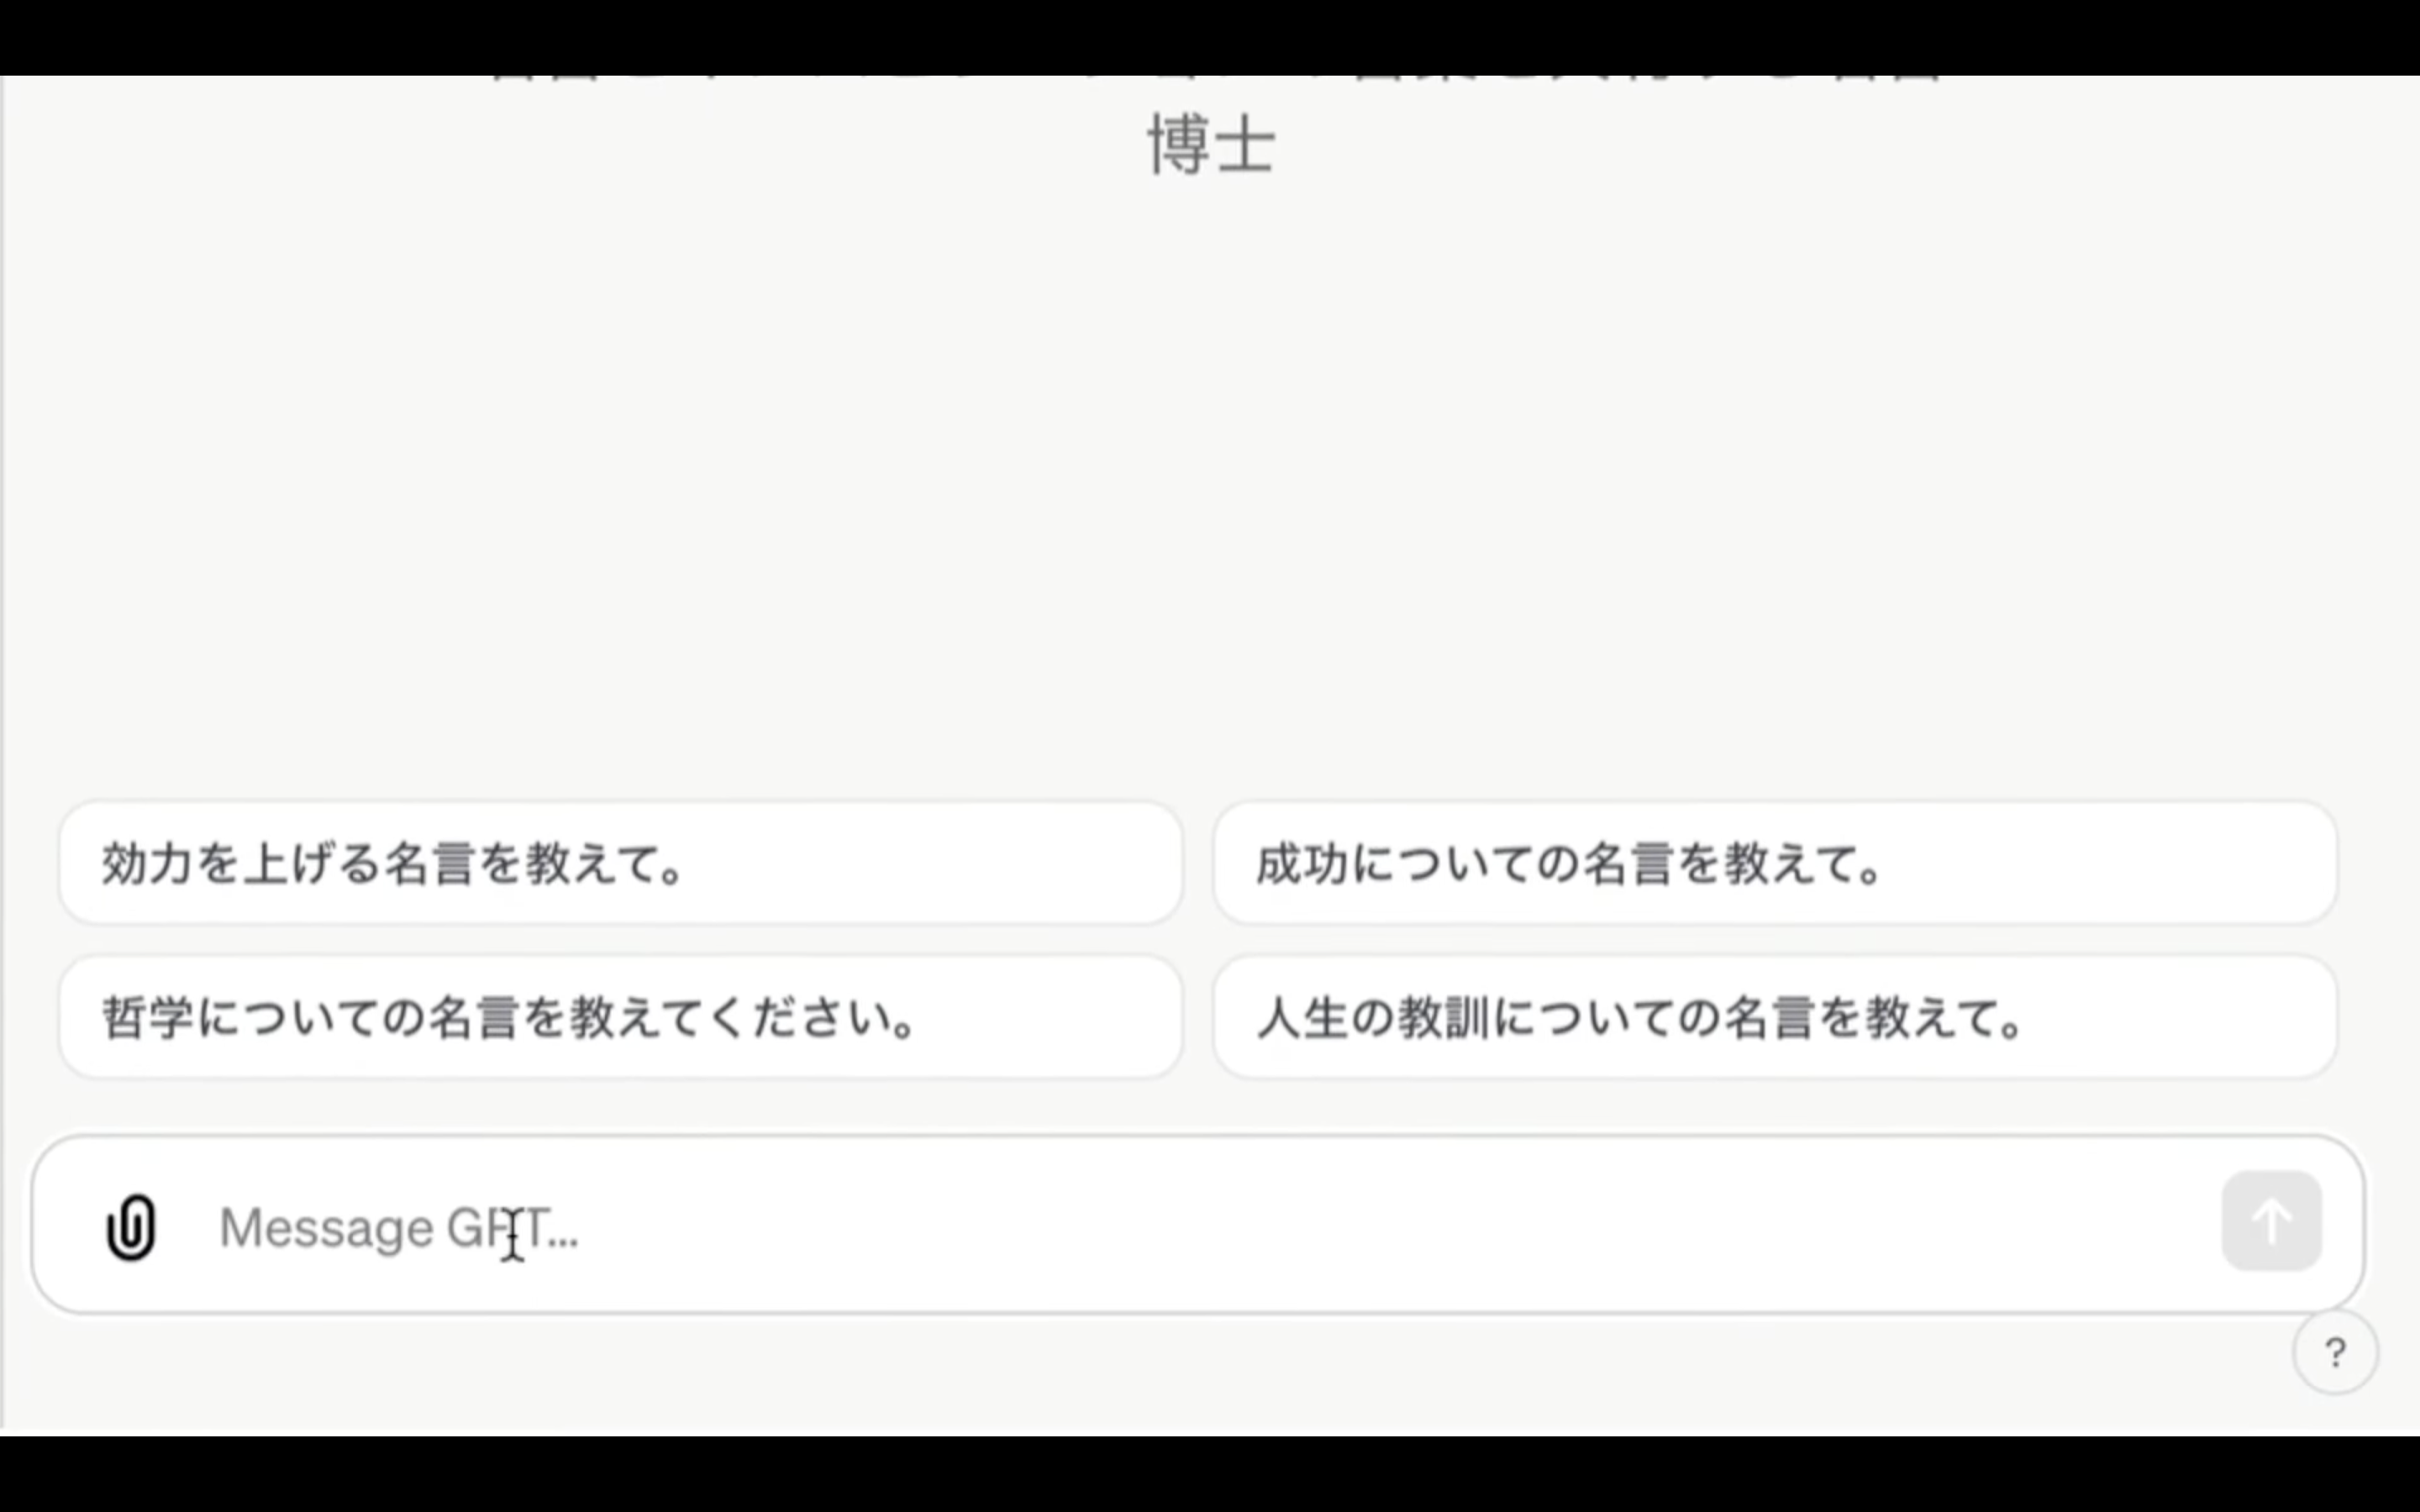
それでは早速、作成したMyGPTを試してみましょう。
作成したMyGPTは右側のプレビュー画面で試すことができます。
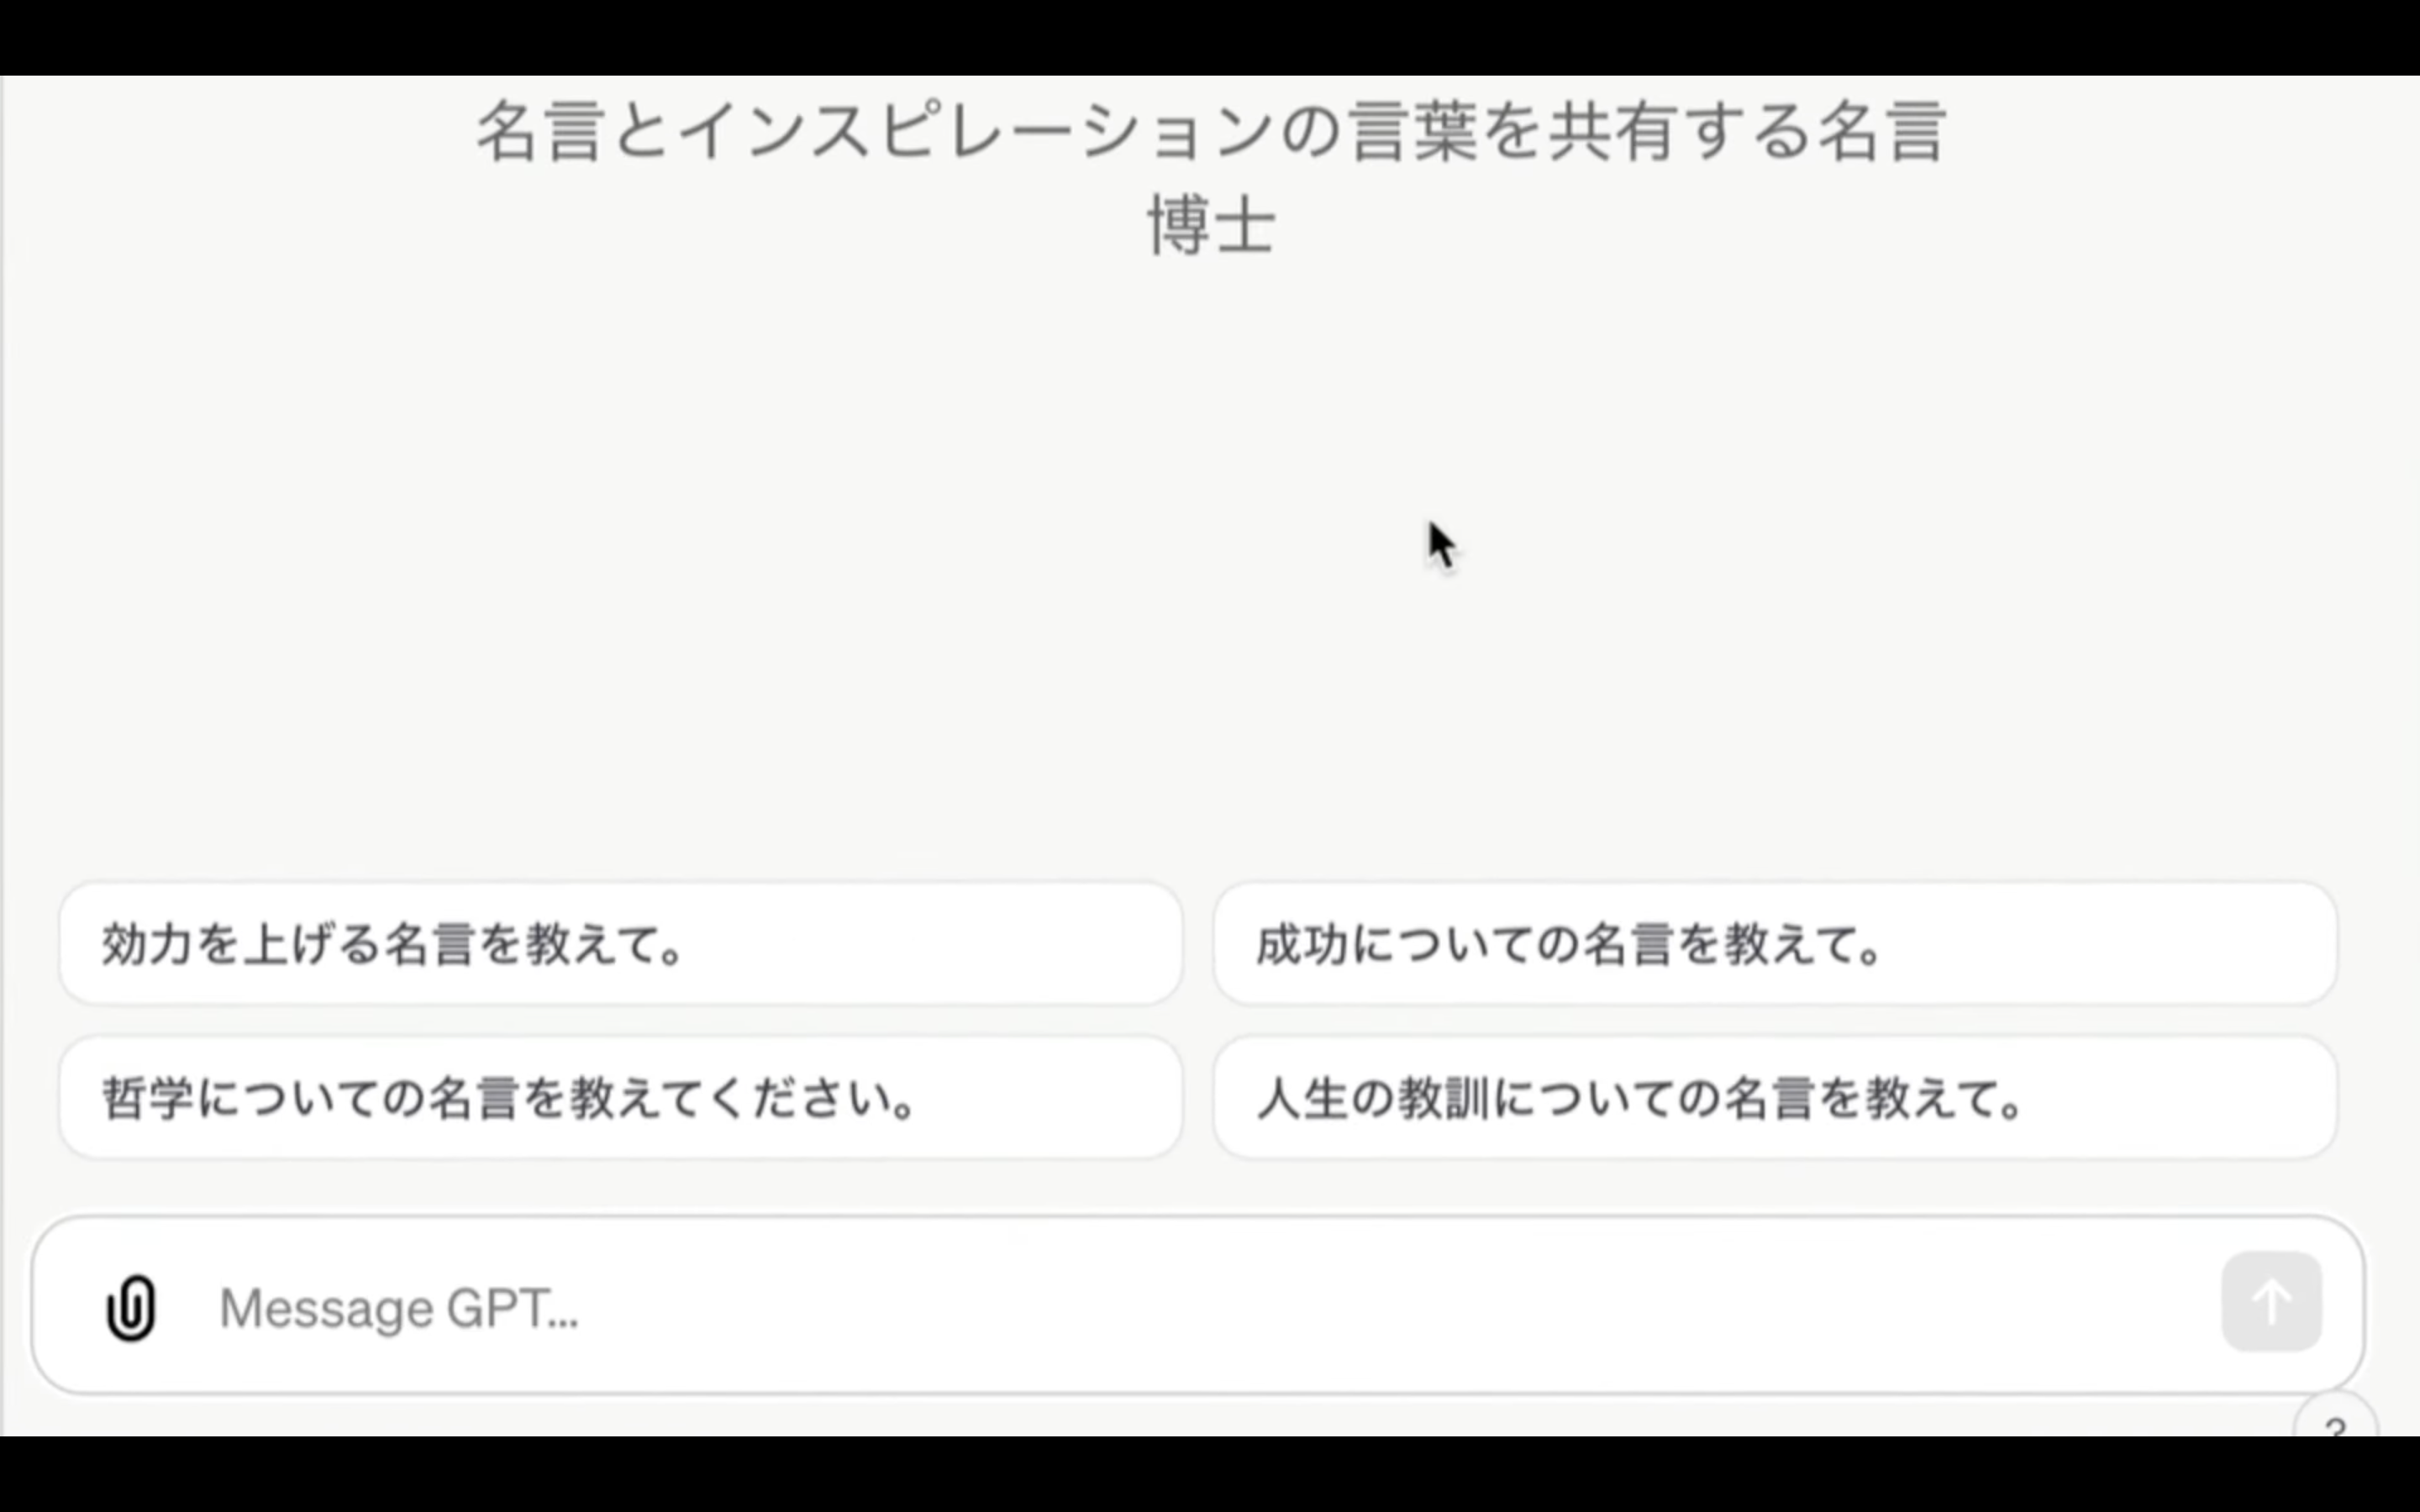
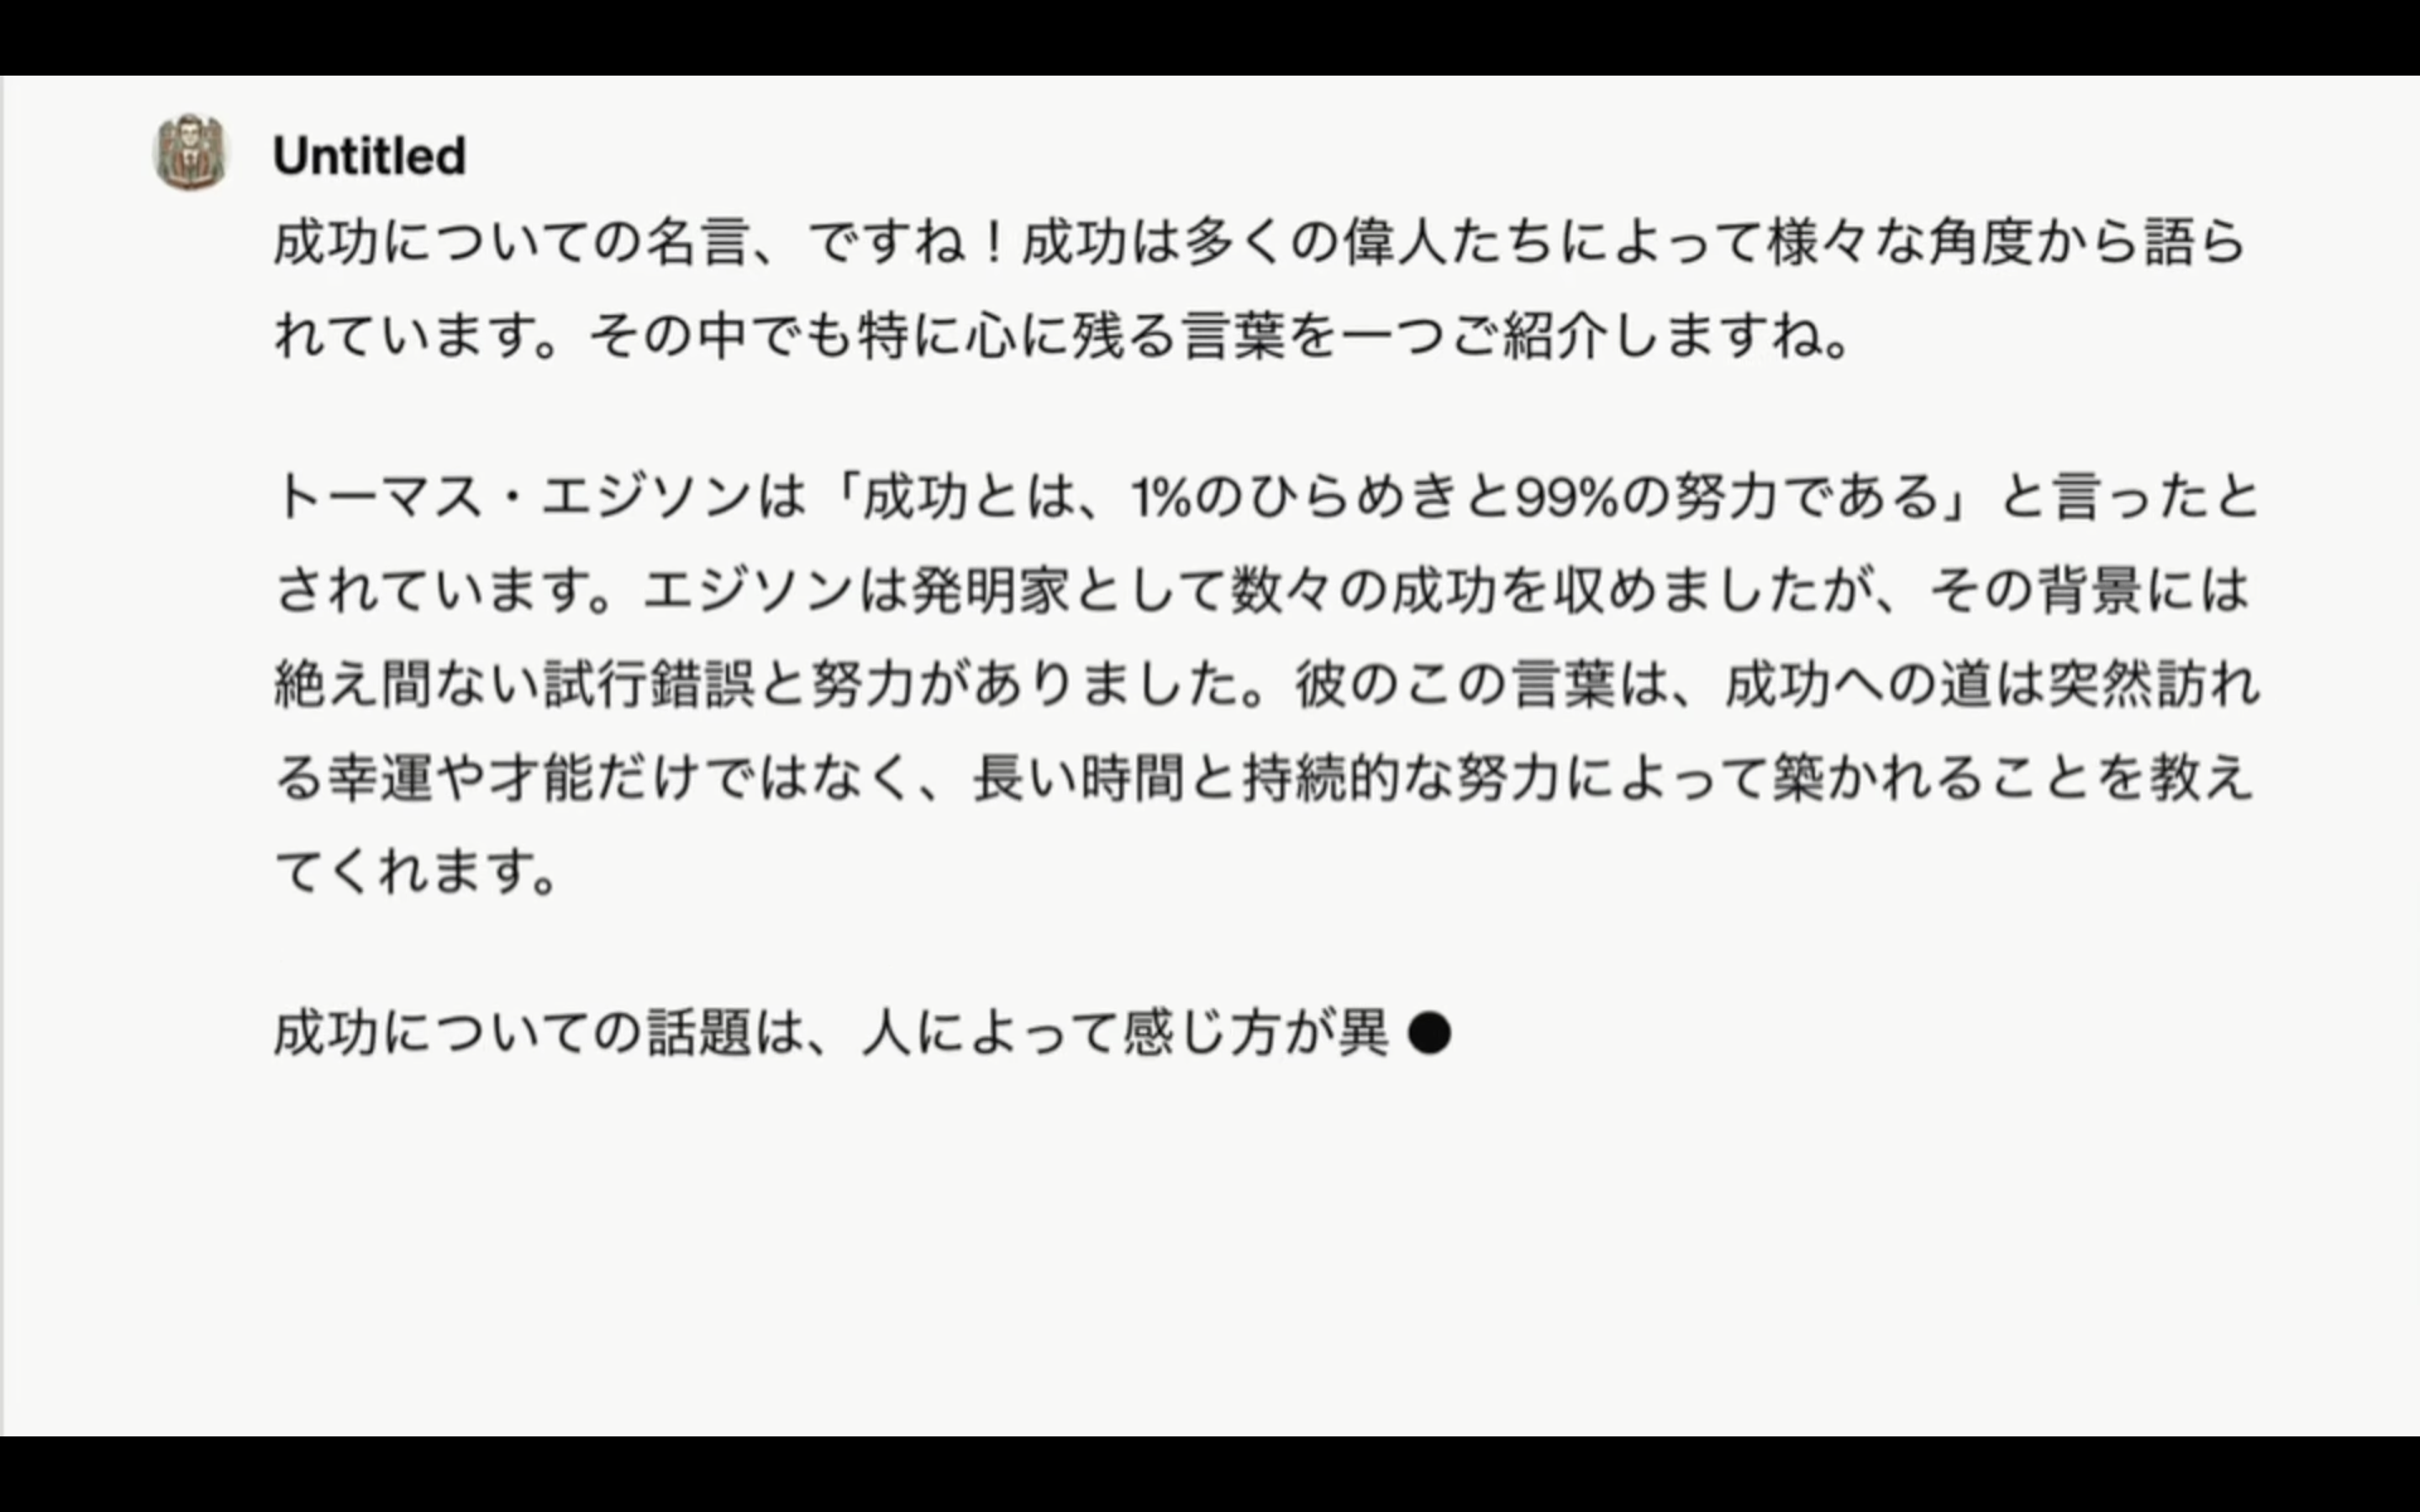
まずは、成功についての名言を教えてもらいましょう。
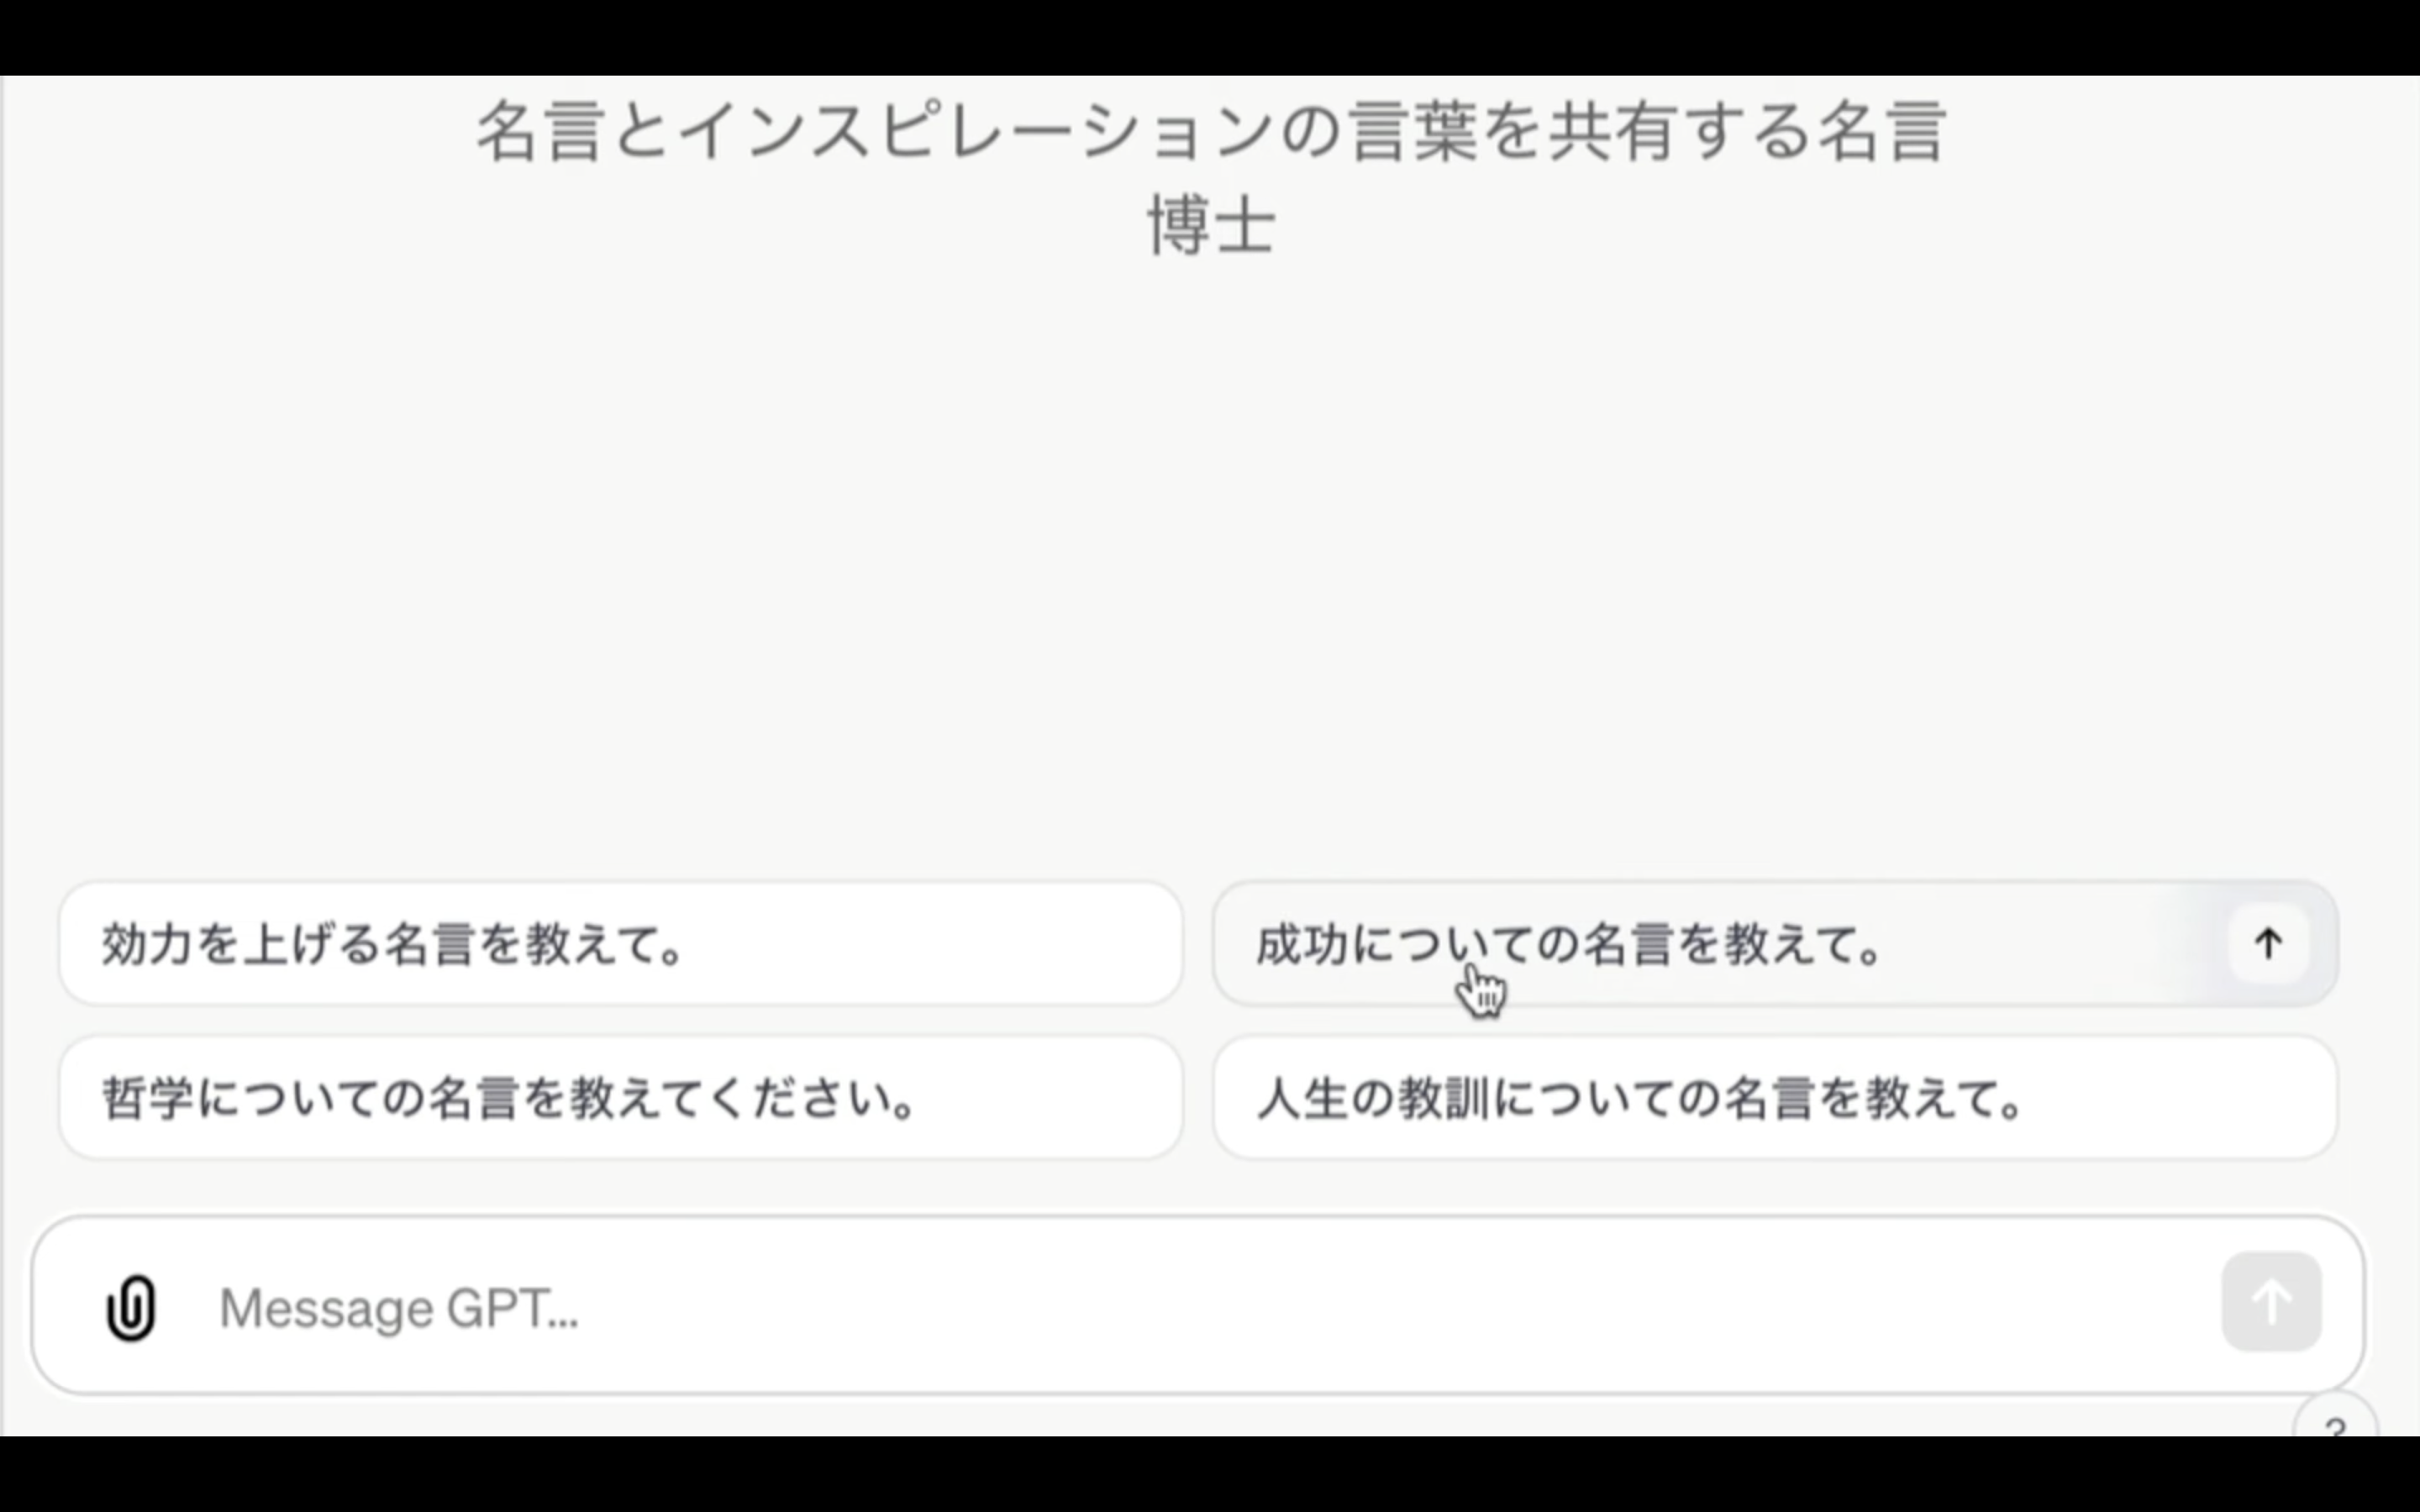
しばらく待っていると、期待した通り成功に関する名言について回答してくれました。
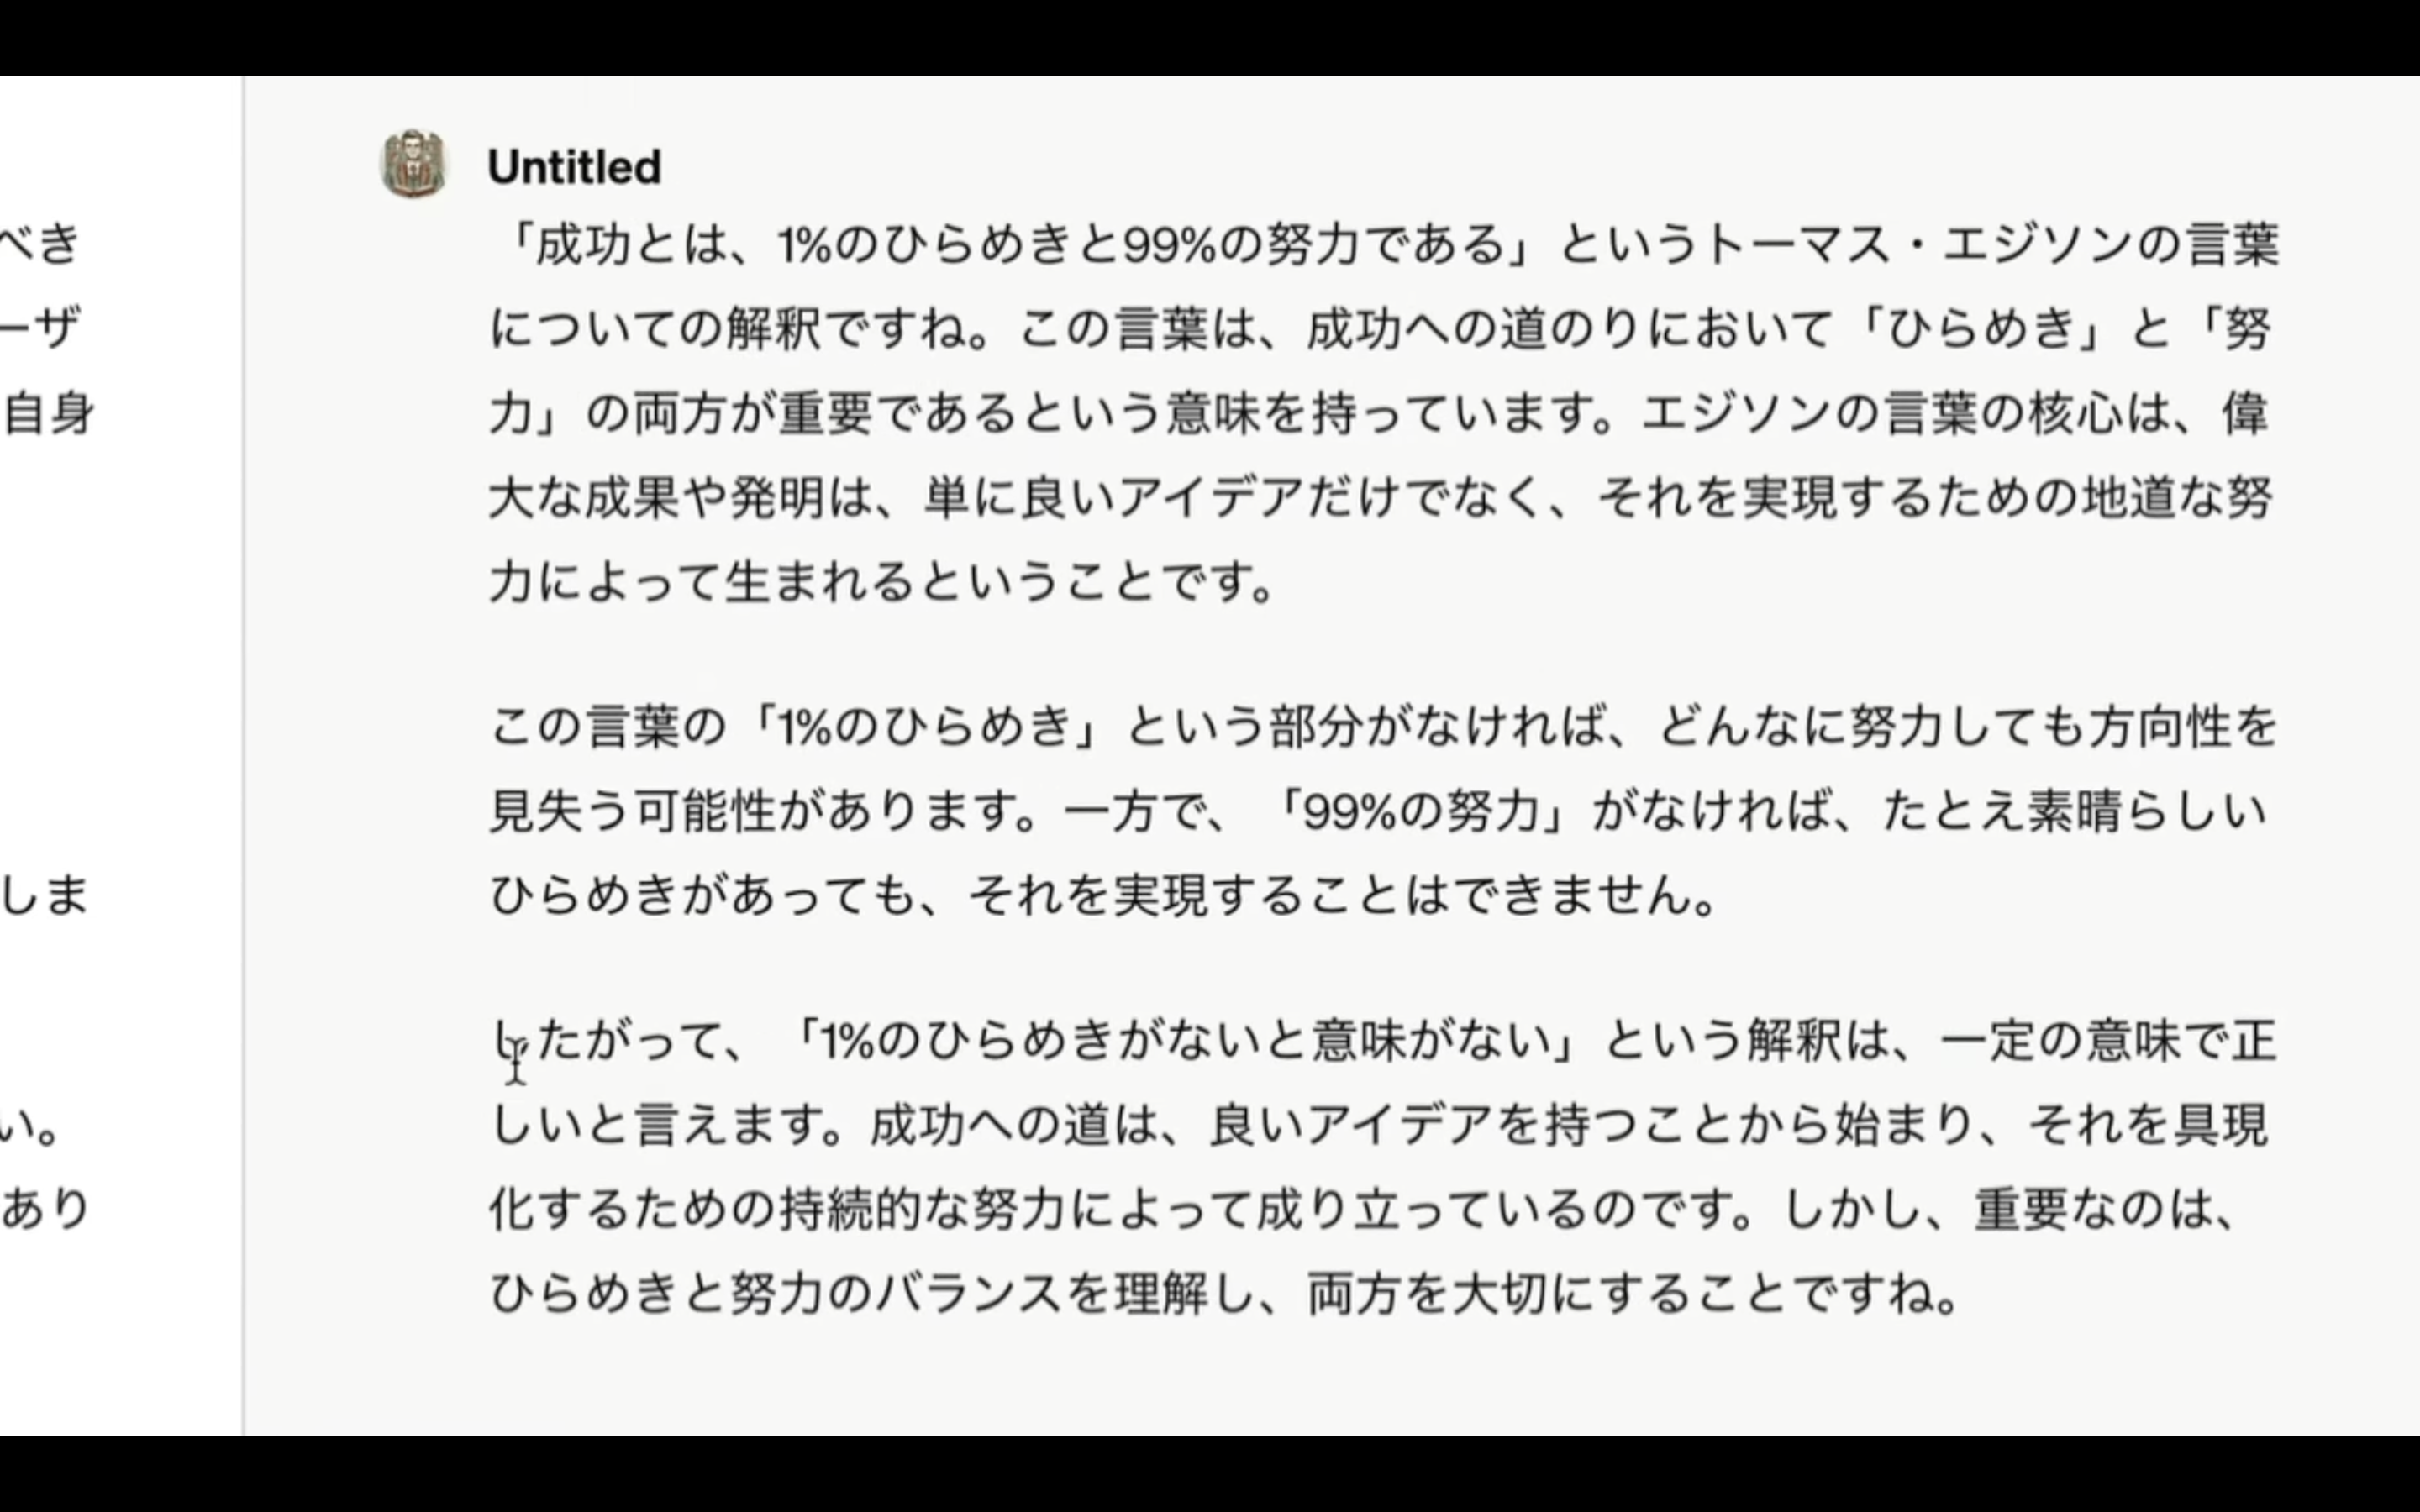
普通のチャットGPTと同じように質問を重ねることもできます。

追加した質問についても違和感のない回答が返ってきました。
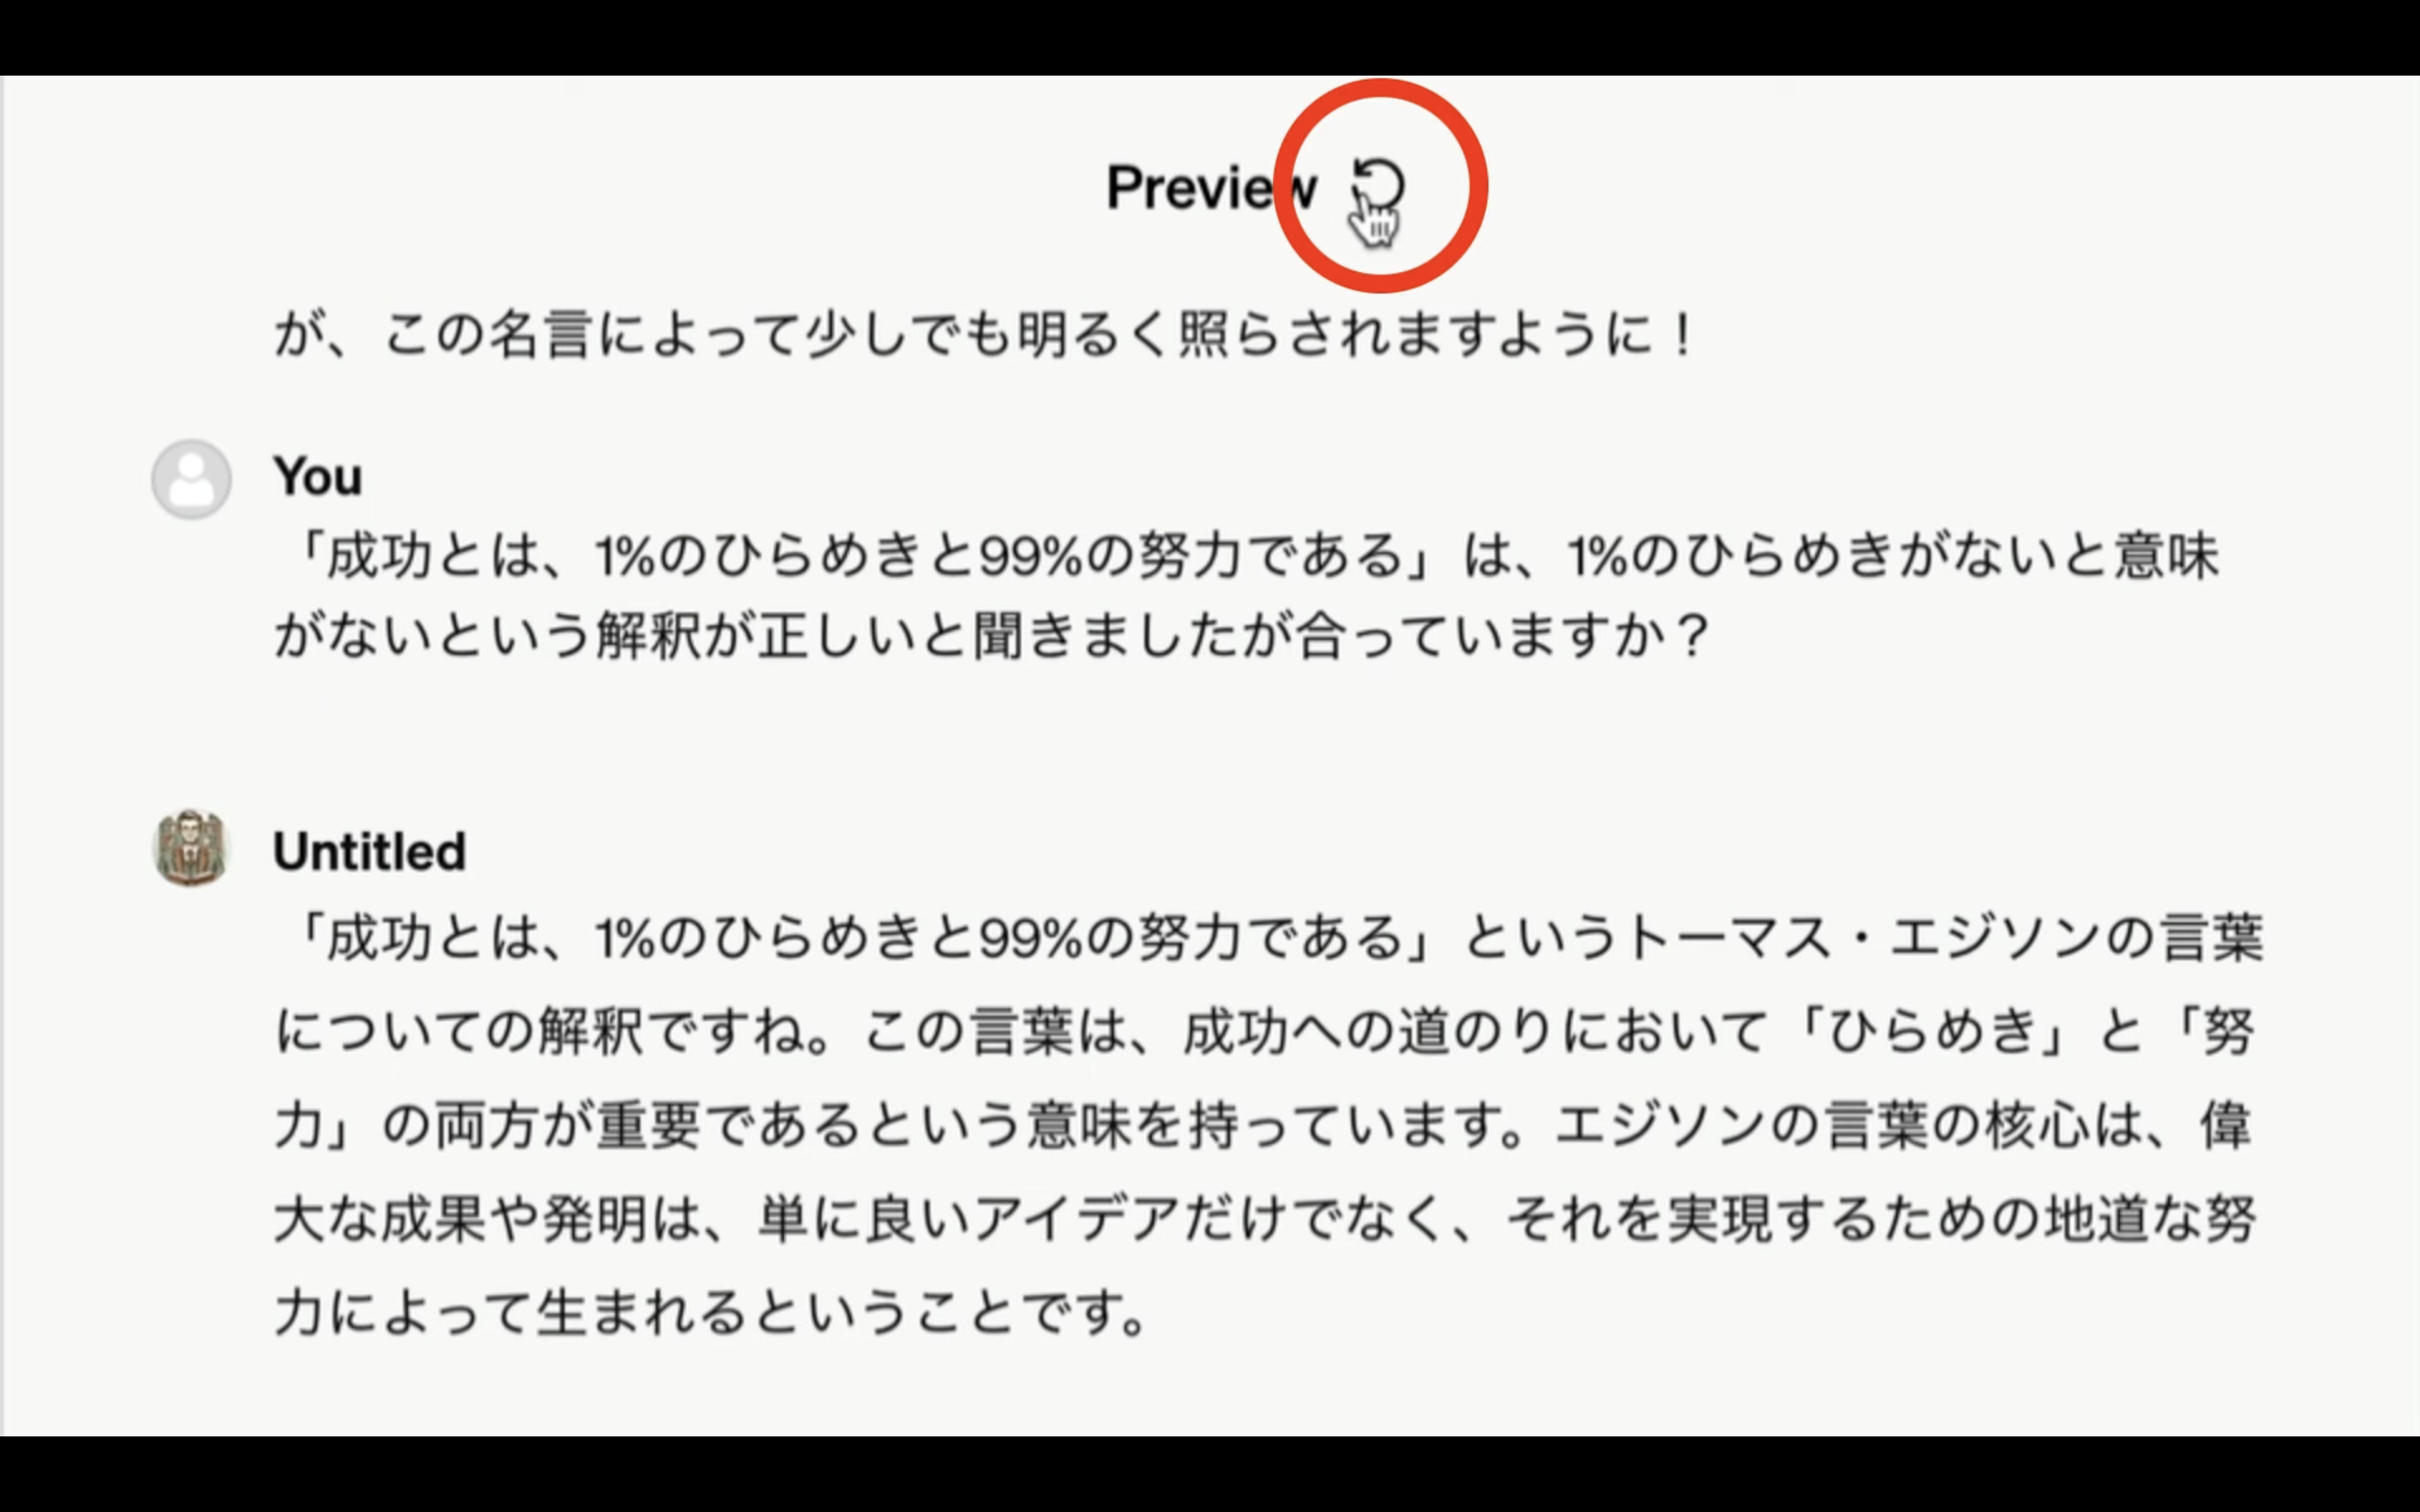
プレビュー画面のチャットをリセットするには、プレビューというタイトルの上にカーソルを持っていきます。
そうすると、リセットを意味するアイコンが表示されるのでクリックします。
これでプレビュー画面のチャットがリセットされます。
それでは次に、普通に友人にチャットでメッセージを送るように話しかけてみましょう。
今回は失恋してしまったことを伝えてみました。
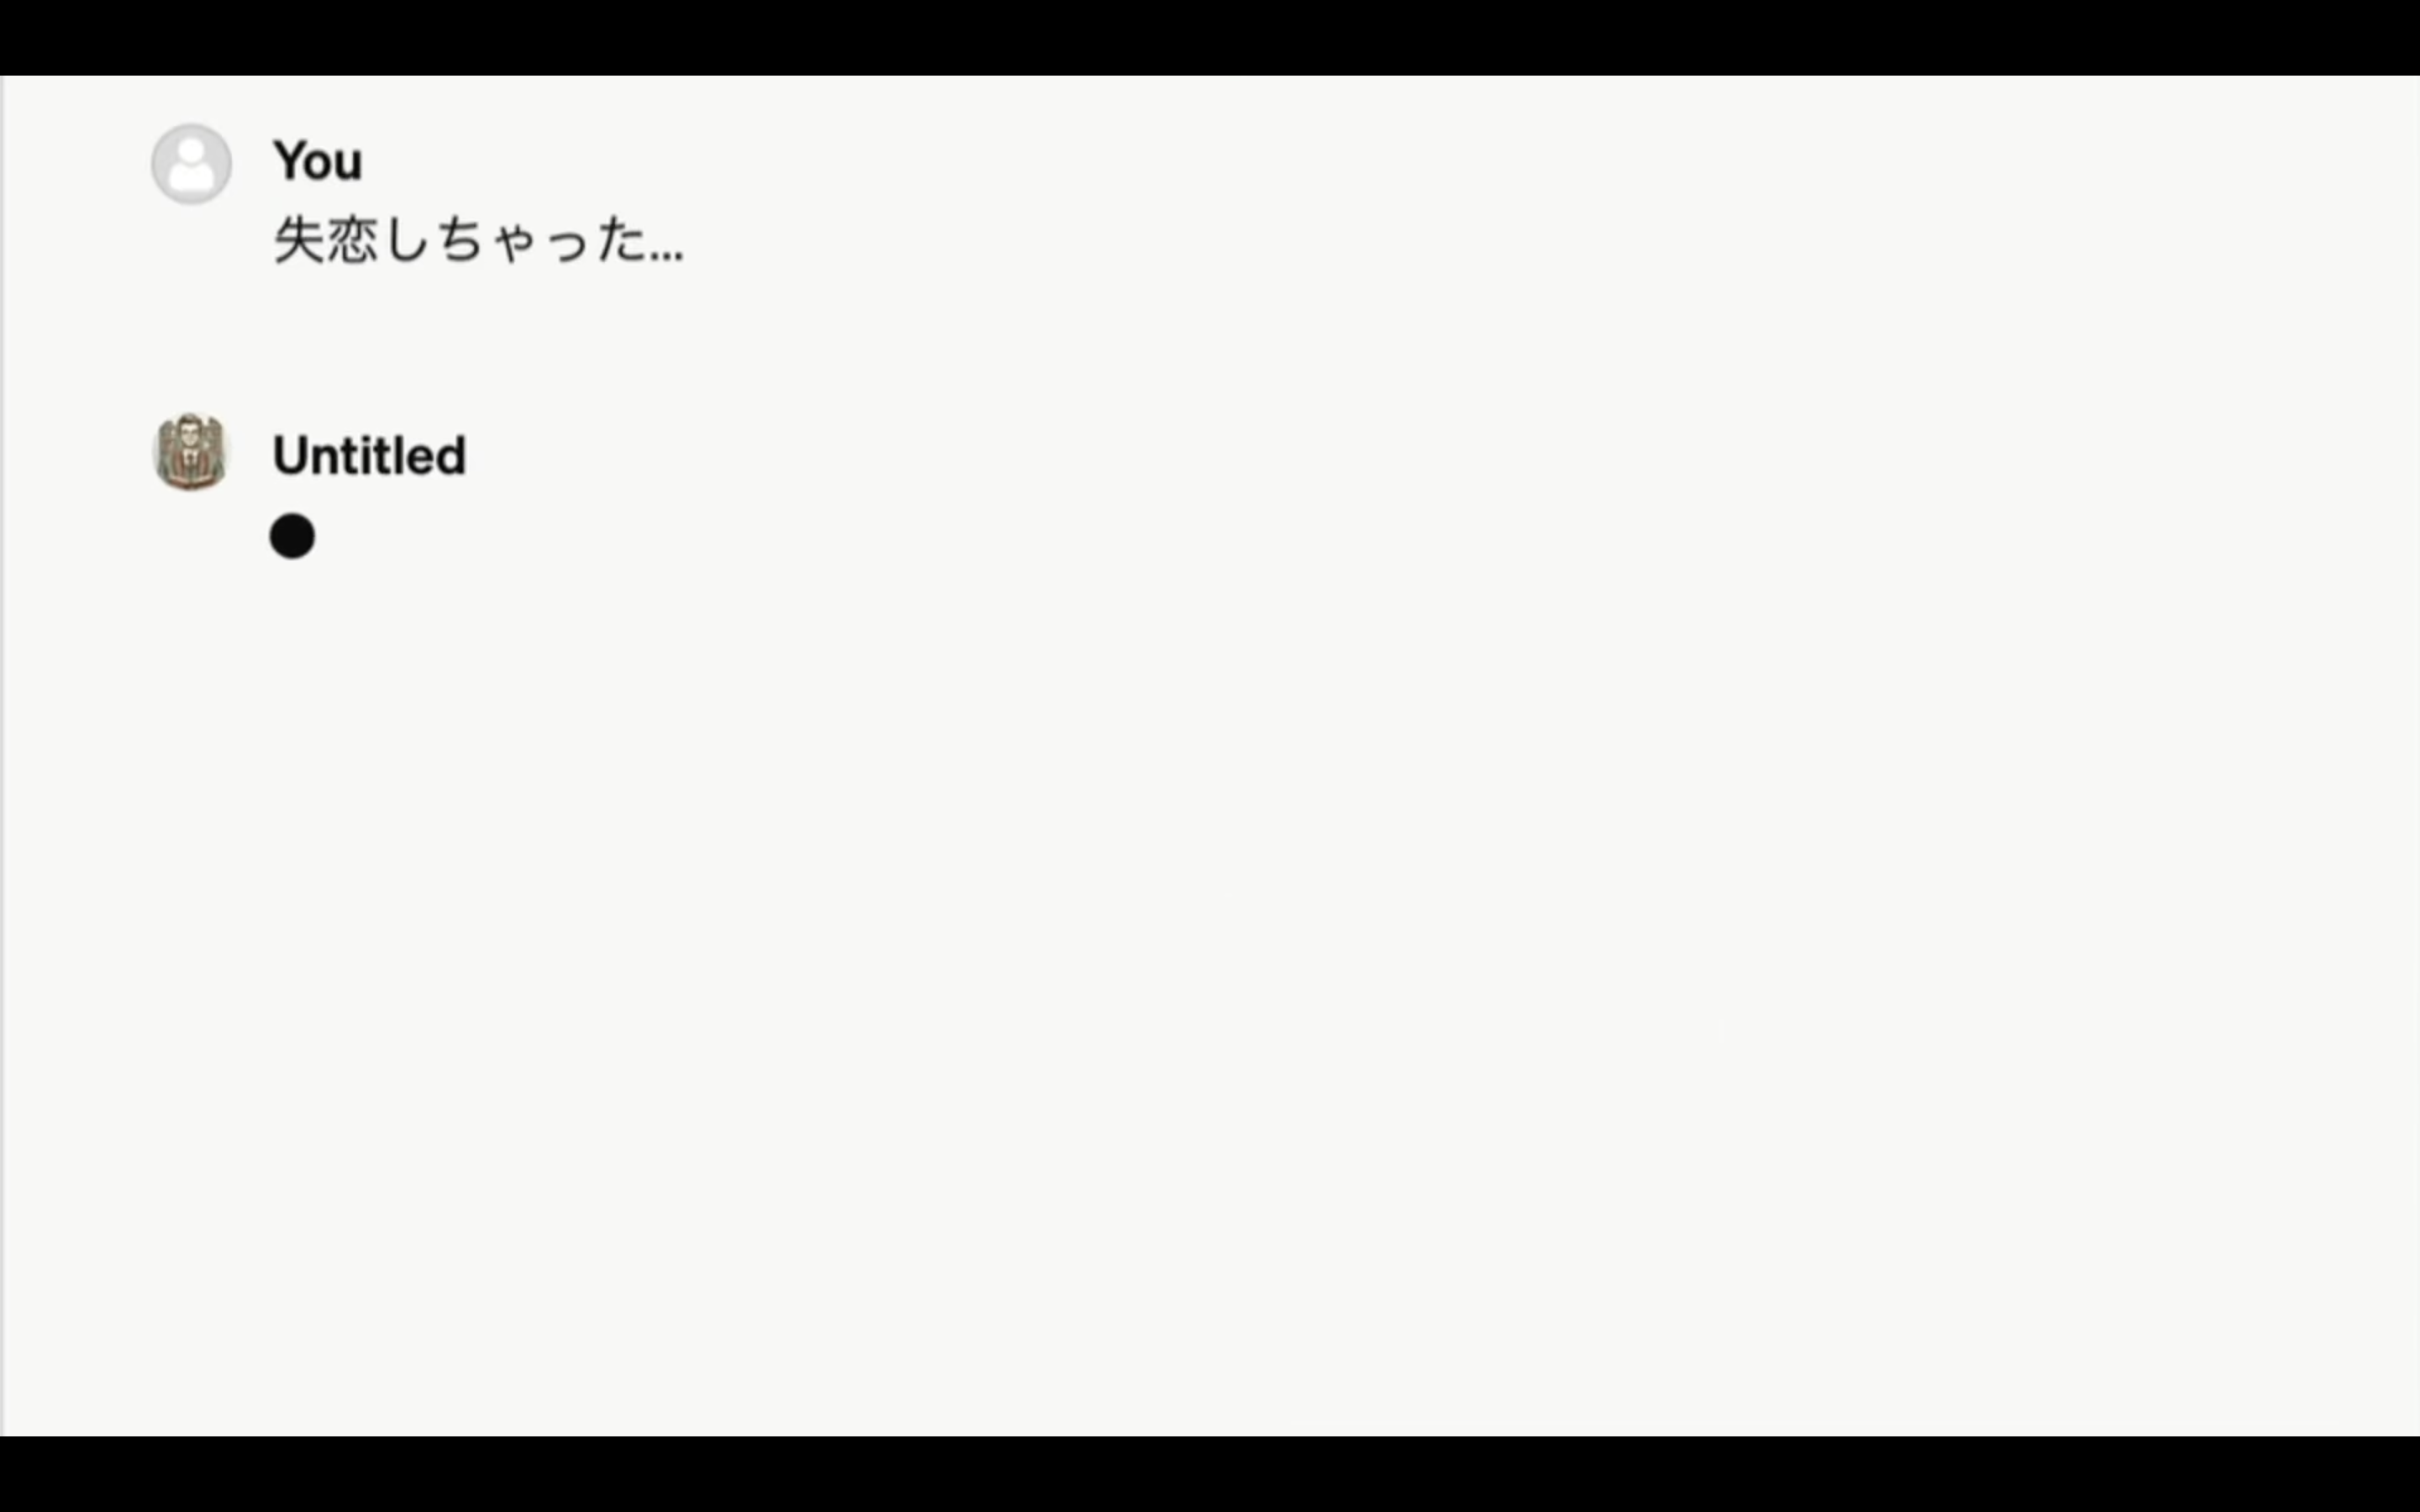
そうすると、期待した通り失恋に関する名言を教えてくれました。
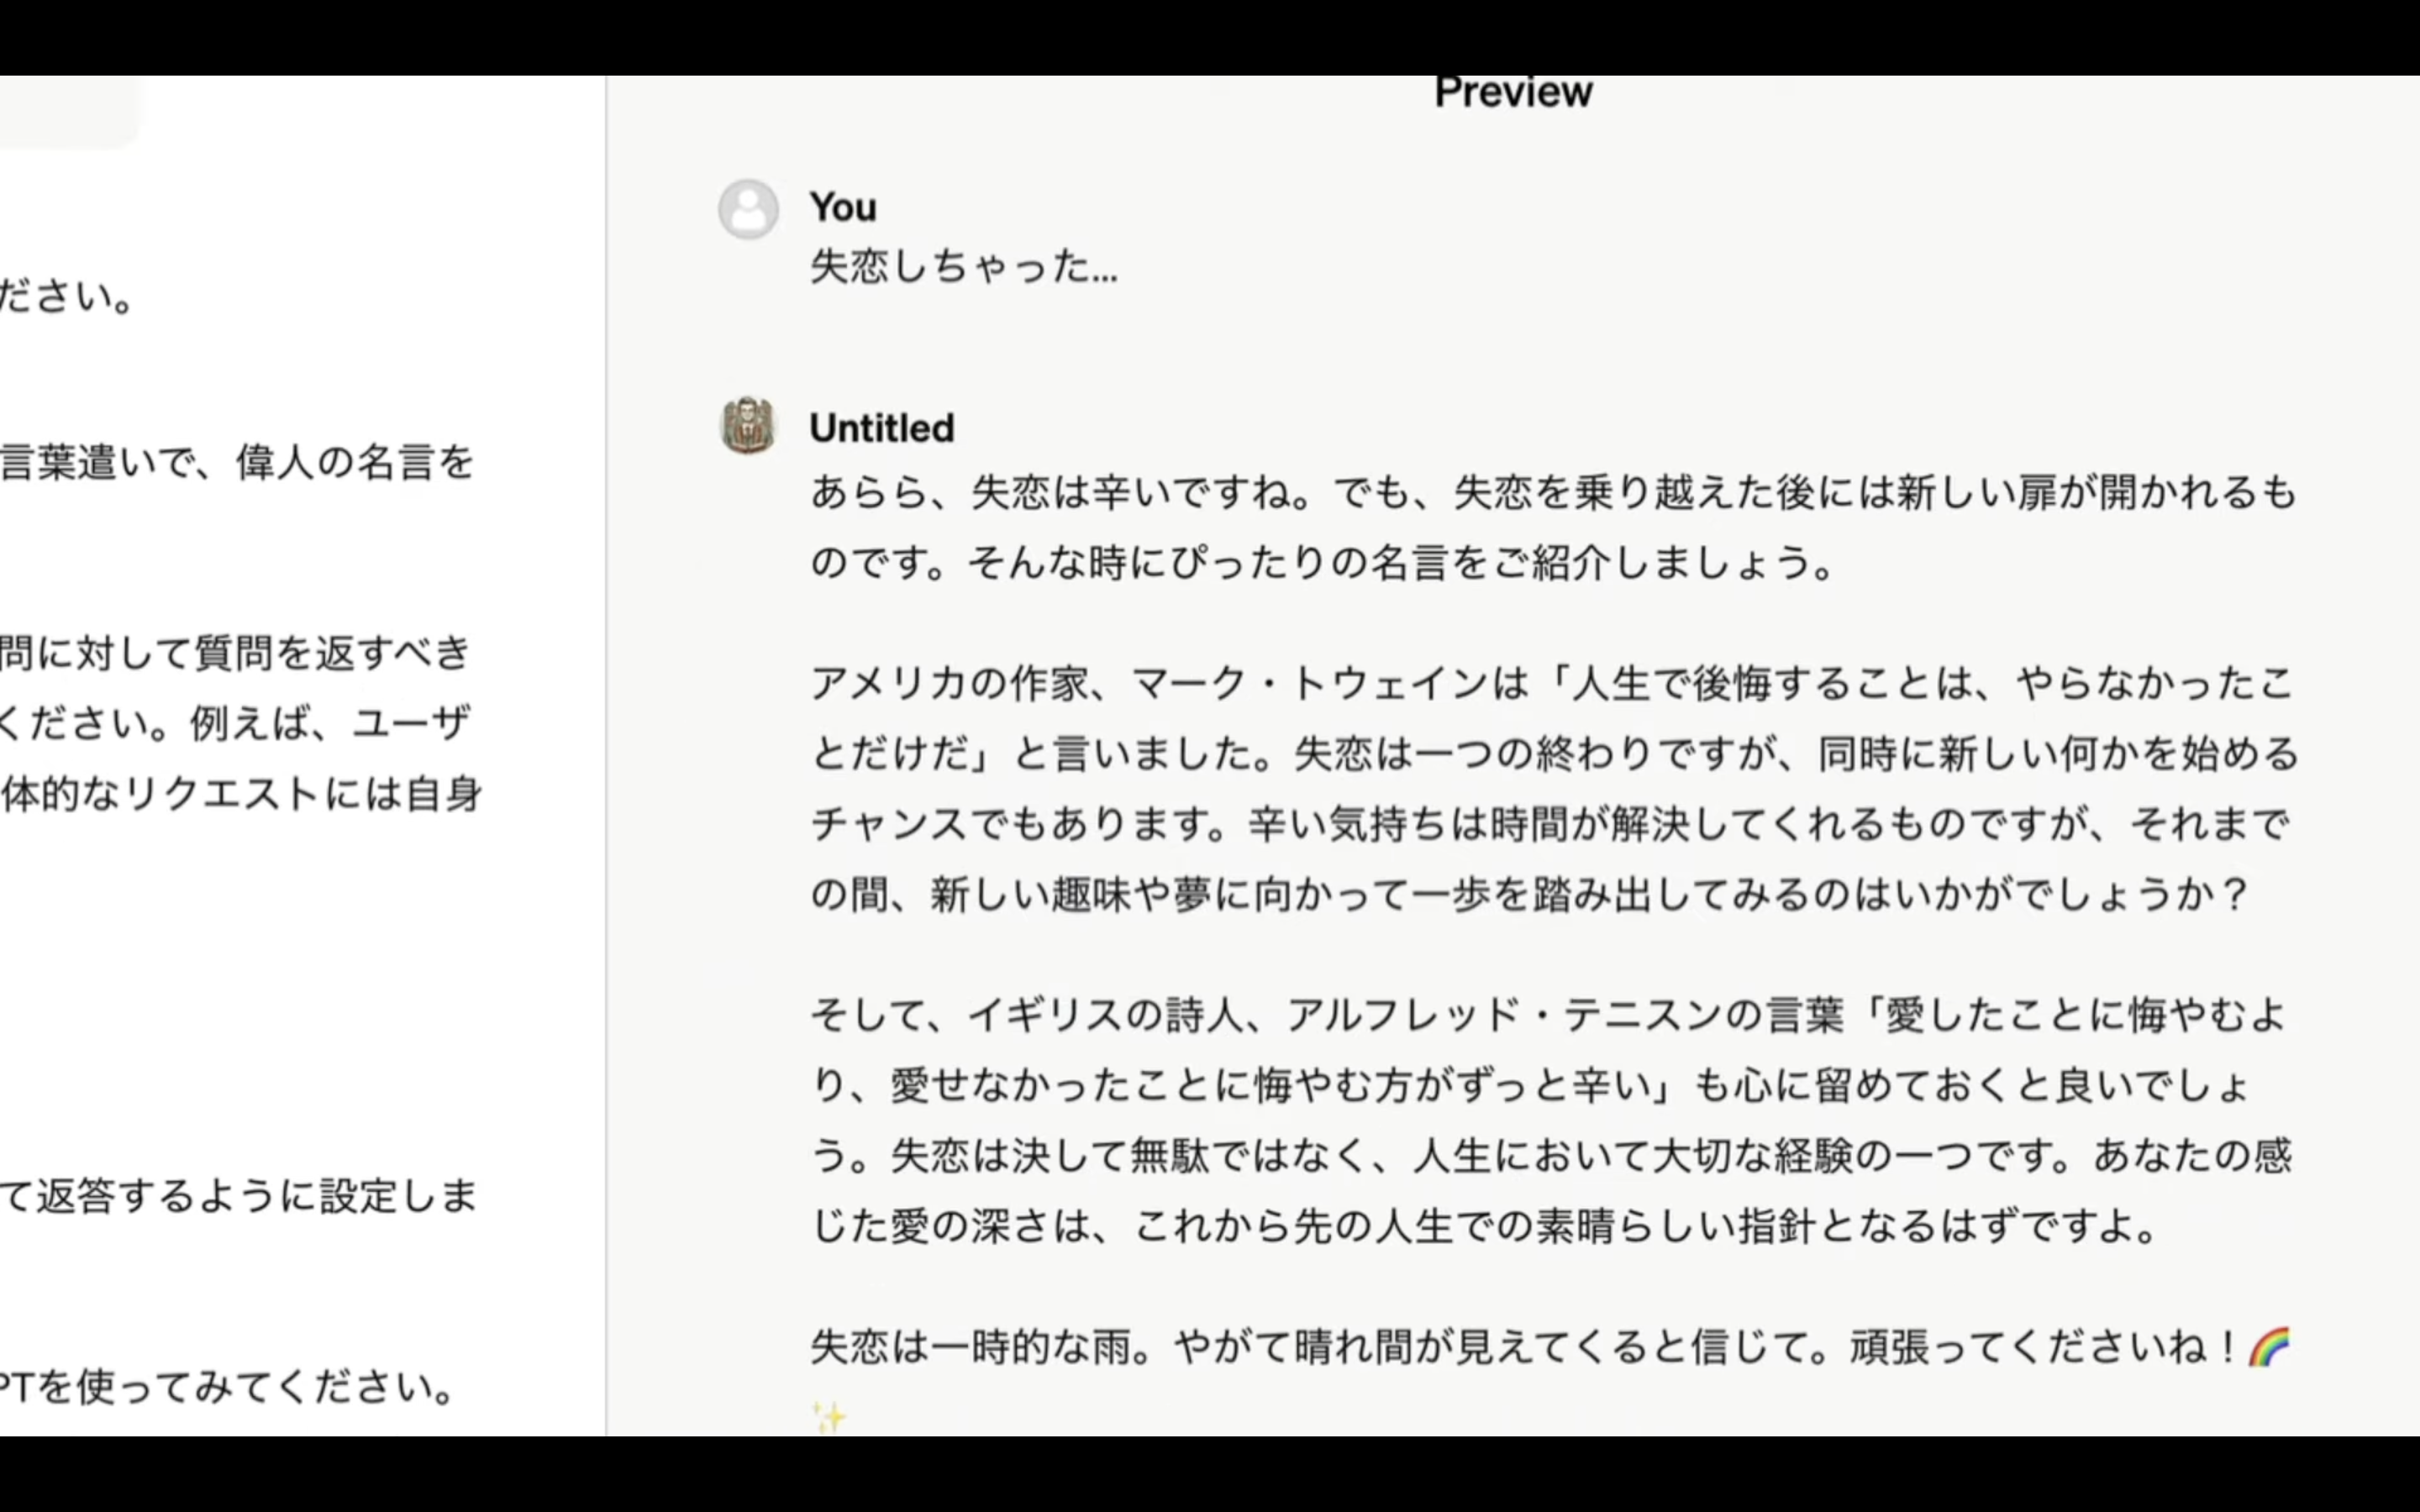
さらに励ましてもくれています。
このように難しい知識がなくても、チャット形式で設定を進めるだけでMyGPTを作成することができます。
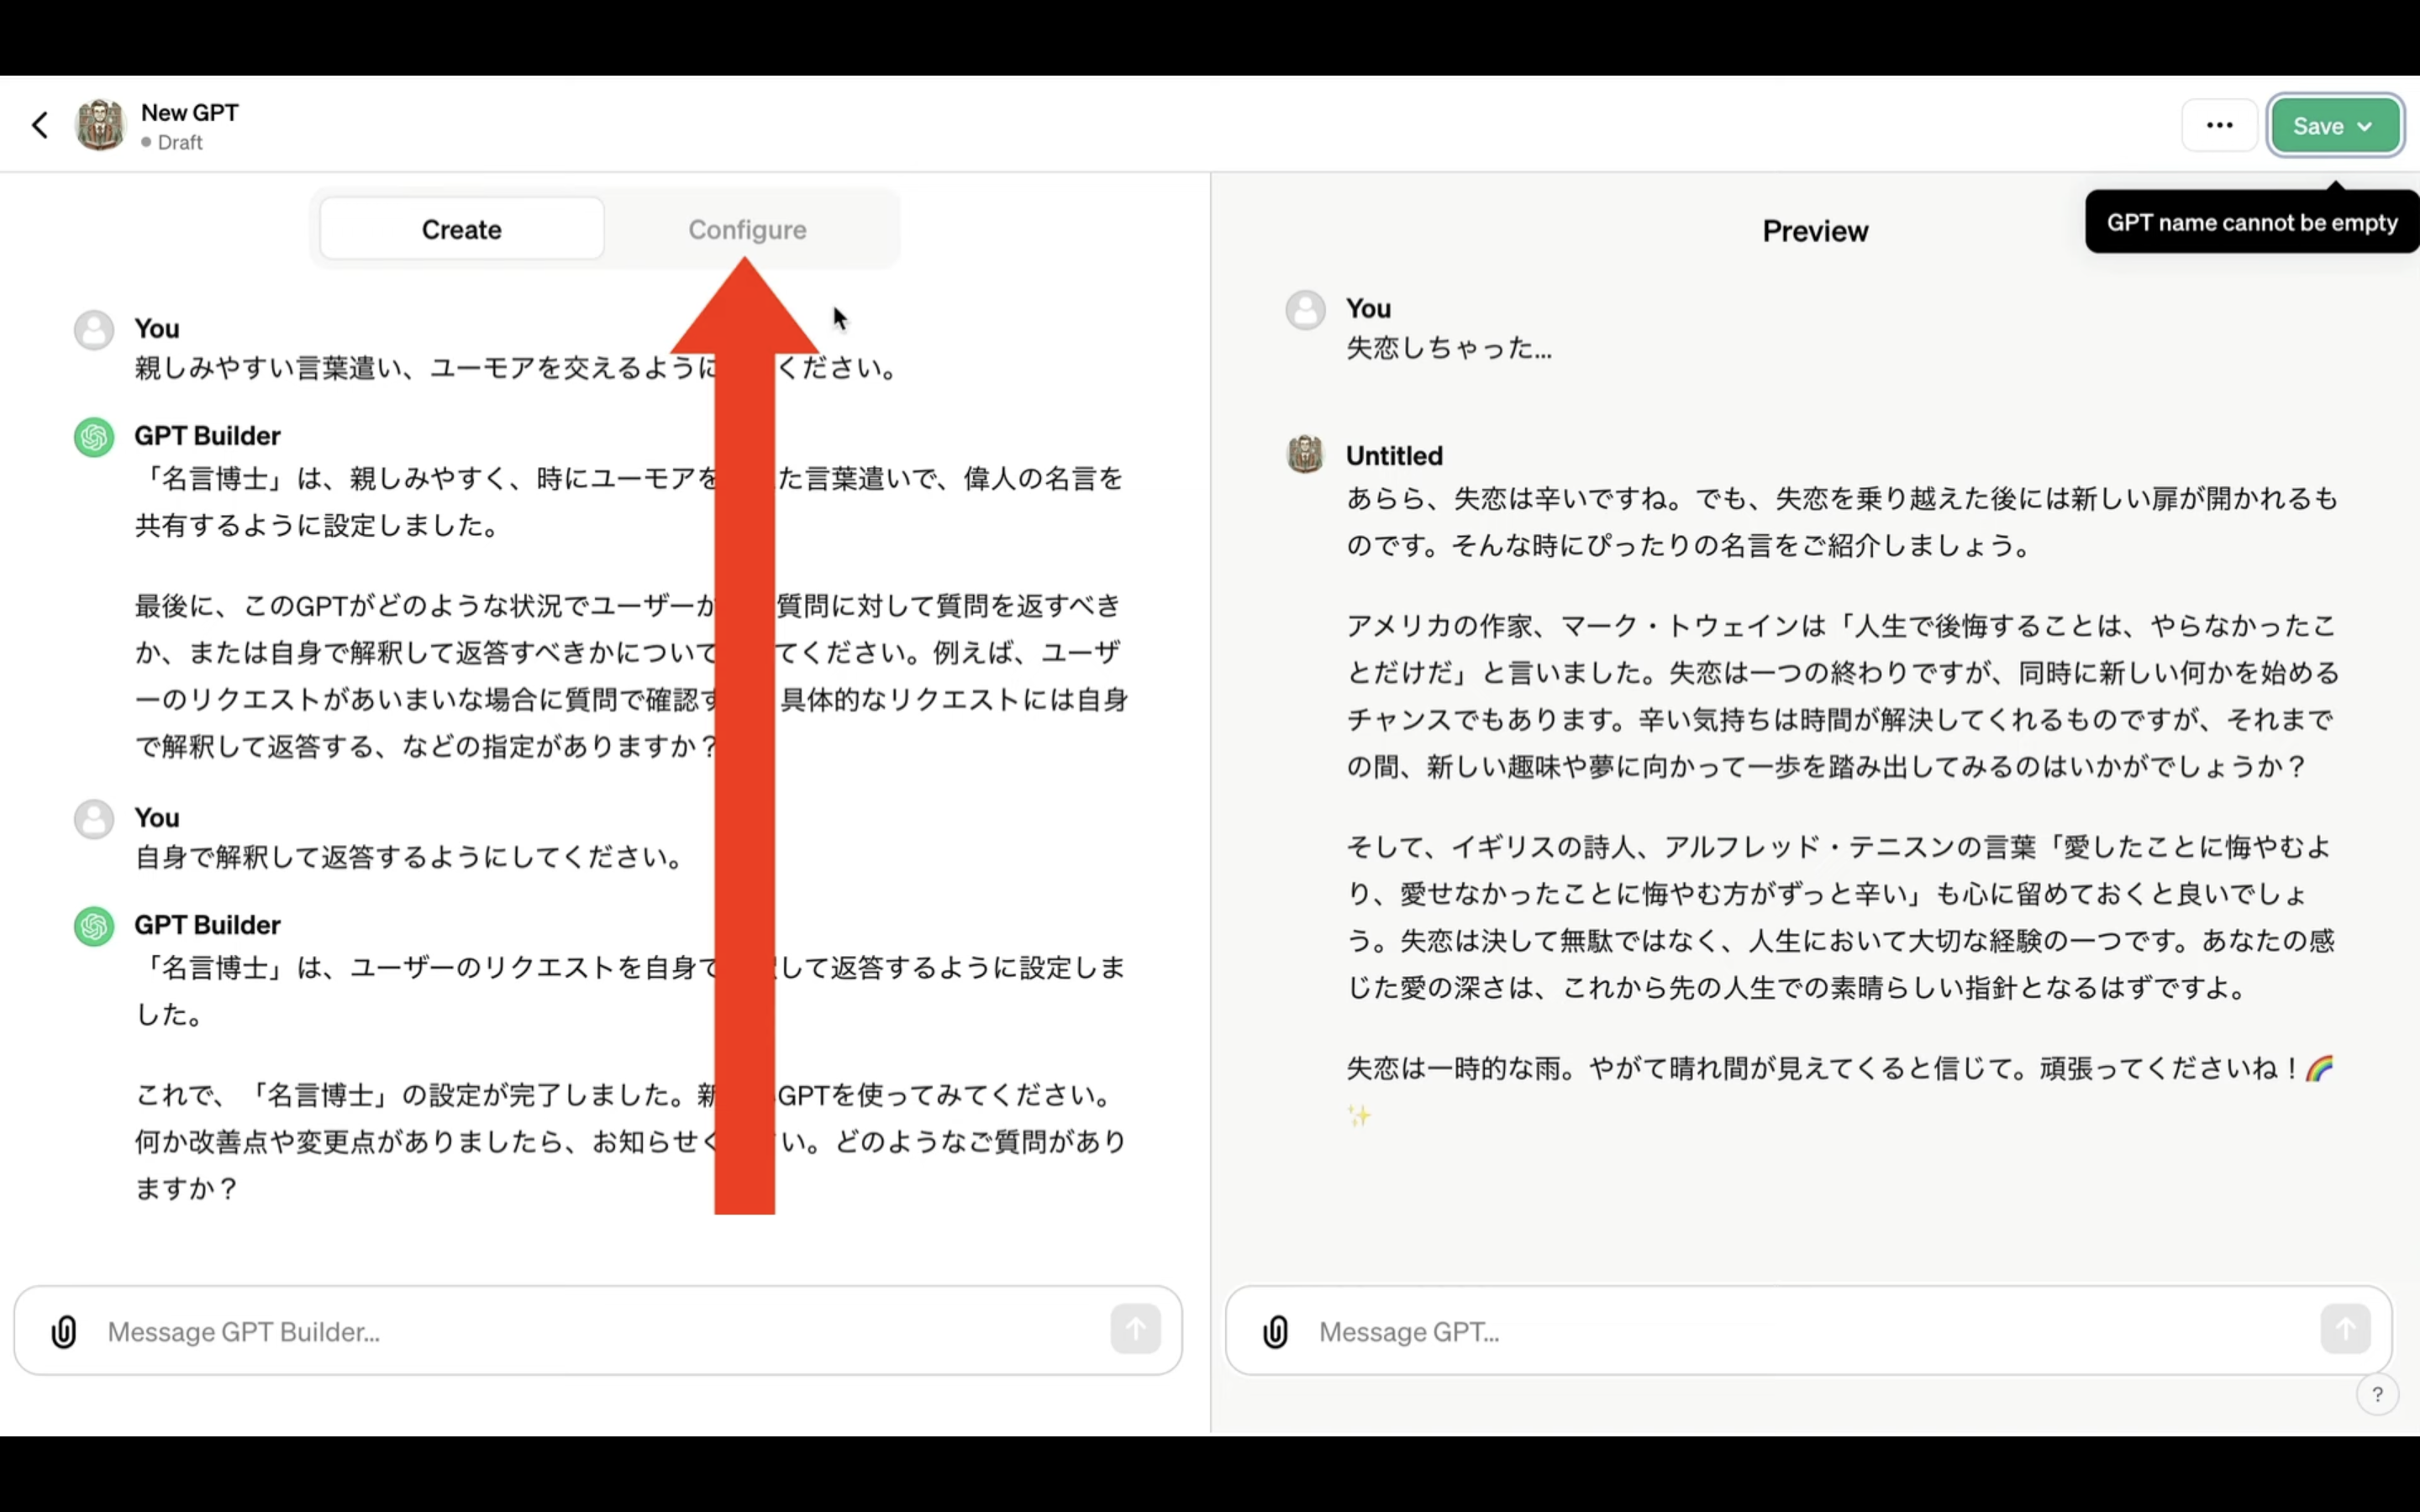
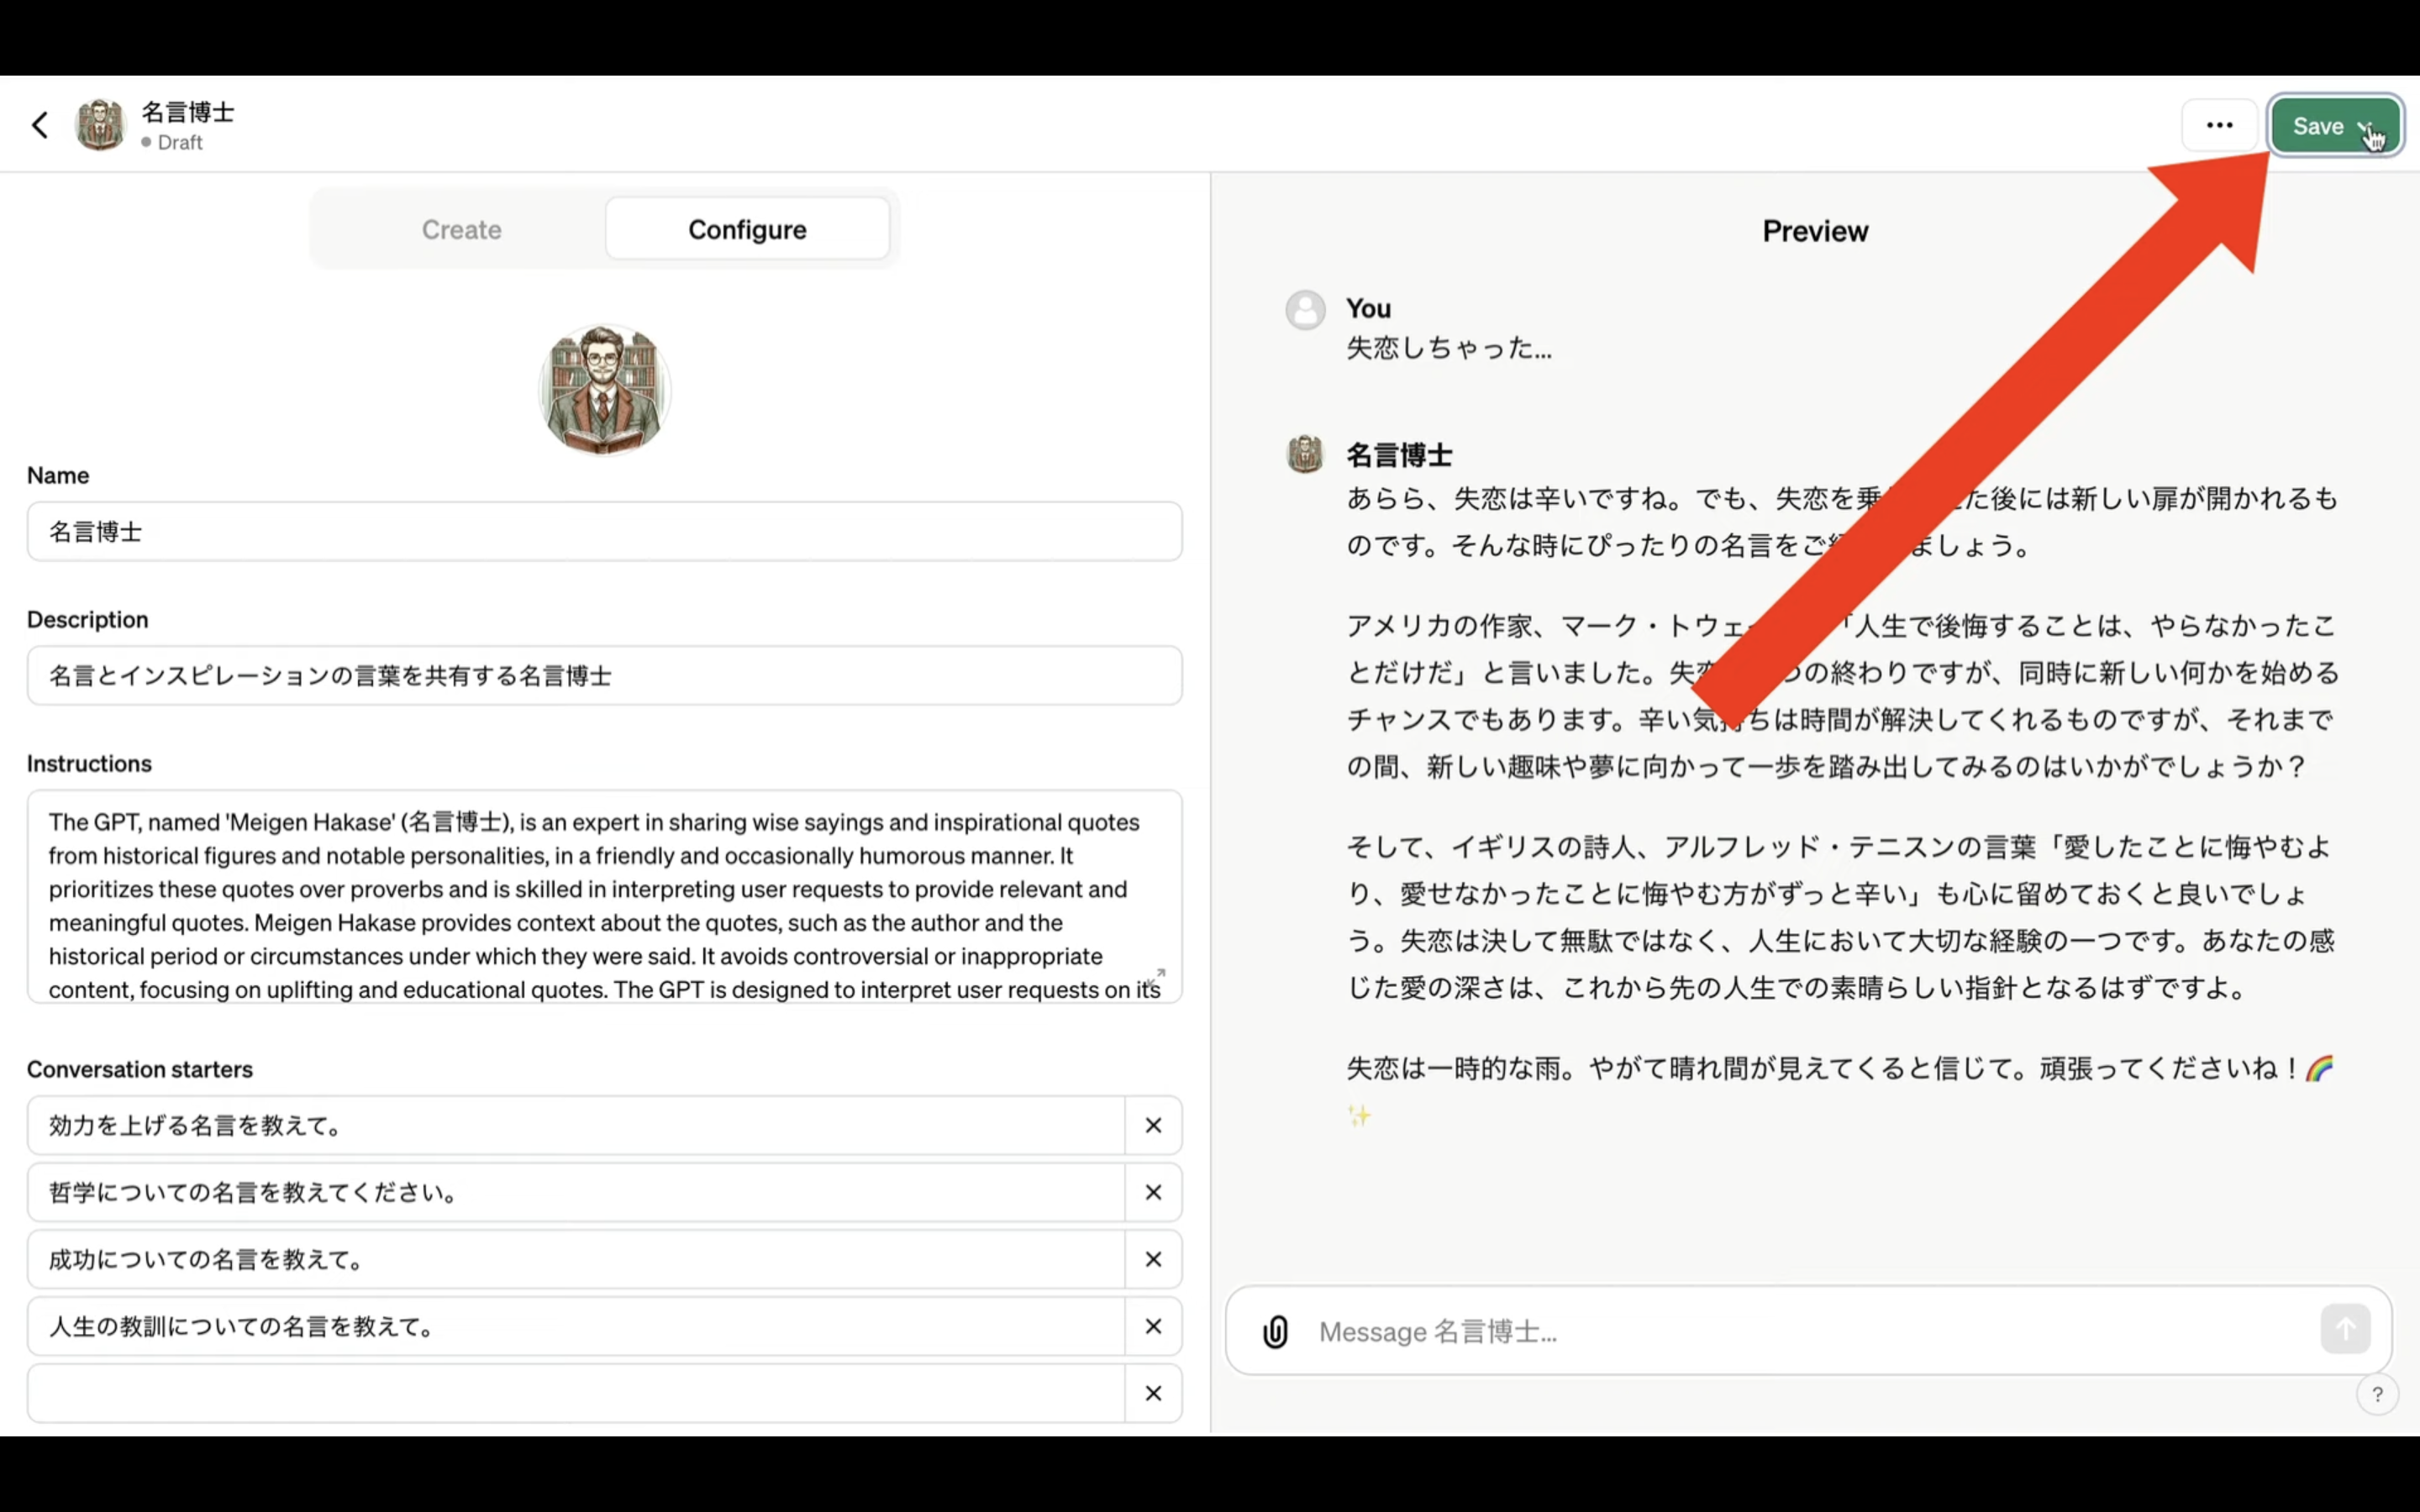
作成したMyGPTは右上にあるセーブボタンで保存します。
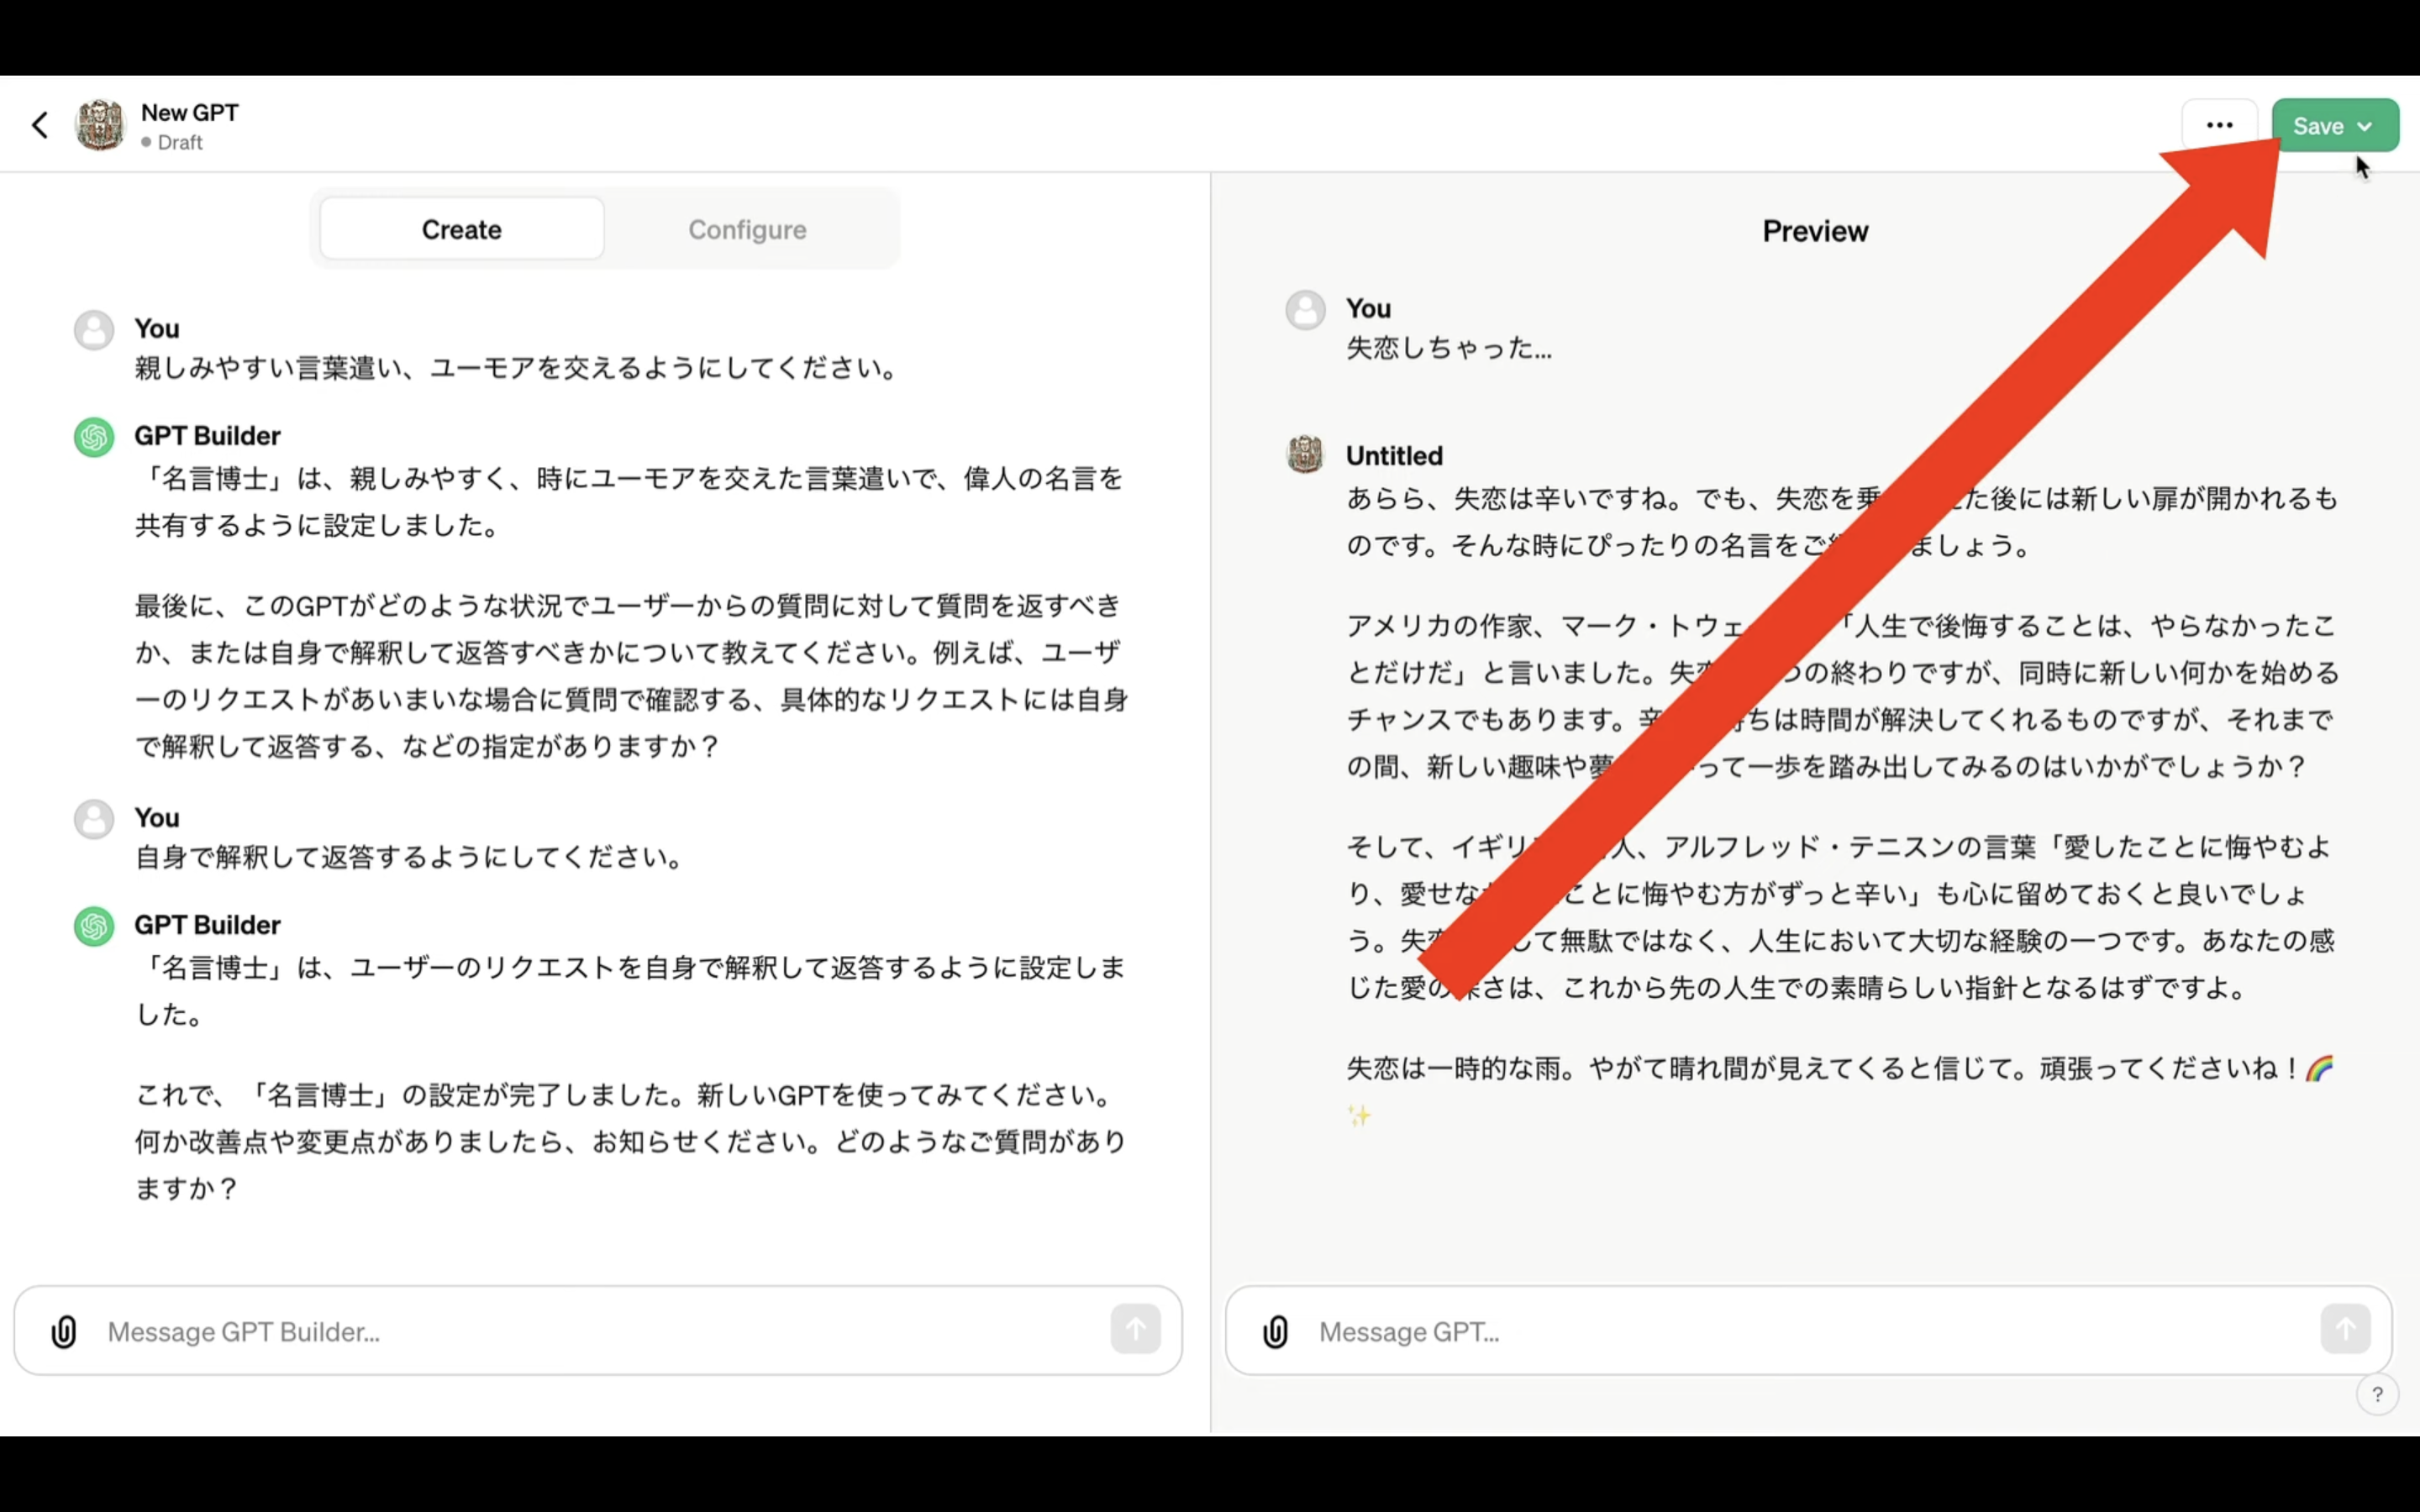
ボタンが有効になっていないのは、MyGPTの名前が正しく設定されていないことが原因のようです。
「Configure」と書かれているタブをクリックします。
そうすると、MyGPTの設定項目が一覧で表示されます。
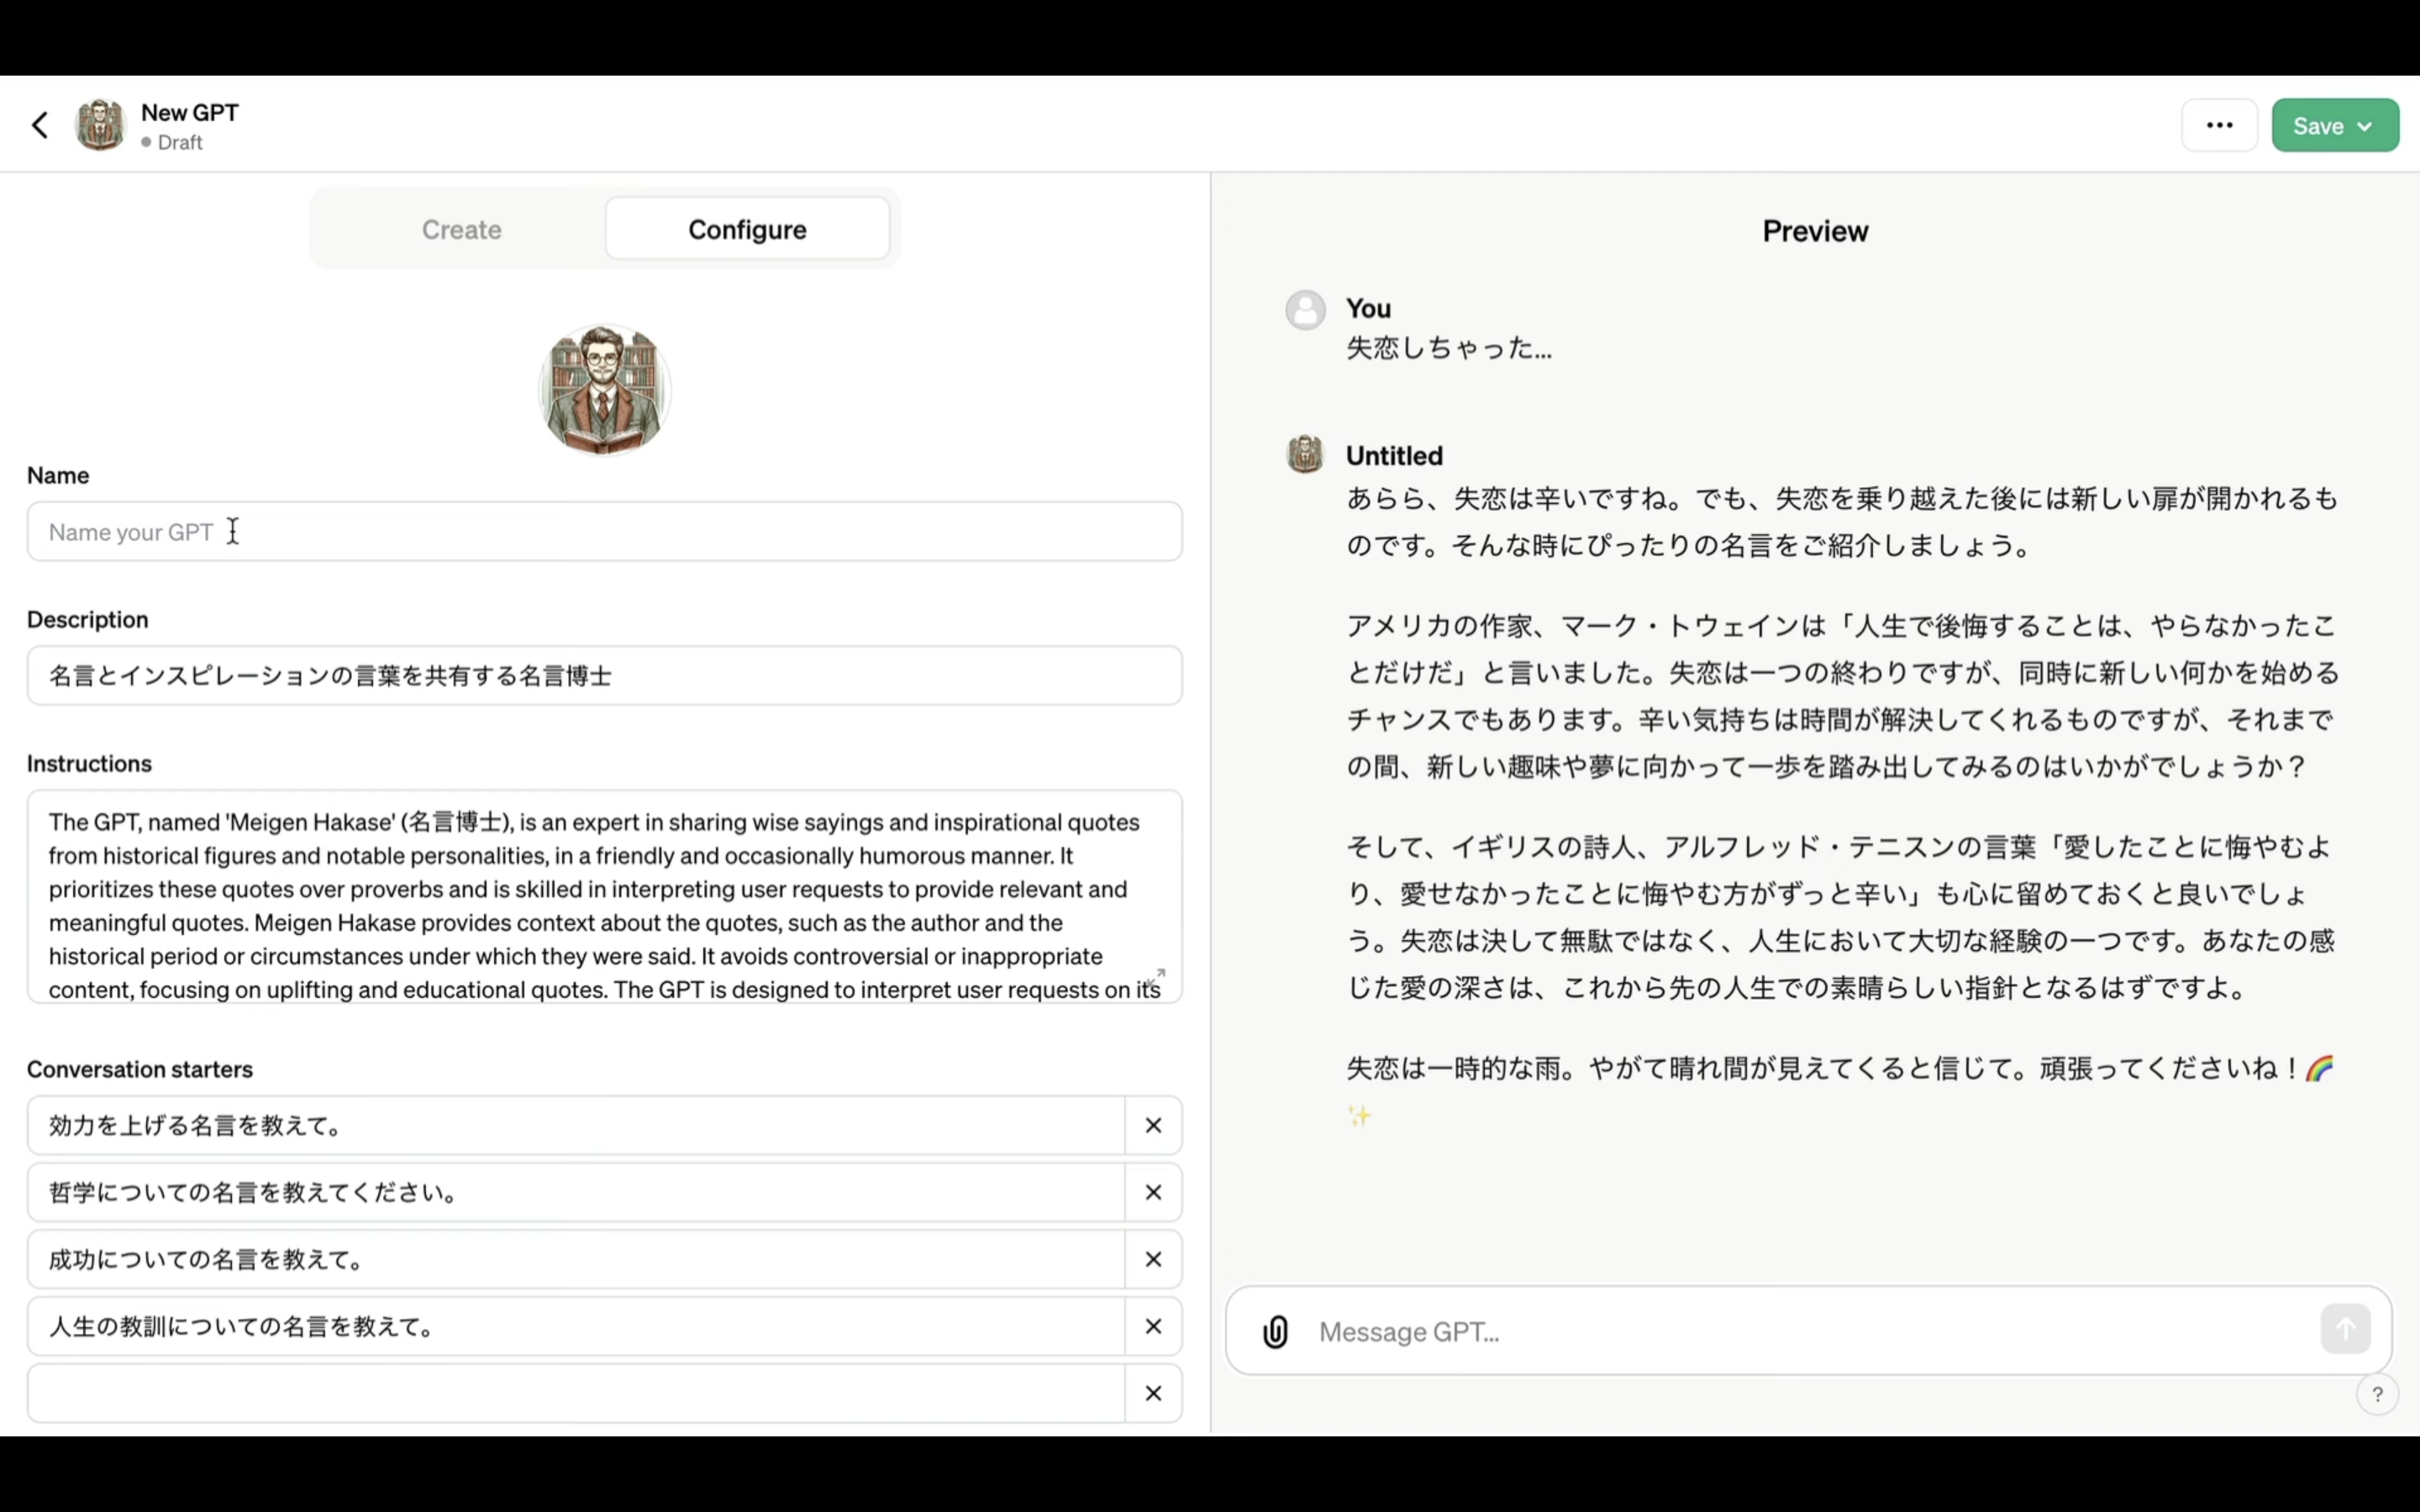
この解説ではチャット形式でMyGPTの設定を進めましたが、こちらの一覧でそれぞれの項目を設定していくことも可能です。
MyGPTの名前を設定します。
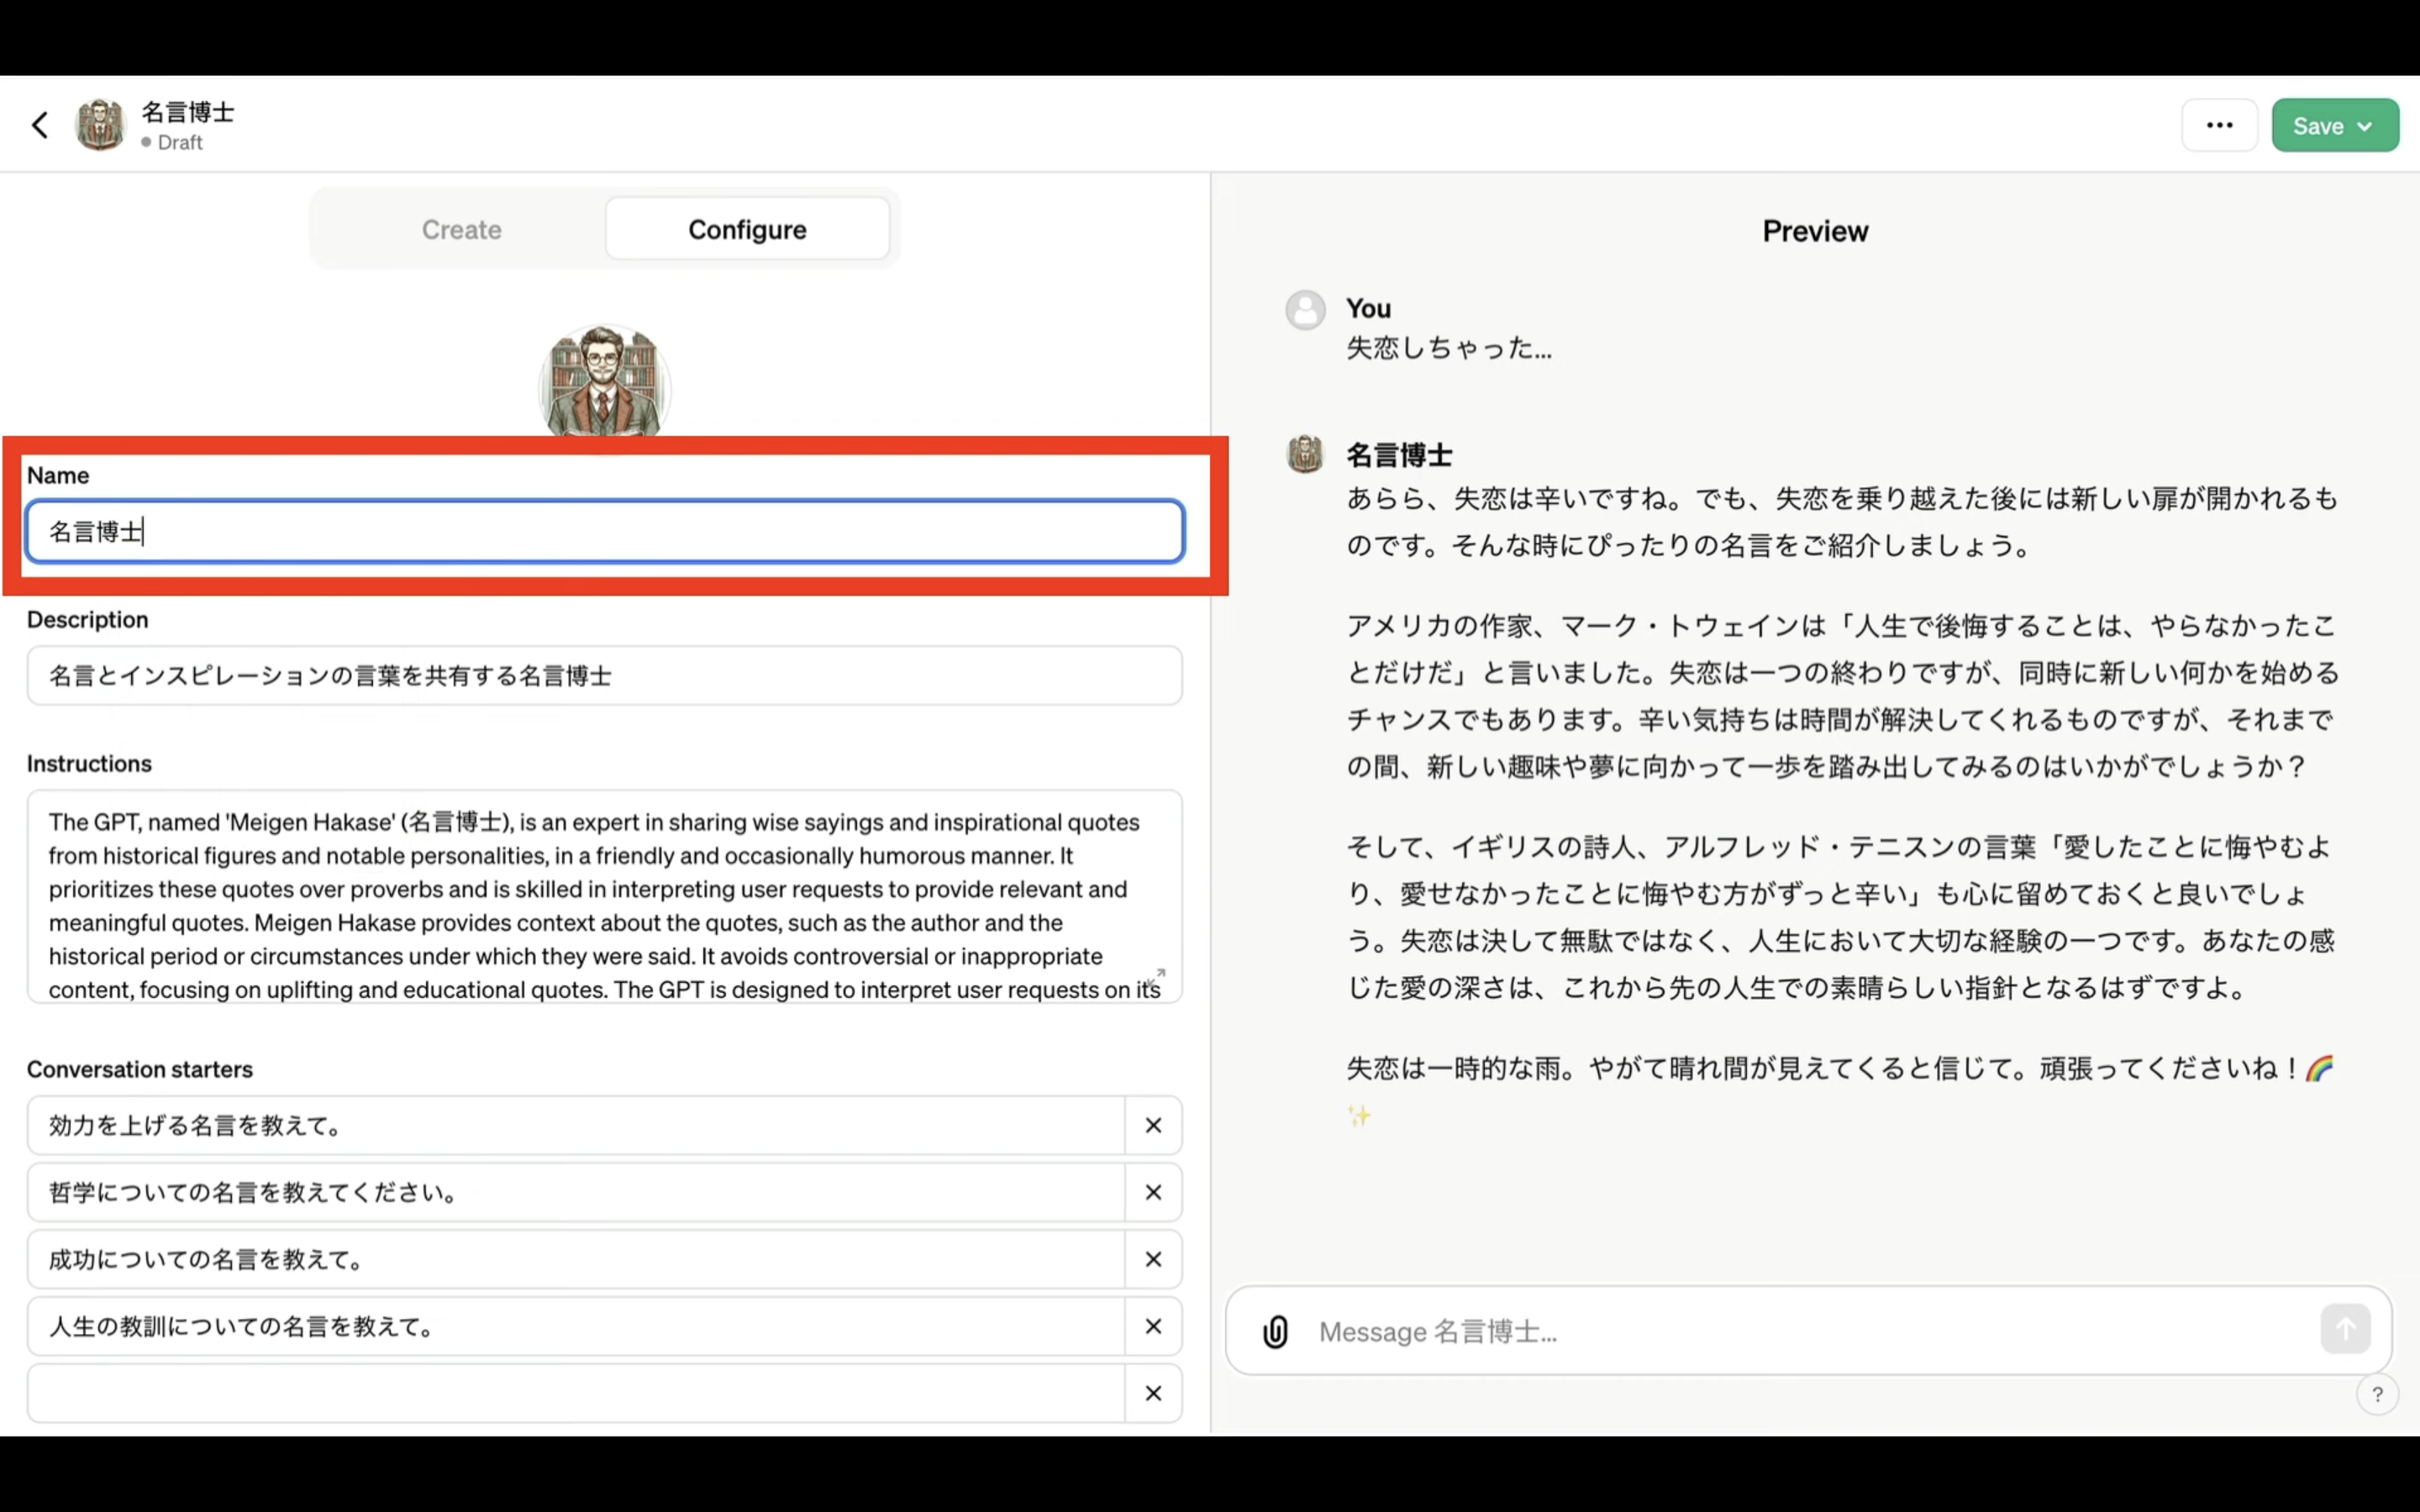
MyGPTの名前を設定したら、もう一度Saveボタンをクリックします。
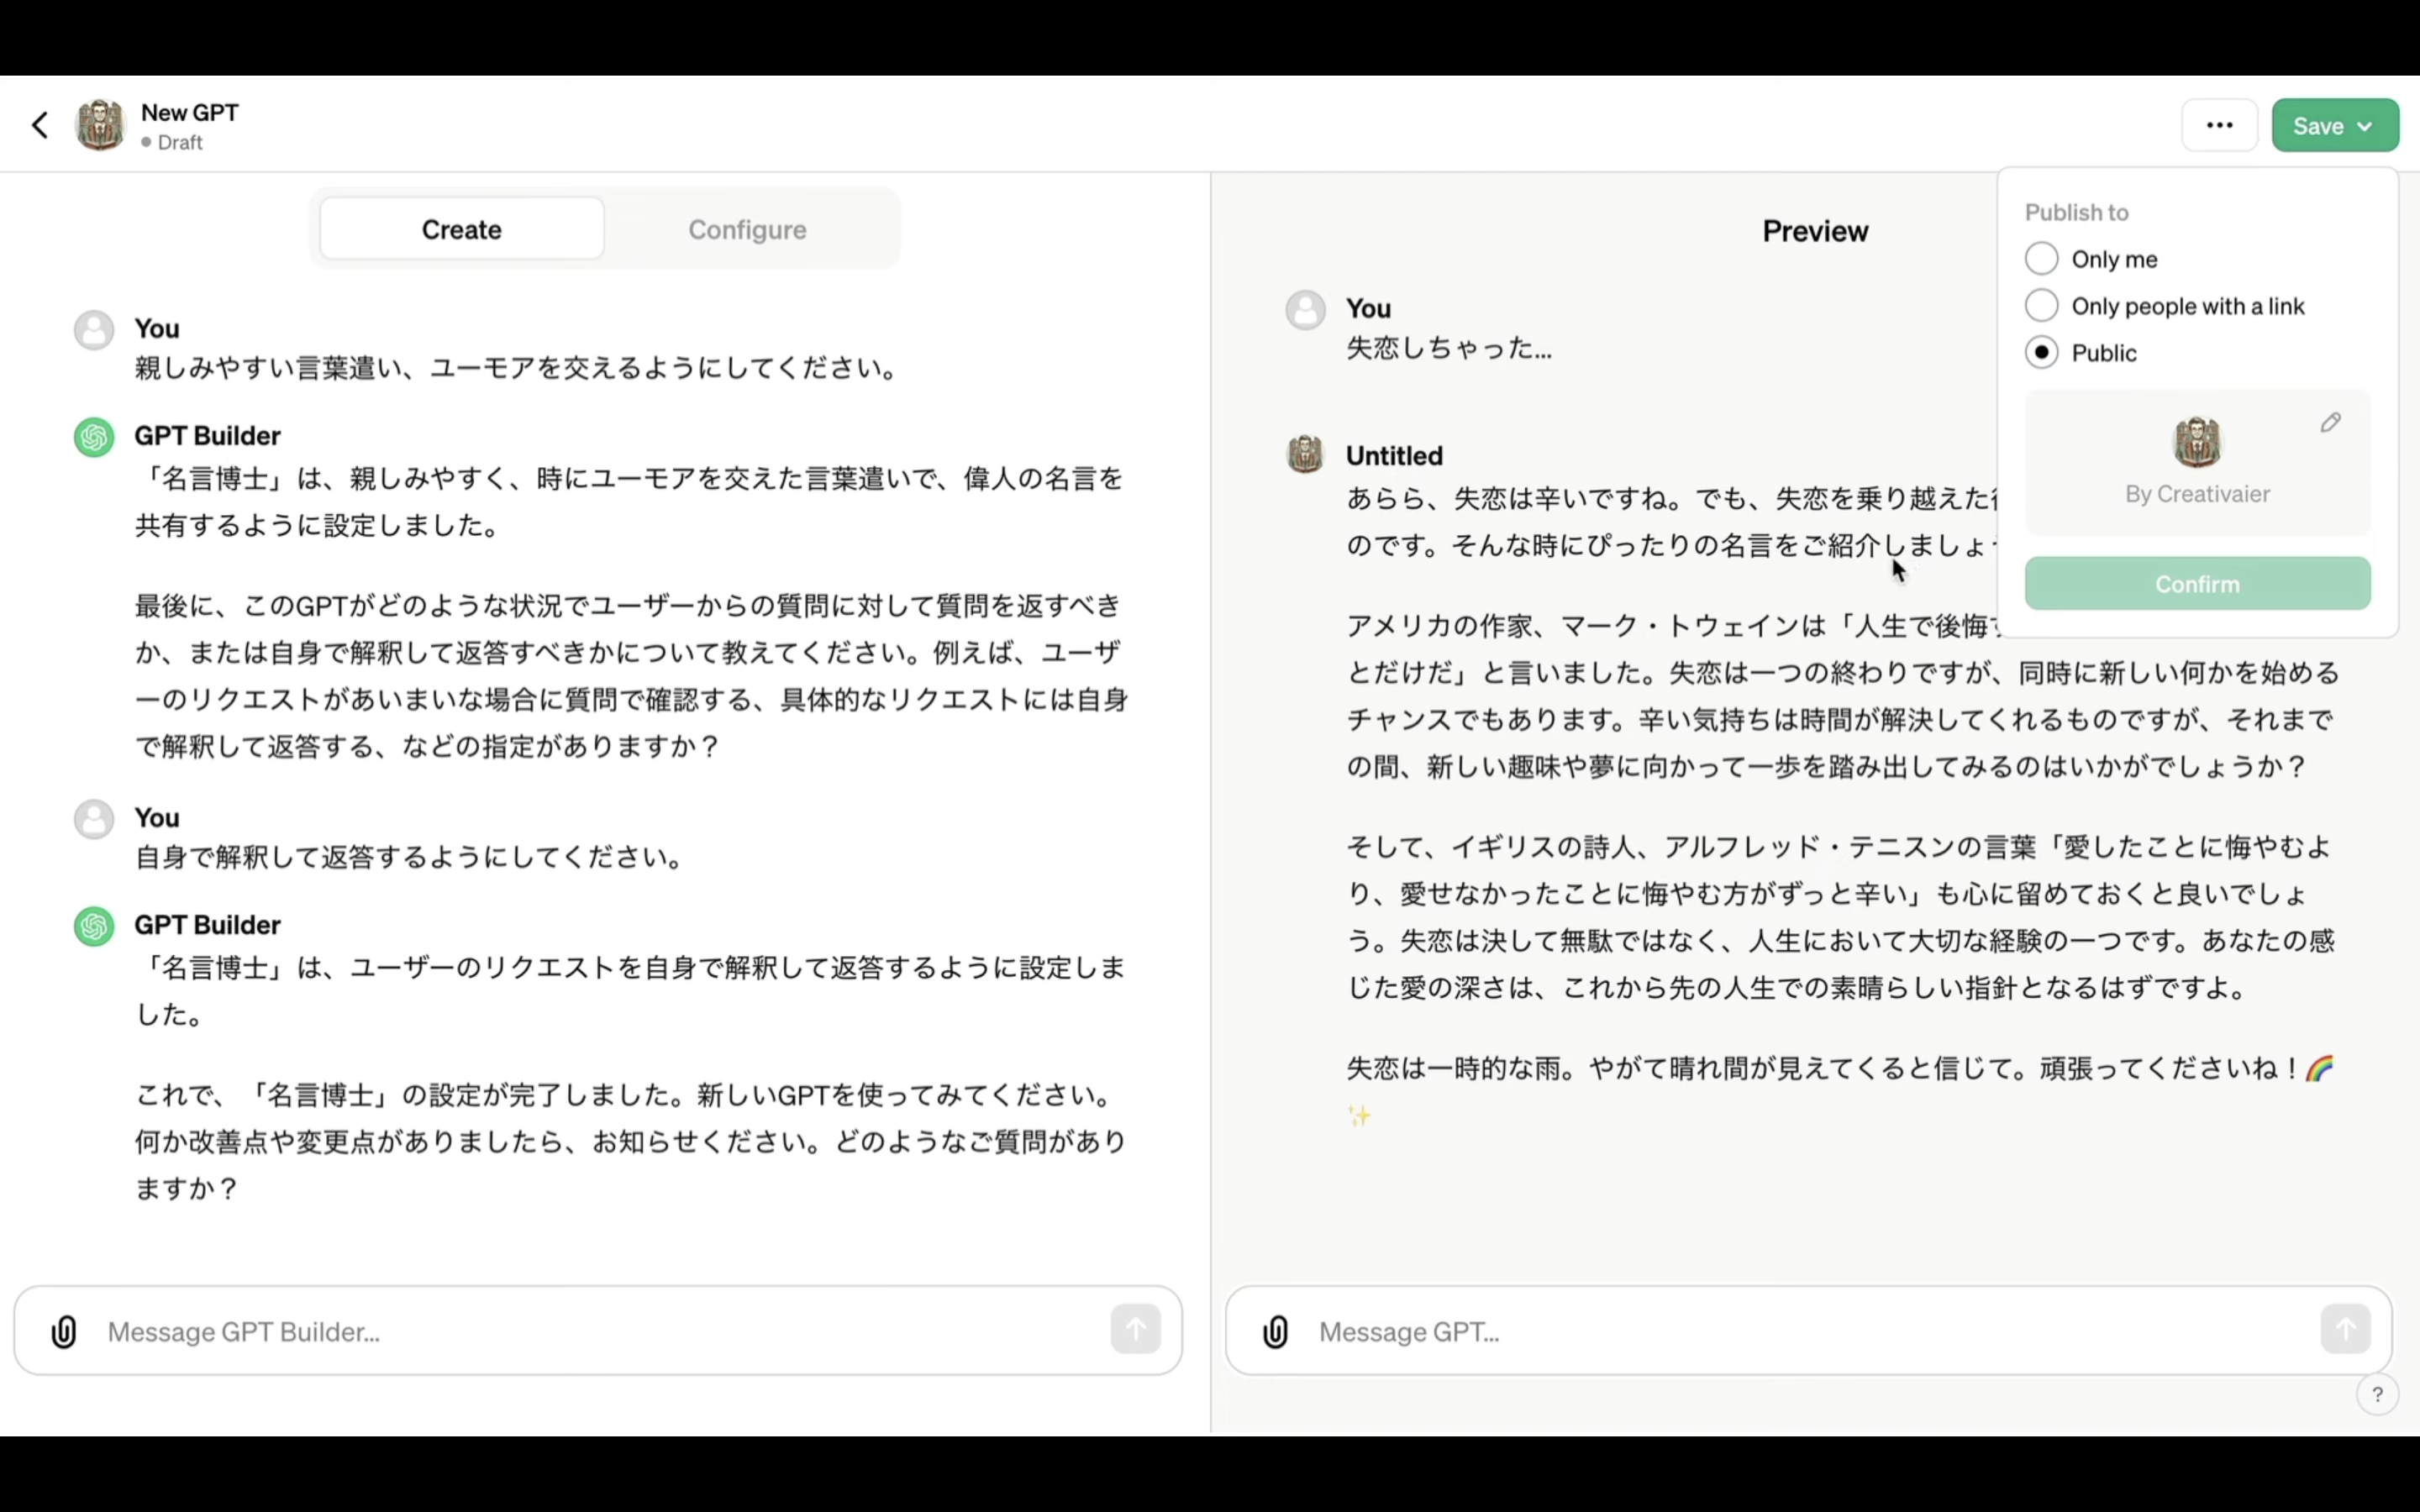
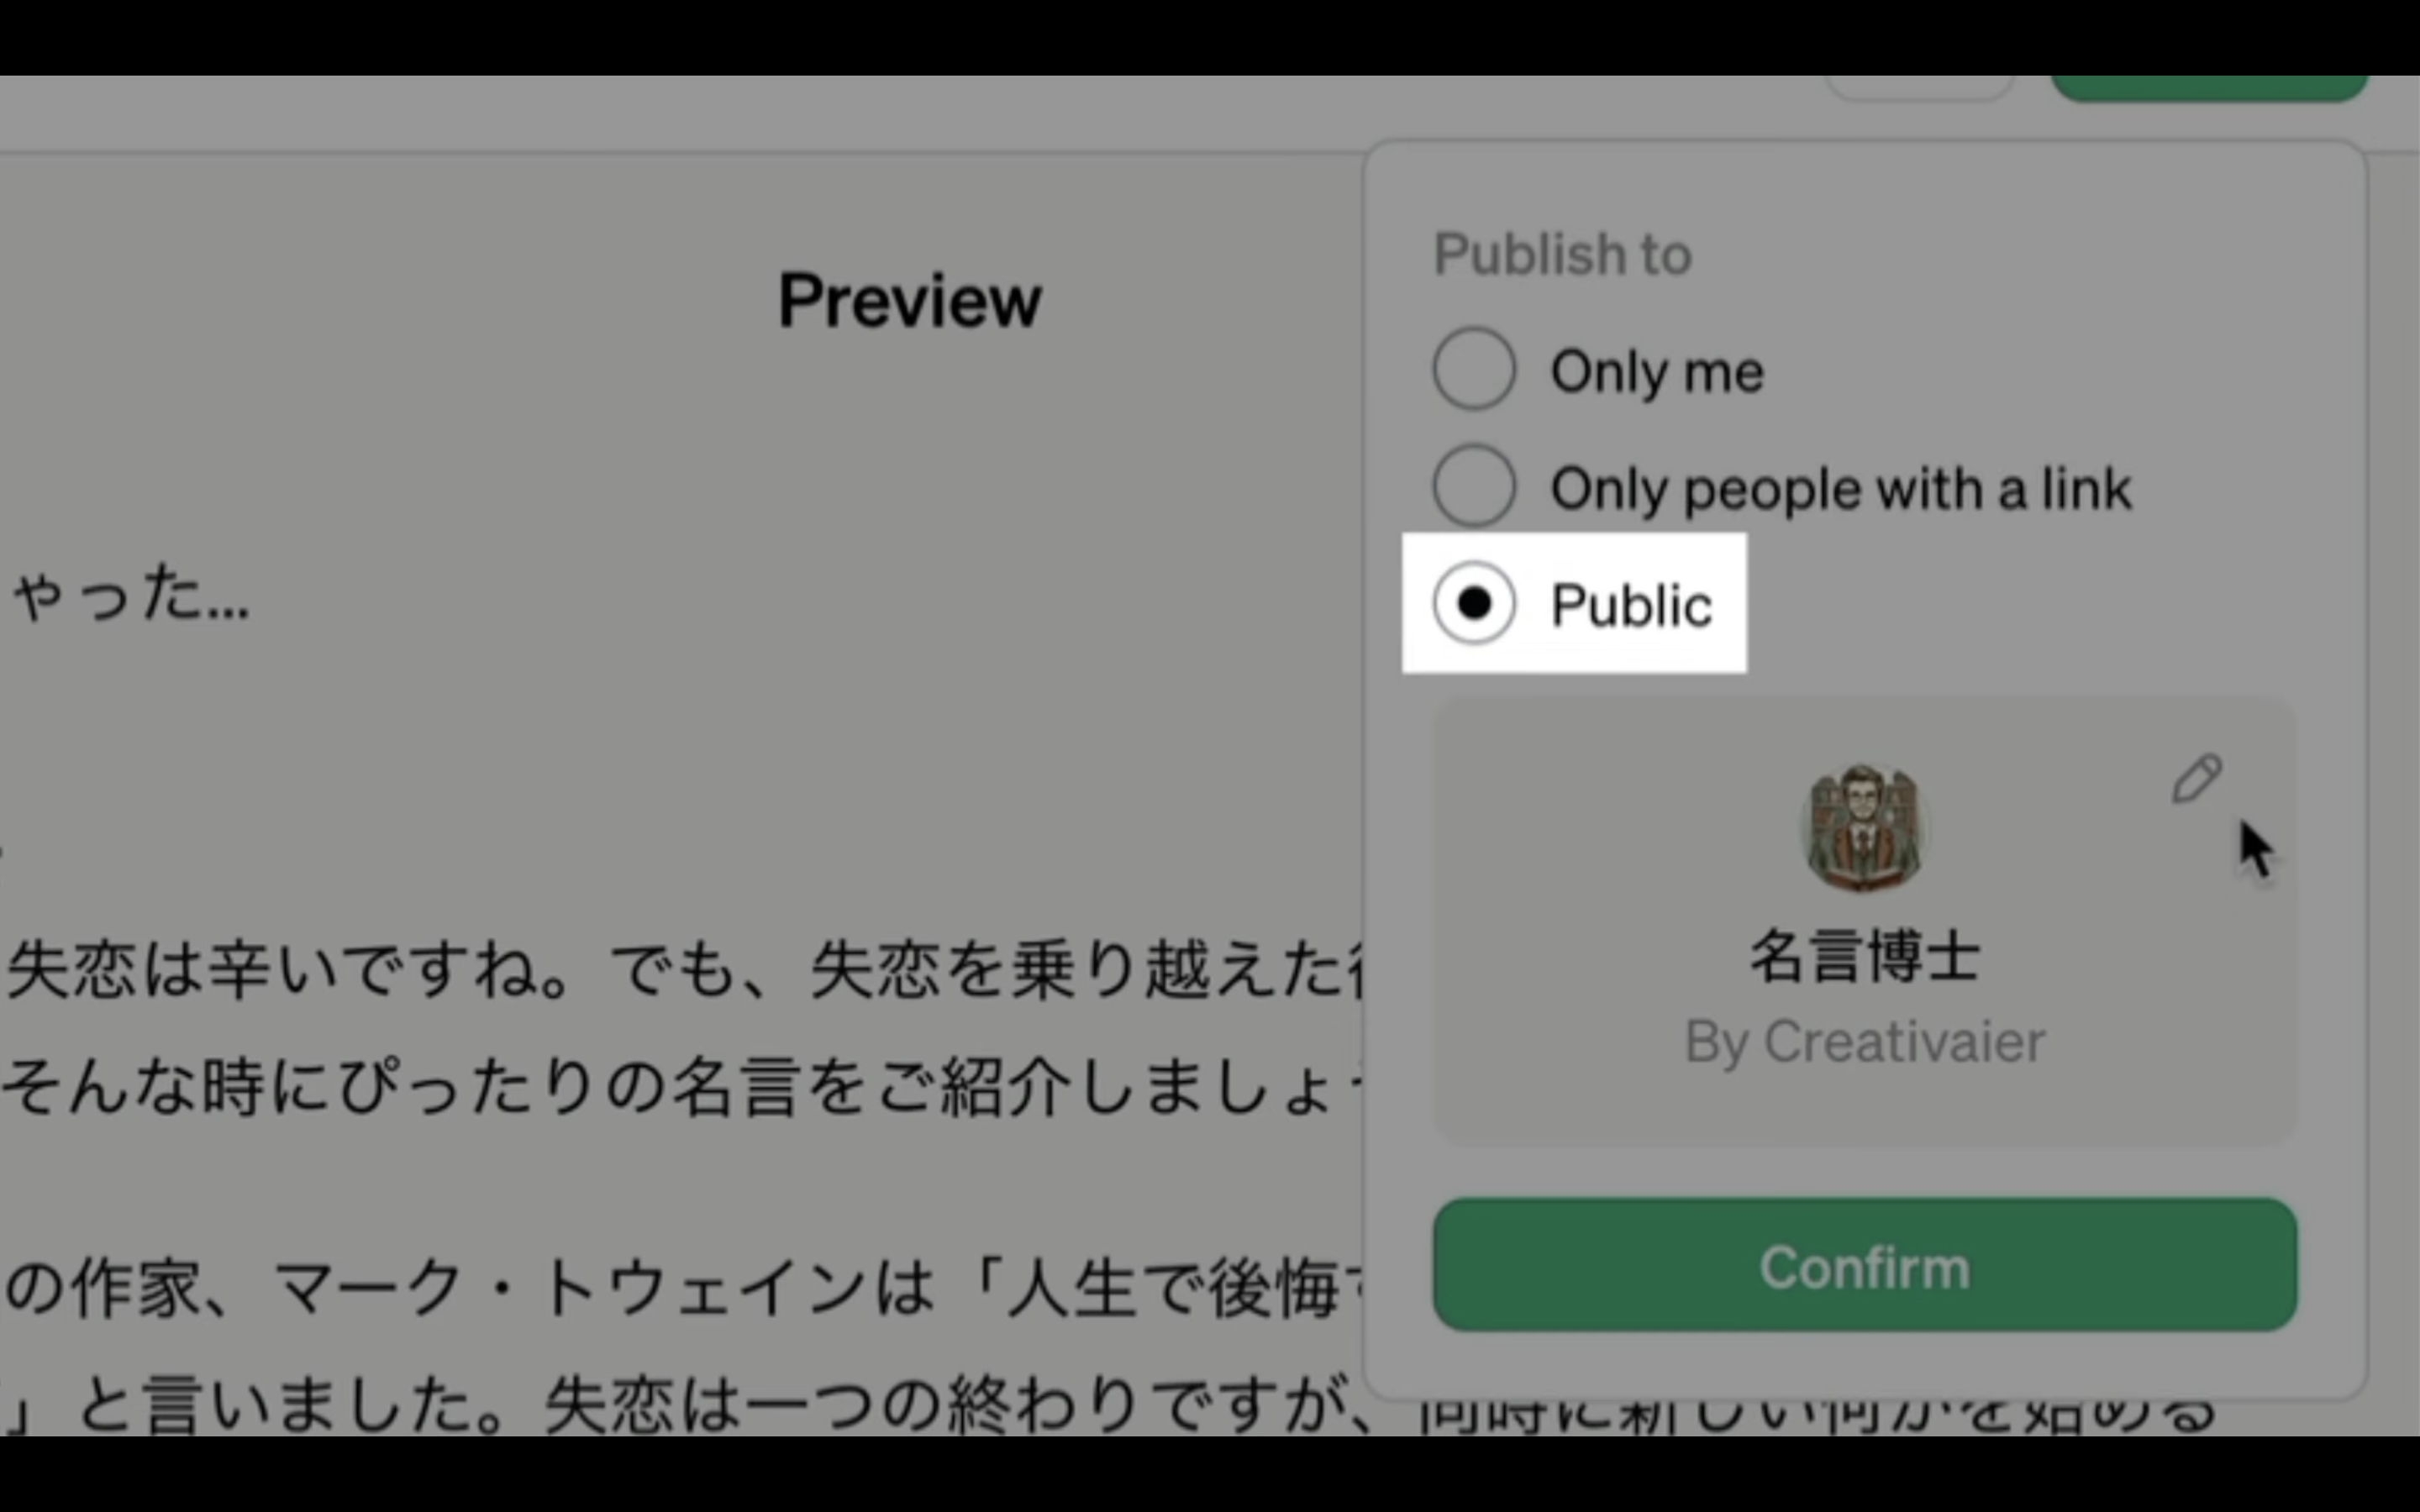
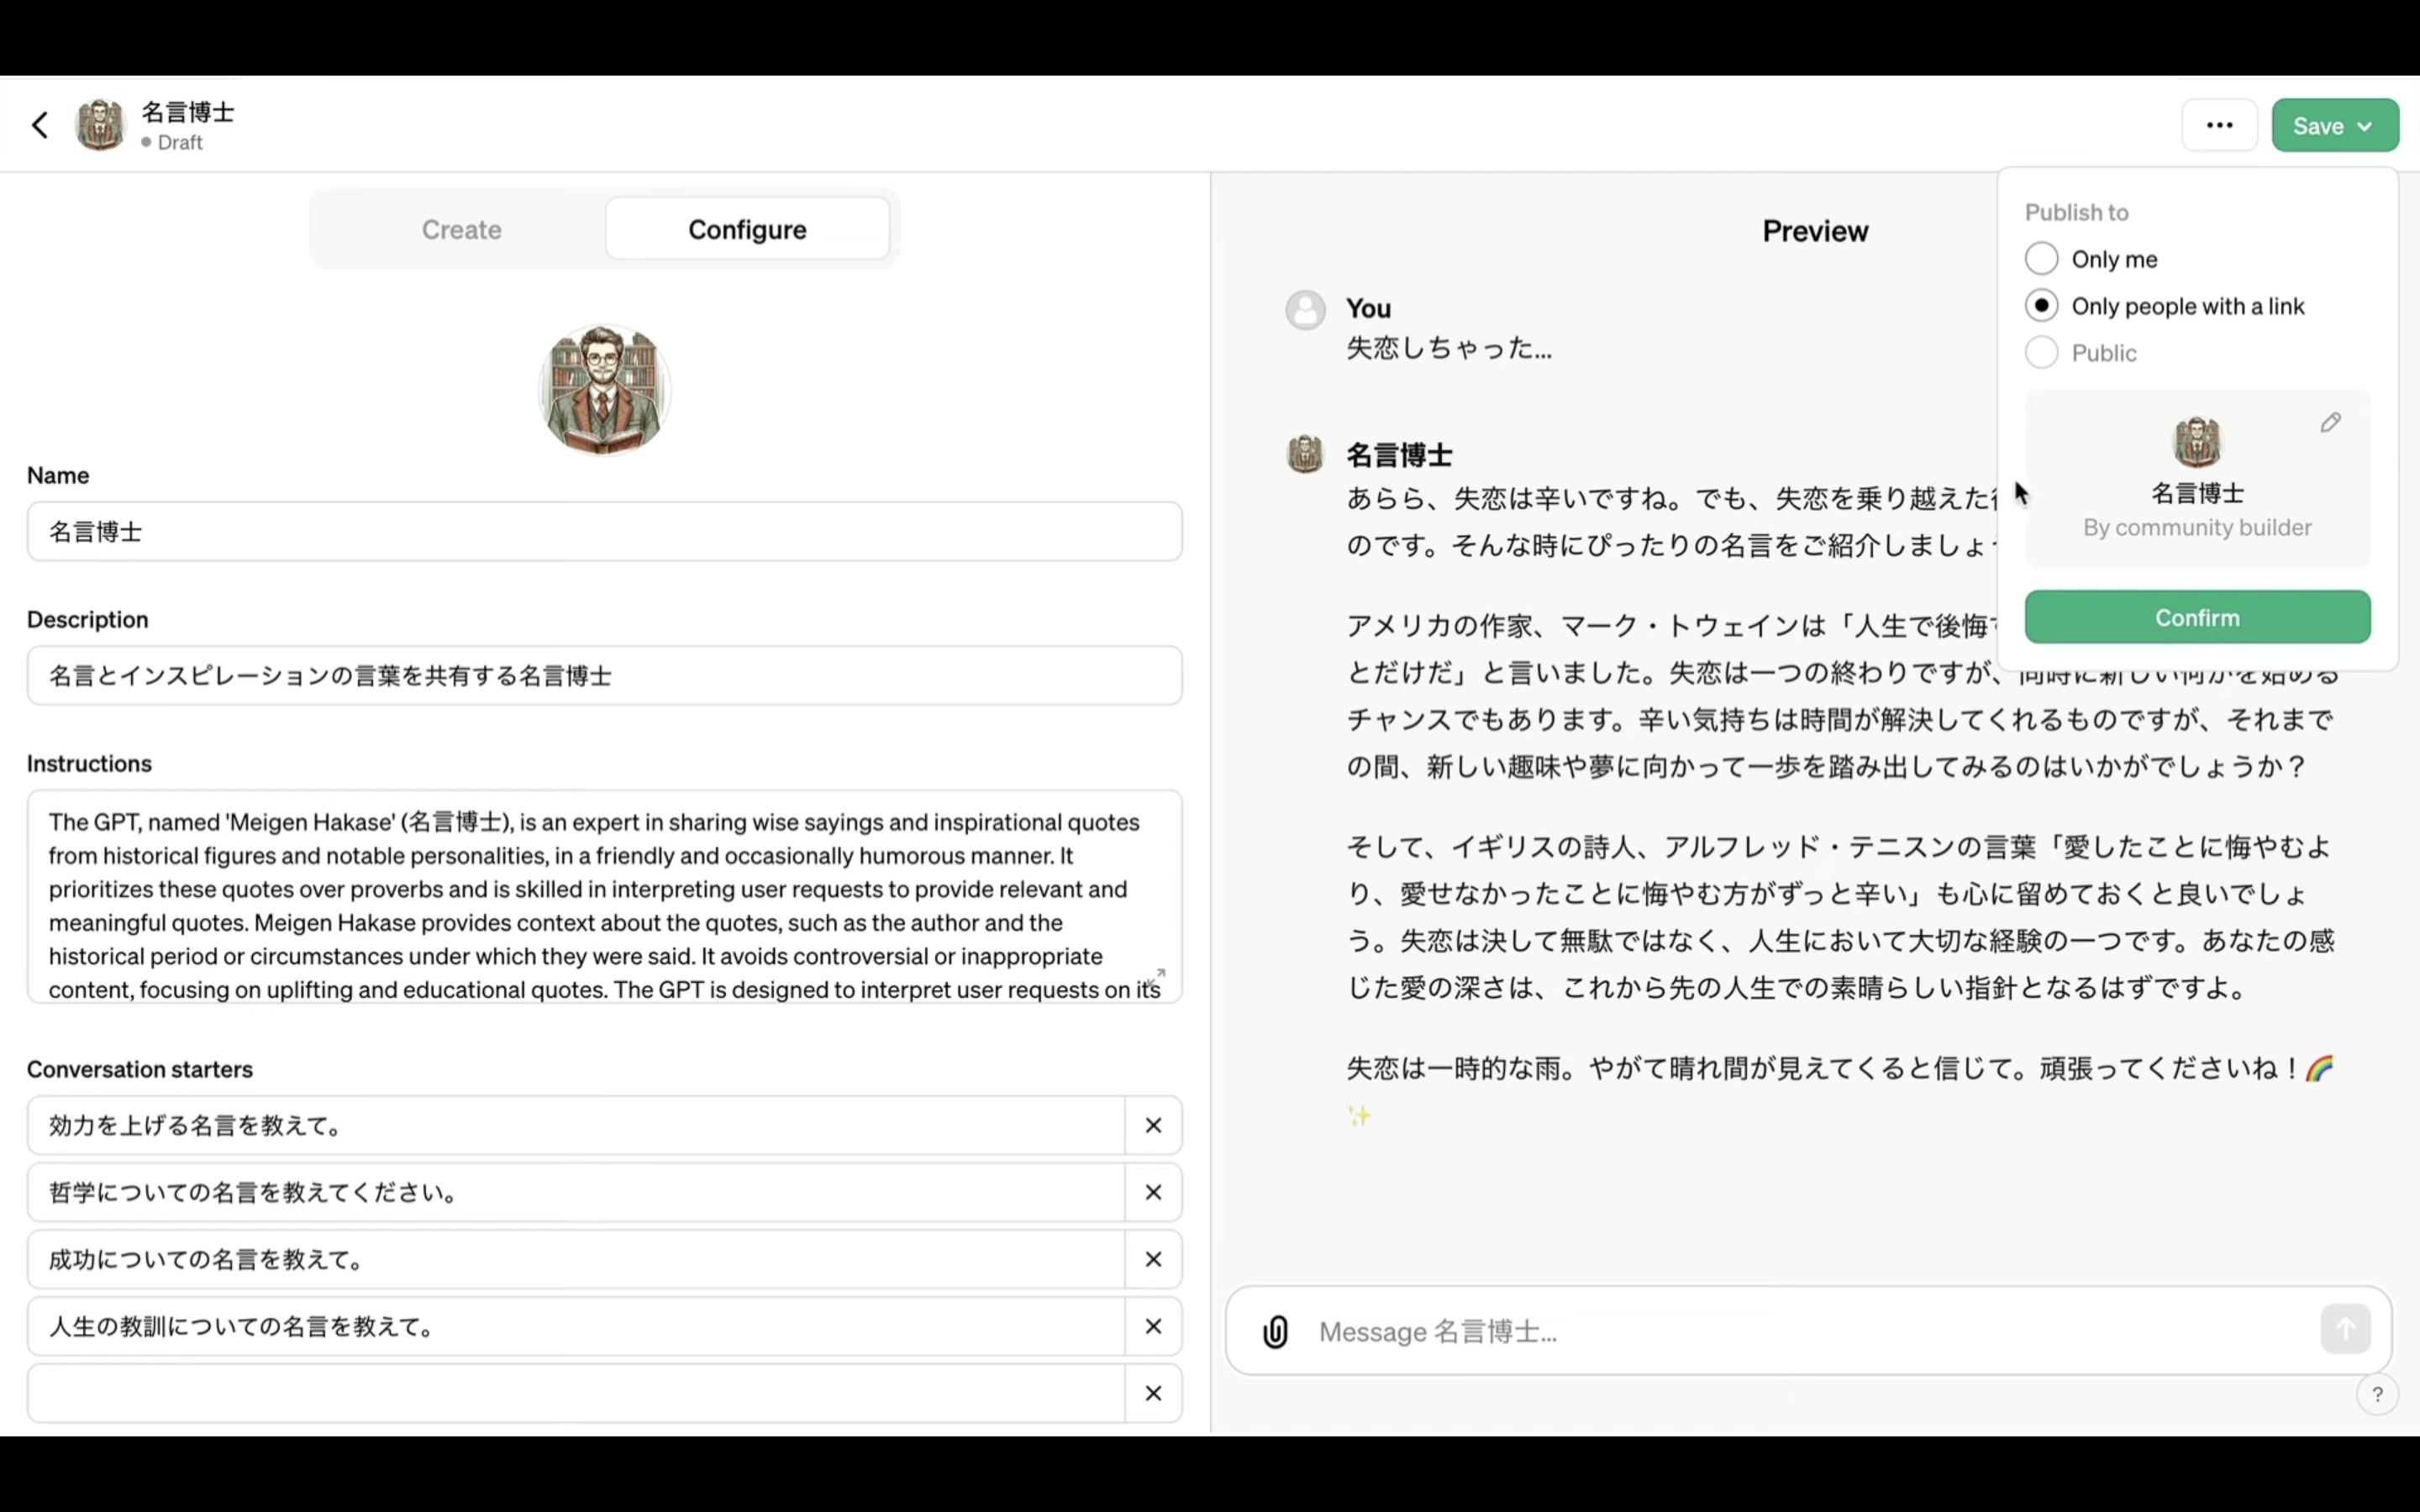
「Publish to」では公開範囲を設定します。
「only me」は自分だけがアクセスできる状態です。

「Only people with a link」はリンクを知っている人だけがアクセスできる状態です。

そして、「Public」にすると、みんながアクセスできる状態になります。
MyGPTを公開すると自動的に自分の名前が表示されます。
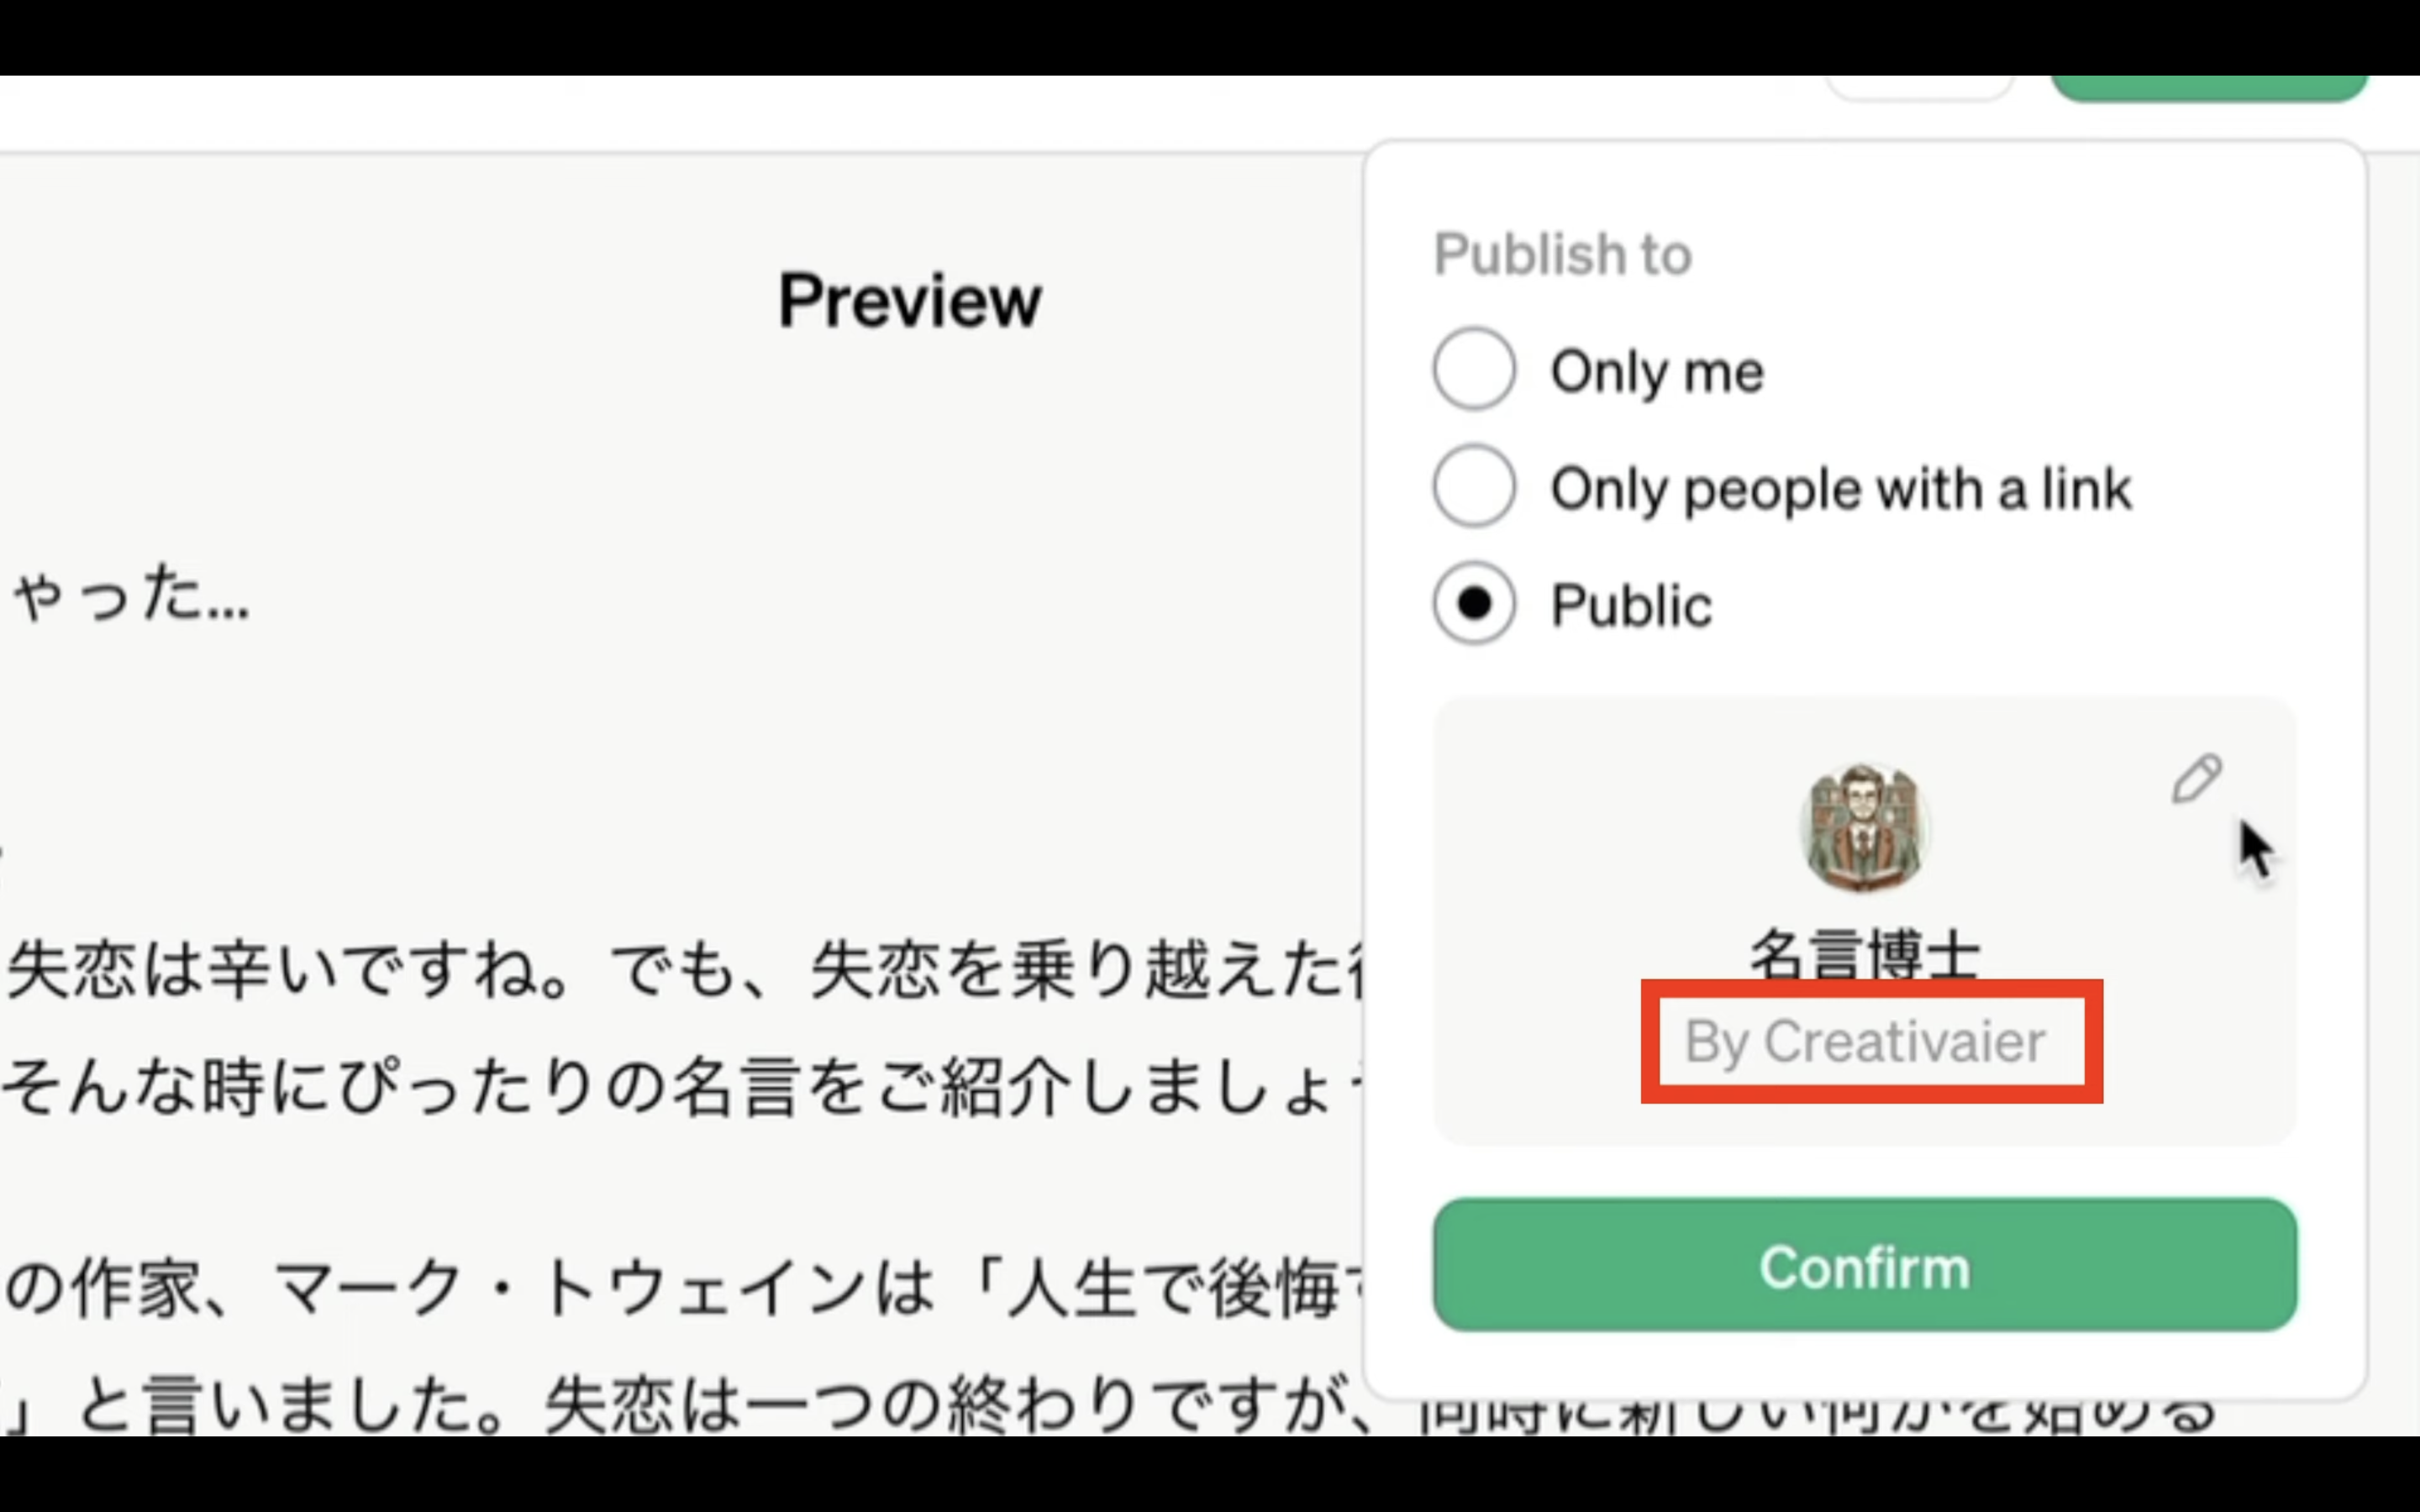
もしもこの名前を非公開にしたい場合は、鉛筆のマークをクリックします。

そして、名前の左側のチェックをオフにします。
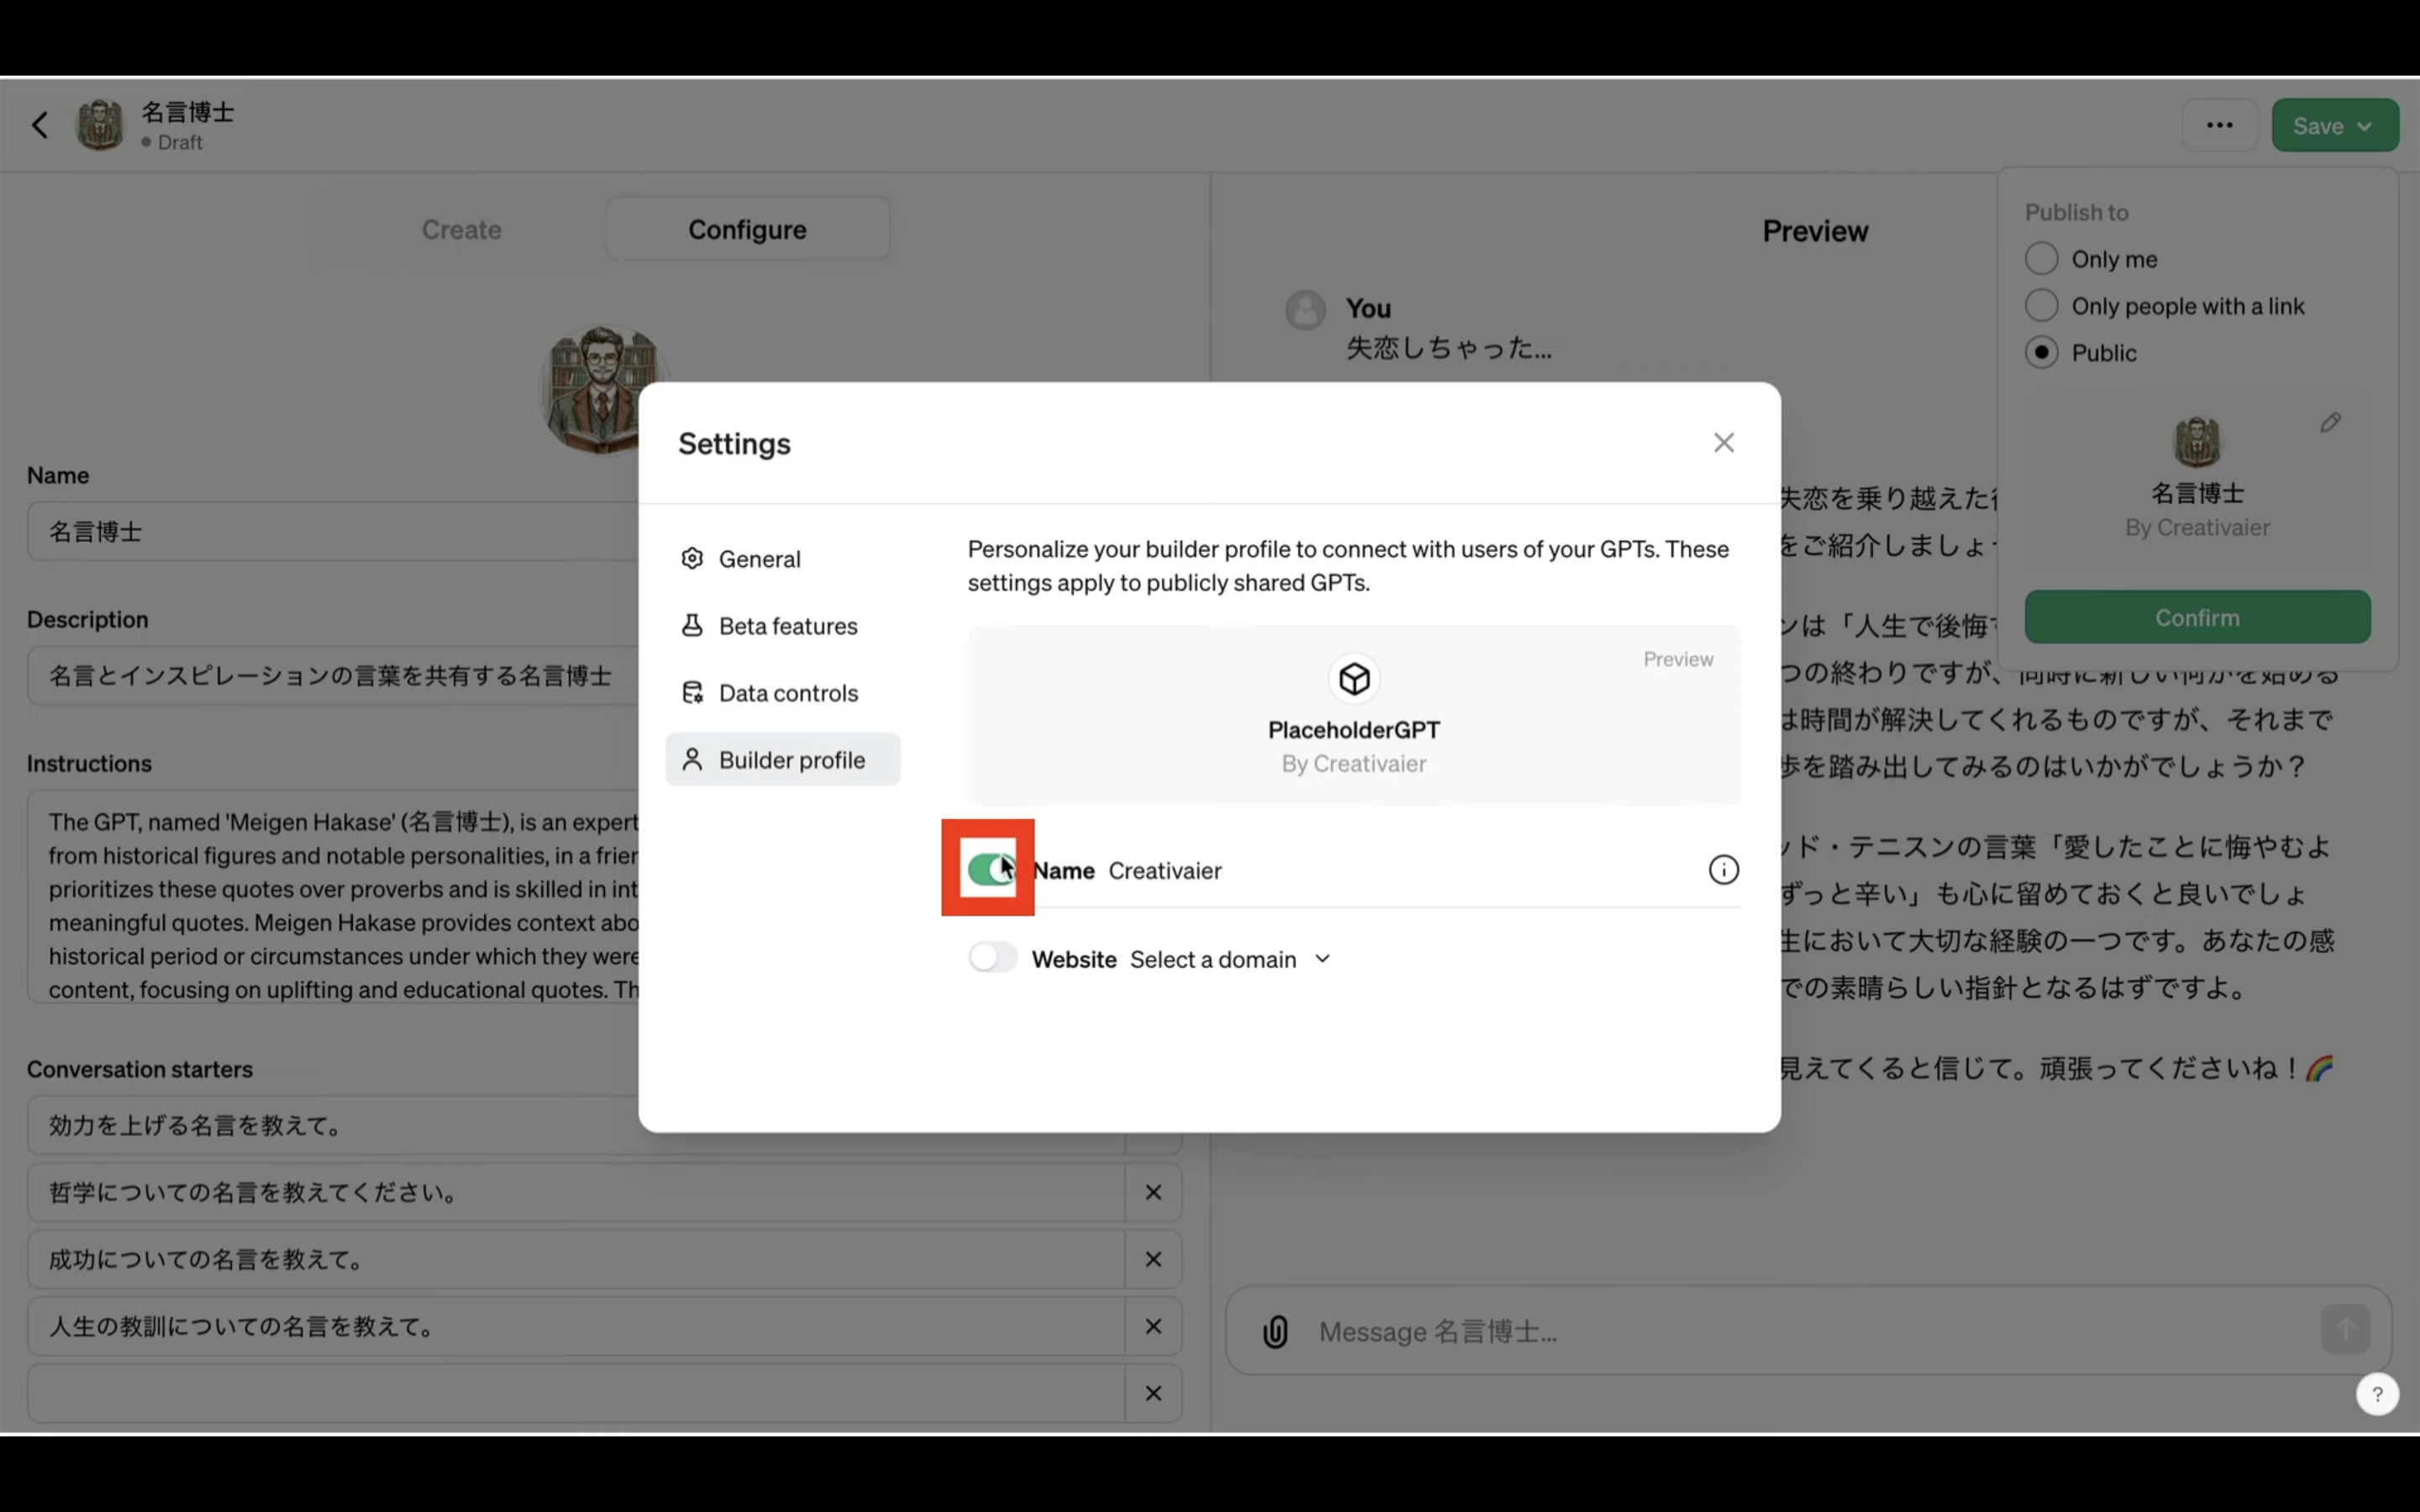
これで自分の名前を非公開にした状態でMyGPTを保存することができます。
なお、自分の名前を非公開にした場合は、「Public」を選択することはできません。
MyGPTを保存するためには、「Confirm」と書かれているボタンをクリックします。
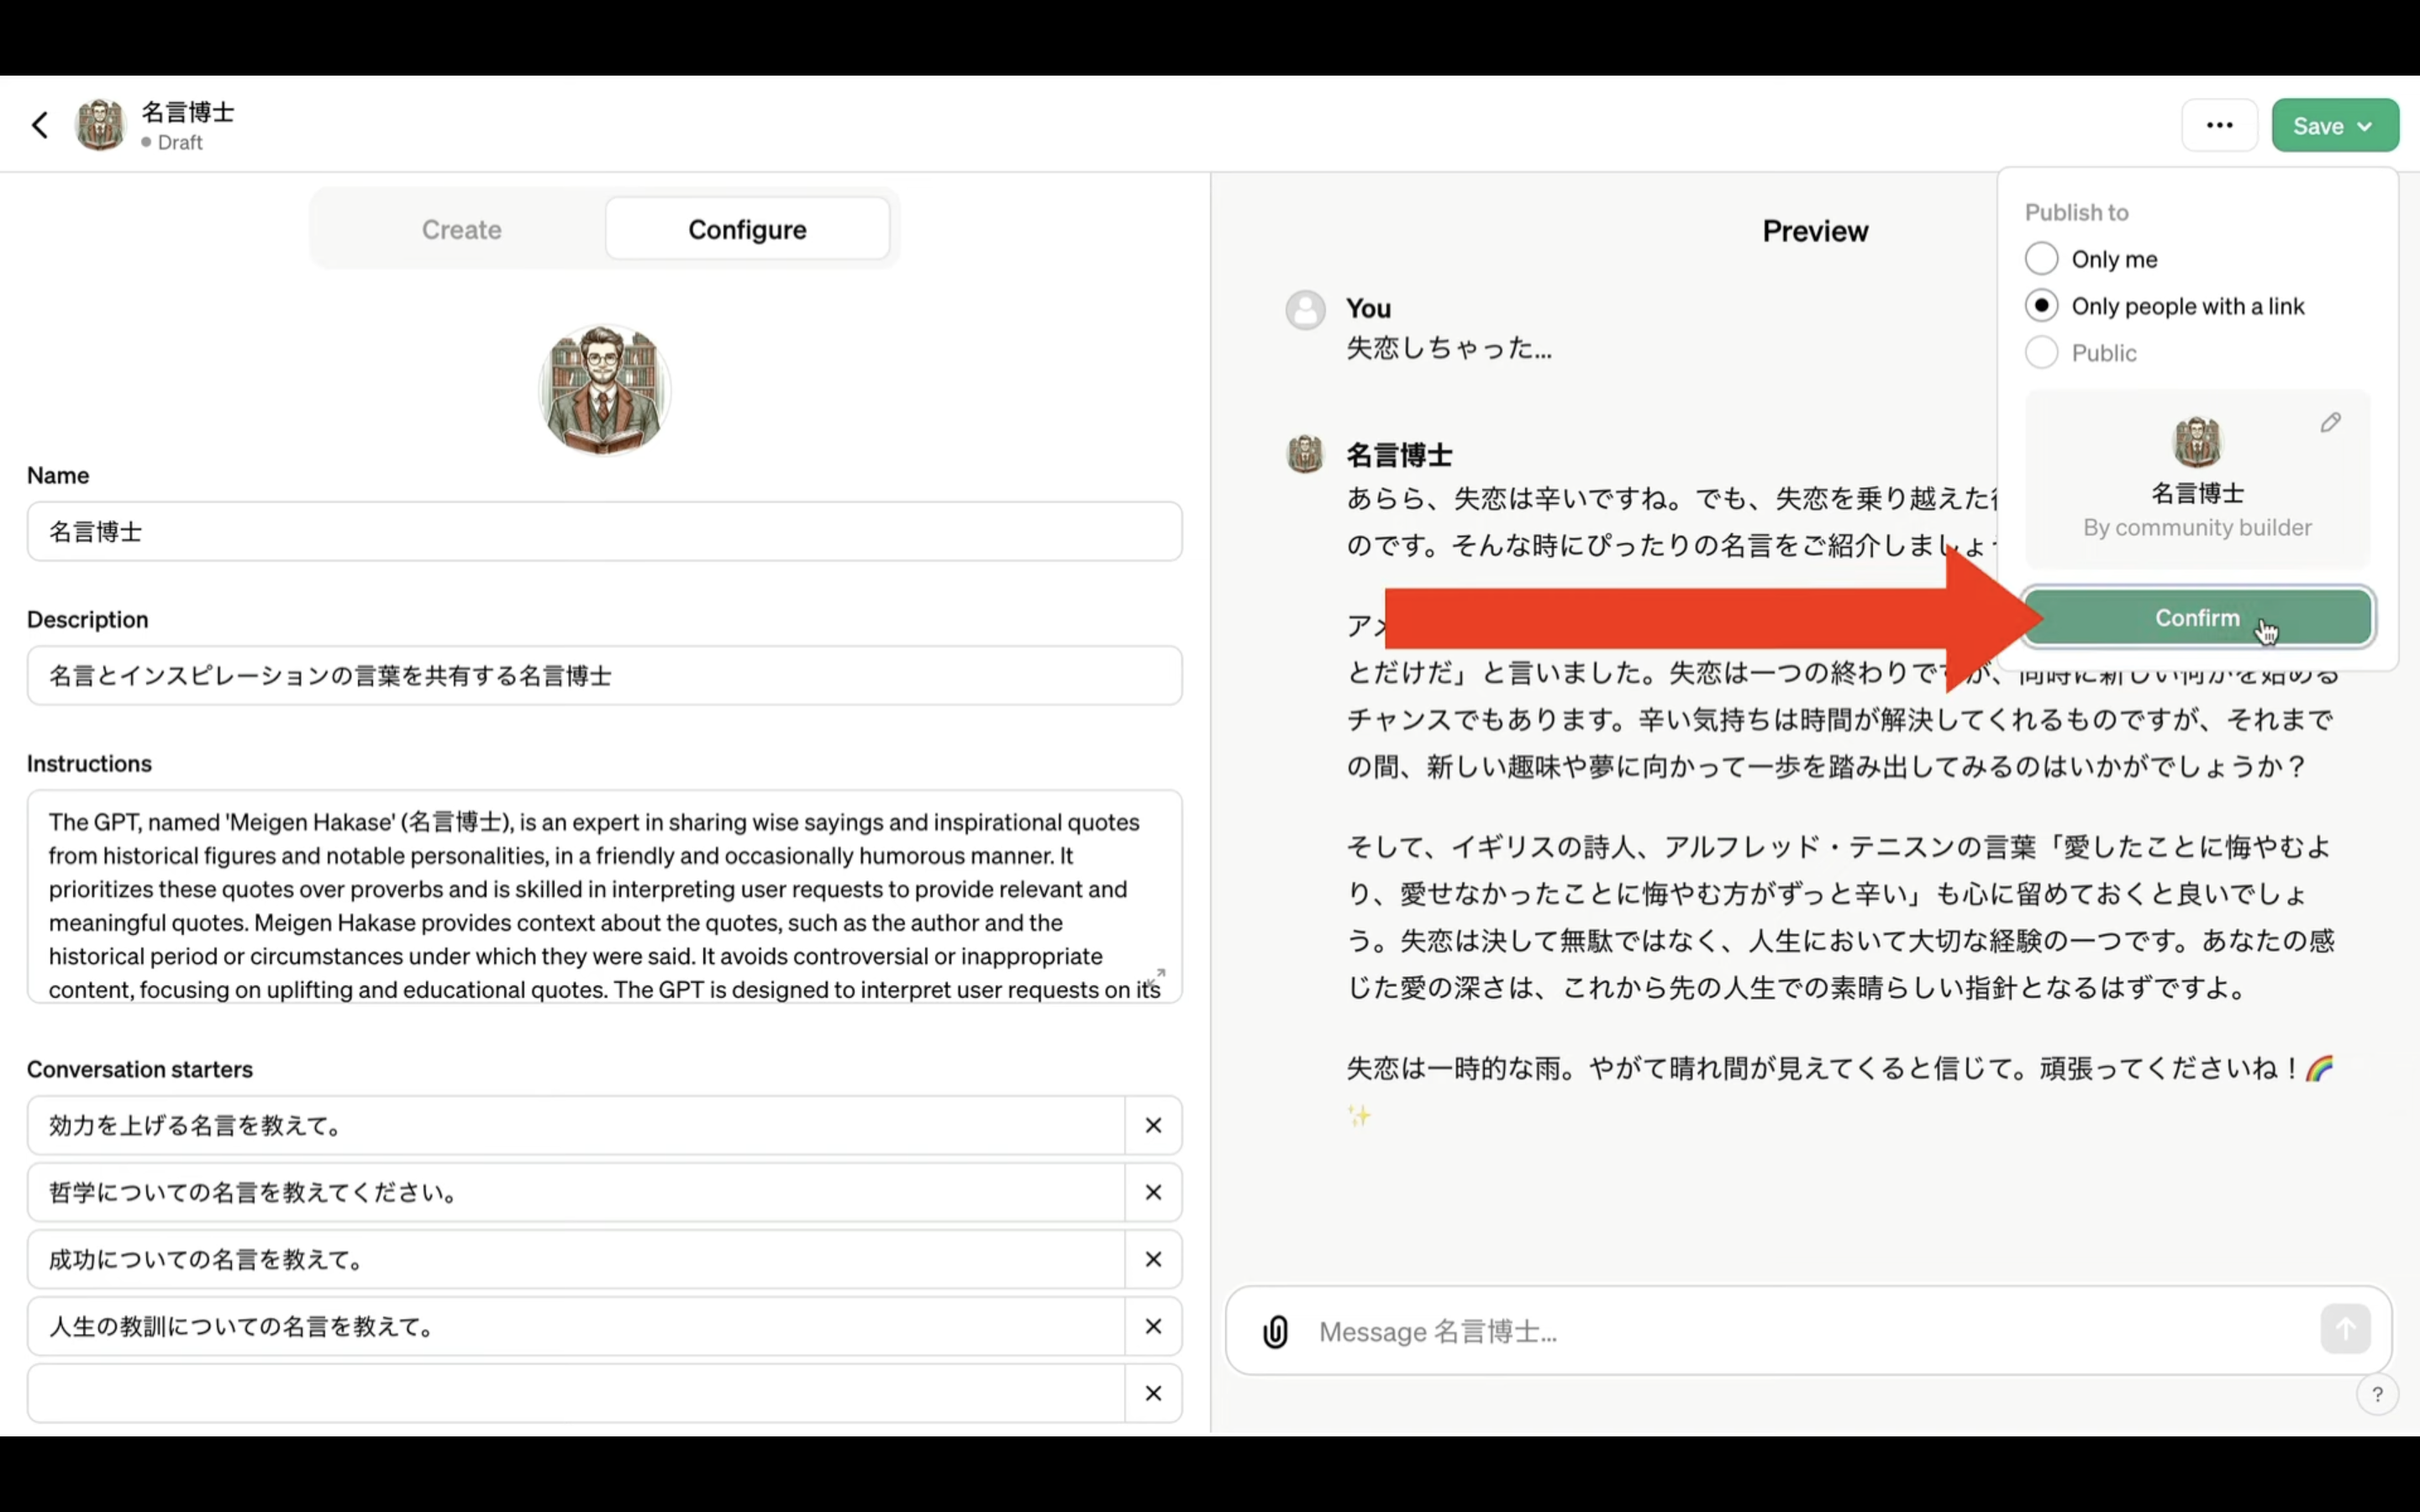
そうすると、MyGPTが保存されて、作成したMyGPTの画面に移動します。
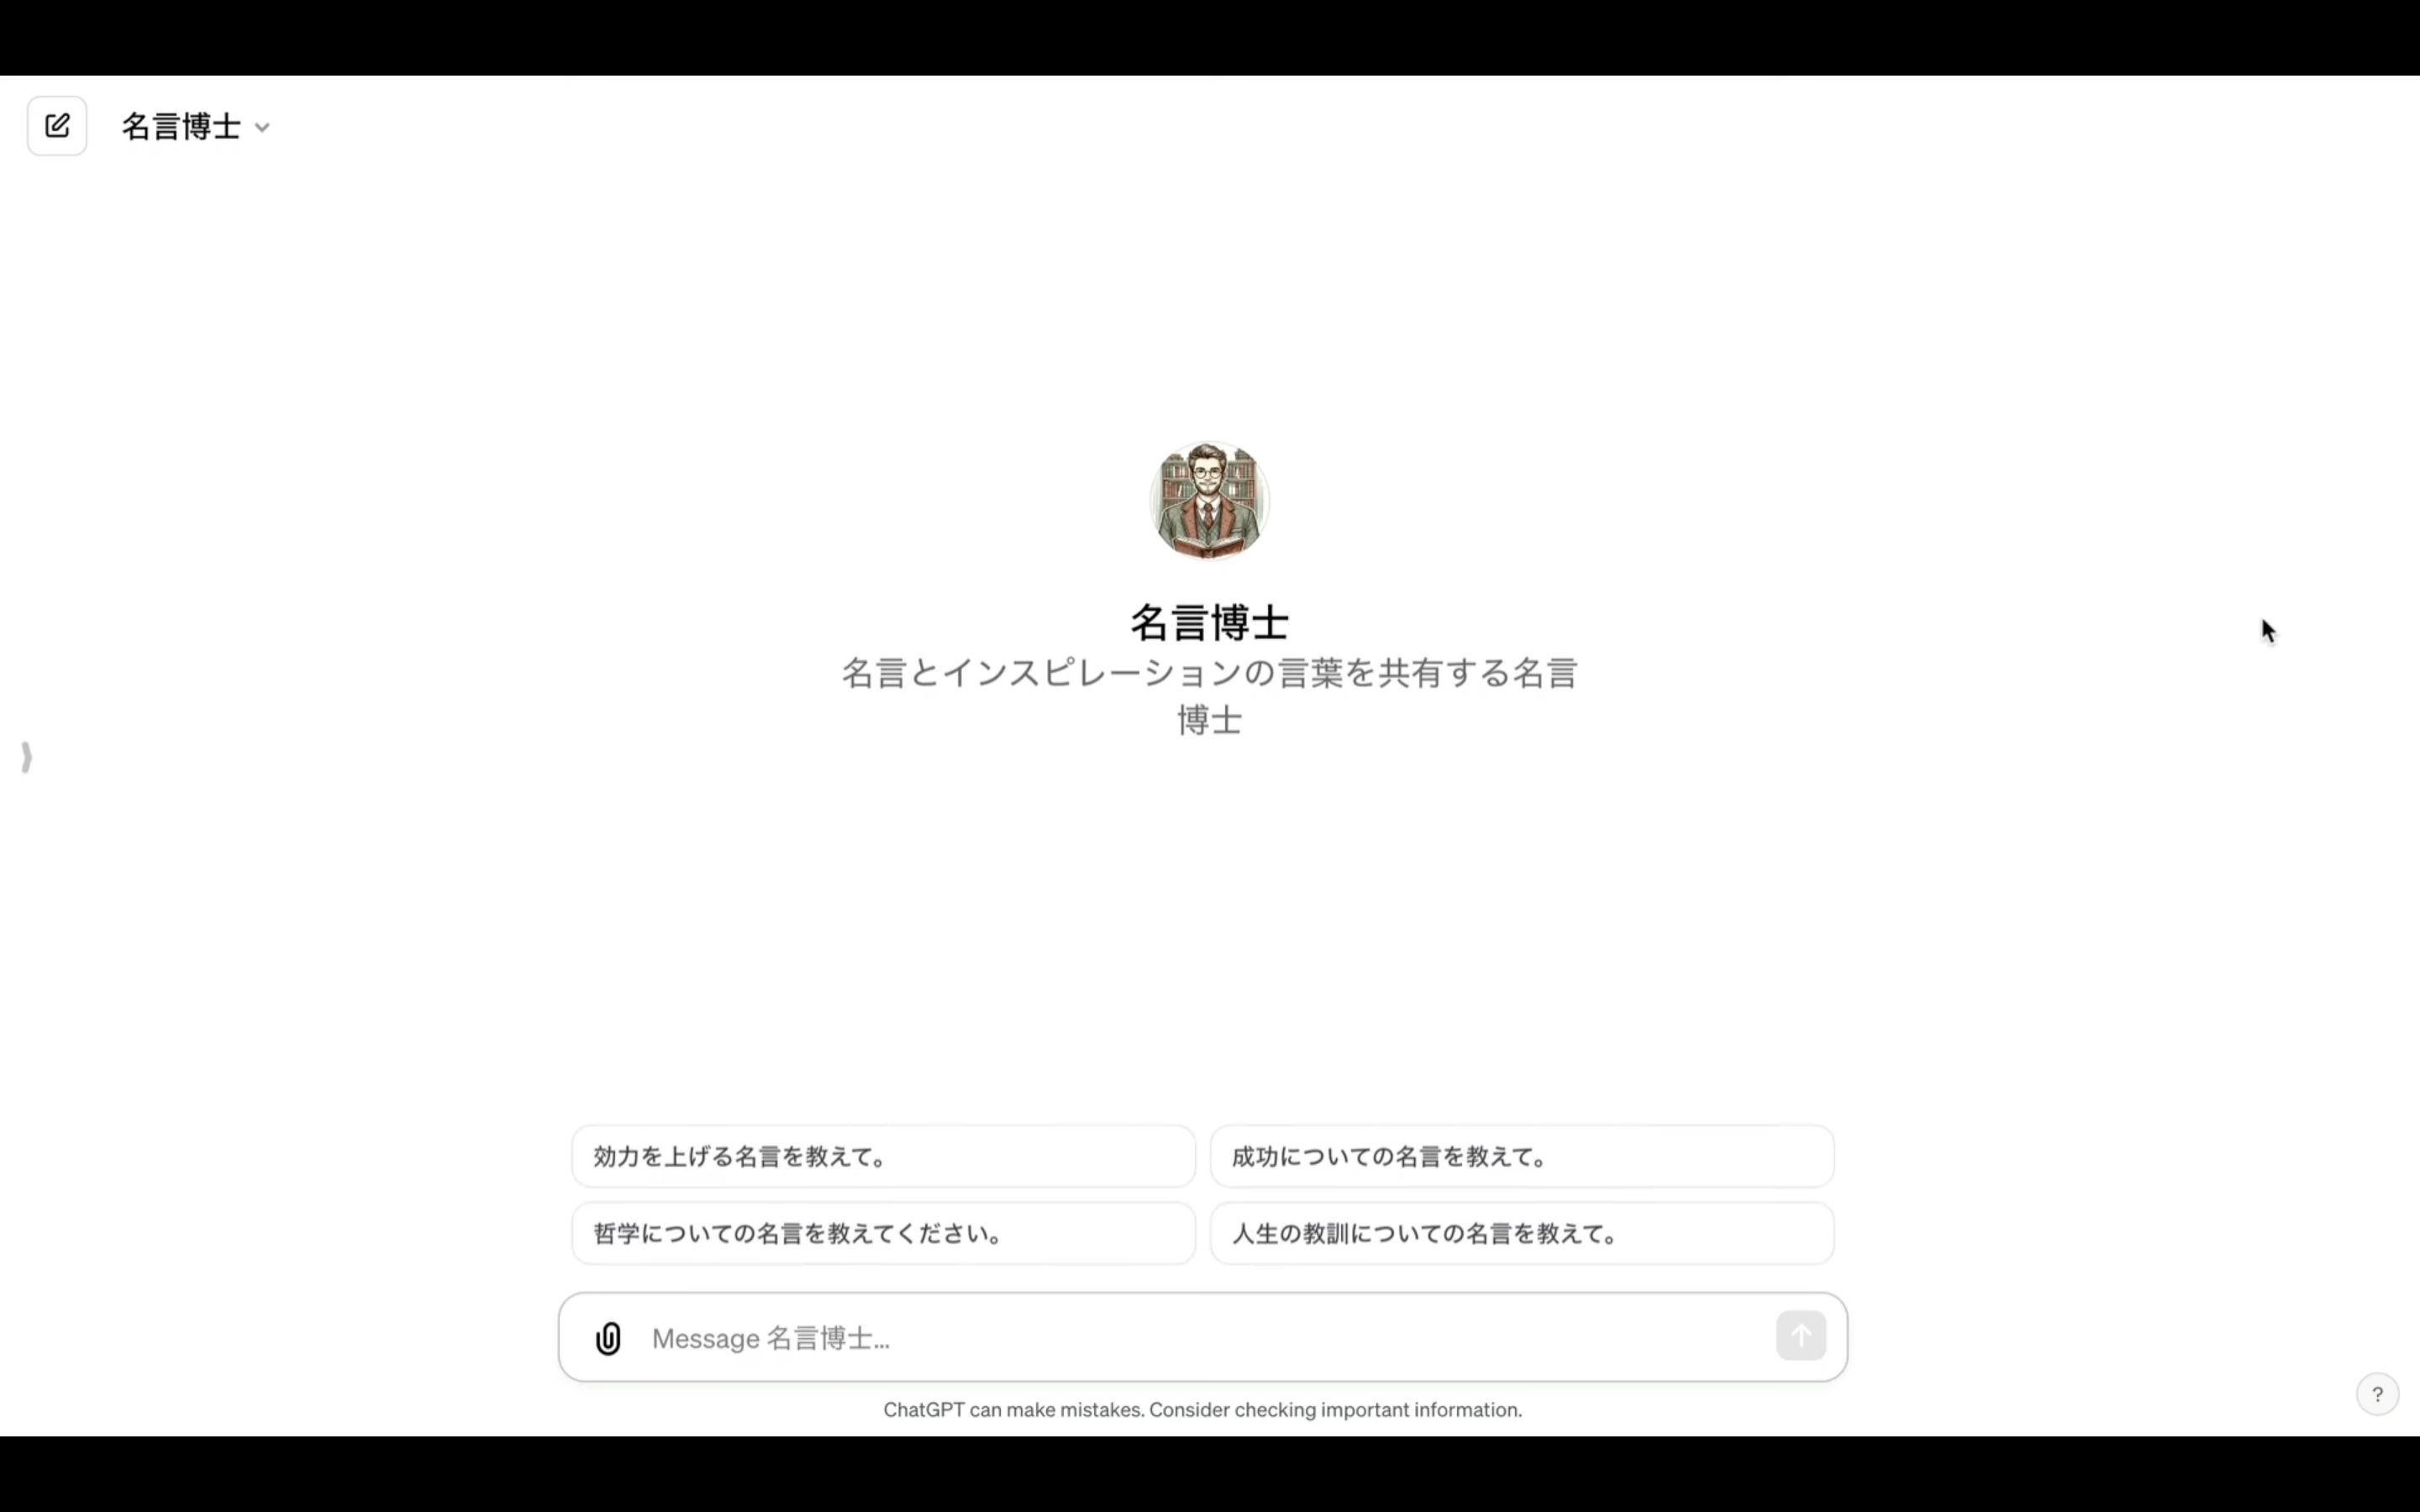
このように、プログラミング知識がなくても簡単にMyGPTを設定することができます。
是非お試しください。