▶︎動画でも話してるので、文章読むのが面倒な方はこちらをみてもらえればと思います。
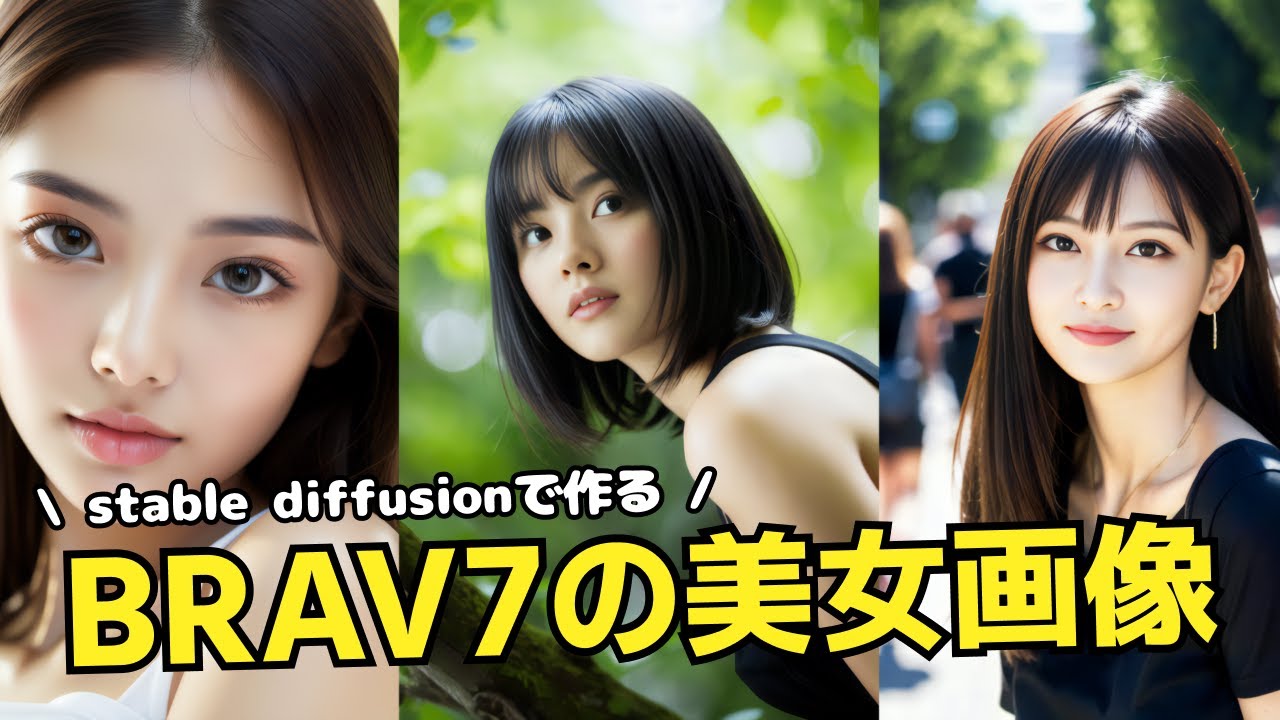
今回はAI美女を生成するための必須ツールと言っても過言ではないBRA7で画像を生成する方法をご紹介します。
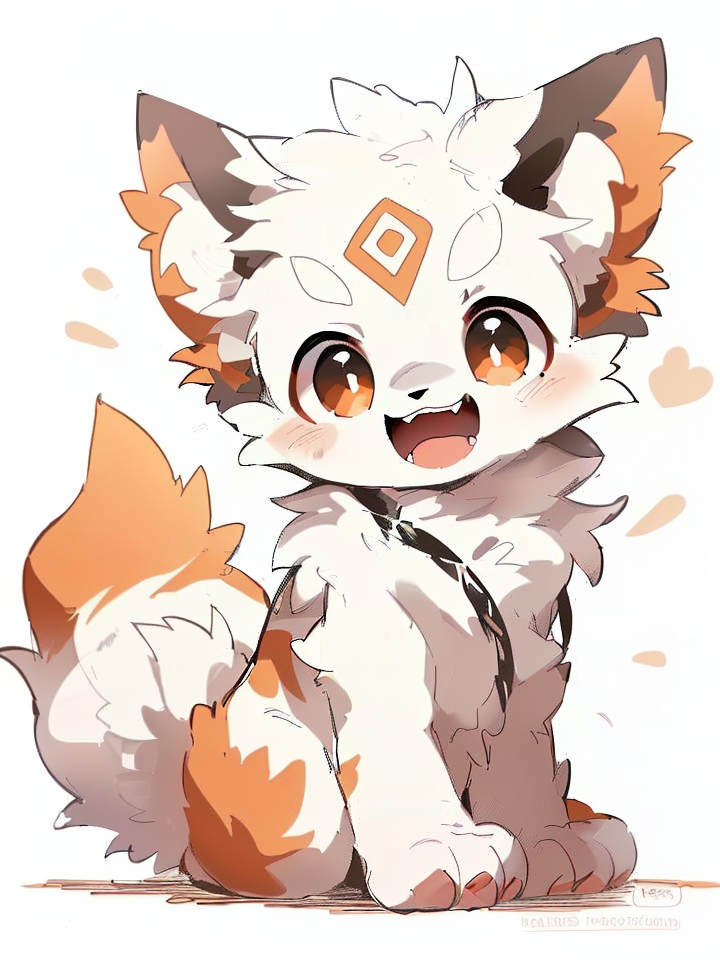
この記事を最後まで見ていただければこのような画像を生成する方法を理解することができます。
ぜひ最後までご覧ください。
その頭文字を取ってBRAと表記されています。
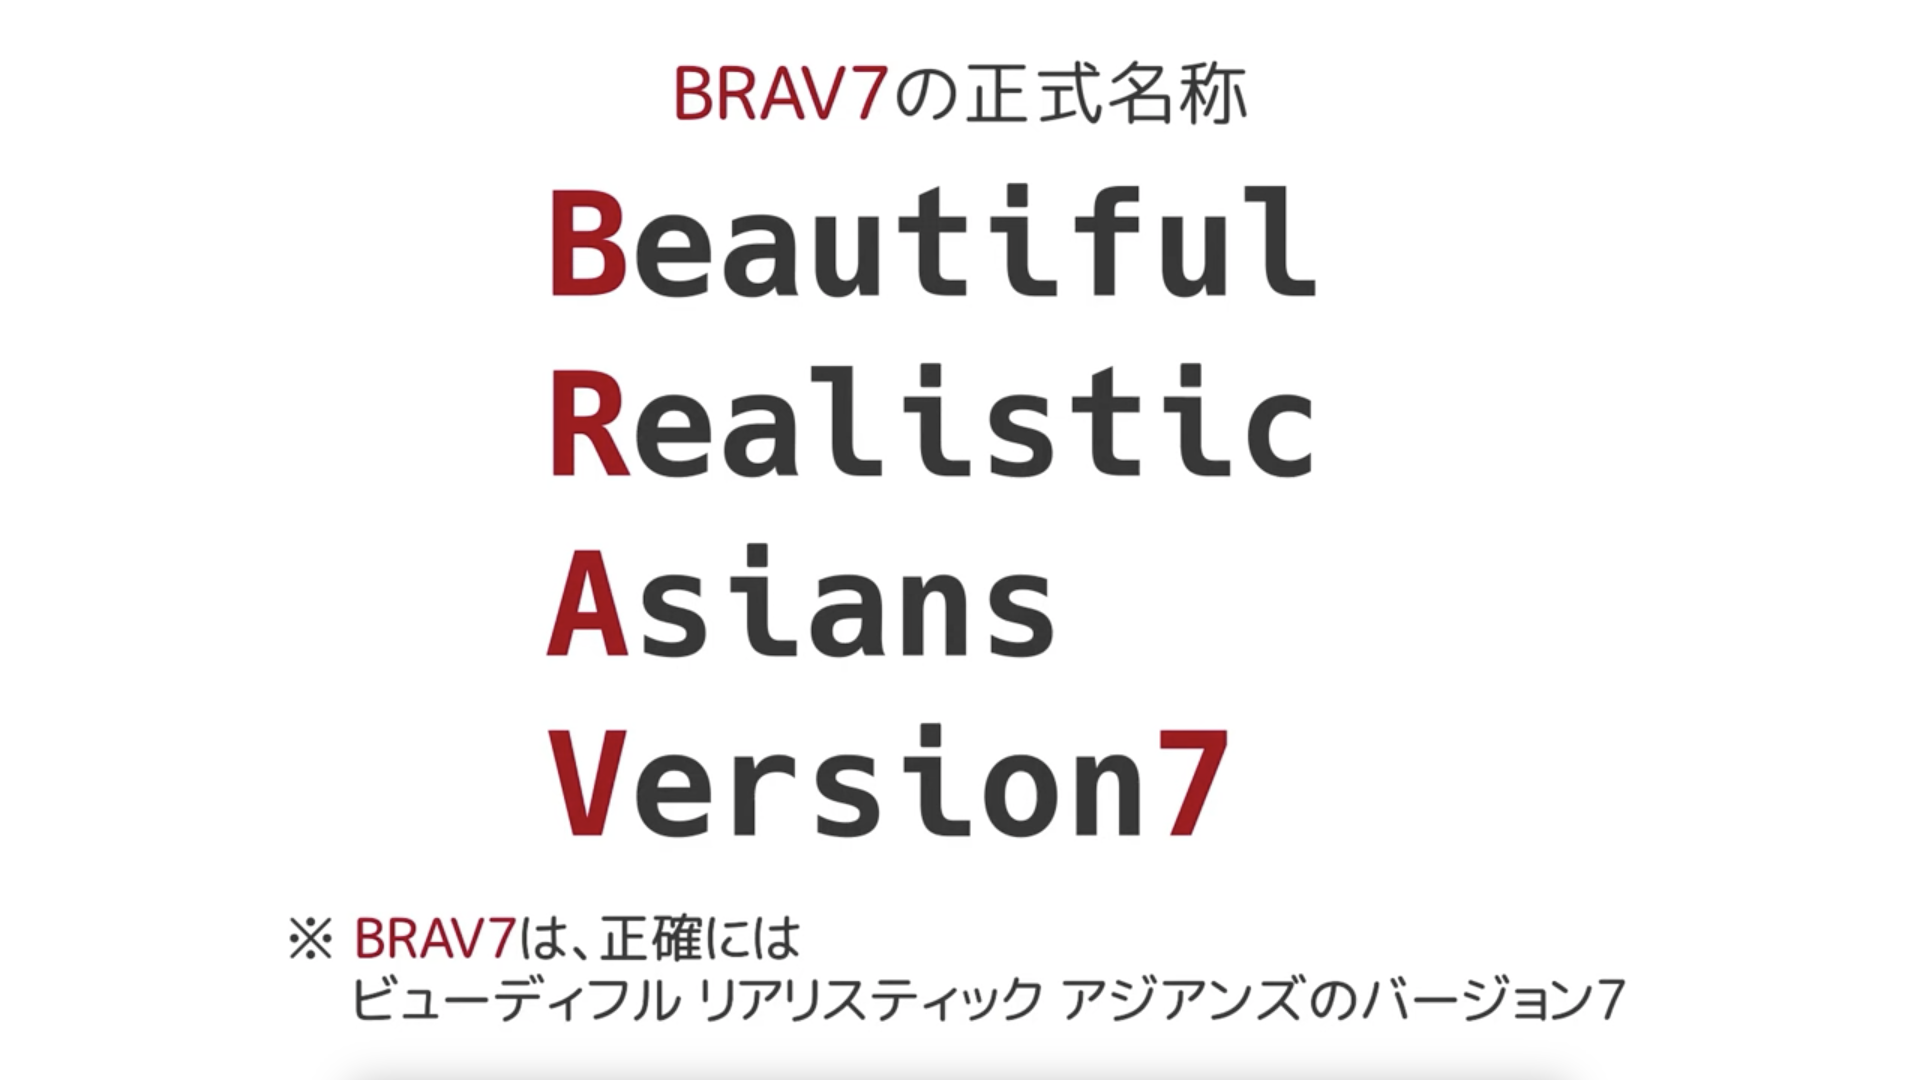
そしてそのモデルのバージョンが7なのでV7が後ろについています。
そのため正確にはBeautiful Realistic Asiansのバージョン7ですがこの記事では省略してブラ7と呼んでいます。

これを読めば誰でも簡単にクオリティーの高いAI美女が作れるようになっているので興味がある人は、下のバナーをクリックして購入してみてね🎶

BRAV7×Stable DiffusionでAI美女画像を作成する方法
それでは早速BRA7を利用する方法を確認していきましょう。
BRA7はStable Diffusionなどで利用するチェックポイントと呼ばれるモデルの名称
です。
Stable Diffusionとは?
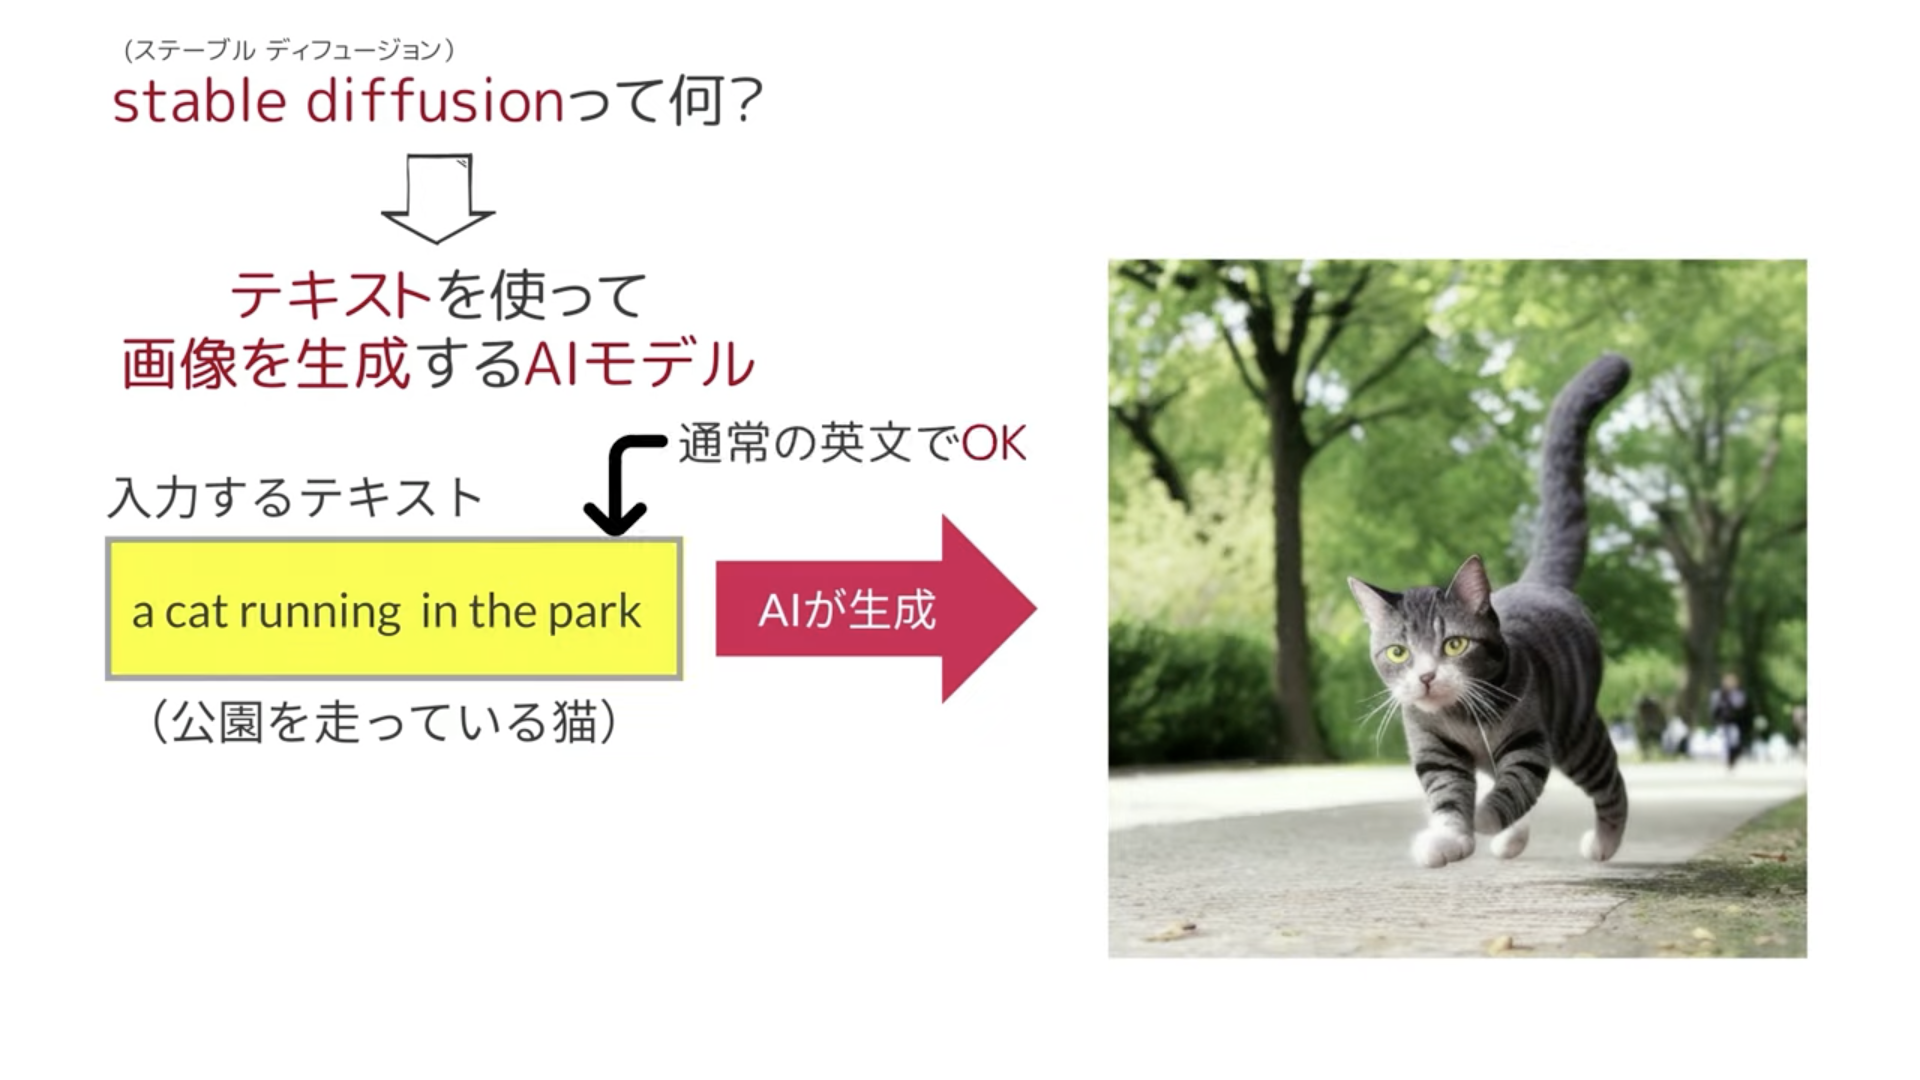
Stable Diffusionはテキストを使って画像を生成するAIモデルです。
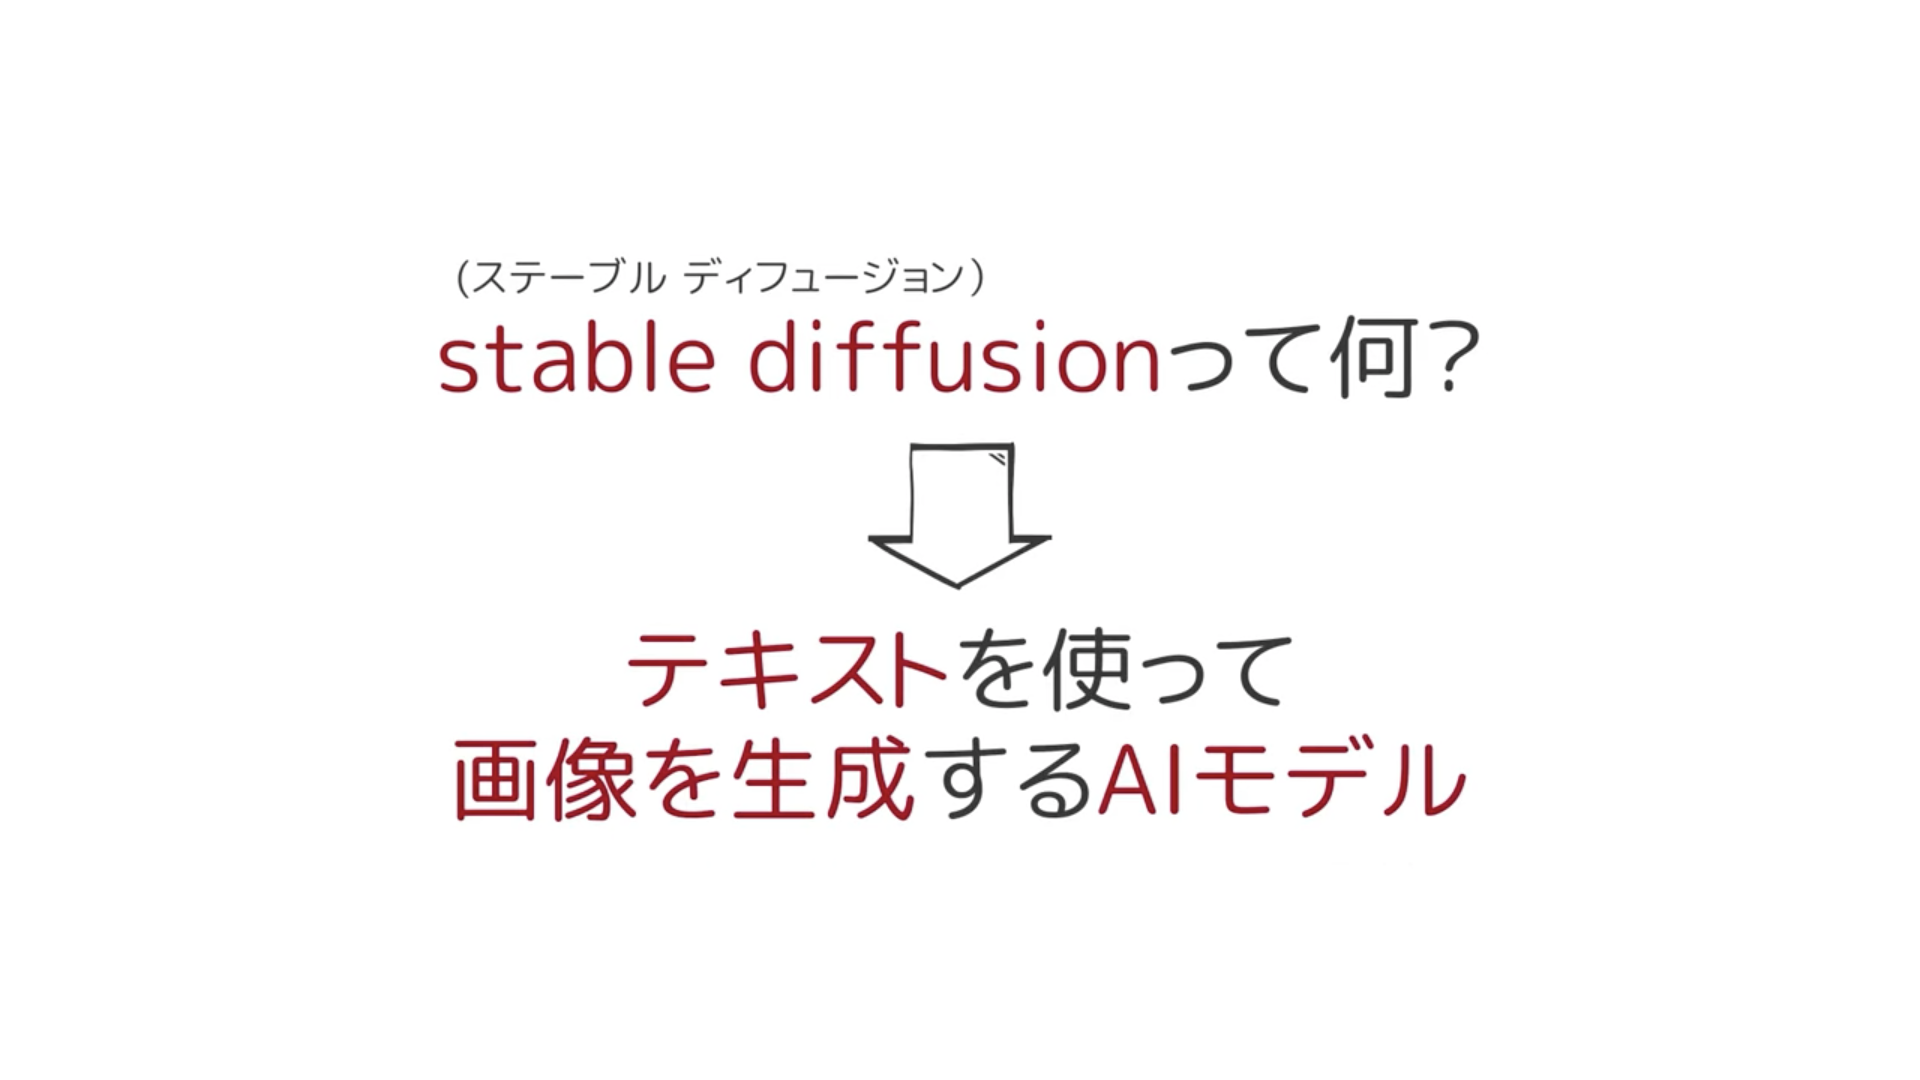
ユーザーは英単語で作成したい画像のイメージを入力するだけで自動で
クオリティの高い画像を作成することができます。
プログラムの知識がなくてもテキストを入力するだけなので誰でも簡単
に使うことができます。
基本操作はテキスト入力のみで細かなカスタムオプションもありますが、テキストが画像
生成の中心になります。
この解説ではステーブルディフュージョンを利用するためにGoogle Colabを使い
ます。
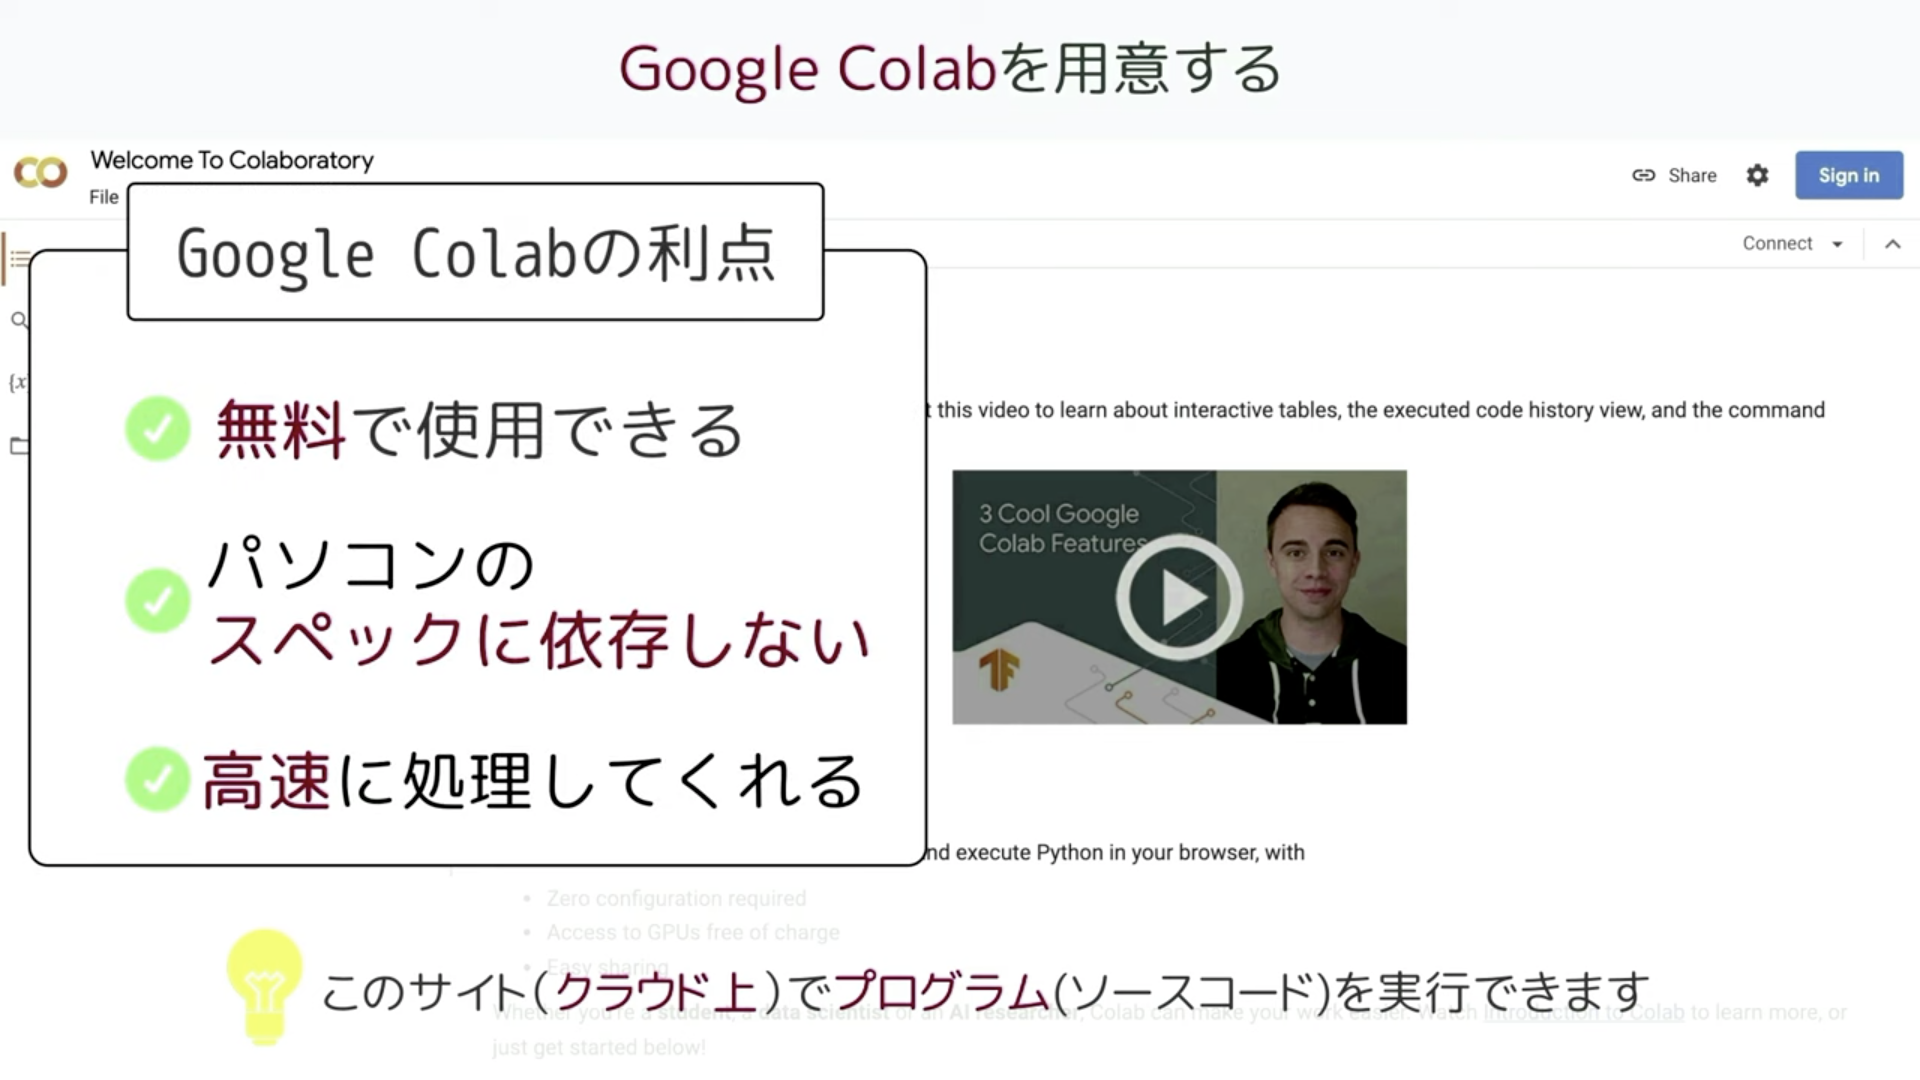
Google Colabを用意する
Google Colabはクラウド上でプログラミングを実行することができるGoogleが提供しているツールです。
無料で使用することができ自分のパソコンのスペックに依存せず高速な処理を行う
ことができるのが大きな利点です。
Googleアカウントを持っていれば誰でもGoogle Colabを使用することができます。
Google Colabのサイトにアクセスしたらこのような画面が表示さ
れると思います。
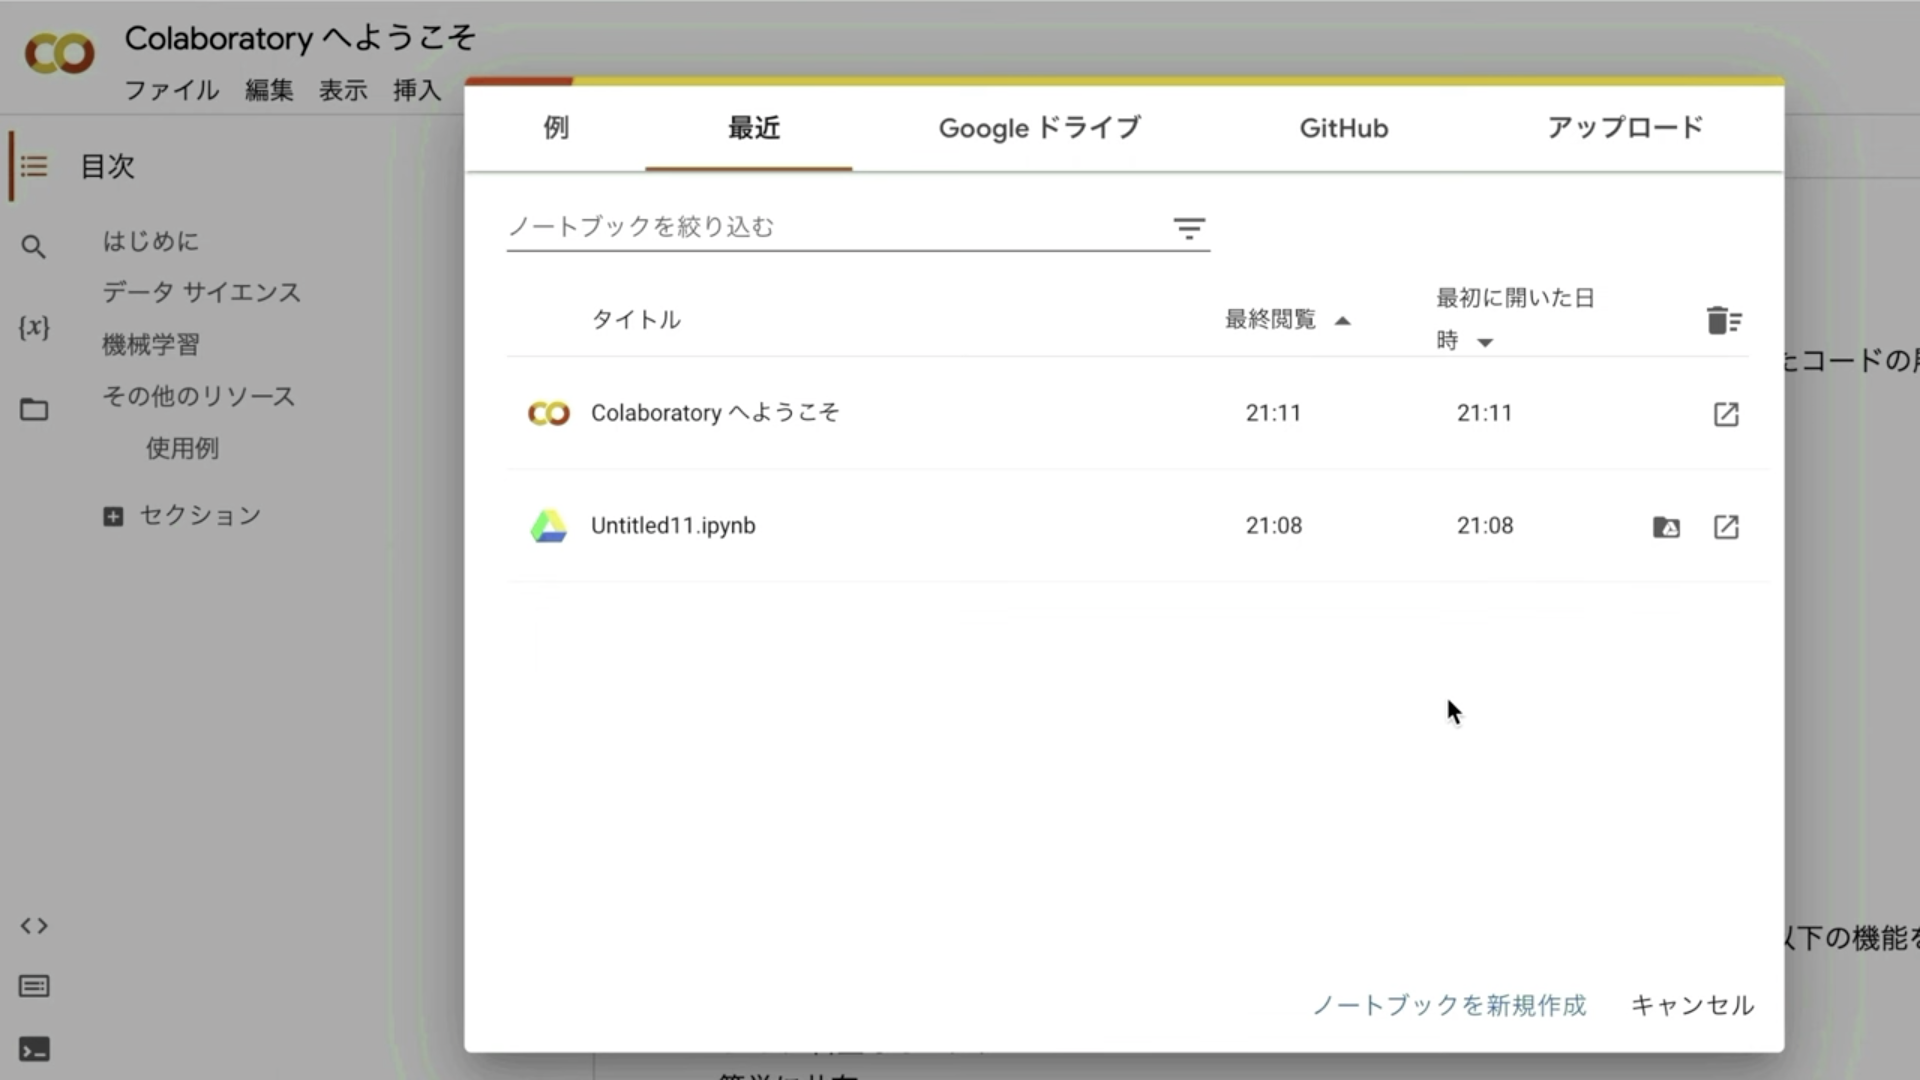
表示されているポップアップ画面の右下にある『ノートブックを新規作成』と書かれているテキストをクリックします。
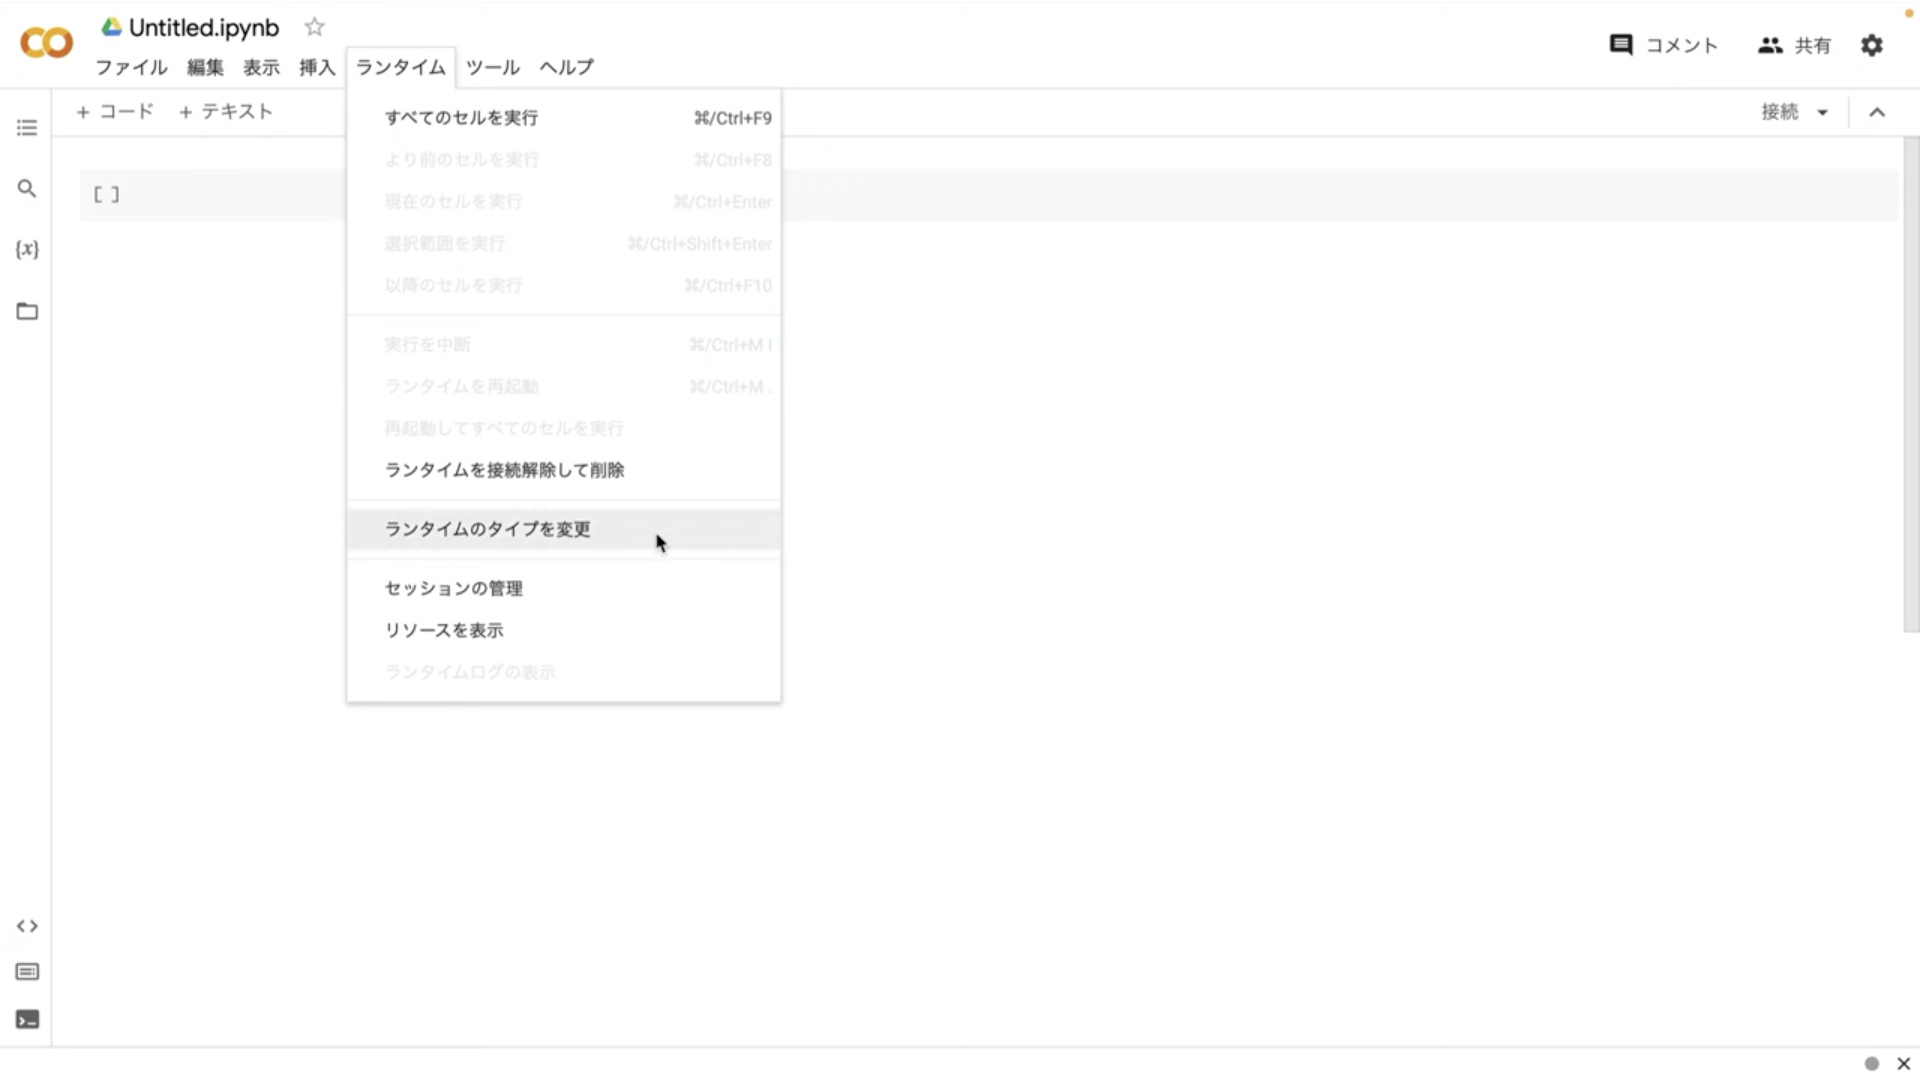
次にランタイムのボタンをクリックしランタイムのタイプを変更をクリックします。
ランタイムのタイプはPython3のままで大丈夫です。
ハードウェアアクセラレーターはT4GPUを選択しておきましょう。
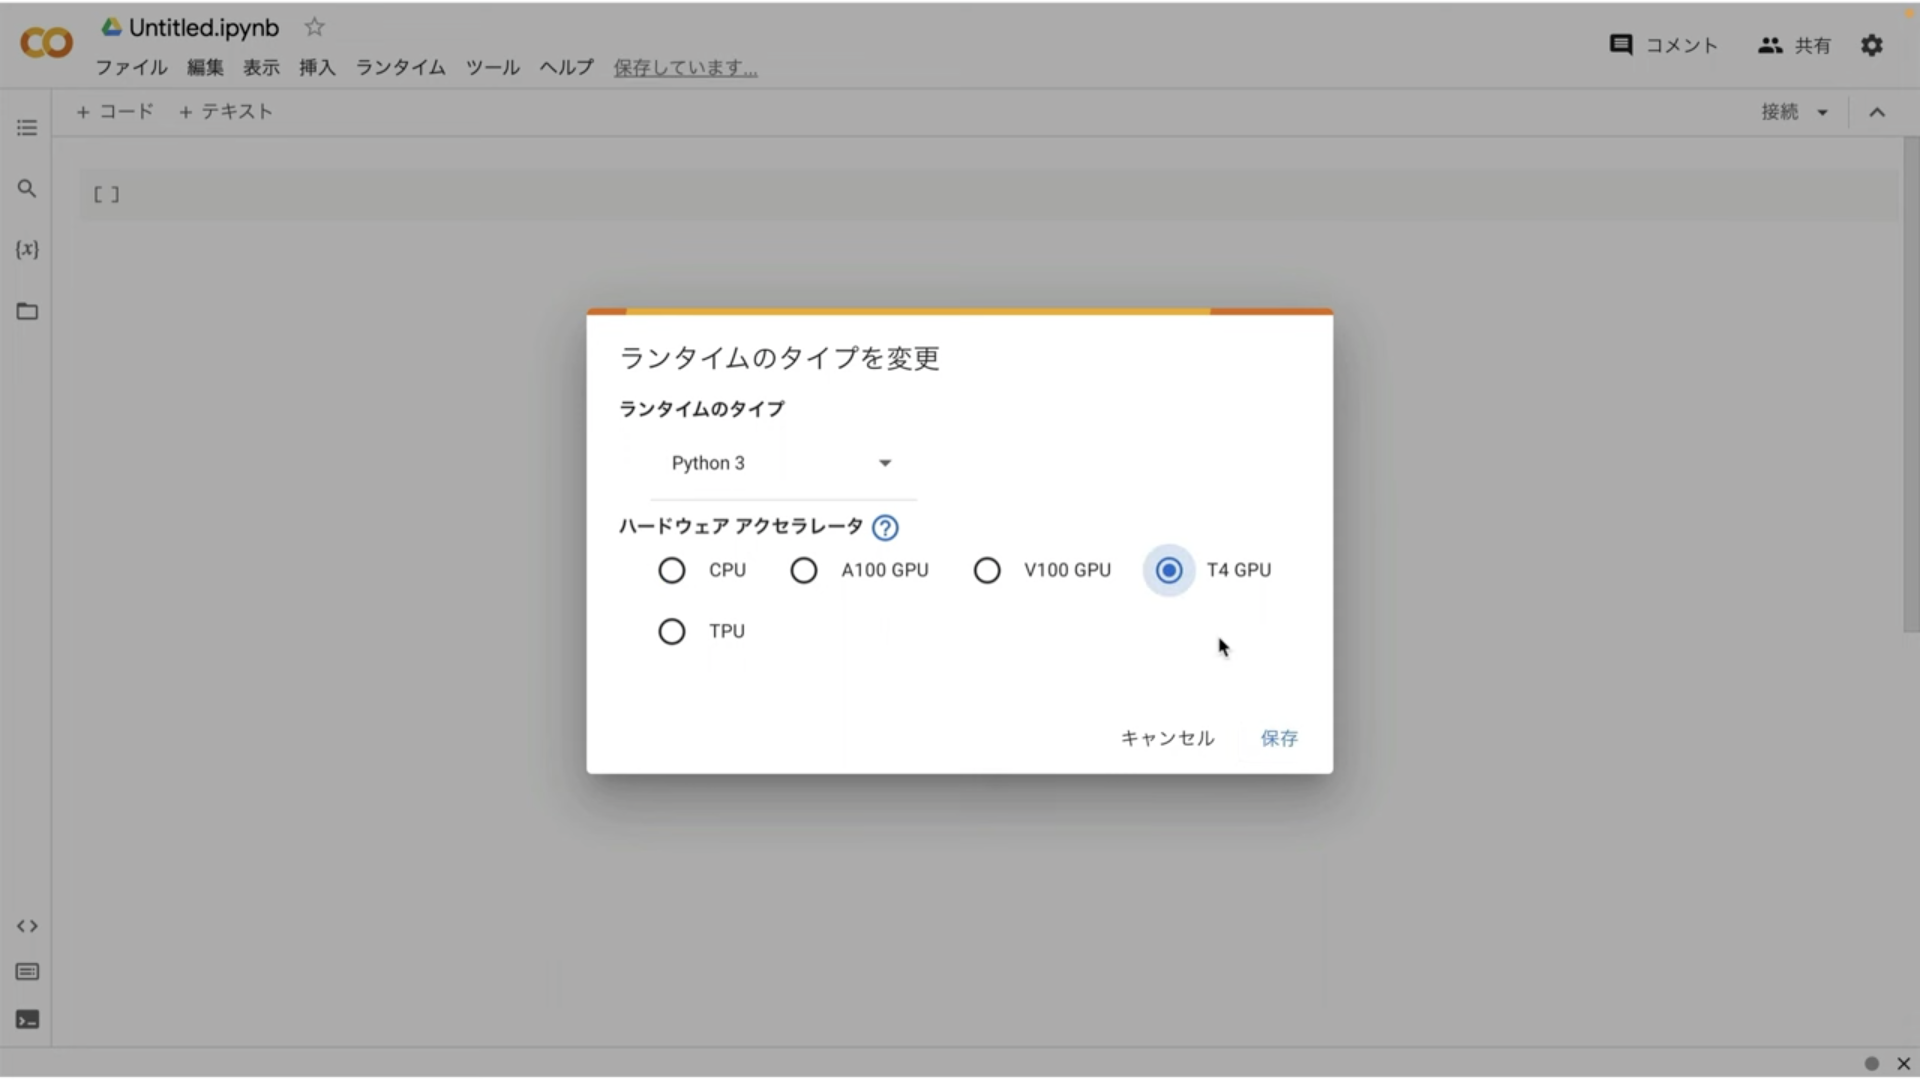
ノートブックの設定を指定したら右下の保存ボタンをクリックします。
これでGoogle ColabでStable Diffusionを実行するための準備が整いました。
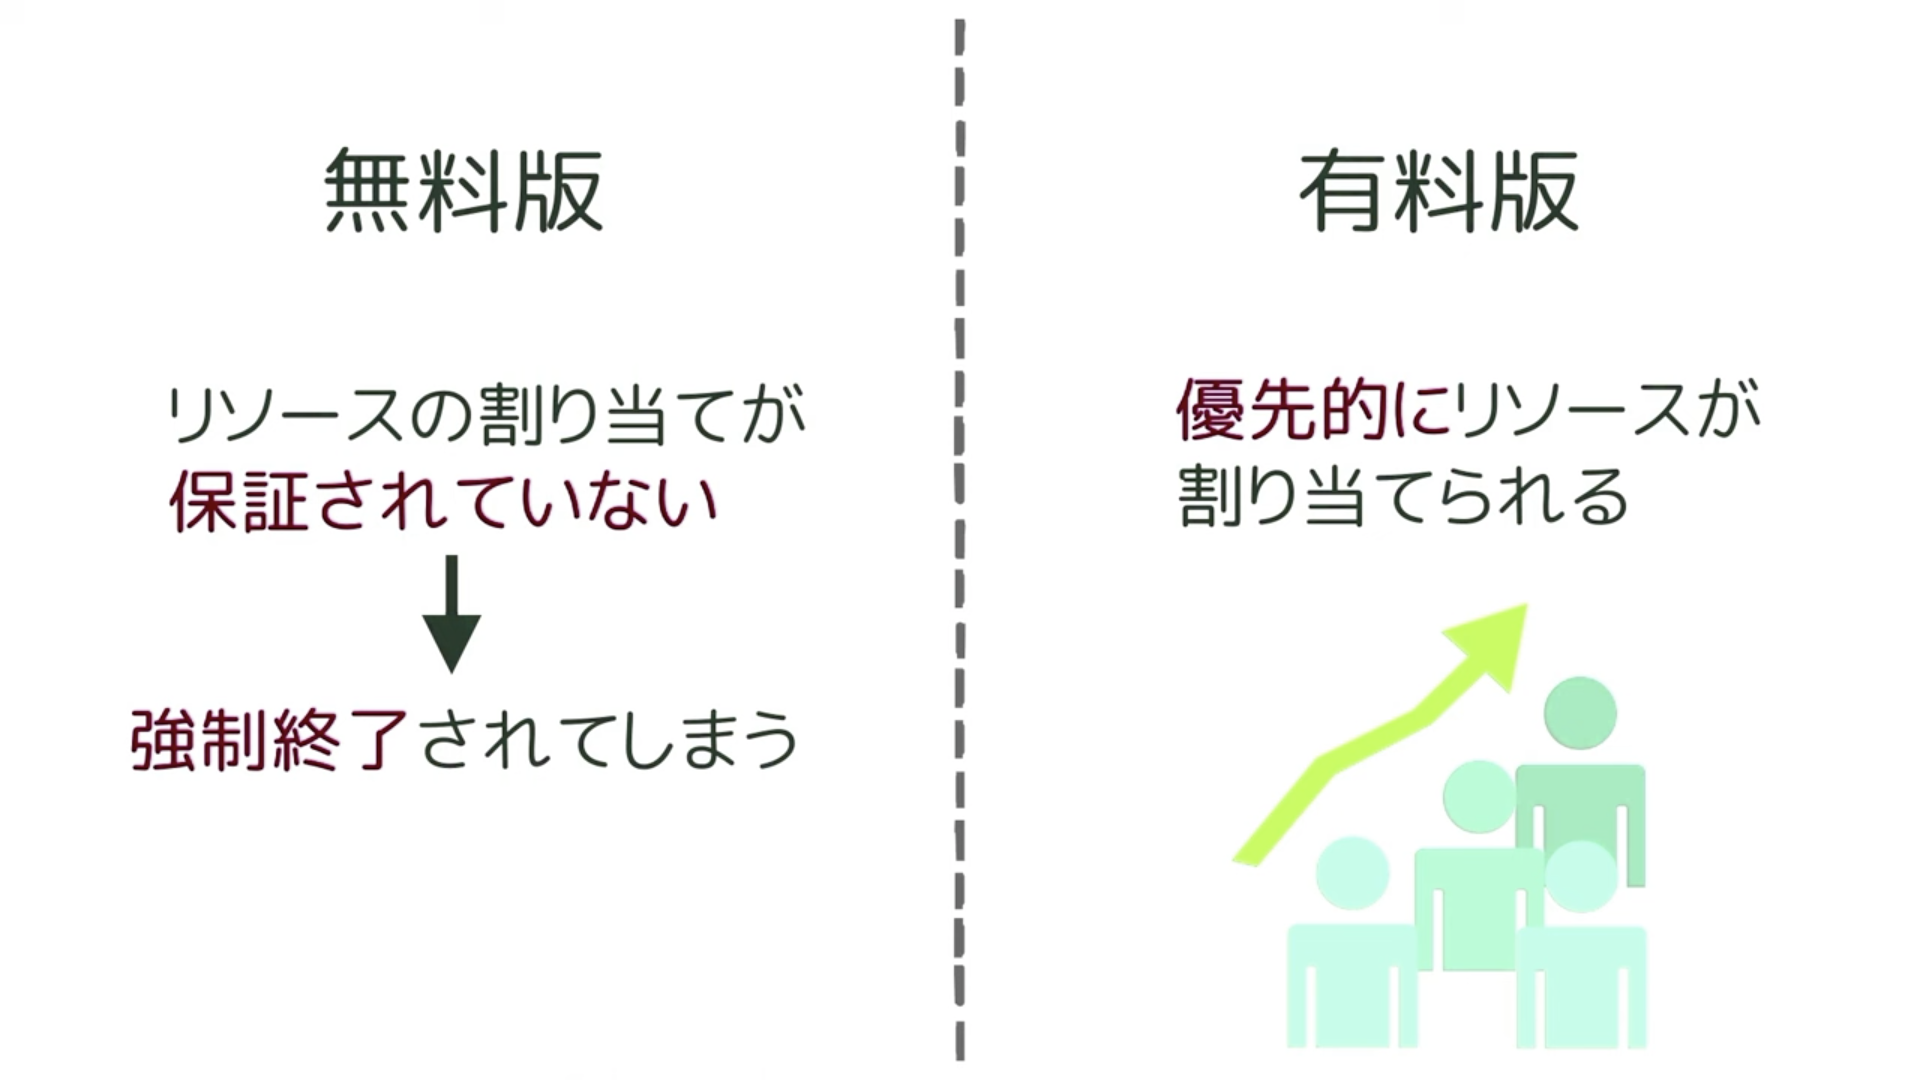
そのため強制的にコードを終了されてしまうことがあります。
最近はGoogle Colabを利用するユーザーが増えていますので無料版に割り当てられるGoogle Colabのリソースが減ってしまっています。
その結果無料版では以前より実行中のコードが強制終了されてしまうことが多くなってきました。
具体的にはコードの実行が強制的に終了された場合にはこのような画面になります。
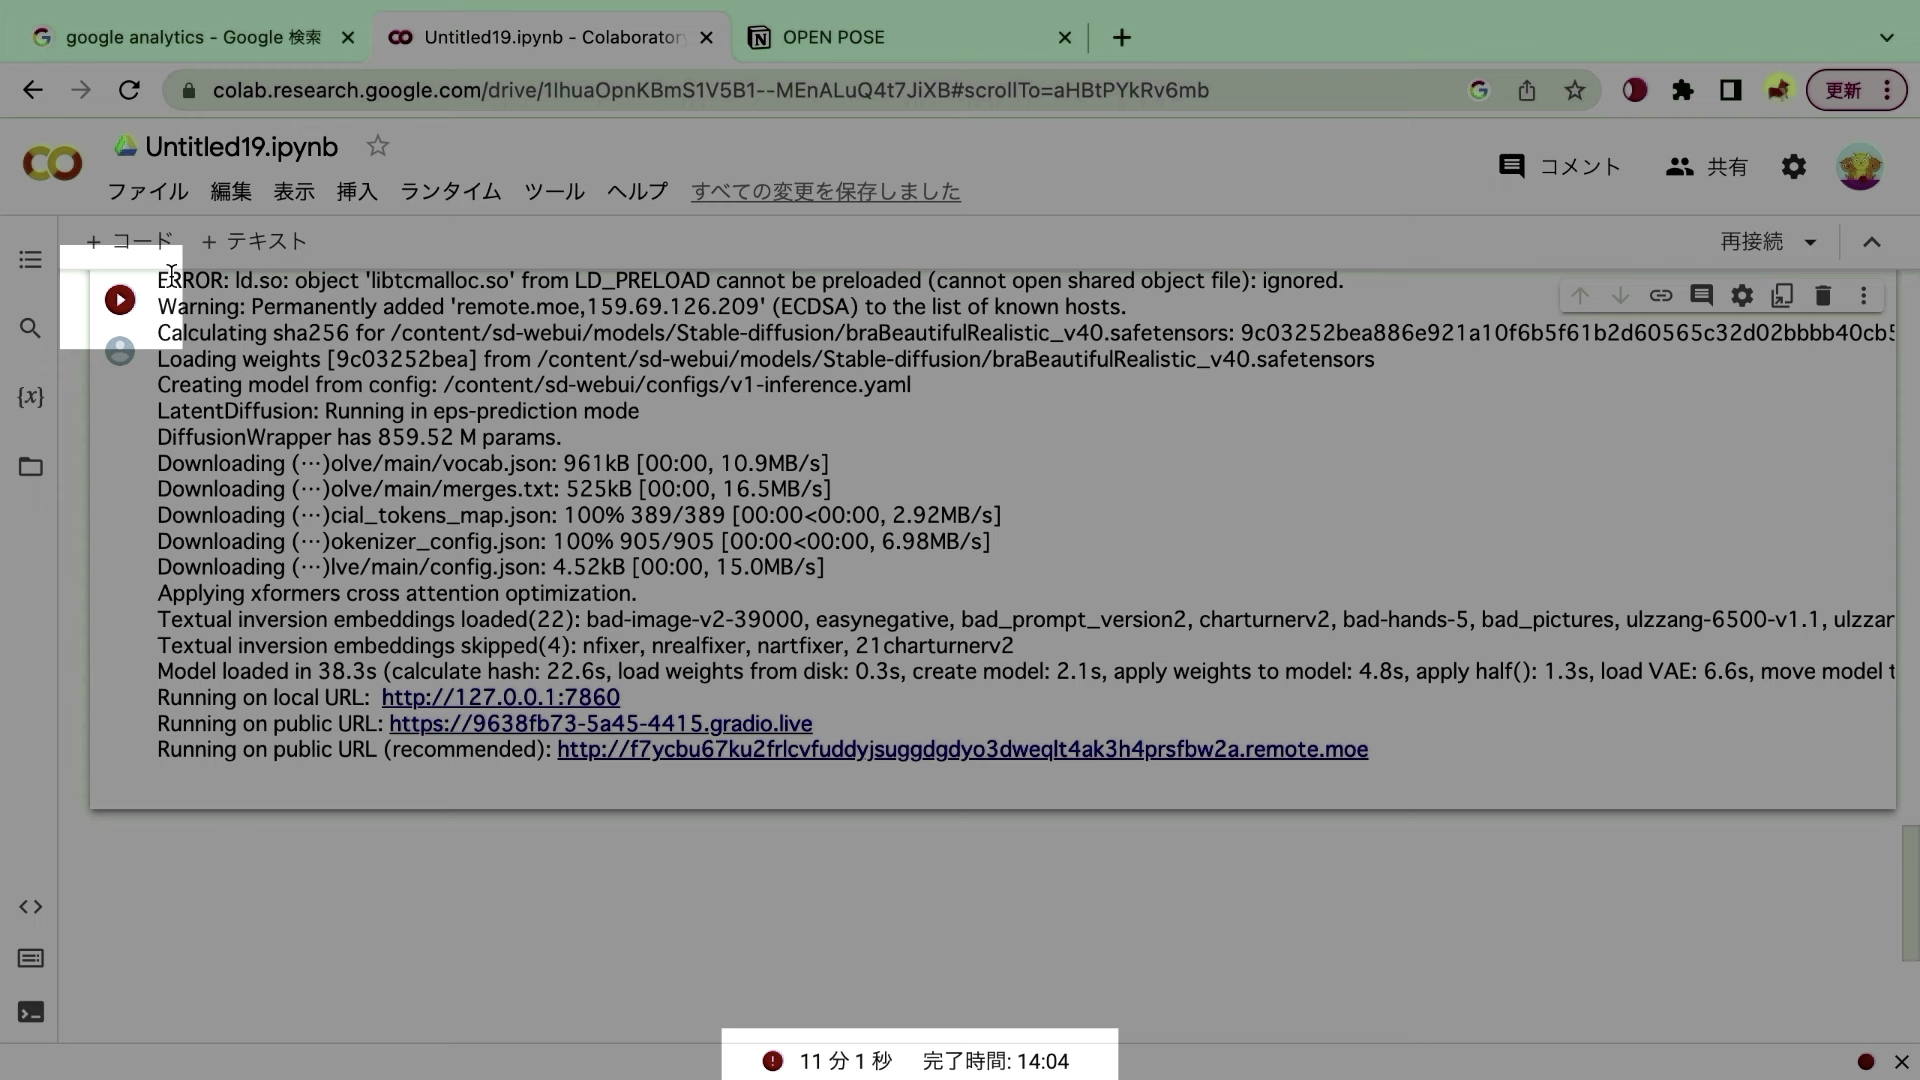
再生ボタンの部分が赤くなっているもしくは赤いびっくりマークのアイコンが表示されているこのような場合はコードが強制的に中断されたと判断していいと思います。
有料プランへの切り替え方法については詳細は以下のYoutube動画で詳しく説明しているので以下をご覧ください。
Google Colabの有料プランについての解説
https://youtu.be/rTx9c4P0hZs
なおここからは有料版に切り替えた状態で解説を進めます。
それでは早速Stable Diffusionを動かしていきましょう。
まずは以下のコードをコピーしてください。
%cd /content

%env TF_CPP_MIN_LOG_LEVEL=1

!apt -y update -qq
!wget https://github.com/camenduru/gperftools/releases/download/v1.0/libtcmalloc_minimal.so.4 -O /content/libtcmalloc_minimal.so.4
%env LD_PRELOAD=/content/libtcmalloc_minimal.so.4

!apt -y install -qq aria2 libcairo2-dev pkg-config python3-dev
!pip install -q torch==2.0.1+cu118 torchvision==0.15.2+cu118 torchaudio==2.0.2+cu118 torchtext==0.15.2 torchdata==0.6.1 --extra-index-url https://download.pytorch.org/whl/cu118 -U
!pip install -q xformers==0.0.20 triton==2.0.0 gradio_client==0.2.7 httpx==0.24.1 -U

!git clone -b v2.4 https://github.com/camenduru/stable-diffusion-webui /content/sd-webui
!git clone https://huggingface.co/embed/negative /content/sd-webui/embeddings/negative
!git clone https://huggingface.co/embed/lora /content/sd-webui/models/Lora/positive
!aria2c --console-log-level=error -c -x 16 -s 16 -k 1M https://huggingface.co/embed/upscale/resolve/main/4x-UltraSharp.pth -d /content/sd-webui/models/ESRGAN -o 4x-UltraSharp.pth
!wget https://raw.githubusercontent.com/camenduru/stable-diffusion-webui-scripts/main/run_n_times.py -O /content/sd-webui/scripts/run_n_times.py
!git clone https://github.com/deforum-art/deforum-for-automatic1111-webui /content/sd-webui/extensions/deforum-for-automatic1111-webui
!git clone https://github.com/camenduru/stable-diffusion-webui-images-browser /content/sd-webui/extensions/stable-diffusion-webui-images-browser
!git clone https://github.com/camenduru/stable-diffusion-webui-huggingface /content/sd-webui/extensions/stable-diffusion-webui-huggingface
!git clone https://github.com/camenduru/sd-civitai-browser /content/sd-webui/extensions/sd-civitai-browser
!git clone https://github.com/kohya-ss/sd-webui-additional-networks /content/sd-webui/extensions/sd-webui-additional-networks
!git clone https://github.com/Mikubill/sd-webui-controlnet /content/sd-webui/extensions/sd-webui-controlnet
!git clone https://github.com/fkunn1326/openpose-editor /content/sd-webui/extensions/openpose-editor
!git clone https://github.com/jexom/sd-webui-depth-lib /content/sd-webui/extensions/sd-webui-depth-lib
!git clone https://github.com/hnmr293/posex /content/sd-webui/extensions/posex
!git clone https://github.com/nonnonstop/sd-webui-3d-open-pose-editor /content/sd-webui/extensions/sd-webui-3d-open-pose-editor
!git clone https://github.com/camenduru/sd-webui-tunnels /content/sd-webui/extensions/sd-webui-tunnels
!git clone https://github.com/etherealxx/batchlinks-webui /content/sd-webui/extensions/batchlinks-webui
!git clone https://github.com/camenduru/stable-diffusion-webui-catppuccin /content/sd-webui/extensions/stable-diffusion-webui-catppuccin
!git clone https://github.com/AUTOMATIC1111/stable-diffusion-webui-rembg /content/sd-webui/extensions/stable-diffusion-webui-rembg
!git clone https://github.com/ashen-sensored/stable-diffusion-webui-two-shot /content/sd-webui/extensions/stable-diffusion-webui-two-shot
!git clone https://github.com/thomasasfk/sd-webui-aspect-ratio-helper /content/sd-webui/extensions/sd-webui-aspect-ratio-helper
!git clone https://github.com/tjm35/asymmetric-tiling-sd-webui /content/sd-webui/extensions/asymmetric-tiling-sd-webui
%cd /content/sd-webui
!git reset --hard
!git -C /content/sd-webui/repositories/stable-diffusion-stability-ai reset --hard

## モデル:BRA7を追加
!aria2c --console-log-level=error -c -x 16 -s 16 -k 1M https://civitai.com/api/download/models/177164 -d /content/sd-webui/models/Stable-diffusion/ -o braBeautifulRealistic_v70.safetensors

!sed -i -e '''/from modules import launch_utils/a\import os''' /content/sd-webui/launch.py
!sed -i -e '''/        prepare_environment()/a\        os.system\(f\"""sed -i -e ''\"s/dict()))/dict())).cuda()/g\"'' /content/sd-webui/repositories/stable-diffusion-stability-ai/ldm/util.py""")''' /content/sd-webui/launch.py
!sed -i -e 's/\["sd_model_checkpoint"\]/\["sd_model_checkpoint","sd_vae","CLIP_stop_at_last_layers"\]/g' /content/sd-webui/modules/shared.py

!python launch.py --listen --xformers --enable-insecure-extension-access  --theme dark --gradio-queue --multiple
テキストをコピーしたらGoogle Colabの画面に戻ります。
そしてテキストボックスに先ほどコピーしたテキストを貼り付けます。
テキストを貼り付けたら左上にある再生ボタンを押します。
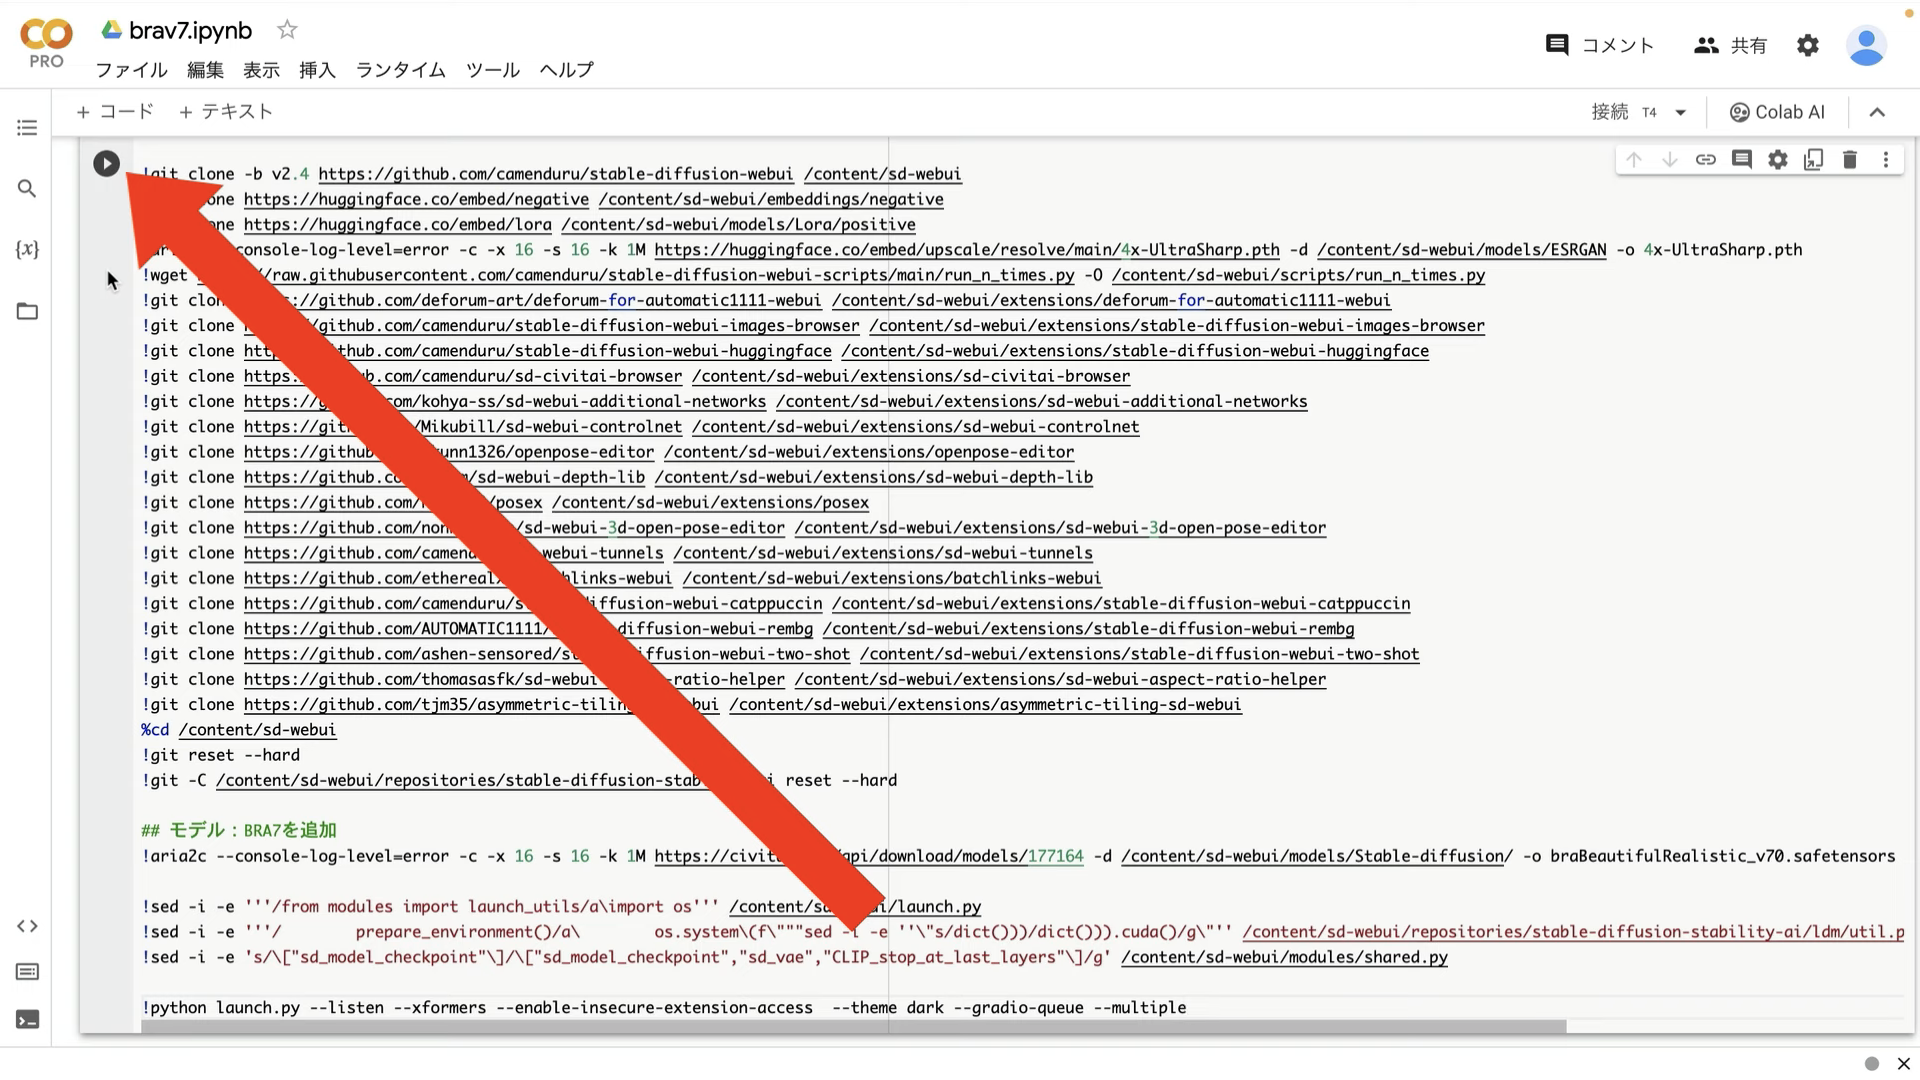 これでコマンドが実行されます。
コマンドの実行には5分以上かかると思います。
しばらく待っているとこのようなURLが表示されます。
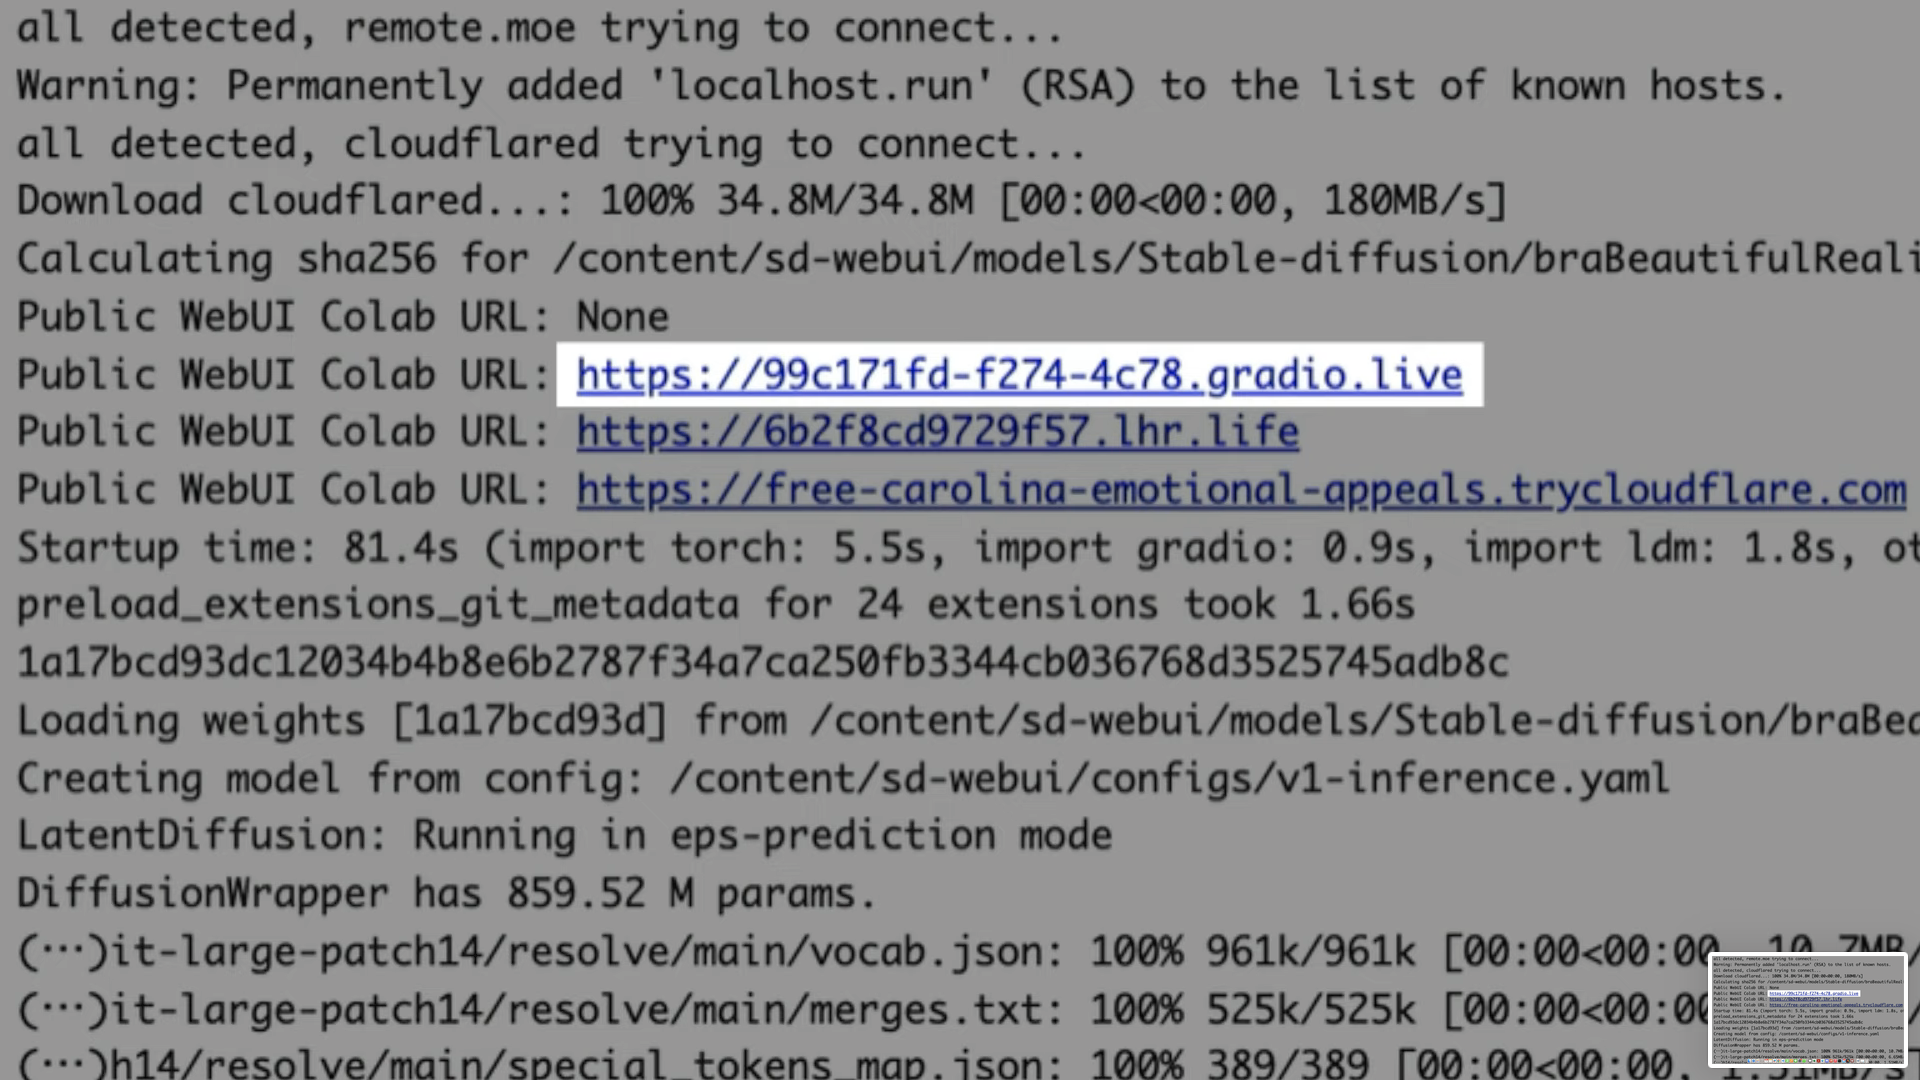
このリンクをクリックします。
そうするとStable Diffusionで画像を生成するための画面が表示されます。
Stable Diffusionの画面が表示されたら、まずチェックポイントを確認します。
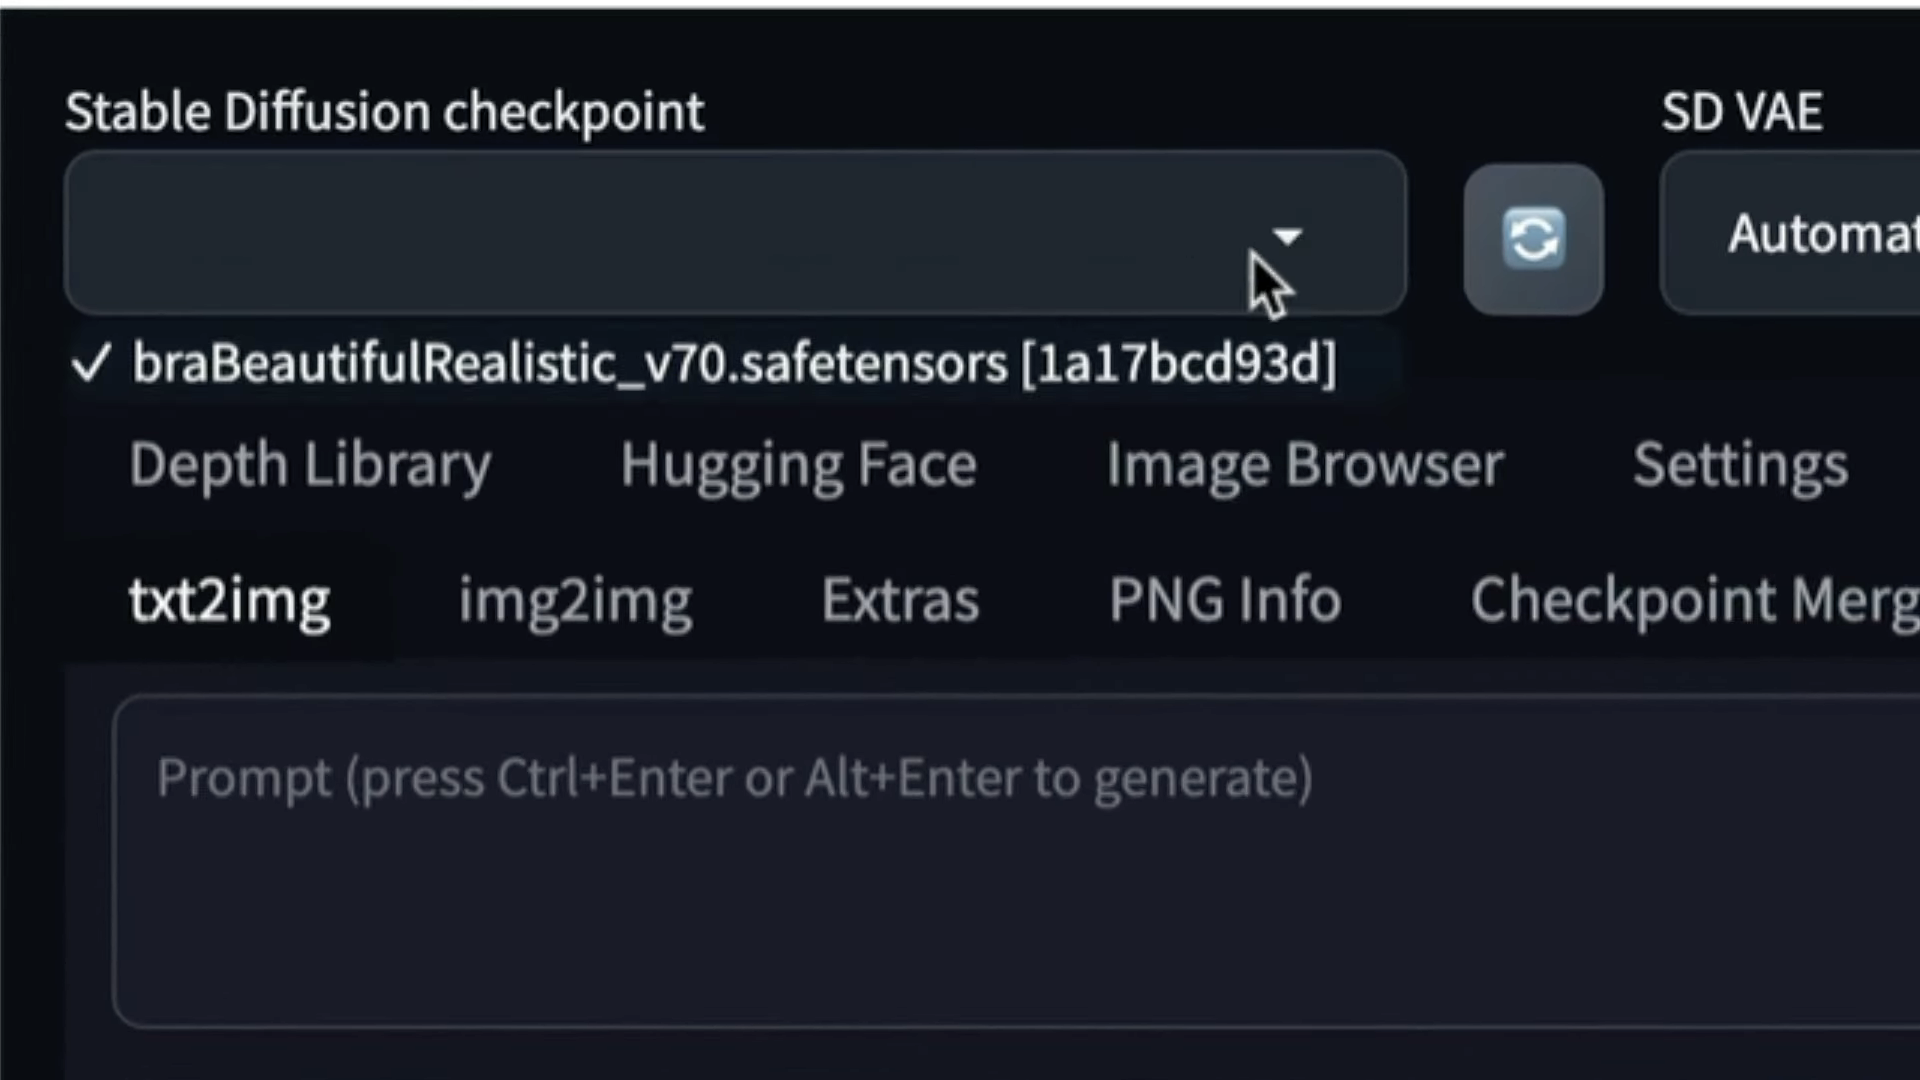
この部分の表示がこのようにV70というテキストが含まれている表示になっていれ
ば大丈夫です。
チェックポイントの表示が確認できたら、プロンプトを入力します。
以下のコードをコピーしてください。
best quality, high resolution, (realistic:1.2), young woman, brown hair, brown eyes,Front, detailed face, beautiful eyes, (fair skin:1.2), (soft saturation:1.3)
Negative prompt: BadBras,(worst quality:2),(low quality:1.4),(logo,mark:2),(undressing:1.5), (disheveled clothes:1.4),(manicure:1.2),(nipple:1.2),(long neck:2),
Steps: 40, Sampler: Euler a, CFG scale: 6, Seed: 2993543141, Size: 512x768, Clip skip: 2
テキストをコピーしたらStable Diffusionの画面に戻ります。
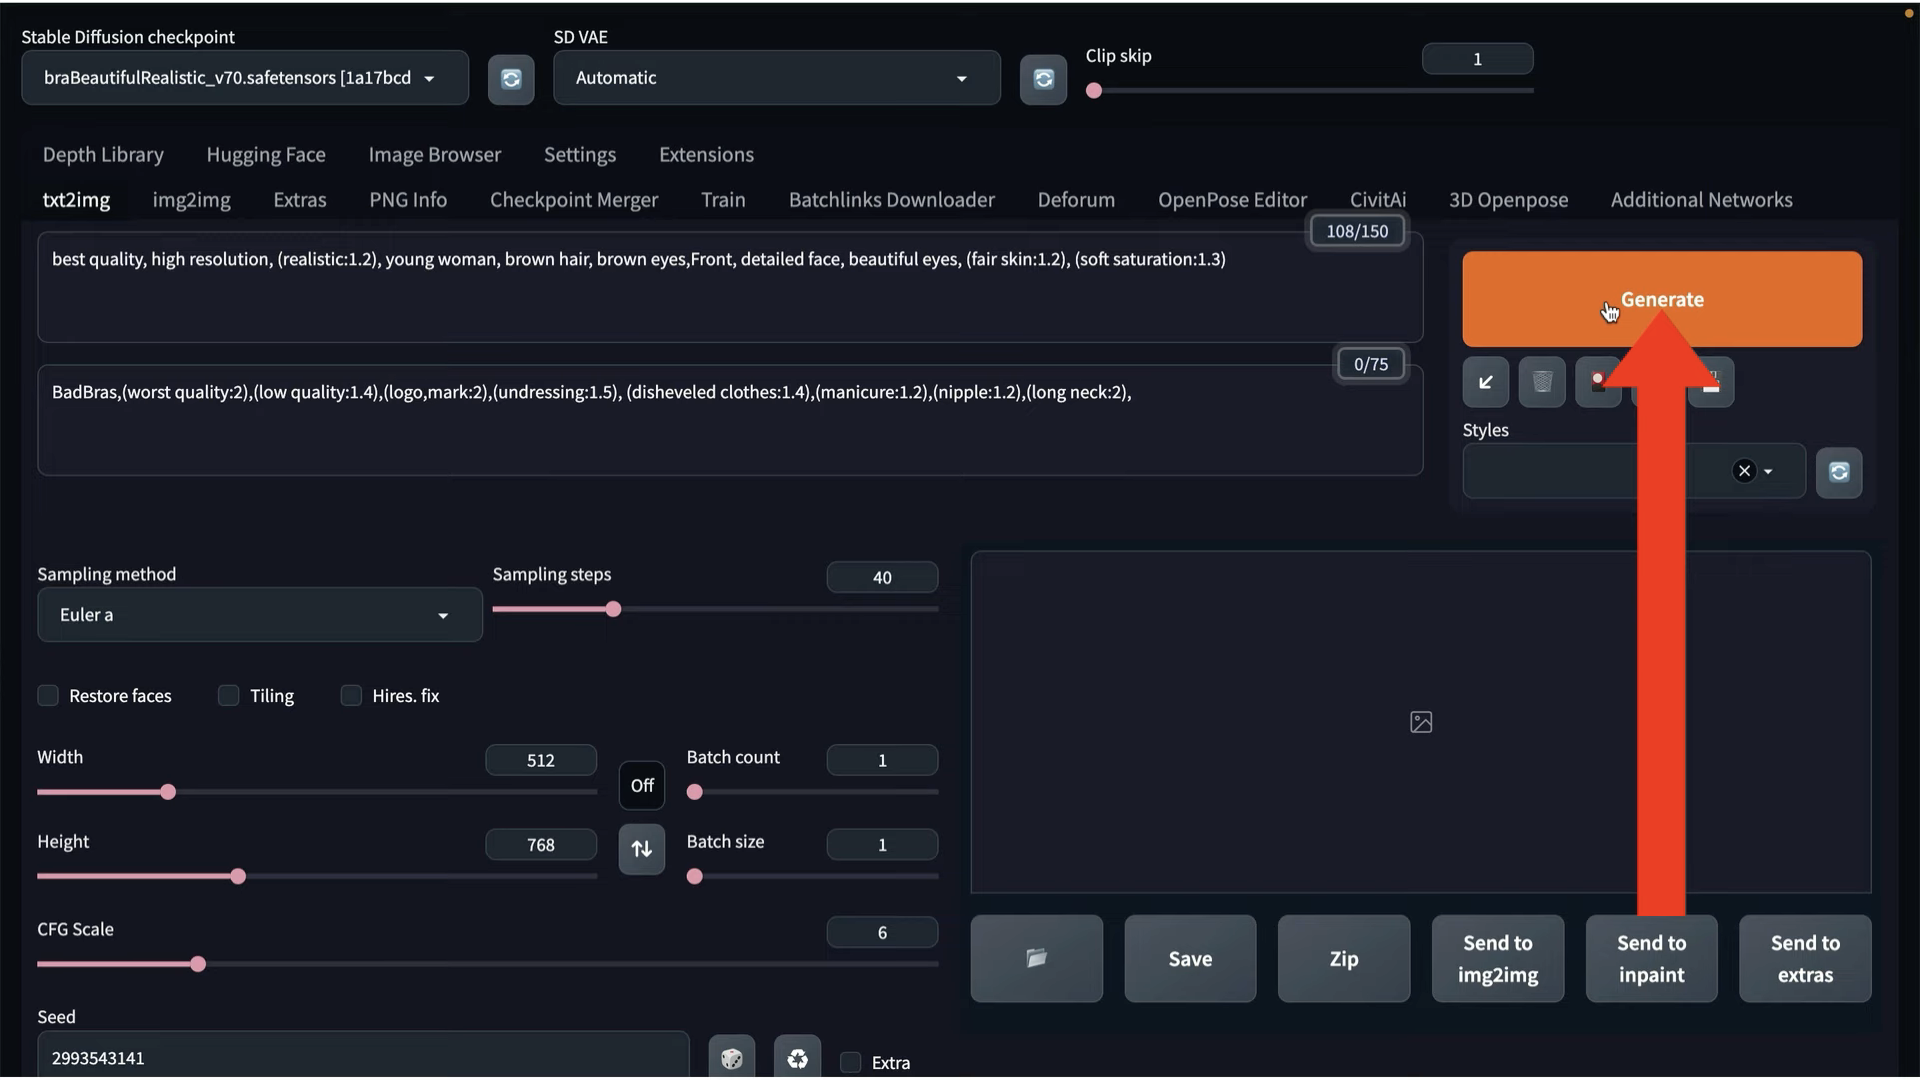
プロンプトのテキストボックスにコピーしたテキストを貼り付けます。

貼り付けたテキストはプロンプト以外の項目もごちゃ混ぜになった状態になってい
ます。
そのためこれらの設定をそれぞれの項目に反映させる必要があります。
それぞれの項目に反映するにはジェネレートボタンの下にある左下向きの矢印のマークを
クリックします。
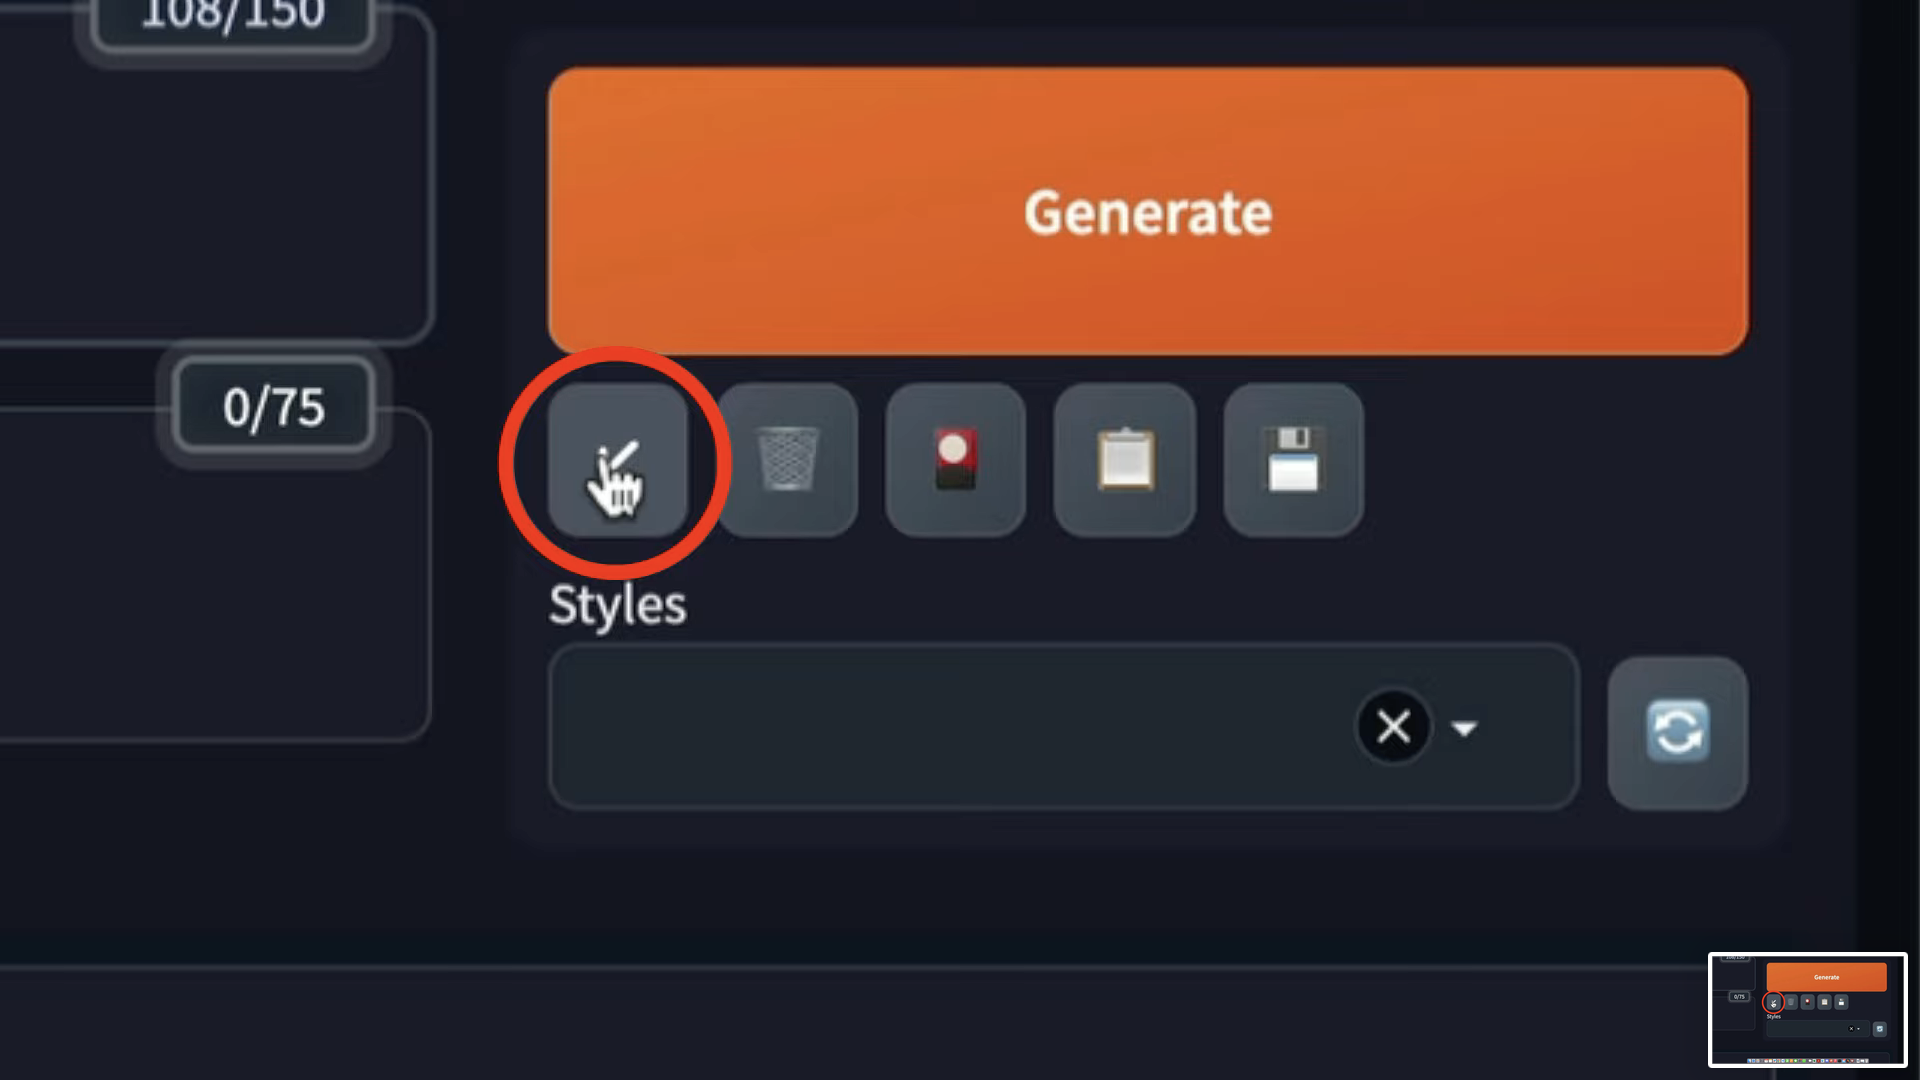
そうするとそれぞれの項目に設定が反映されます。
これでステーブルディフュージョンで画像を生成するための準備が整いました。
それでは早速画像を生成していきましょう。
Generateボタンをクリックします。
そうすると画像の生成が開始されるのでしばらく待ちます。
しばらく待っているとこのような画像が生成されました。
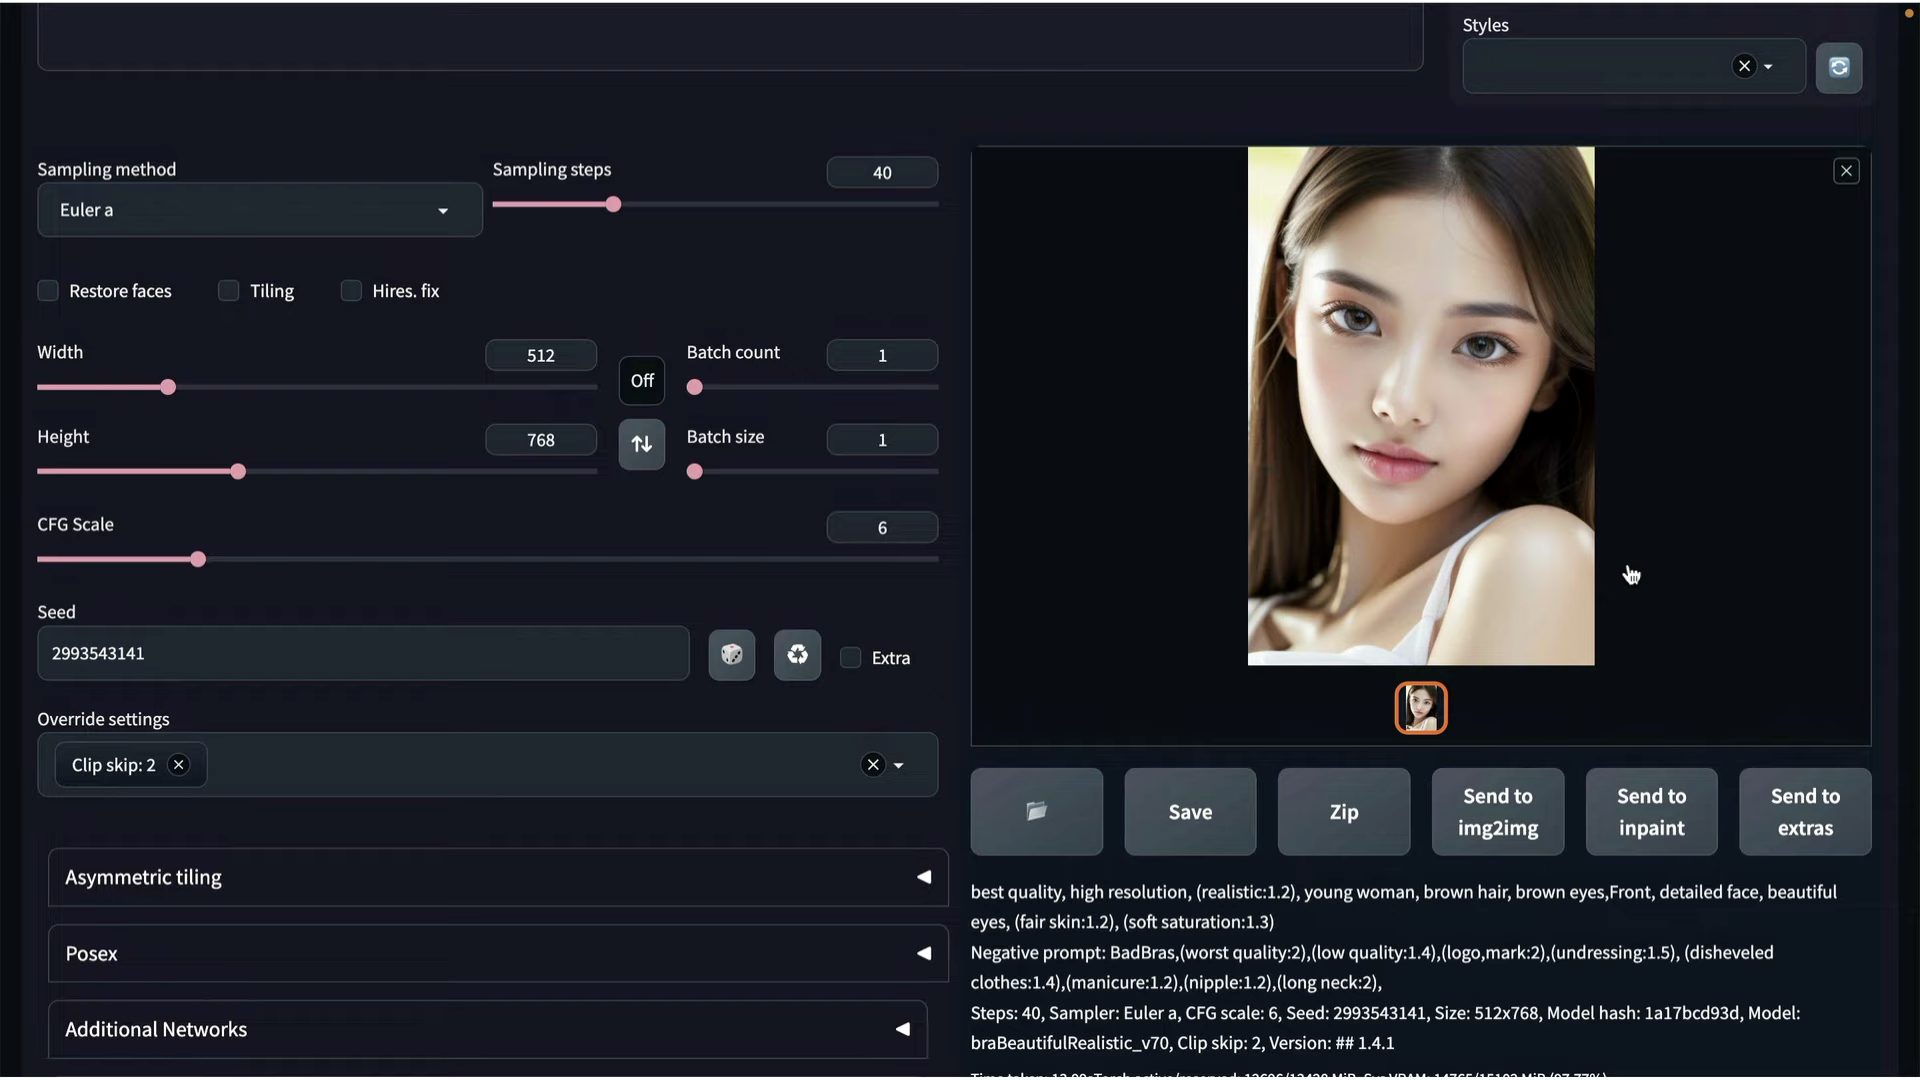
思わず息を飲んでしまうような絶世の美女ですね!
それでは別の画像も生成してみましょう。
次は以下のプロンプトコードをコピーしてください。
(high resolution:1.3), (8k, photorealistic, RAW photo, best quality: 1.4), japanese, (1girl), beautiful face, (realistic face), (black hair, short hair:1.3), beautiful hairstyle, realistic eyes, beautiful detailed eyes, (realistic skin), beautiful skin, attractive, ultra high res, ultra realistic, highly detailed, golden ratio, outdoors,windy,from below,
Negative prompt: BadBras,(worst quality:2),(low quality:1.4),(logo,mark:2),(undressing:1.5), (disheveled clothes:1.4),(manicure:1.2),(nipple:1.2),(long neck:2), grayscale
Steps: 40, Sampler: DPM++ SDE Karras, CFG scale: 7, Seed: 2919810181, Face restoration: CodeFormer, Size: 512x768, Clip skip: 2
テキストをコピーしたらStable diffutionの画面に戻ります。
プロンプトのテキストボックスにコピーしたテキストを貼り付けます。

Generateボタンの下にある左下向きの矢印のマークをクリックしてそれぞれの項目に値を反映させます。
値を反映させたらGenerateボタンをクリックします。しばらく待っているとこのような画像が生成されました。
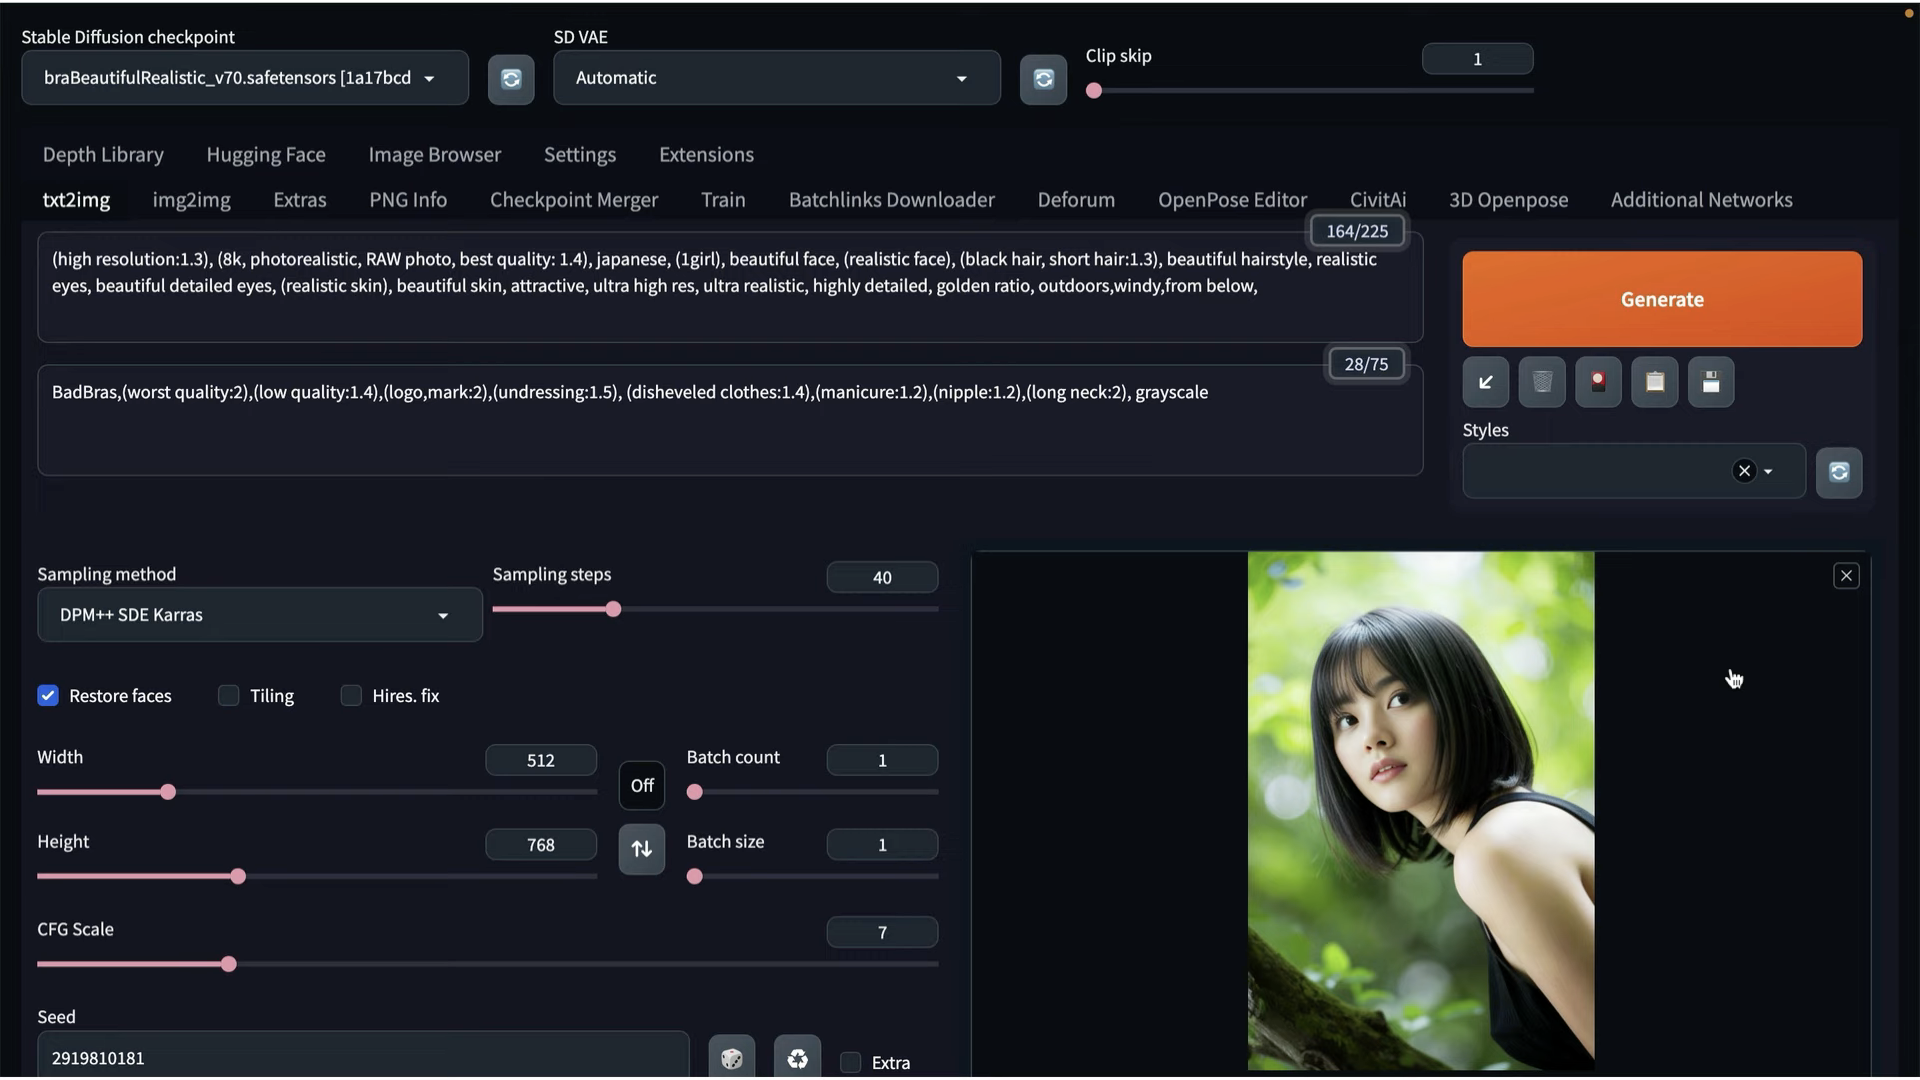
まばゆいほどの美しさを身にまとった美女ですね!
さらに他の画像も生成してみましょう。
以下のプロンプトコードをコピーしてください。
(8k, RAW photo, best quality, high resolution:1.2), ultra detailed, ultra high res,(realistic, photo realistic:1.37), high detail RAW color photo, professional photograph,an extremely delicate and beautiful, extremely detailed, 8k wallpaper, Amazing, finely detail, huge file size, official art, extremely detailed CG unity 8k wallpaper,extremely detailed beautiful girl, extremely detailed face, extremely detailed eyes, extremely detailed skin, extremely detailed fingers, extremely detailed nose, extremely detailed mouth, perfect anatomy, highly detailed background, highly intricate background, extremely detailed clothing,(18 years old:1.2), teenage, cute girl, famous japanese idol, kawaii,realistic body,fair skin, shiny skin, slender body, good figure,black hair, long straight hair, (blunt bangs:1.2),smile, cute, young, cute face, pretty face, realistic face, small face,beautifully detailed eyes, drooping eyes, beautiful big eyes, large dark eyes, beautiful and clear eyes,(frill blouse:1.2), short sleeve, skirt, belt, necklace, earrings,looking at viewer, (cowboy shot:1.2), front view, standing posture, contrapposto,outdoors, (daytime:1.2), cityscape, depth, Tokyo, street,professional lighting
Negative prompt: BadBras,(worst quality:2),(low quality:1.4),(logo,mark:2),(undressing:1.5), (disheveled clothes:1.4),(manicure:1.2),(nipple:1.6),(long neck:2), grayscale
Steps: 40, Sampler: DPM++ SDE Karras, CFG scale: 7, Seed: 199749010, Face restoration: CodeFormer, Size: 512x768, Clip skip: 2
テキストをコピーしたらStable diffusionの画面に戻ります。
プロンプトのテキストボックスにコピーしたテキストを貼り付けます。

Generateボタンの下にある左下向きの矢印のマークをクリックして、それぞれの項目に値を反映させます。
値を反映させたらGenerateボタンをクリックします。
画像が生成されるまでしばらく待ちます。しばらく待っているとこのような画像が生成されました。
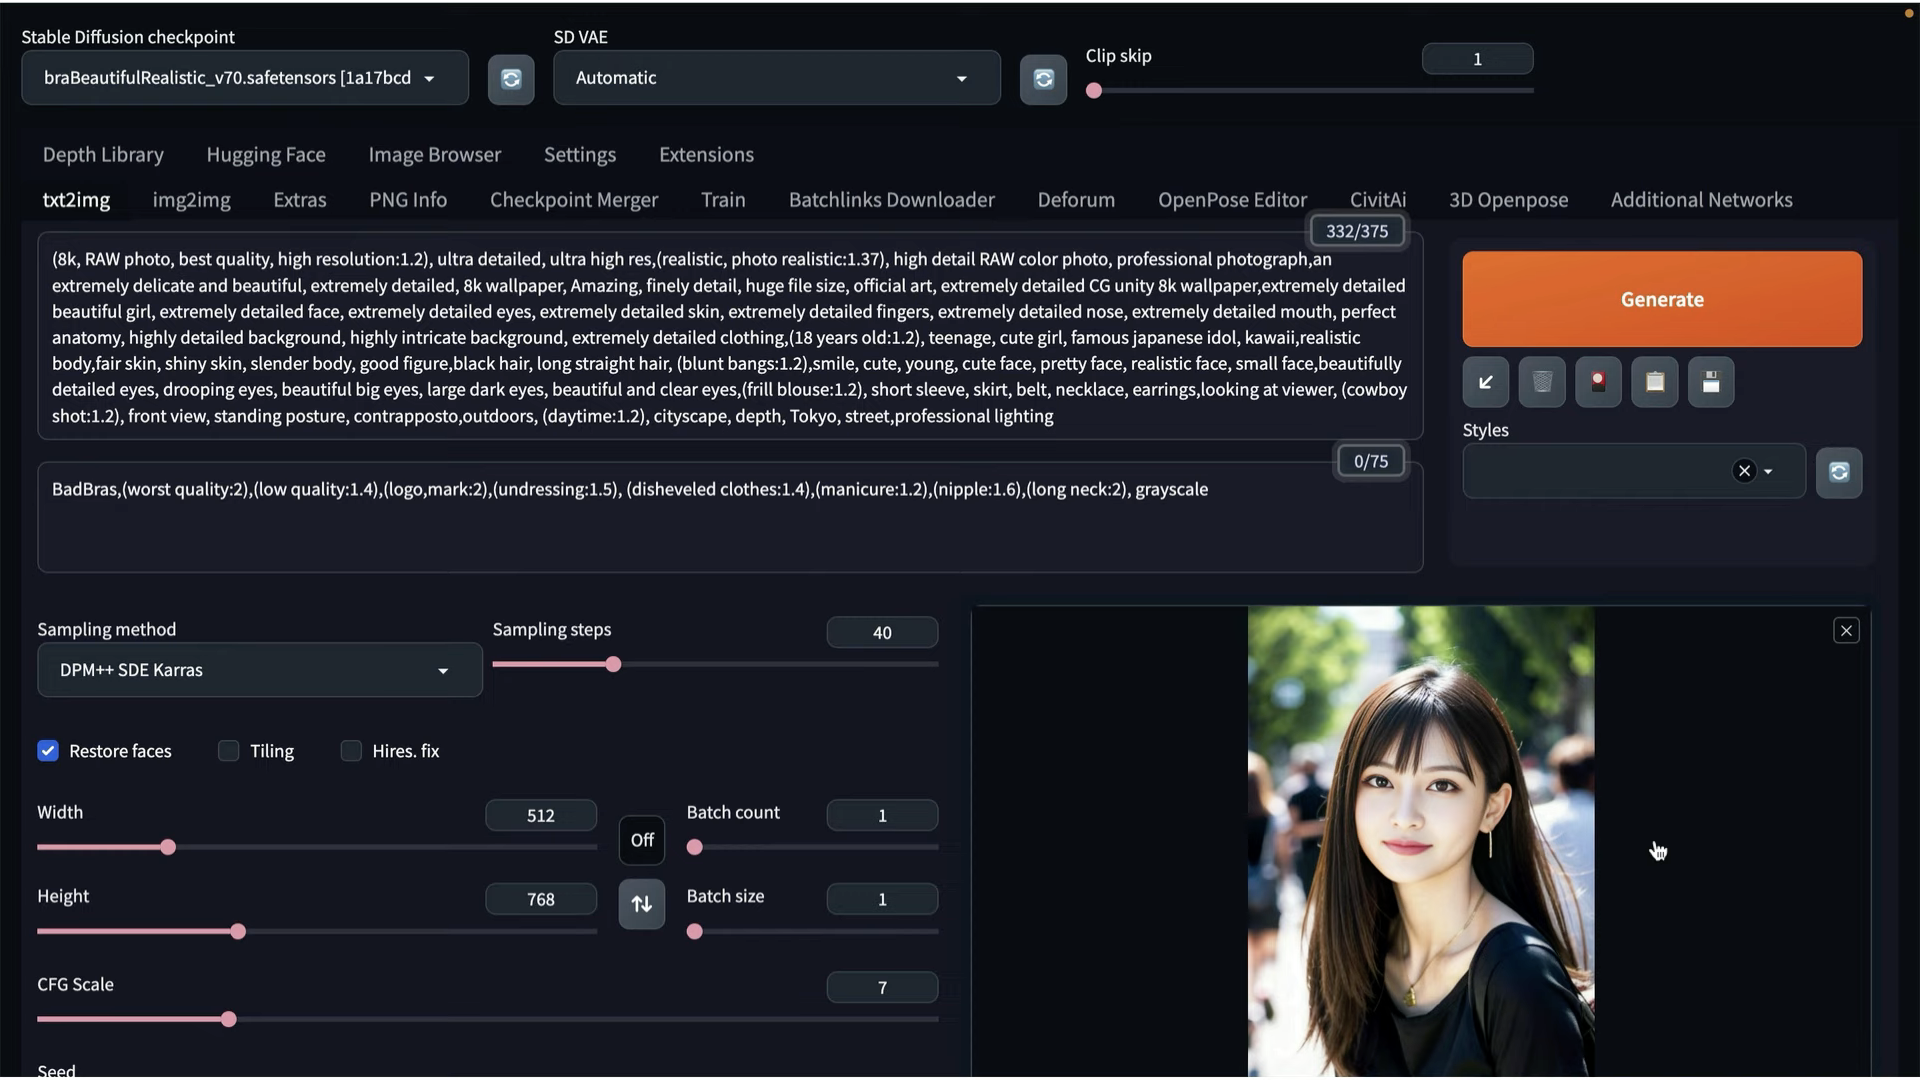
見れているうちに時間の立つのも忘れてしまいそうな美女ですね!
このようにBRA7を利用すると簡単にAI美女の画像を生成することができます。
ぜひ皆さんも試してみてくださいね🎵