▶︎動画でも話してるので、文章読むのが面倒な方はこちらをみてもらえればと思います。
今回はSDXLモデルを利用して、ComfyUIでディープフェイクの画像を生成する方法について解説します。
今回紹介する方法は決して悪用しないでくださいね。
これを読めば誰でも簡単にクオリティーの高いAI美女が作れるようになっているので興味がある人は、下のバナーをクリックして購入してみてね🎶
SDXLモデルを利用してComfyUIでDeepFake画像を生成する方法とは?
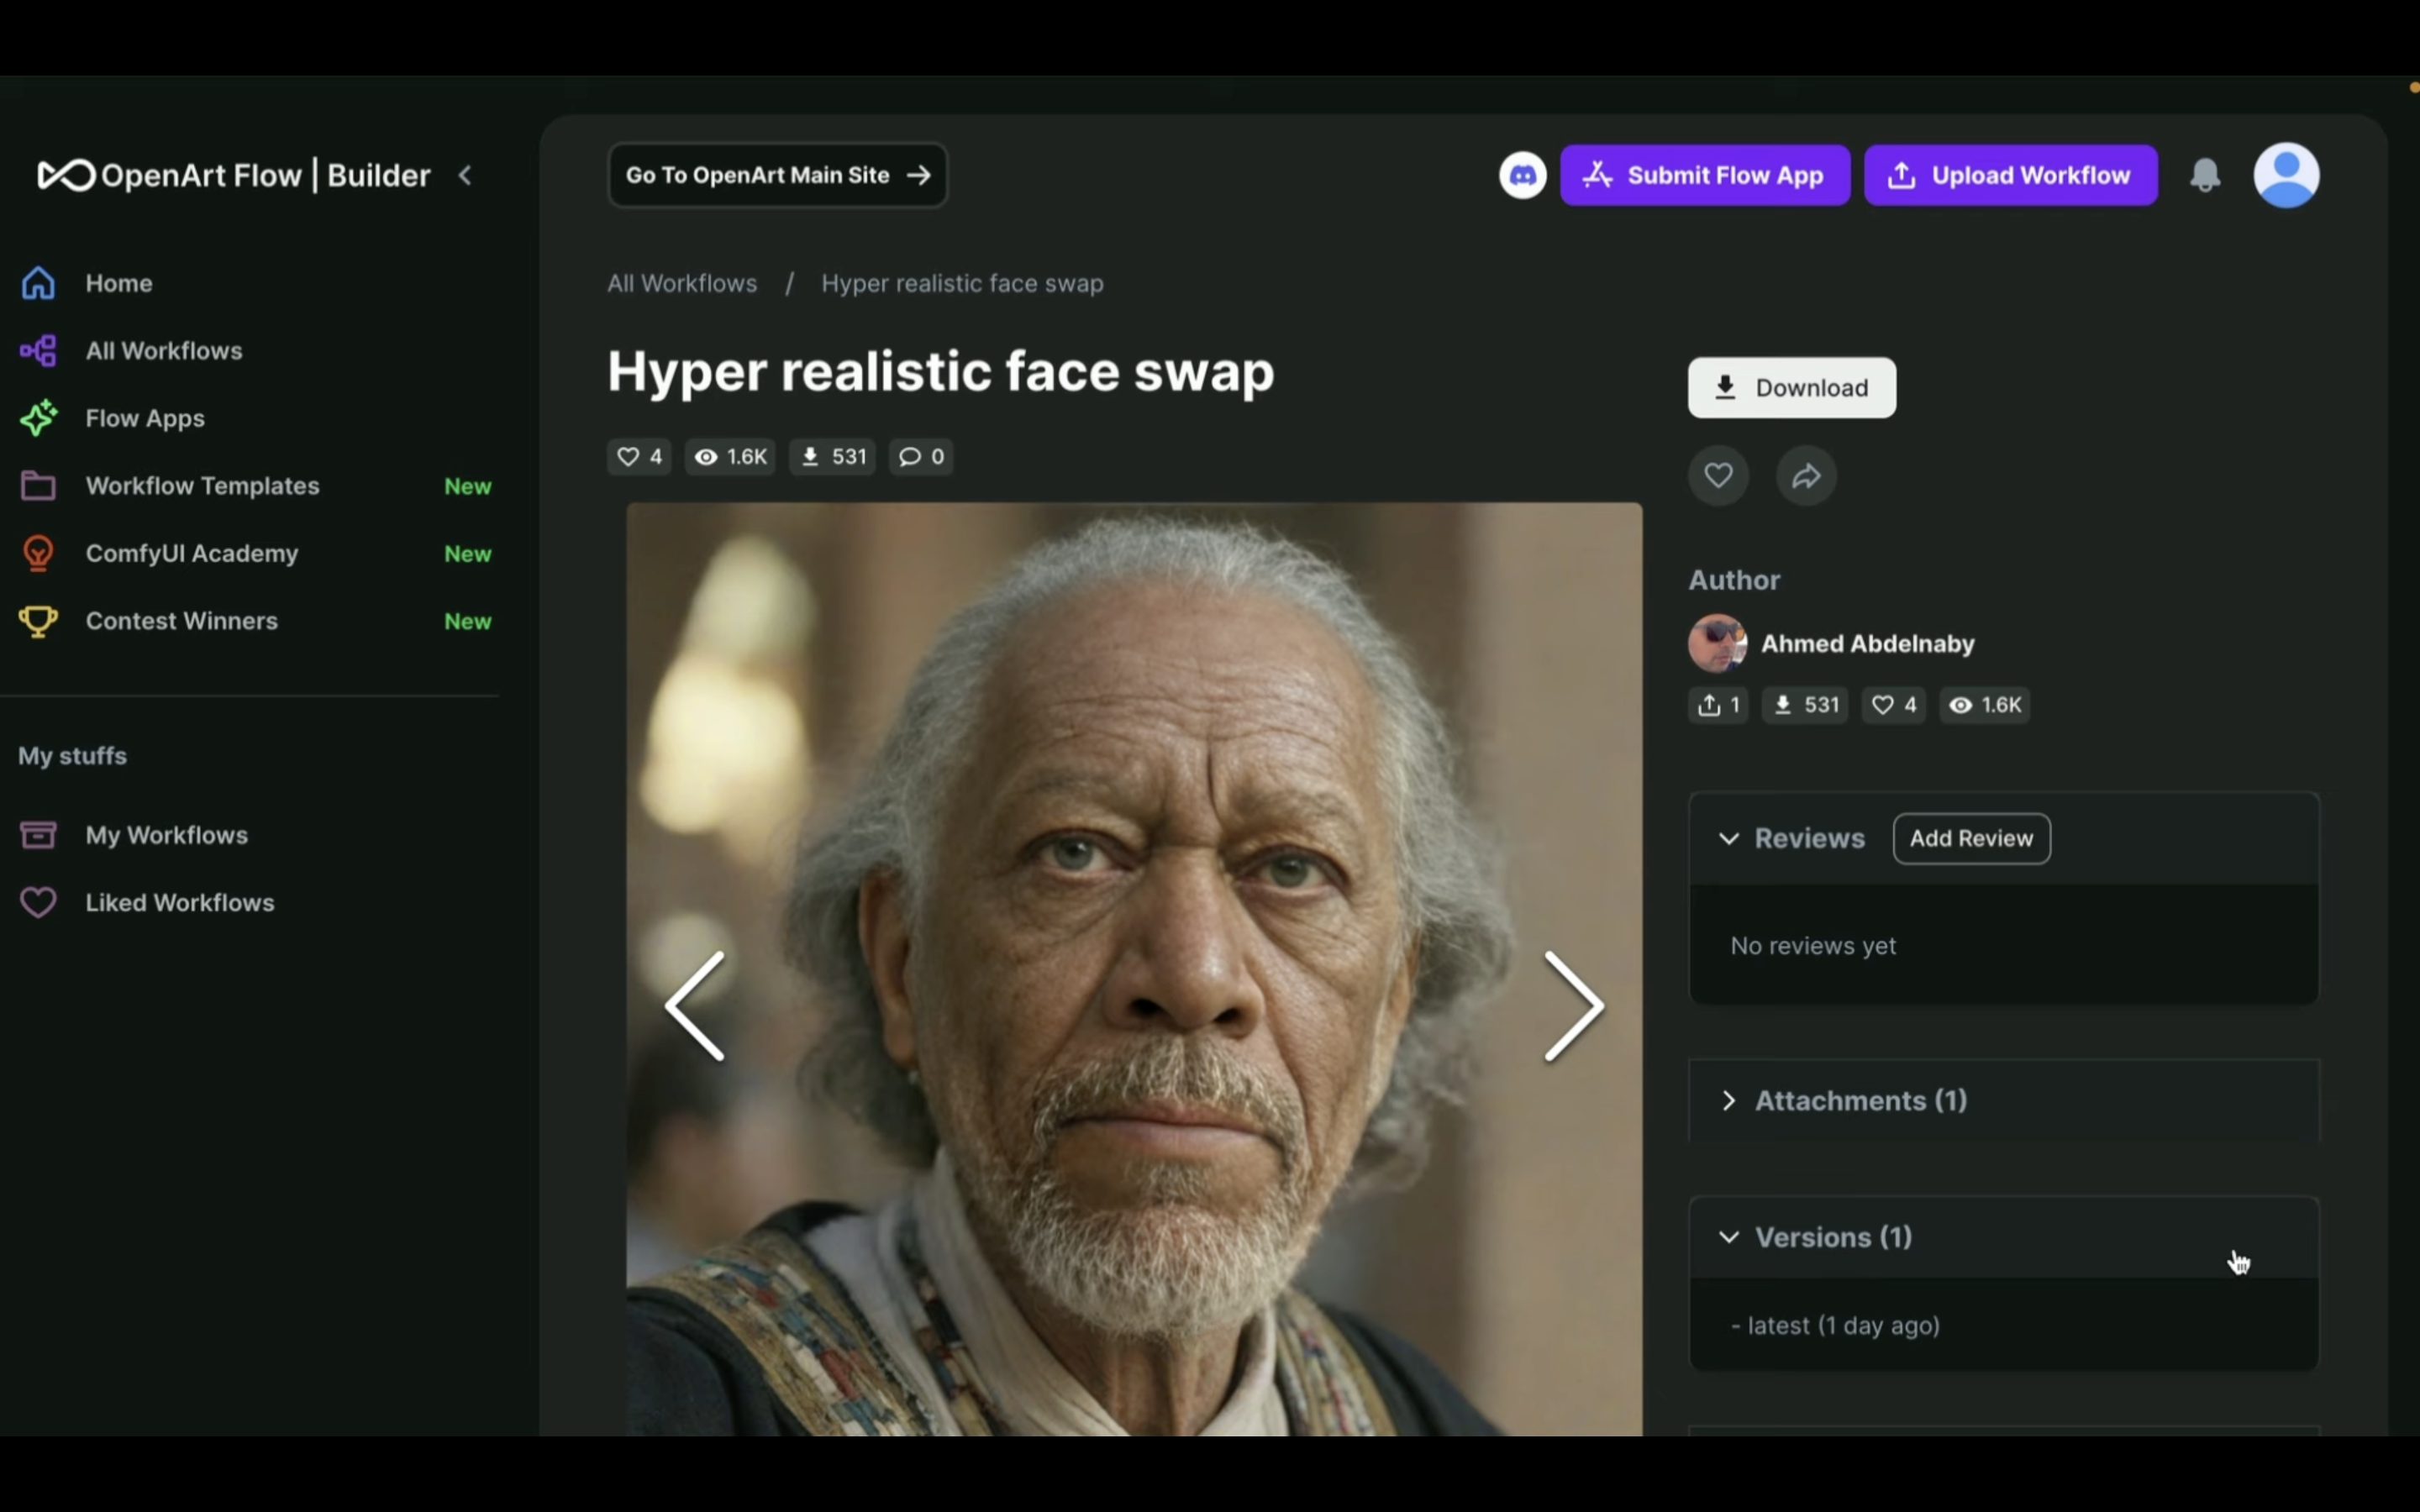
この動画で紹介する内容は、OpenArtというサイトにあるComfyUIの設定ファイルを参考にしています。
この解説では、Google ColabでComfyUIを動作させていきます。
なお、OpenArtとGoogle Colabへのリンク、及びConfyUIやGoogle Colabに関する解説リンクを以下に貼っておきます。
そのため、もしこれらのキーワードの意味がわからない場合はそちらをご確認ください。
まずは、Google Colabのサイトにアクセスします。
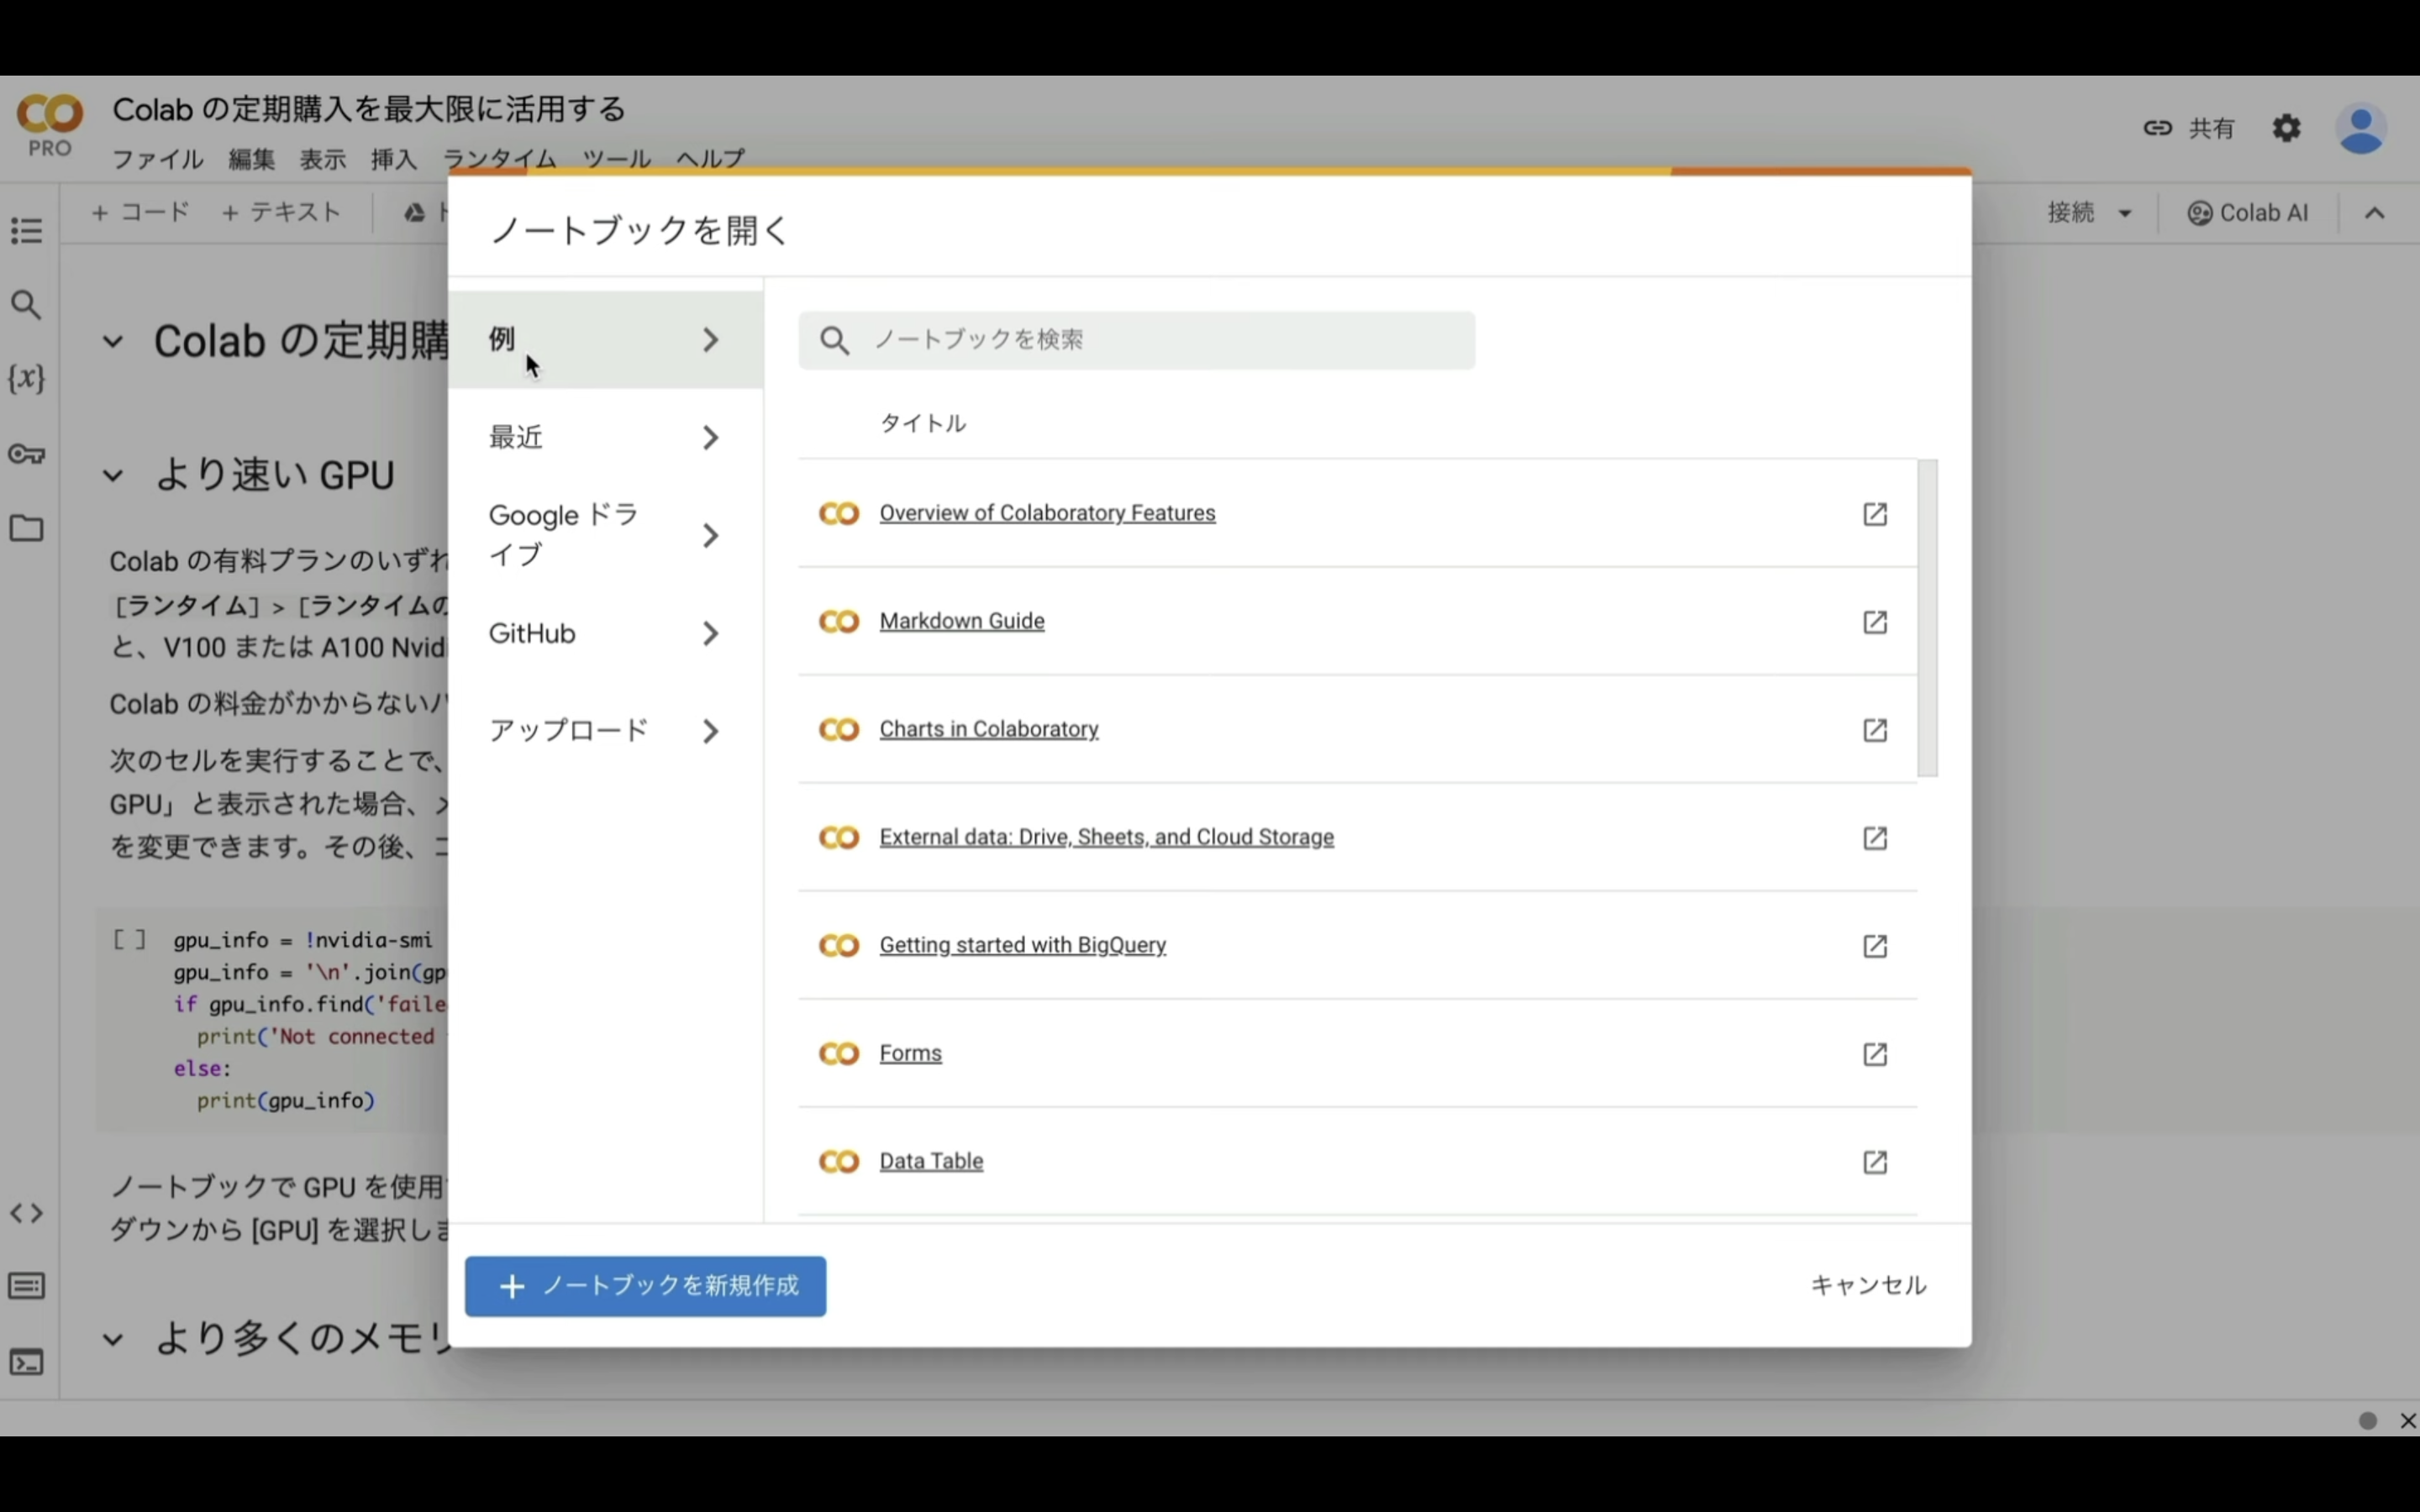
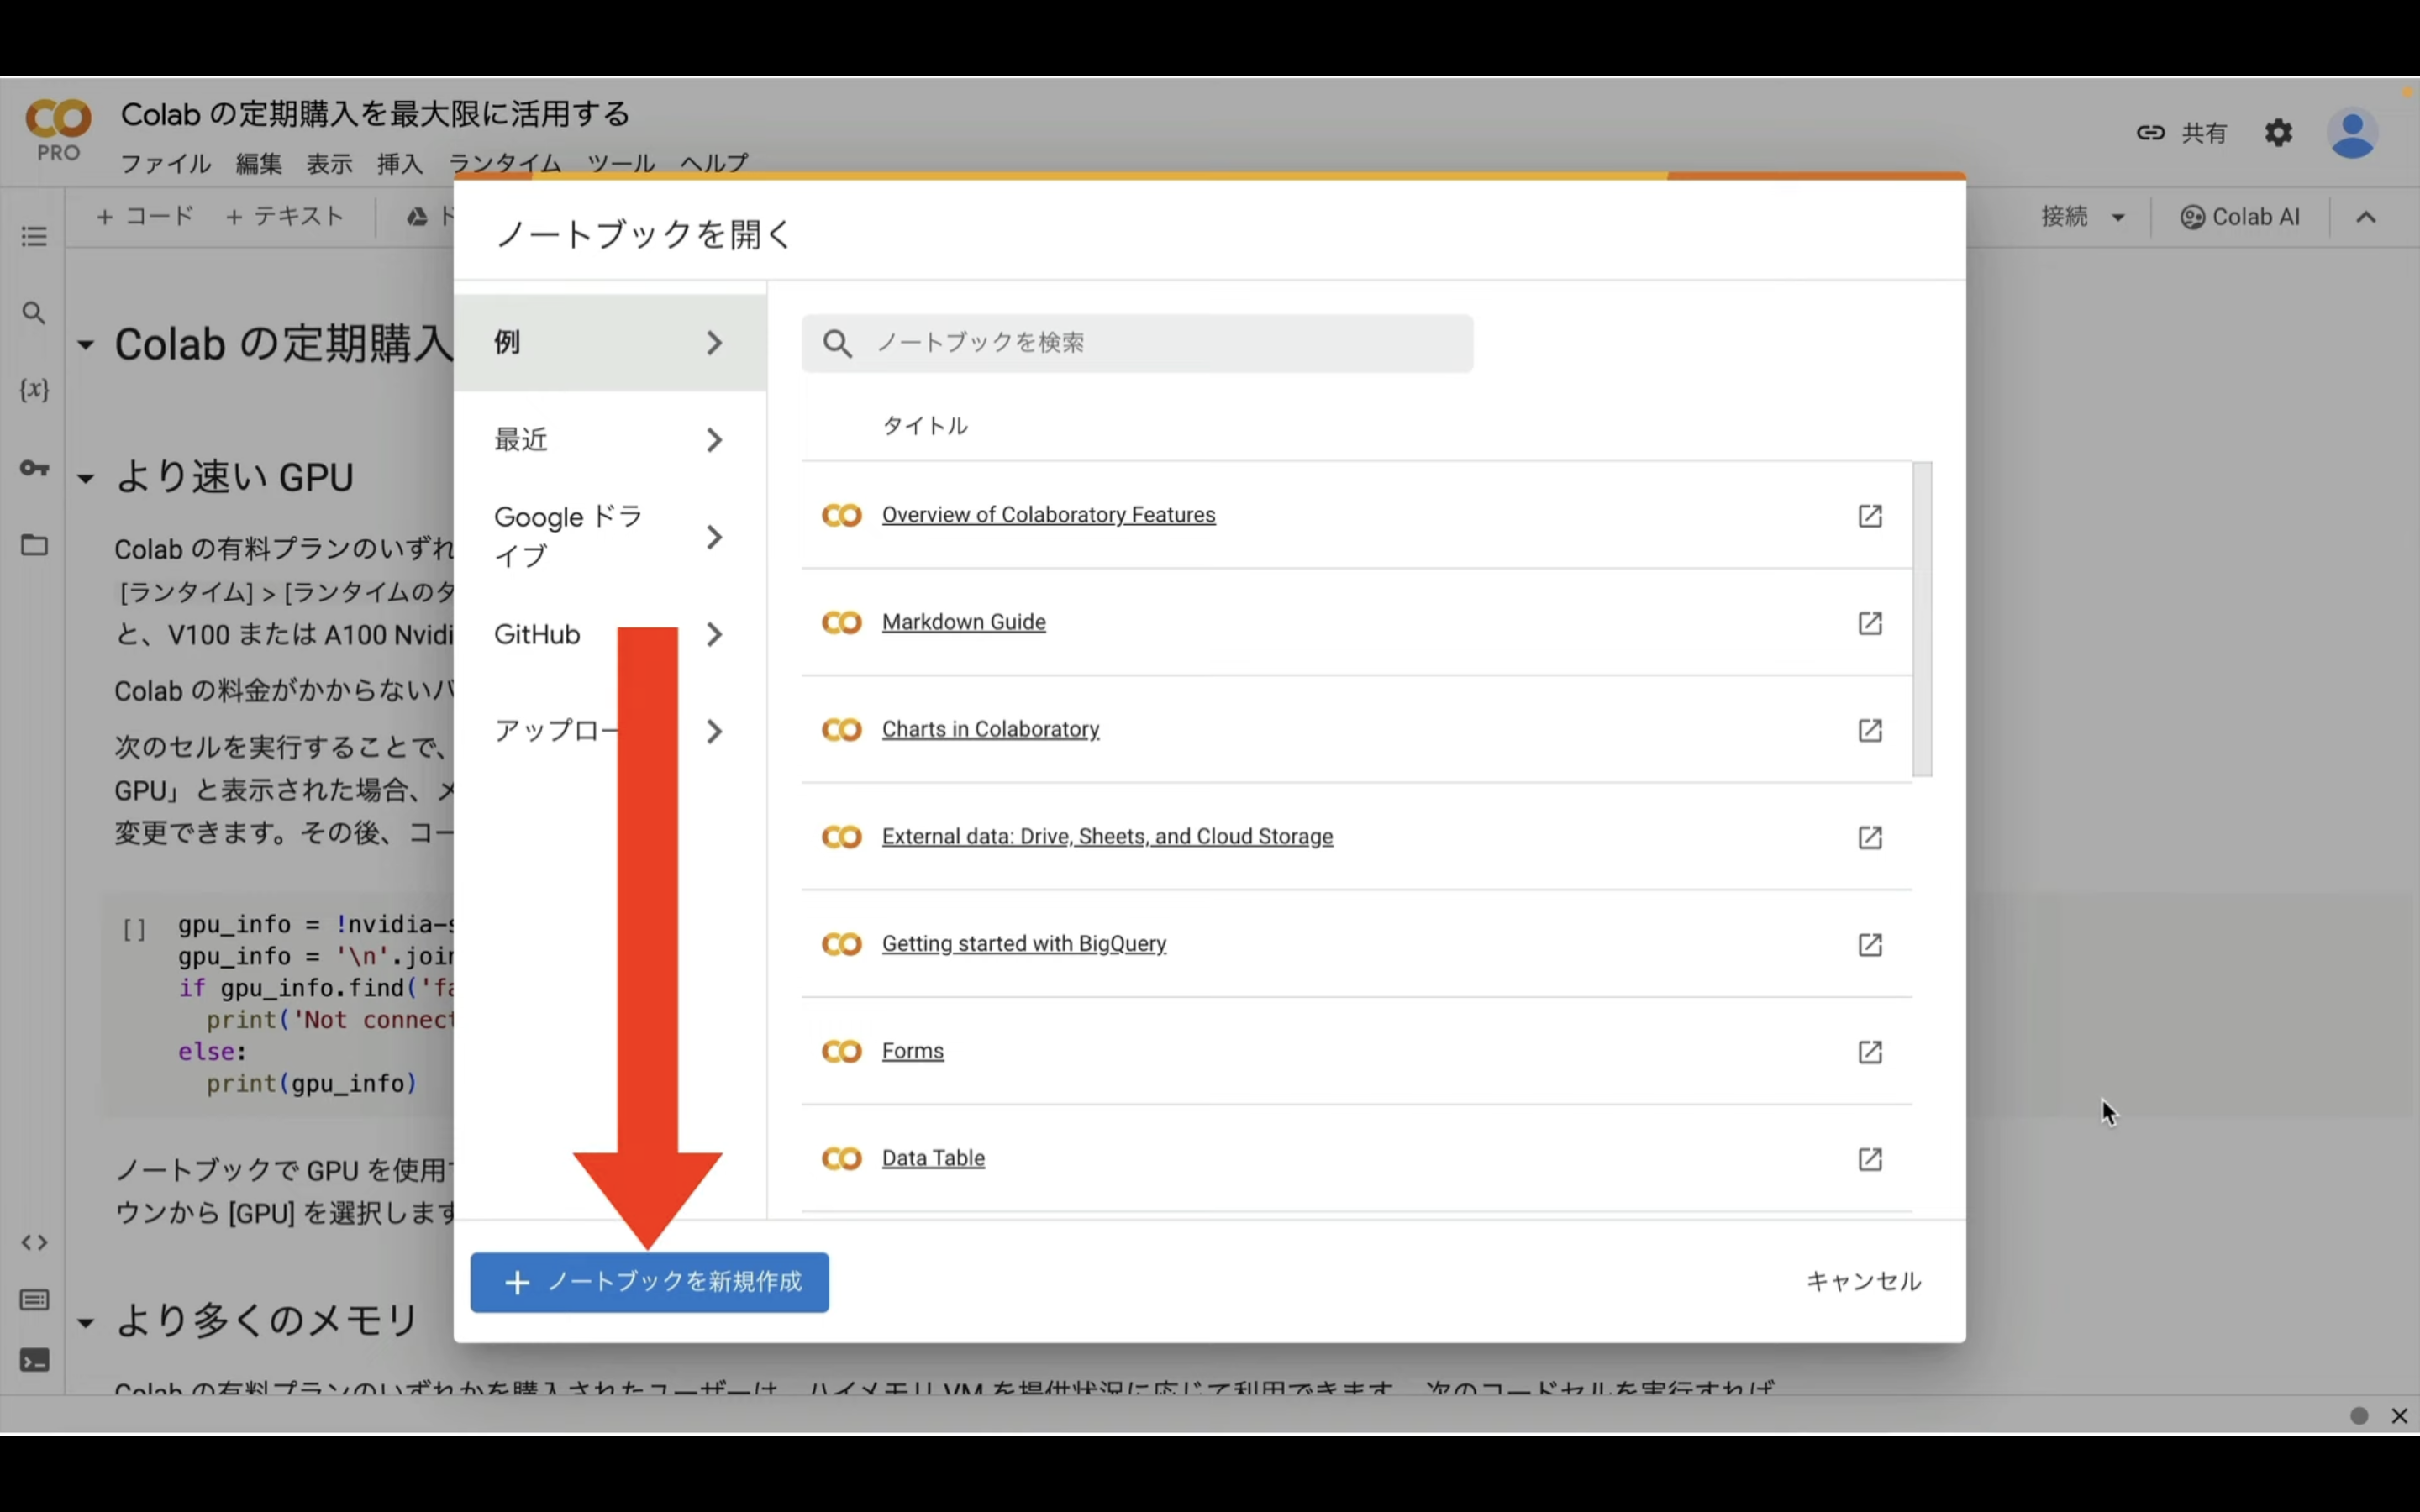
Google Colabの画面を表示したら、ノートブックを新規作成と書かれているボタンをクリックします。
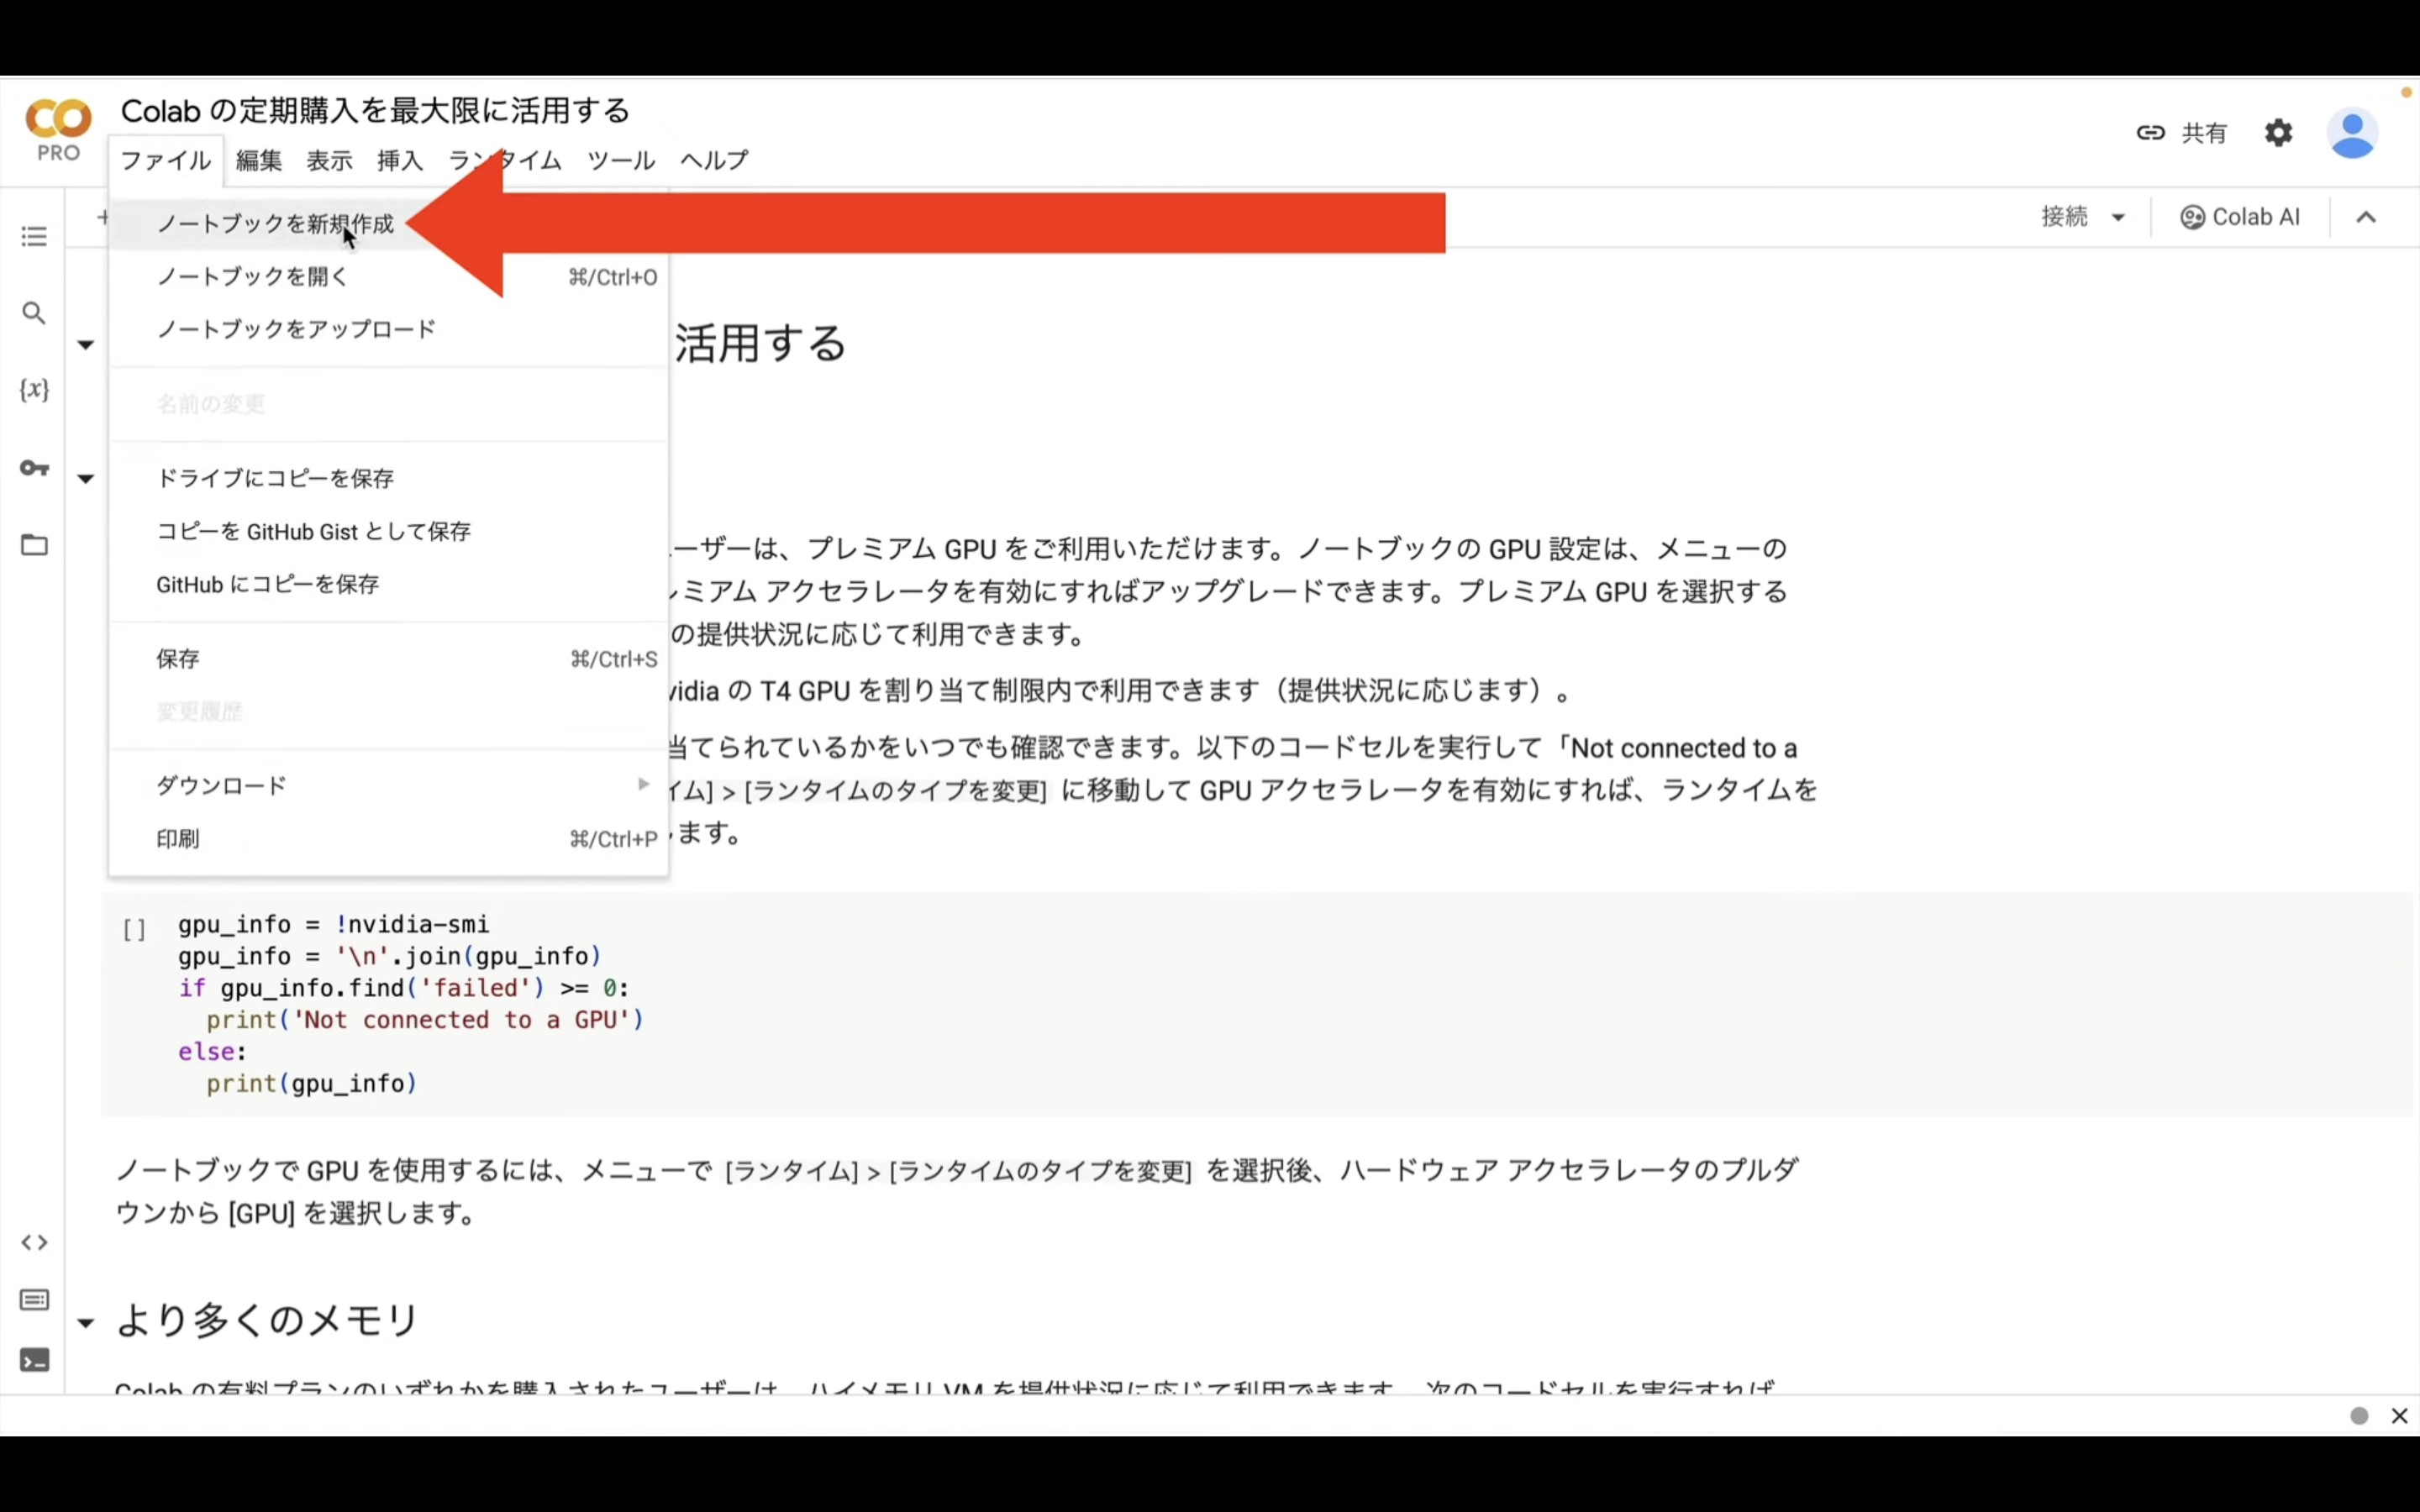
もしもこのようなポップアップ画面が表示されない場合は、メニューの中からファイルを選択して、ノートブックを新規作成を選択します。
ノートブックを新規作成したら、名前を変更しておきましょう。
この解説では、このような名前にしておきました。

次に、ランタイムのタイプを変更します。
メニューの中からランタイムを選択して、ランタイムのタイプを変更を選択します。
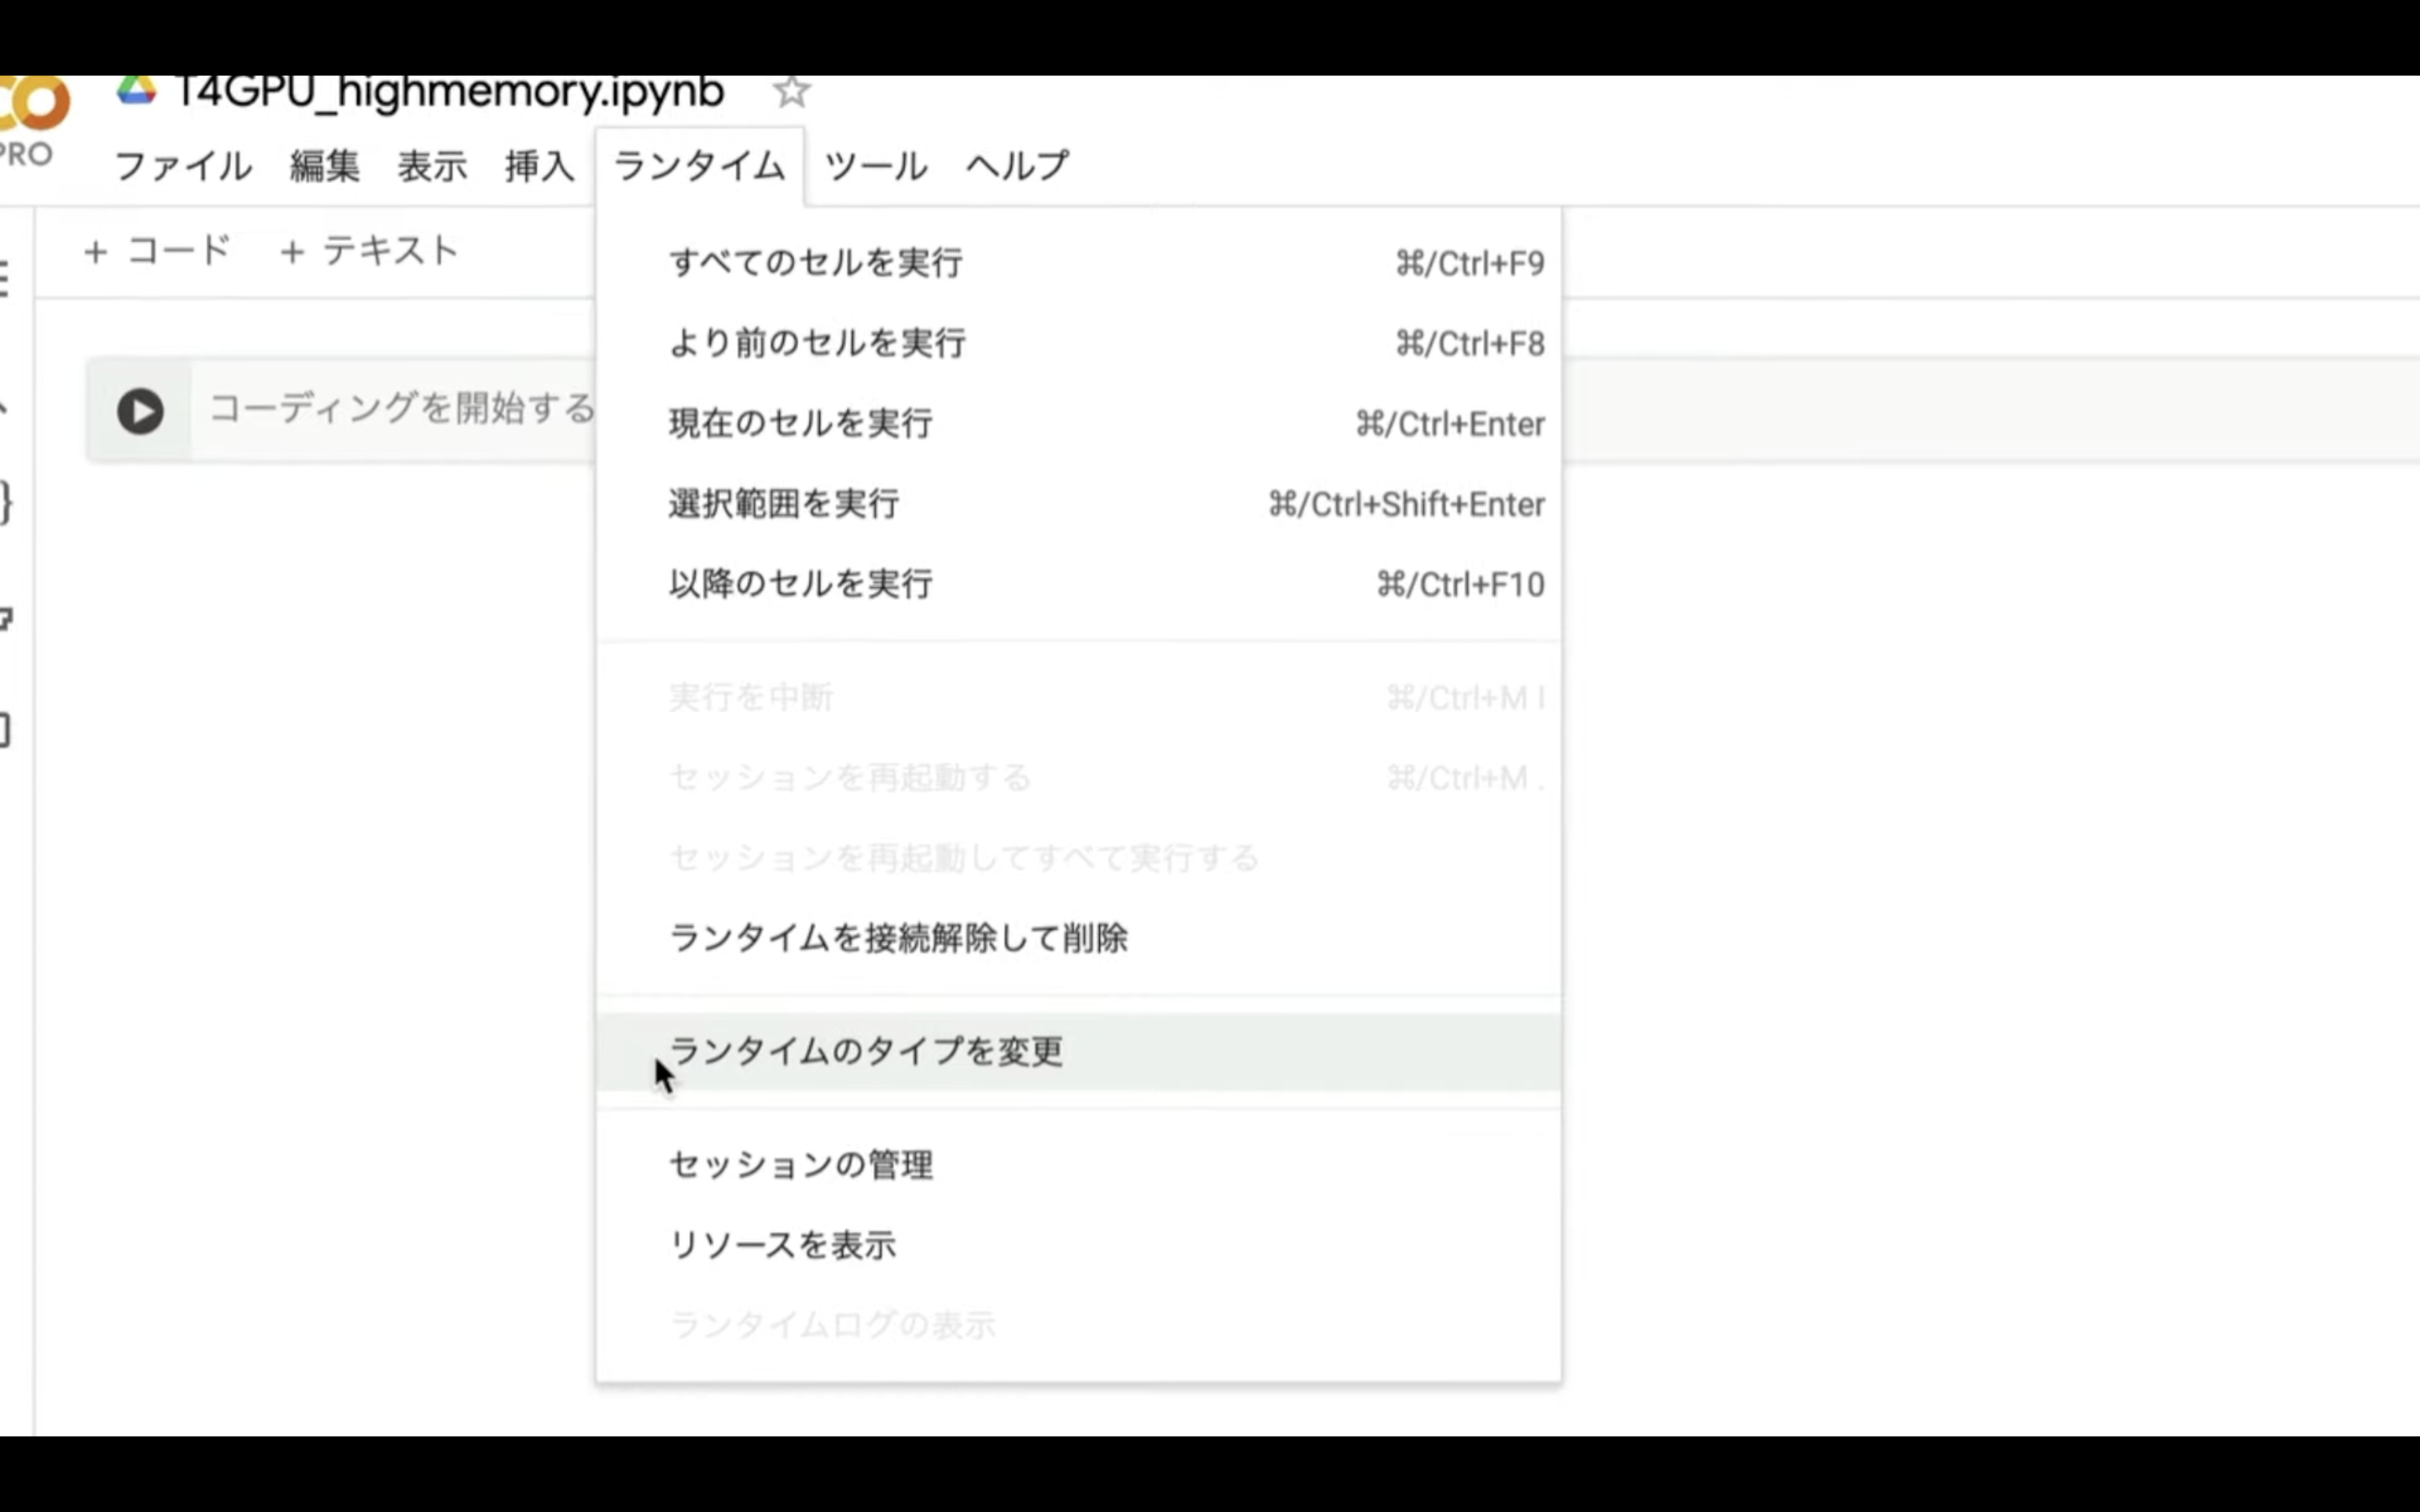
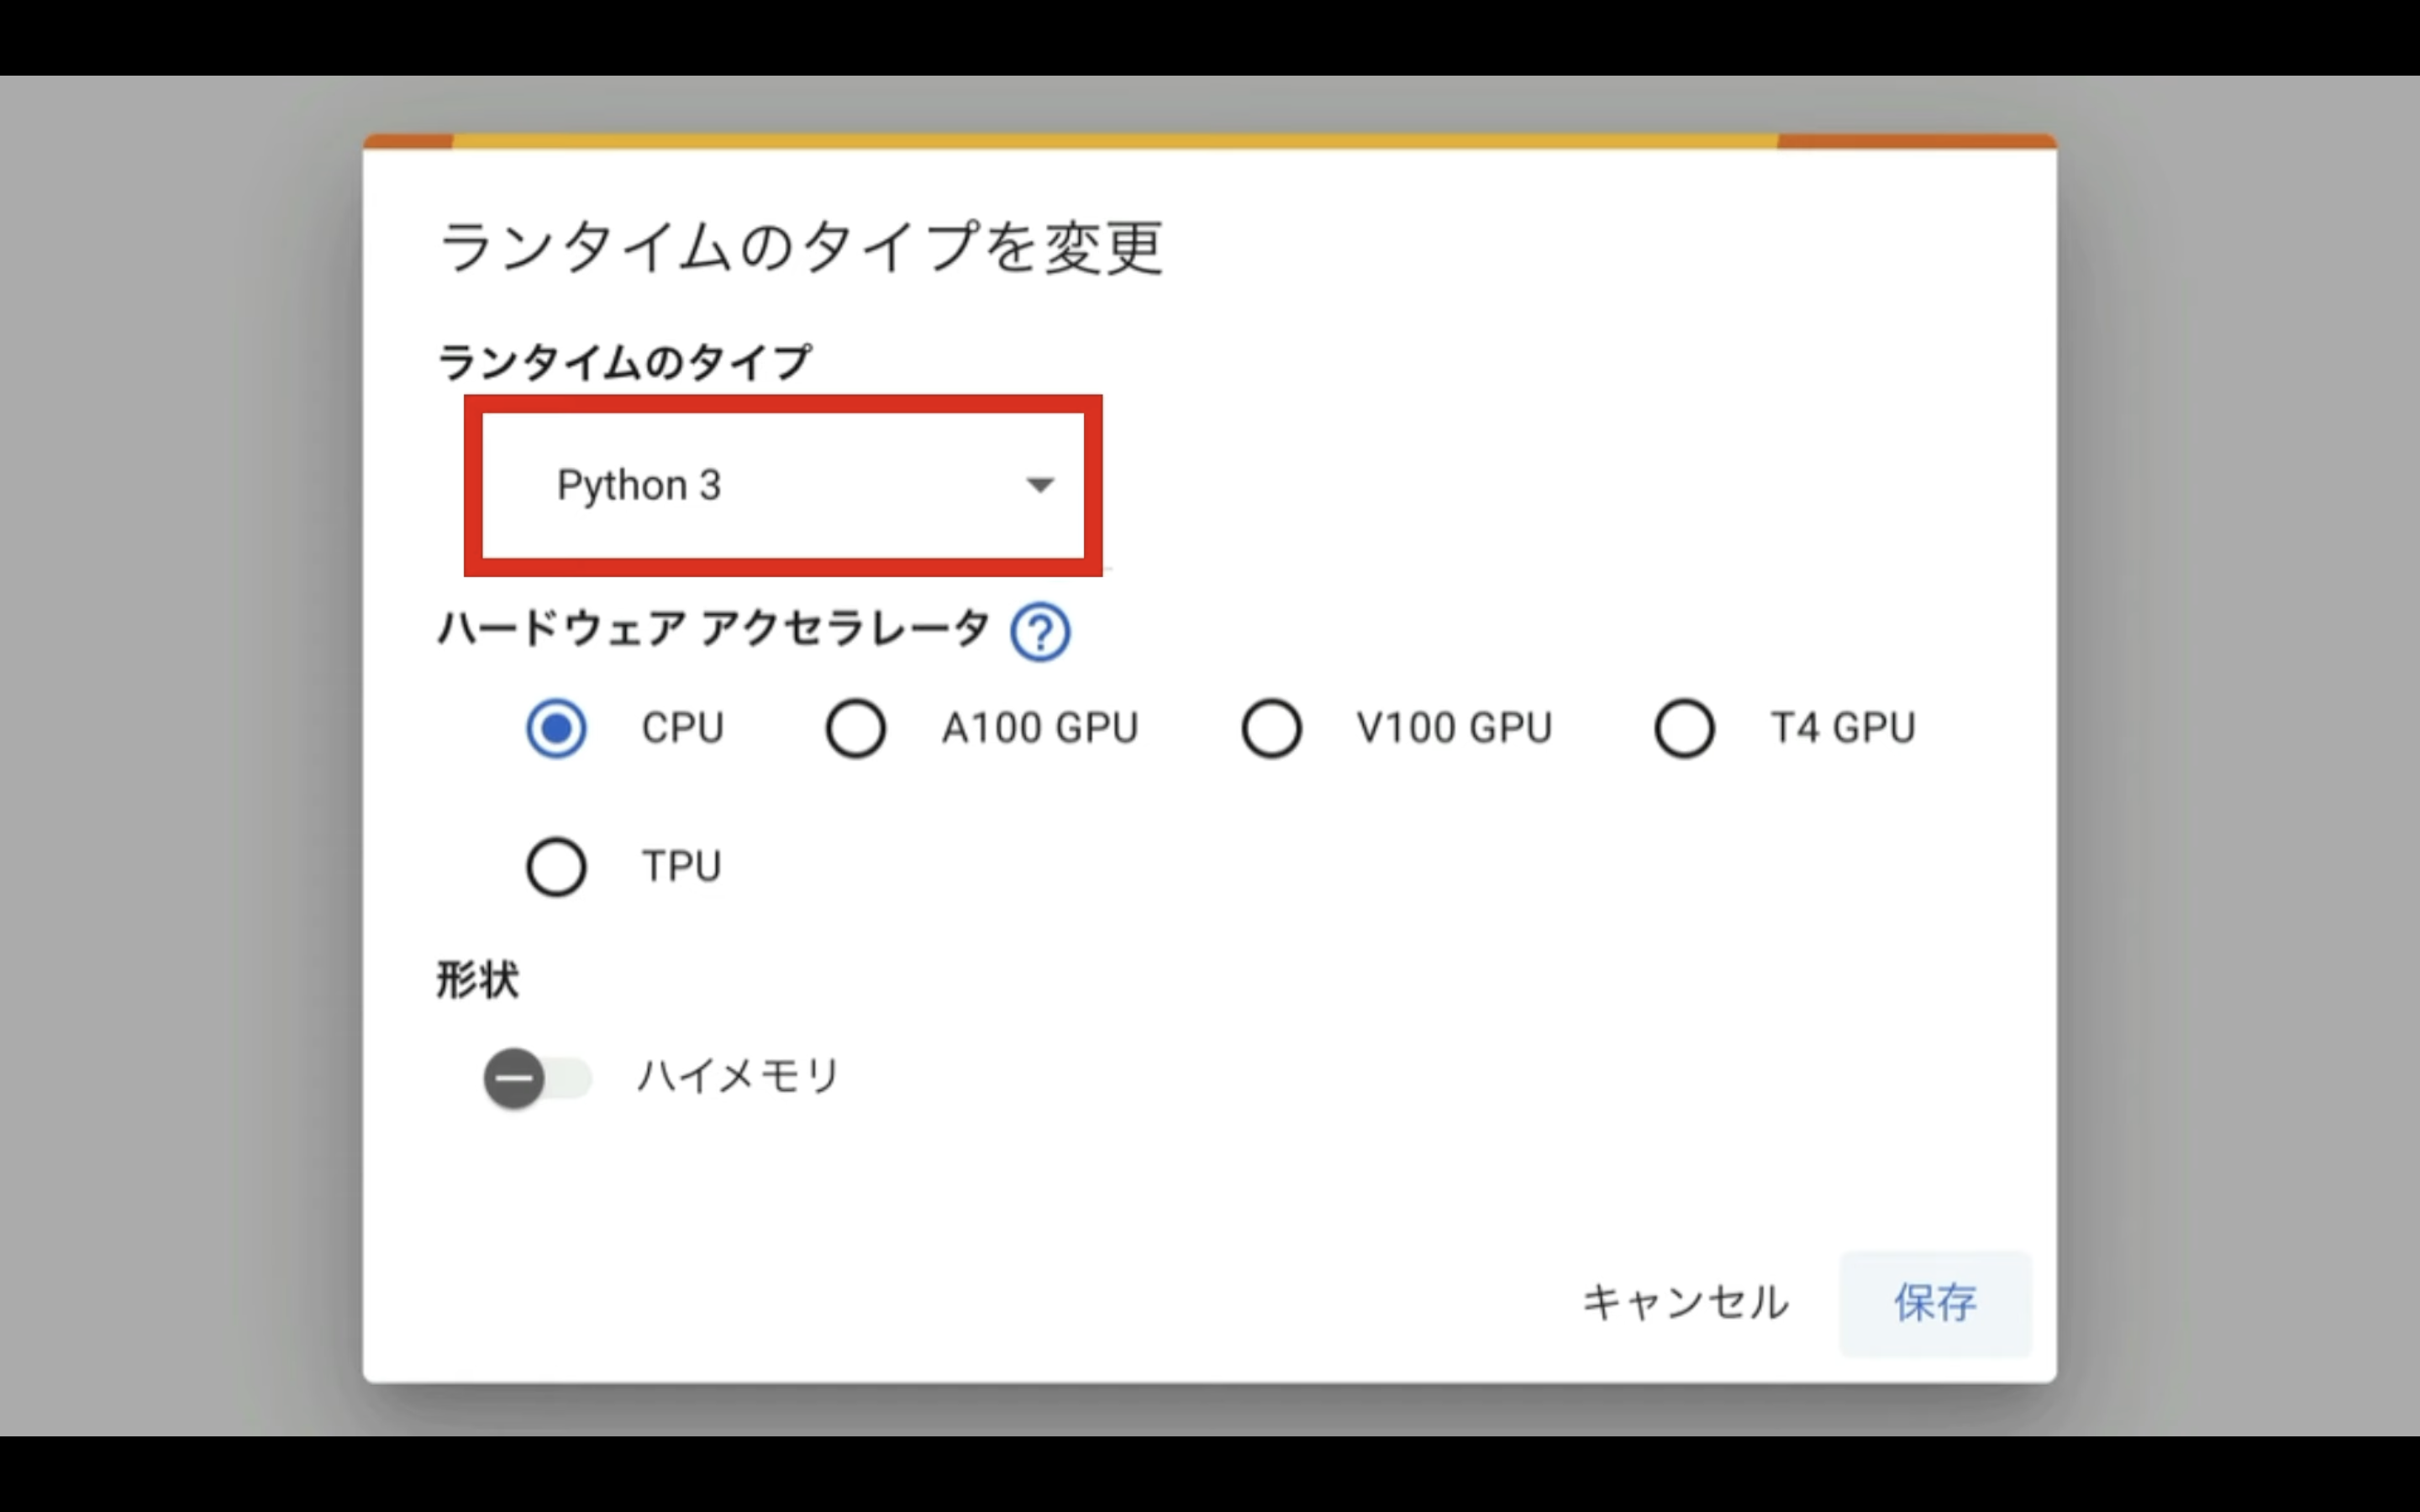
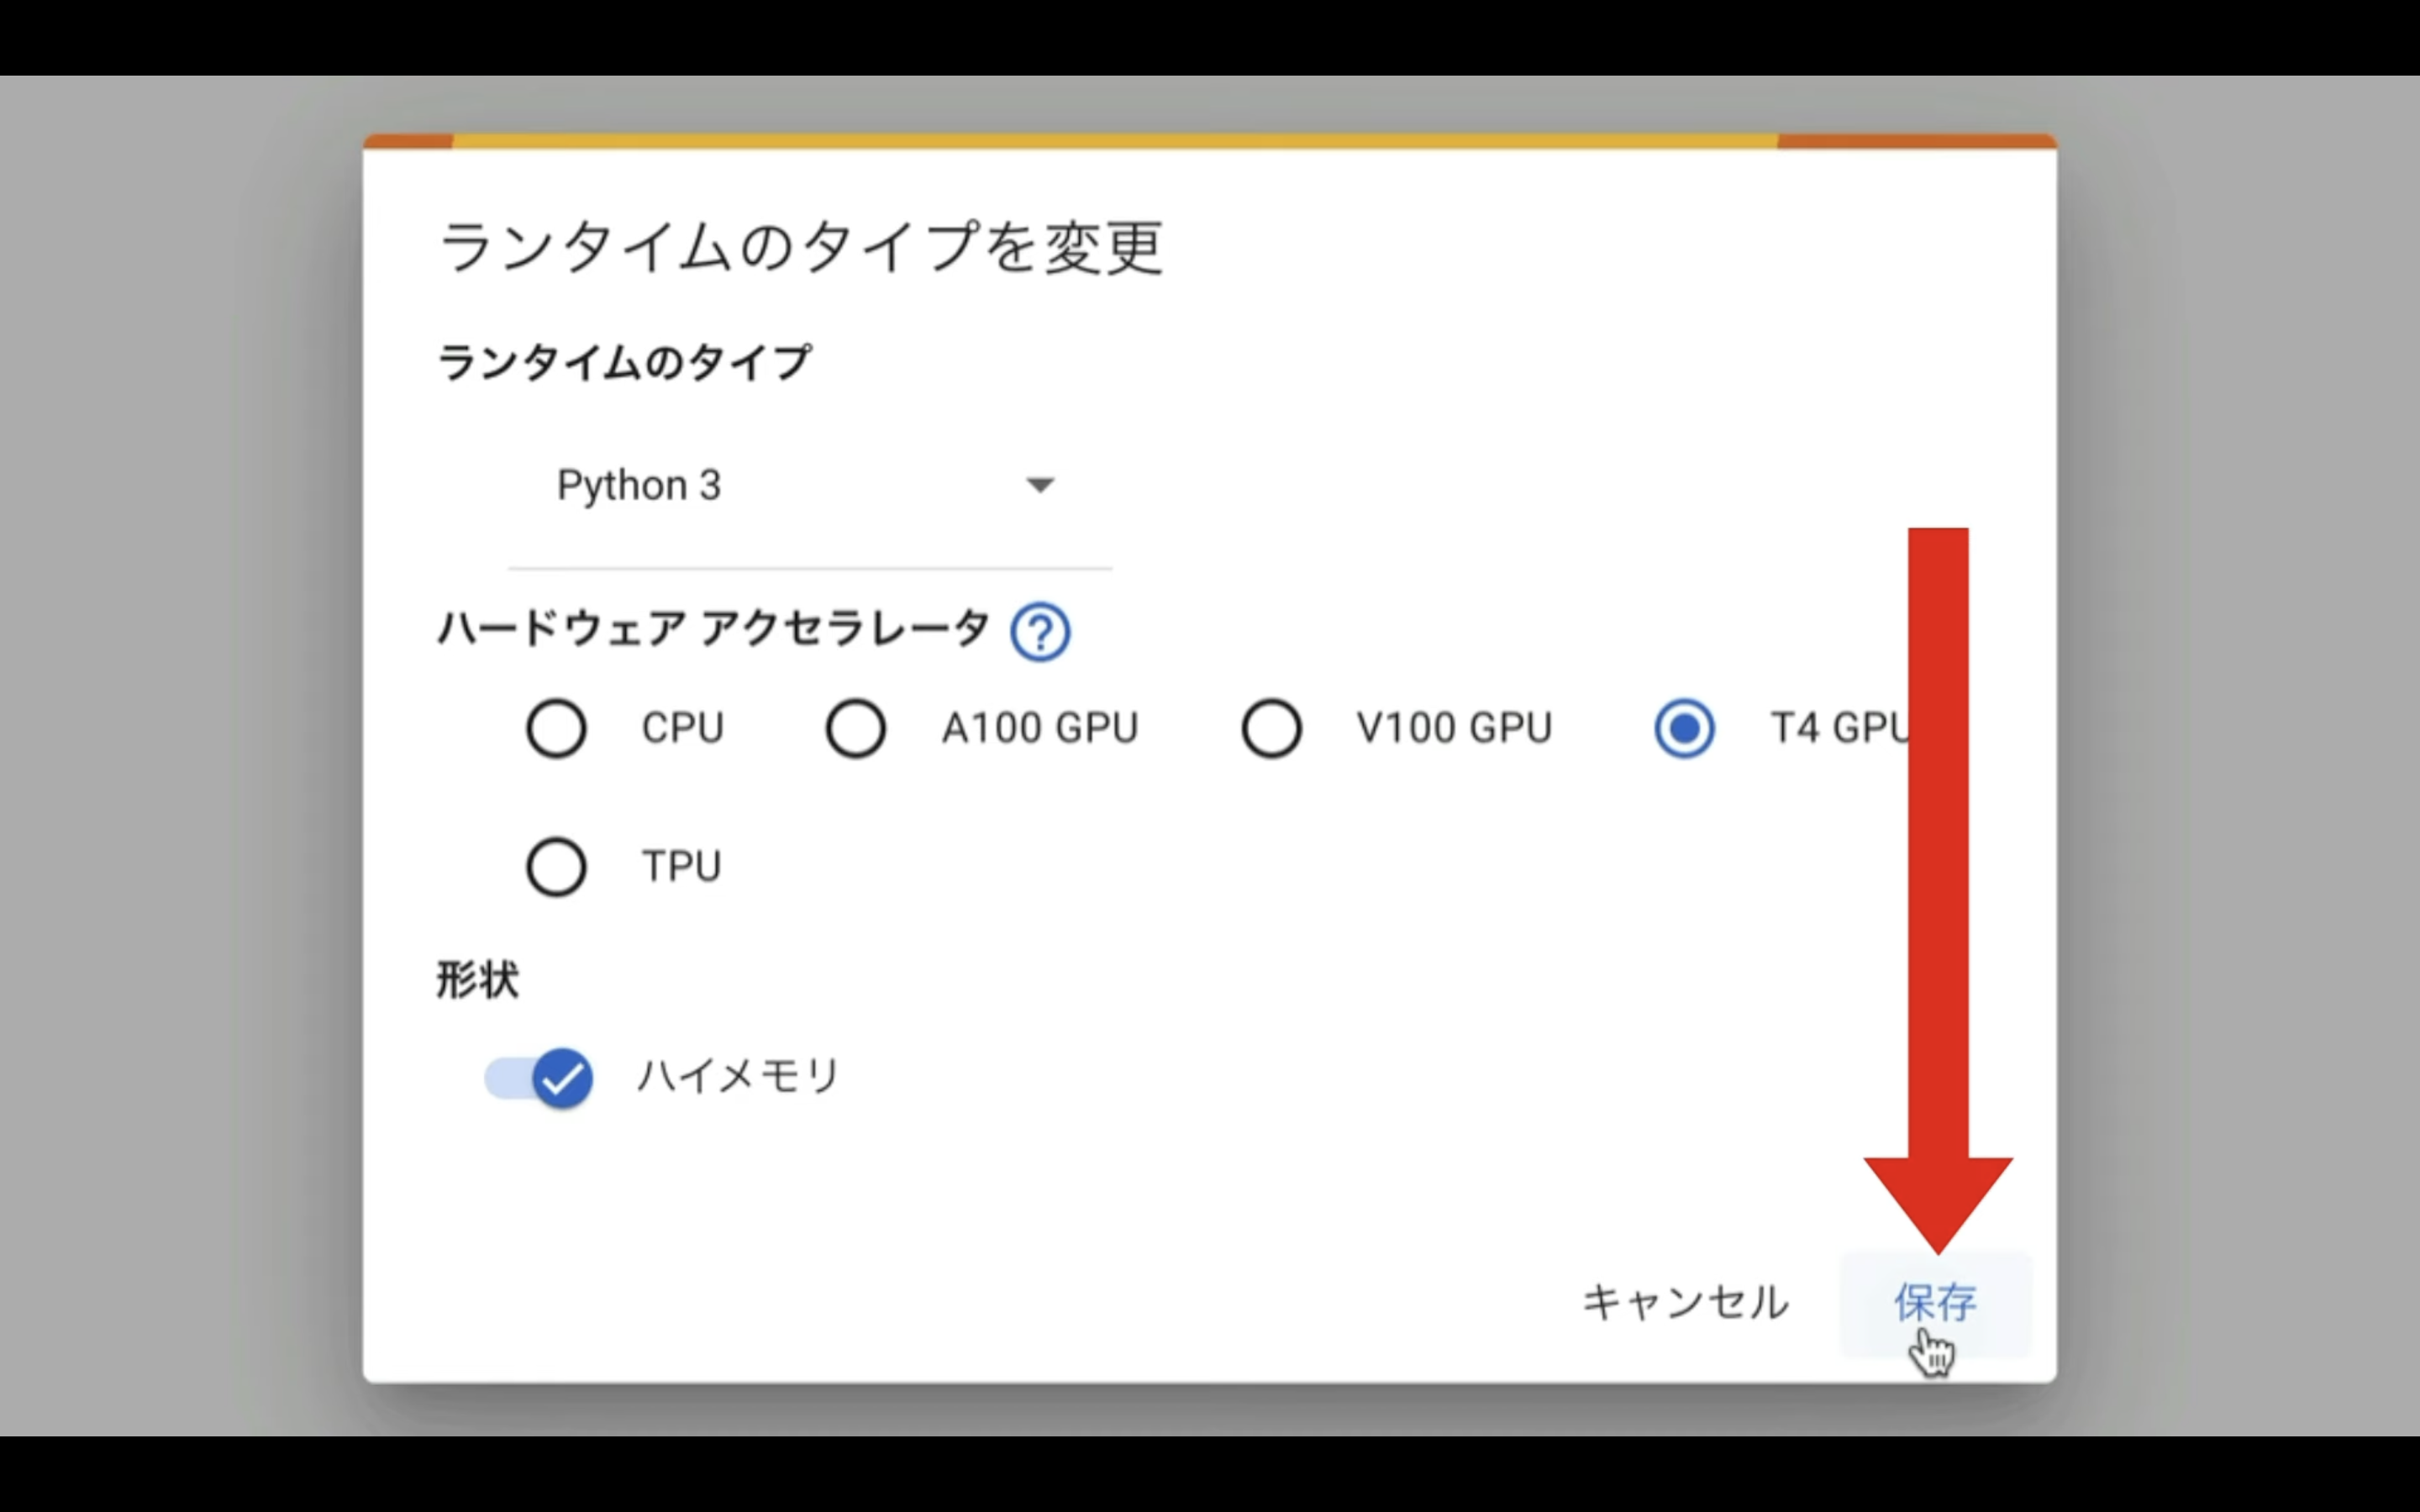
そうすると、ランタイムのタイプの設定画面が表示されます。
ランタイムのタイプはPython3にしておきます。
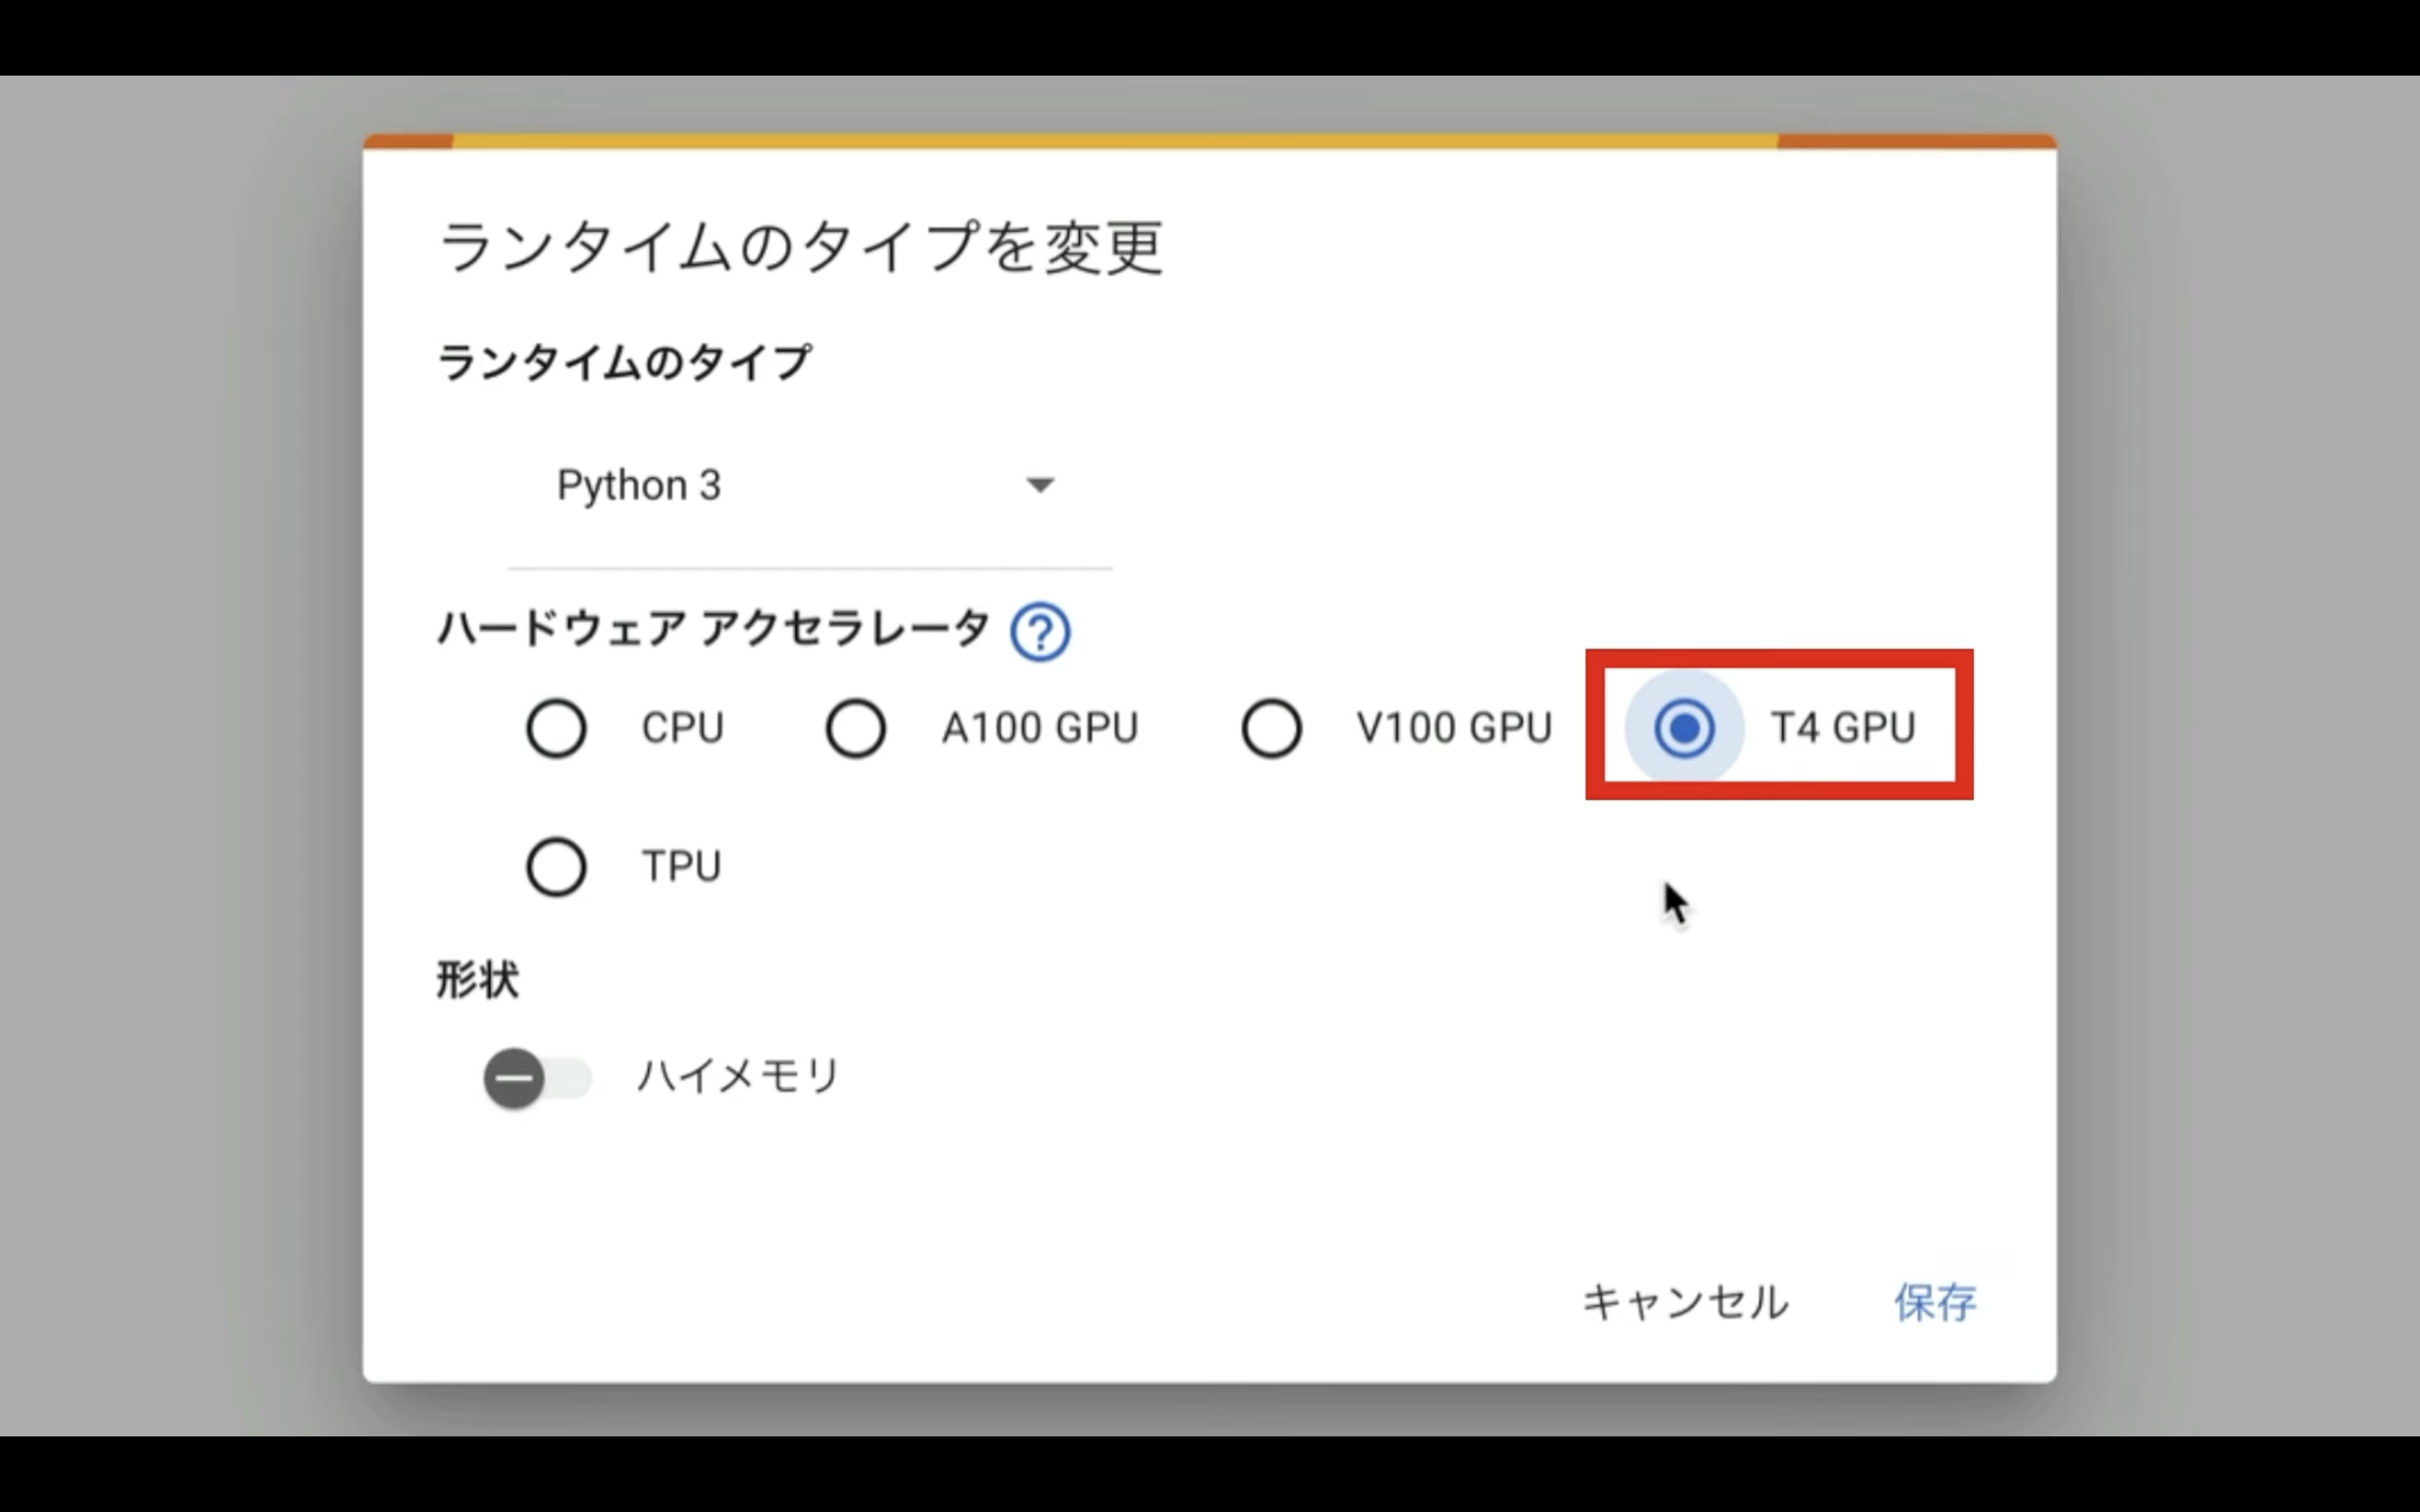
ハードウェアアクセラレーターはT4 GPUを選択します。
そして、ハイメモリーの設定を有効にしておきます。
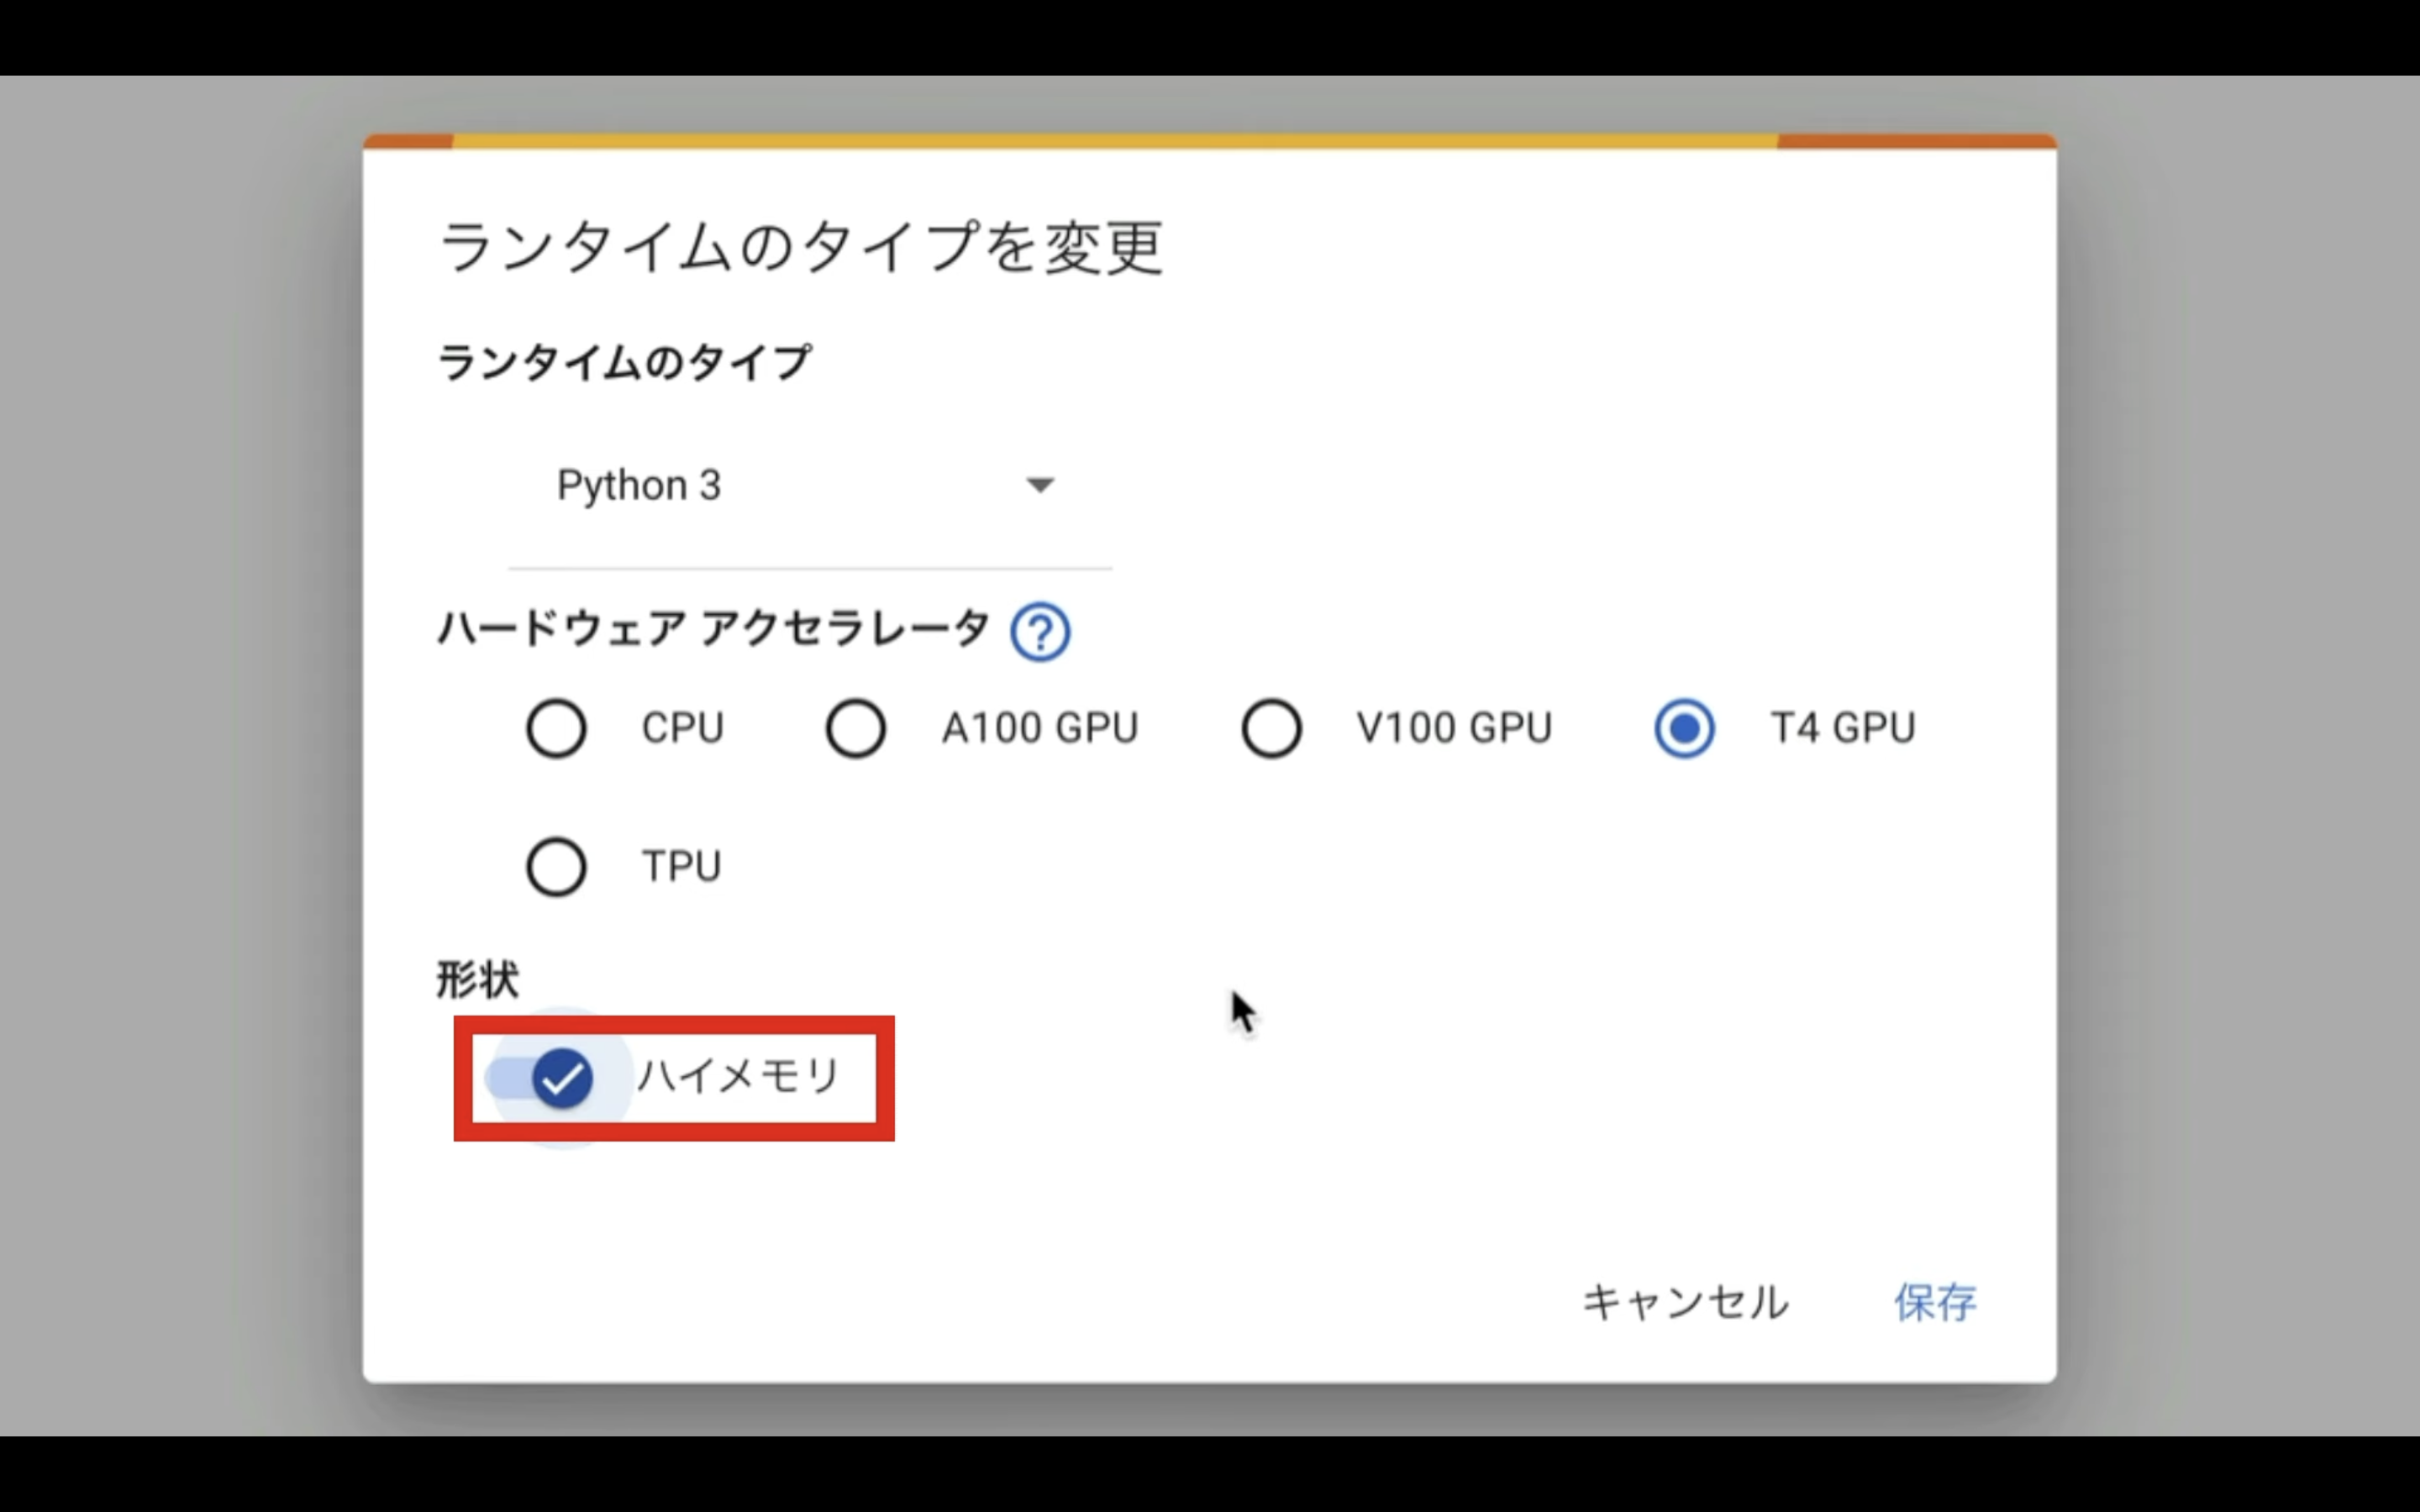
ハイメモリーの設定は、無料版のGoogle Colabでは有効にすることができません。
そのため、この動画では有料版のGoogle Colabで解説を進めます。
ランタイムのタイプをこのように変更したら、保存ボタンをクリックします。
これで、Google Colabでコードを実行するための準備が整いました。
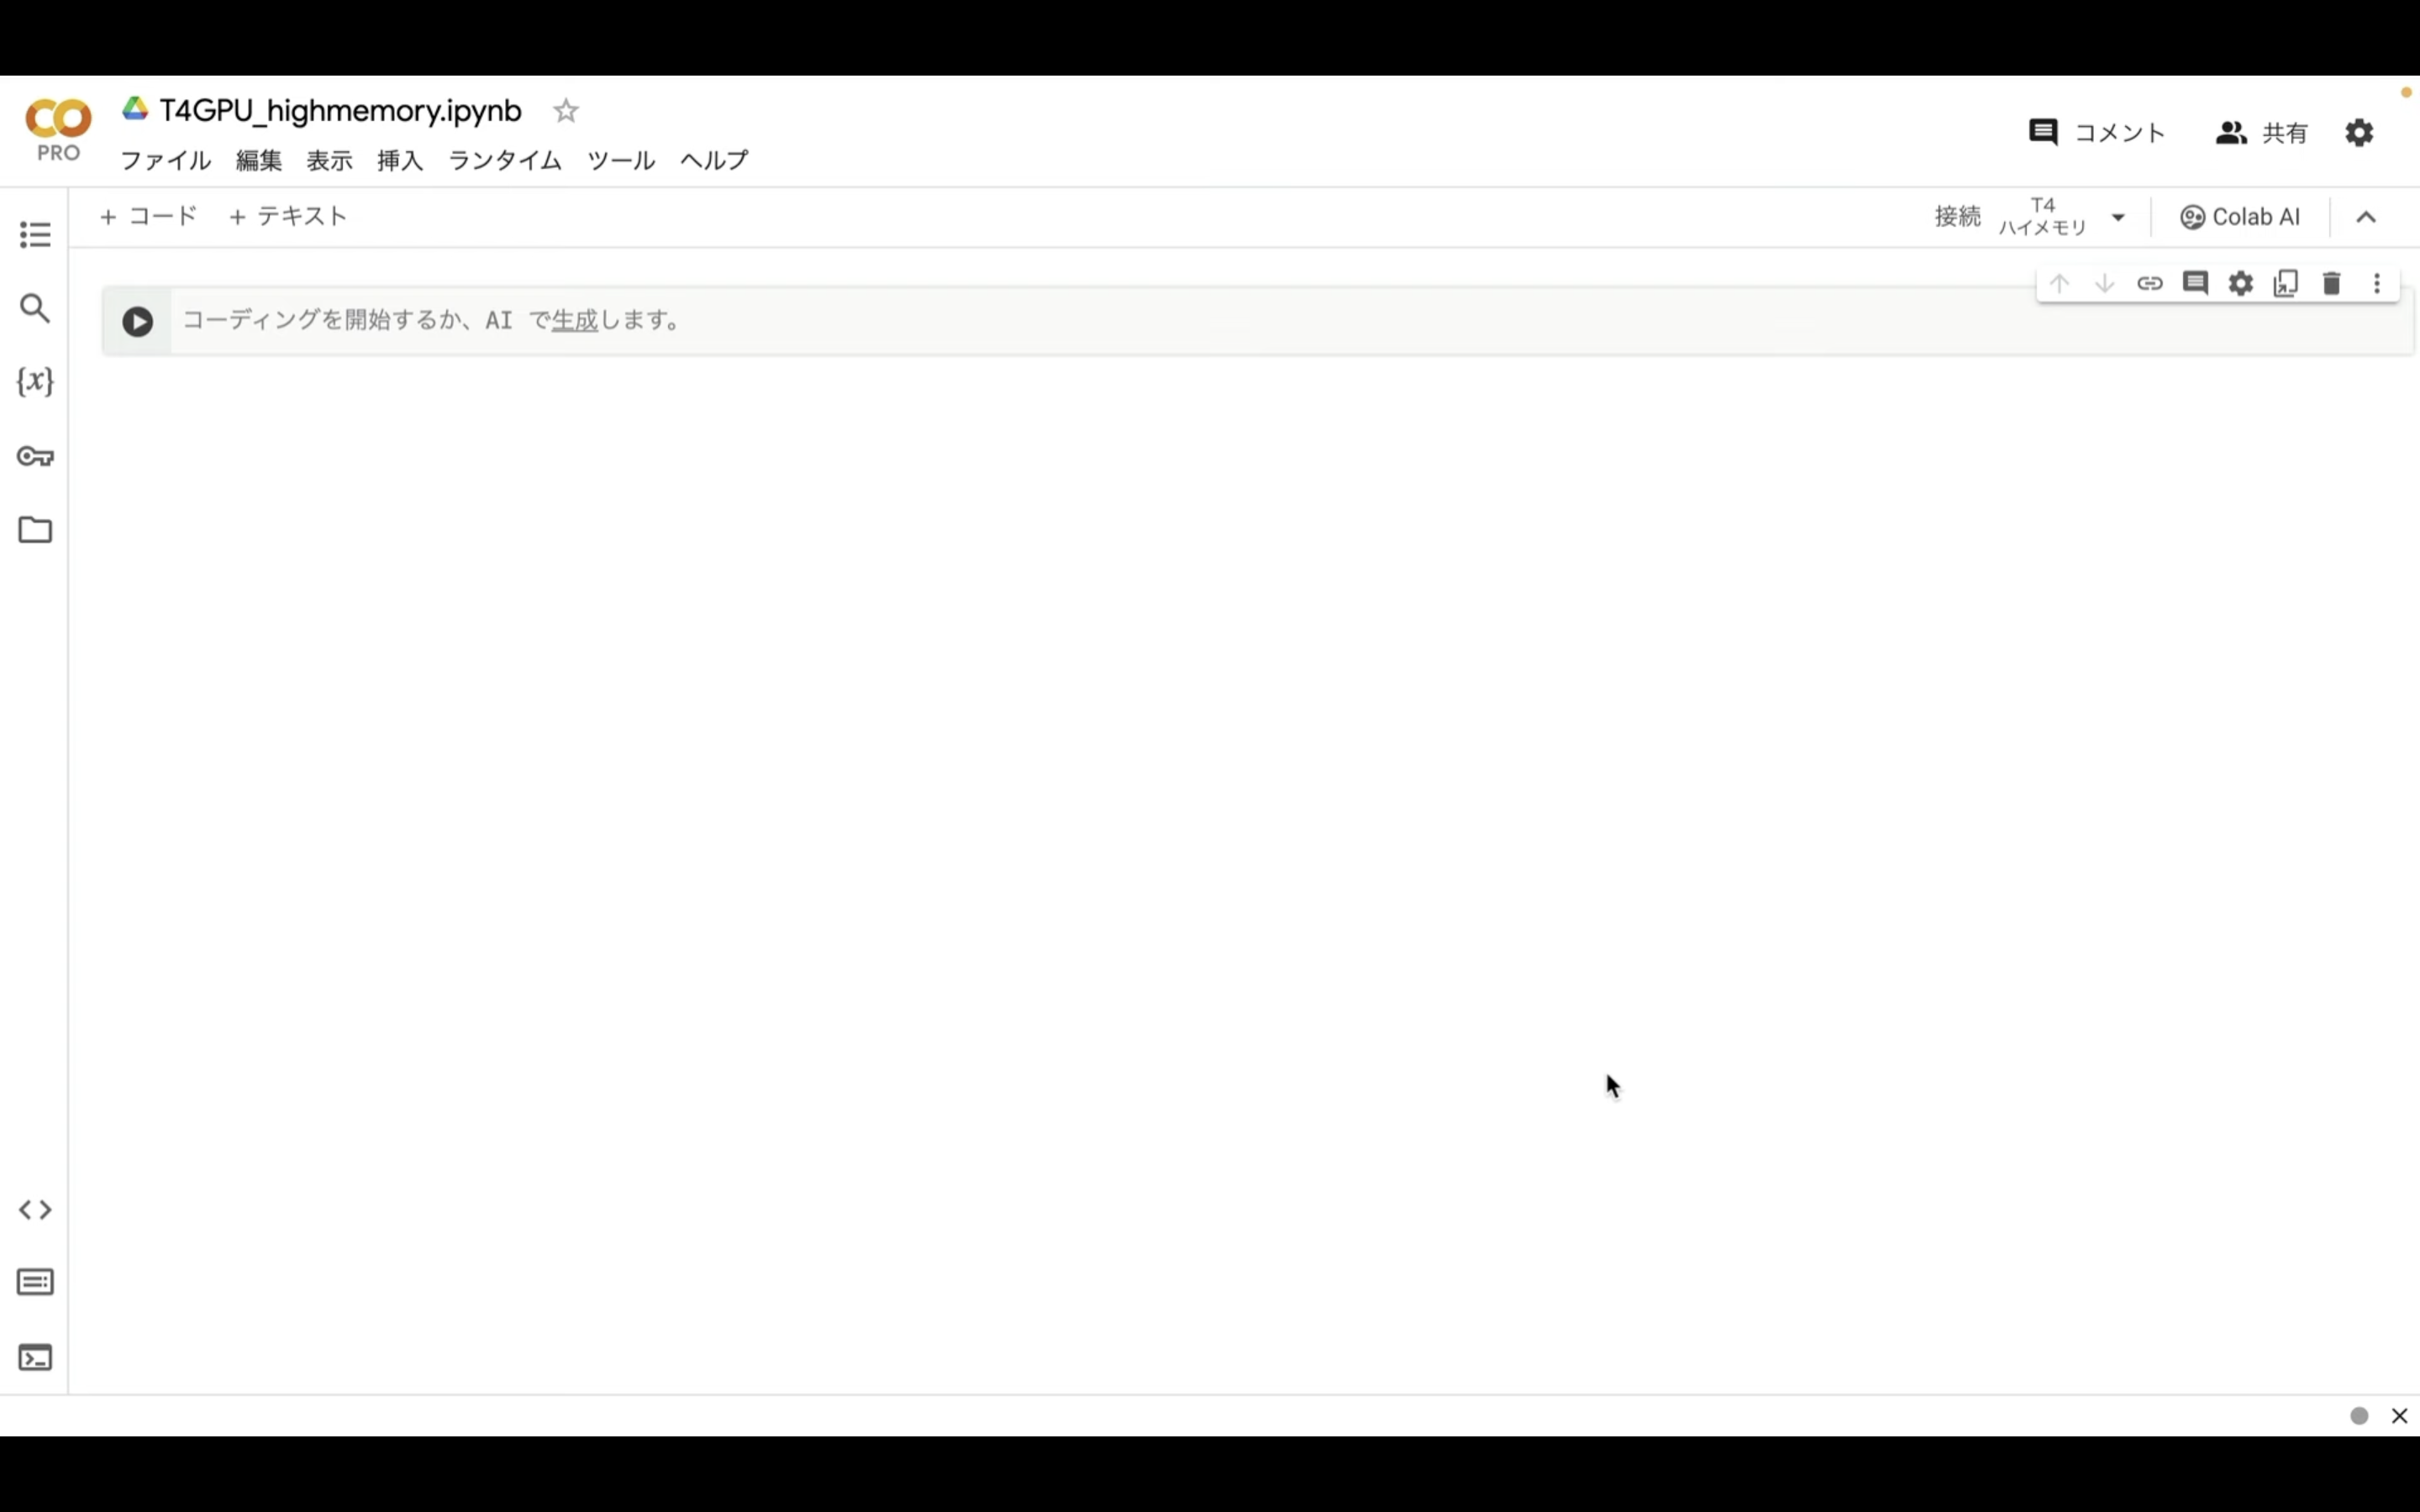
それでは、早速実行していきましょう。
以下に貼ってあるテキストをコピーします。
from pathlib import Path
import subprocess
import threading
import time
import socket

!pip install -q torch==2.0.1+cu118 torchvision==0.15.2+cu118 torchaudio==2.0.2+cu118 torchtext==0.15.2 torchdata==0.6.1 --extra-index-url https://download.pytorch.org/whl/cu118 -U
!pip install -q xformers==0.0.20 triton==2.0.0 gradio_client==0.2.7 -U
!apt -y install -qq aria2
!pip install controlnet-aux==0.0.7 onnxruntime-gpu insightface lpips
!pip install opencv-python==4.8.0.74

# 定数と設定
WORKSPACE = '/content/ComfyUI'
UPDATE_COMFY_UI = True

# ComfyUIのセットアップと更新
if not Path(WORKSPACE).exists():
  %cd /content
  print("-= Initial setup ComfyUI =-")
  !git clone https://github.com/comfyanonymous/ComfyUI
else:
  %cd $WORKSPACE
  print("-= Updating ComfyUI =-")
  !git pull

%cd $WORKSPACE/custom_nodes
!git clone https://github.com/Kosinkadink/ComfyUI-VideoHelperSuite
!git clone https://github.com/ssitu/ComfyUI_UltimateSDUpscale --recursive
!git clone https://github.com/TinyTerra/ComfyUI_tinyterraNodes
!git clone https://github.com/Kosinkadink/ComfyUI-Advanced-ControlNet
!git clone https://github.com/Kosinkadink/ComfyUI-AnimateDiff-Evolved
!git clone https://github.com/FizzleDorf/ComfyUI_FizzNodes
!git clone https://github.com/Stability-AI/stability-ComfyUI-nodes
!git clone https://github.com/RockOfFire/ComfyUI_Comfyroll_CustomNodes
!git clone https://github.com/ltdrdata/ComfyUI-Manager.git
!git clone https://github.com/mcmonkeyprojects/sd-dynamic-thresholding
!git clone https://github.com/Fannovel16/comfyui_controlnet_aux.git
!git clone https://github.com/melMass/comfy_mtb.git
!git clone https://github.com/Gourieff/comfyui-reactor-node
!git clone https://github.com/mav-rik/facerestore_cf

!aria2c --console-log-level=error -c -x 16 -s 16 -k 1M https://huggingface.co/embed/upscale/resolve/main/4x-UltraSharp.pth -d /content/ComfyUI/models/upscale_models -o 4x-UltraSharp.pth

!wget https://archive.creativaier.com/comfyui/scripts/setup_script
!mv setup_script setup_script.py
!chmod +x setup_script.py
!python setup_script.py
!rm -rf setup_script.py

!mkdir /content/ComfyUI/models/facerestore_models
!aria2c --console-log-level=error -c -x 16 -s 16 -k 1M https://github.com/sczhou/CodeFormer/releases/download/v0.1.0/codeformer.pth -d /content/ComfyUI/models/facerestore_models -o codeformer.pth
!aria2c --console-log-level=error -c -x 16 -s 16 -k 1M https://github.com/TencentARC/GFPGAN/releases/download/v1.3.4/GFPGANv1.4.pth -d /content/ComfyUI/models/facerestore_models -o GFPGANv1.4.pth

# UpScaler
!aria2c --console-log-level=error -c -x 16 -s 16 -k 1M https://huggingface.co/embed/upscale/resolve/main/4x-UltraSharp.pth -d /content/ComfyUI/models/upscale_models -o 4x-UltraSharp.pth

# ネガティブプロンプト
!git clone https://huggingface.co/embed/negative $WORKSPACE/models/embeddings/negative
!wget -c  -P $WORKSPACE/models/embeddings/negative/
!aria2c --console-log-level=error -c -x 16 -s 16 -k 1M https://civitai.com/api/download/models/77169 -d /content/ComfyUI/models/embeddings/negative -o BadDream.pt
!aria2c --console-log-level=error -c -x 16 -s 16 -k 1M https://civitai.com/api/download/models/77173 -d /content/ComfyUI/models/embeddings/negative -o UnrealisticDream.pt
!aria2c --console-log-level=error -c -x 16 -s 16 -k 1M https://civitai.com/api/download/models/25820 -d /content/ComfyUI/models/embeddings/negative -o verybadimagenegative_v1.3.pt

%cd $WORKSPACE
# 依存関係のインストール
print("-= Install dependencies =-")
!pip install xformers!=0.0.18 -r requirements.txt

# VAEのダウンロード
!wget -c https://huggingface.co/stabilityai/sd-vae-ft-mse-original/resolve/main/vae-ft-mse-840000-ema-pruned.safetensors -P ./models/vae/
!wget -c https://huggingface.co/AIARTCHAN/aichan_blend/resolve/main/vae/BerrysMix.vae.safetensors -P ./models/vae/

#checkpointをダウンロード
!aria2c --console-log-level=error -c -x 16 -s 16 -k 1M https://civitai.com/api/download/models/273102 -d /content/ComfyUI/models/checkpoints -o turbovisionxISuperFastXLBasedOnNewtvxIV431.safetensors
!aria2c --console-log-level=error -c -x 16 -s 16 -k 1M https://huggingface.co/stabilityai/stable-diffusion-xl-refiner-1.0/resolve/main/sd_xl_refiner_1.0_0.9vae.safetensors -d /content/ComfyUI/models/checkpoints -o sd_xl_refiner_1.0_0.9vae.safetensors

!mkdir /content/ComfyUI/models/deepbump
!aria2c --console-log-level=error -c -x 16 -s 16 -k 1M https://raw.githubusercontent.com/HugoTini/DeepBump/master/deepbump256.onnx -d /content/ComfyUI/models/deepbump -o deepbump256.onnx

#ControlNetのダウンロード
!wget -c https://huggingface.co/thibaud/controlnet-openpose-sdxl-1.0/resolve/main/OpenPoseXL2.safetensors -P /content/ComfyUI/models/controlnet/

# LoRAのダウンロード
!aria2c --console-log-level=error -c -x 16 -s 16 -k 1M https://huggingface.co/latent-consistency/lcm-lora-sdv1-5/resolve/main/pytorch_lora_weights.safetensors -d /content/ComfyUI/models/loras -o lcm-lora-sdv1-5_lora_weights.safetensors
!aria2c --console-log-level=error -c -x 16 -s 16 -k 1M https://huggingface.co/OedoSoldier/detail-tweaker-lora/resolve/main/add_detail.safetensors -d /content/ComfyUI/models/loras -o add_detail.safetensors

# cloudflaredのダウンロードとインストール
!wget https://github.com/cloudflare/cloudflared/releases/latest/download/cloudflared-linux-amd64.deb
!dpkg -i cloudflared-linux-amd64.deb

def iframe_thread(port):
    while True:
        time.sleep(0.5)
        sock = socket.socket(socket.AF_INET, socket.SOCK_STREAM)
        result = sock.connect_ex(('127.0.0.1', port))
        if result == 0:
            break
        sock.close()

    print("\nComfyUI finished loading, trying to launch cloudflared (if it gets stuck here cloudflared is having issues)\n")
    p = subprocess.Popen(["cloudflared", "tunnel", "--url", f"http://127.0.0.1:{port}"], stdout=subprocess.PIPE, stderr=subprocess.PIPE)
    for line in p.stderr:
        l = line.decode()
        if "trycloudflare.com " in l:
            print("This is the URL to access ComfyUI:", l[l.find("http"):], end='')

# スレッドの開始
threading.Thread(target=iframe_thread, daemon=True, args=(8188,)).start()

# ComfyUIの実行
!python main.py --dont-print-server
テキストをコピーしたら、Google Colabの画面に戻ります。
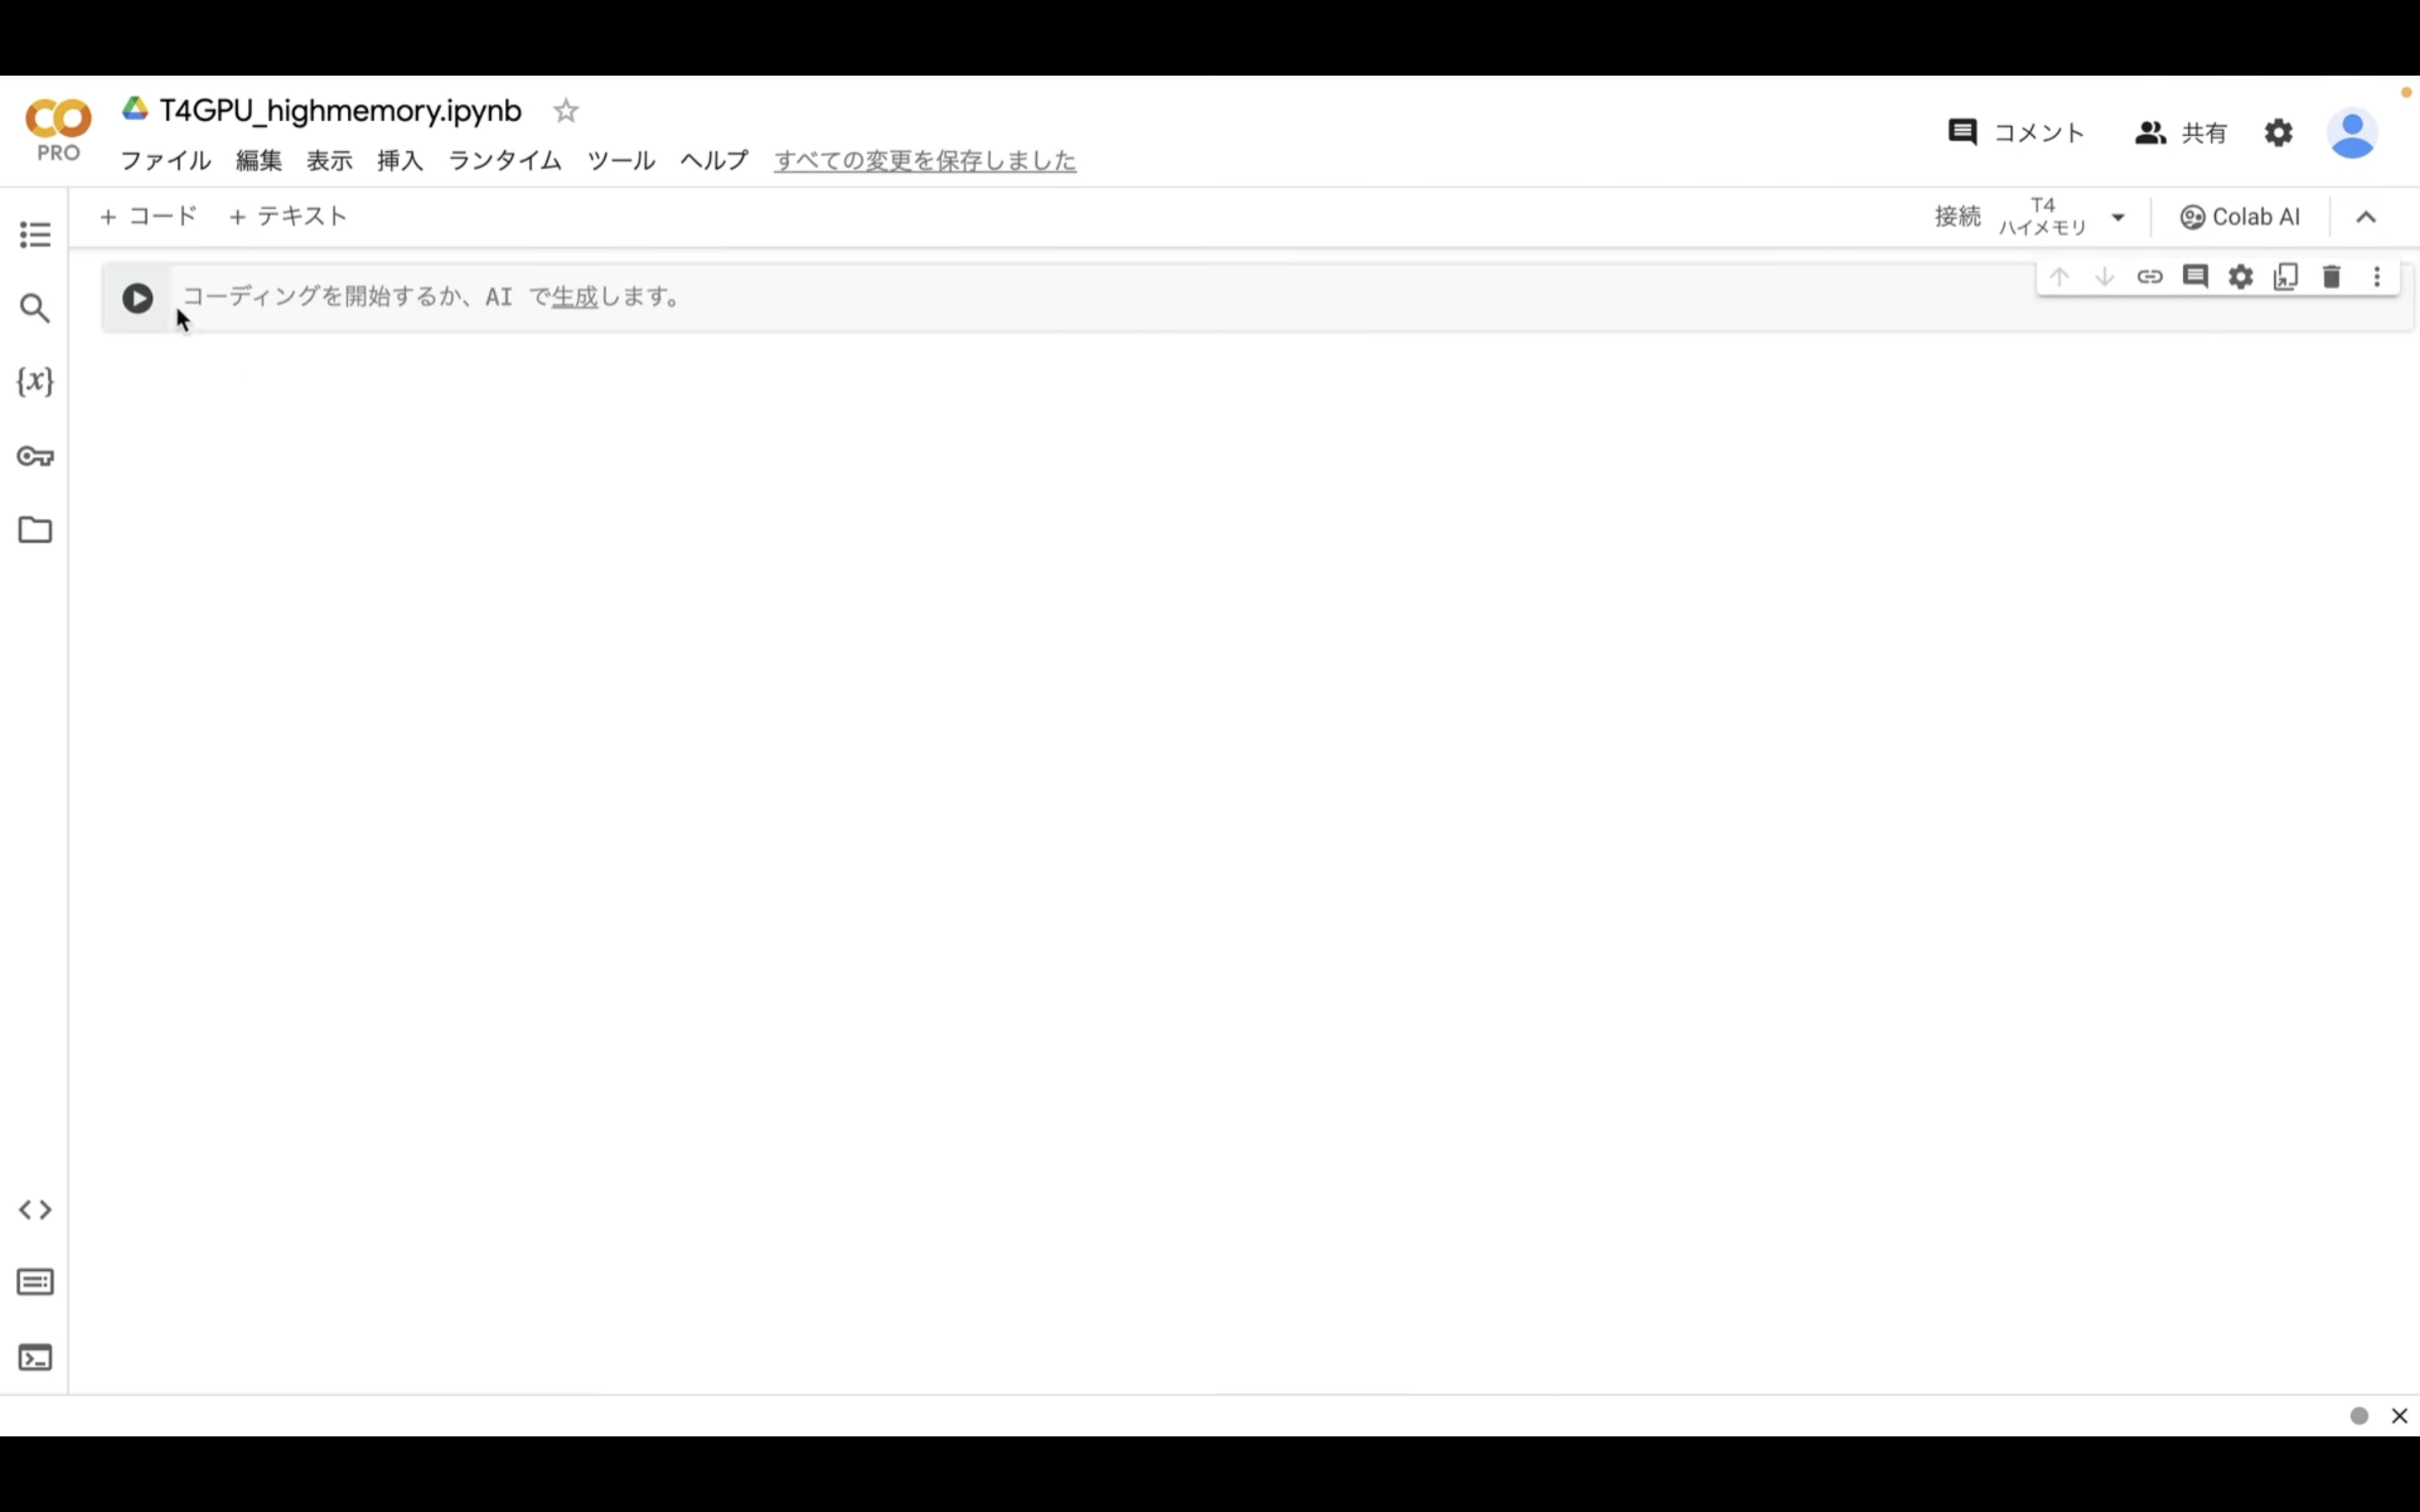
テキストボックスに先ほどコピーしたテキストを貼り付けます。
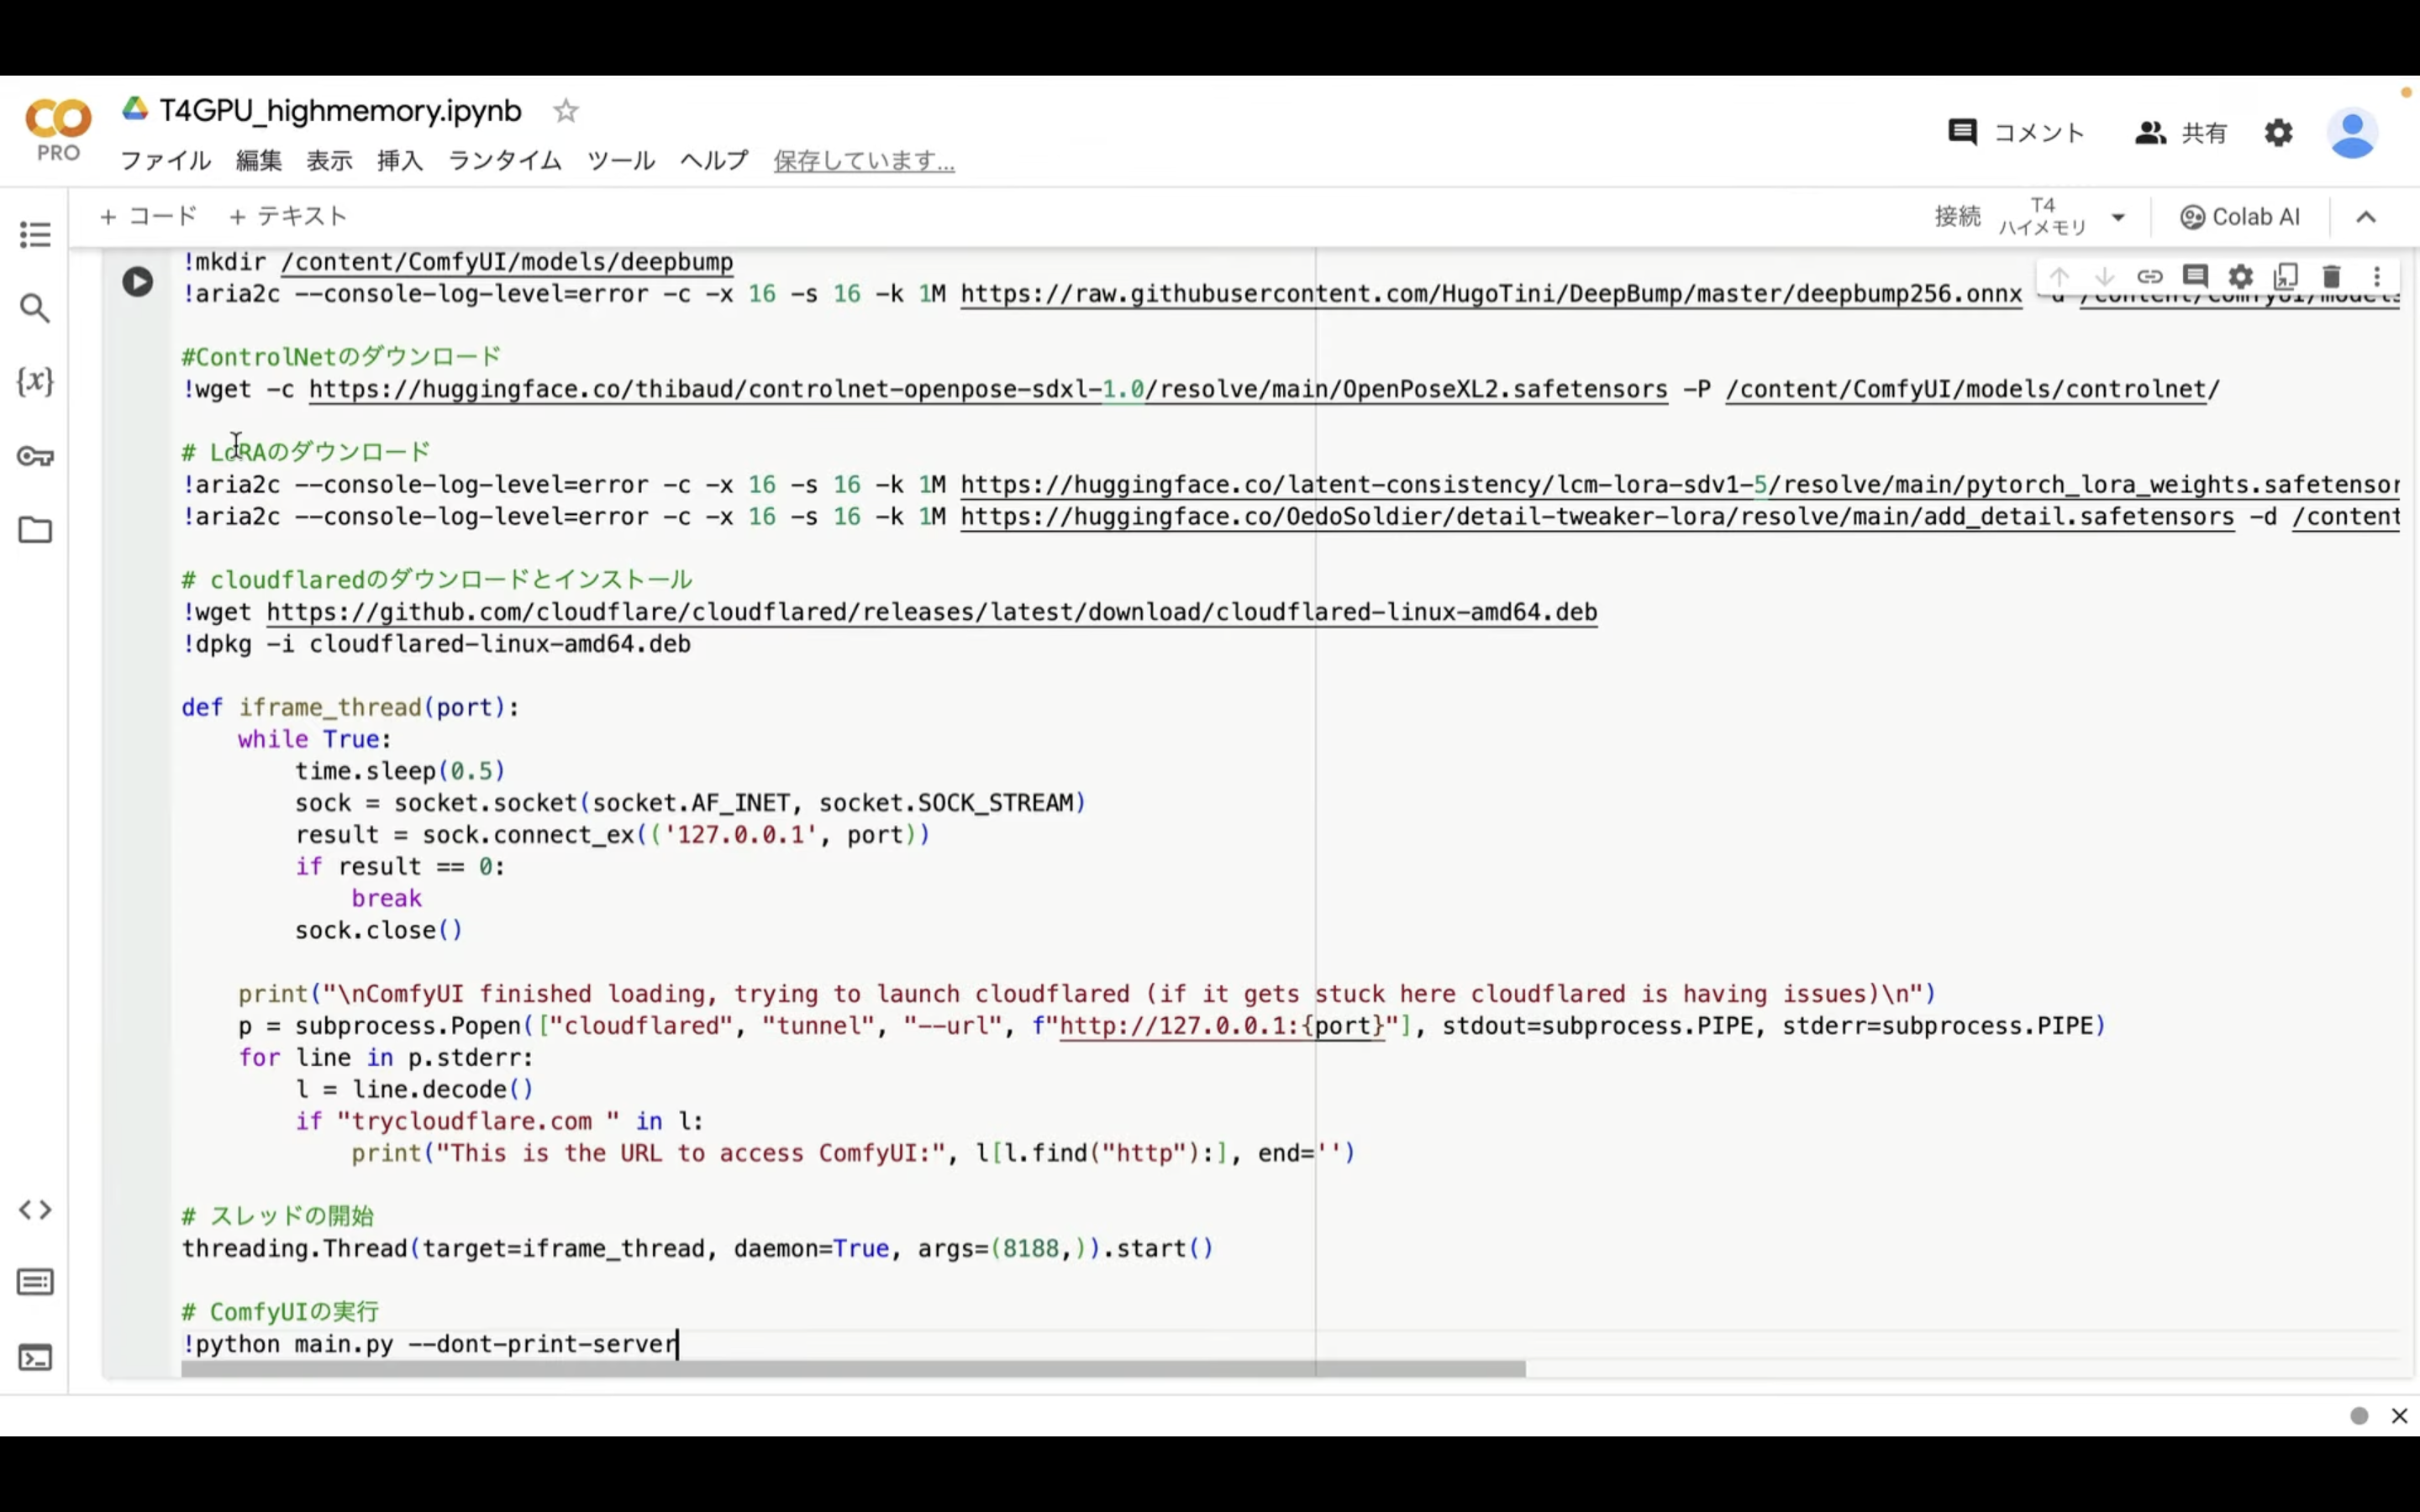
そして、再生ボタンを押します。
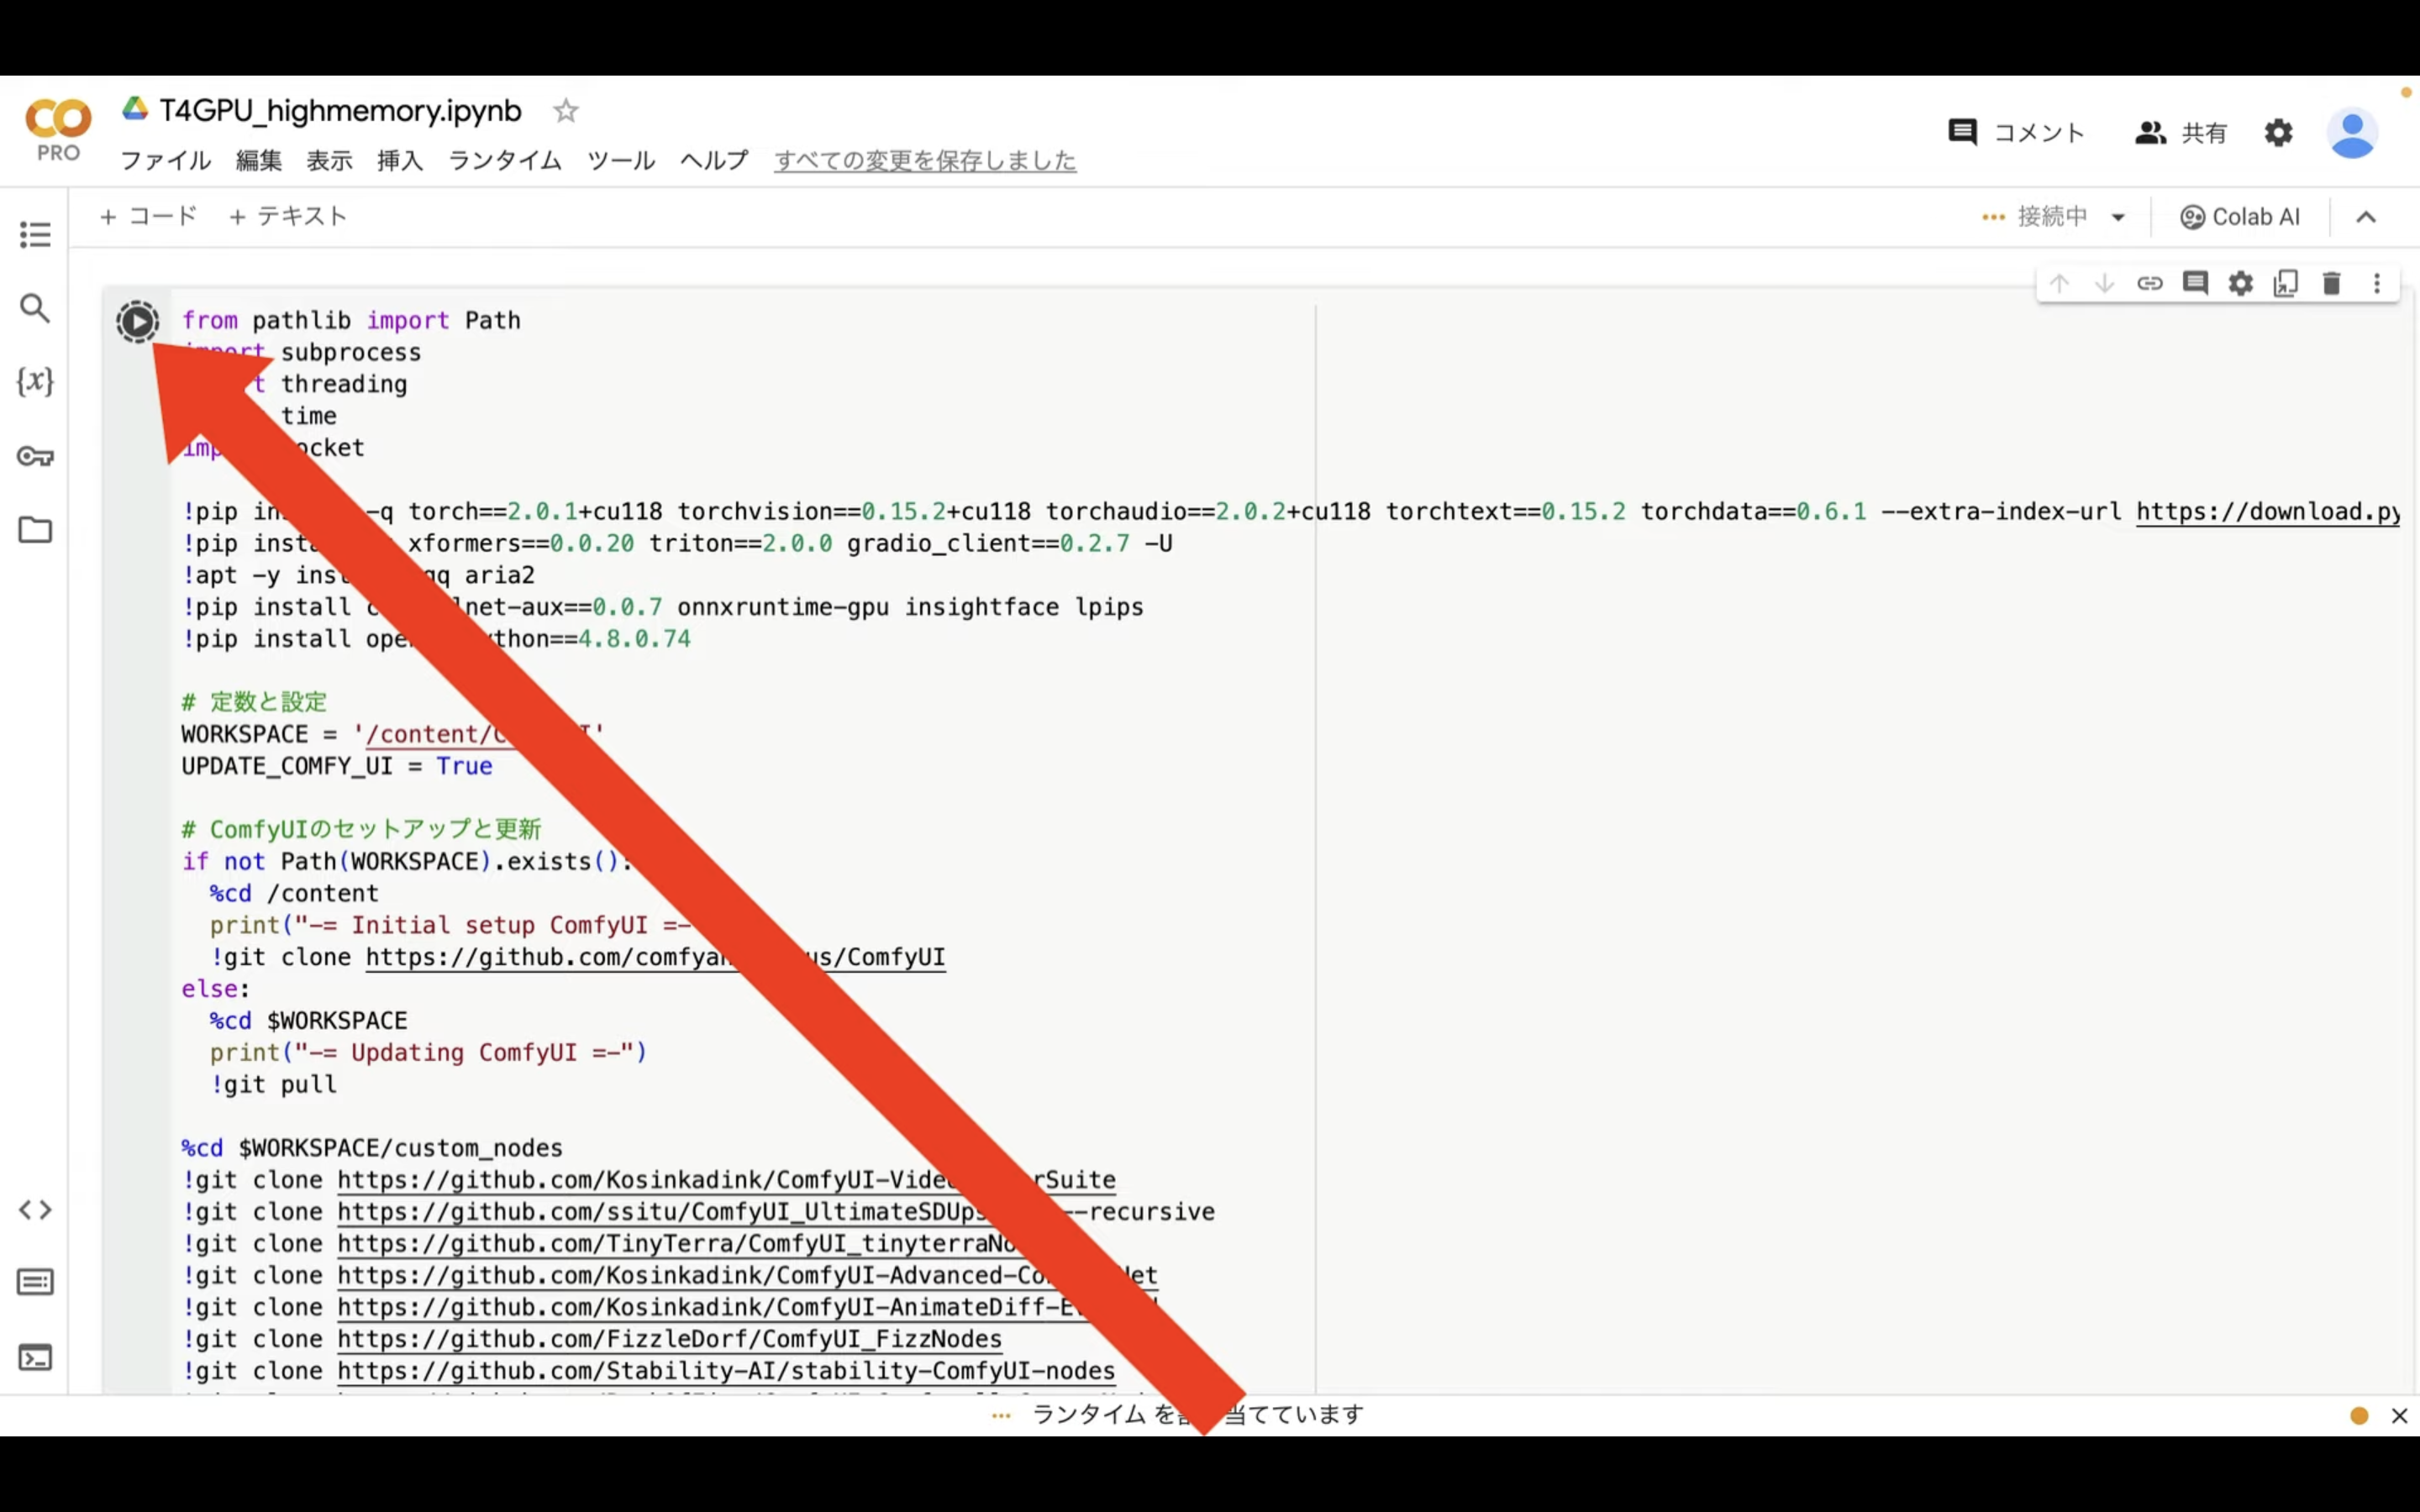
これで、貼り付けたテキストの内容が実行されます。
この処理には5分以上かかると思います。
しばらく待っていると、このようなリンクが表示されます。
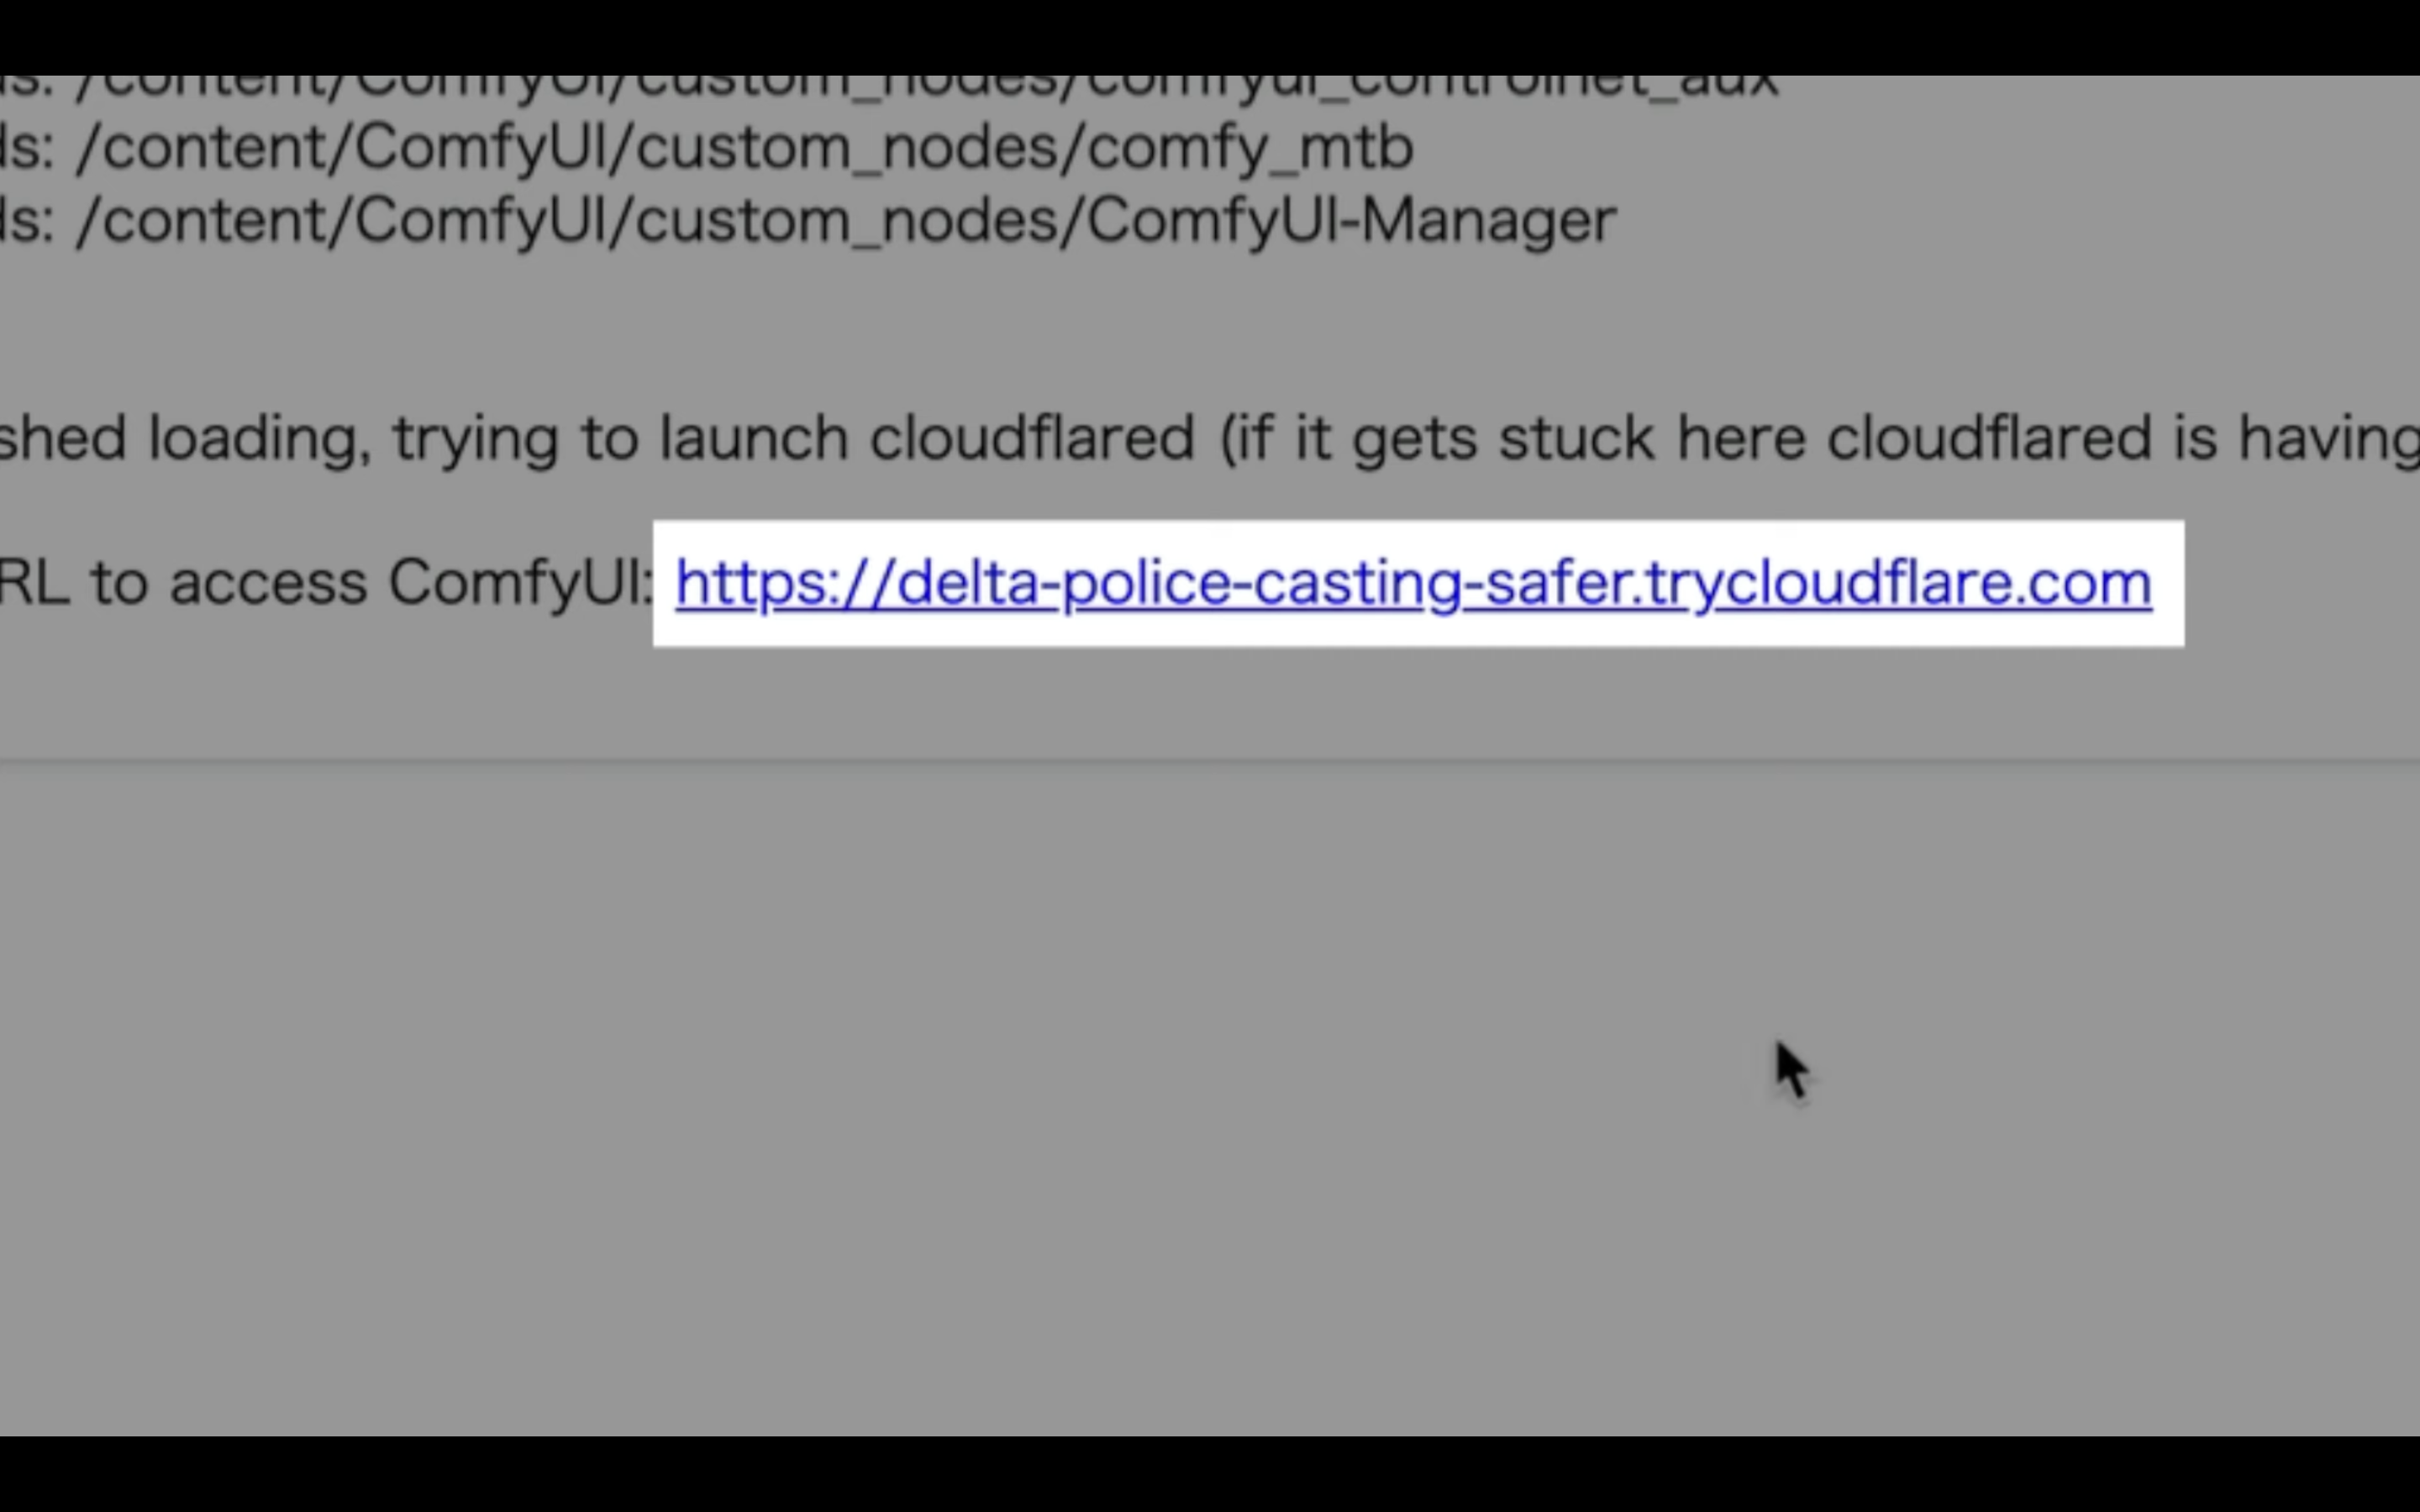
このリンクをクリックします。
そうすると、ComfyUIの画面が表示されます。
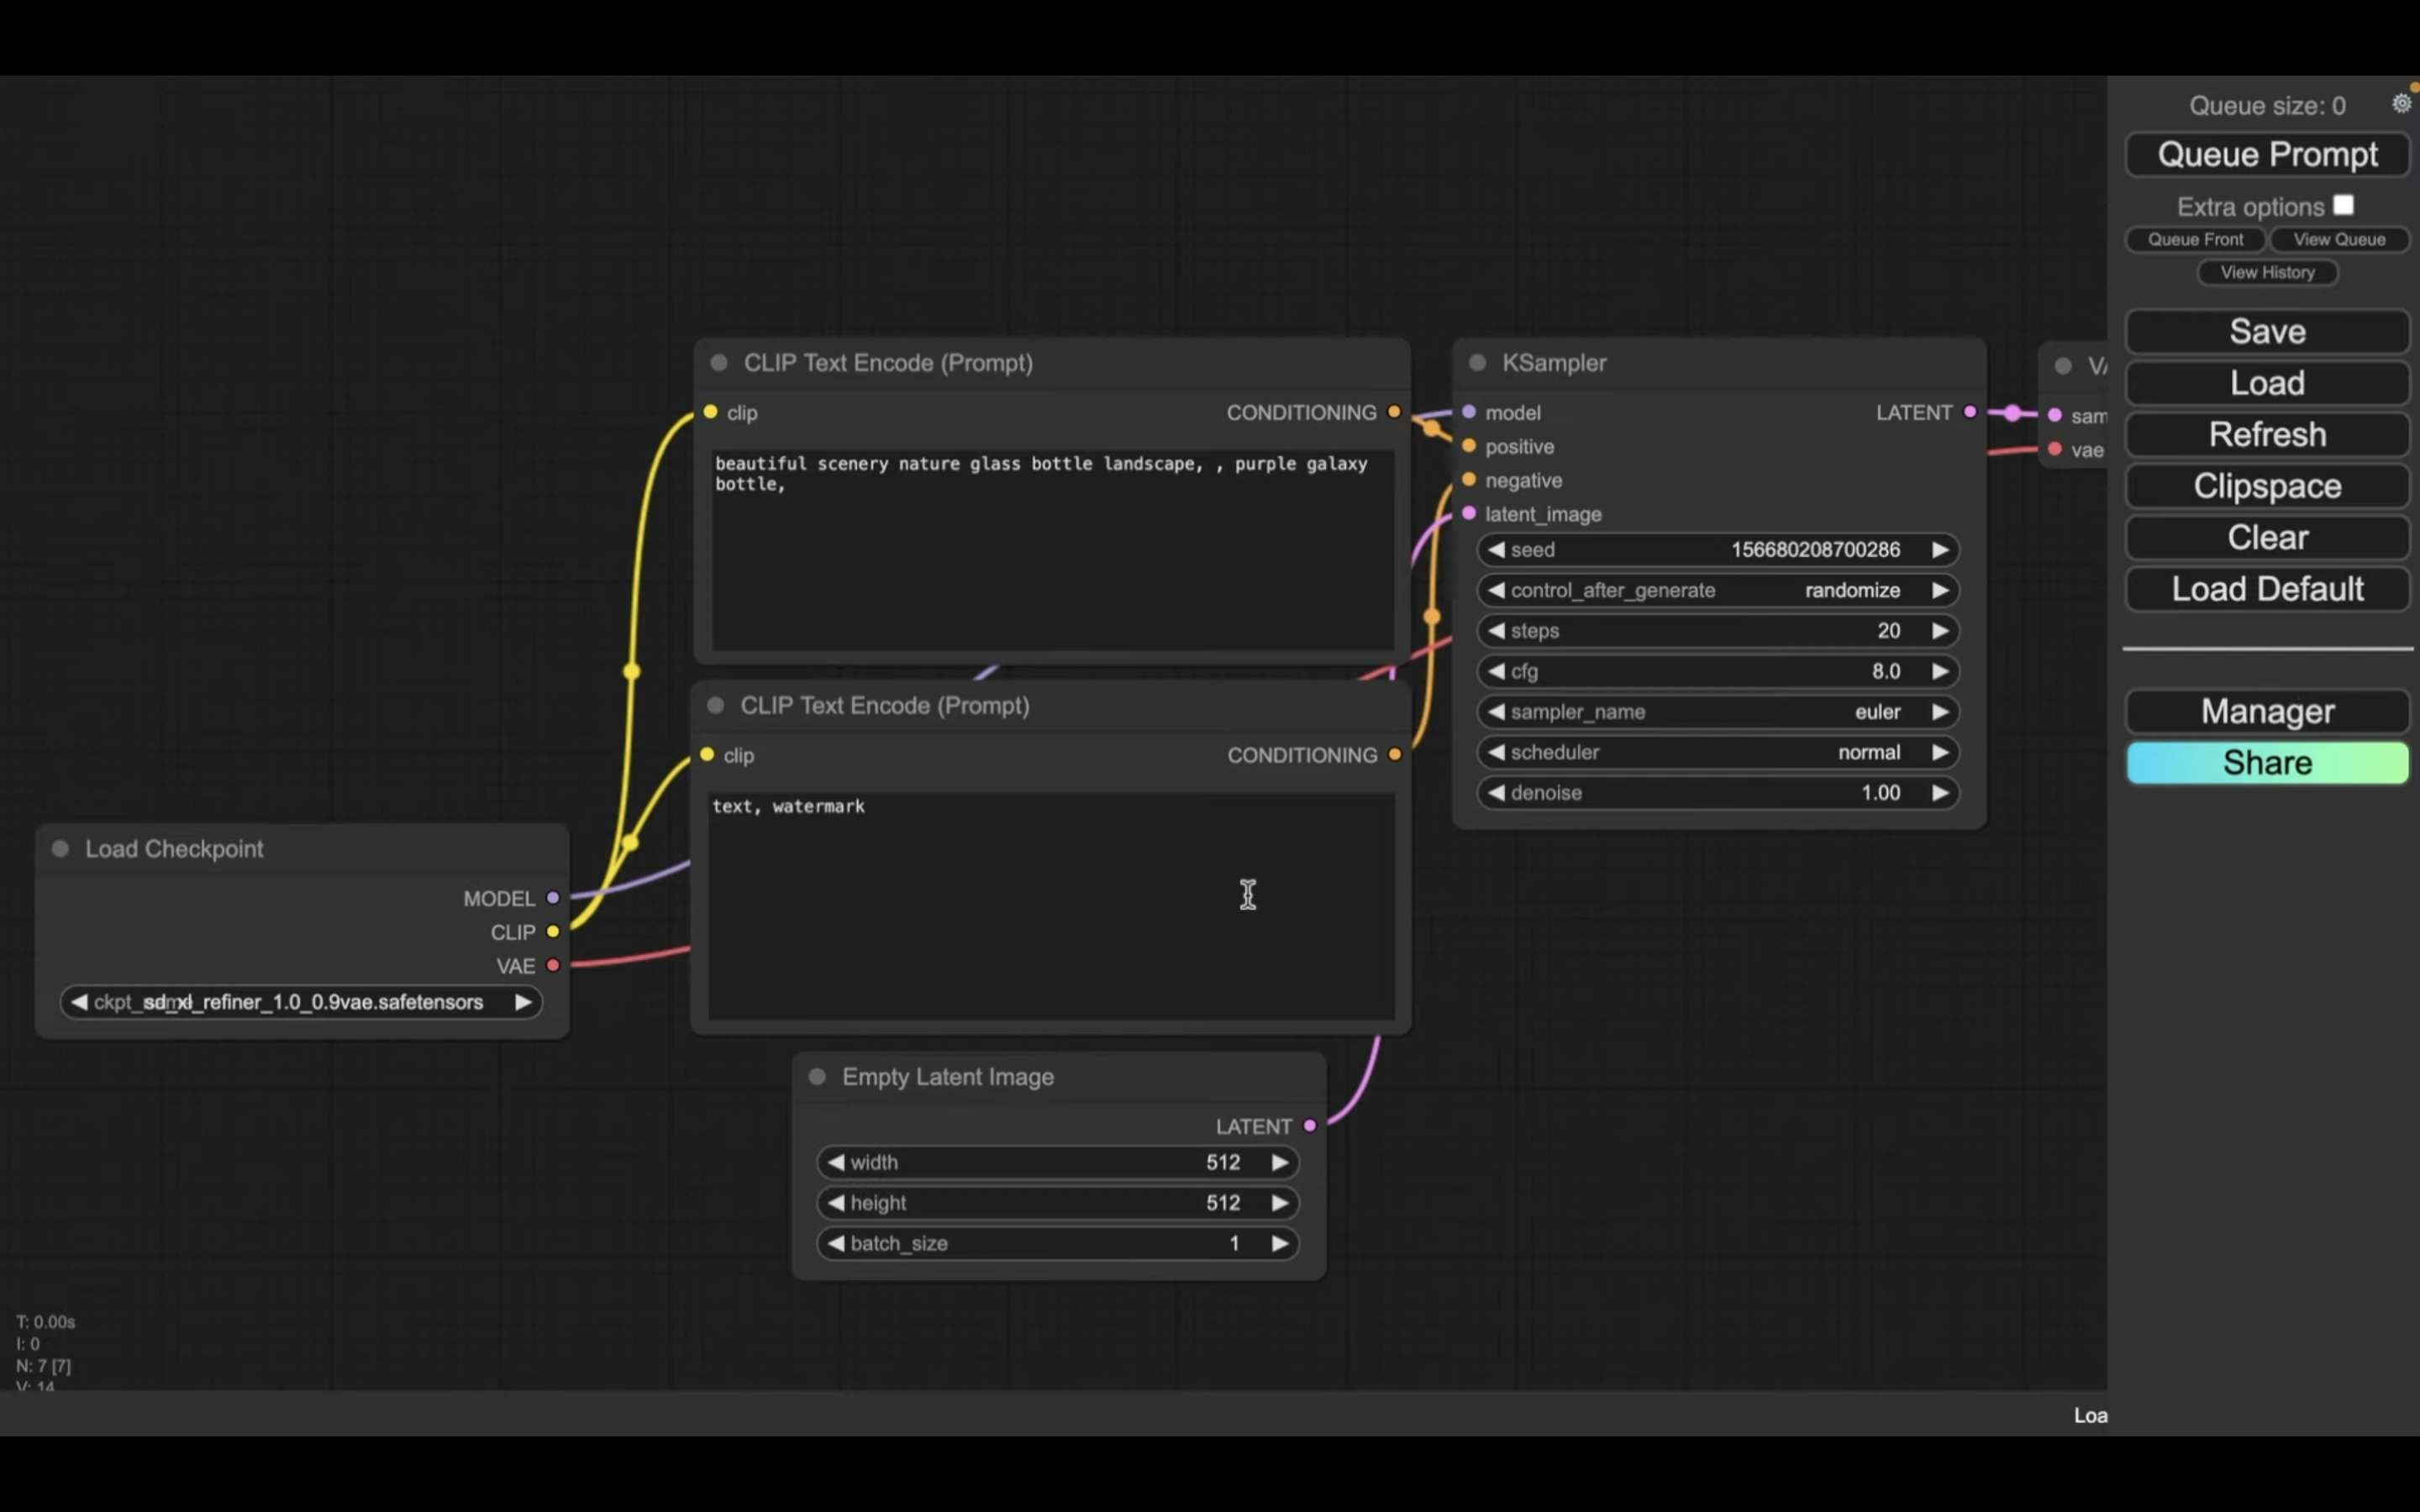
この画面が表示されたら、次に設定ファイルを読み込みます。
この解説では、あらかじめComfyUIの設定ファイルを用意していますので、そちらをご利用ください。
下に貼ってあるリンクのページを表示します。
このページを表示したら、利用ファイルと書かれているタイトルの下にあるZIPファイルをクリックします。
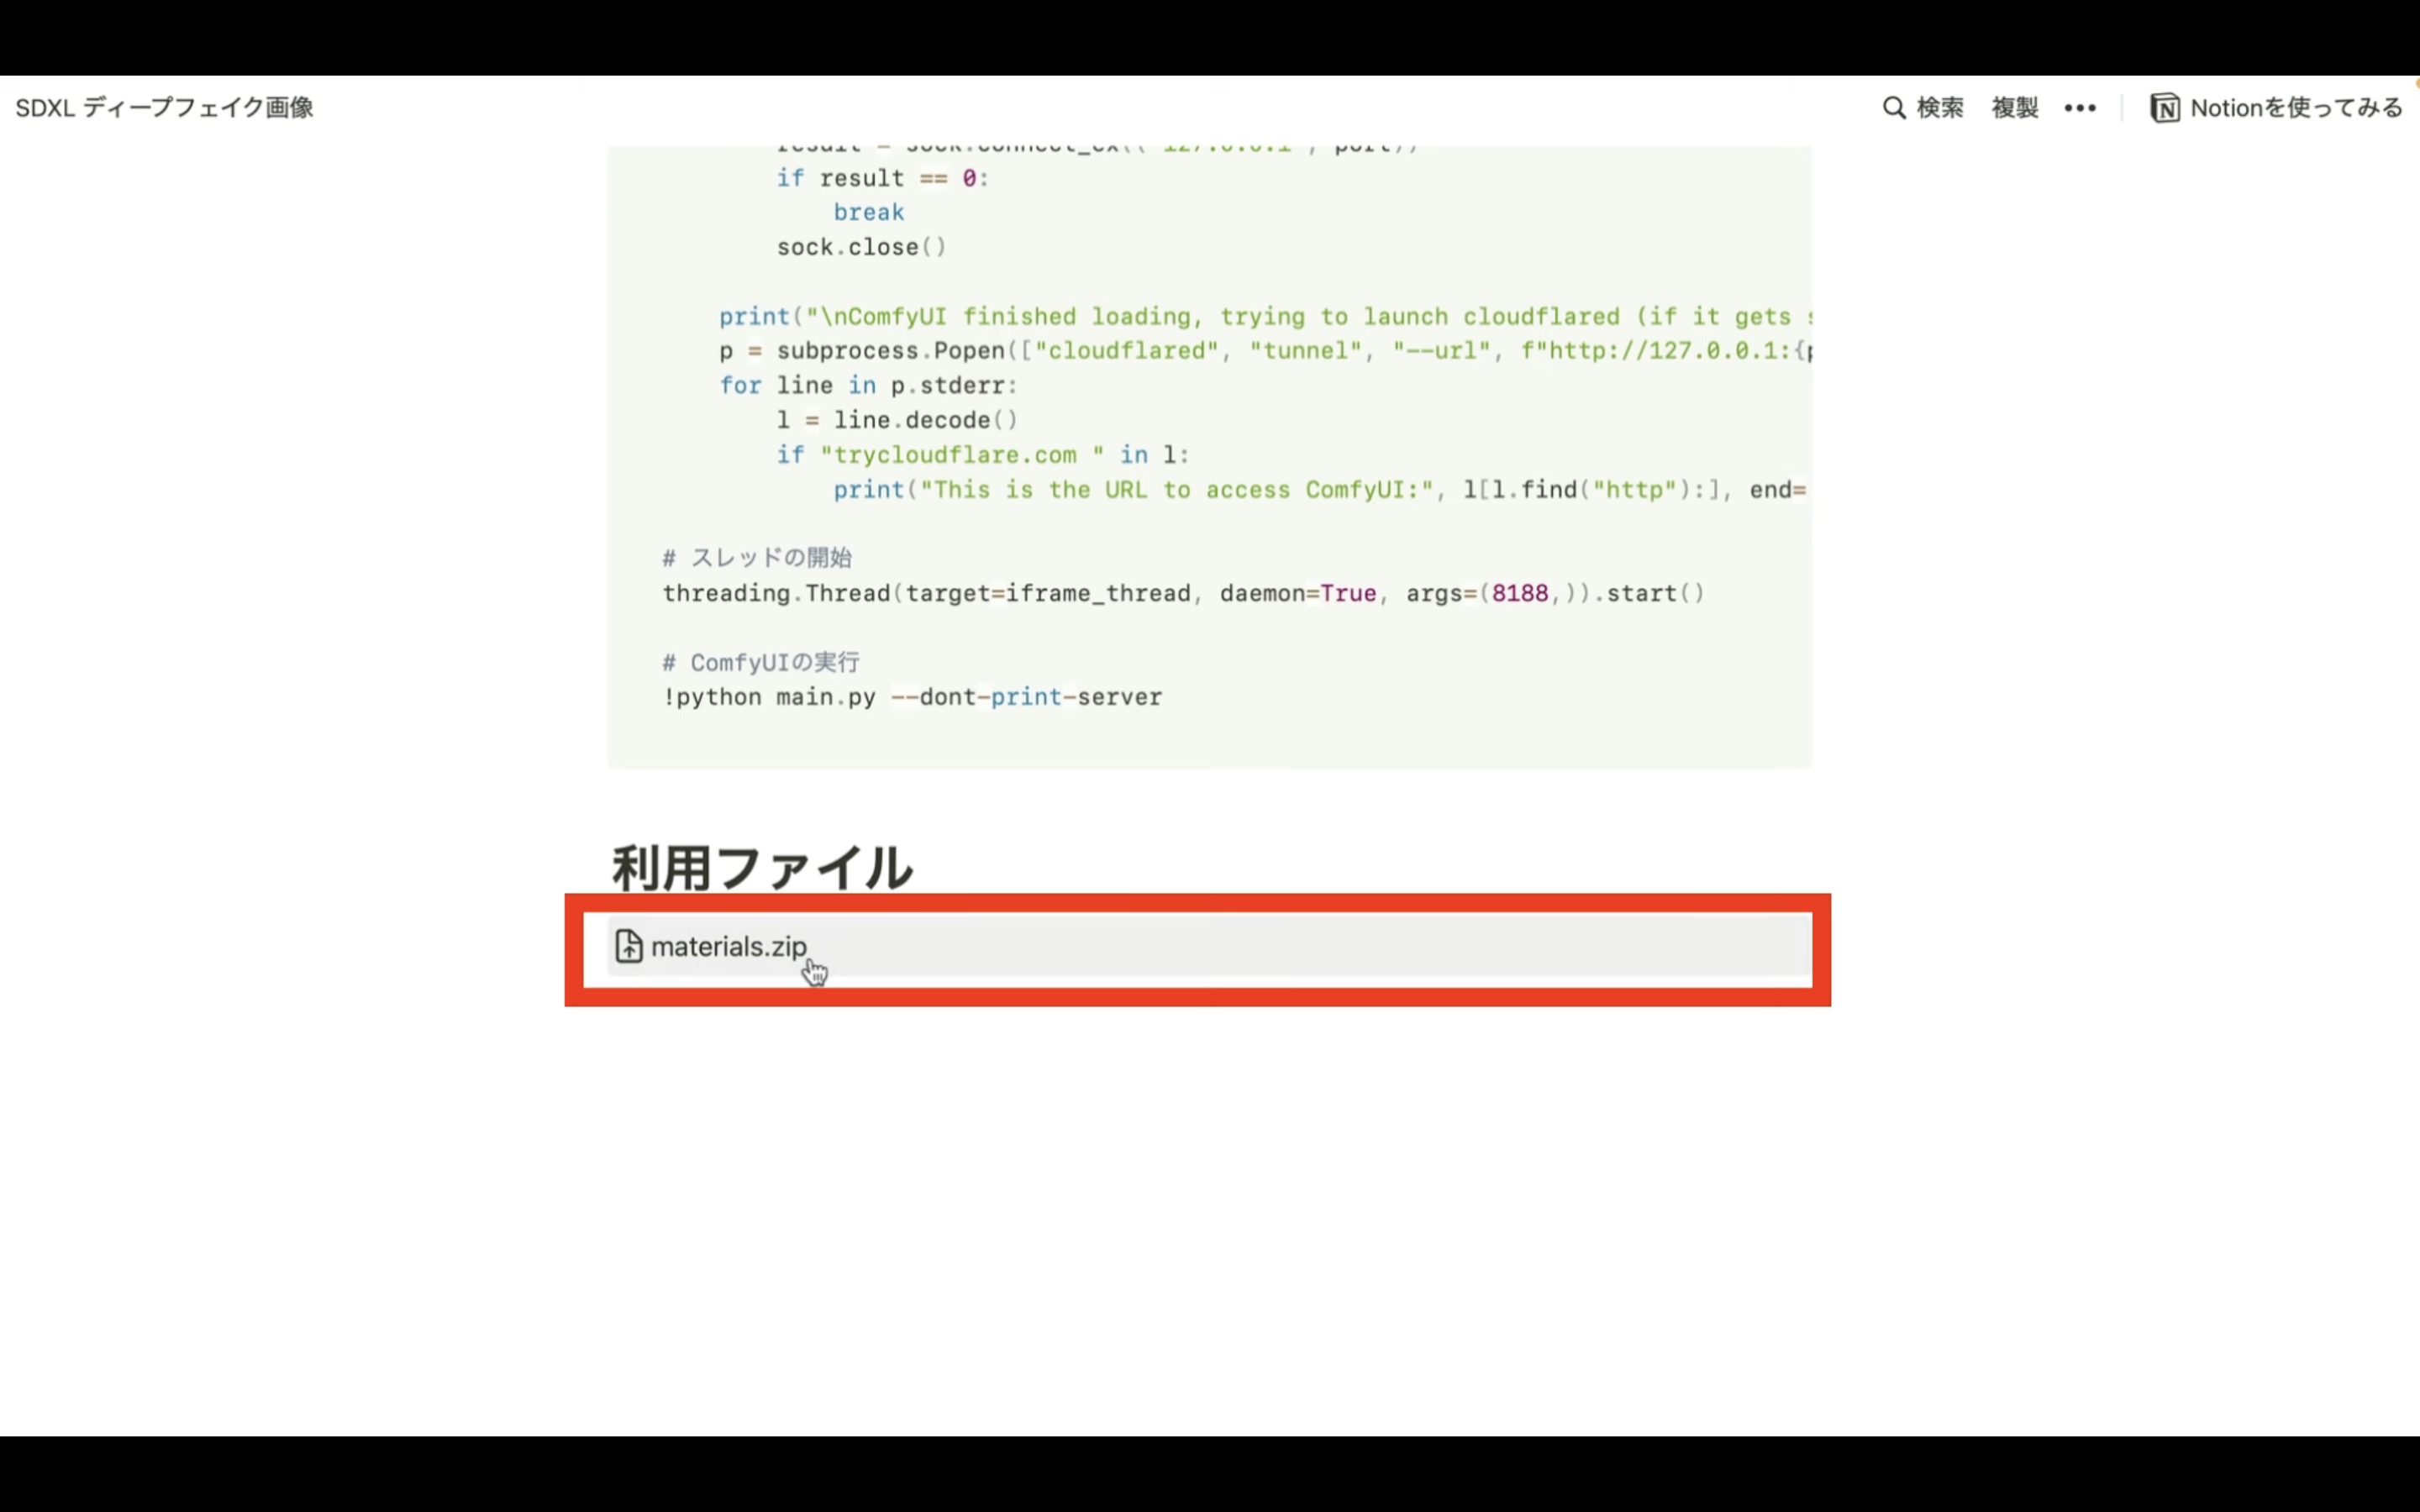
そうすると、ZIPファイルがダウンロードされるので、解凍します。
ダウンロードしたファイルを解凍したら、このようなファイルが表示されると思います。
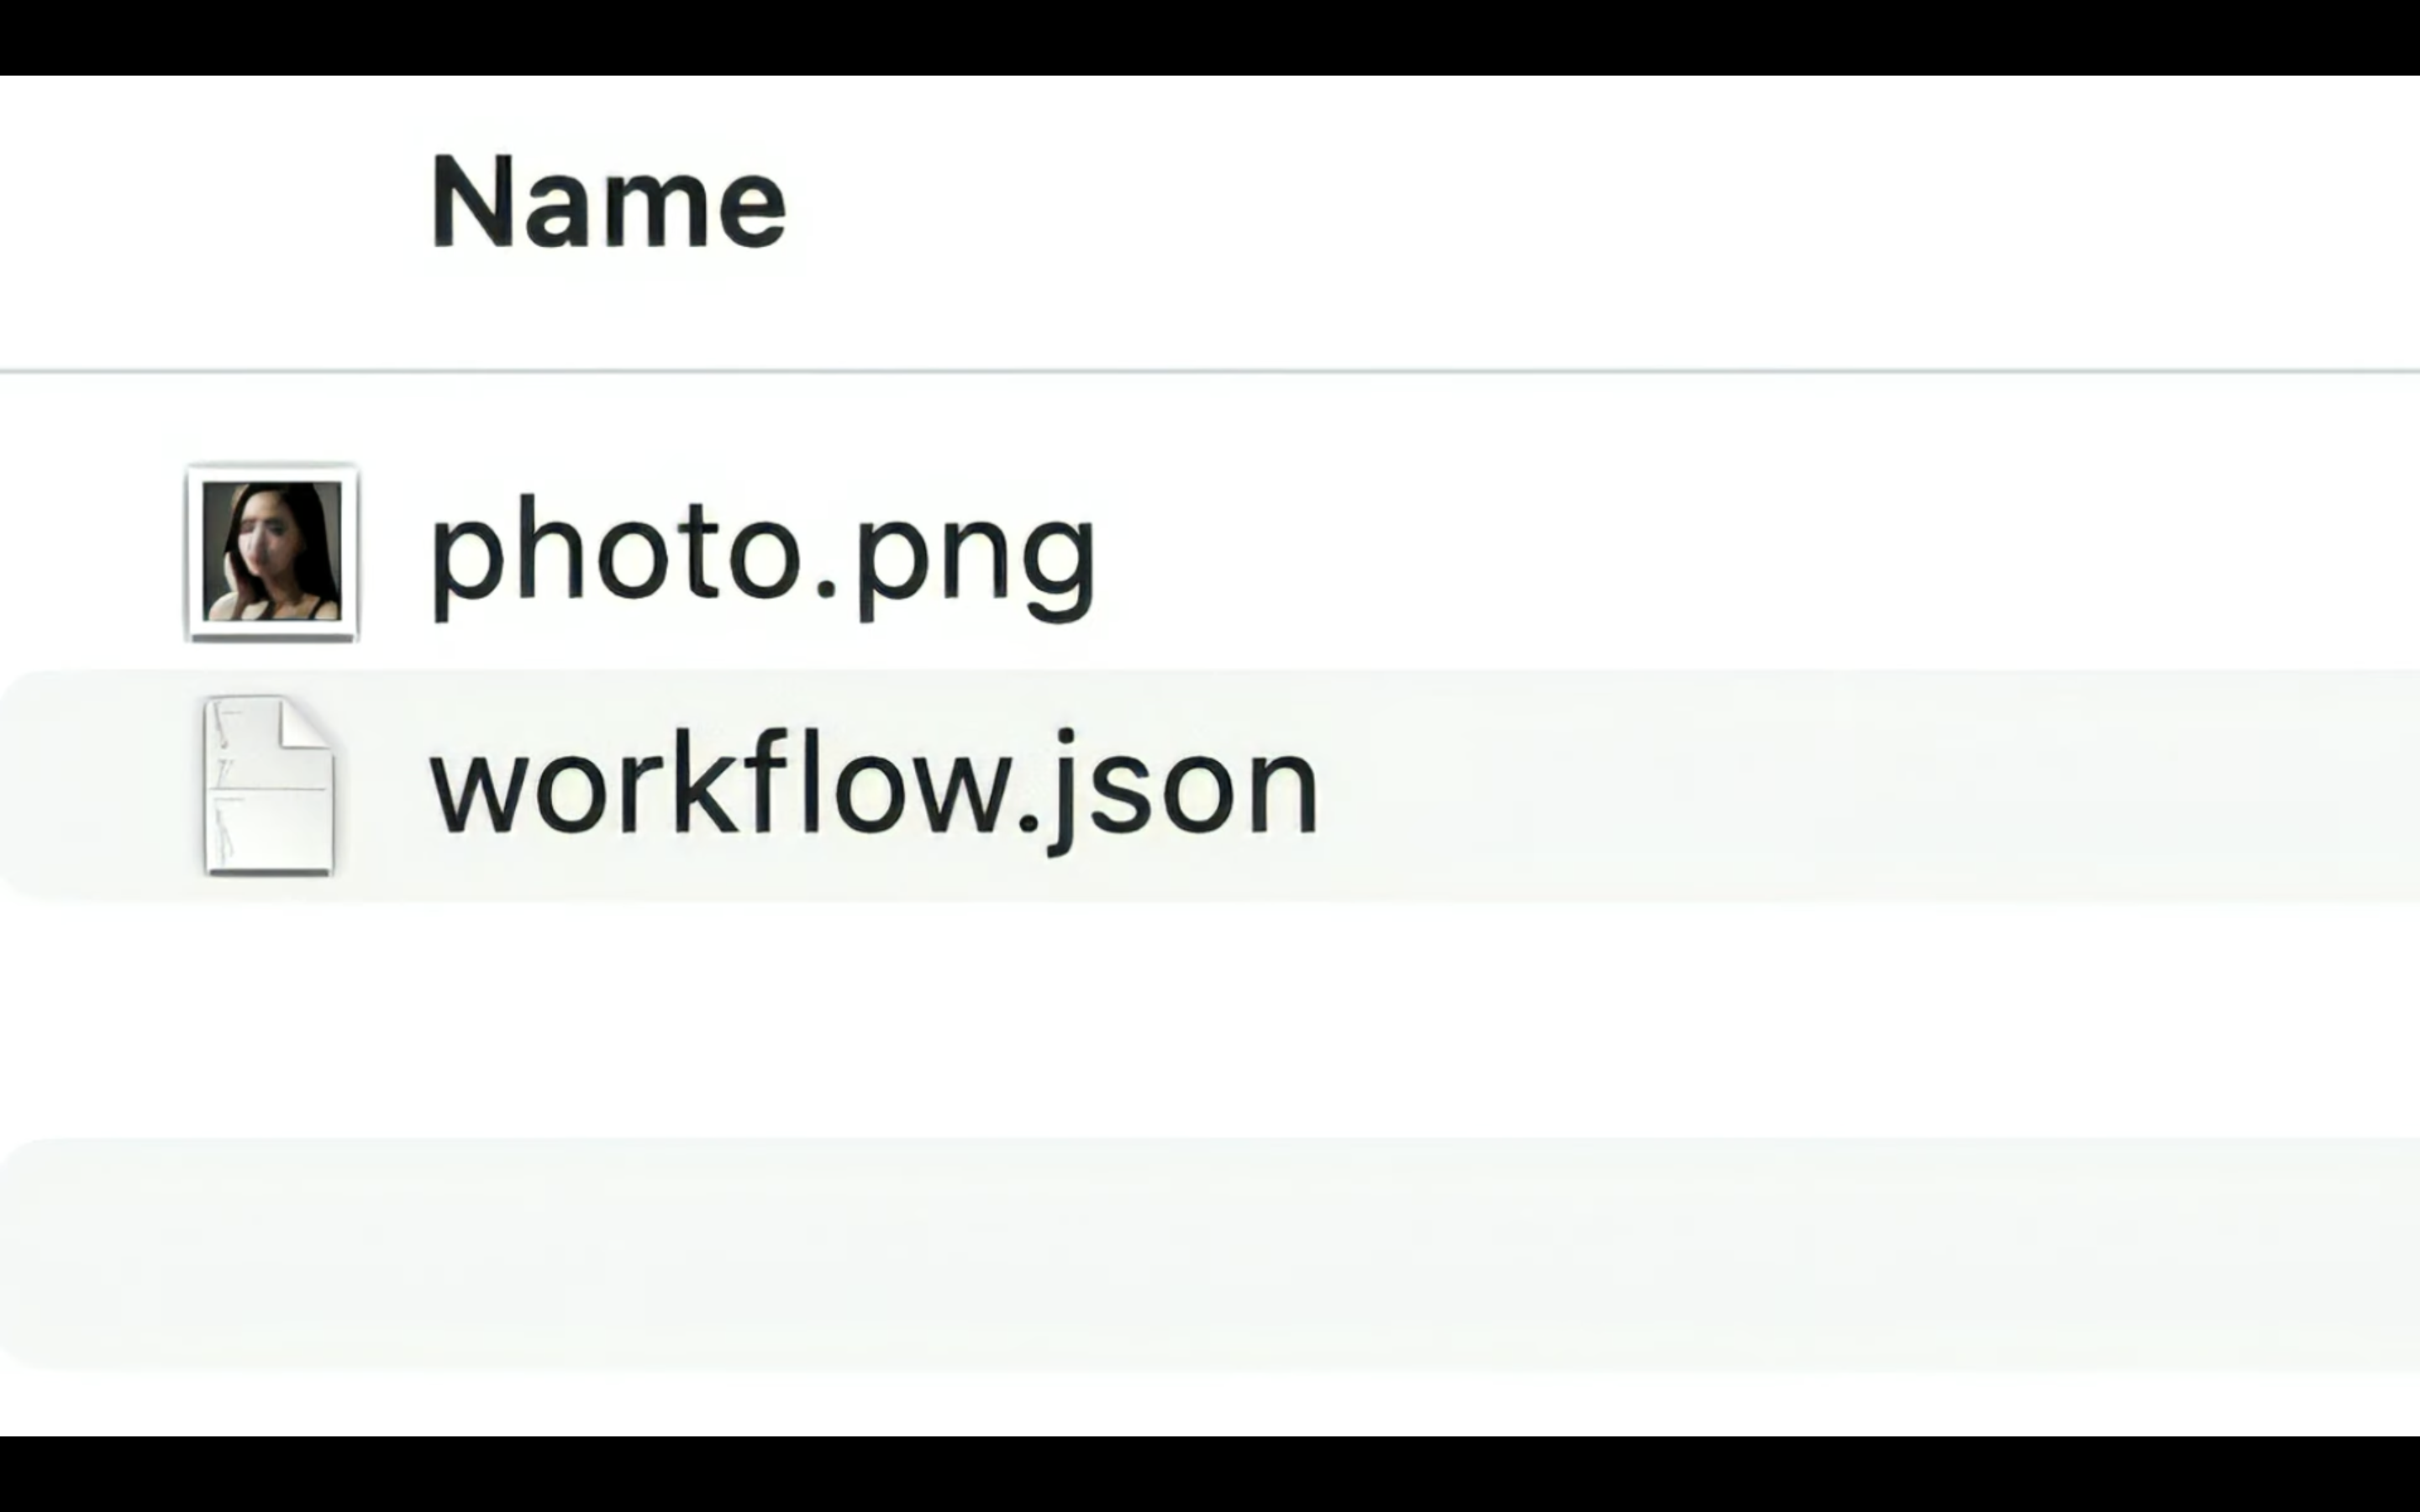
この中にあるworkflow.jsonと書かれているファイルをComfyUIの画面にドラッグ&ドロップします。
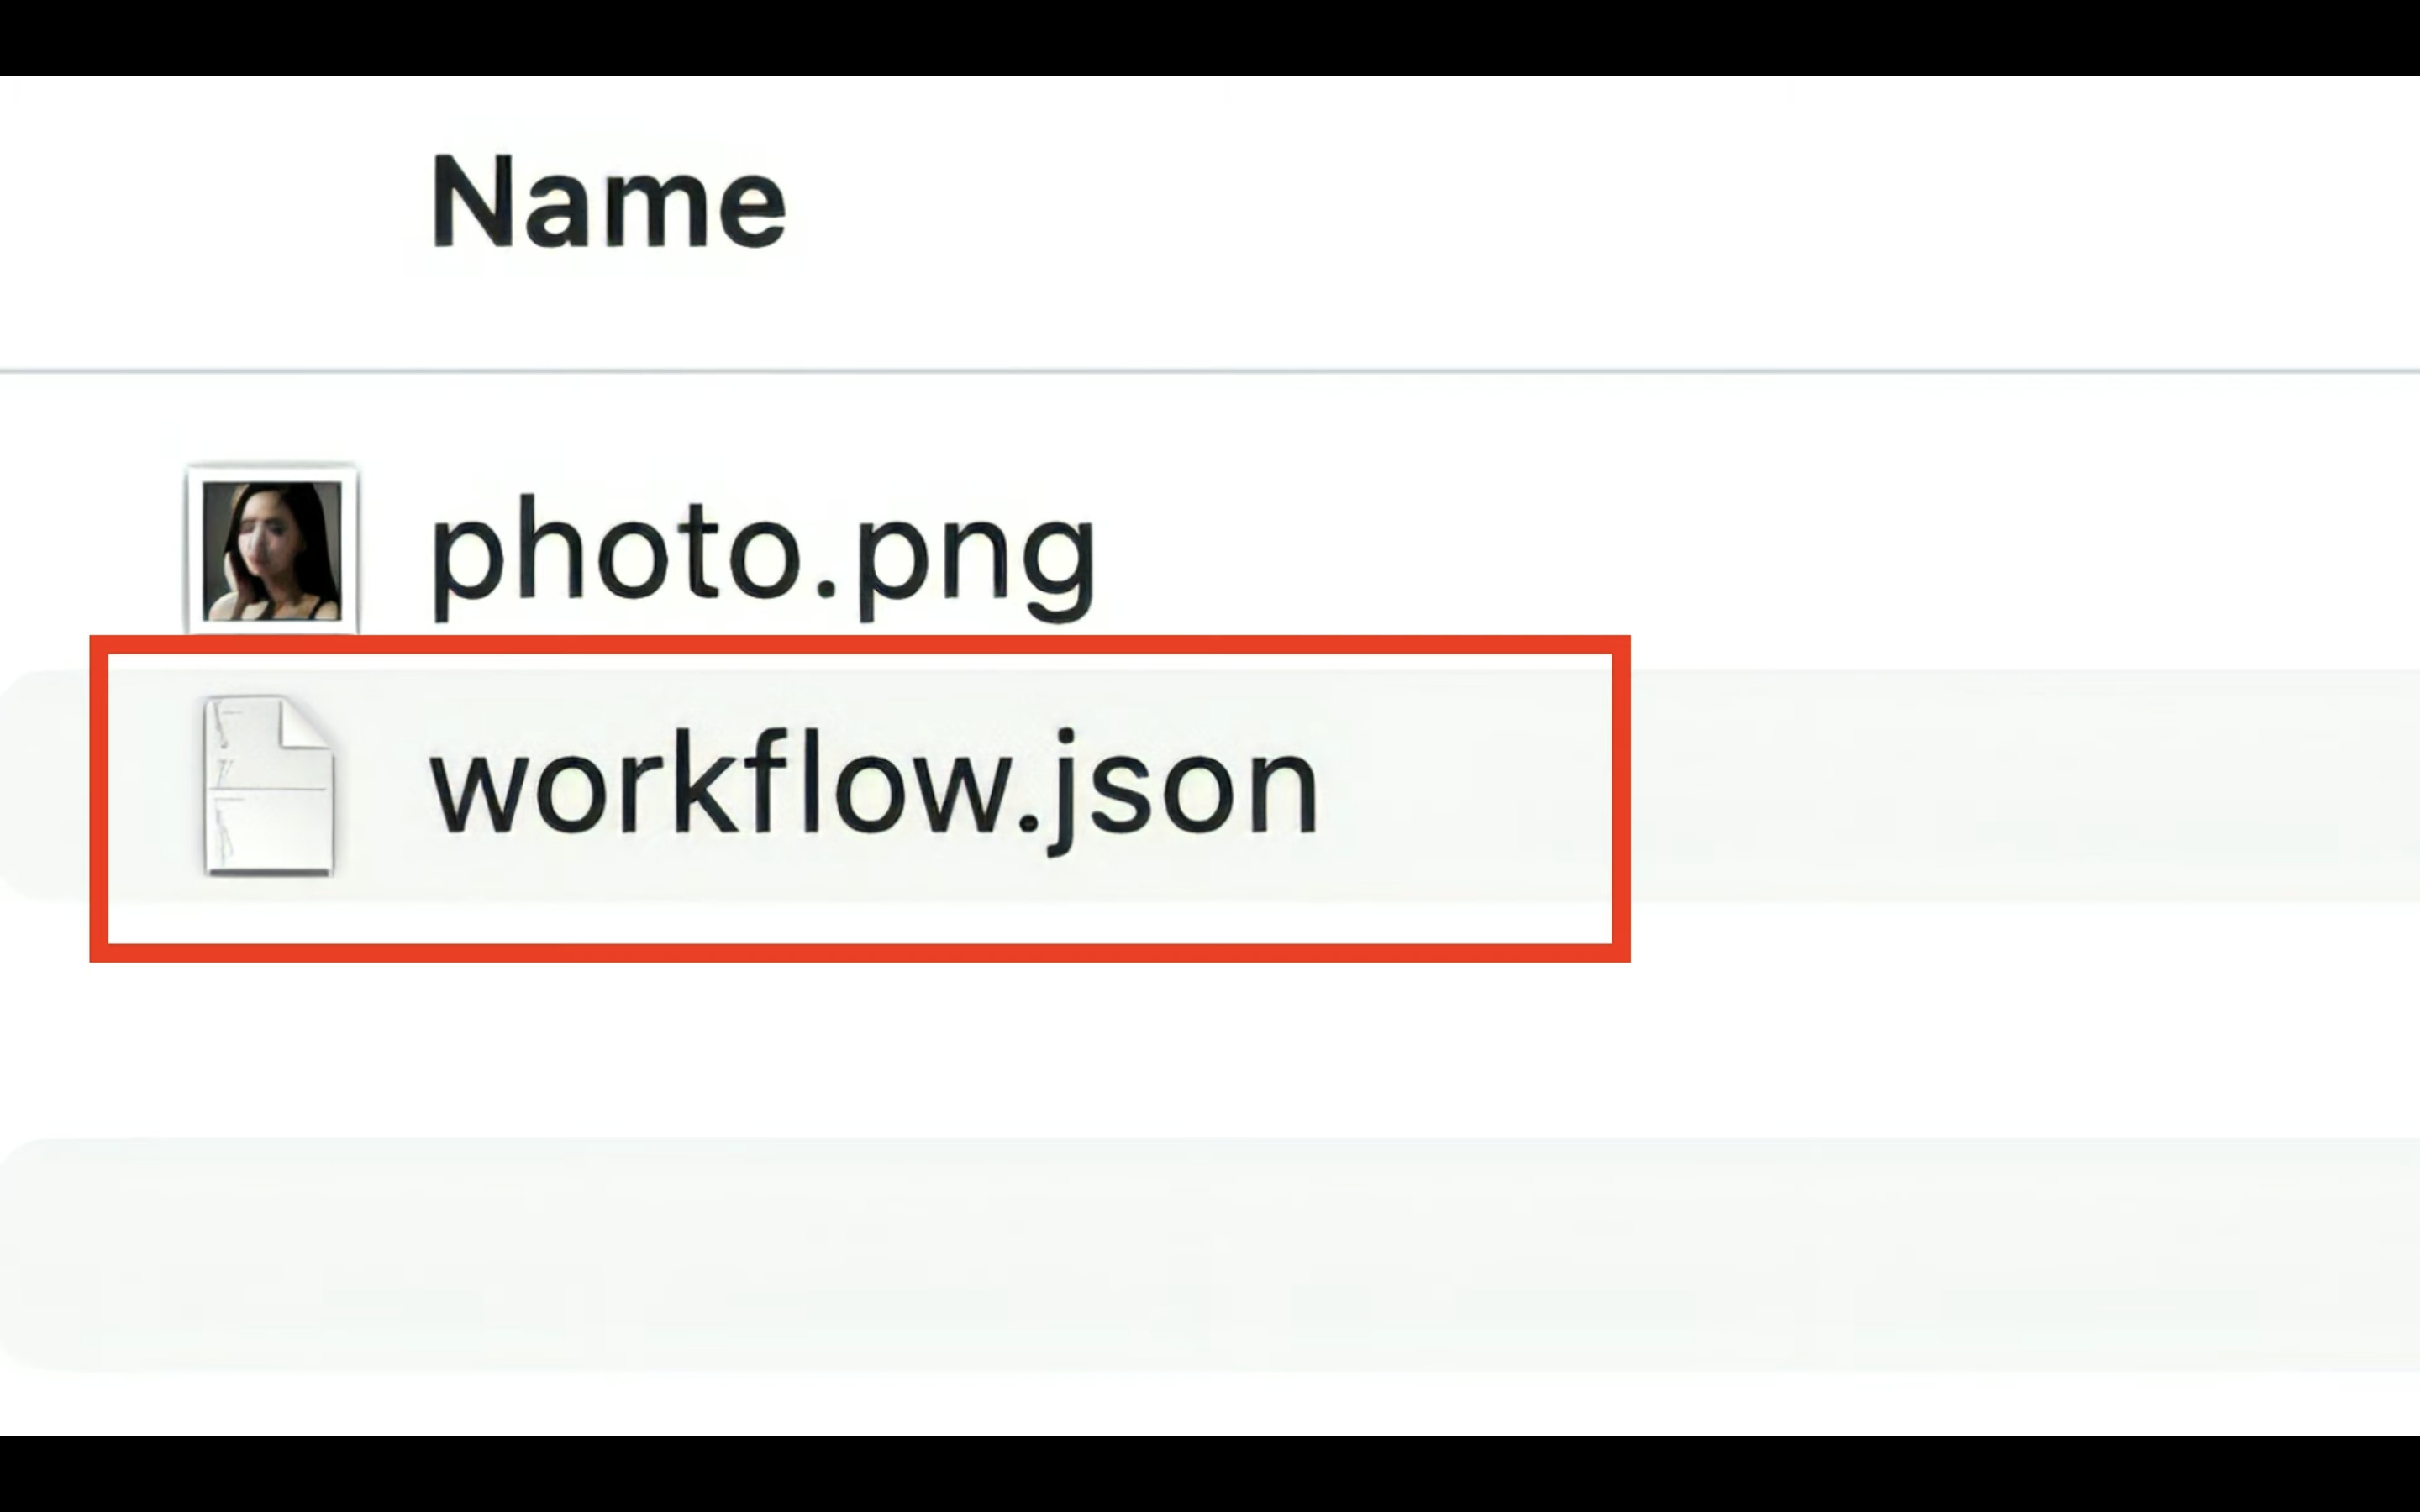
ファイルは何も表示されていない場所にドラッグ&ドロップするようにしてください。
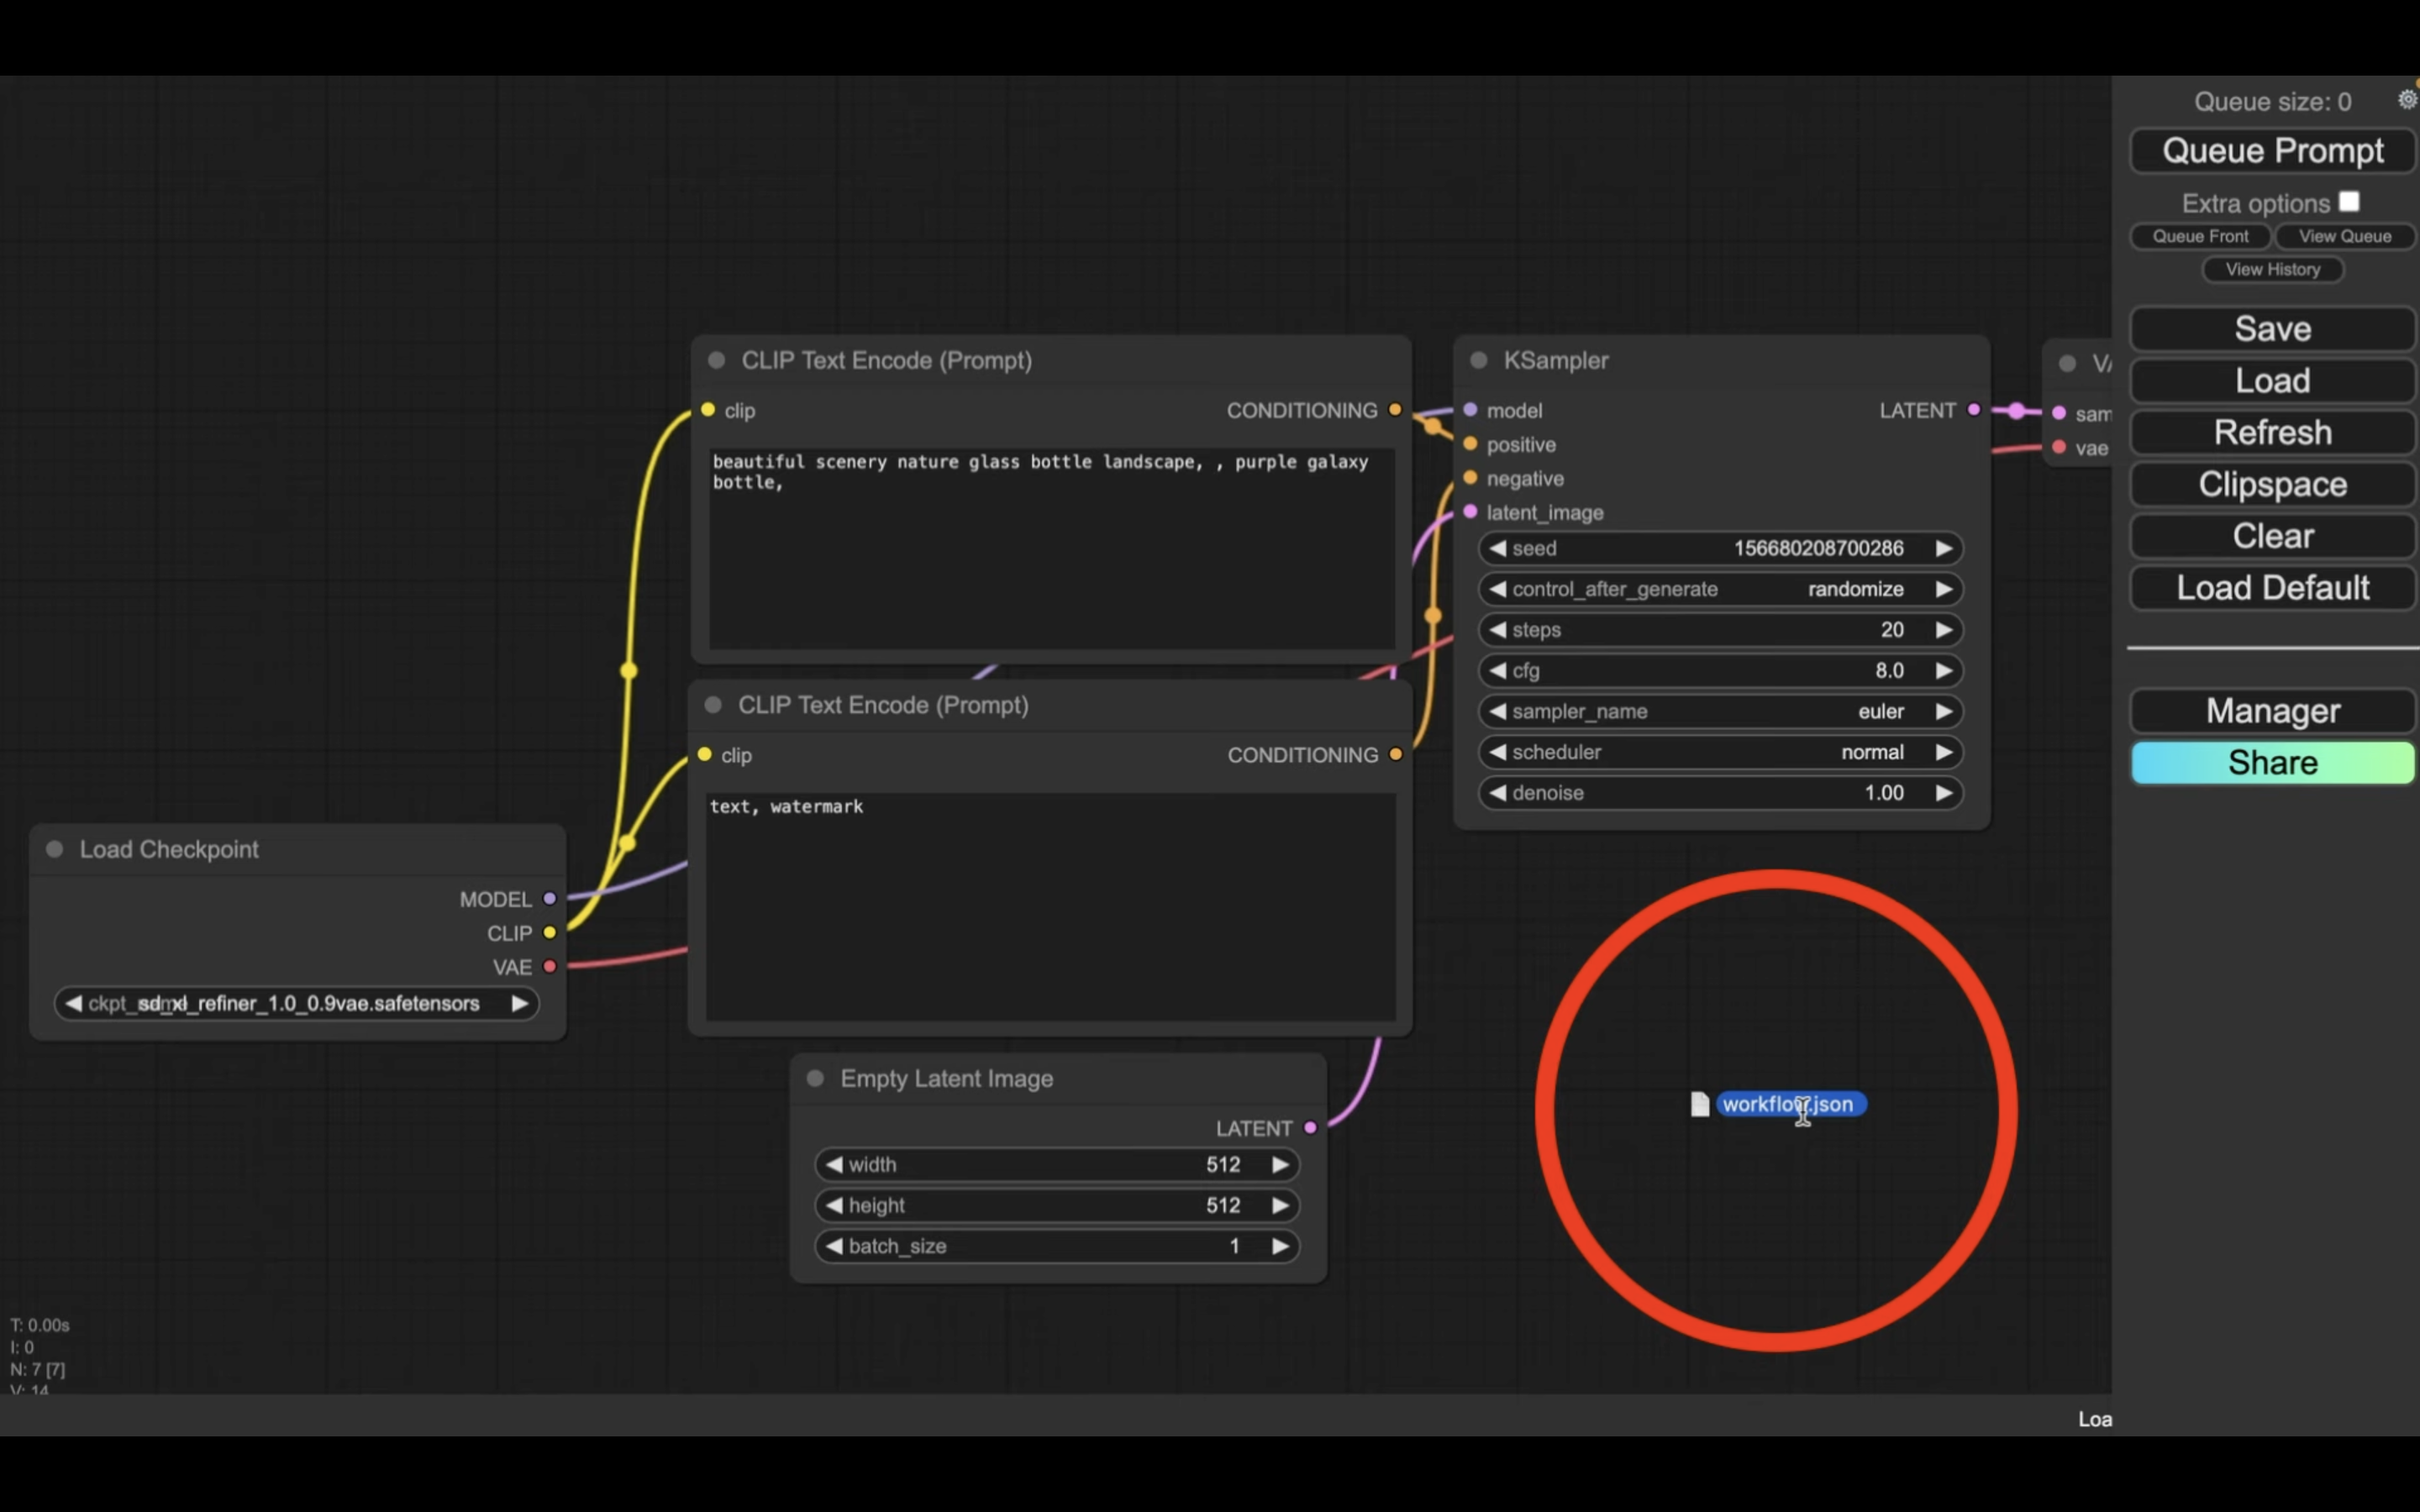
これで、workflow.jsonの設定ファイルが読み込まれます。
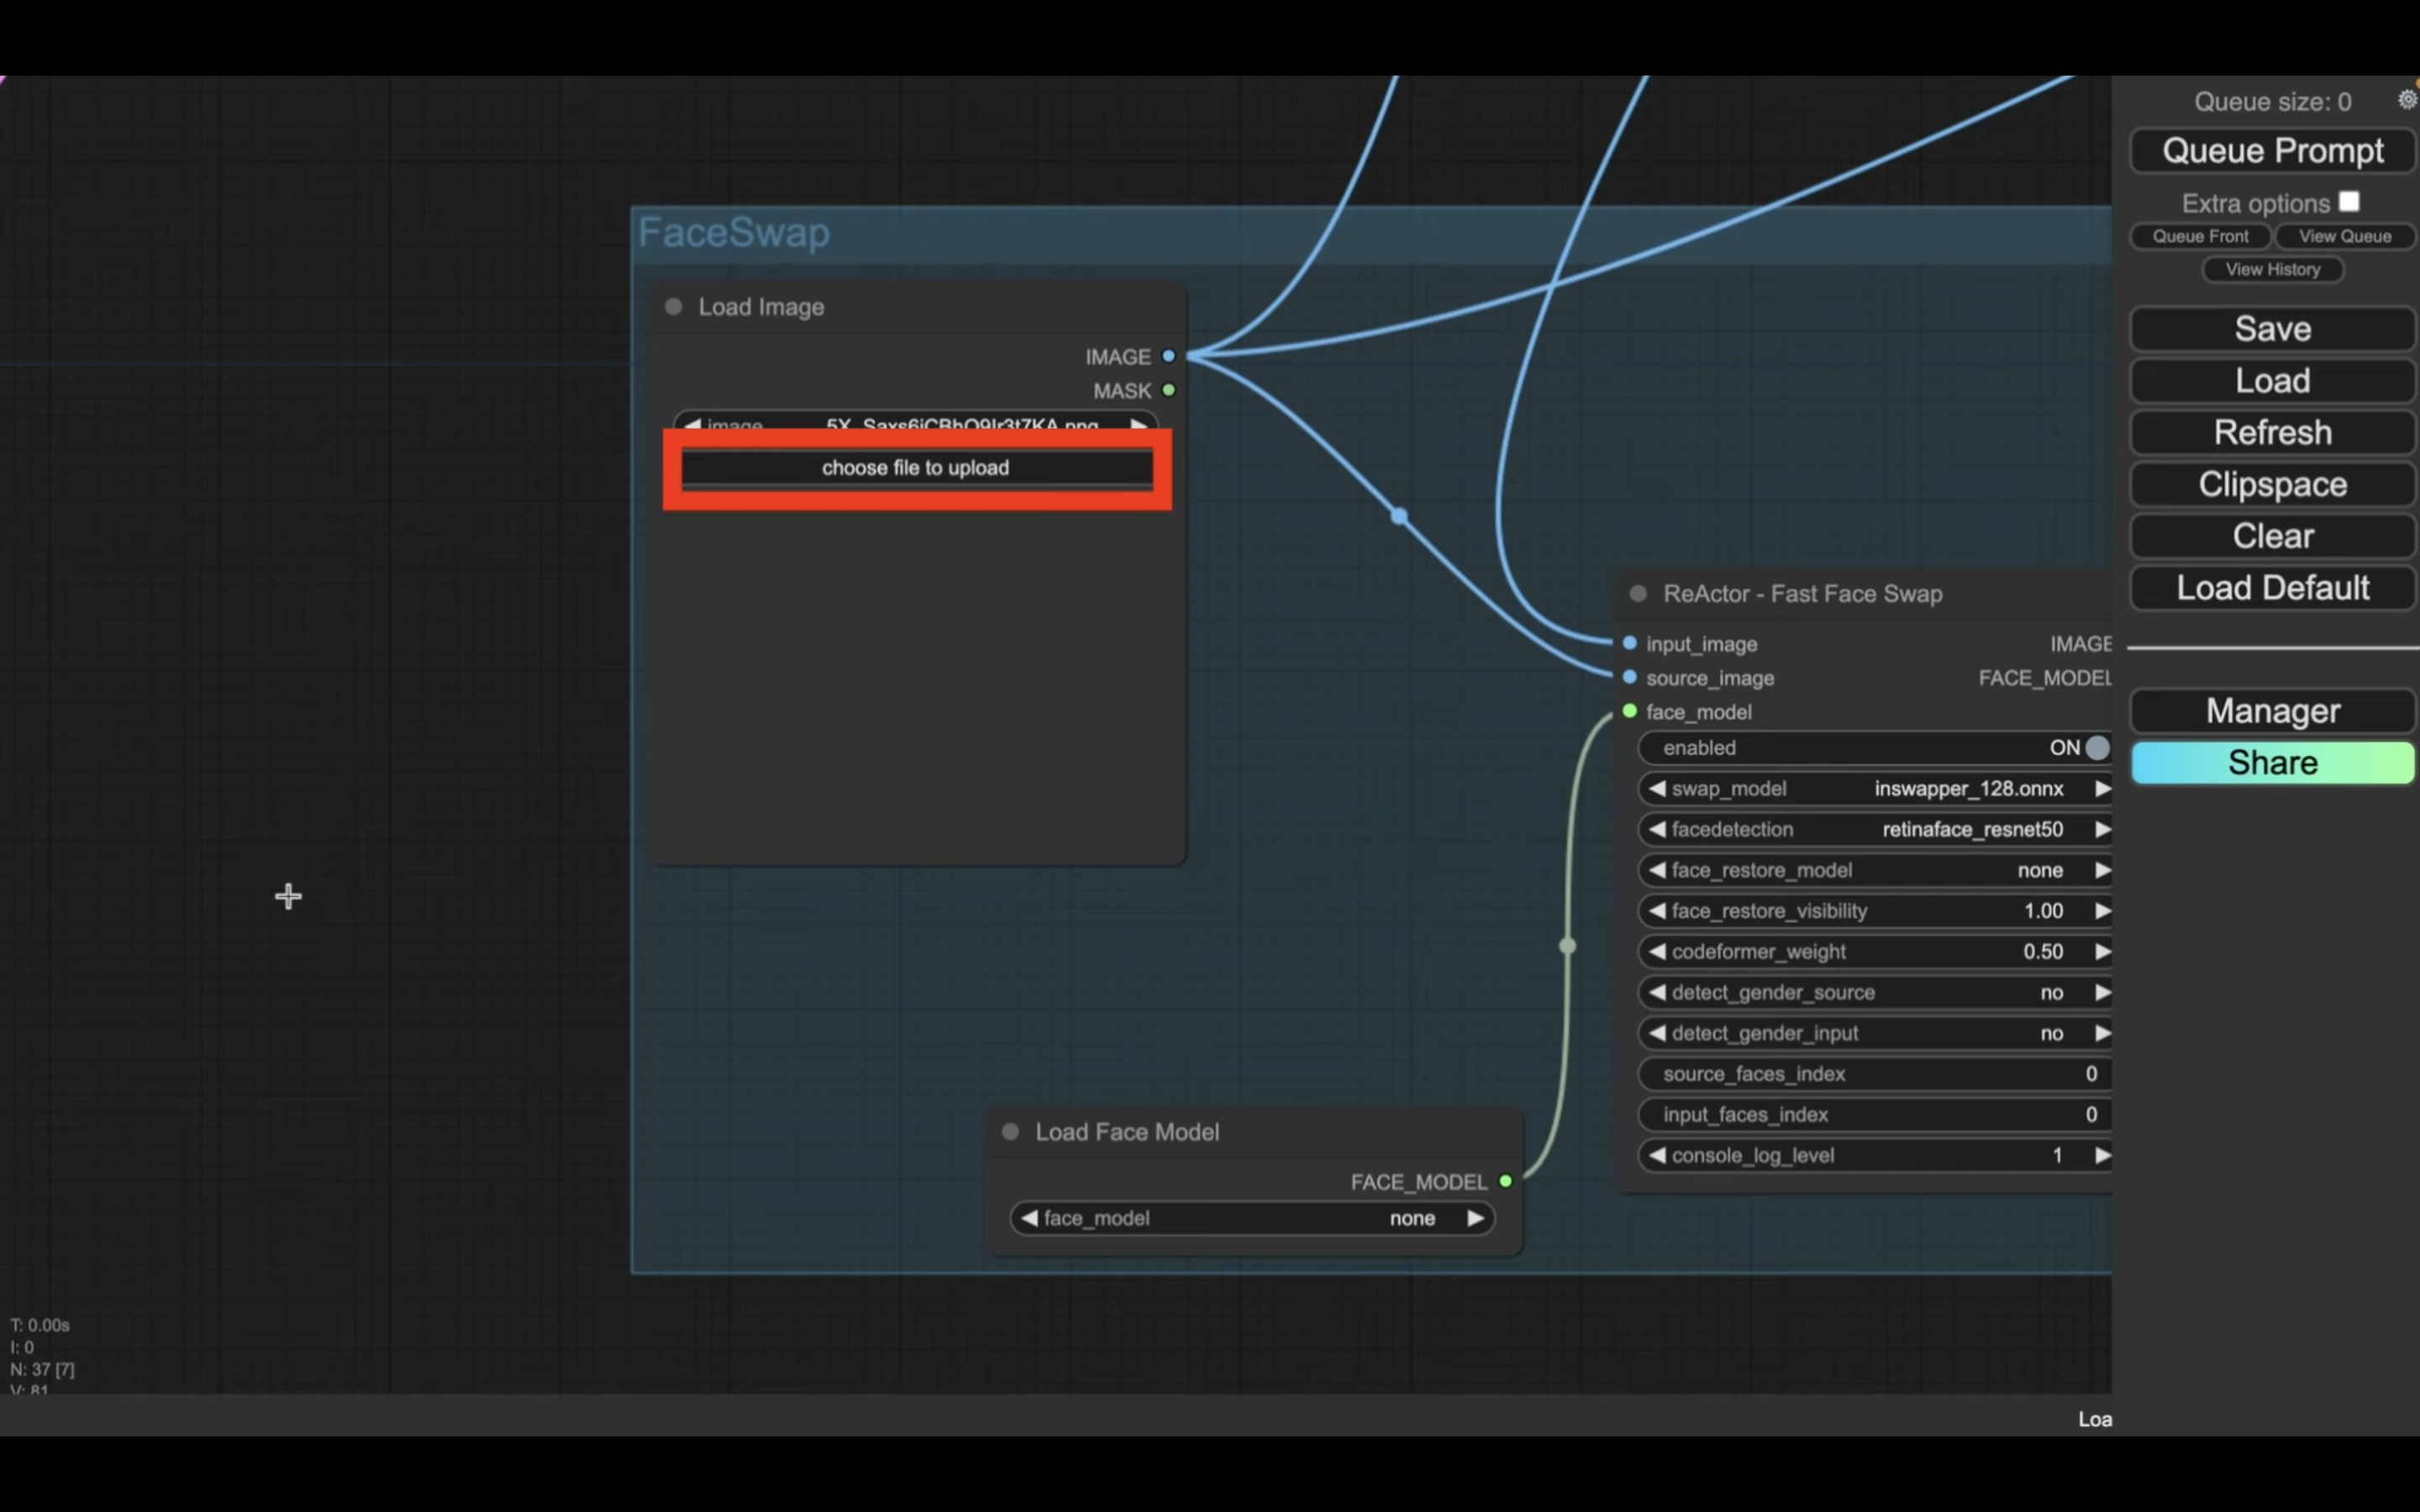
設定ファイルが読み込まれたら、差し替える顔の画像をアップロードします。
具体的には、FaceSwapというタイトルの中にあるロードイメージのブロックでアップロードします。
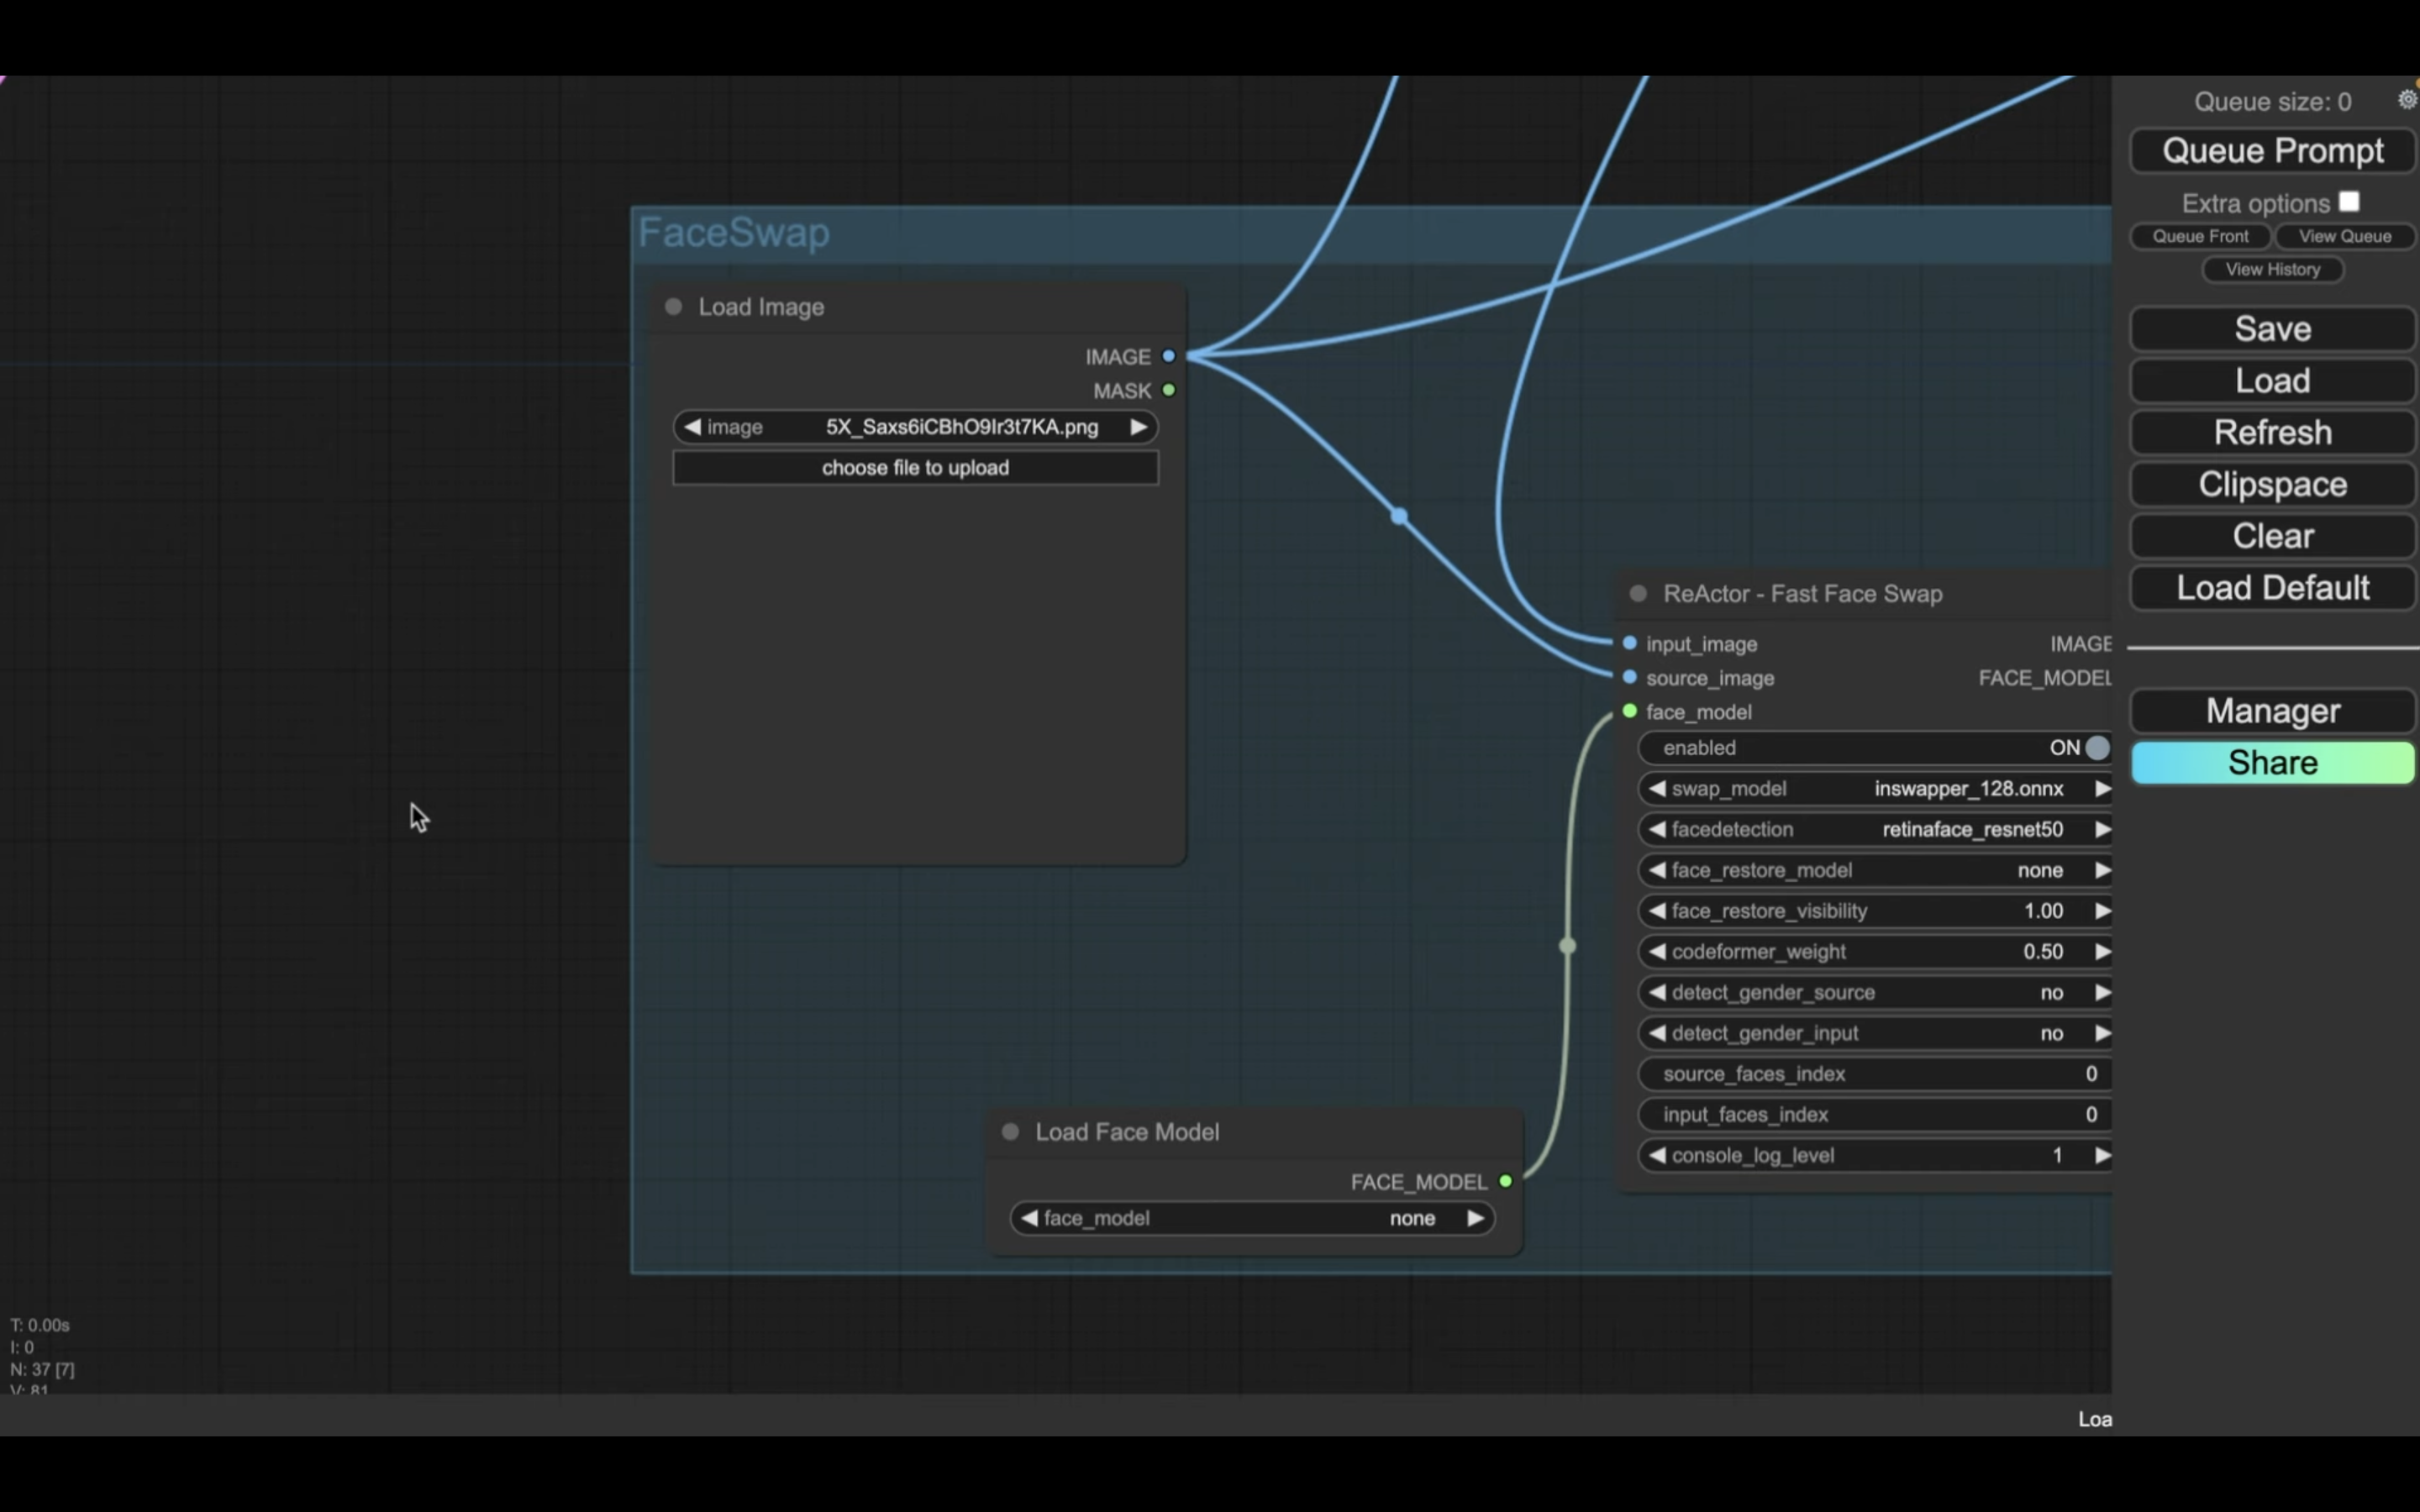
chooseと書かれているボタンをクリックして表示されたダイアログボックスから画像ファイルを選択します。
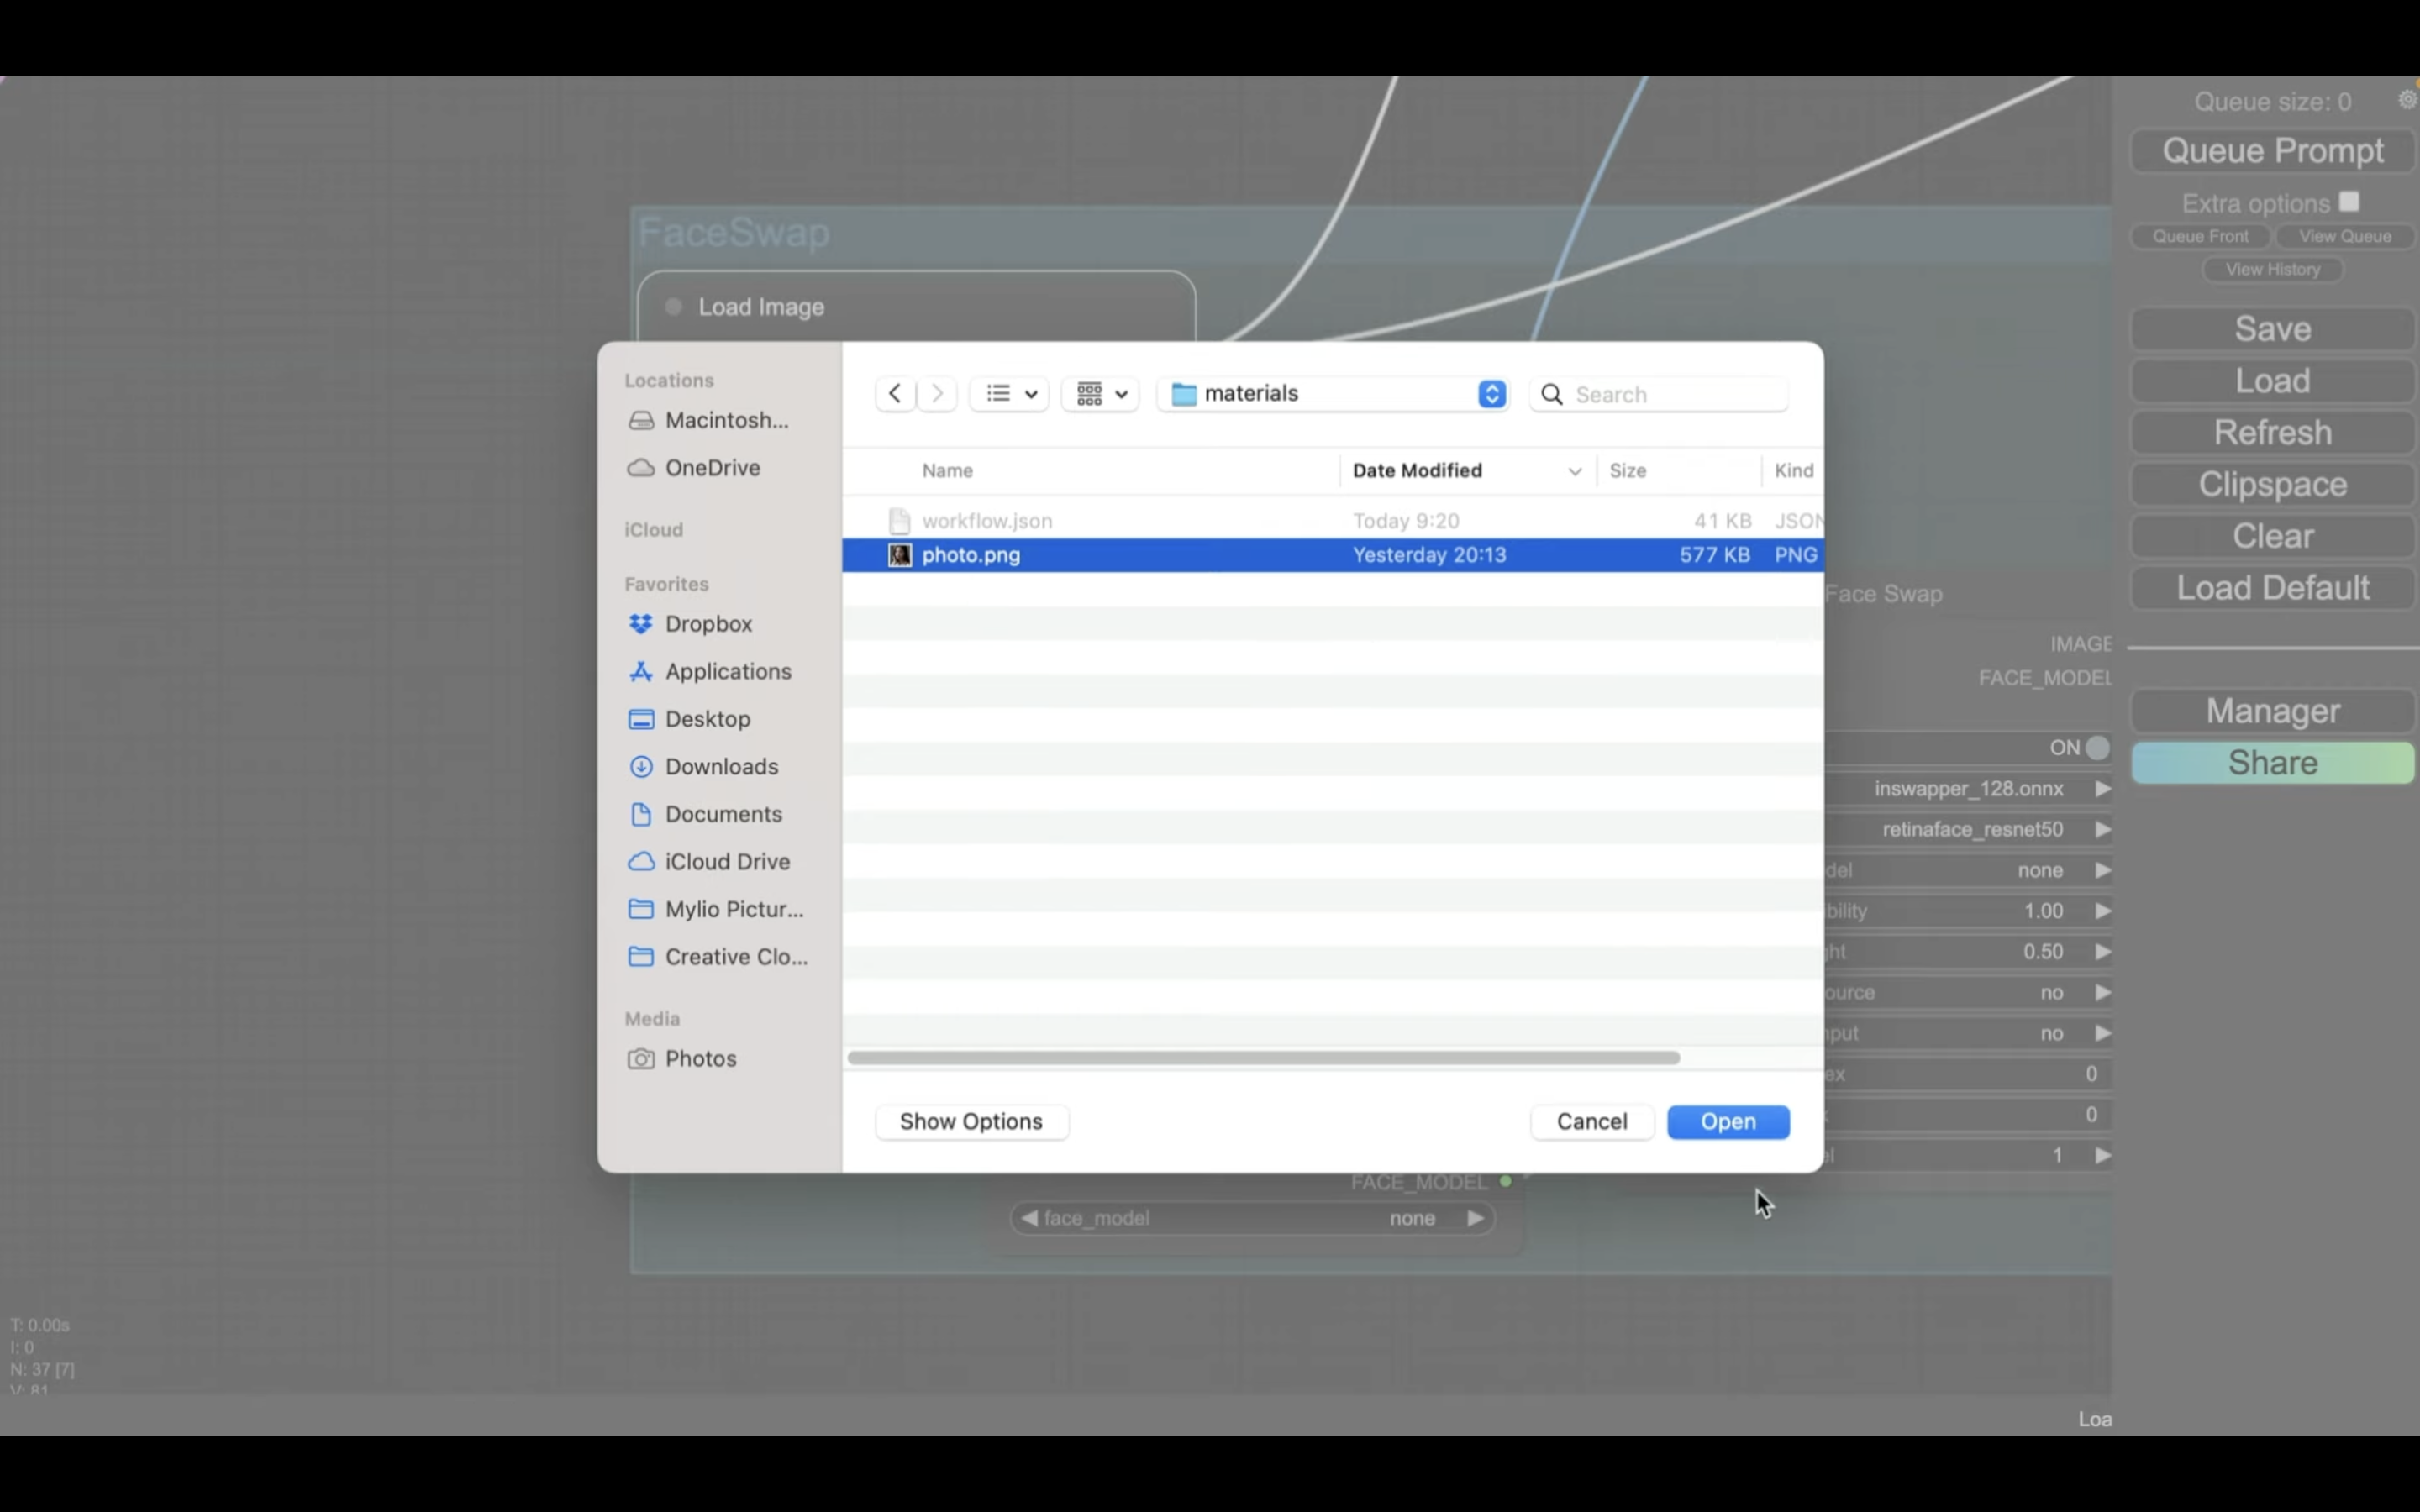
今回は、このような画像を選択しておきました。
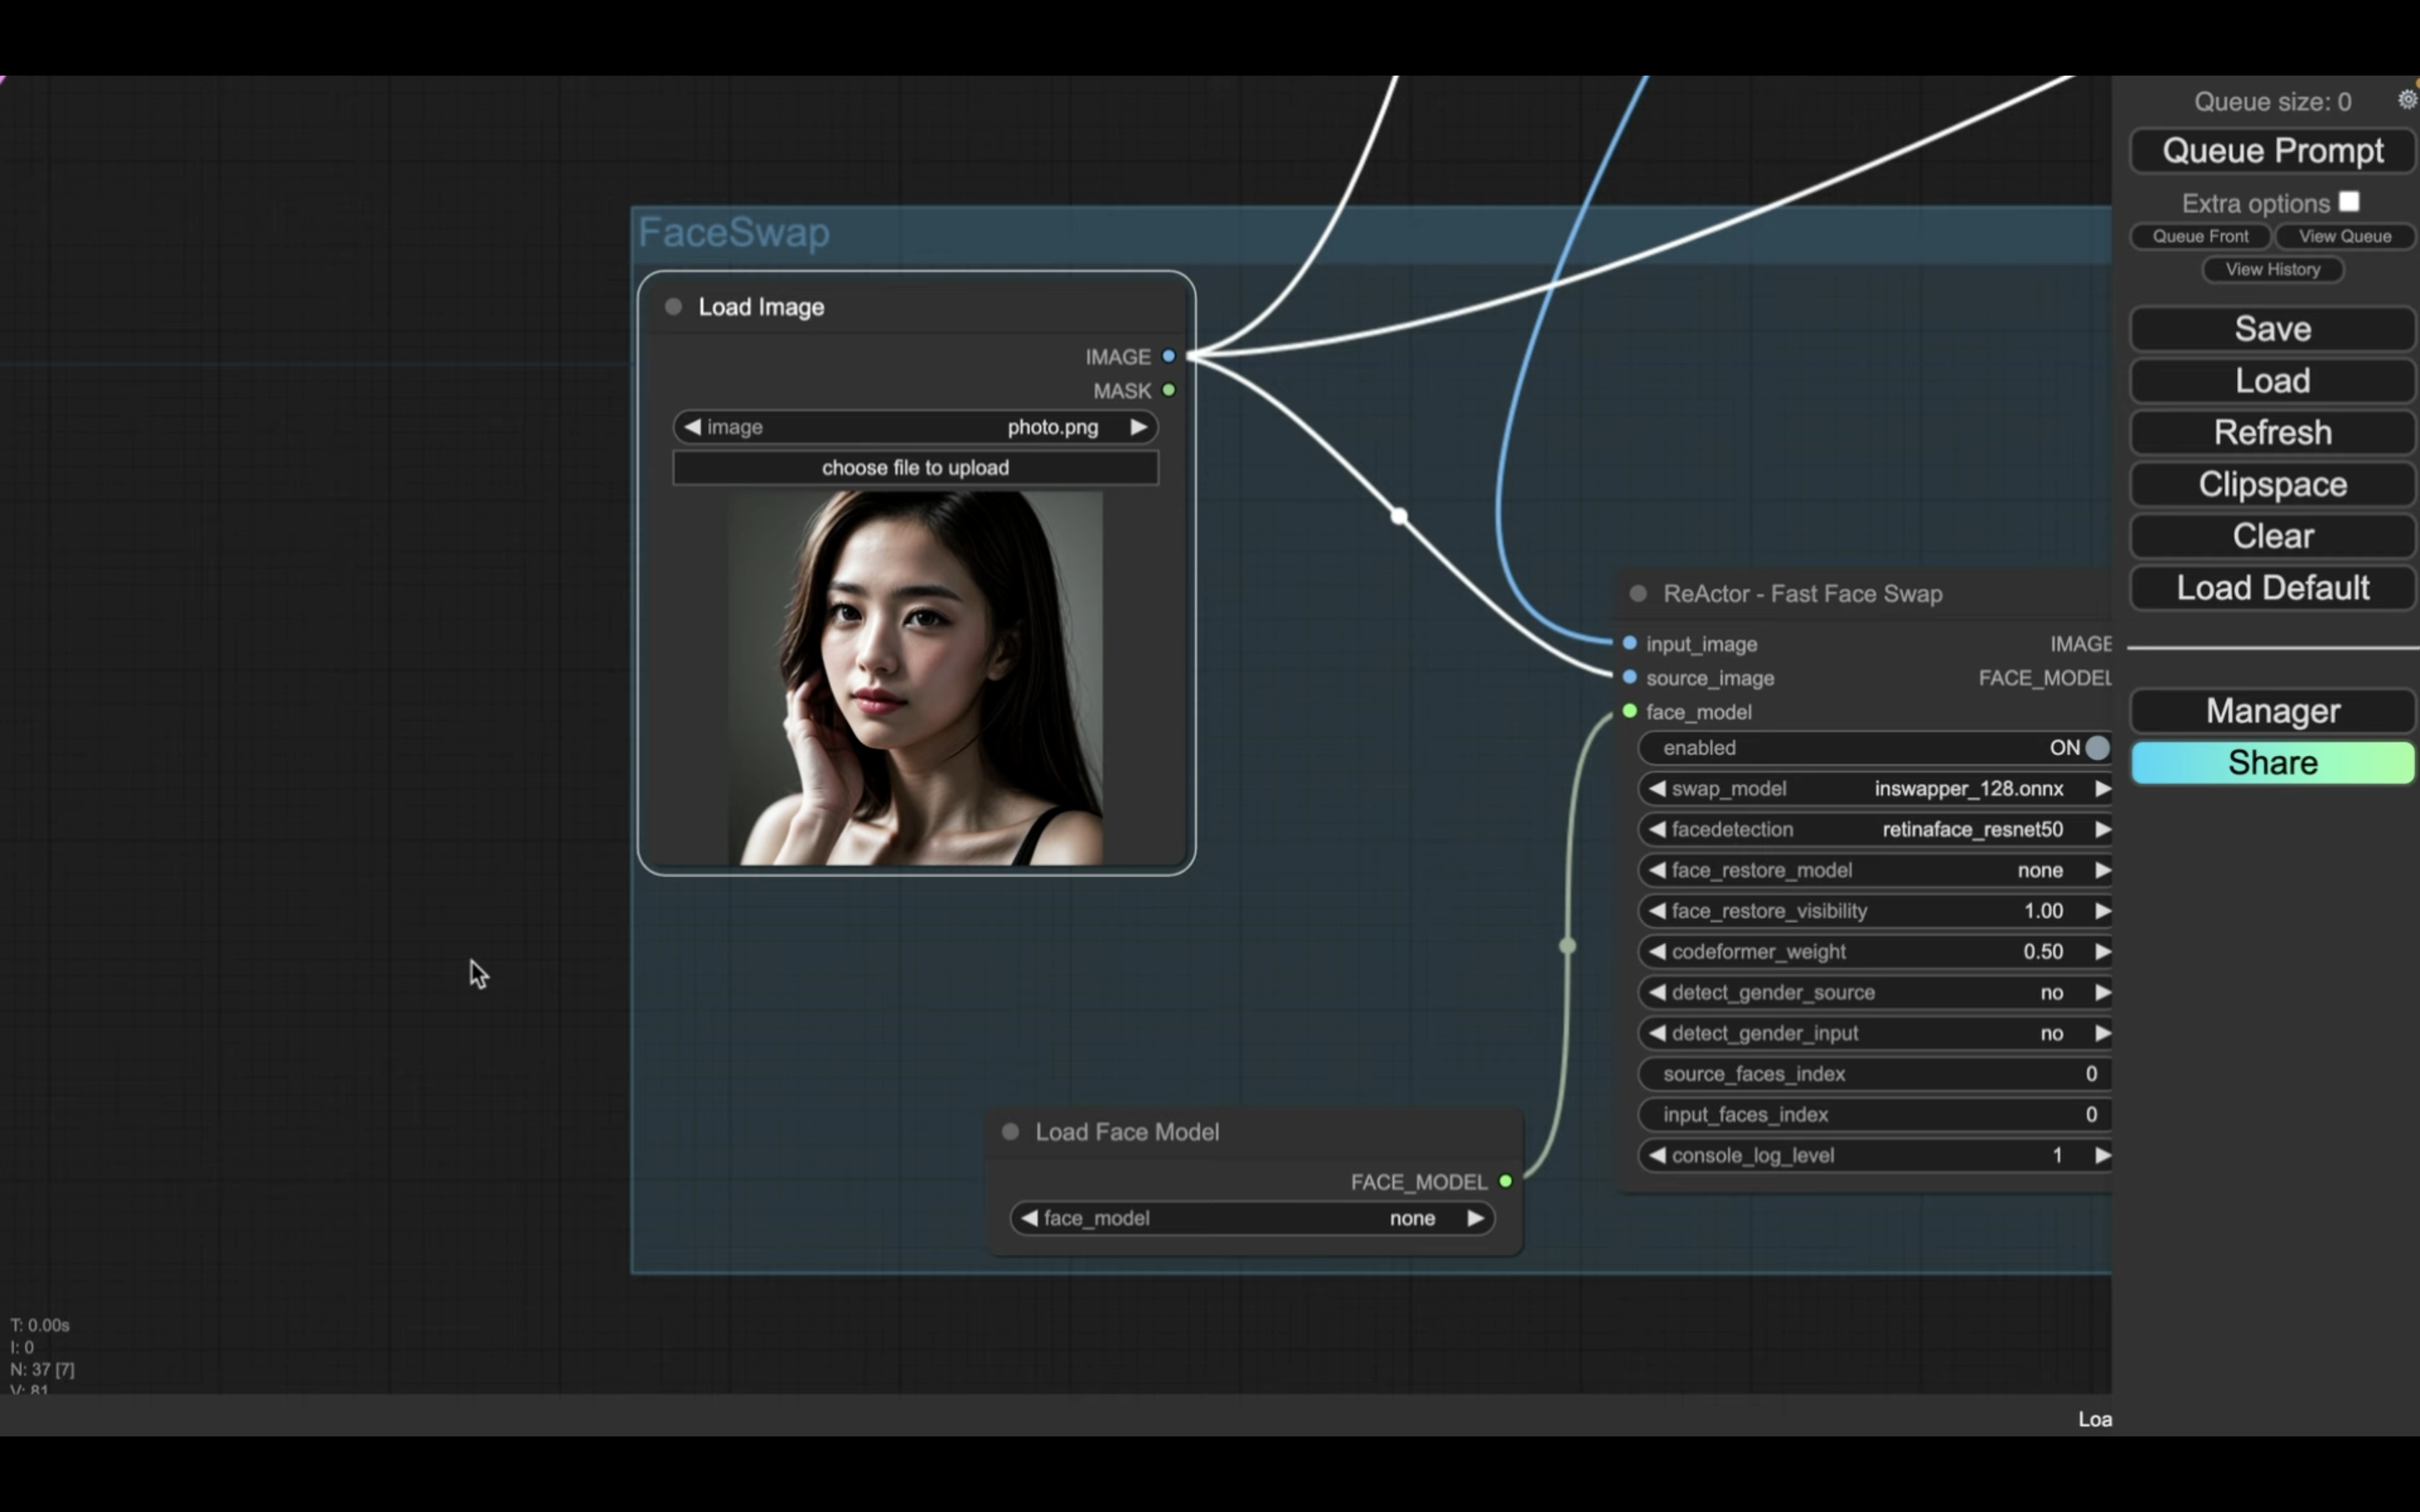
ファイルをアップロードしたら、早速画像を生成していきましょう。
プロンプトと書かれているボタンをクリックします。
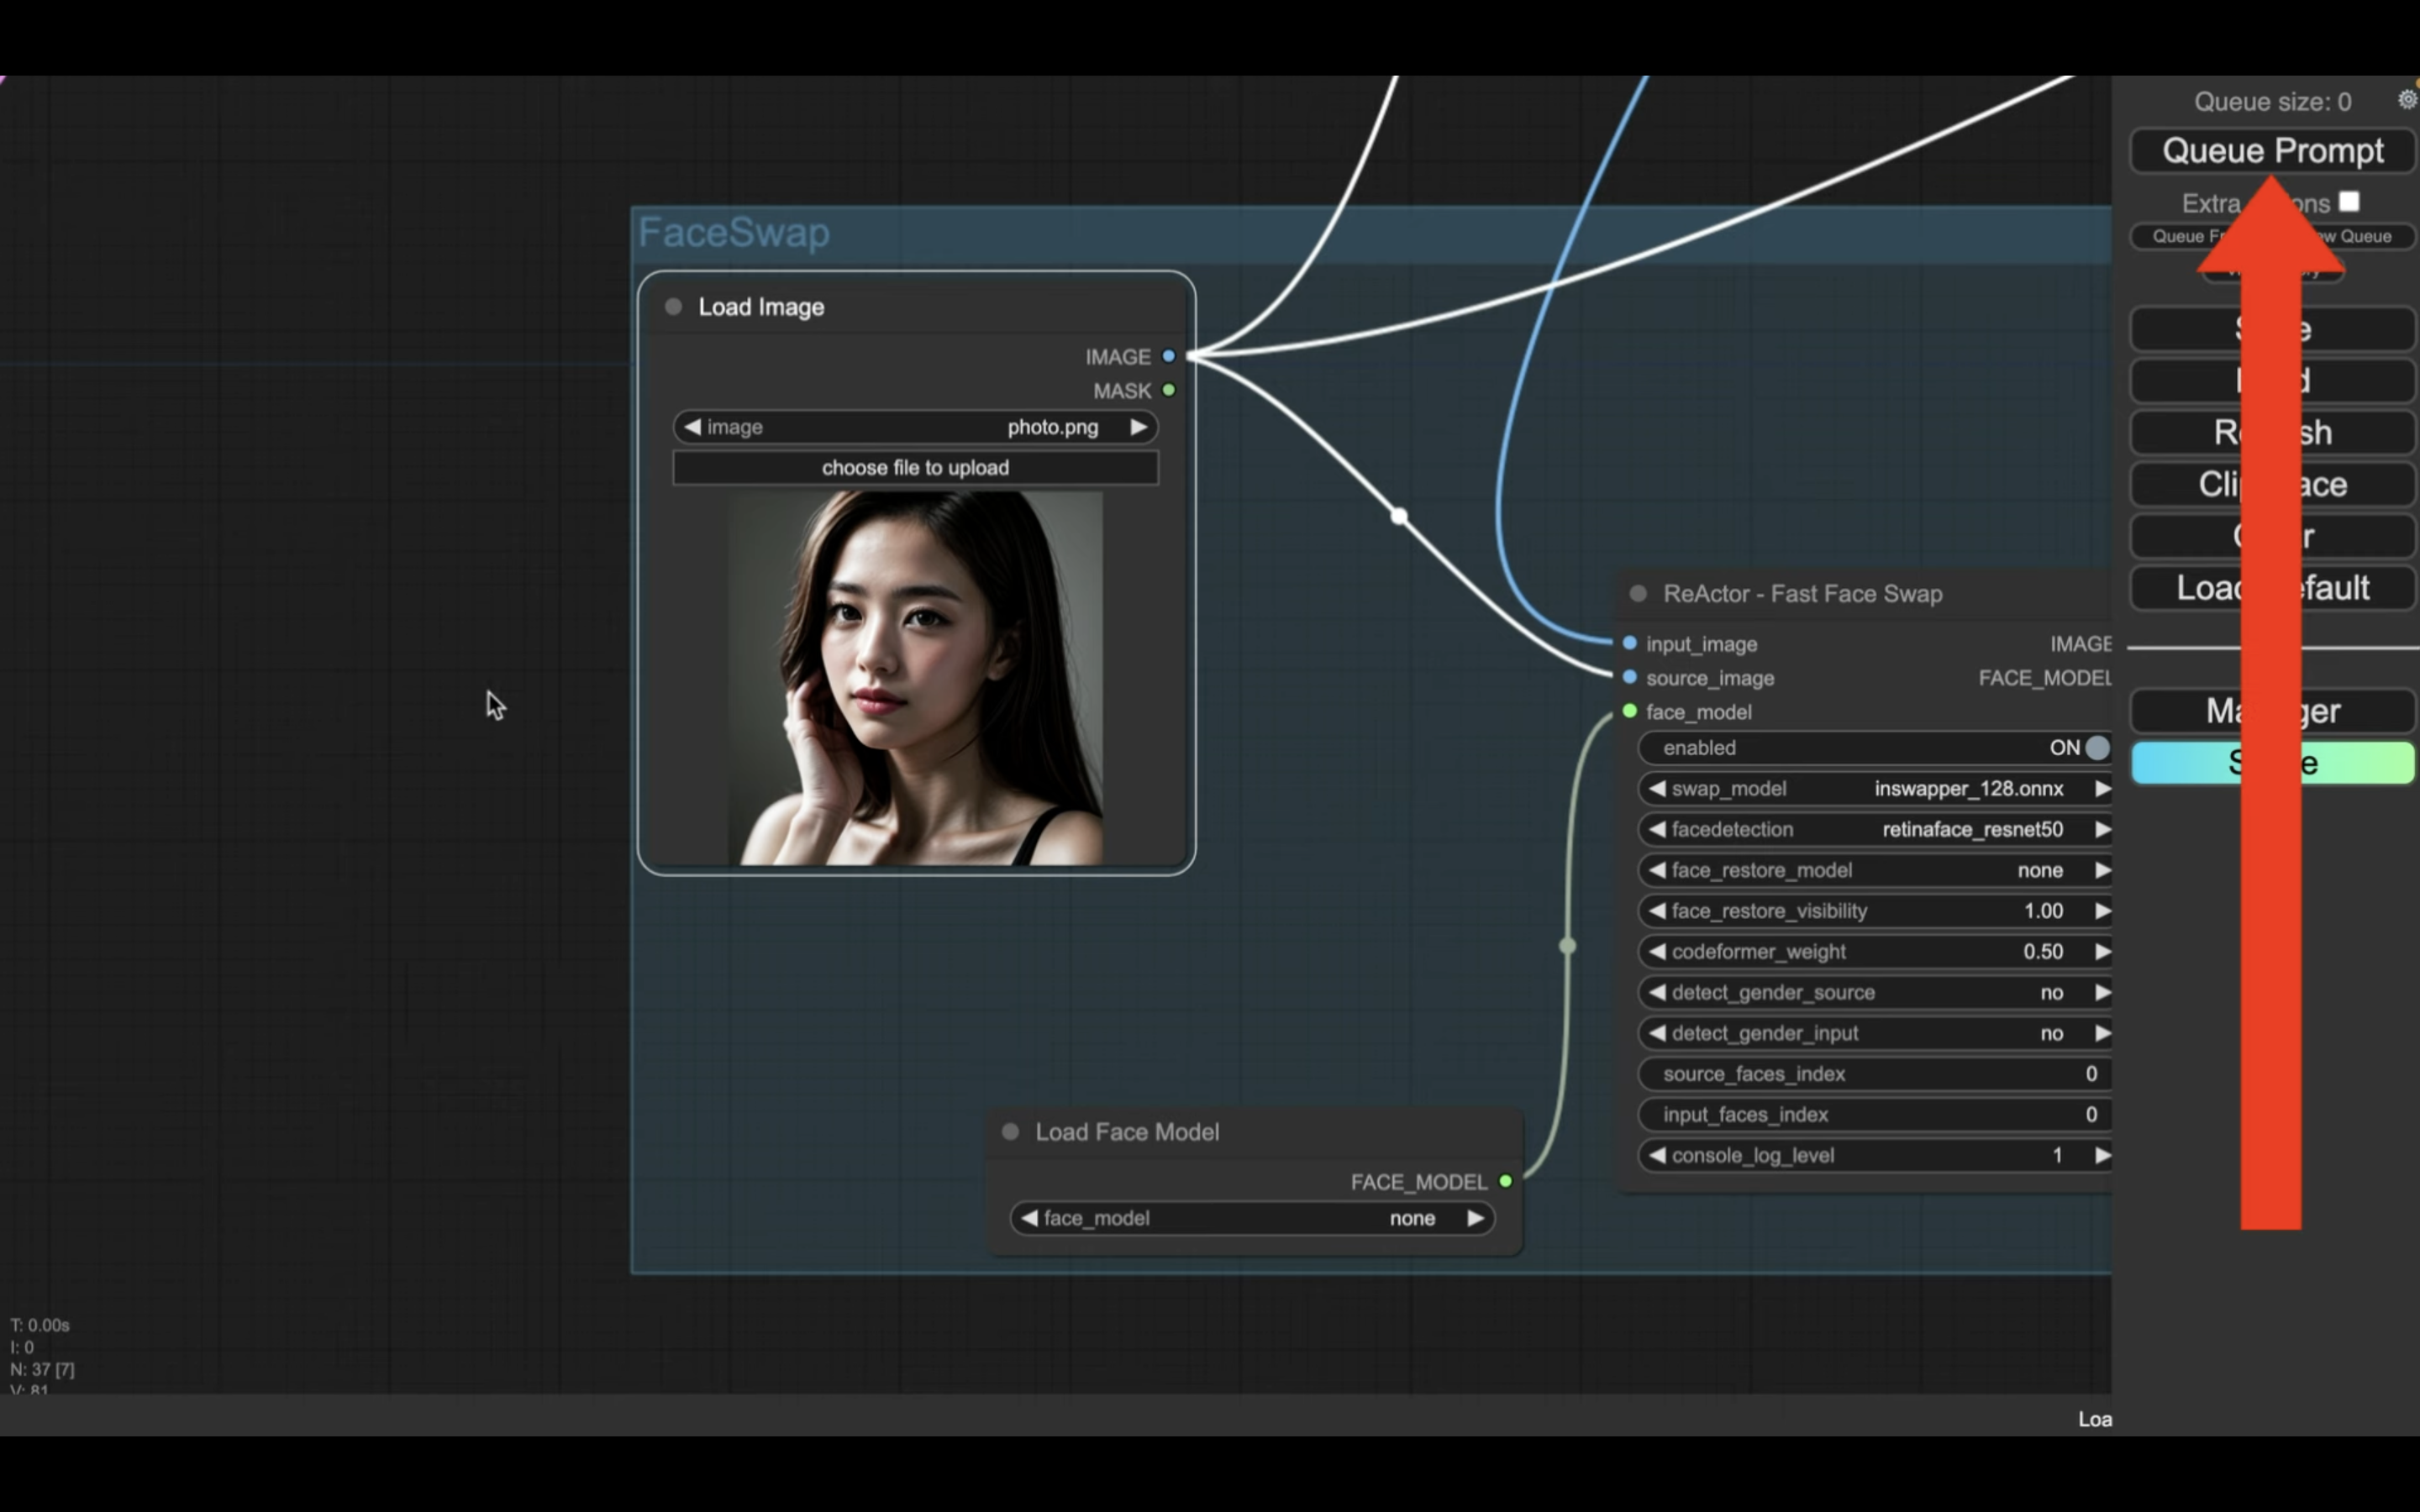
これで画像の生成処理が開始されます。
生成処理の状況はブロックの表示で確認できます。
緑色で囲まれるブロックが現在実行されている処理です。
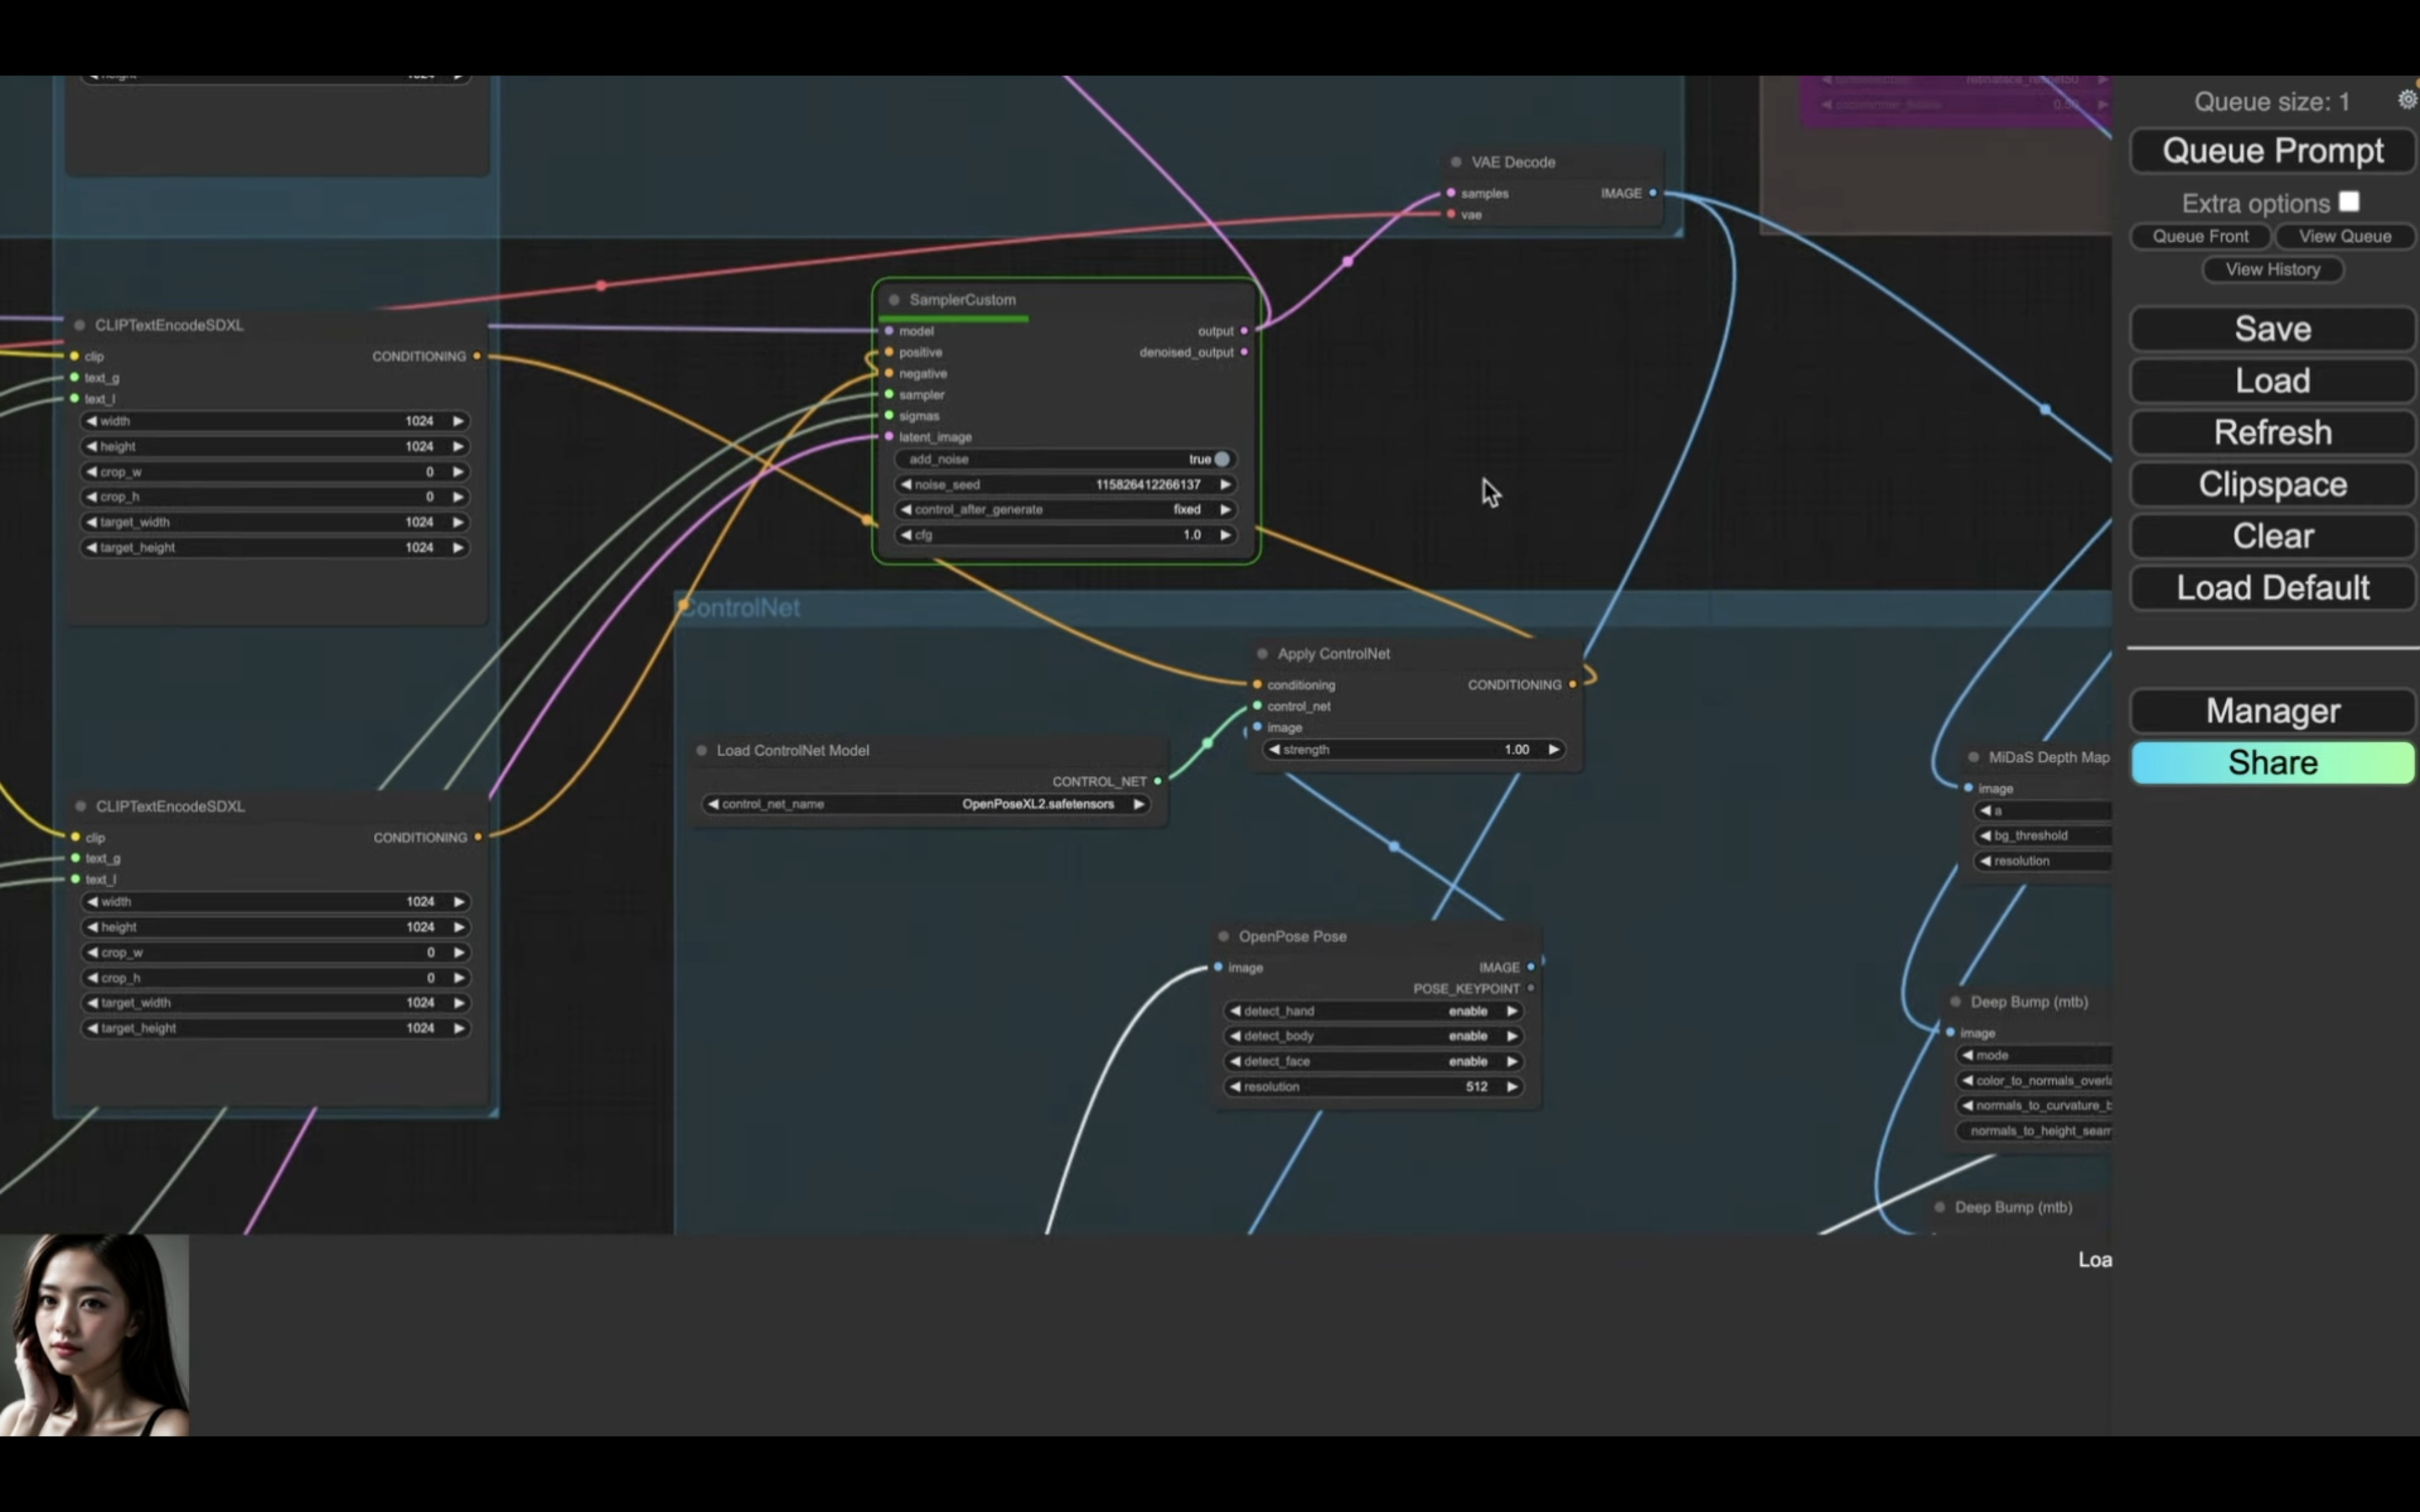
処理が完了すると、囲んでいる緑色の表示が移動します。
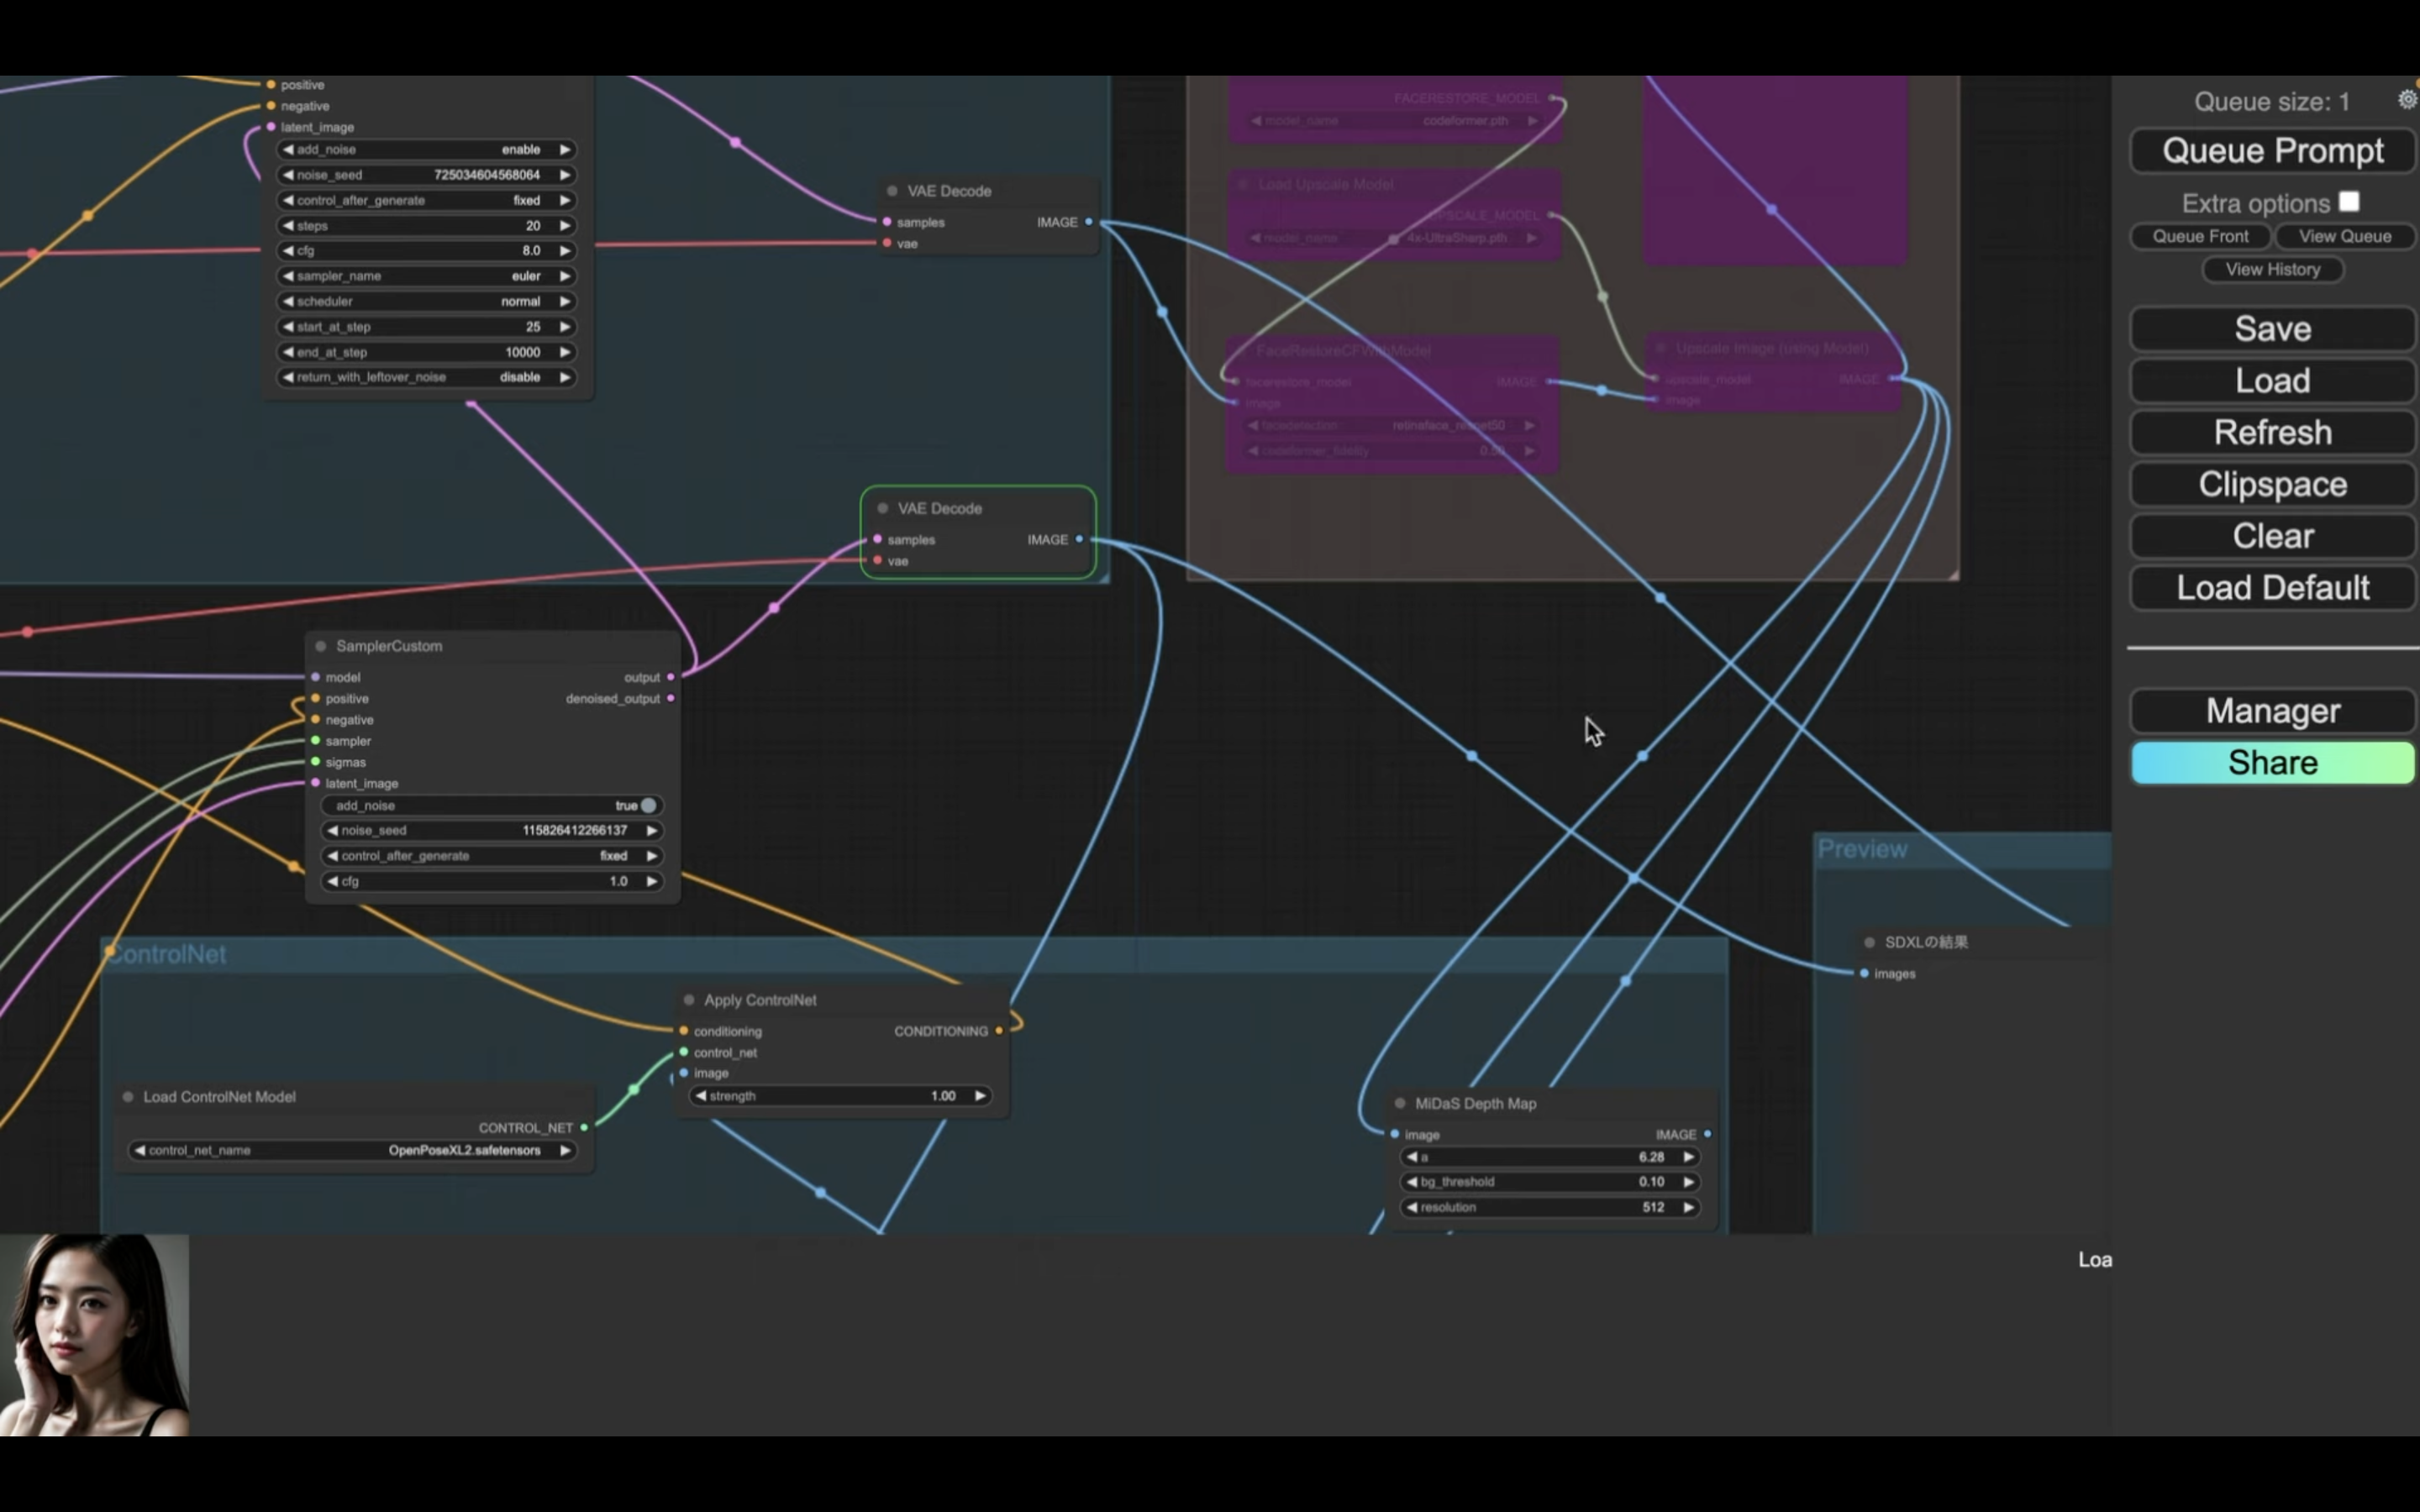
生成される画像は1番右側のブロックに表示されます。
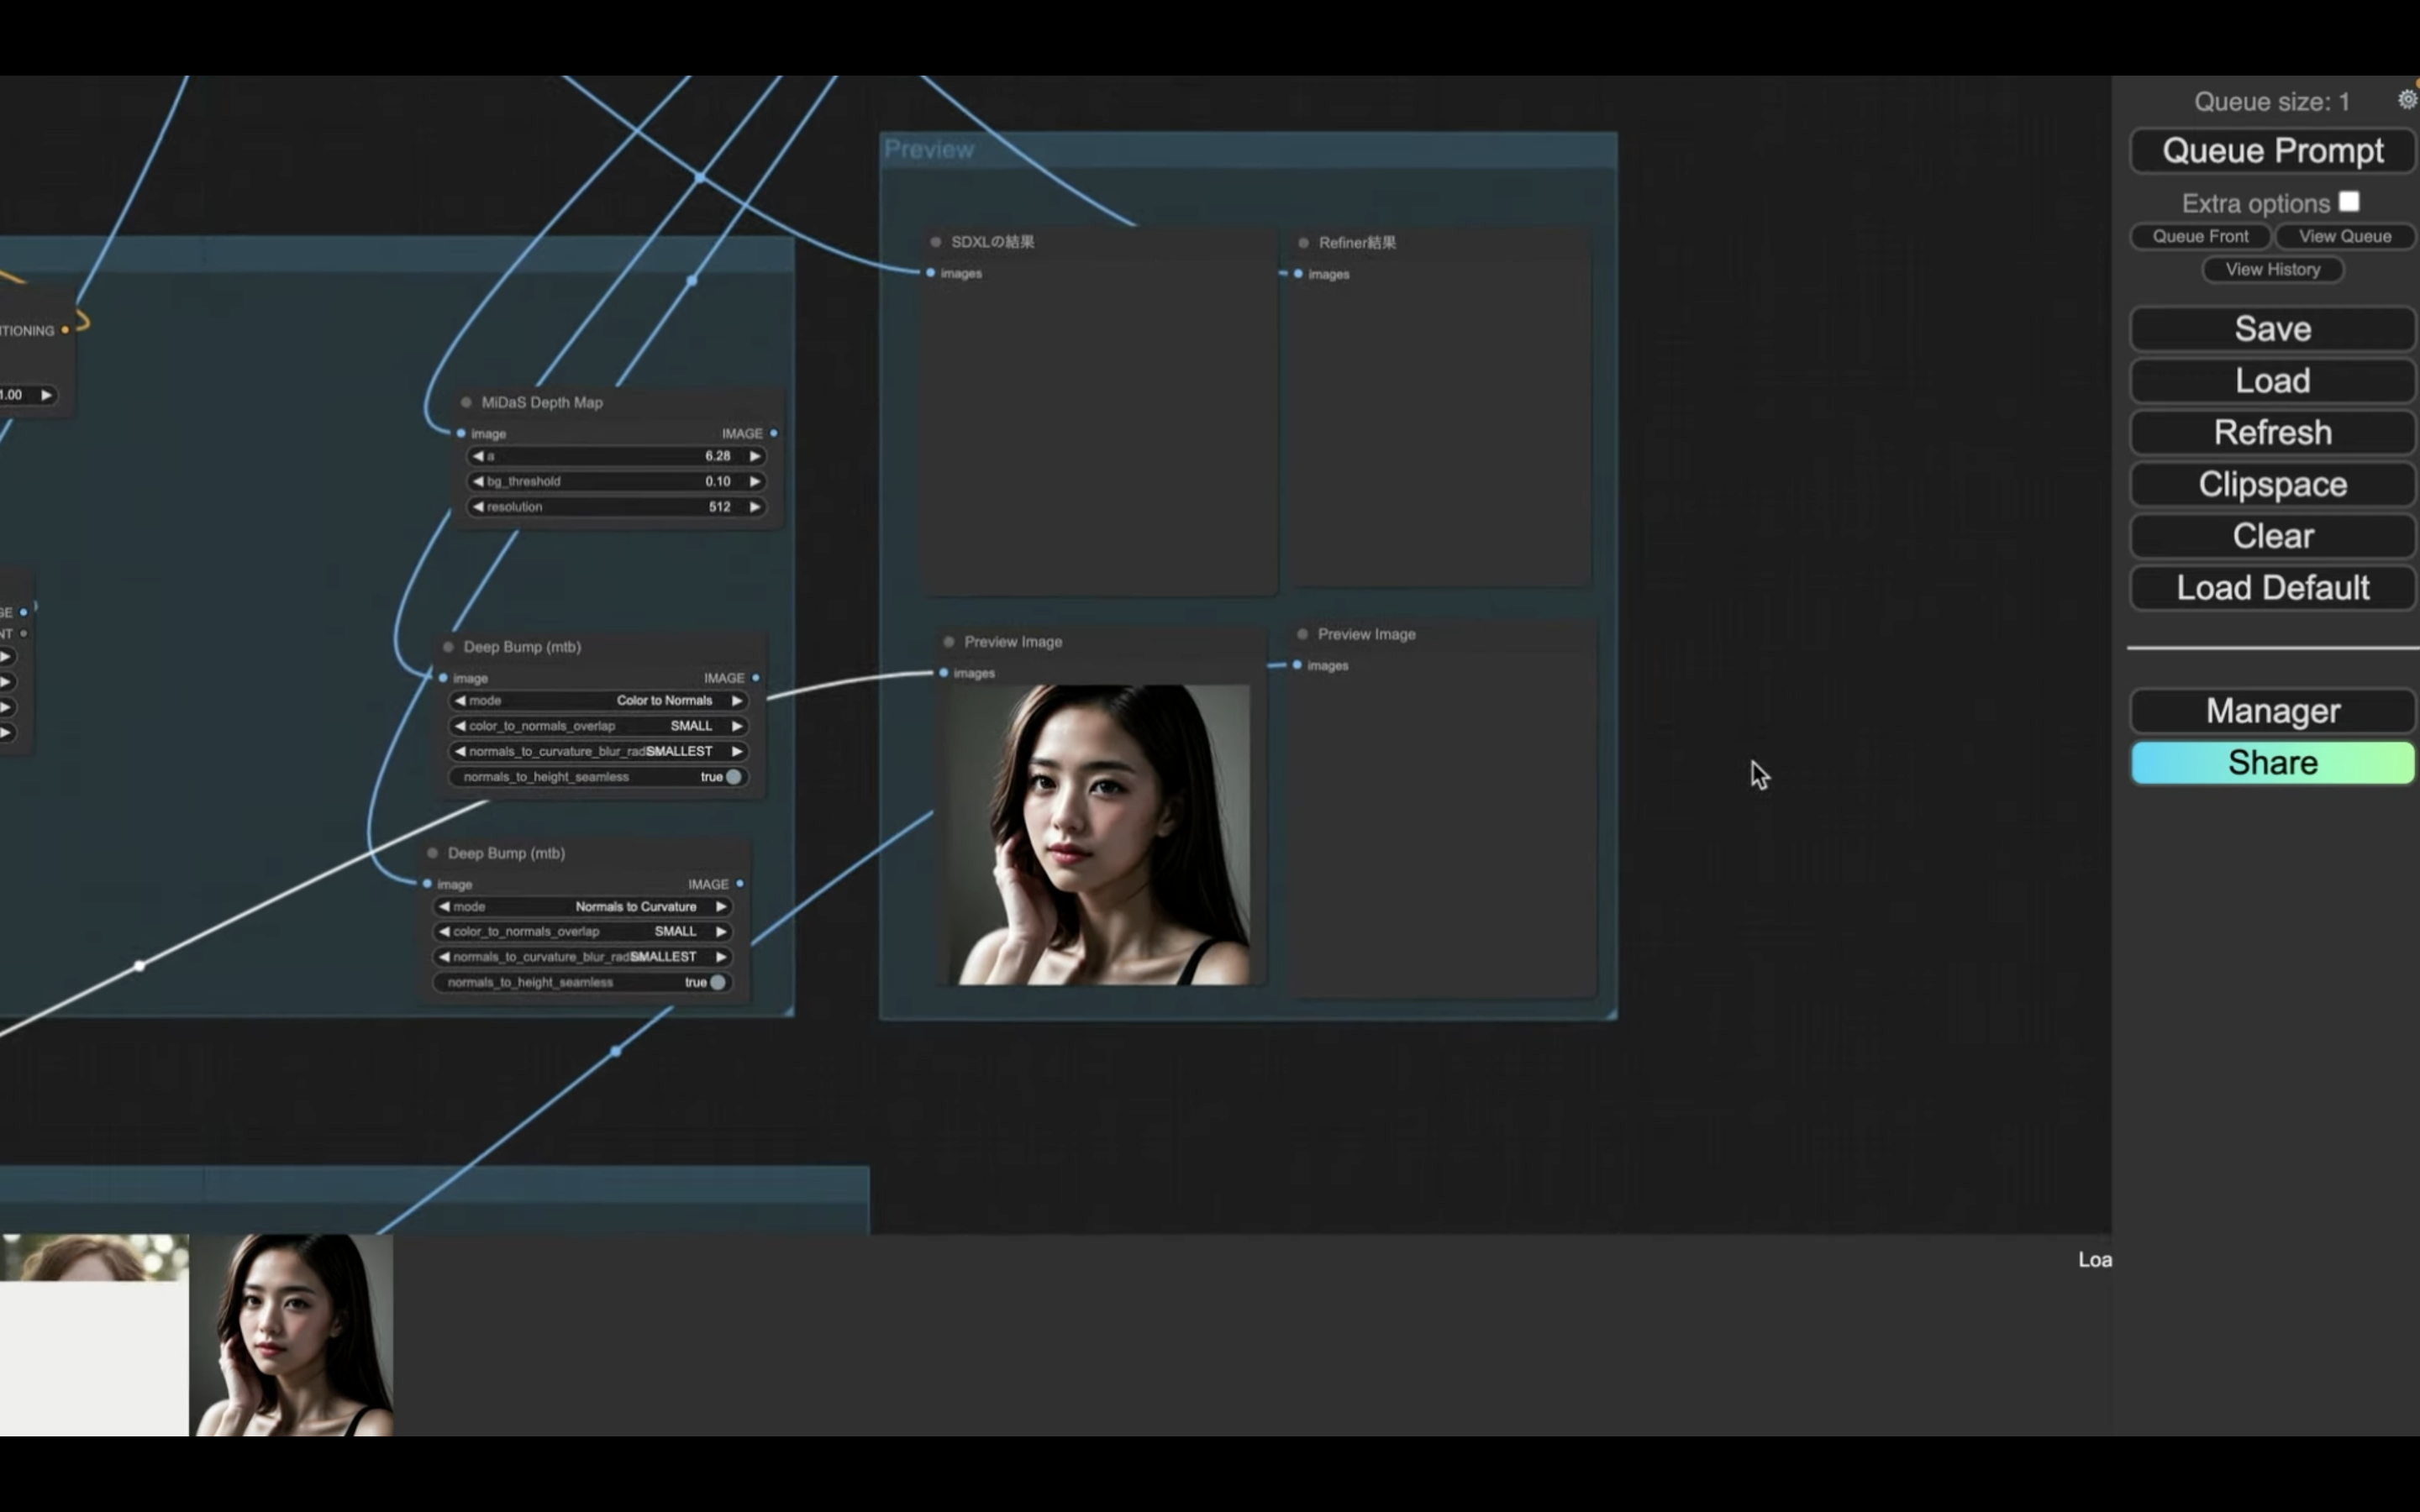
画像の生成には数分程度かかります。
しばらく待っていると、このような画像が生成されました。
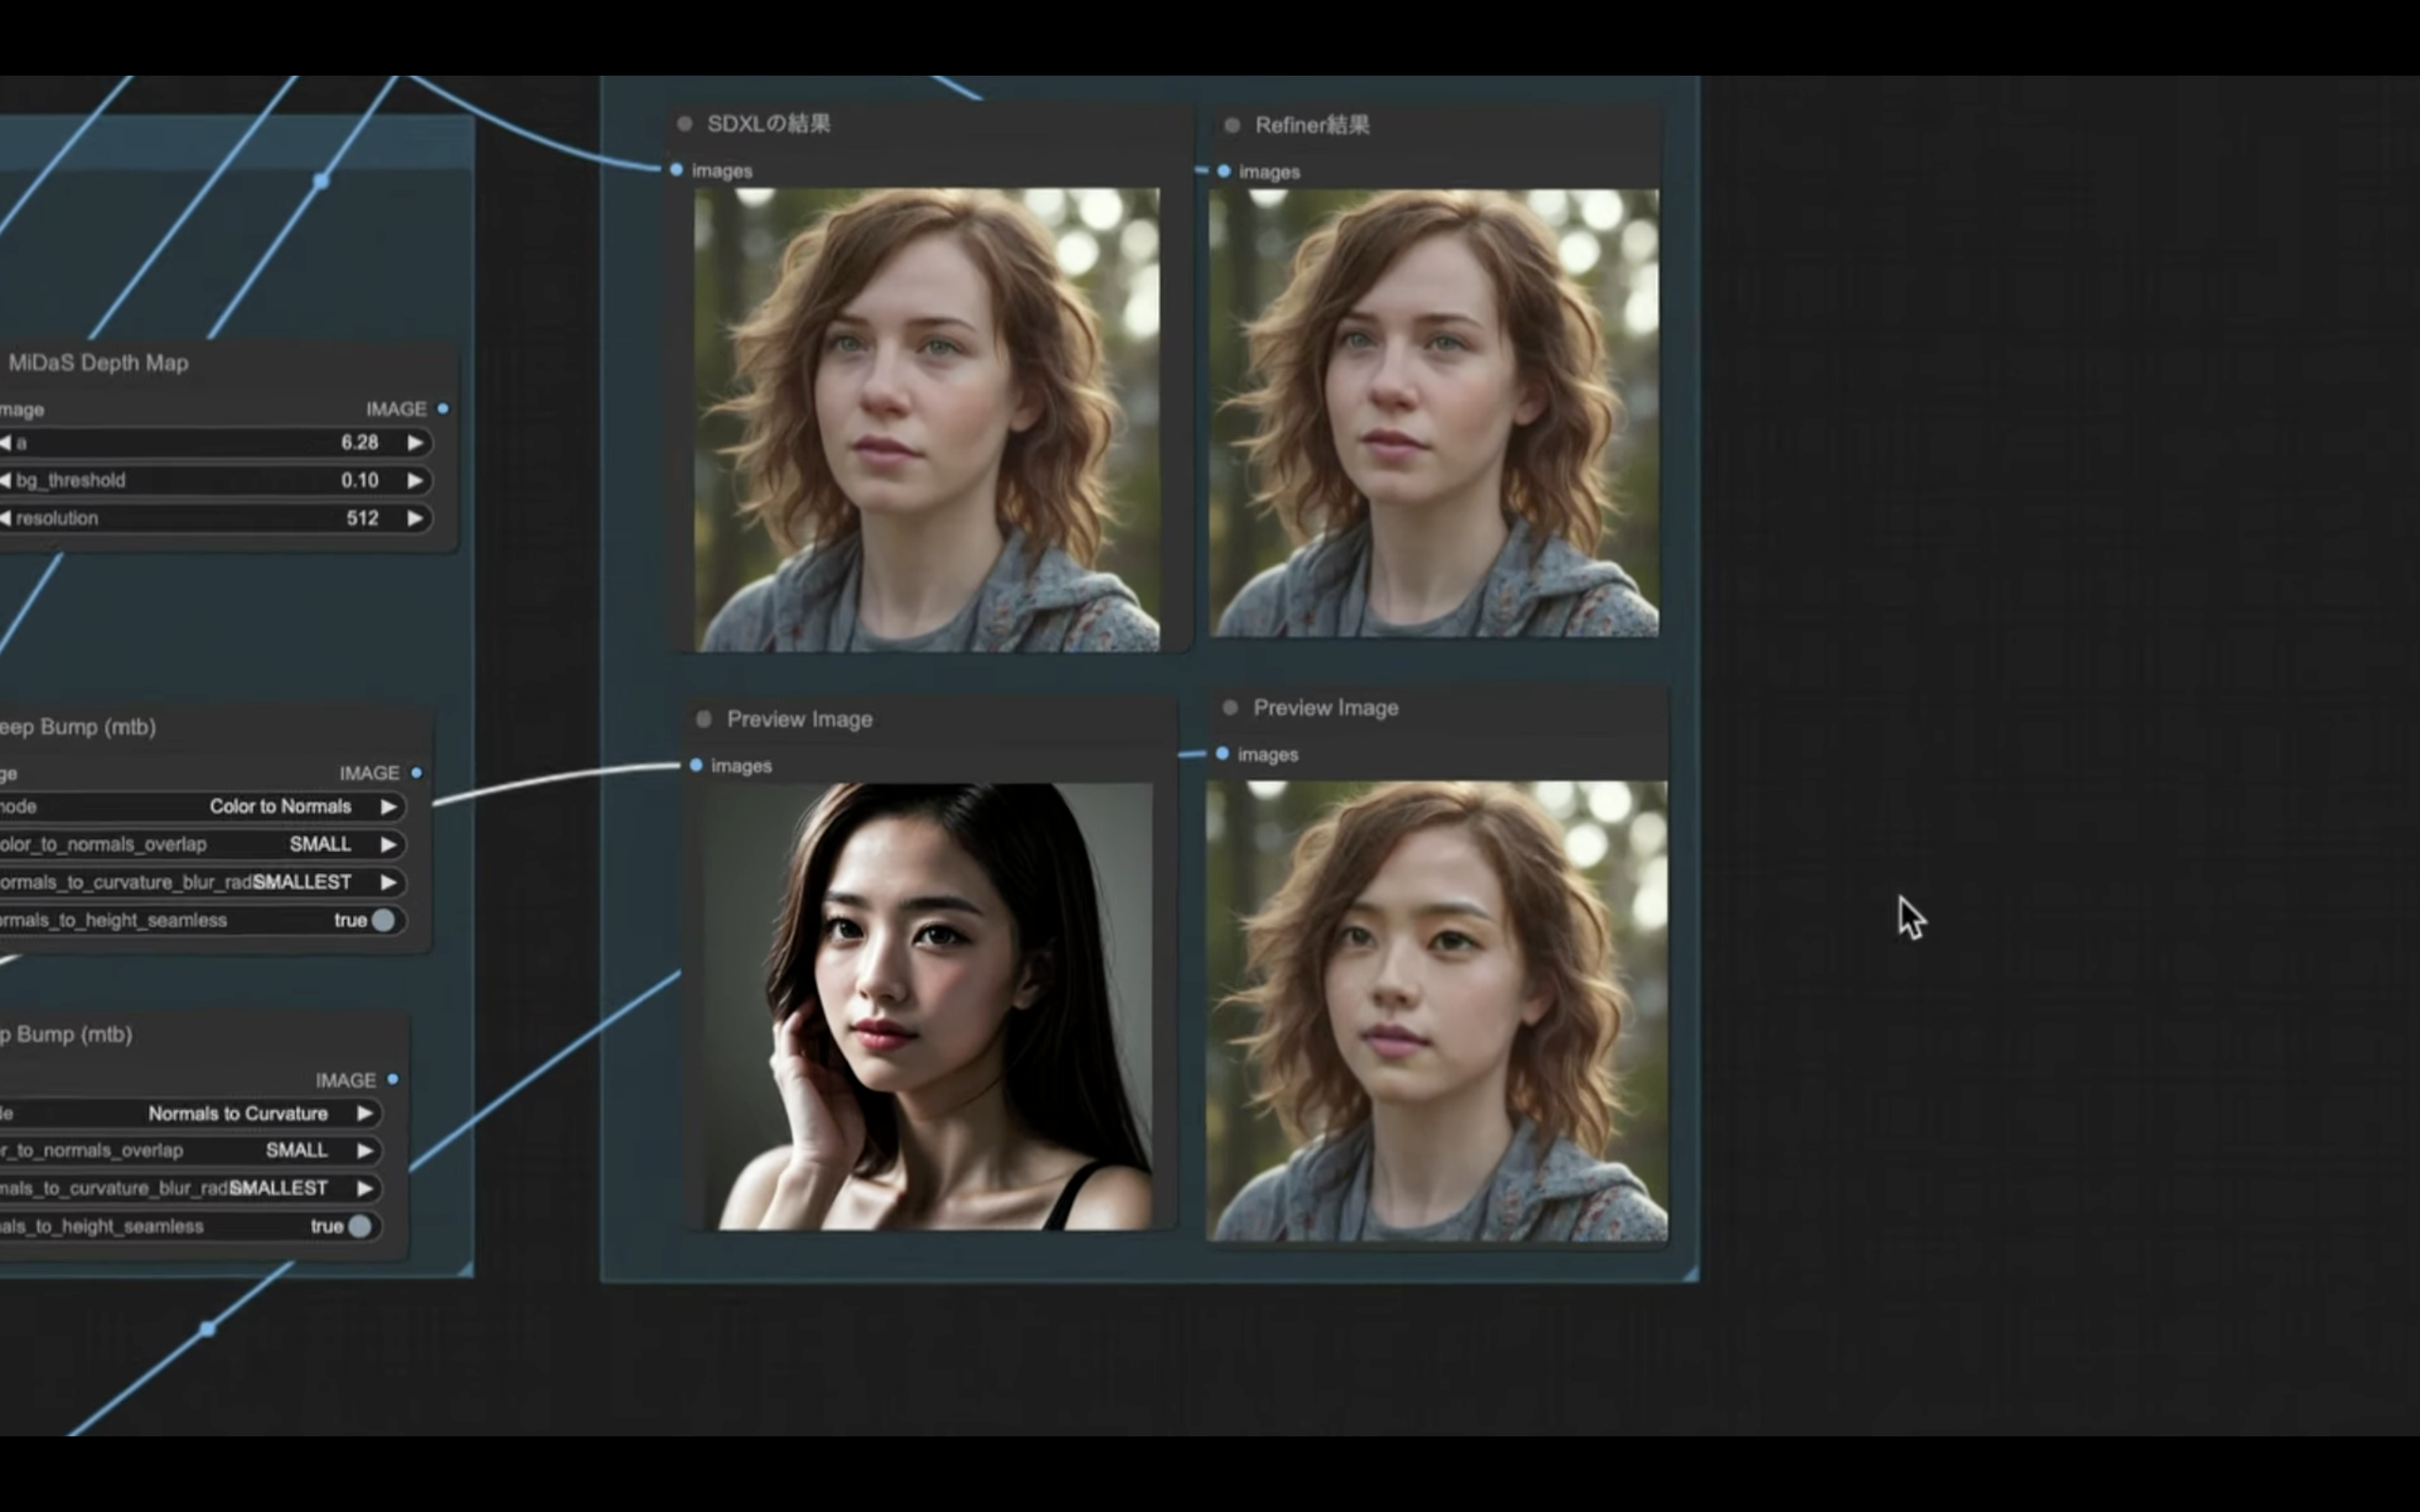
期待した通りディープフェイクの画像が生成されていますね。
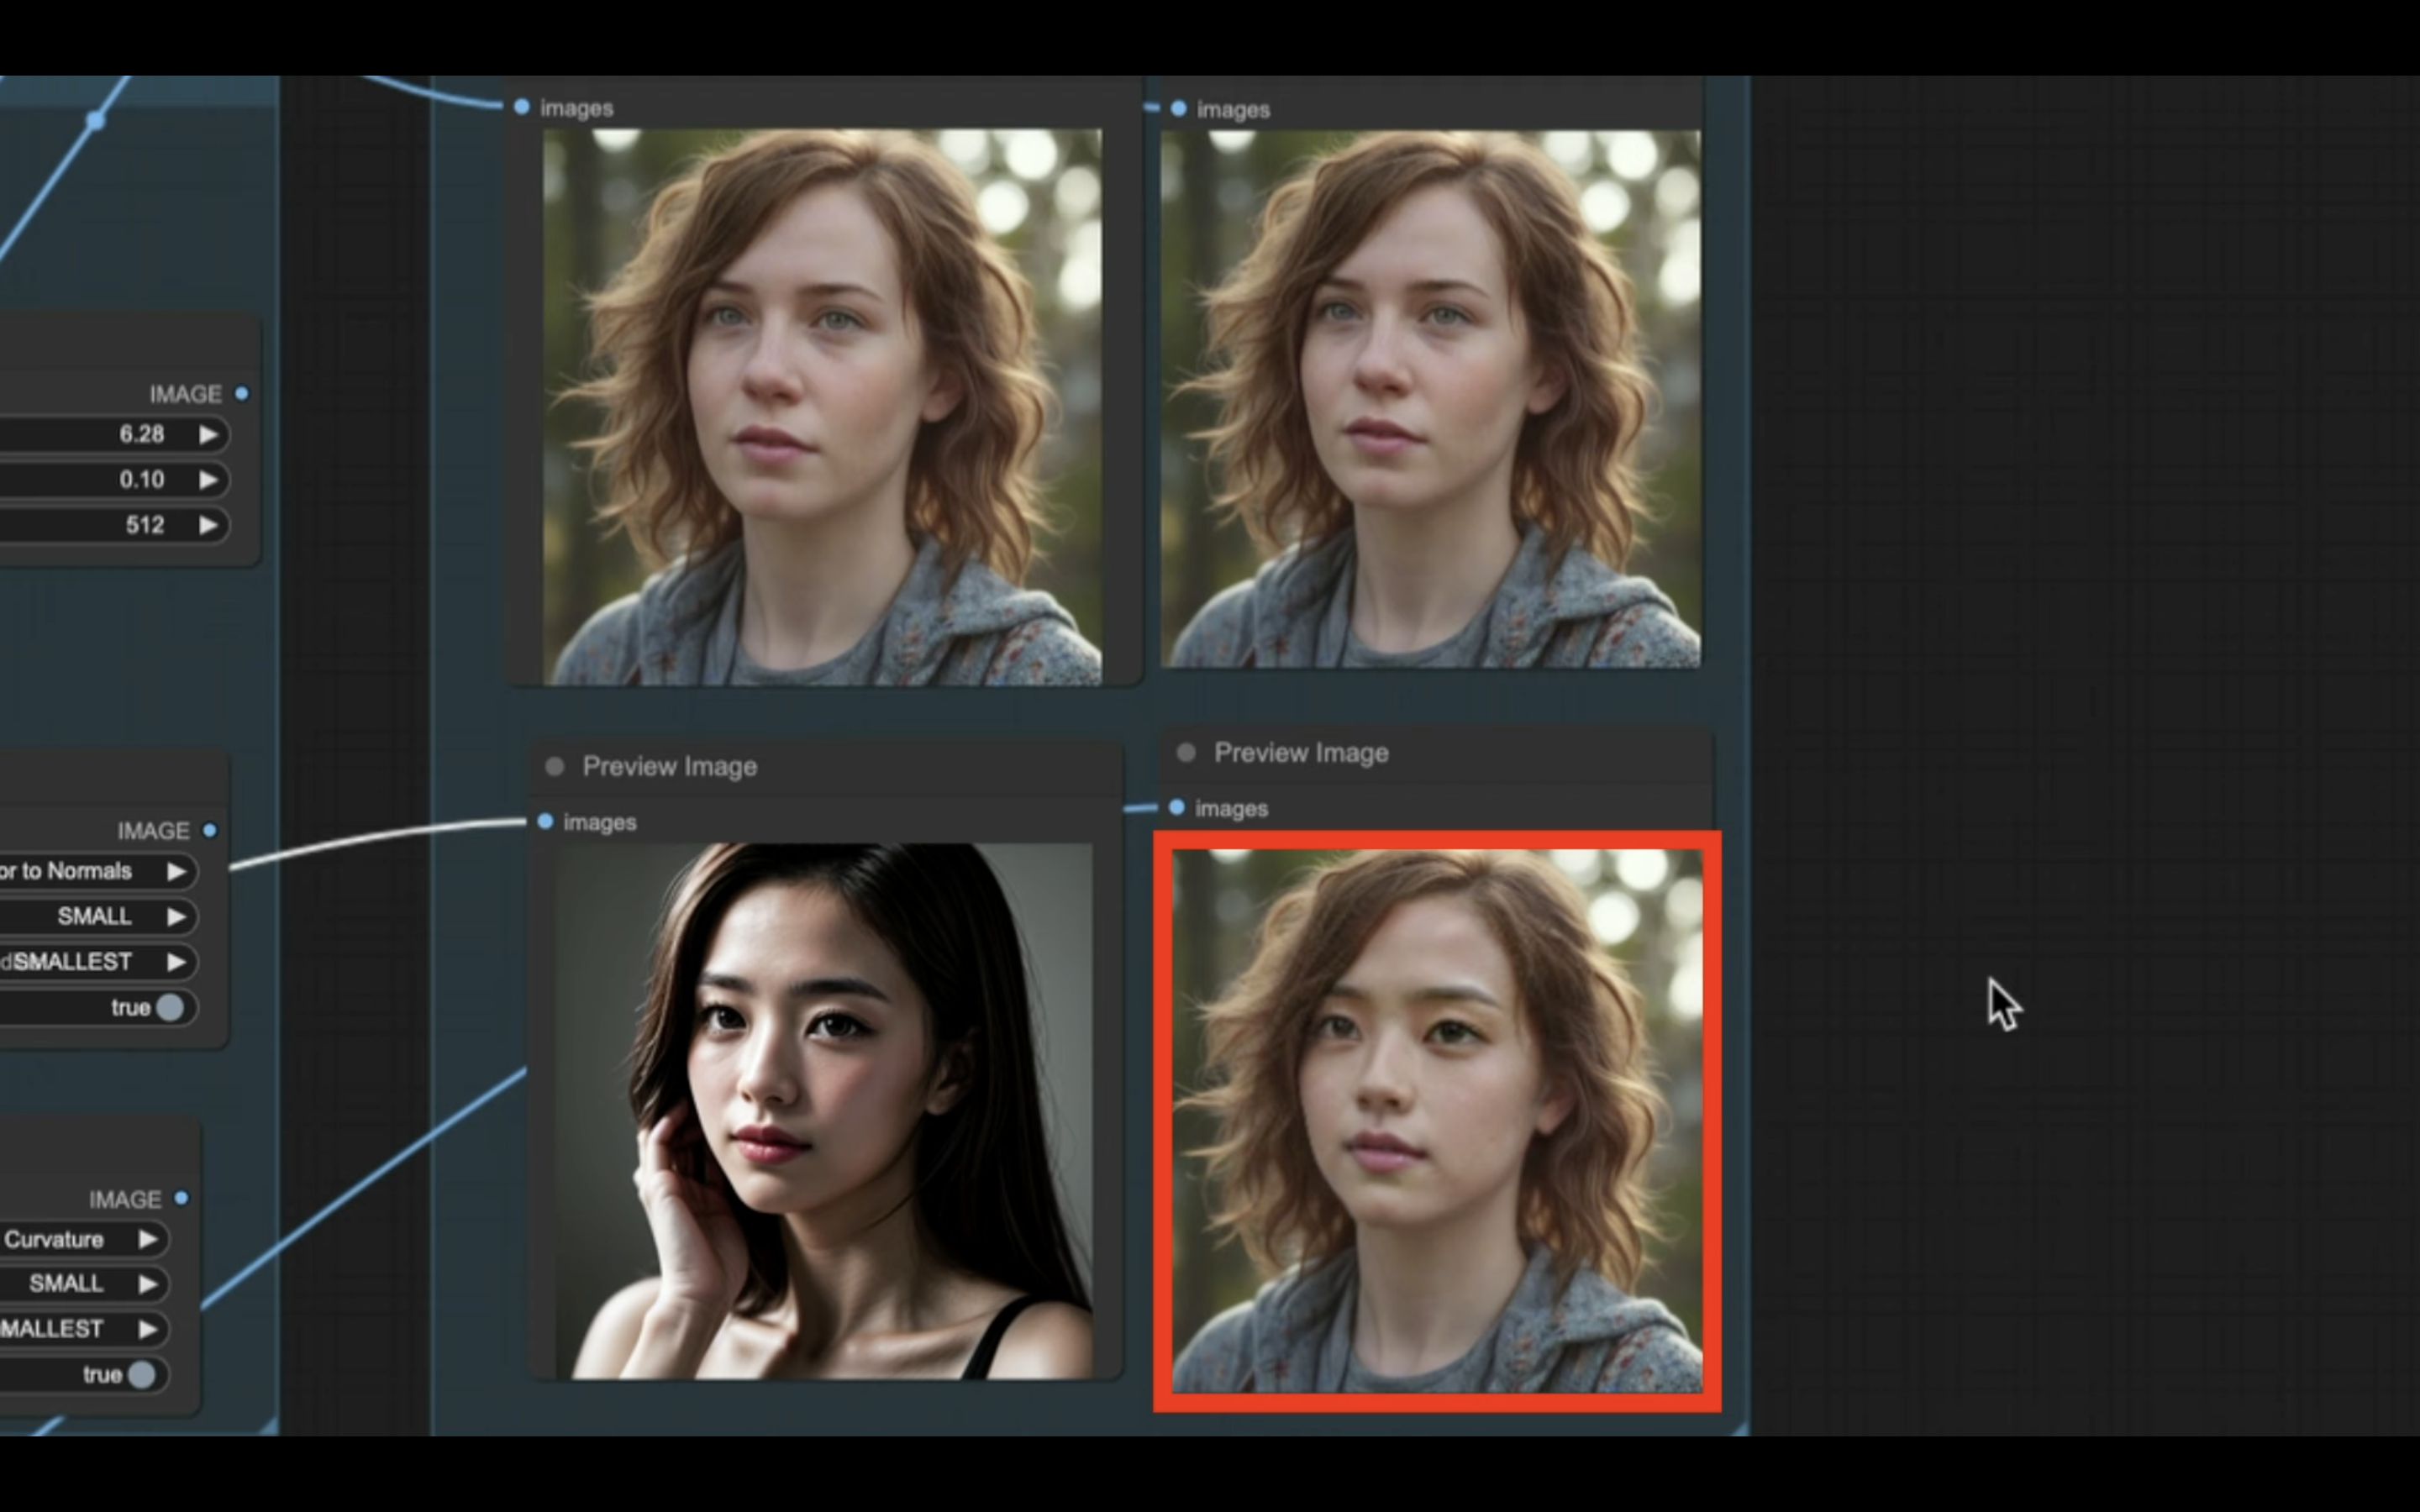
SDXLのモデルを利用して生成した画像からディープフェイクの画像を生成する方法についての解説は以上です。
ぜひ、試してみてください。


