

▶︎動画でも話してるので、文章読むのが面倒な方はこちらをみてもらえればと思います。
今回はComfyUIを使って動画のディープフェイクを生成する方法について解説します。
今回紹介する方法については、決して悪用しないでください。

これを読めば誰でも簡単にクオリティーの高いAI美女が作れるようになっているので興味がある人は、下のバナーをクリックして購入してみてね🎶

目次
ComfyUIを使って動画のディープフェイクを生成する方法について
この動画で紹介する内容は、OpenArtというサイトにあるComfyUIの設定ファイルを参考にしております。
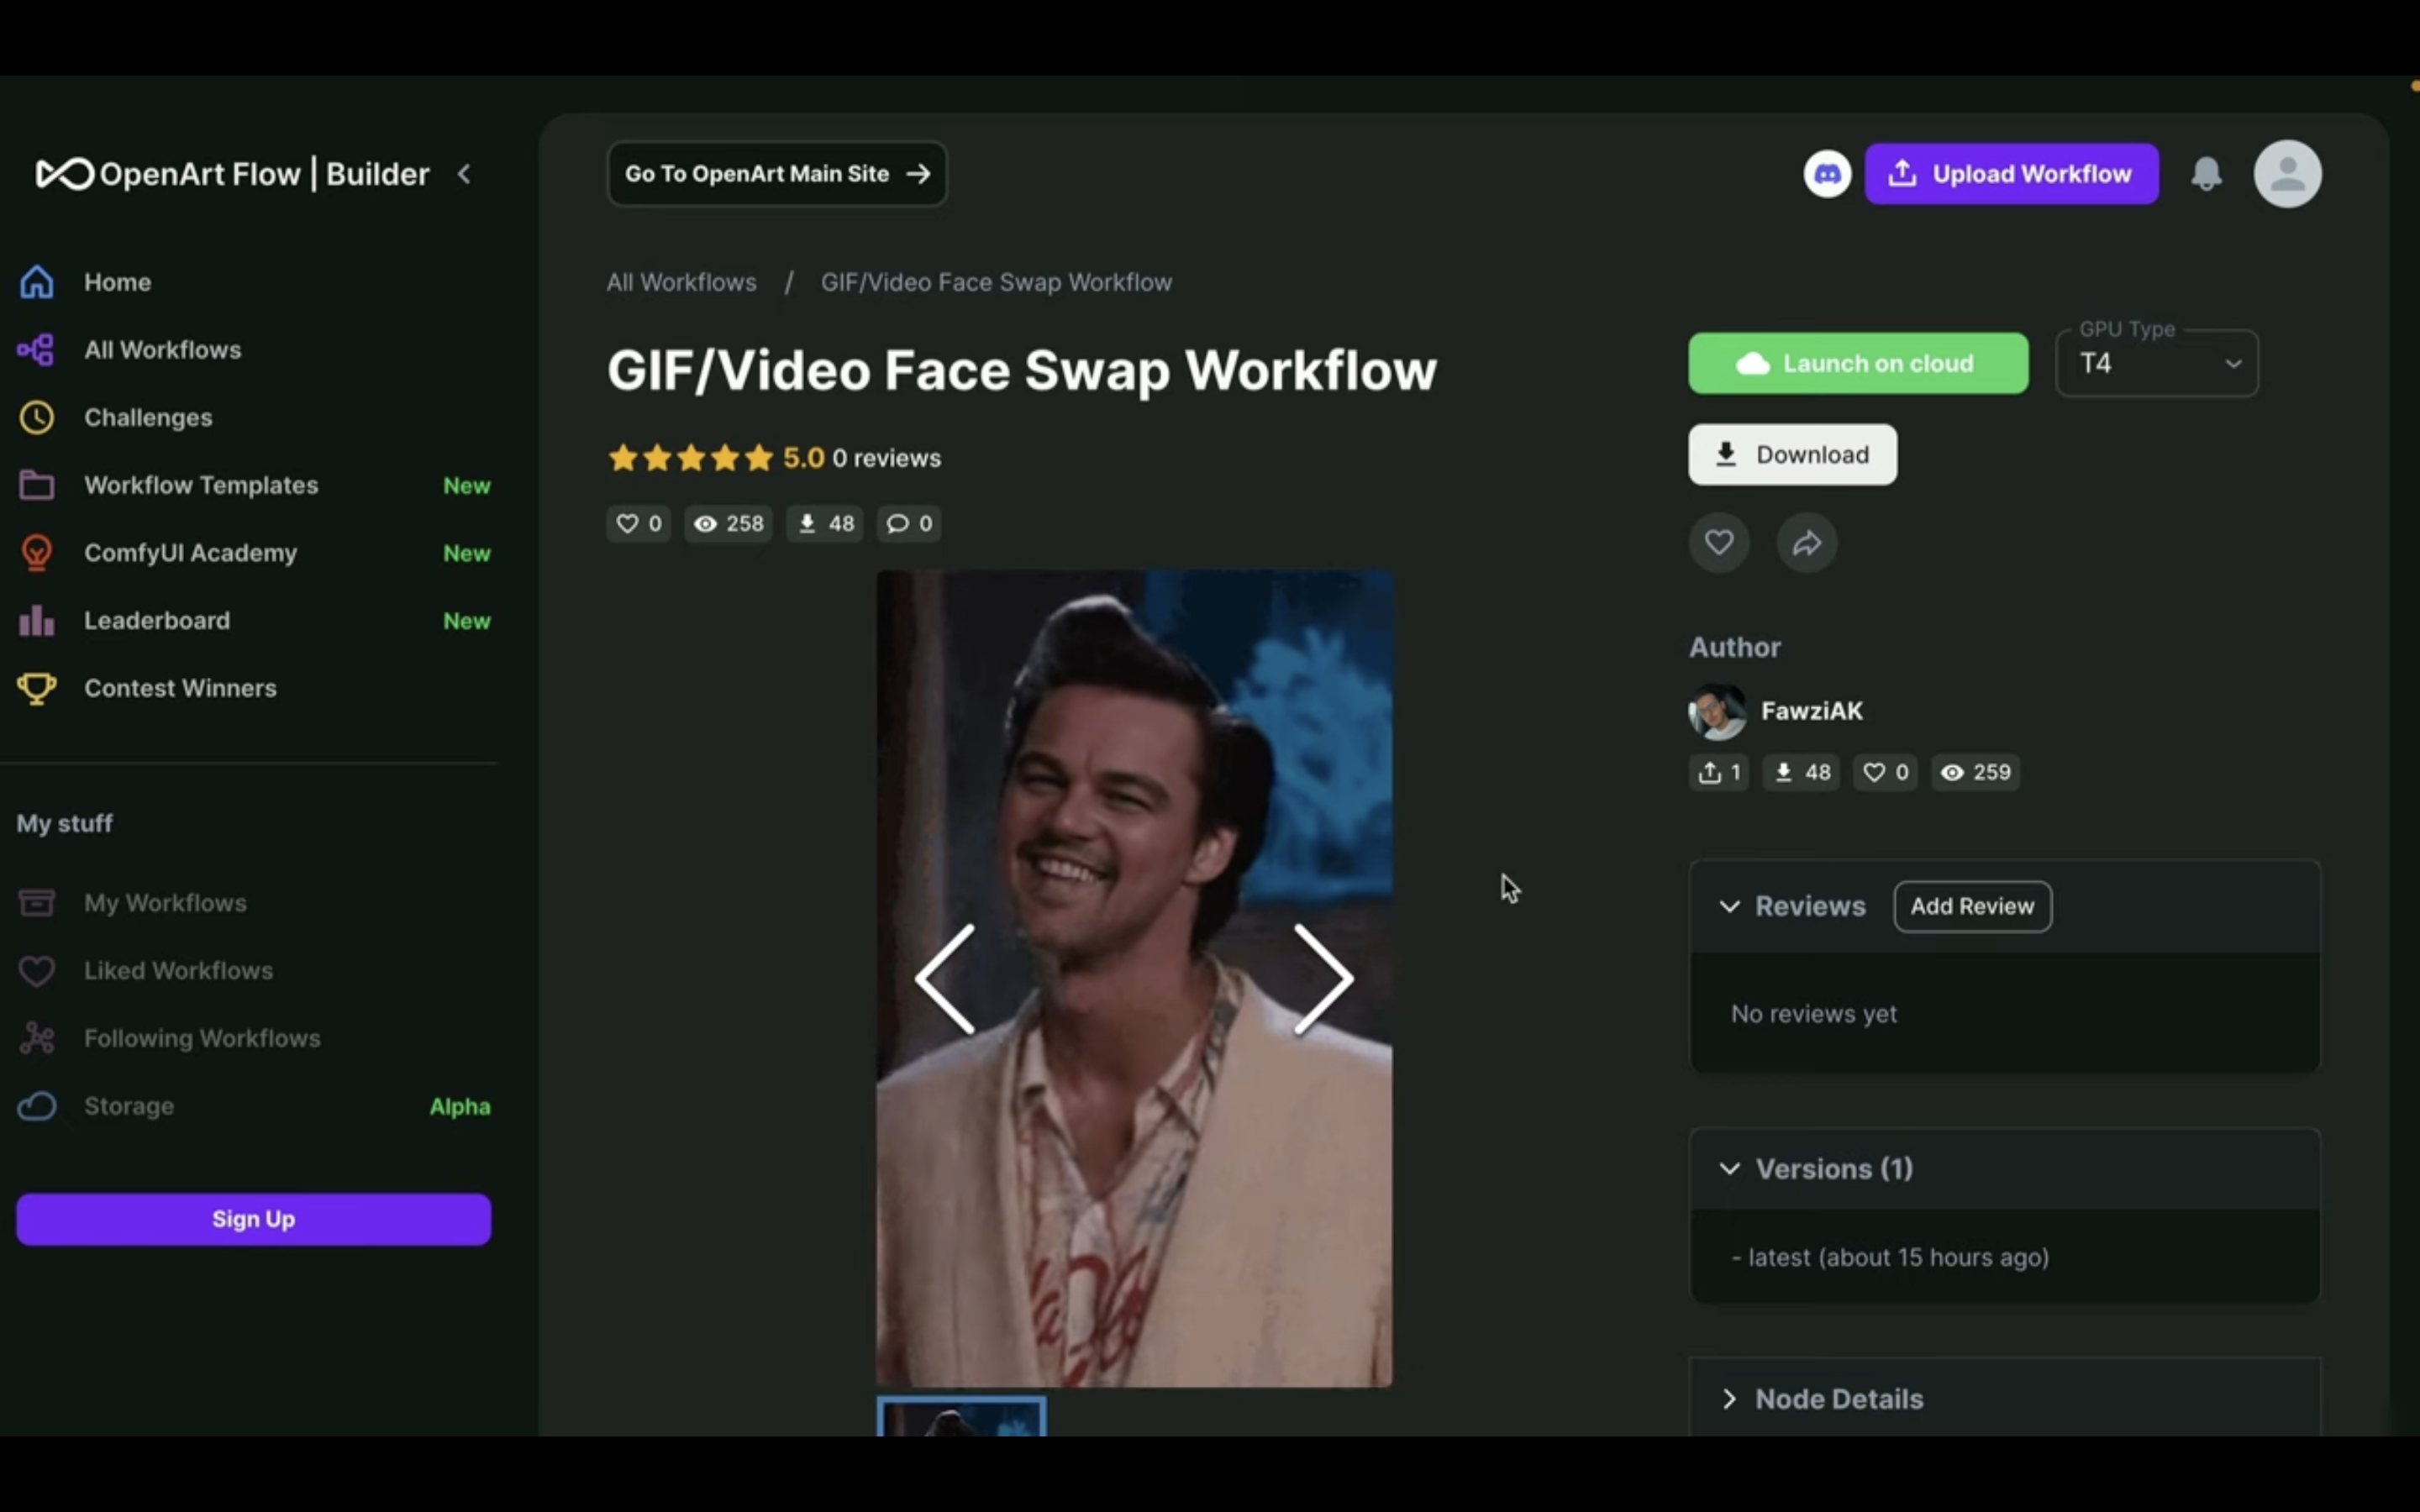
この解説では、Google ColabでComfyUIを動作させていきます。
なお、OpenArtとGoogle Colabへのリンク及びComfyUIやGoogle Colabに関する解説記事のリンクを以下に貼っておきます。
Google Colabのサイトにアクセス
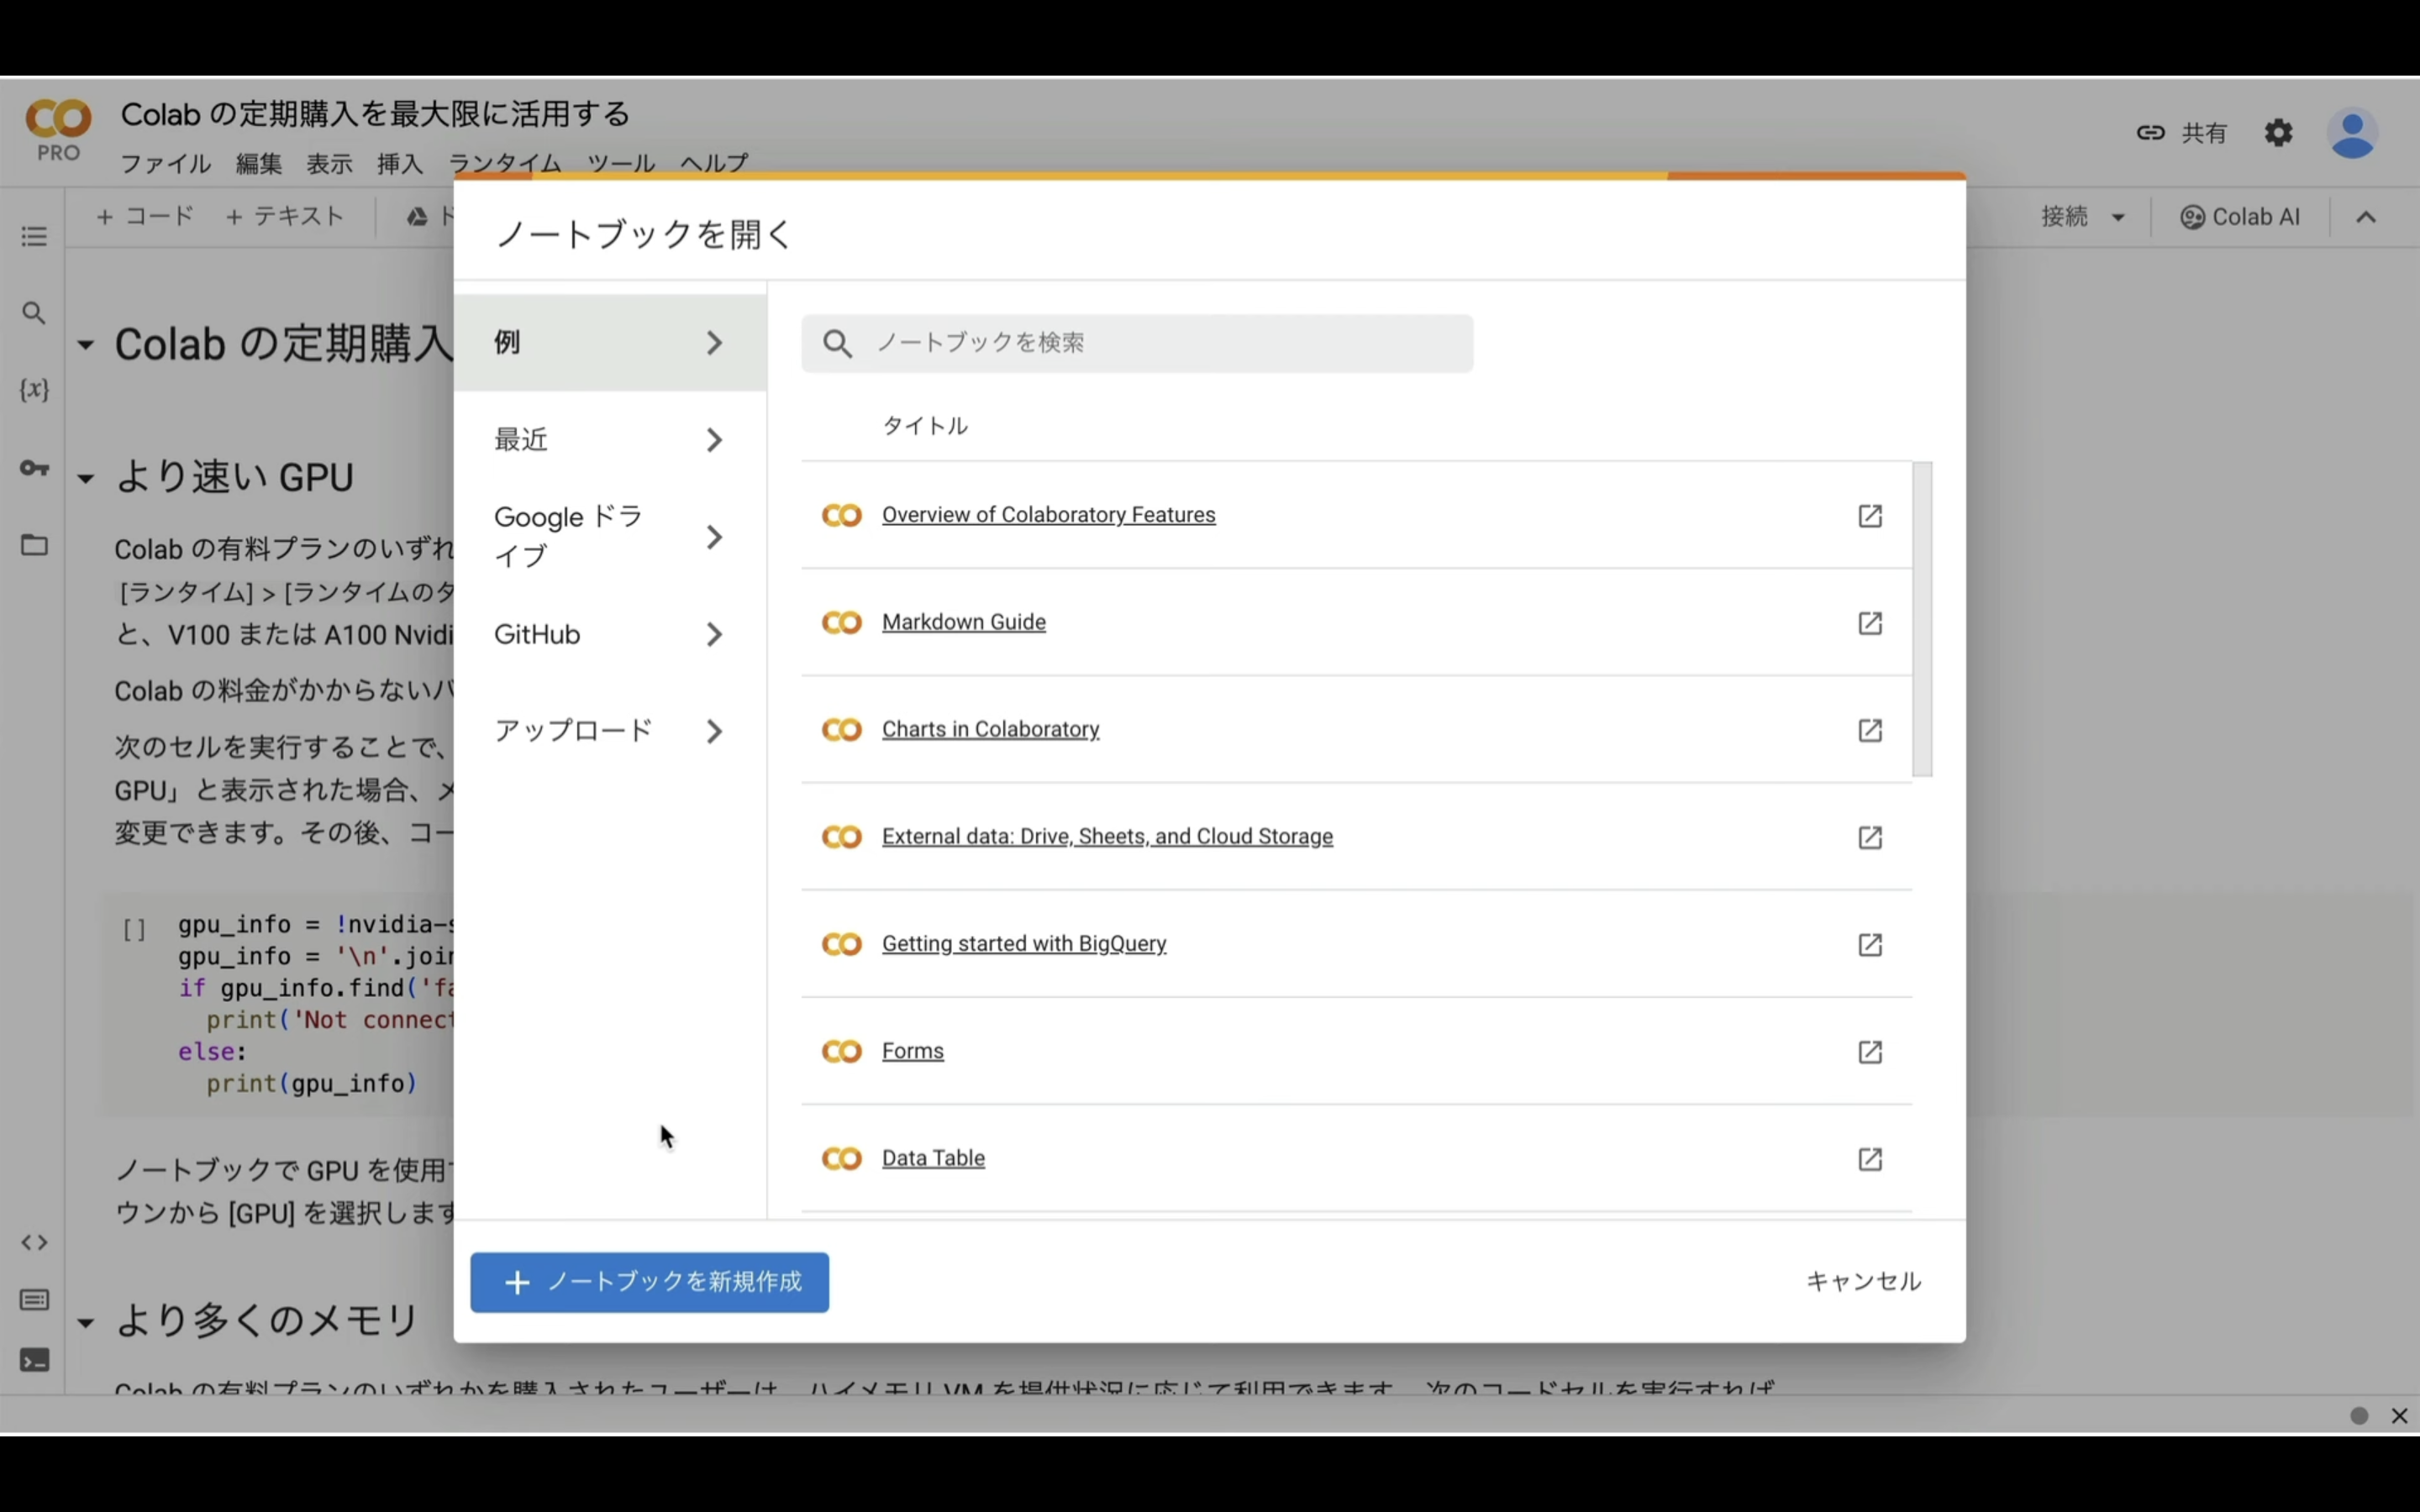
ここからの流れは下記に詳細リンクを貼っておきますので、そちらからご参照ください。
これで、Google Colabでコードを実行するための準備が整いました。
Google Colabでコードを実行
下記に貼ってあるテキストをコピーします。
!apt -y install -qq aria2
!pip install -q torch==2.0.1+cu118 torchvision==0.15.2+cu118 torchaudio==2.0.2+cu118 torchtext==0.15.2 torchdata==0.6.1 --extra-index-url https://download.pytorch.org/whl/cu118 -U
!pip install onnxruntime-gpu

%cd /content
!git clone https://github.com/comfyanonymous/ComfyUI

%cd /content/ComfyUI
!pip install -r requirements.txt

# ComfyUI Managerのインストール
%cd /content/ComfyUI/custom_nodes
!git clone https://github.com/ltdrdata/ComfyUI-Manager.git
!git clone https://github.com/Kosinkadink/ComfyUI-VideoHelperSuite.git


# ---------------- comfyui-reactor-nodeの設定開始 ---------------------
%cd /content/ComfyUI/custom_nodes

!git clone https://github.com/Gourieff/comfyui-reactor-node.git

%cd comfyui-reactor-node
!pip install -r requirements.txt
!python install.py

%cd /content/ComfyUI/custom_nodes
# ---------------- comfyui-reactor-nodeの設定終了 ---------------------

!wget https://github.com/cloudflare/cloudflared/releases/latest/download/cloudflared-linux-amd64.deb
!dpkg -i cloudflared-linux-amd64.deb

import subprocess
import threading
import time
import socket

def iframe_thread(port):
    while True:
        time.sleep(0.5)
        sock = socket.socket(socket.AF_INET, socket.SOCK_STREAM)
        result = sock.connect_ex(('127.0.0.1', port))
        if result == 0:
            break
        sock.close()

    print("\nComfyUI finished loading, trying to launch cloudflared (if it gets stuck here cloudflared is having issues)\n")
    p = subprocess.Popen(["cloudflared", "tunnel", "--url", f"http://127.0.0.1:{port}"], stdout=subprocess.PIPE, stderr=subprocess.PIPE)
    for line in p.stderr:
        l = line.decode()
        if "trycloudflare.com " in l:
            print("This is the URL to access ComfyUI:", l[l.find("http"):], end='')

%cd /content/ComfyUI

# スレッドの開始
threading.Thread(target=iframe_thread, daemon=True, args=(8188,)).start()

# ComfyUIの実行
!python main.py --dont-print-server
テキストをコピーしたら、Google Colabの画面に戻り、テキストボックスに先ほどコピーしたテキストを貼り付け、再生ボタンを押します。
これで貼り付けたテキストの内容が実行されます。
この処理には5分以上時間がかかると思います。
しばらく待っていると、このようなリンクが表示されます。
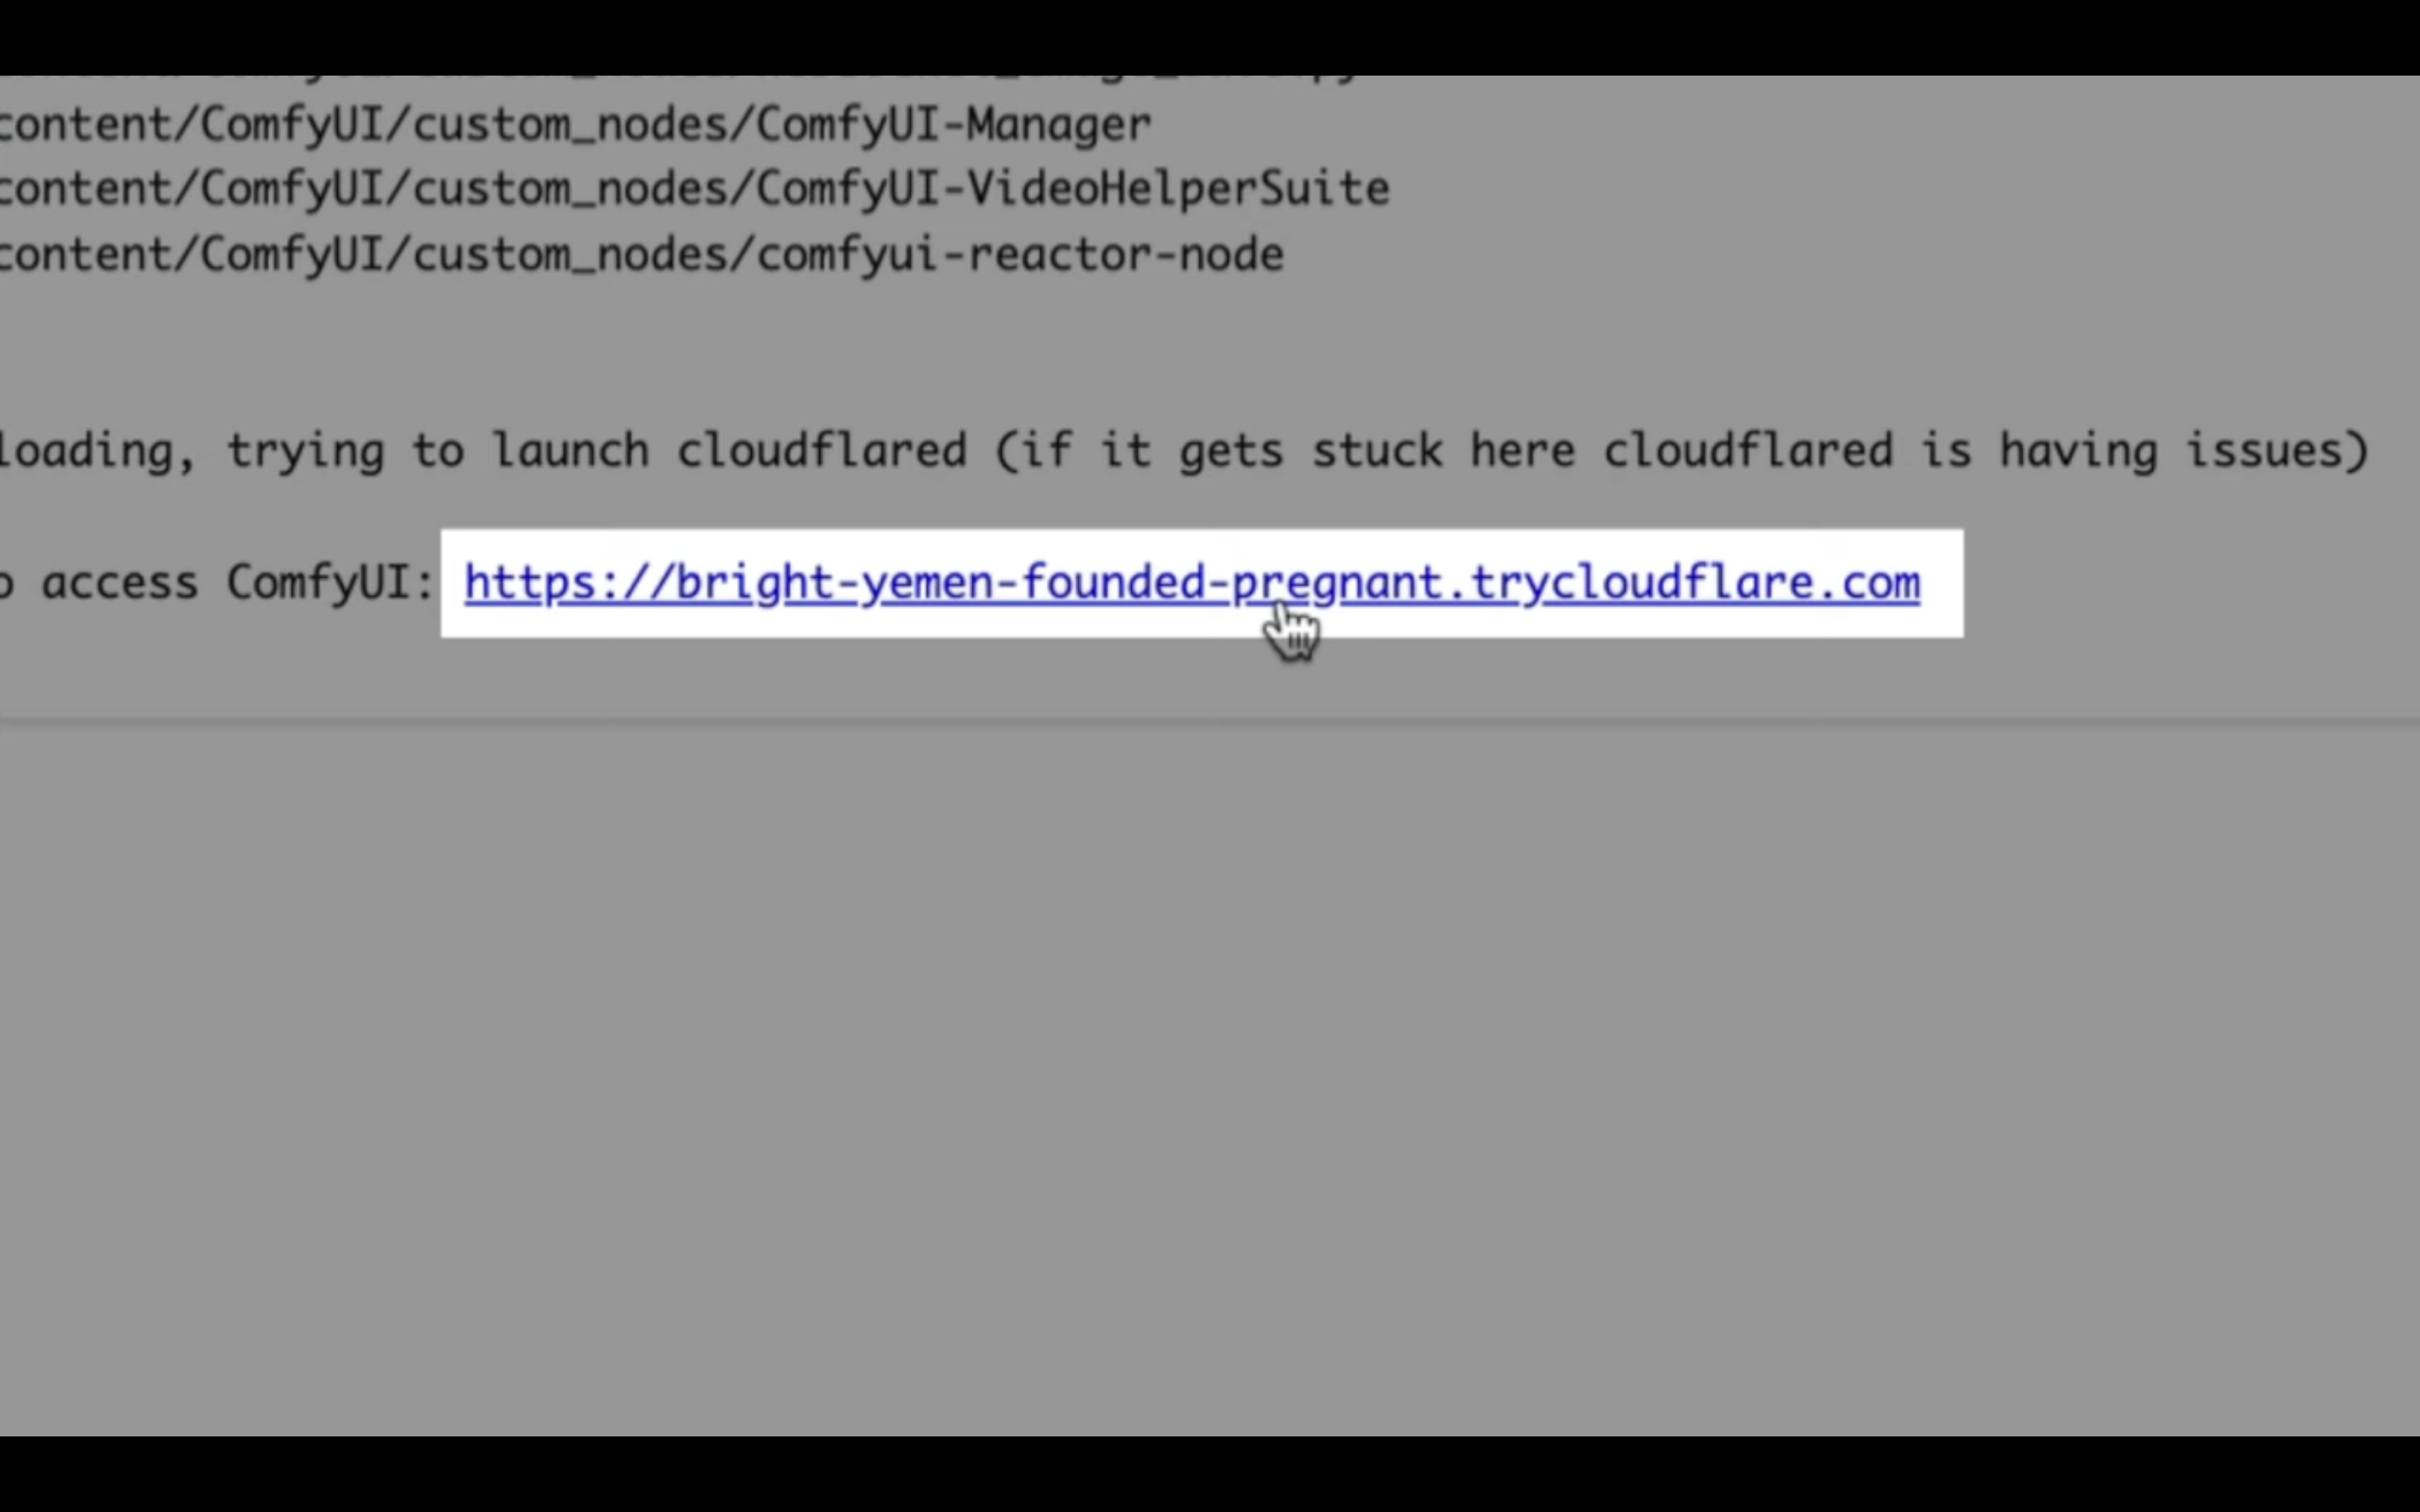
このリンクをクリックします。
そうするとComfyUIの画面が表示されます。
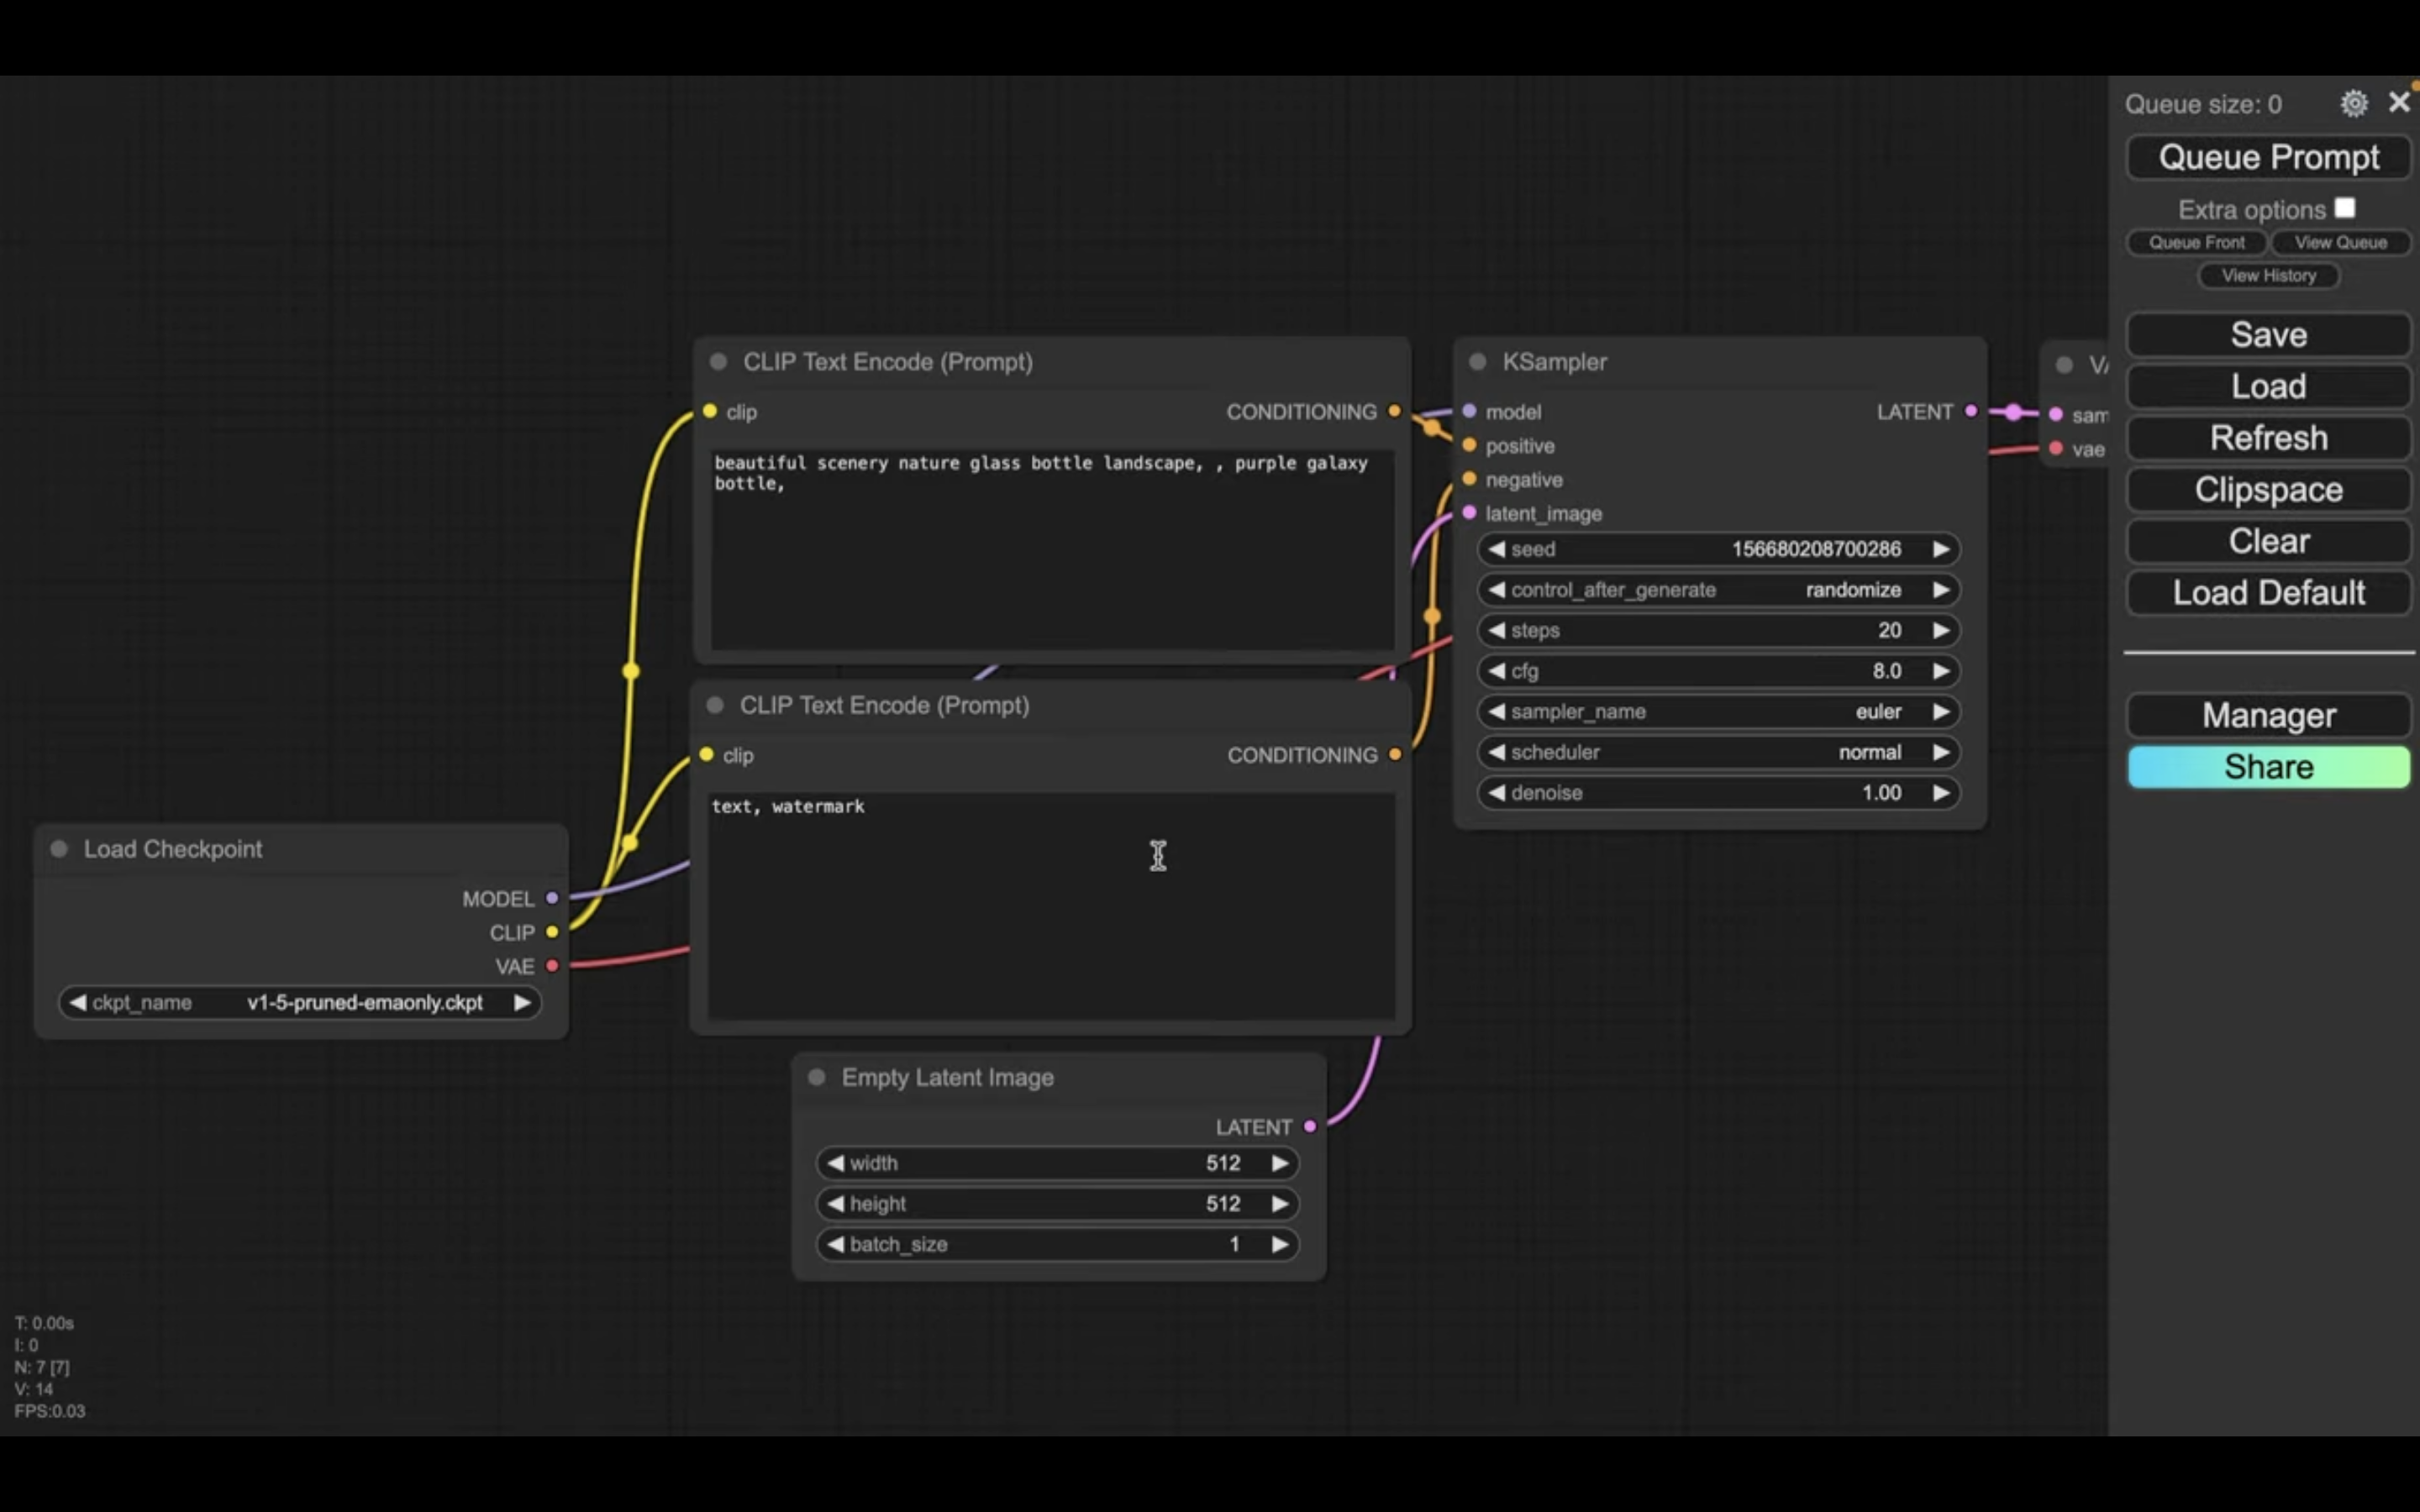
設定ファイルを読み込み
この解説では、あらかじめComfyUIの設定ファイルを用意していますので、そちらをご利用ください。
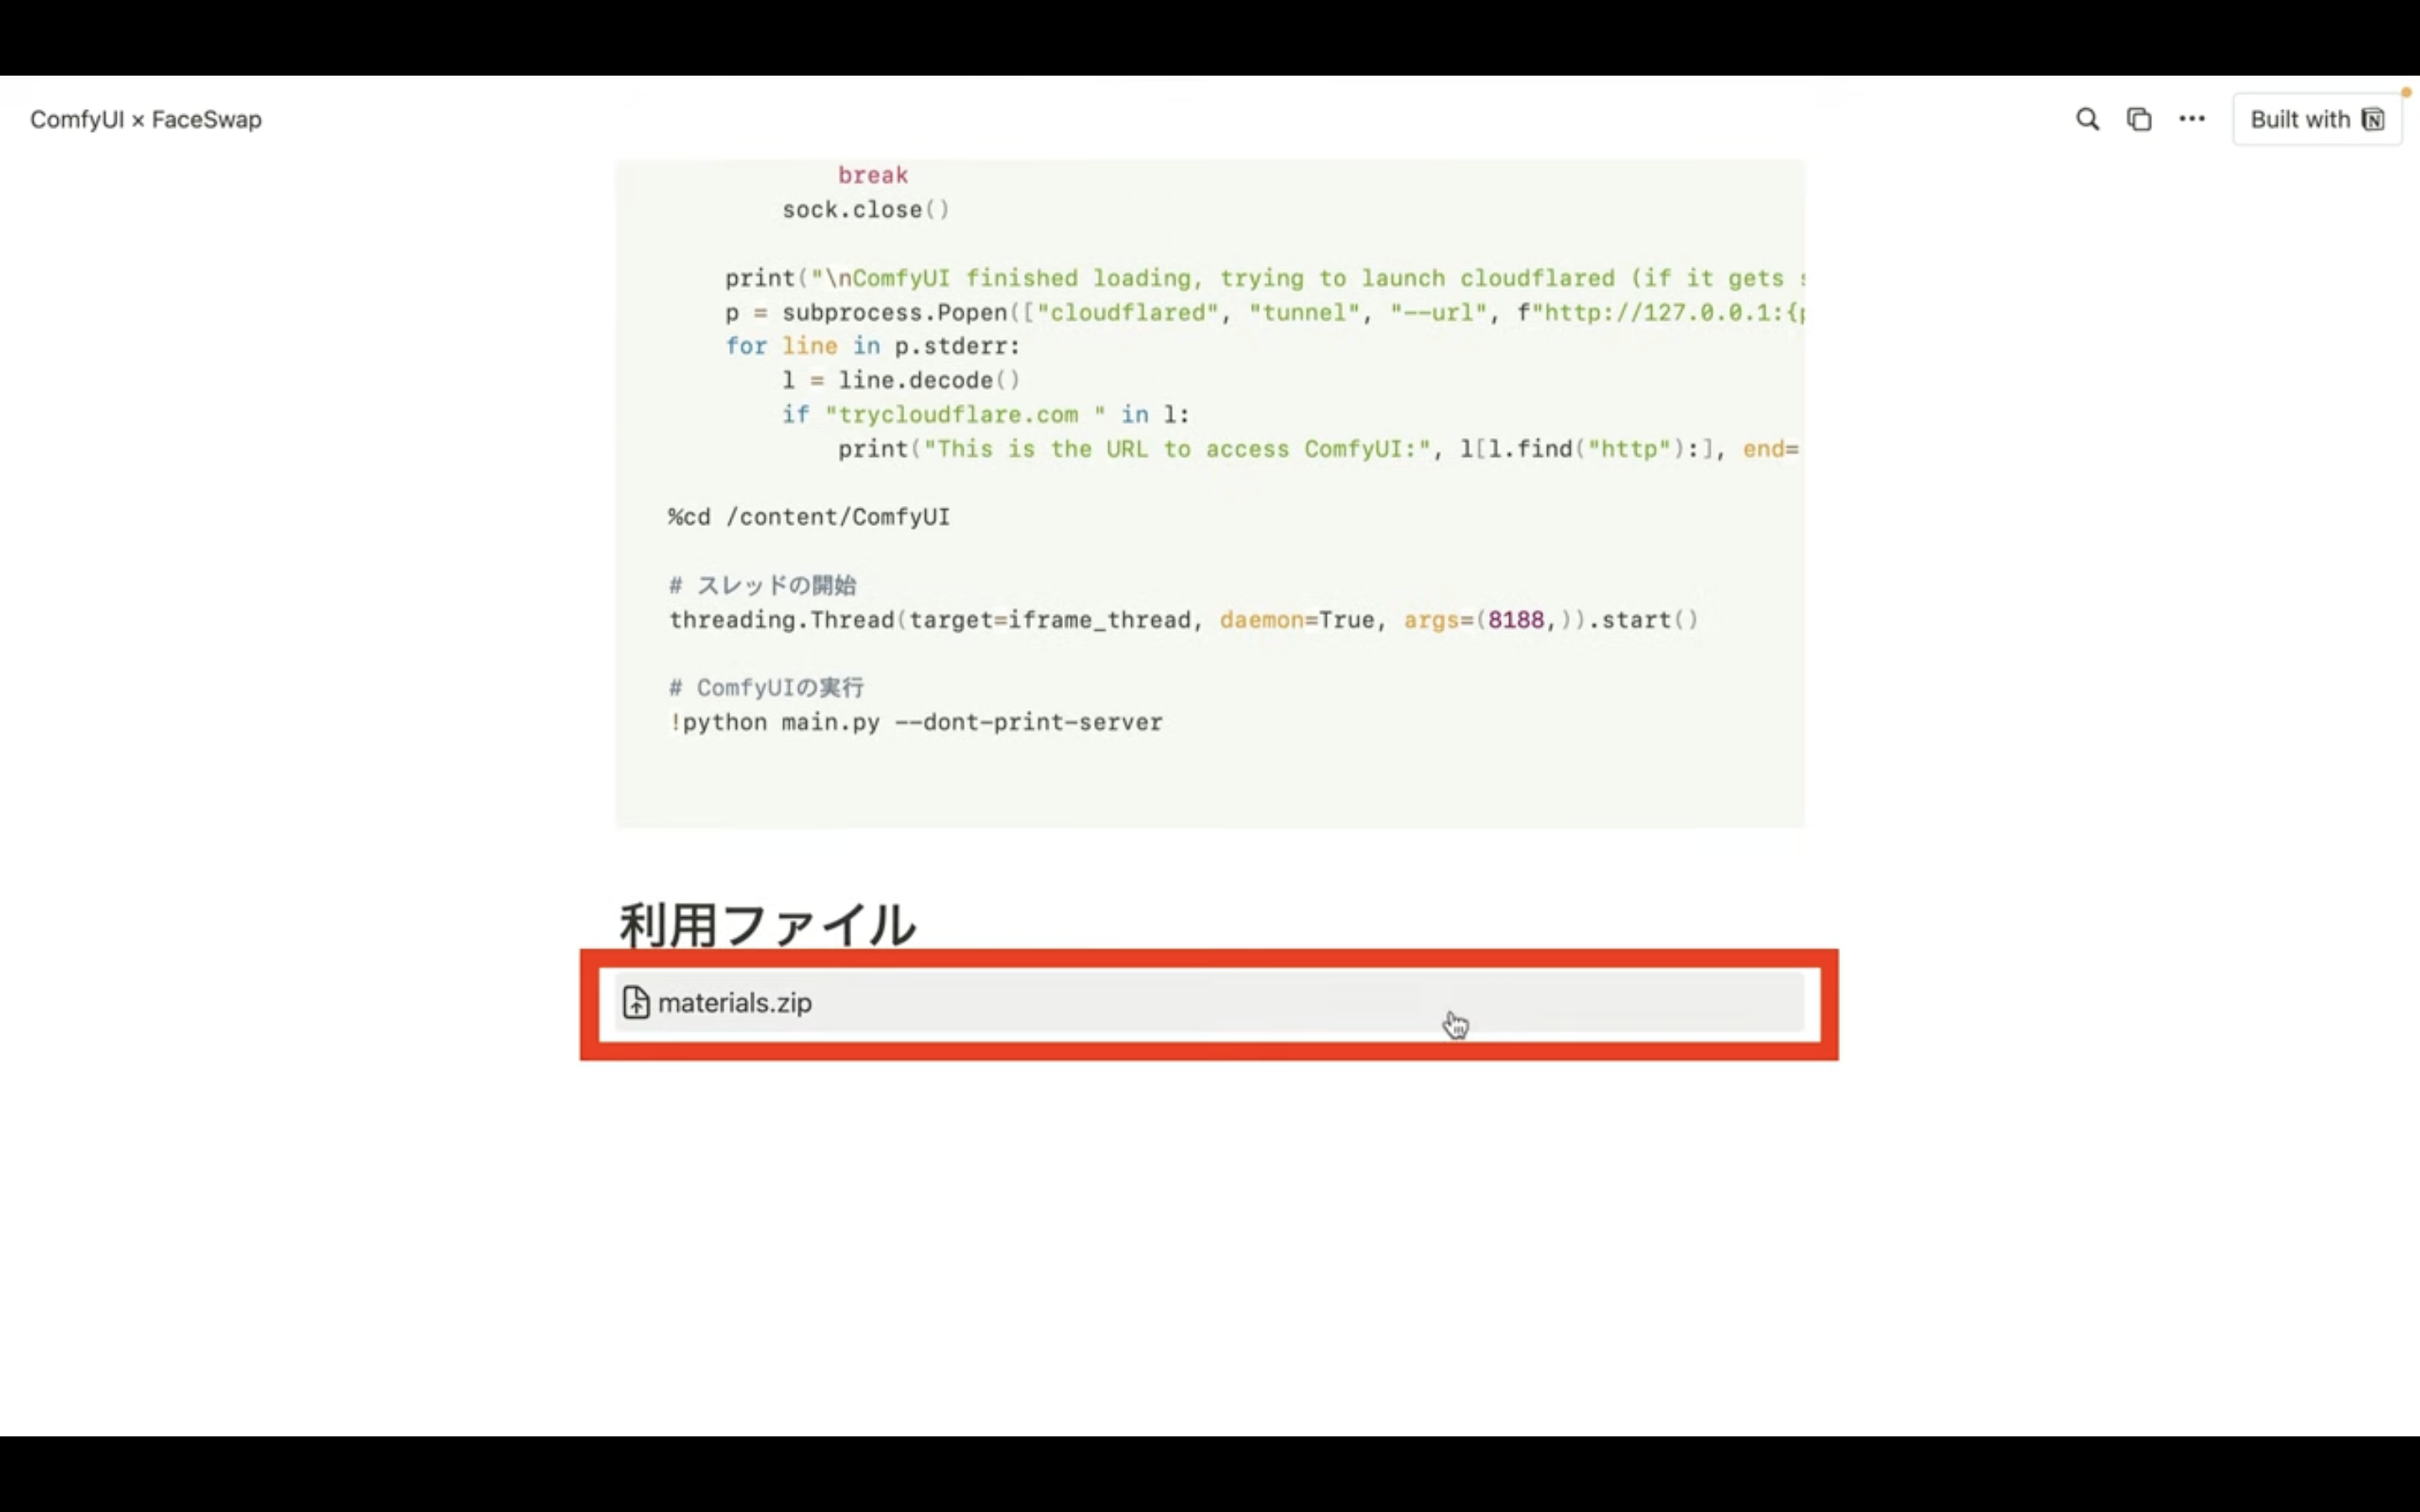
以下に貼ってあるページを表示します。
このページを表示したら、利用ファイルと書かれているタイトルの下にあるZIPファイルをクリックします。
そうするとZIPファイルがダウンロードされるので解凍します。
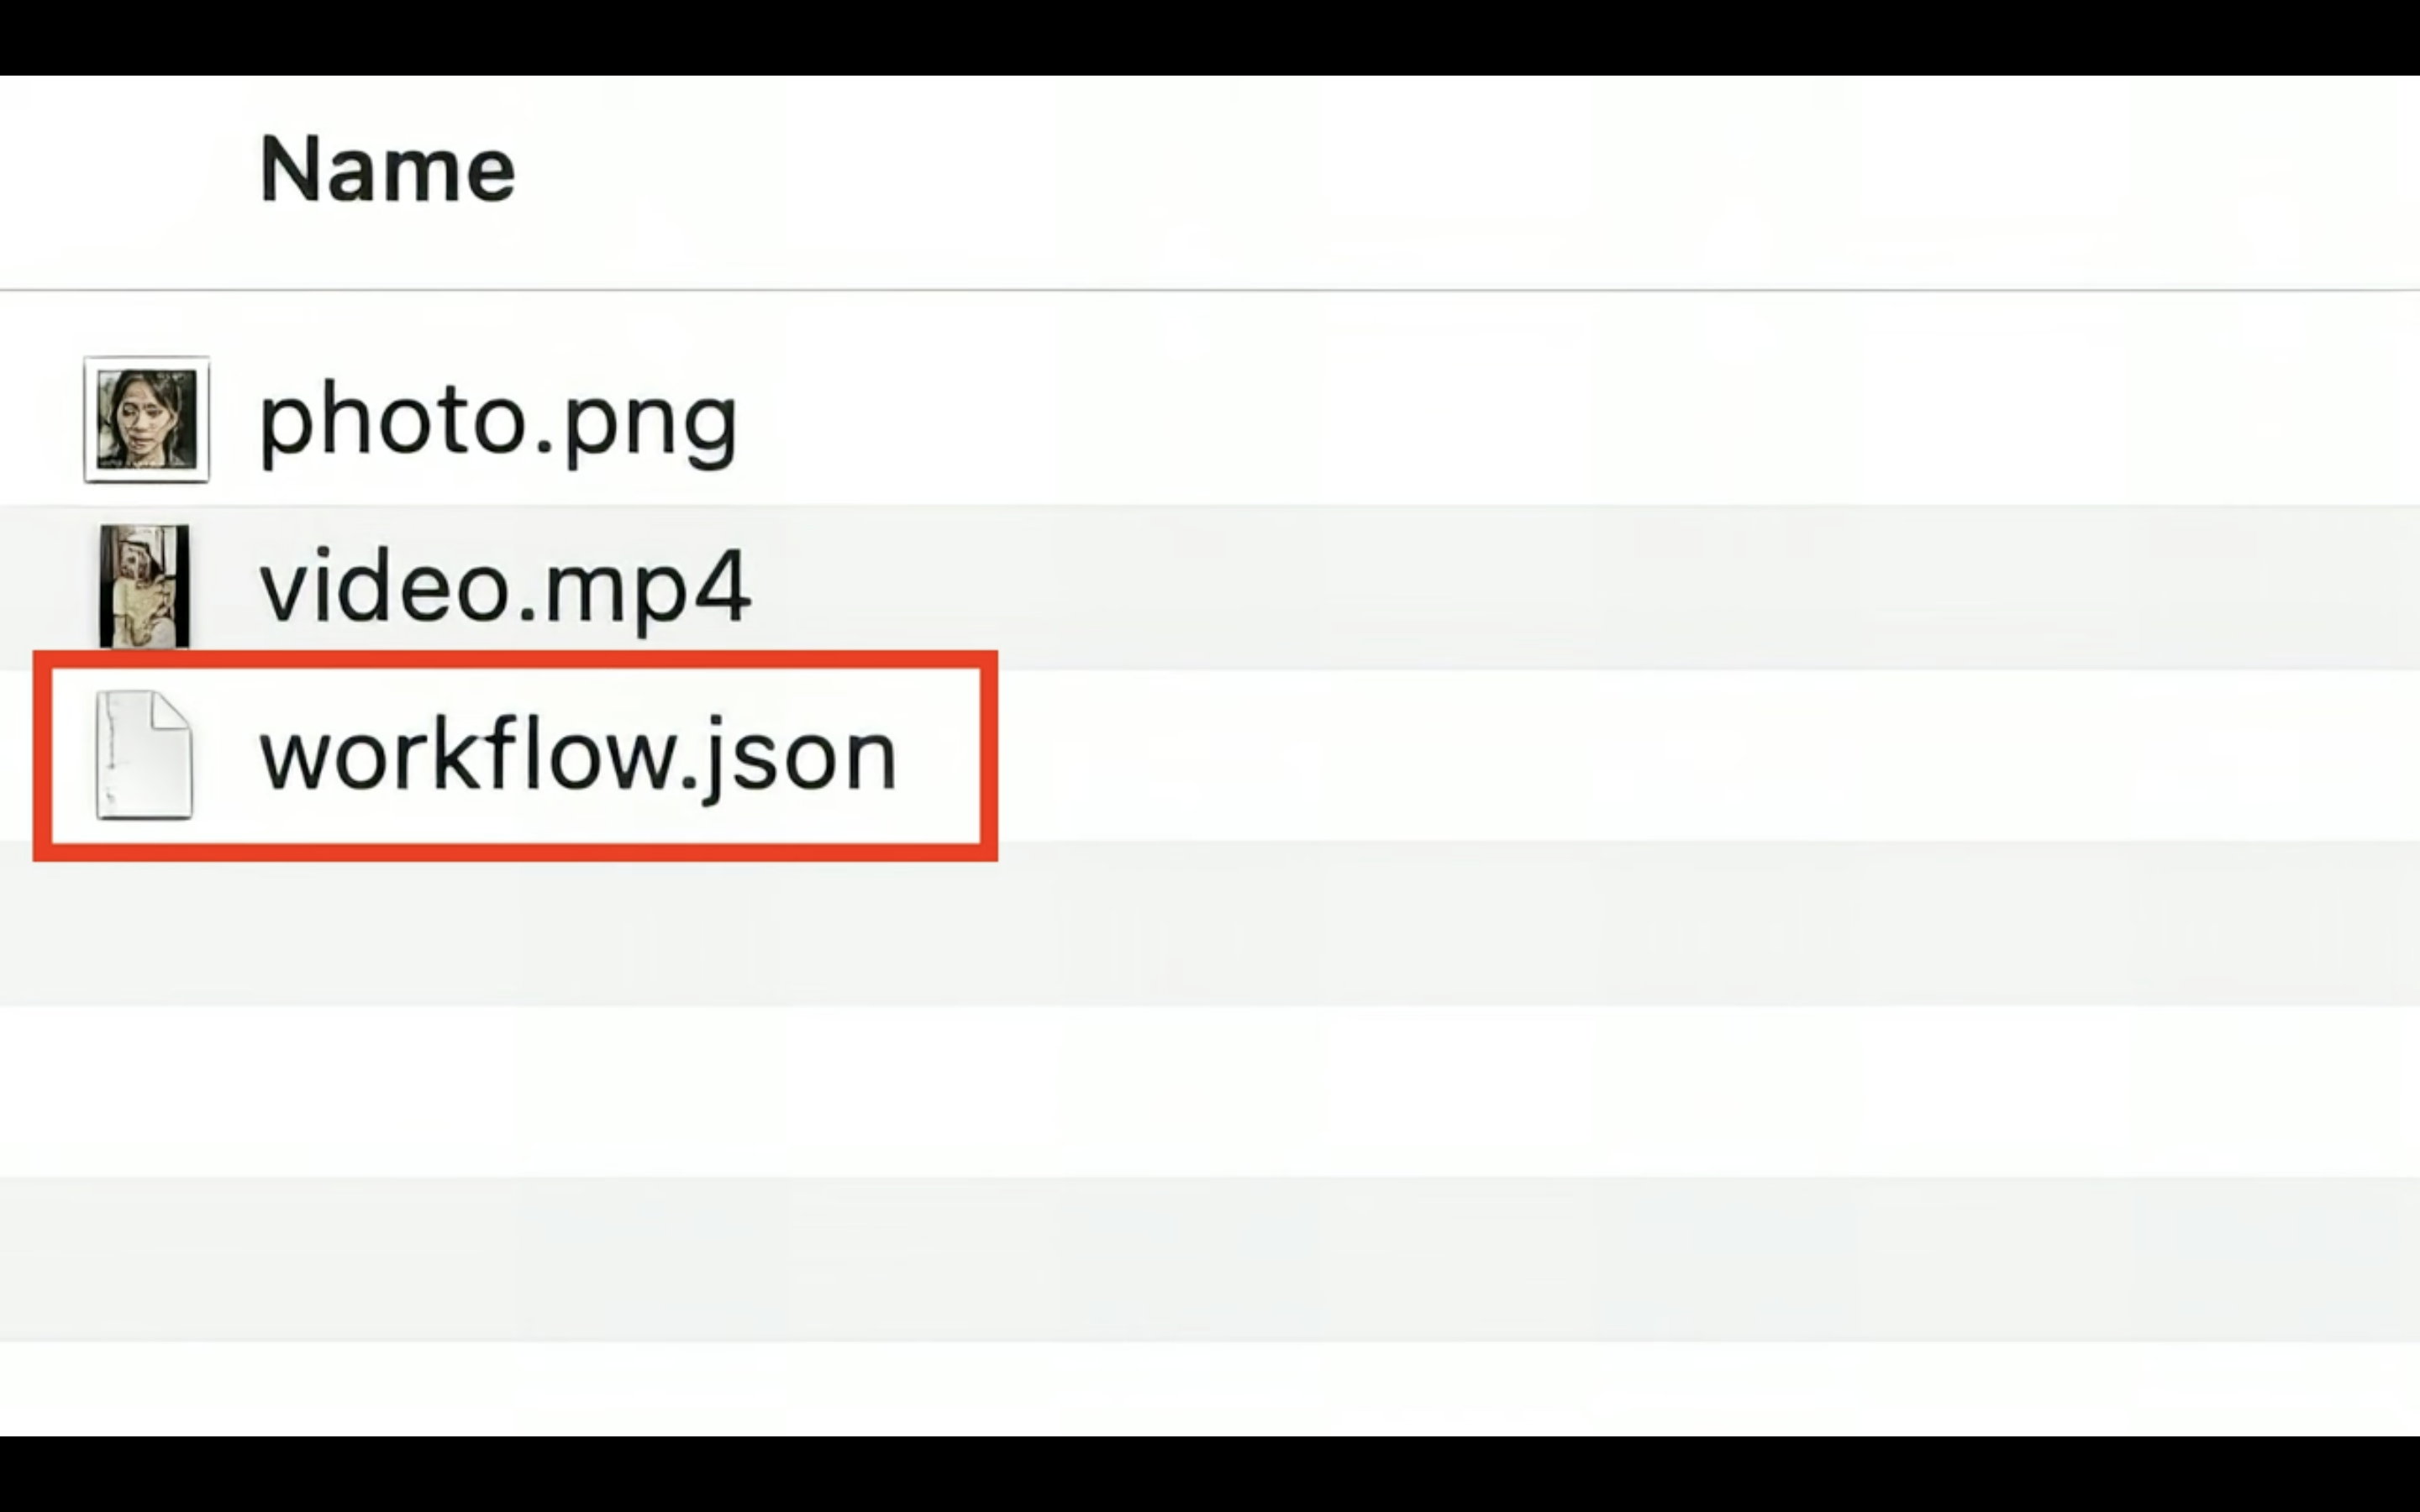
ダウンロードしたファイルを解凍したら、このようなファイルが表示されると思います。
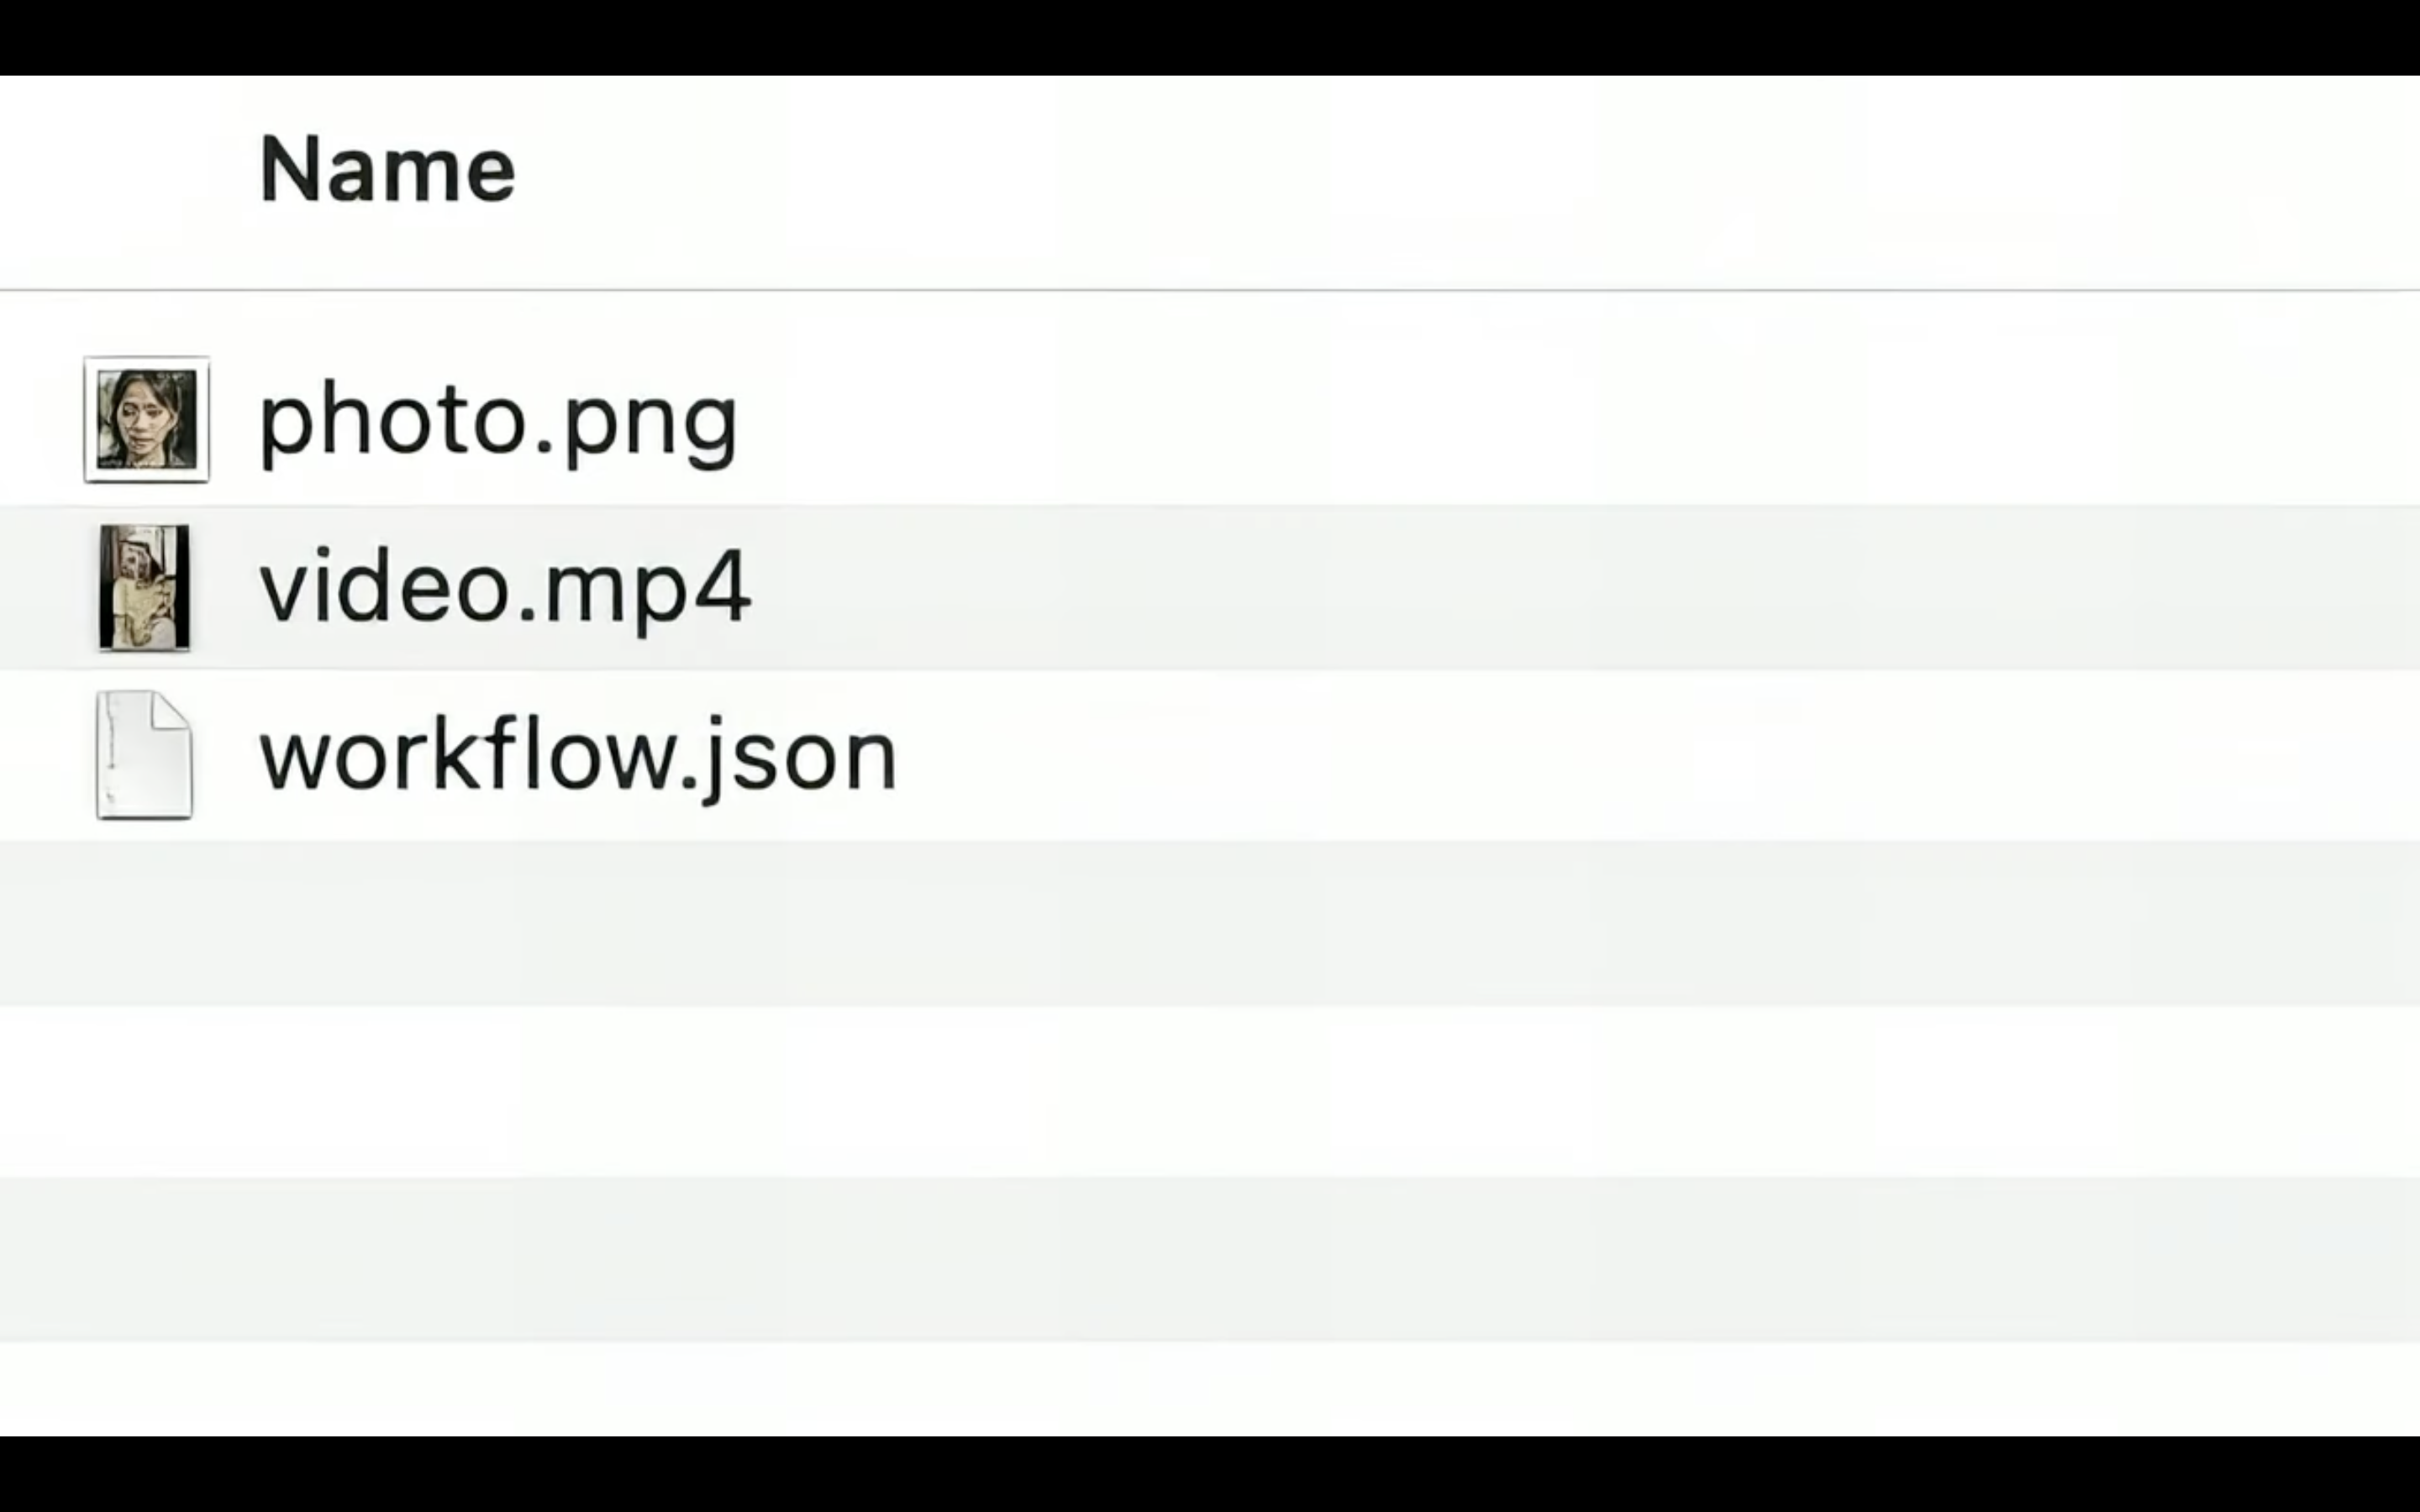
この中にあるworkflow.JSONと書かれているファイルをComfyUIの画面にドラッグ&ドロップします。
ファイルは何も表示されていない場所にドラッグ&ドロップするようにしてください。
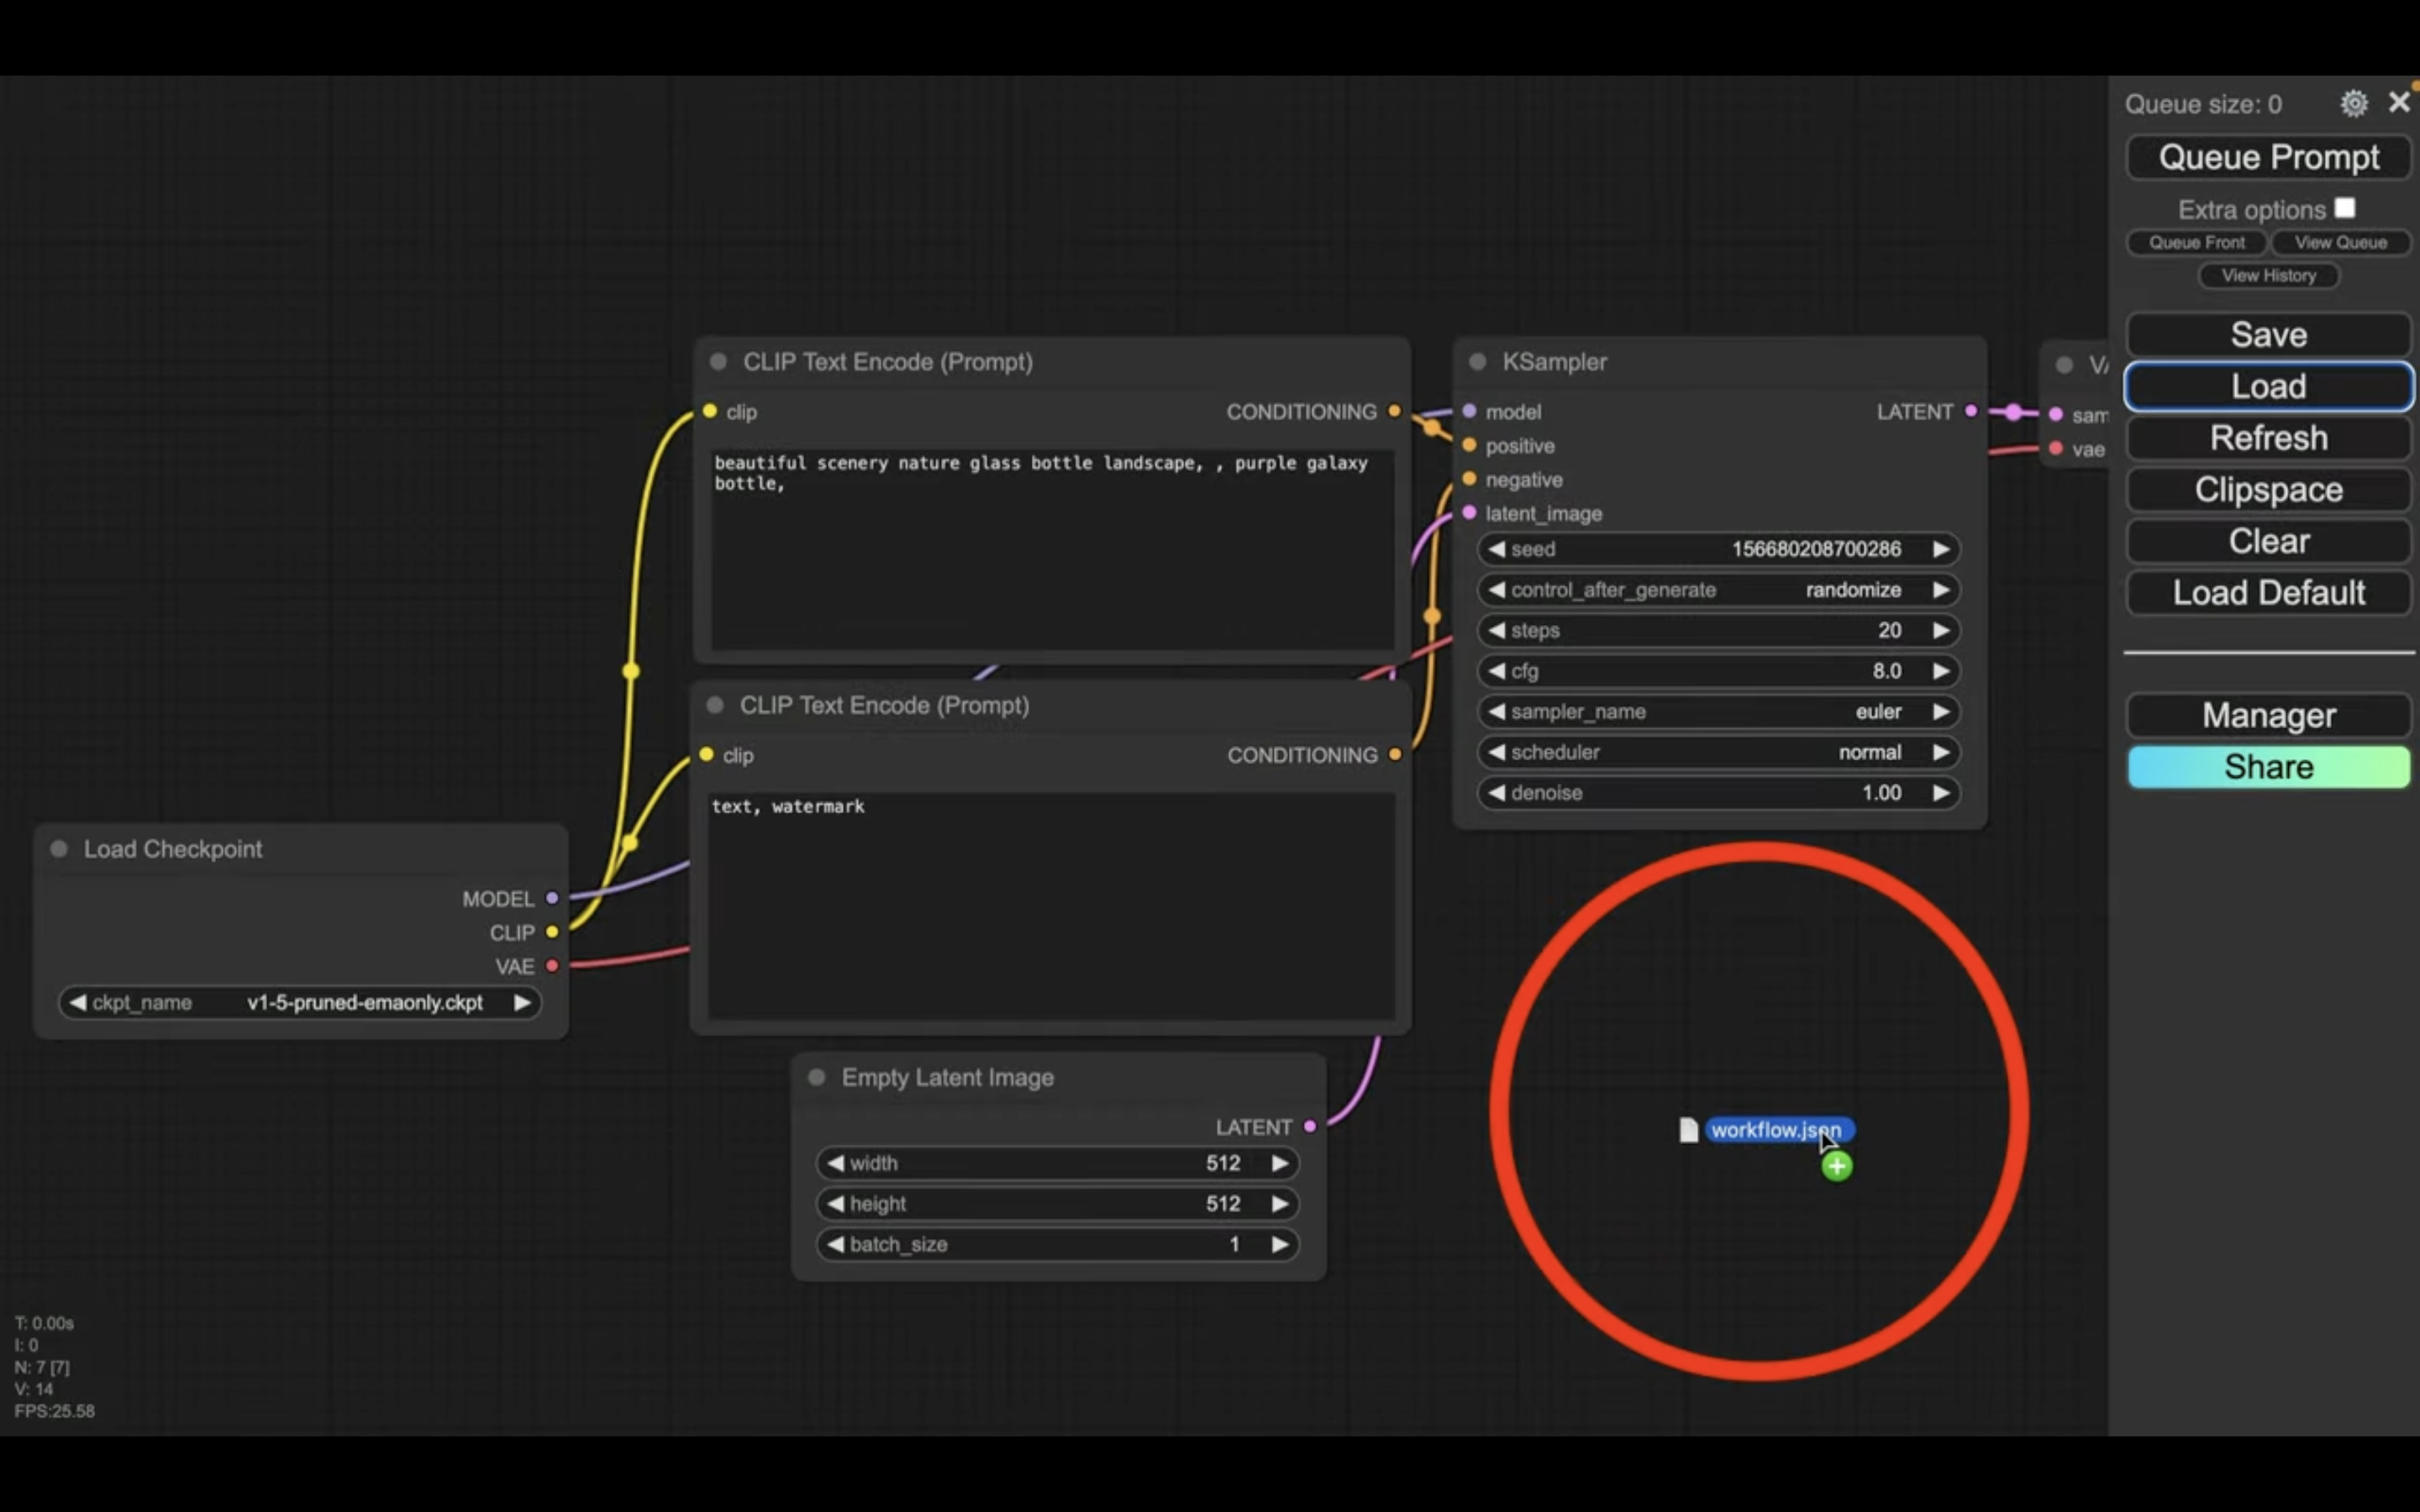
これでworkflow.JSONの設定ファイルが読み込まれます。
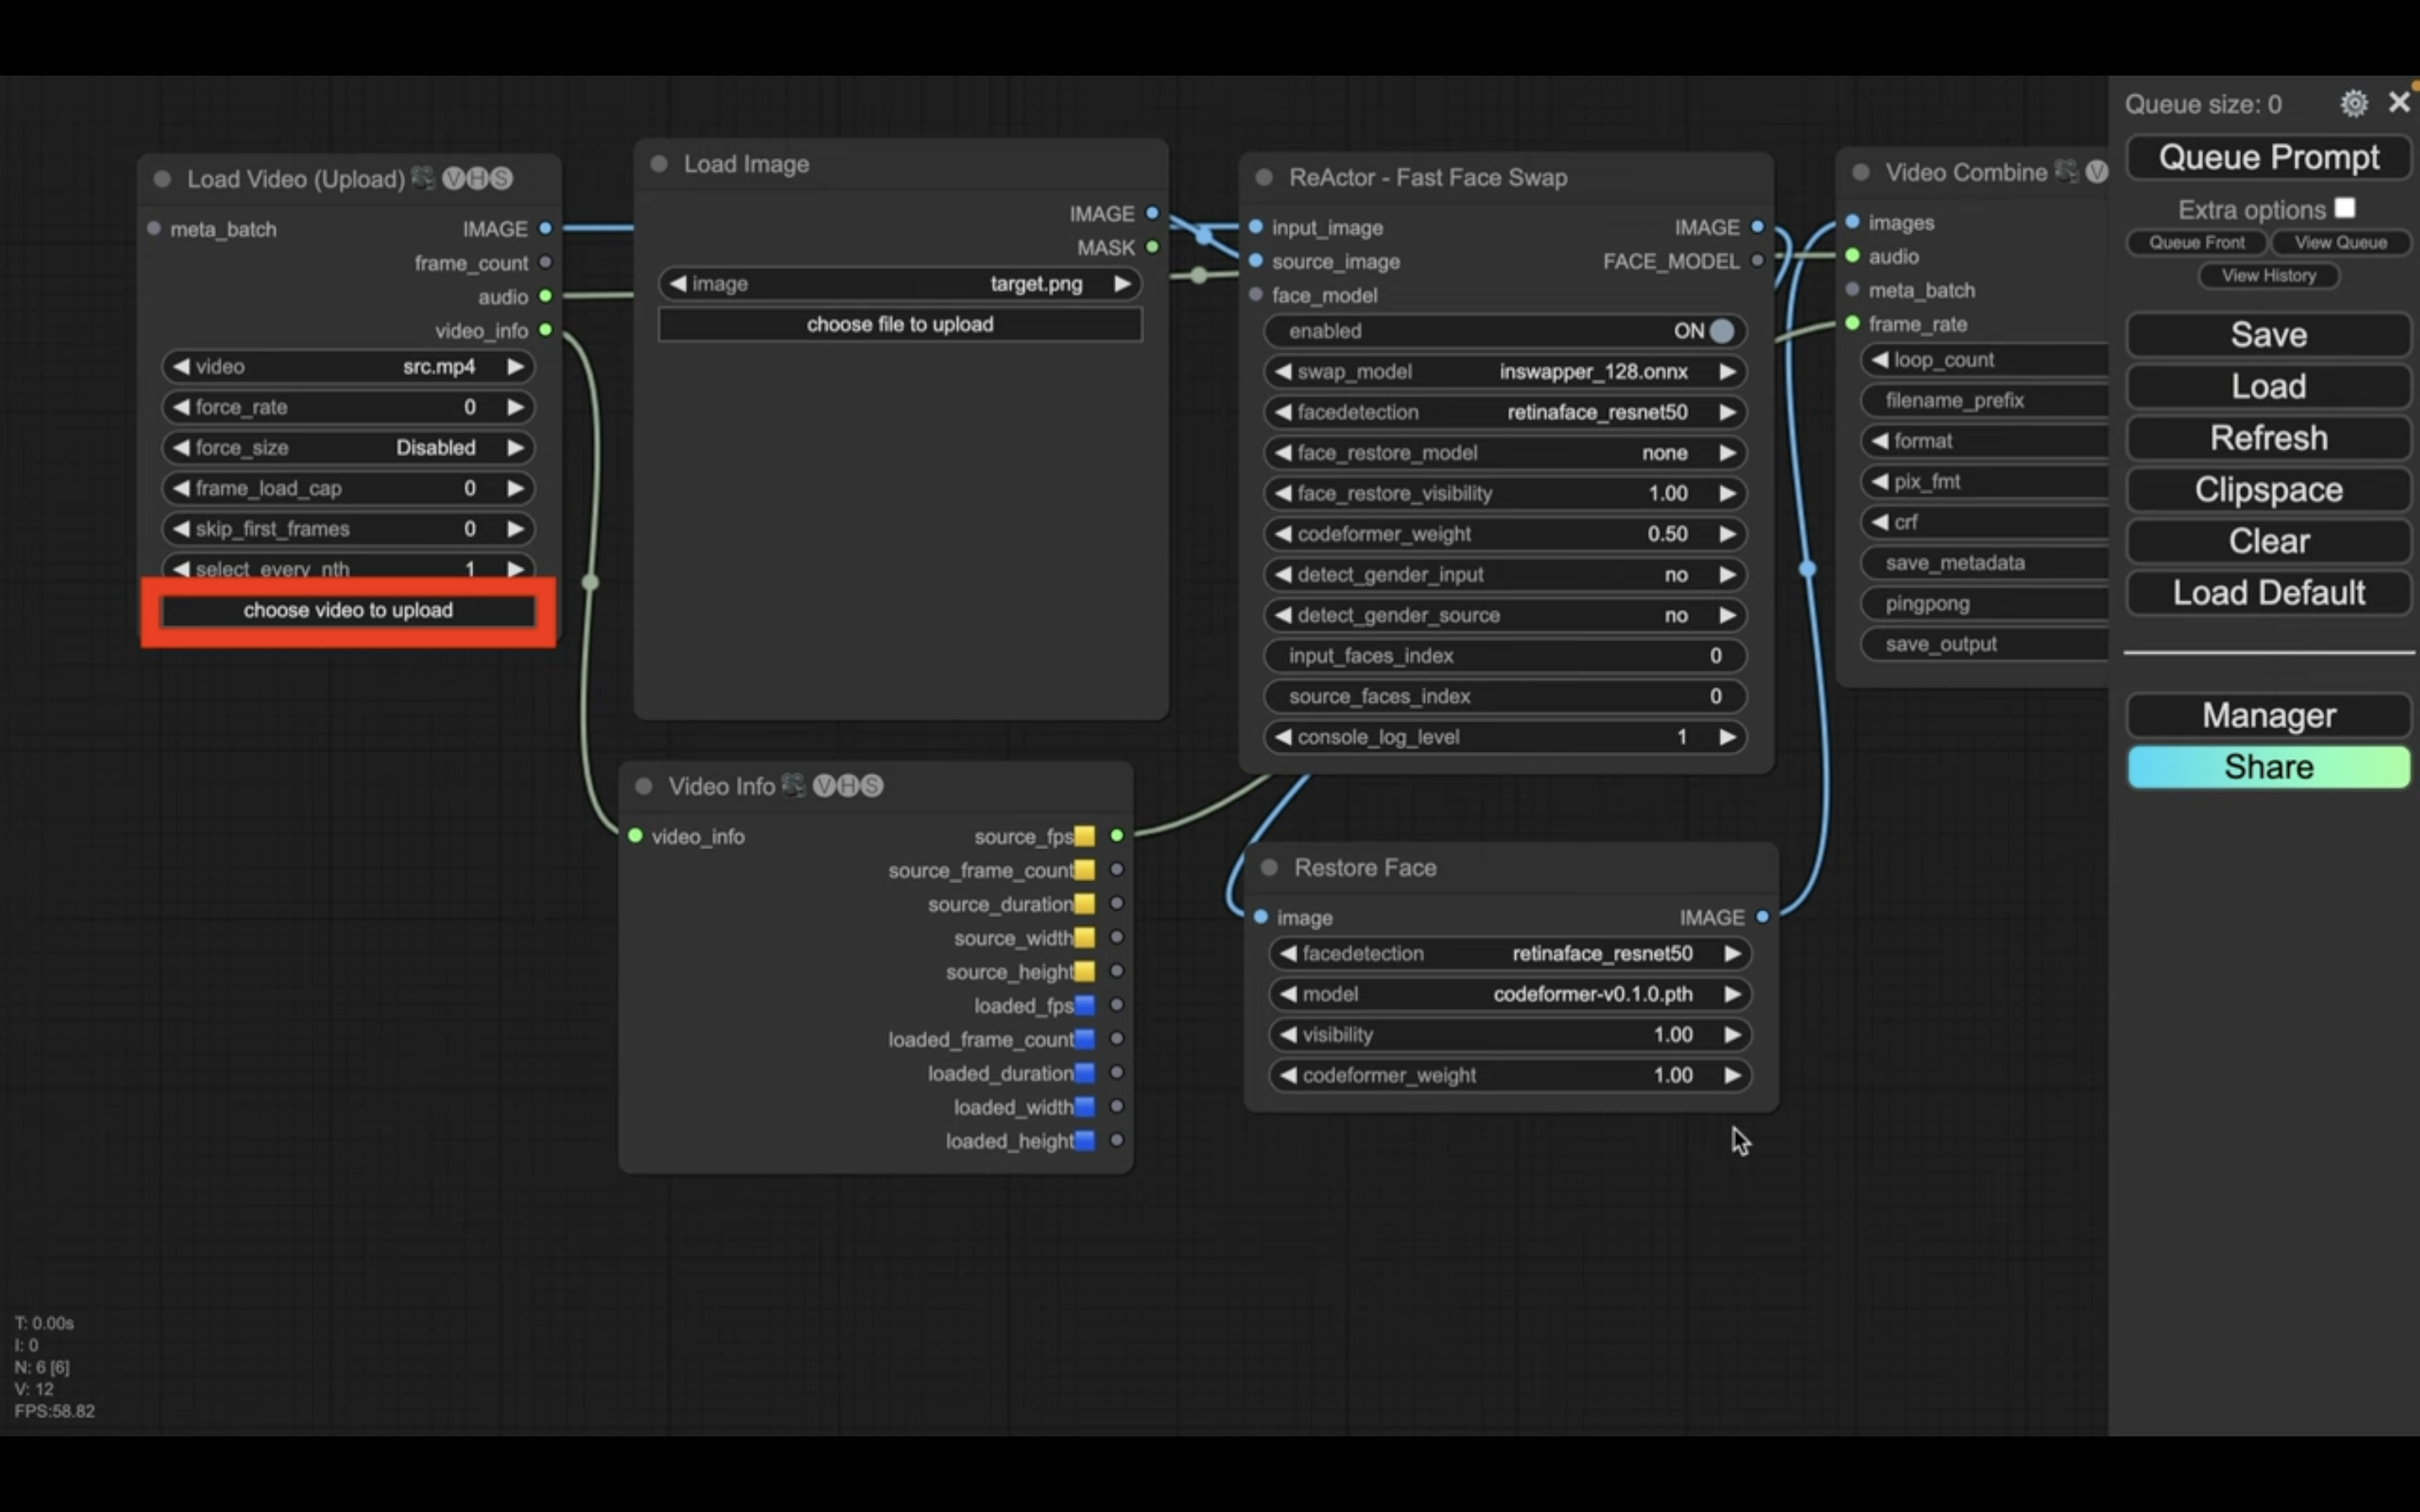
設定ファイルが読み込まれたら、動画ファイルをアップロードします
具体的には、ロードビデオというタイトルのブロックにあるアップロードボタンをクリックします。
ダイアログボックスが表示されるので、動画ファイルを選択します。
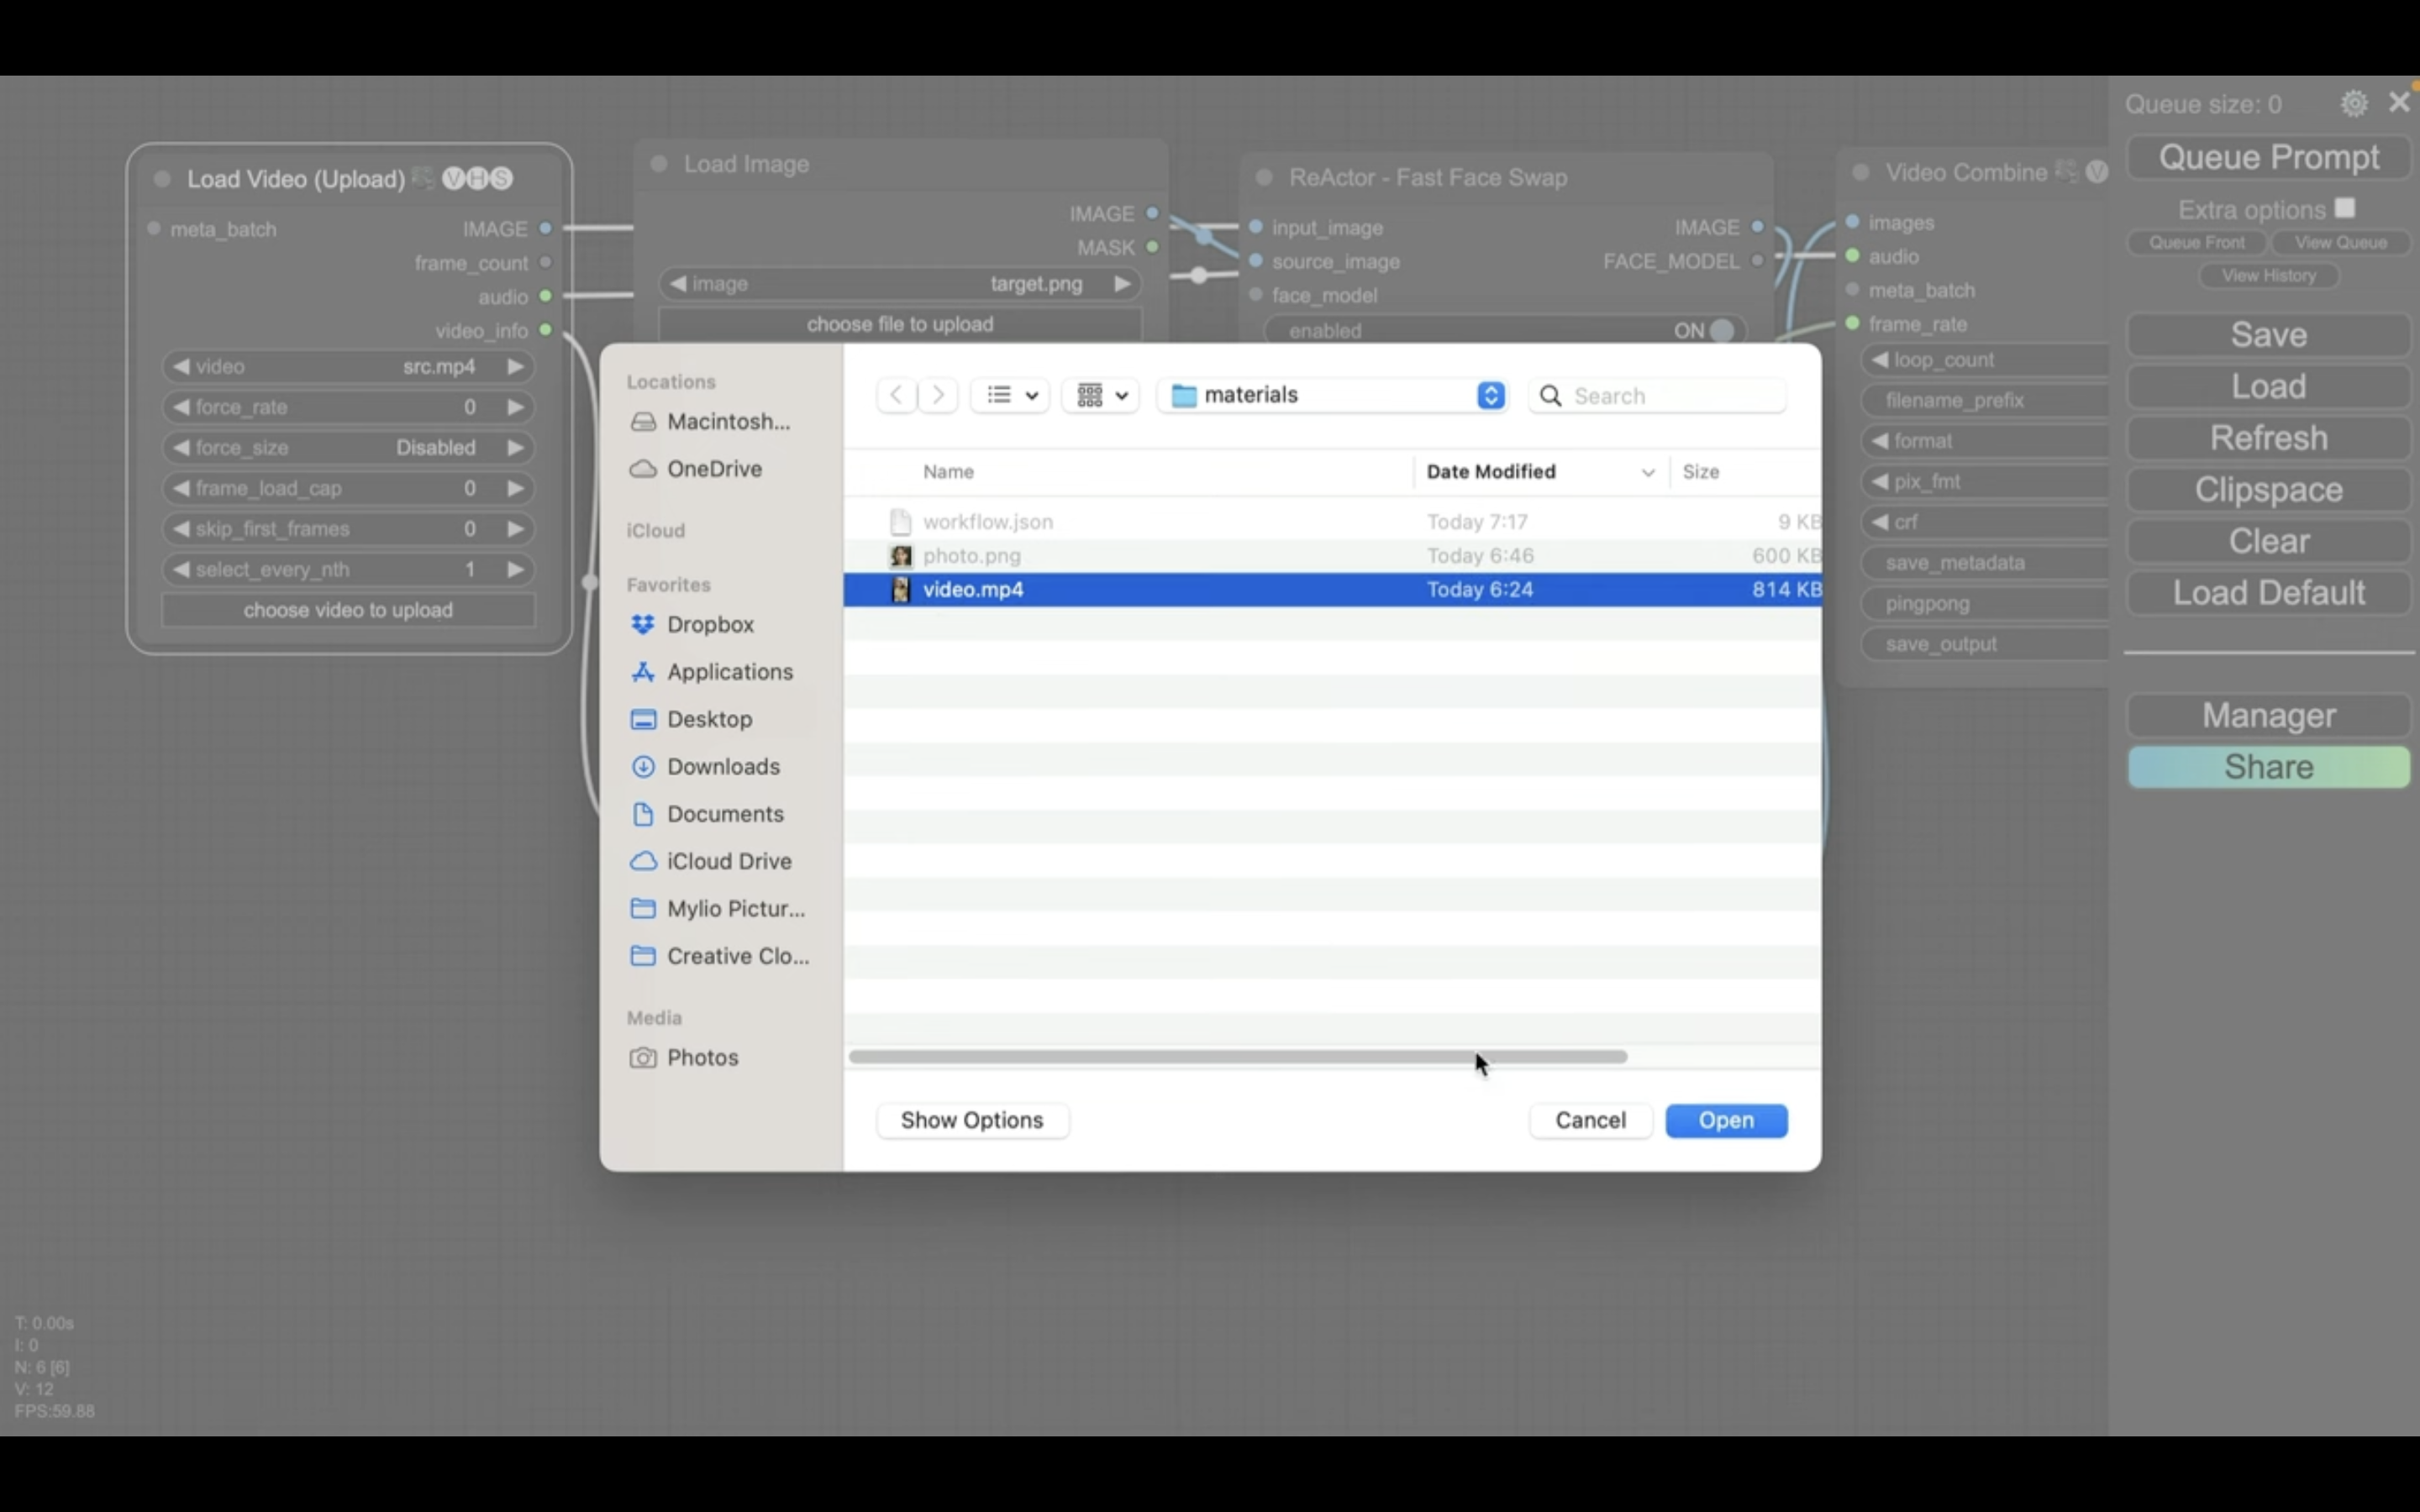
今回はこのような動画をアップロードしておきました。
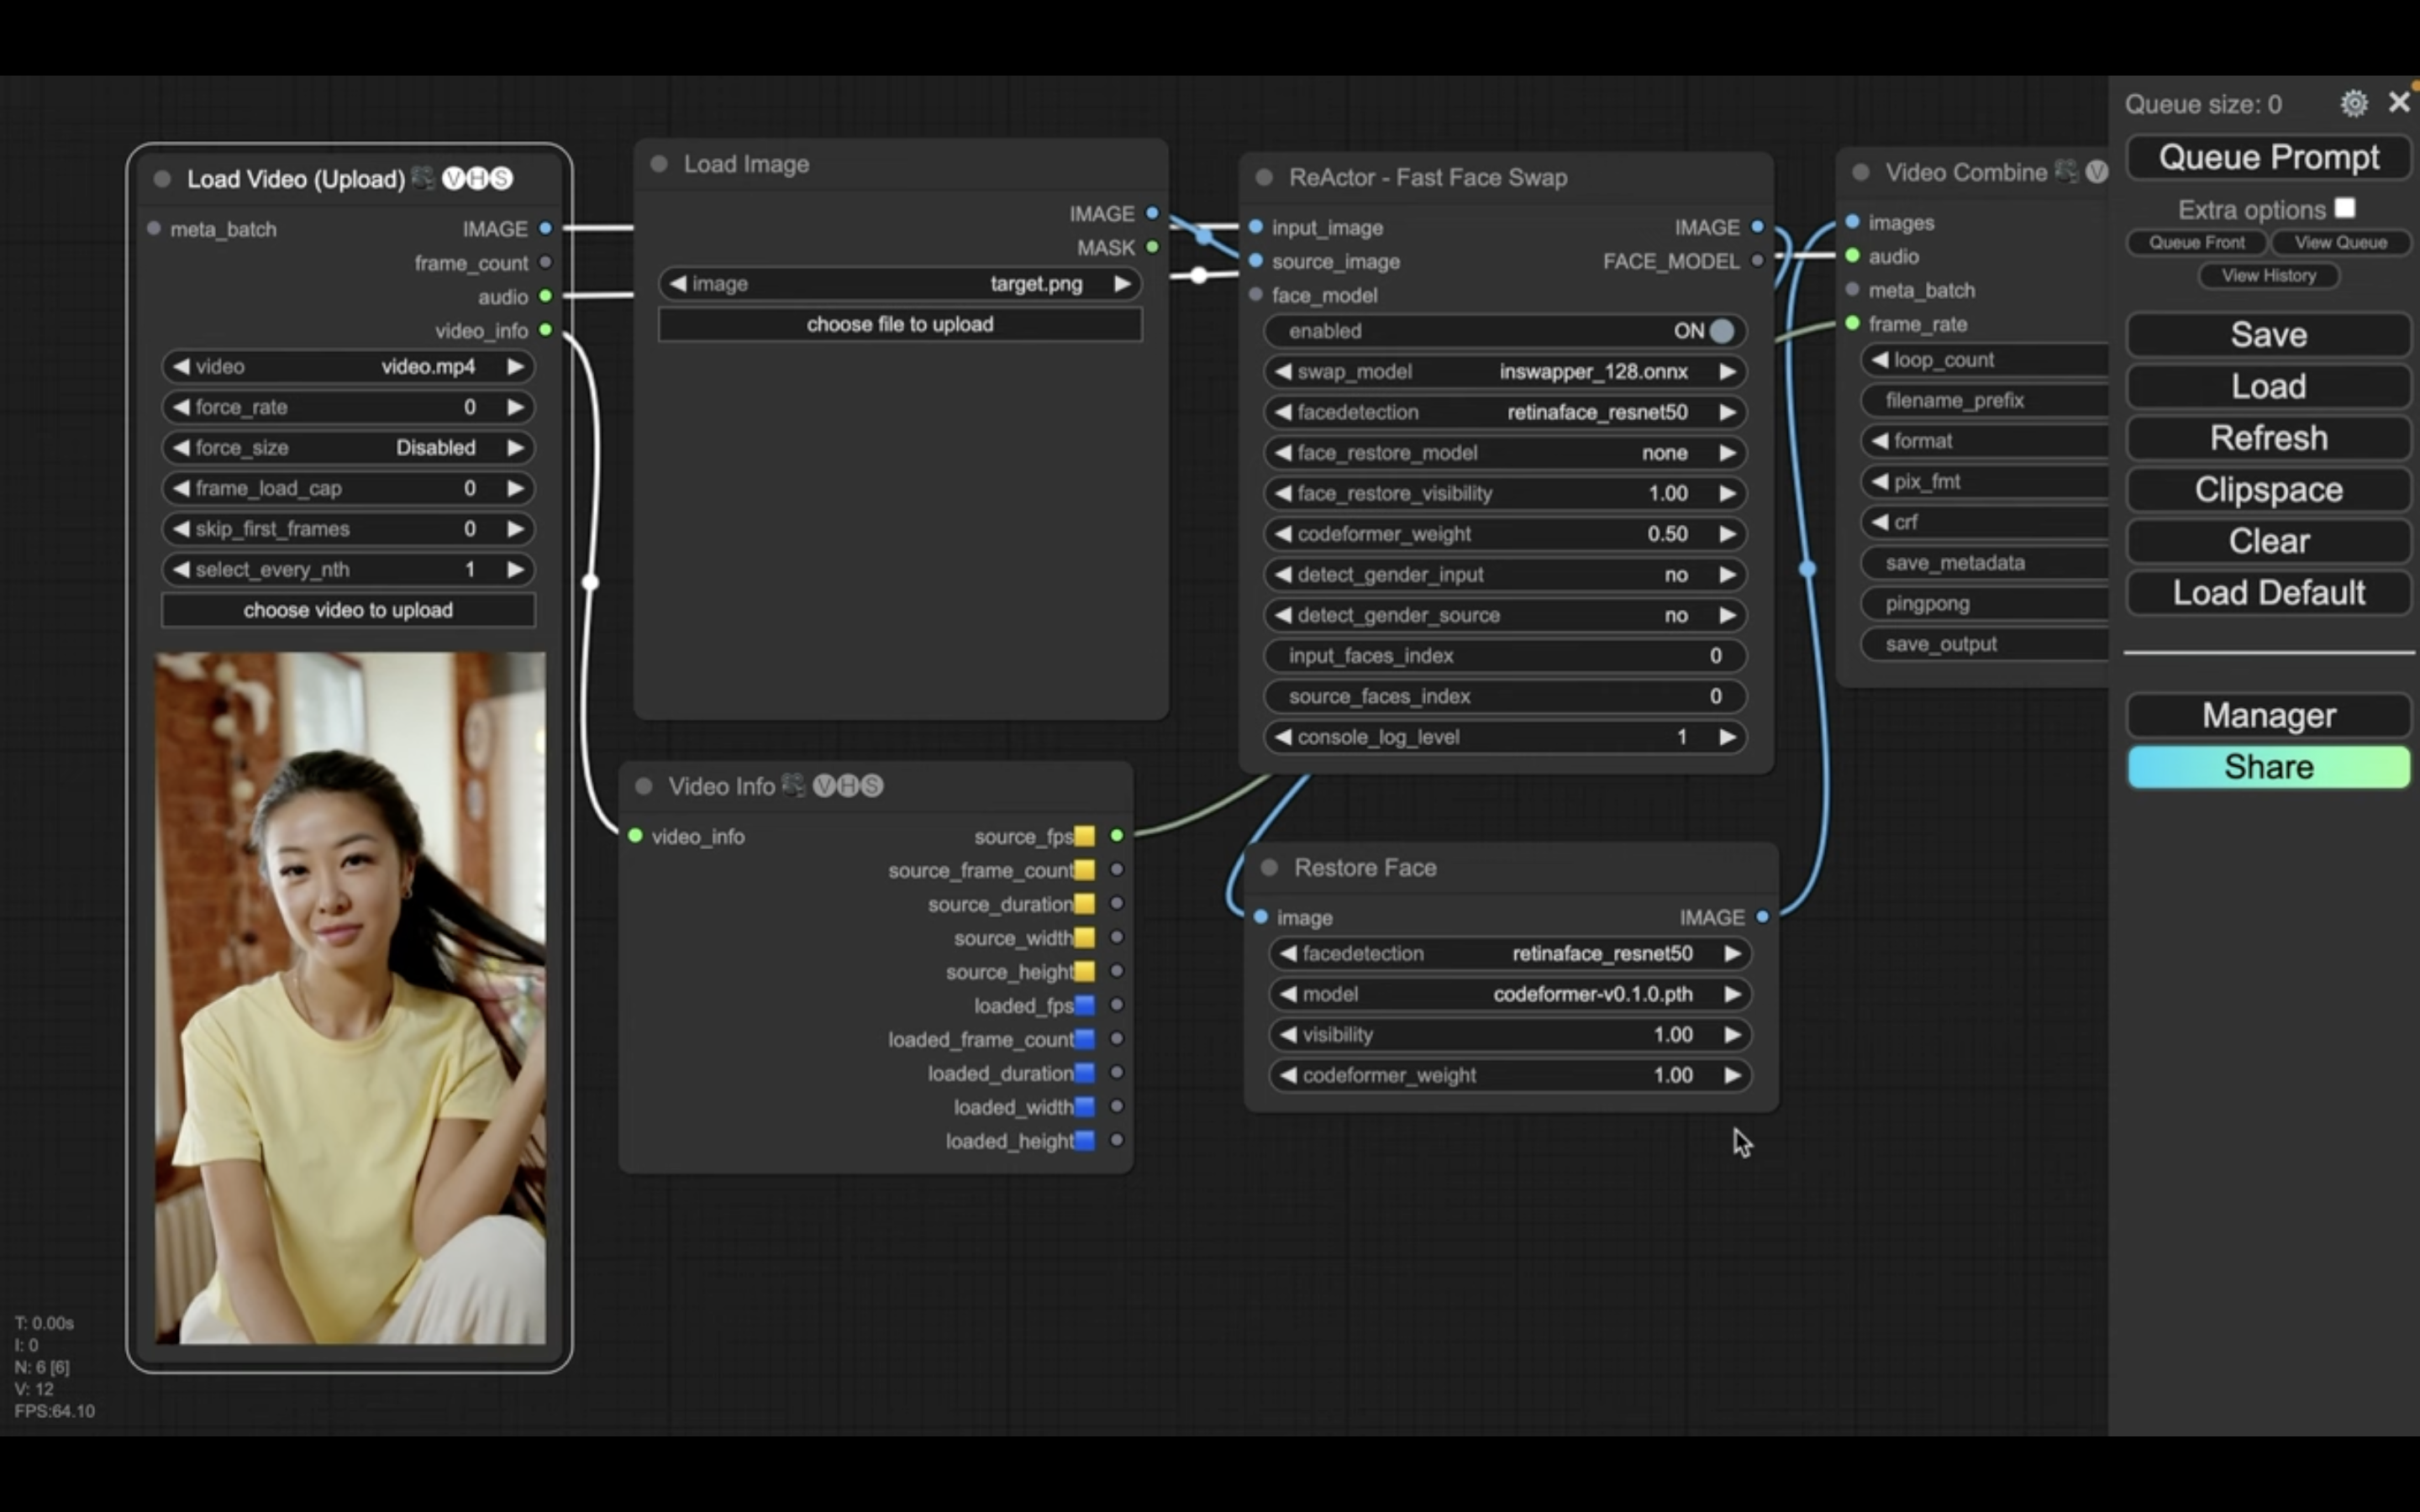
次に差し替える顔の画像をアップロードします
ロードイメージというタイトルのブロックにあるアップロードボタンをクリックします。
ダイアログボックスが表示されるので、画像ファイルを選択します。
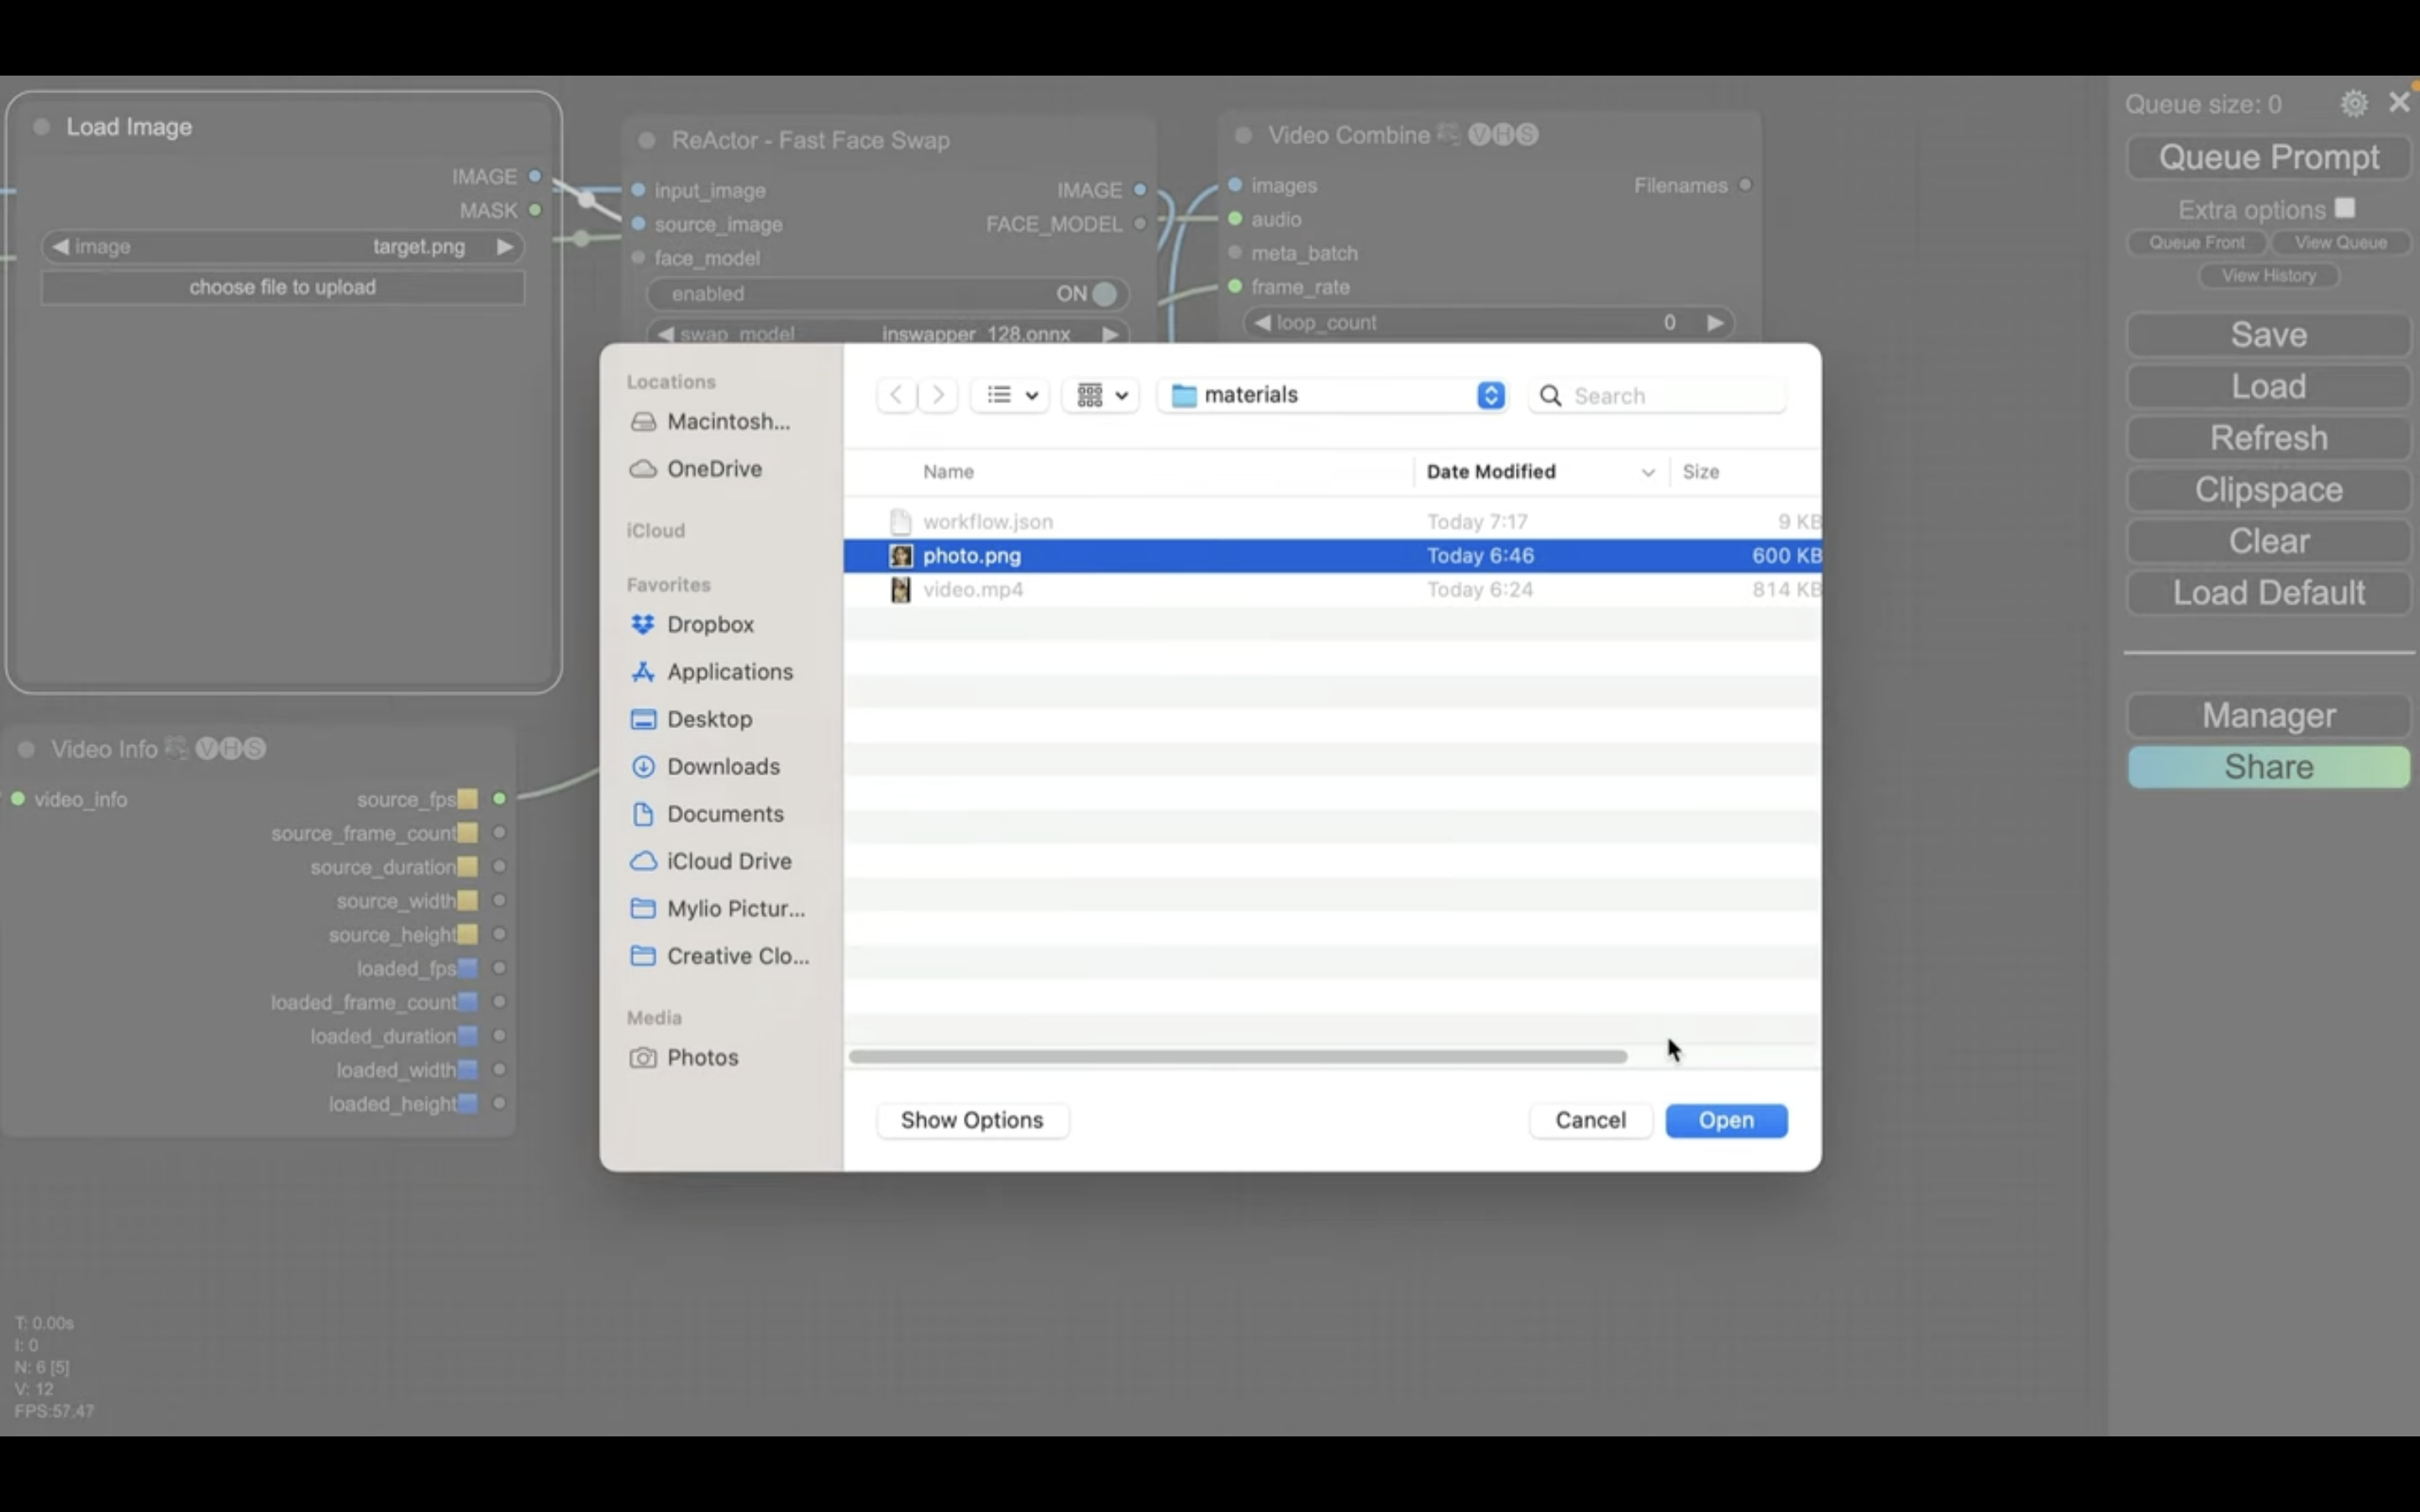
今回はこのような画像をアップロードしておきました。
これで動画を生成するための準備が整いました。
これを読めば誰でも簡単にクオリティーの高いAI美女が作れるようになっているので興味がある人は、下のバナーをクリックして購入してみてね🎶
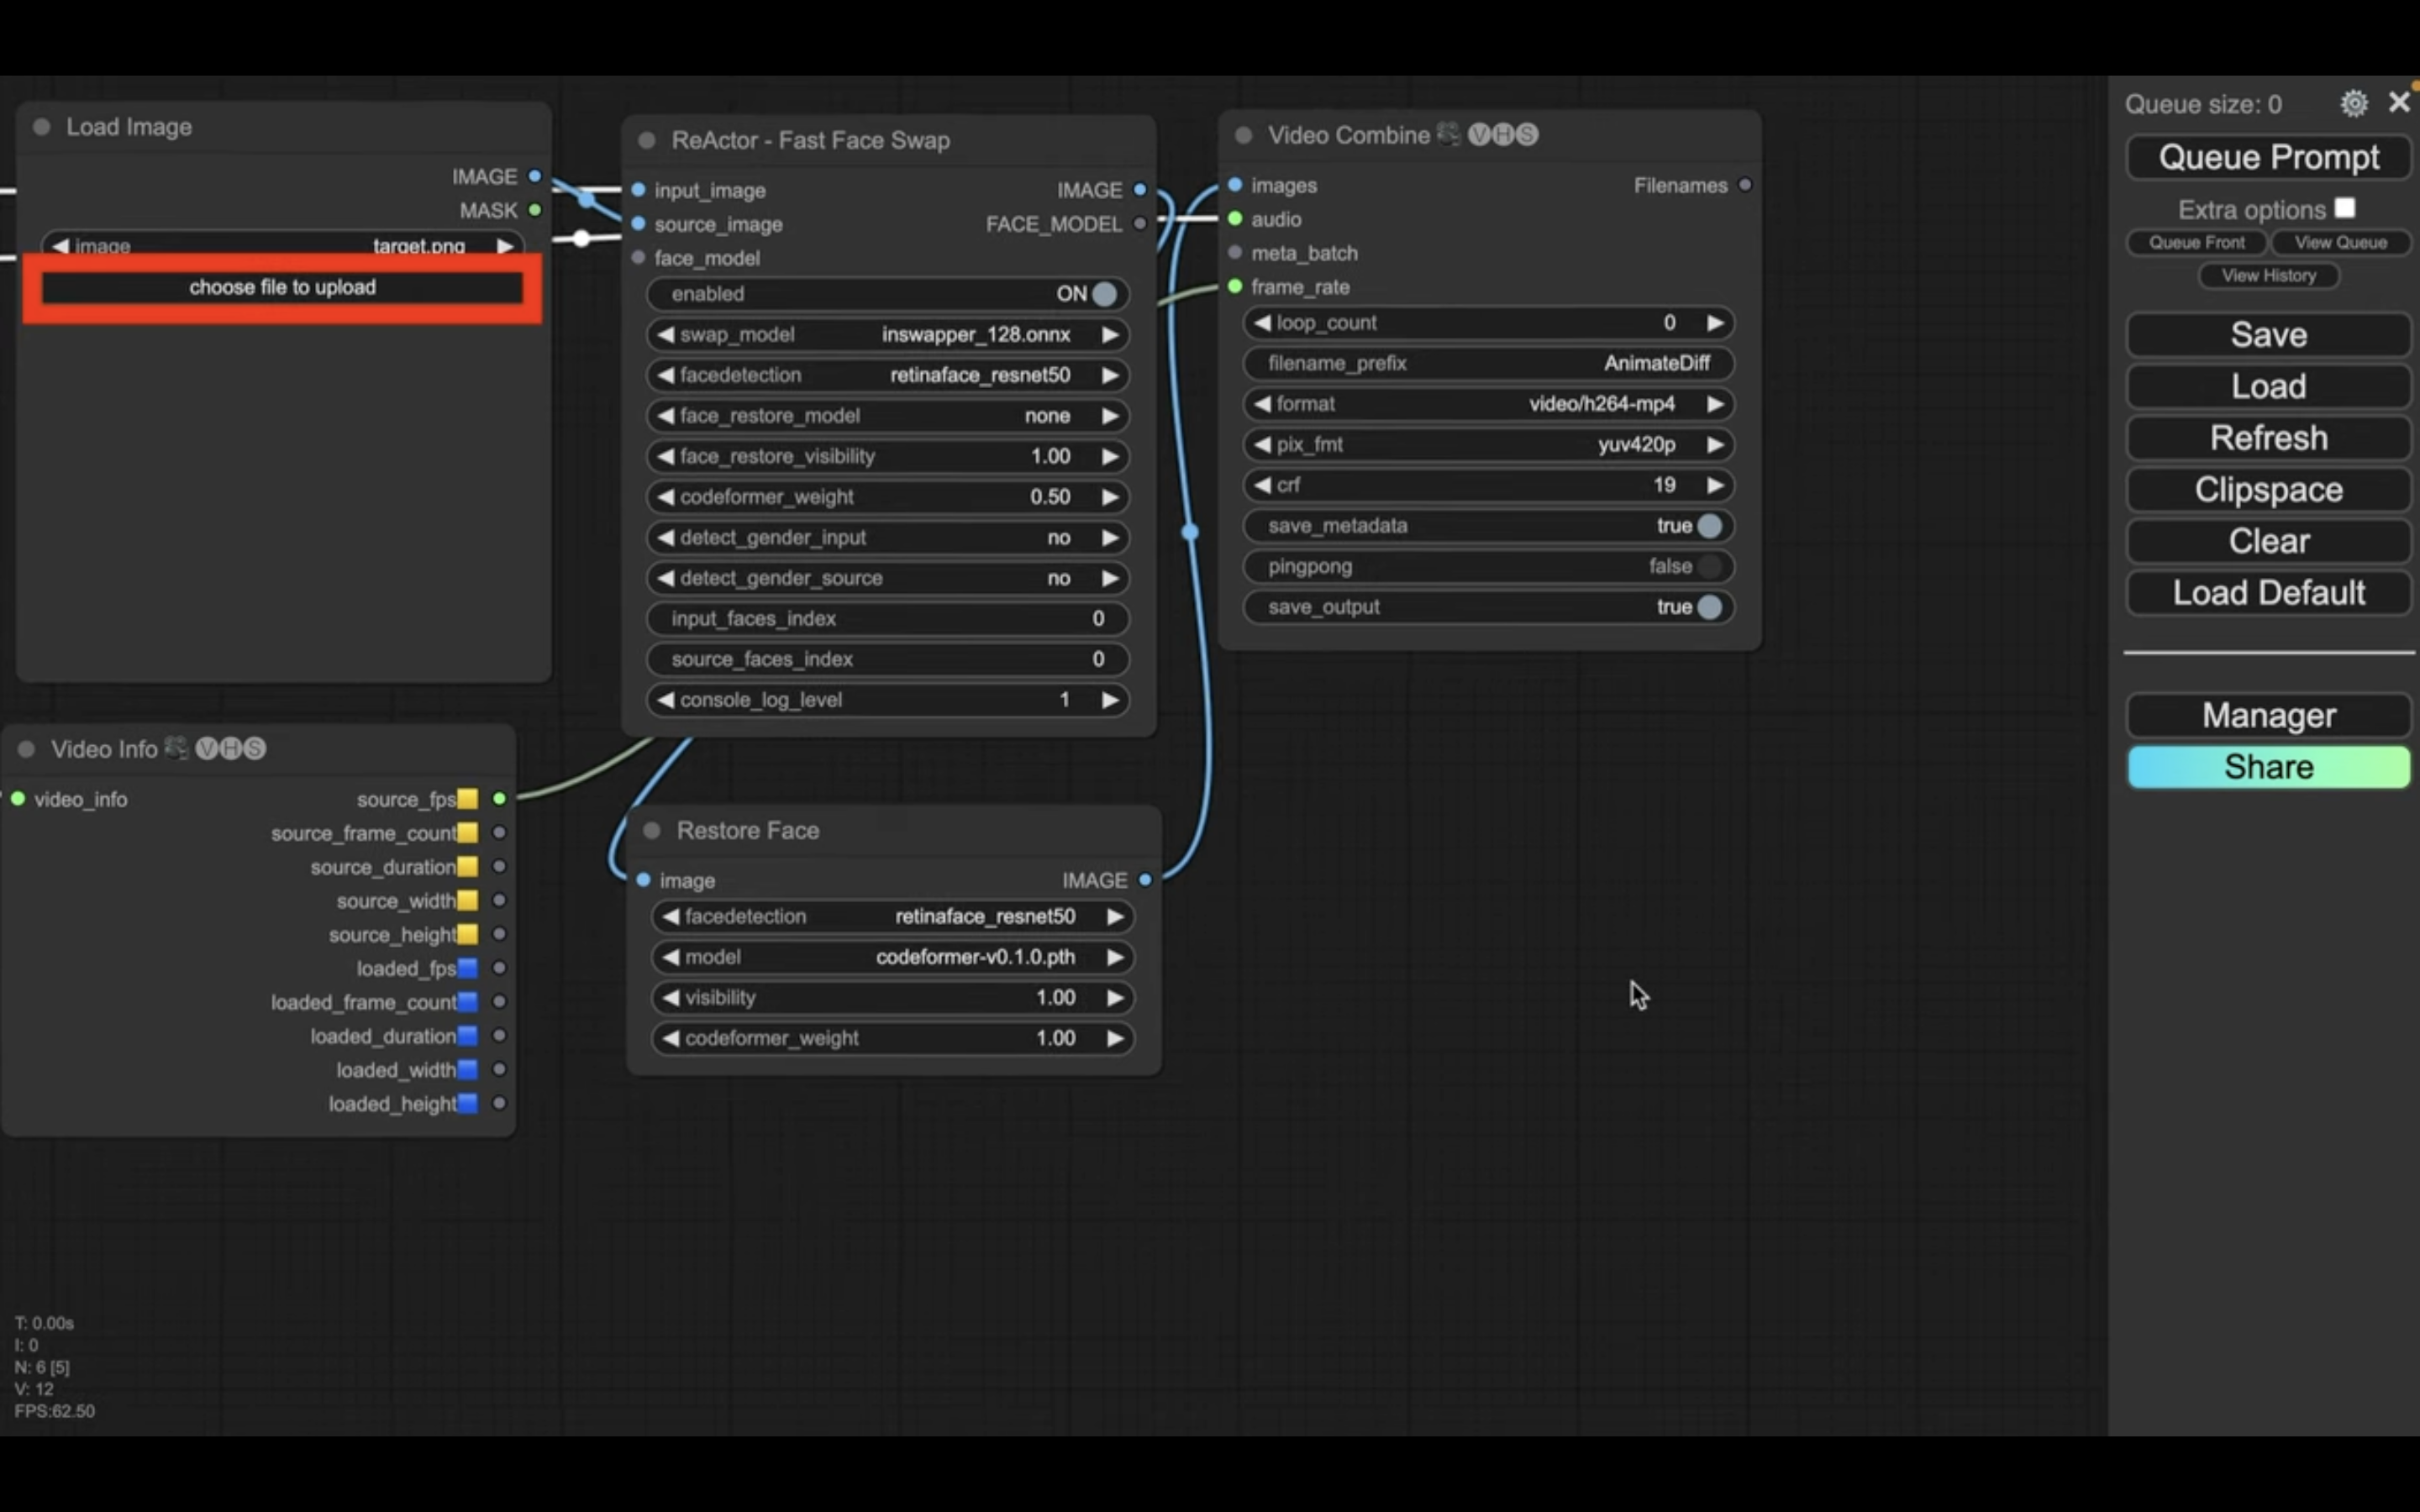
早速動画を生成していきましょう
Queue Promptと書かれているボタンをクリックします。
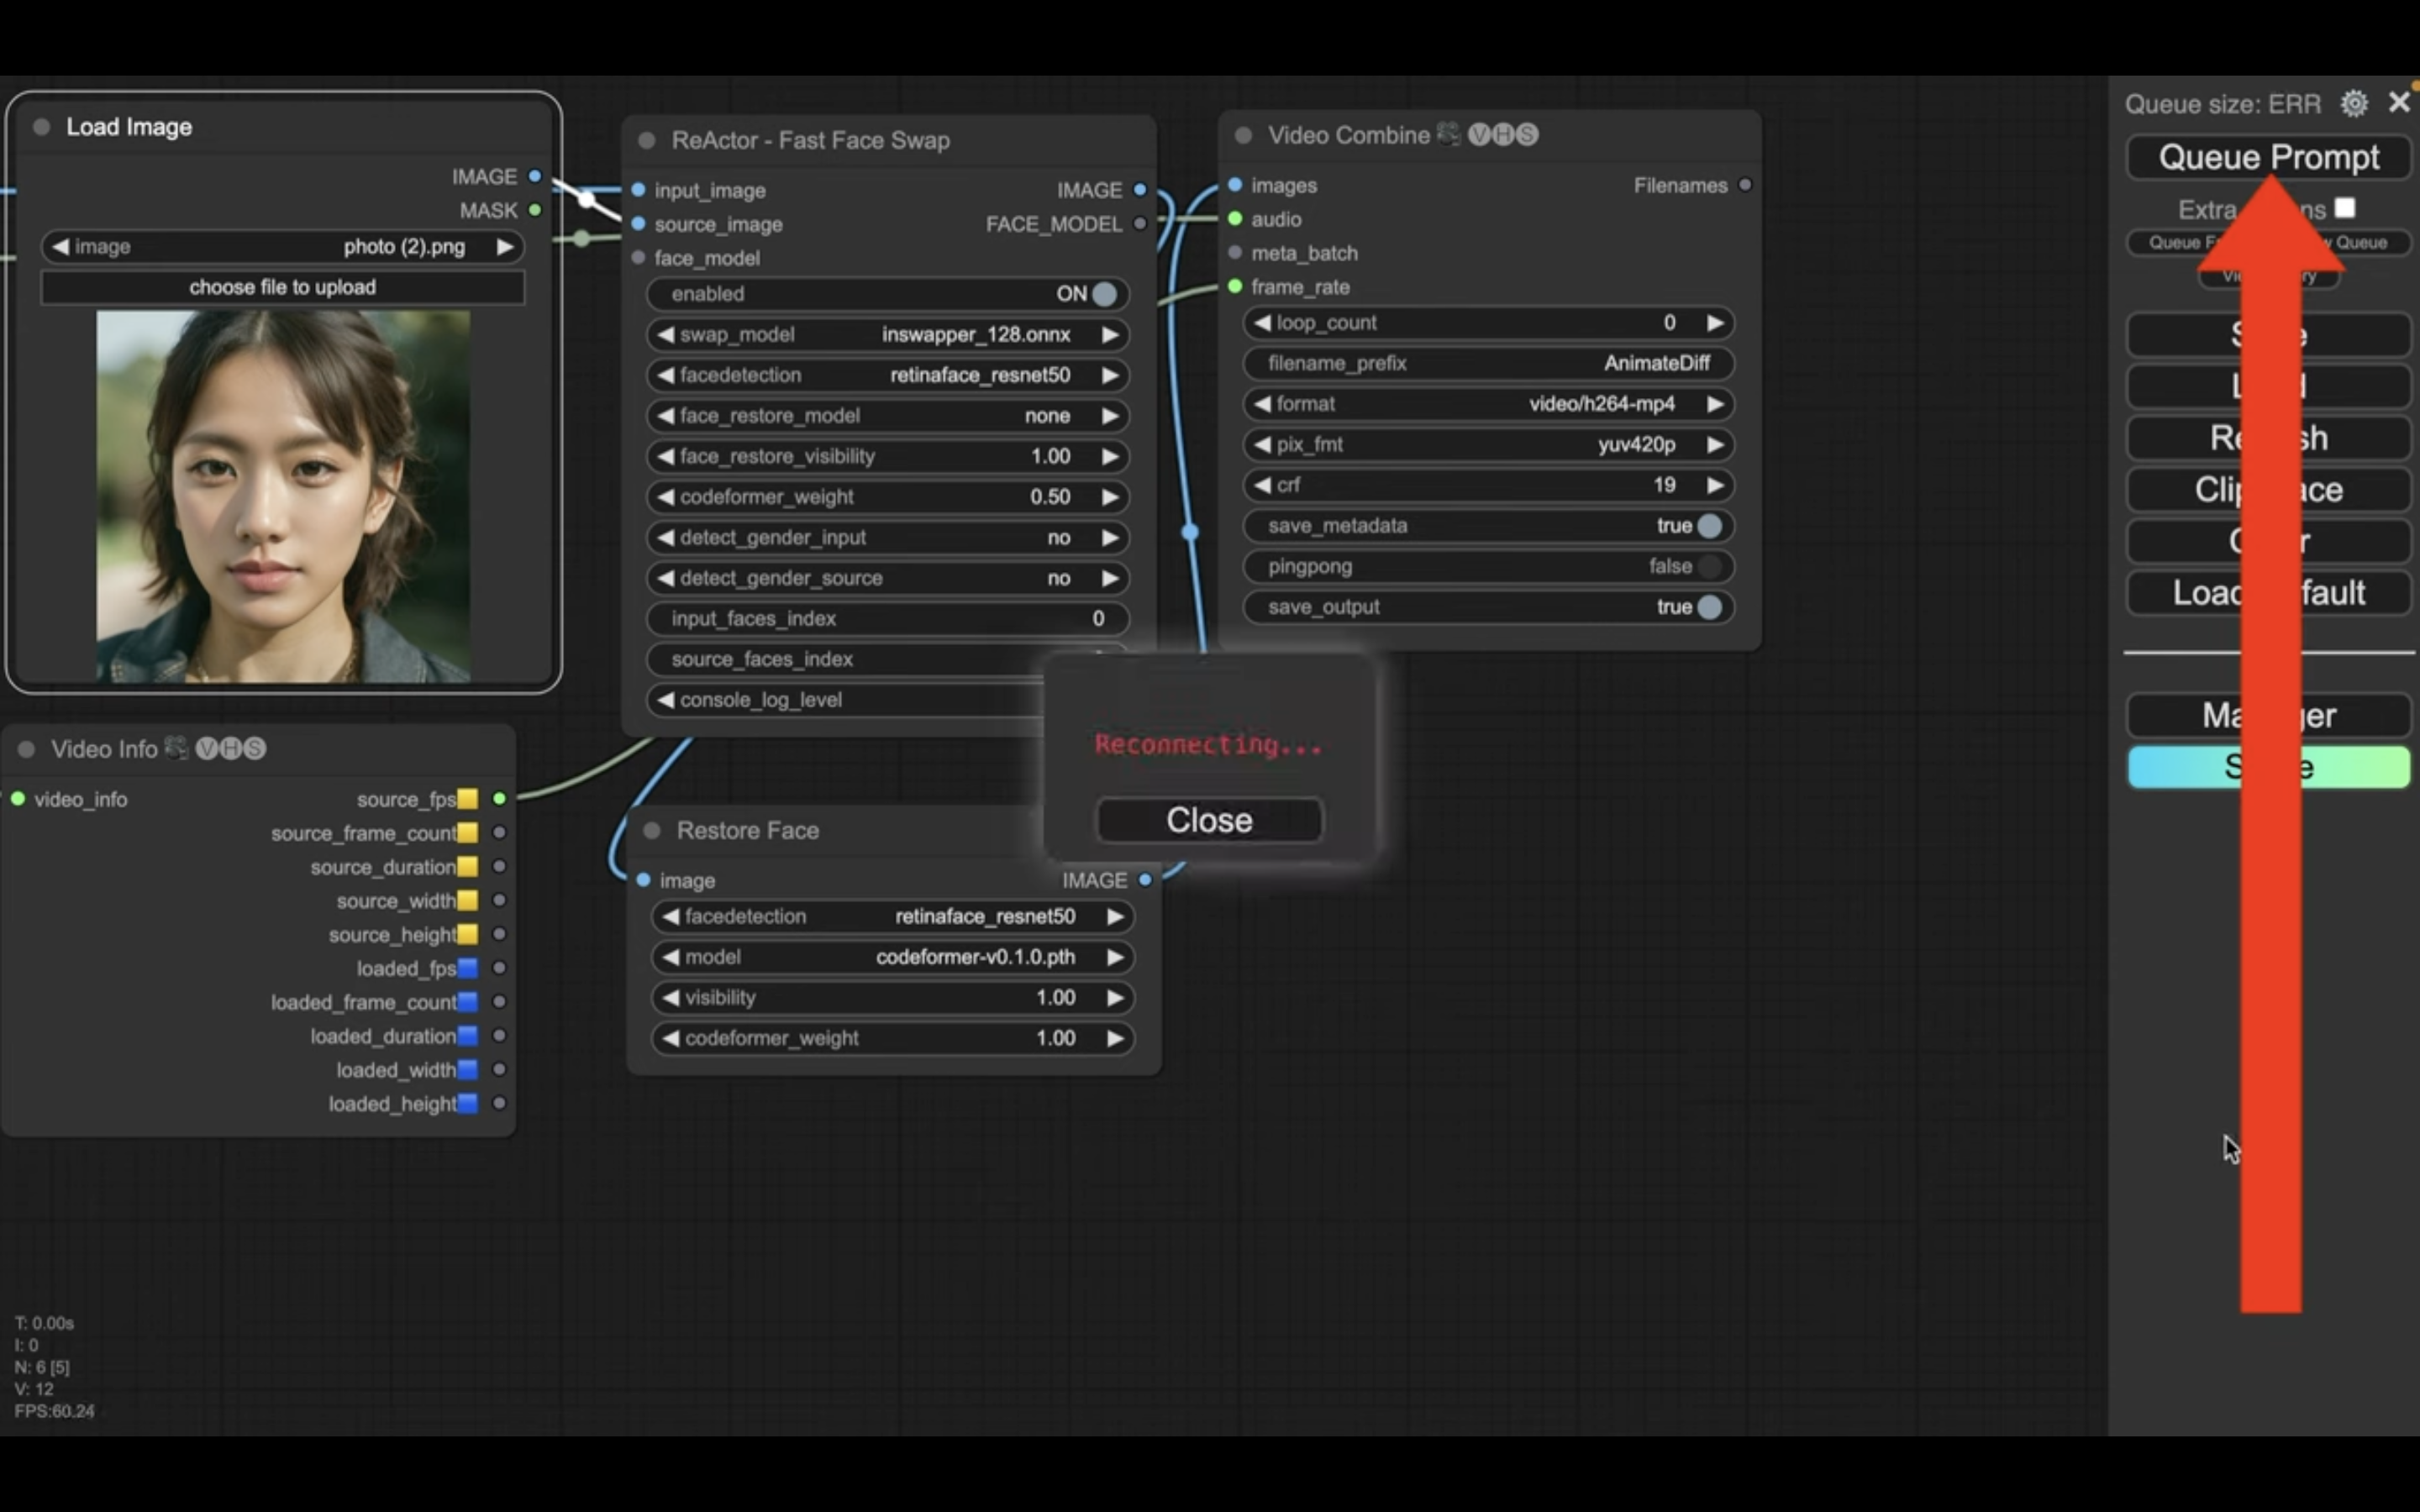
そうすると動画の生成が開始されます。
生成処理の状況は、ブロックの表示で確認できます。
緑色で囲まれているブロックが現在実行されている処理です。
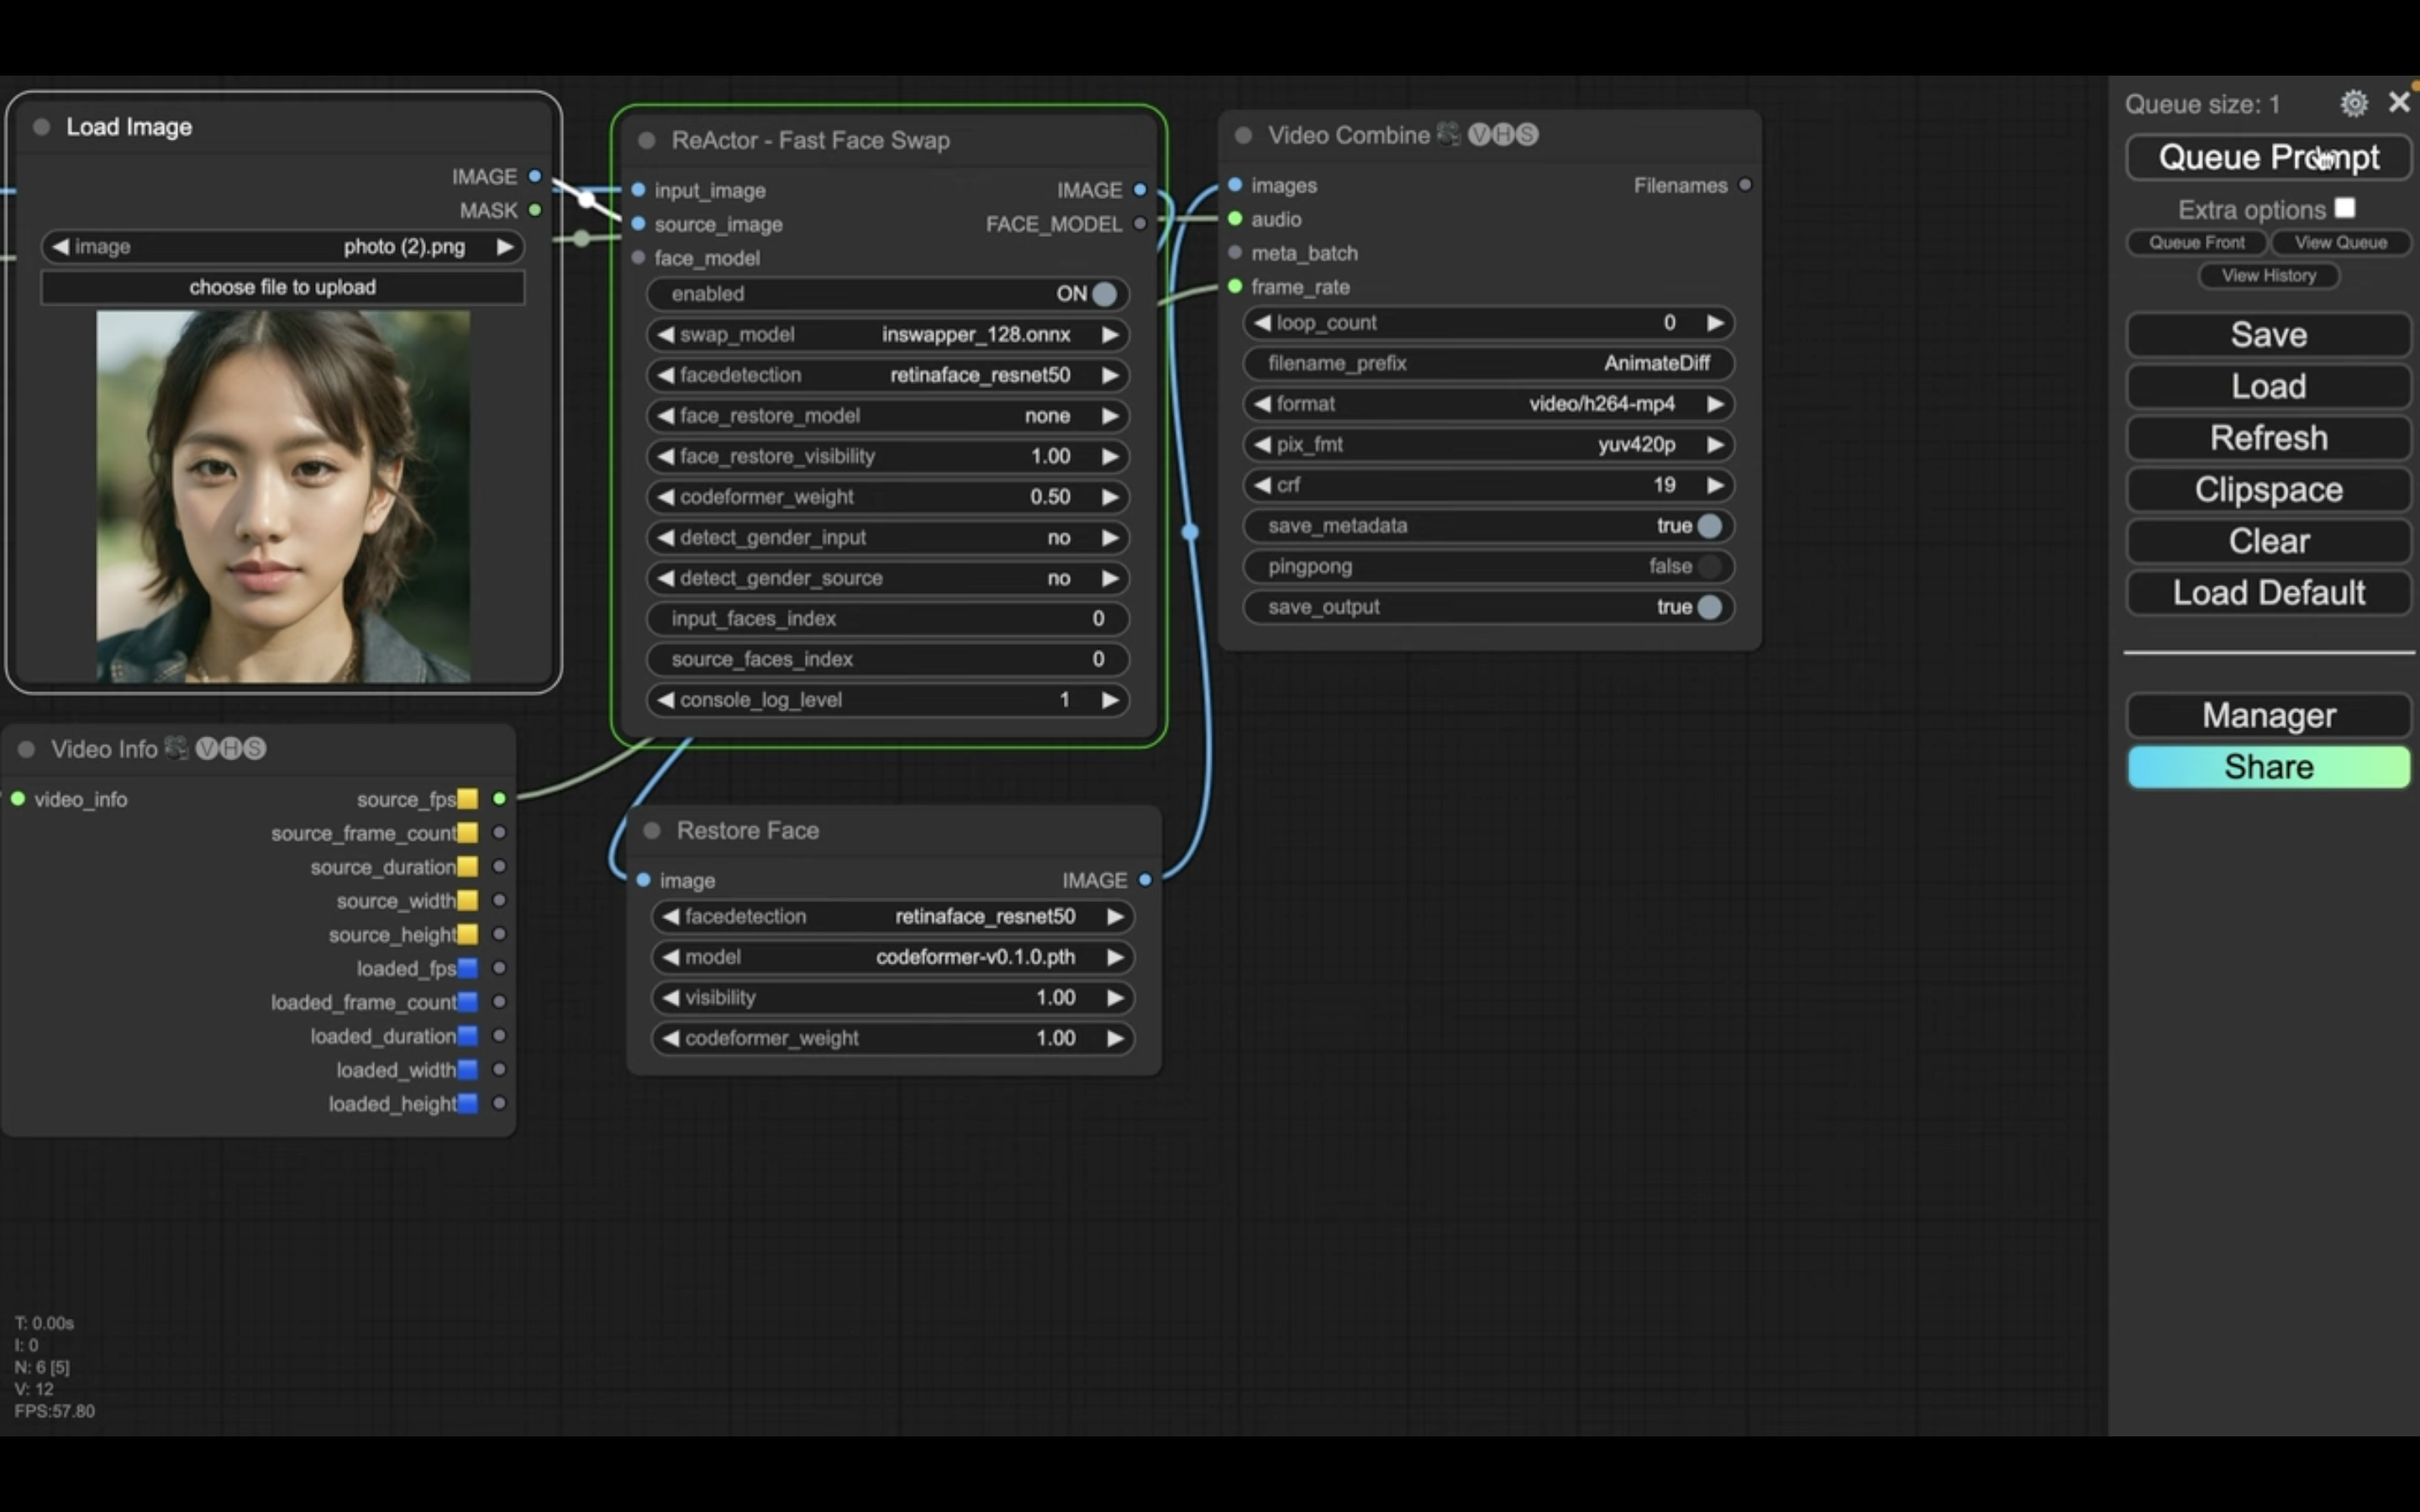
処理が完了すると、囲んでいる緑色の表示が移動します。
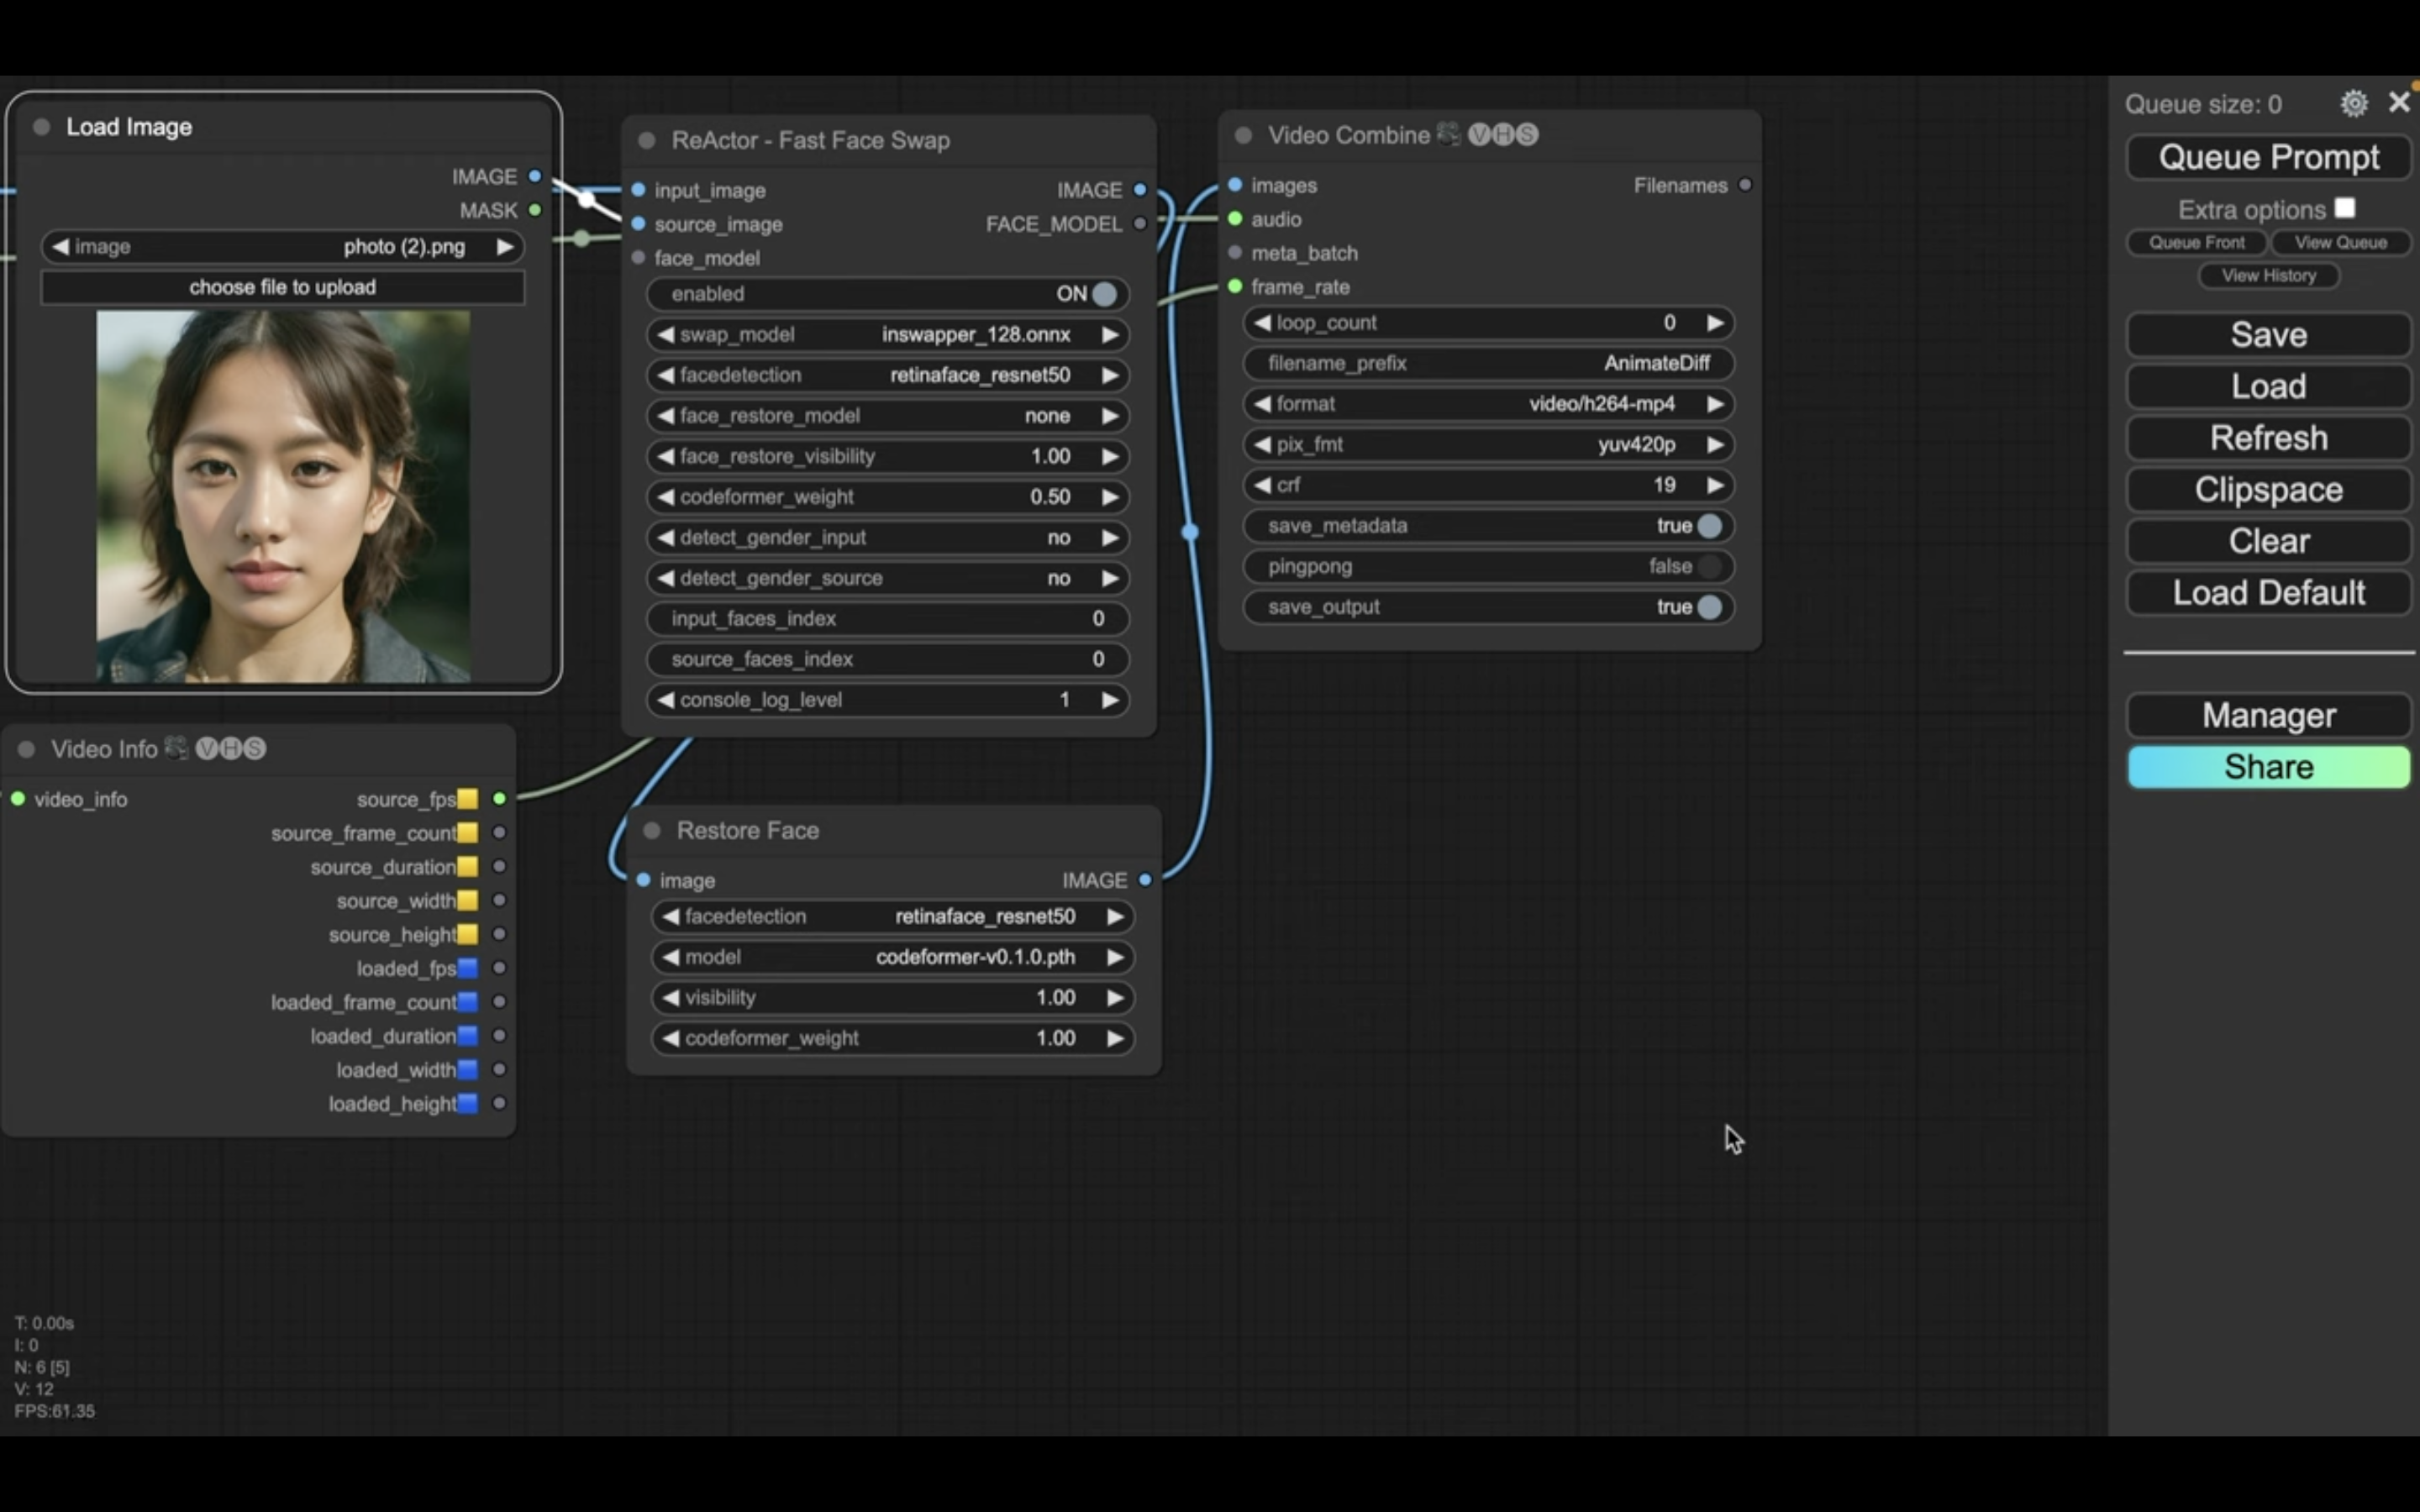
アップロードした動画の長さやサイズにもよりますが、動画の生成には時間がかかります。
この解説でアップロードした動画ファイルは5秒の動画でしたが、生成処理には10分以上かかりました。
しばらく待っていると、このような動画が生成されました。
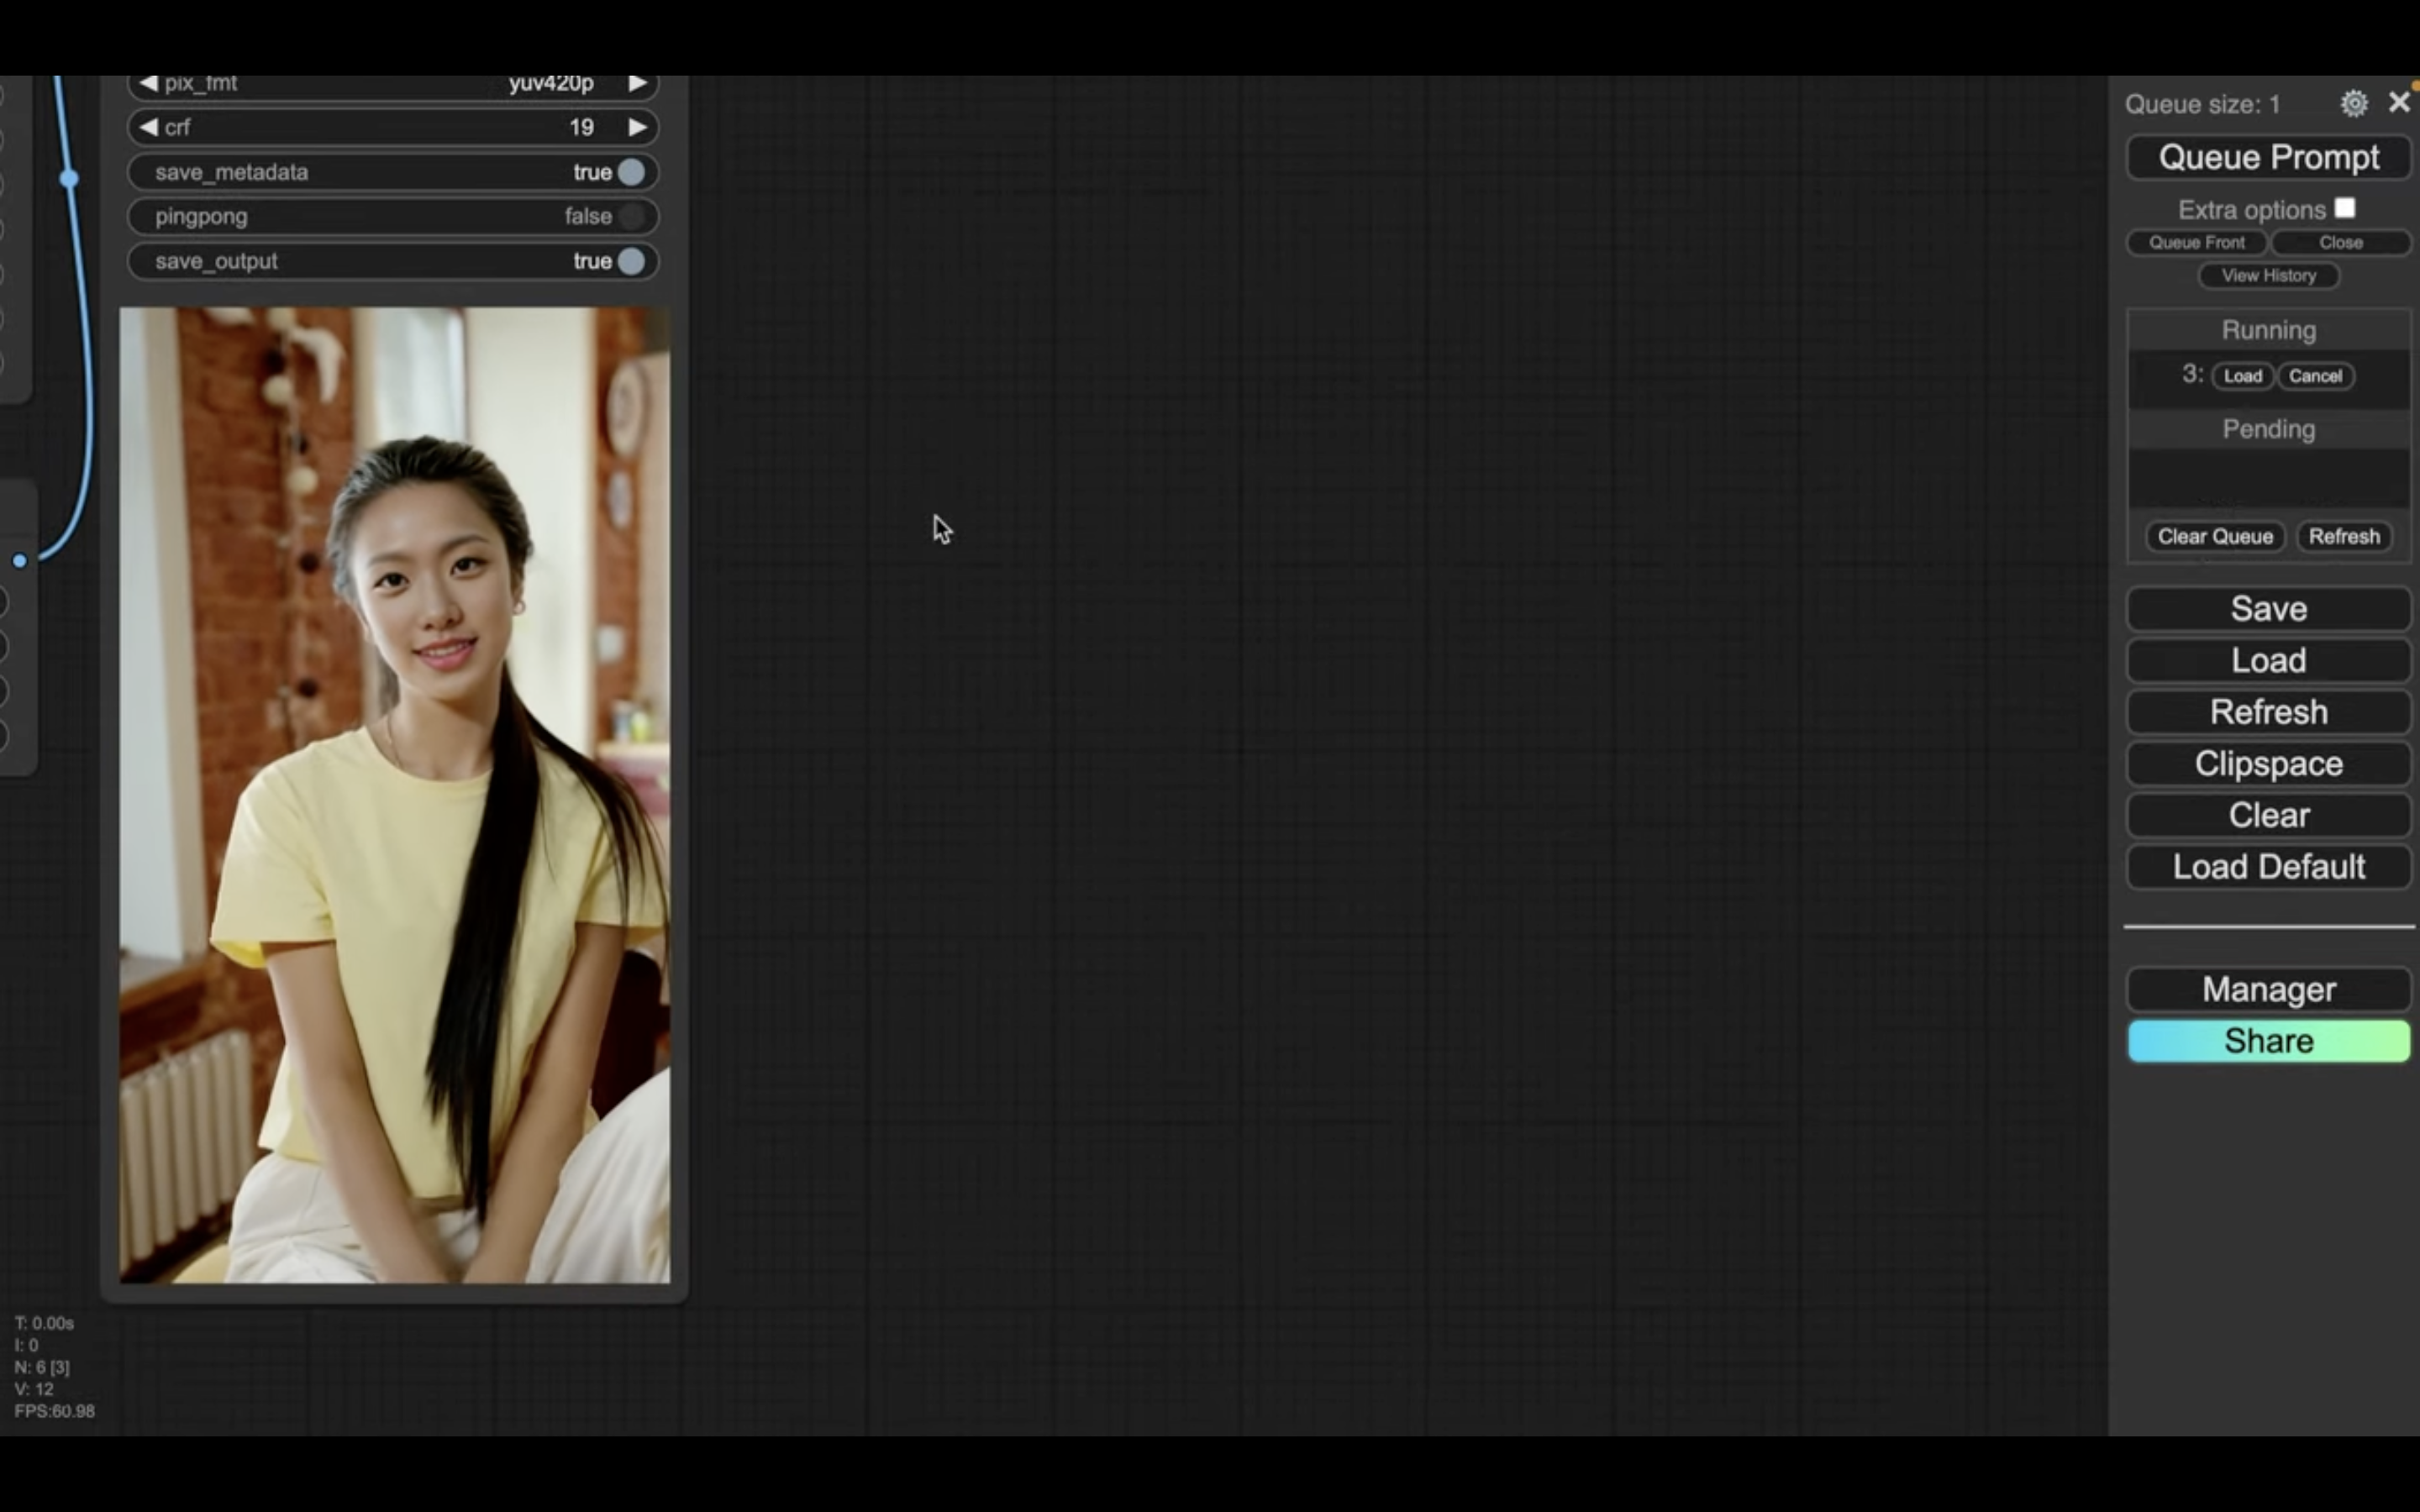
期待した通り、顔の部分が差し替わっています。
生成された動画をダウンロードするには、動画の部分を右クリックします。
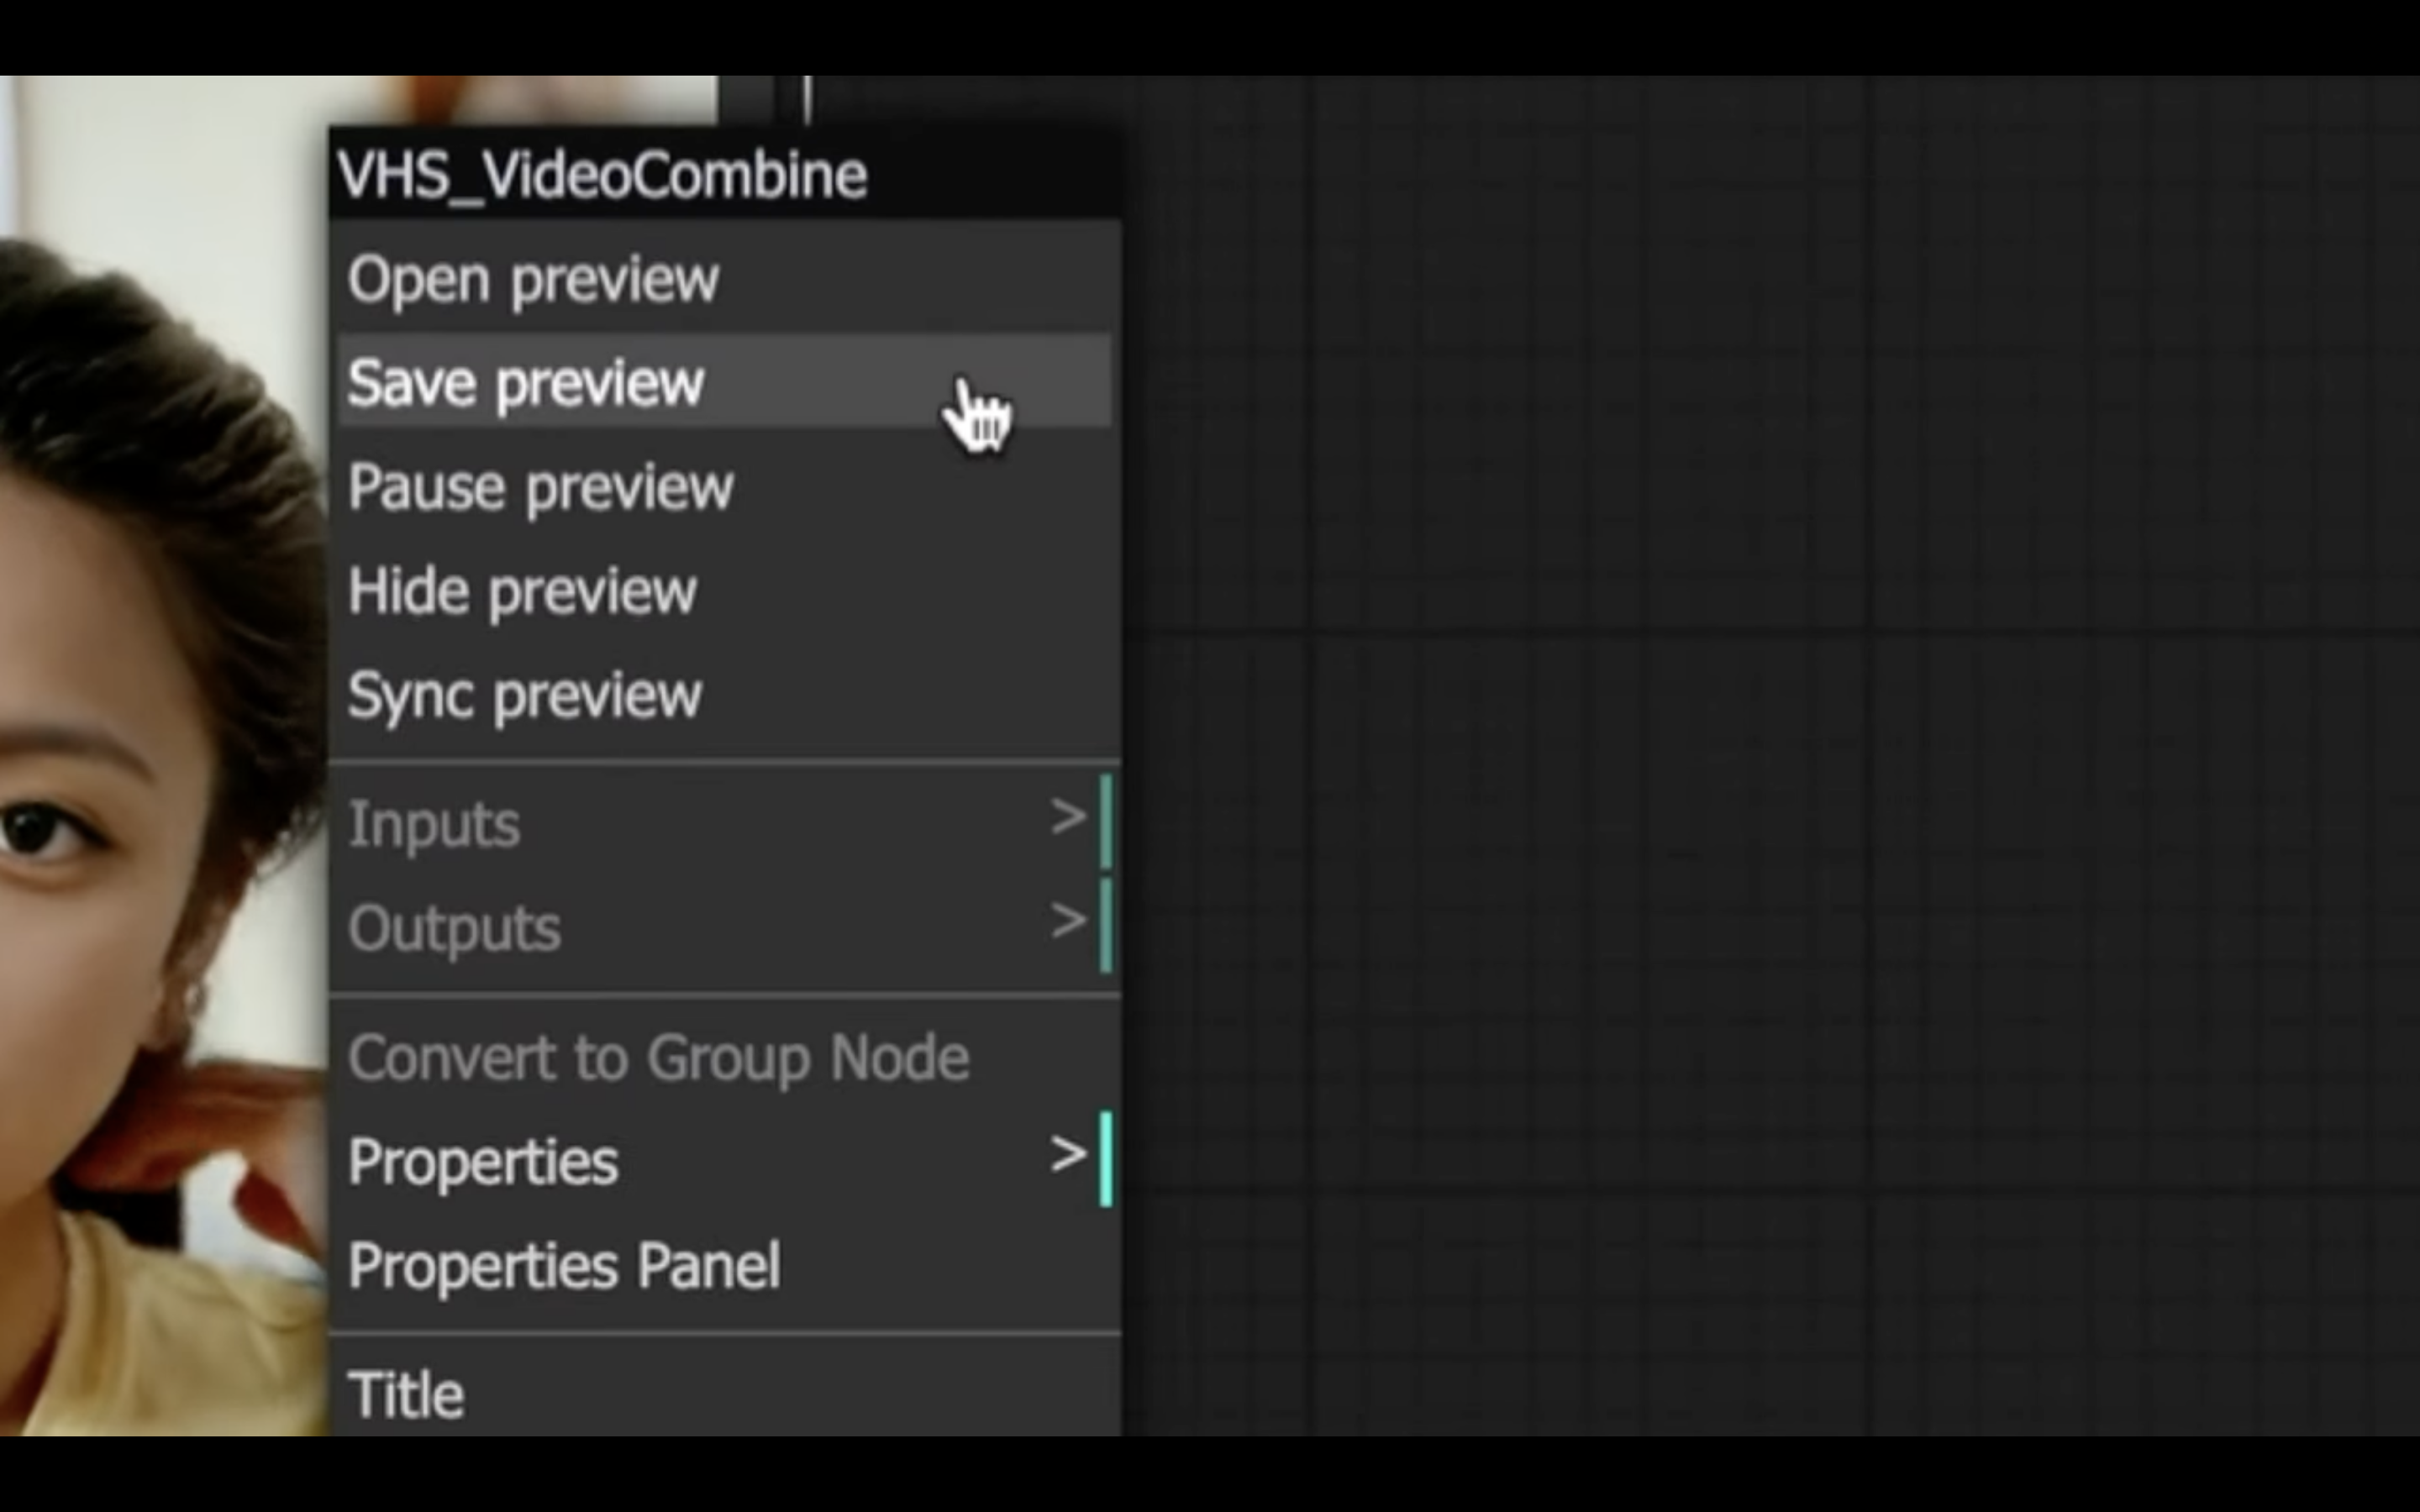
そして、表示されたメニューの中からセーブプレビューを選択します。
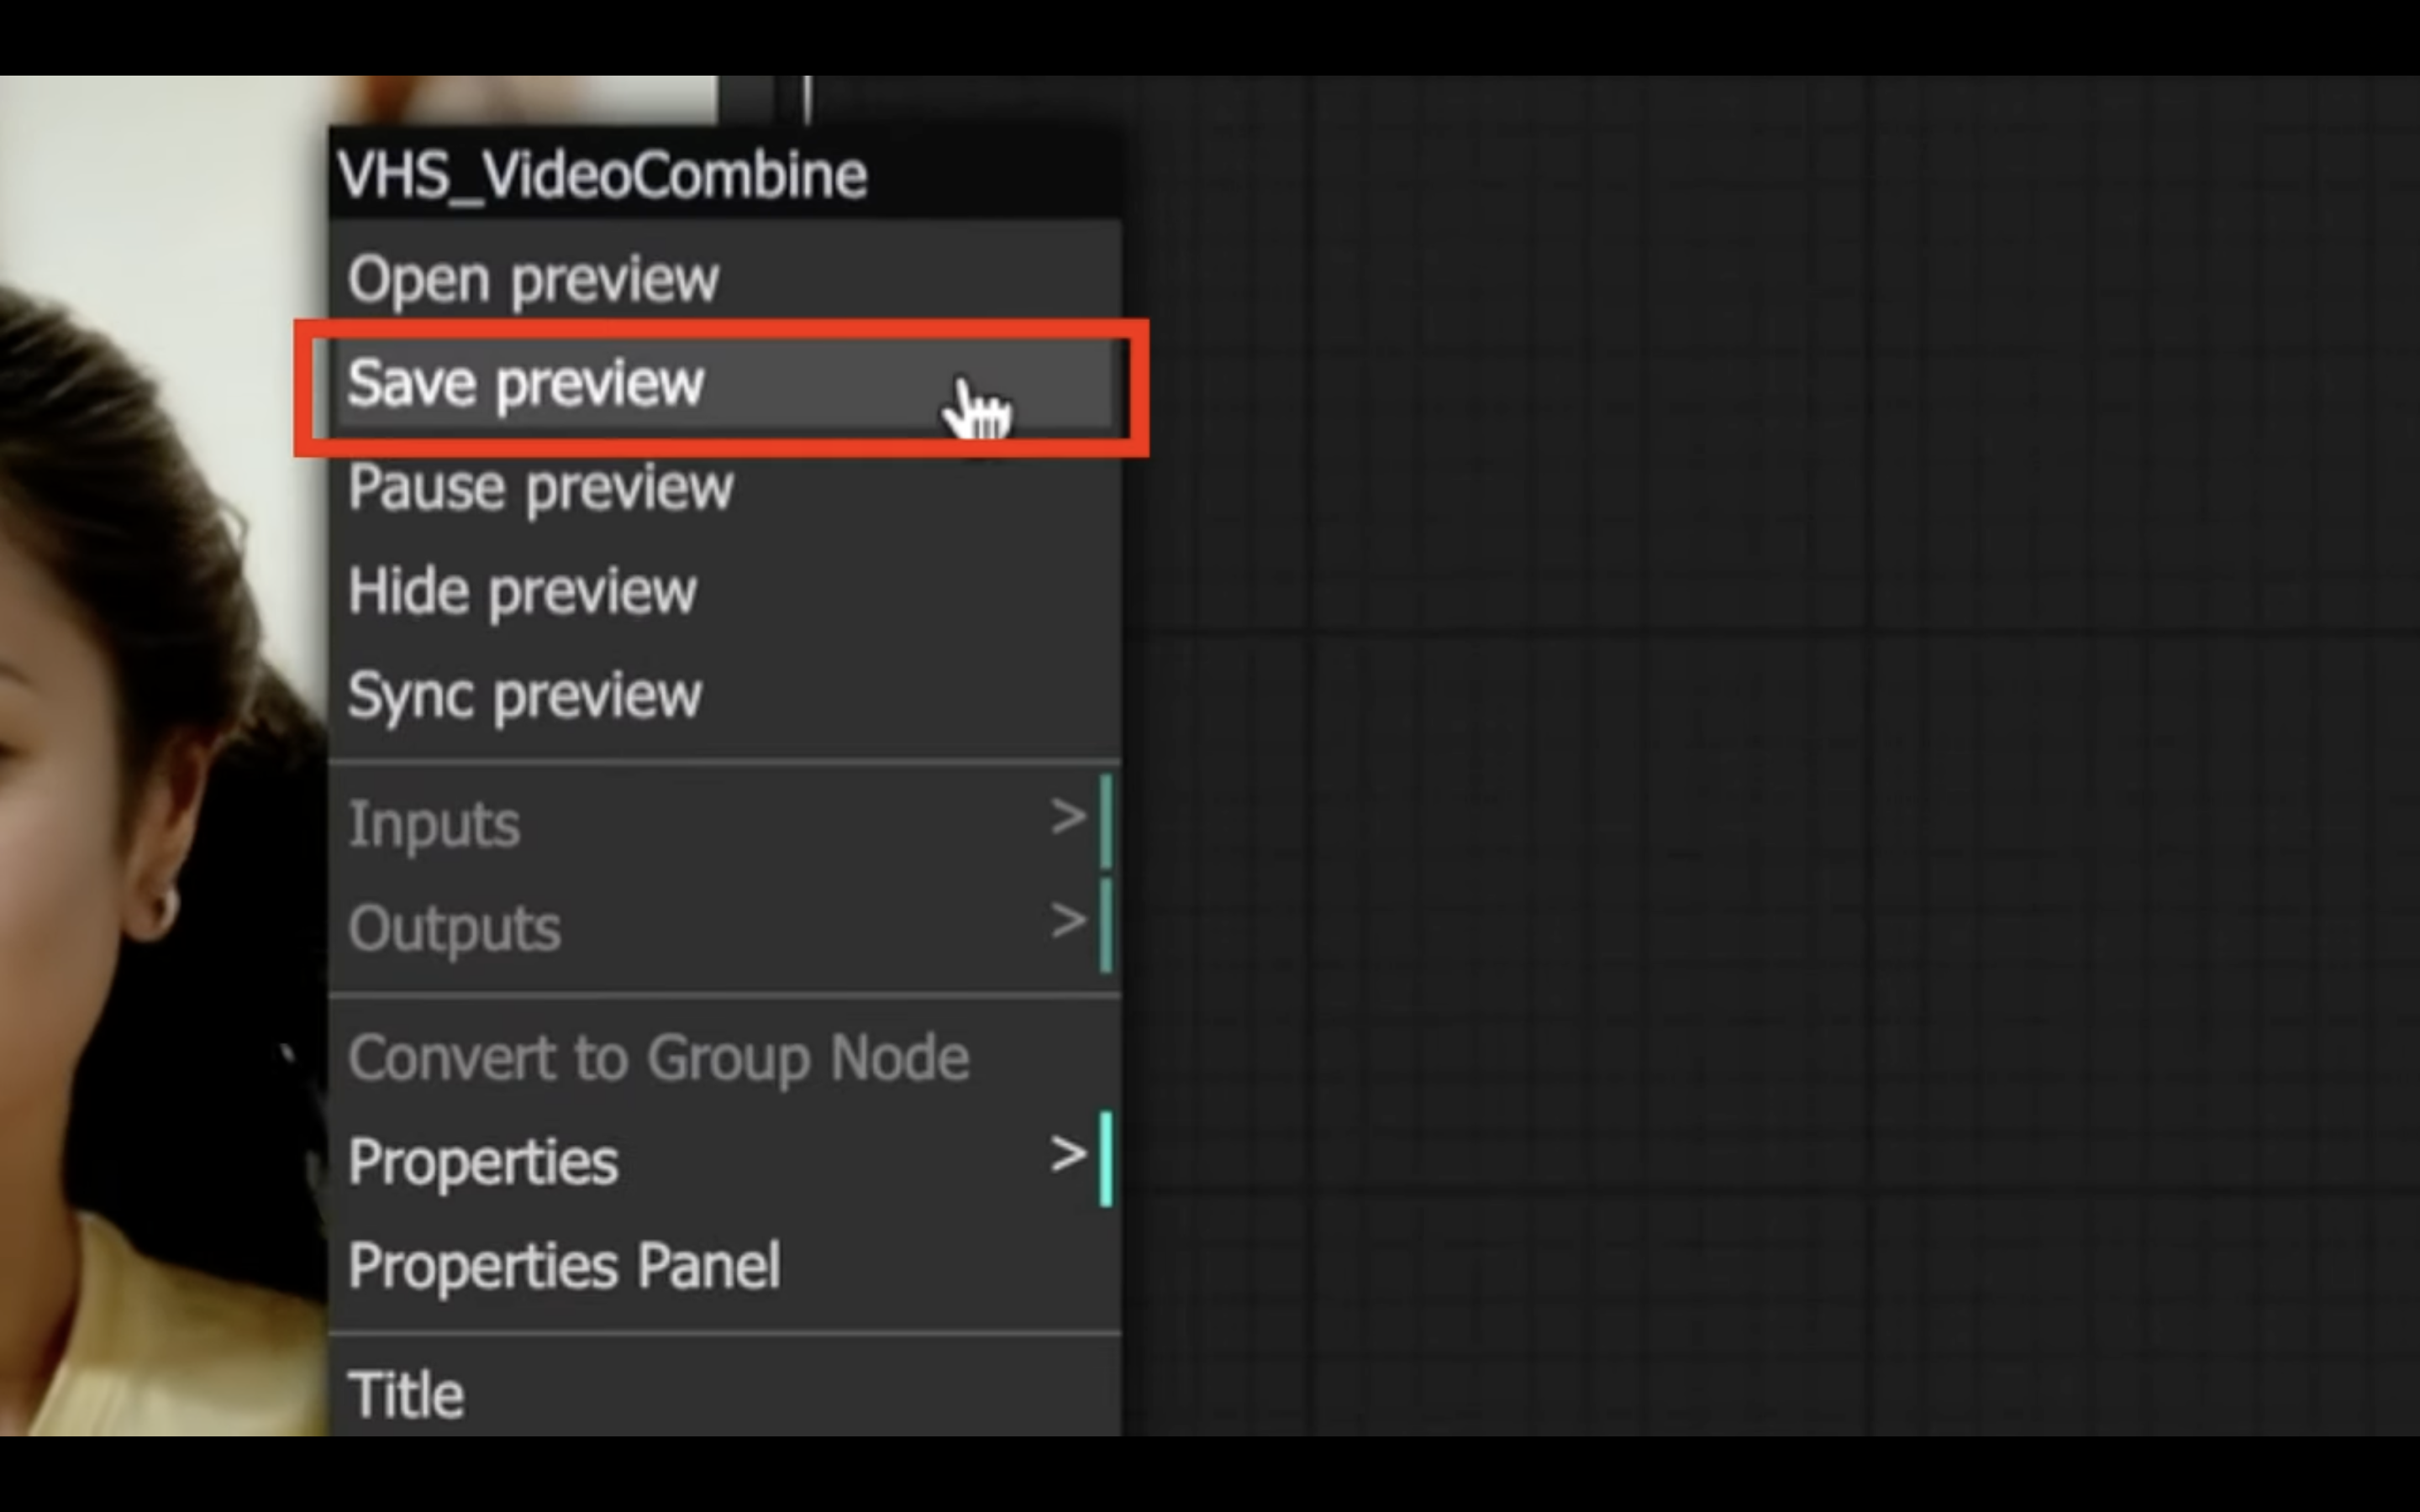
これで生成された動画がパソコンにダウンロードされます。
今回の解説は以上です。