

▶︎動画でも話してるので、文章読むのが面倒な方はこちらをみてもらえればと思います。
今回はAutomatic1111で背景を取り除く方法について解説します。

これを読めば誰でも簡単にクオリティーの高いAI美女が作れるようになっているので興味がある人は、下のバナーをクリックして購入してみてね🎶

Automatic1111を使ってAI美女の背景を削除する方法とは?
解説ではAutomatic1111を動作させるためにGoogle Colabを利用します。
ここまでの解説で、もしもAutomatic1111やGoogle Colabというキーワードが分からない場合は、詳細を解説している動画のリンクを下記に貼っておきますので、そちらをご確認ください。
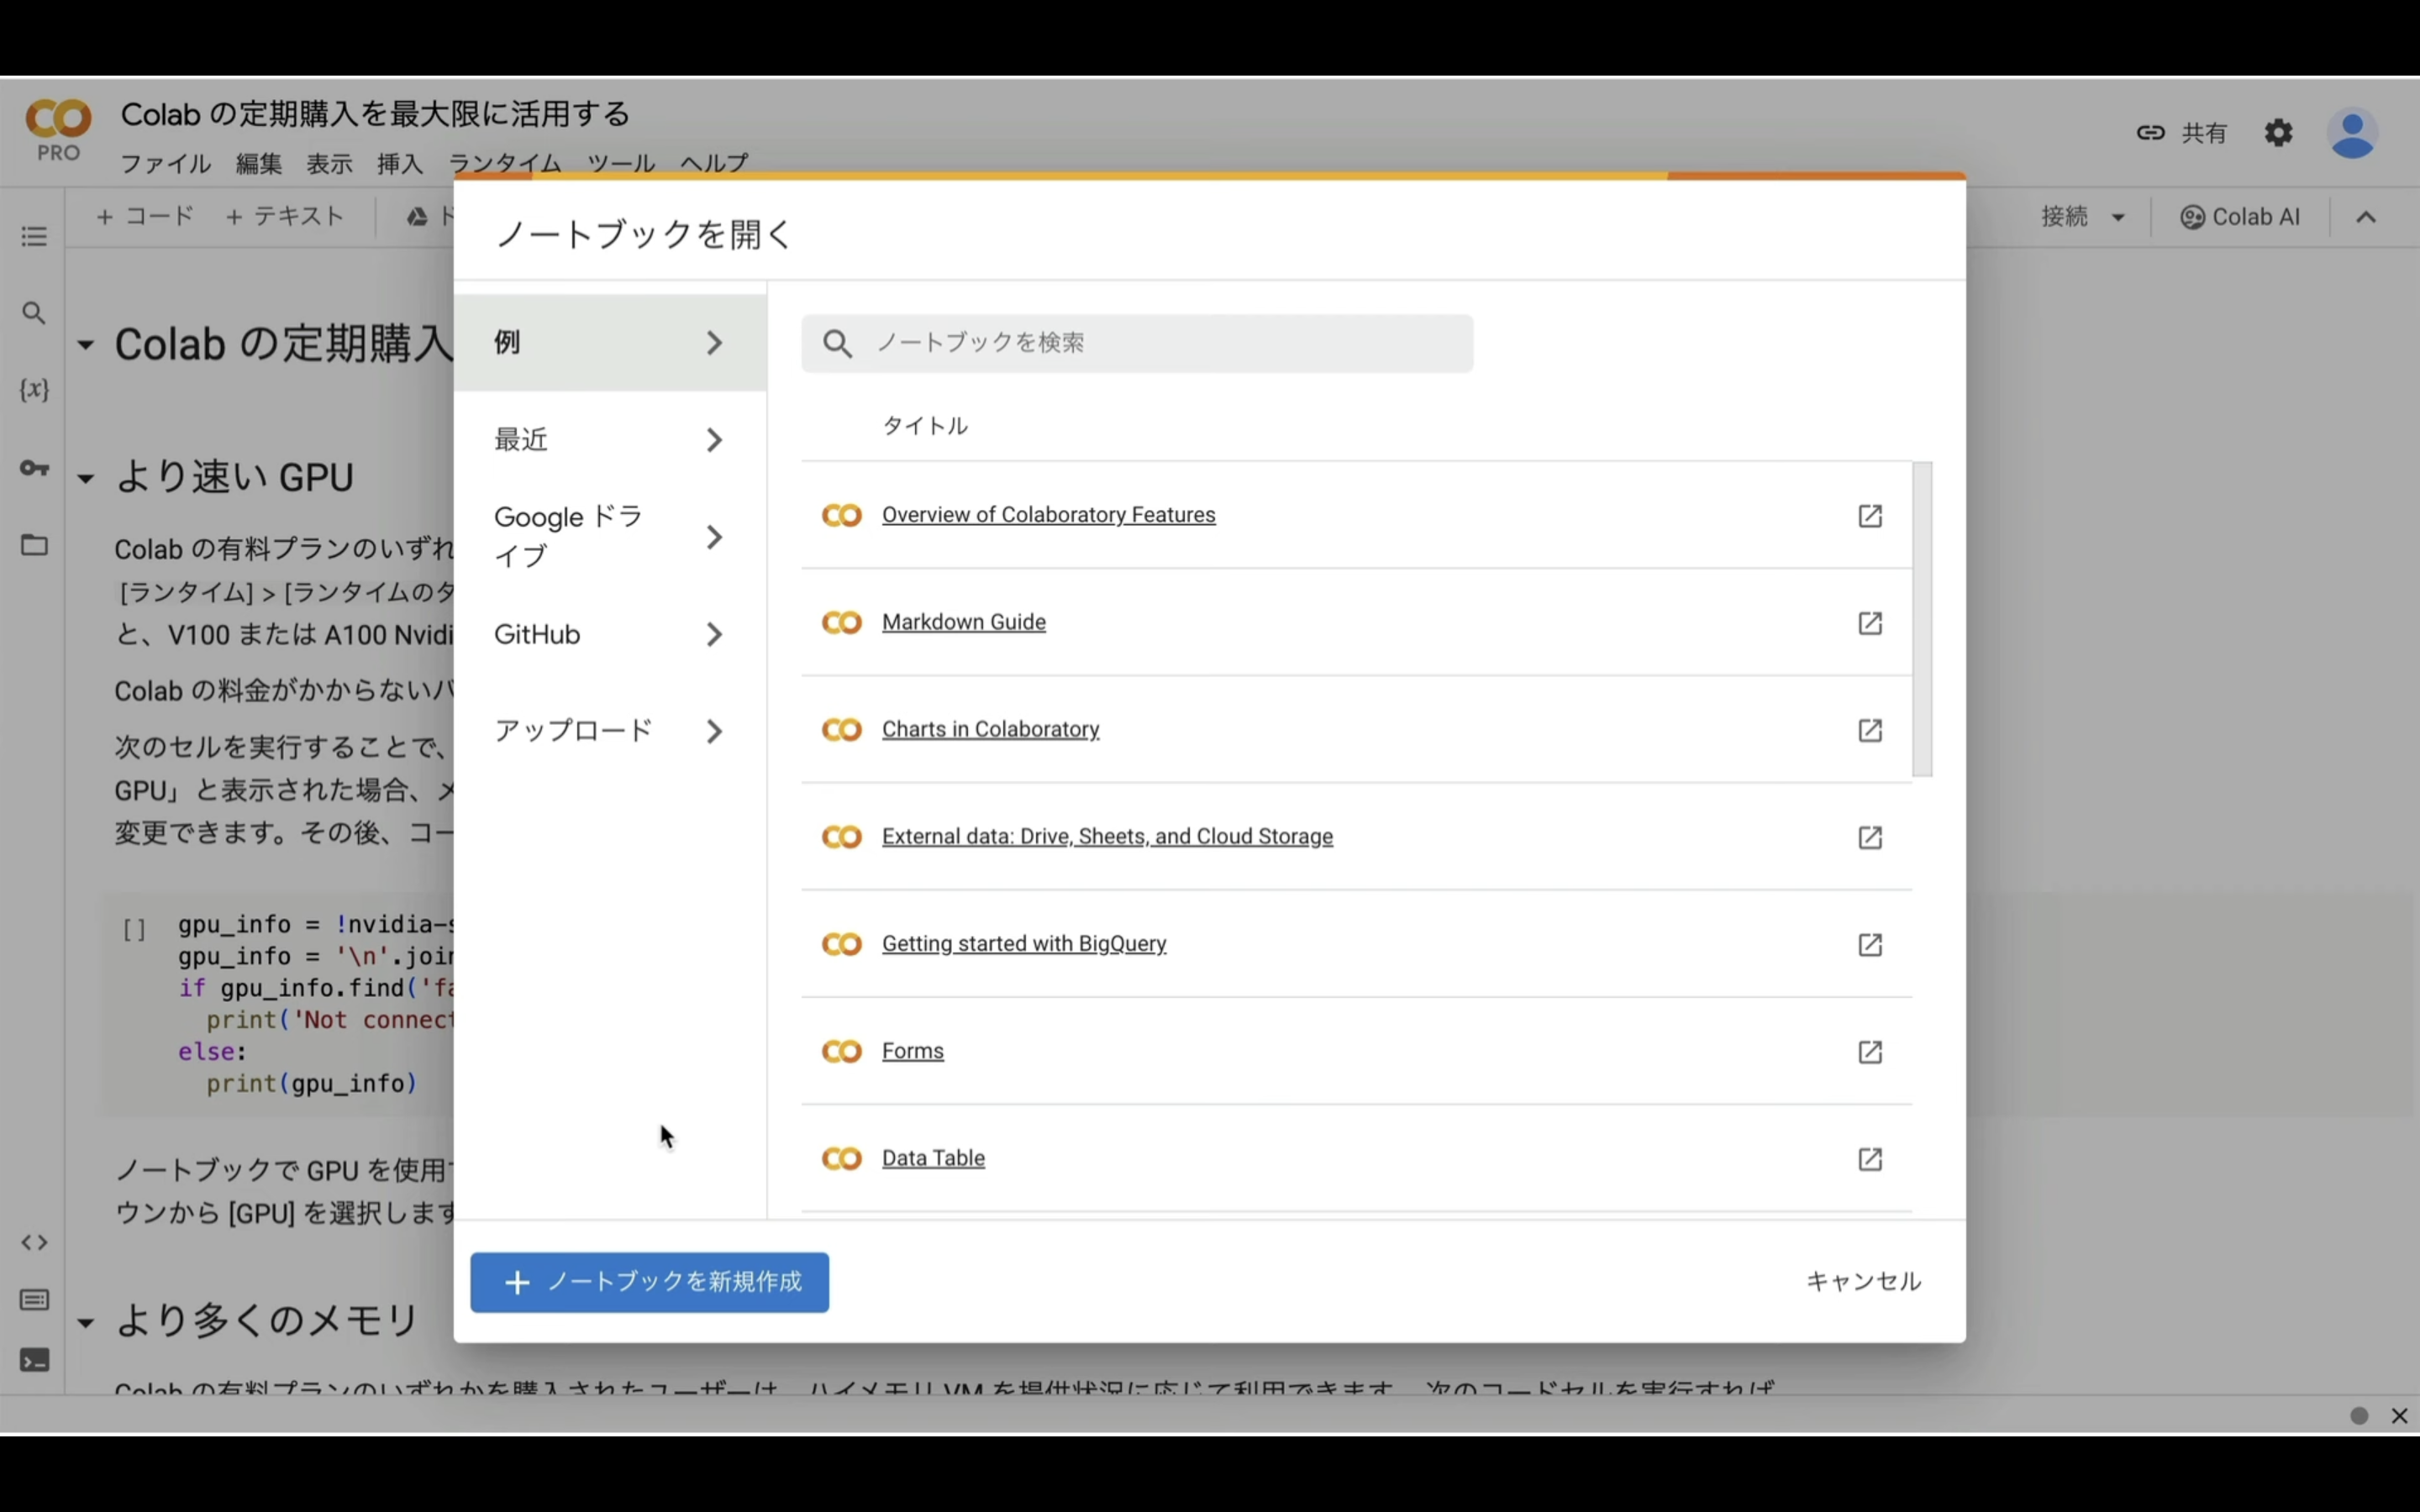
まずはGoogle Colabのサイトにアクセスします。
ここからの流れは下記に詳細リンクを貼っておきますので、そちらからご参照ください。
これでAutomatic1111のコードを実行するための準備が整いました。
それでは早速、実行していきましょう。
ComfyUIを実行する
概要欄に貼ってあるテキストをコピーします。
%cd /content

%env TF_CPP_MIN_LOG_LEVEL=1

!apt -y update -qq
!wget https://github.com/camenduru/gperftools/releases/download/v1.0/libtcmalloc_minimal.so.4 -O /content/libtcmalloc_minimal.so.4
%env LD_PRELOAD=/content/libtcmalloc_minimal.so.4

!apt -y install -qq aria2 libcairo2-dev pkg-config python3-dev
!pip install -q torch==2.0.1+cu118 torchvision==0.15.2+cu118 torchaudio==2.0.2+cu118 torchtext==0.15.2 torchdata==0.6.1 --extra-index-url https://download.pytorch.org/whl/cu118 -U
!pip install -q xformers==0.0.20 triton==2.0.0 gradio_client==0.2.7 httpx==0.24.1 -U

!git clone -b v2.4 https://github.com/camenduru/stable-diffusion-webui /content/sd-webui
!git clone https://huggingface.co/embed/negative /content/sd-webui/embeddings/negative
!git clone https://huggingface.co/embed/lora /content/sd-webui/models/Lora/positive
!aria2c --console-log-level=error -c -x 16 -s 16 -k 1M https://huggingface.co/embed/upscale/resolve/main/4x-UltraSharp.pth -d /content/sd-webui/models/ESRGAN -o 4x-UltraSharp.pth
!wget https://raw.githubusercontent.com/camenduru/stable-diffusion-webui-scripts/main/run_n_times.py -O /content/sd-webui/scripts/run_n_times.py
!git clone https://github.com/deforum-art/deforum-for-automatic1111-webui /content/sd-webui/extensions/deforum-for-automatic1111-webui
!git clone https://github.com/camenduru/stable-diffusion-webui-images-browser /content/sd-webui/extensions/stable-diffusion-webui-images-browser
!git clone https://github.com/camenduru/stable-diffusion-webui-huggingface /content/sd-webui/extensions/stable-diffusion-webui-huggingface
!git clone https://github.com/camenduru/sd-civitai-browser /content/sd-webui/extensions/sd-civitai-browser
!git clone https://github.com/kohya-ss/sd-webui-additional-networks /content/sd-webui/extensions/sd-webui-additional-networks
!git clone https://github.com/Mikubill/sd-webui-controlnet /content/sd-webui/extensions/sd-webui-controlnet
!git clone https://github.com/fkunn1326/openpose-editor /content/sd-webui/extensions/openpose-editor
!git clone https://github.com/jexom/sd-webui-depth-lib /content/sd-webui/extensions/sd-webui-depth-lib
!git clone https://github.com/hnmr293/posex /content/sd-webui/extensions/posex
!git clone https://github.com/nonnonstop/sd-webui-3d-open-pose-editor /content/sd-webui/extensions/sd-webui-3d-open-pose-editor
!git clone https://github.com/camenduru/sd-webui-tunnels /content/sd-webui/extensions/sd-webui-tunnels
!git clone https://github.com/etherealxx/batchlinks-webui /content/sd-webui/extensions/batchlinks-webui
!git clone https://github.com/camenduru/stable-diffusion-webui-catppuccin /content/sd-webui/extensions/stable-diffusion-webui-catppuccin
!git clone https://github.com/ashen-sensored/stable-diffusion-webui-two-shot /content/sd-webui/extensions/stable-diffusion-webui-two-shot
!git clone https://github.com/thomasasfk/sd-webui-aspect-ratio-helper /content/sd-webui/extensions/sd-webui-aspect-ratio-helper
!git clone https://github.com/tjm35/asymmetric-tiling-sd-webui /content/sd-webui/extensions/asymmetric-tiling-sd-webui
%cd /content/sd-webui
!git reset --hard
!git -C /content/sd-webui/repositories/stable-diffusion-stability-ai reset --hard

## checkpointファイルのダウンロード
!aria2c --console-log-level=error -c -x 16 -s 16 -k 1M https://civitai.com/api/download/models/177164 -d /content/sd-webui/models/Stable-diffusion/ -o braBeautifulRealistic_v70.safetensors

!sed -i -e '''/from modules import launch_utils/a\import os''' /content/sd-webui/launch.py
!sed -i -e '''/        prepare_environment()/a\        os.system\(f\"""sed -i -e ''\"s/dict()))/dict())).cuda()/g\"'' /content/sd-webui/repositories/stable-diffusion-stability-ai/ldm/util.py""")''' /content/sd-webui/launch.py
!sed -i -e 's/\["sd_model_checkpoint"\]/\["sd_model_checkpoint","sd_vae","CLIP_stop_at_last_layers"\]/g' /content/sd-webui/modules/shared.py

!python launch.py --listen --xformers --enable-insecure-extension-access  --theme dark --gradio-queue --multiple
テキストをコピーしたら、Google Colabの画面に戻り、テキストボックスに先ほどコピーしたテキストを貼り付け再生ボタンを押します。

これで貼り付けたテキストの内容が実行されます。
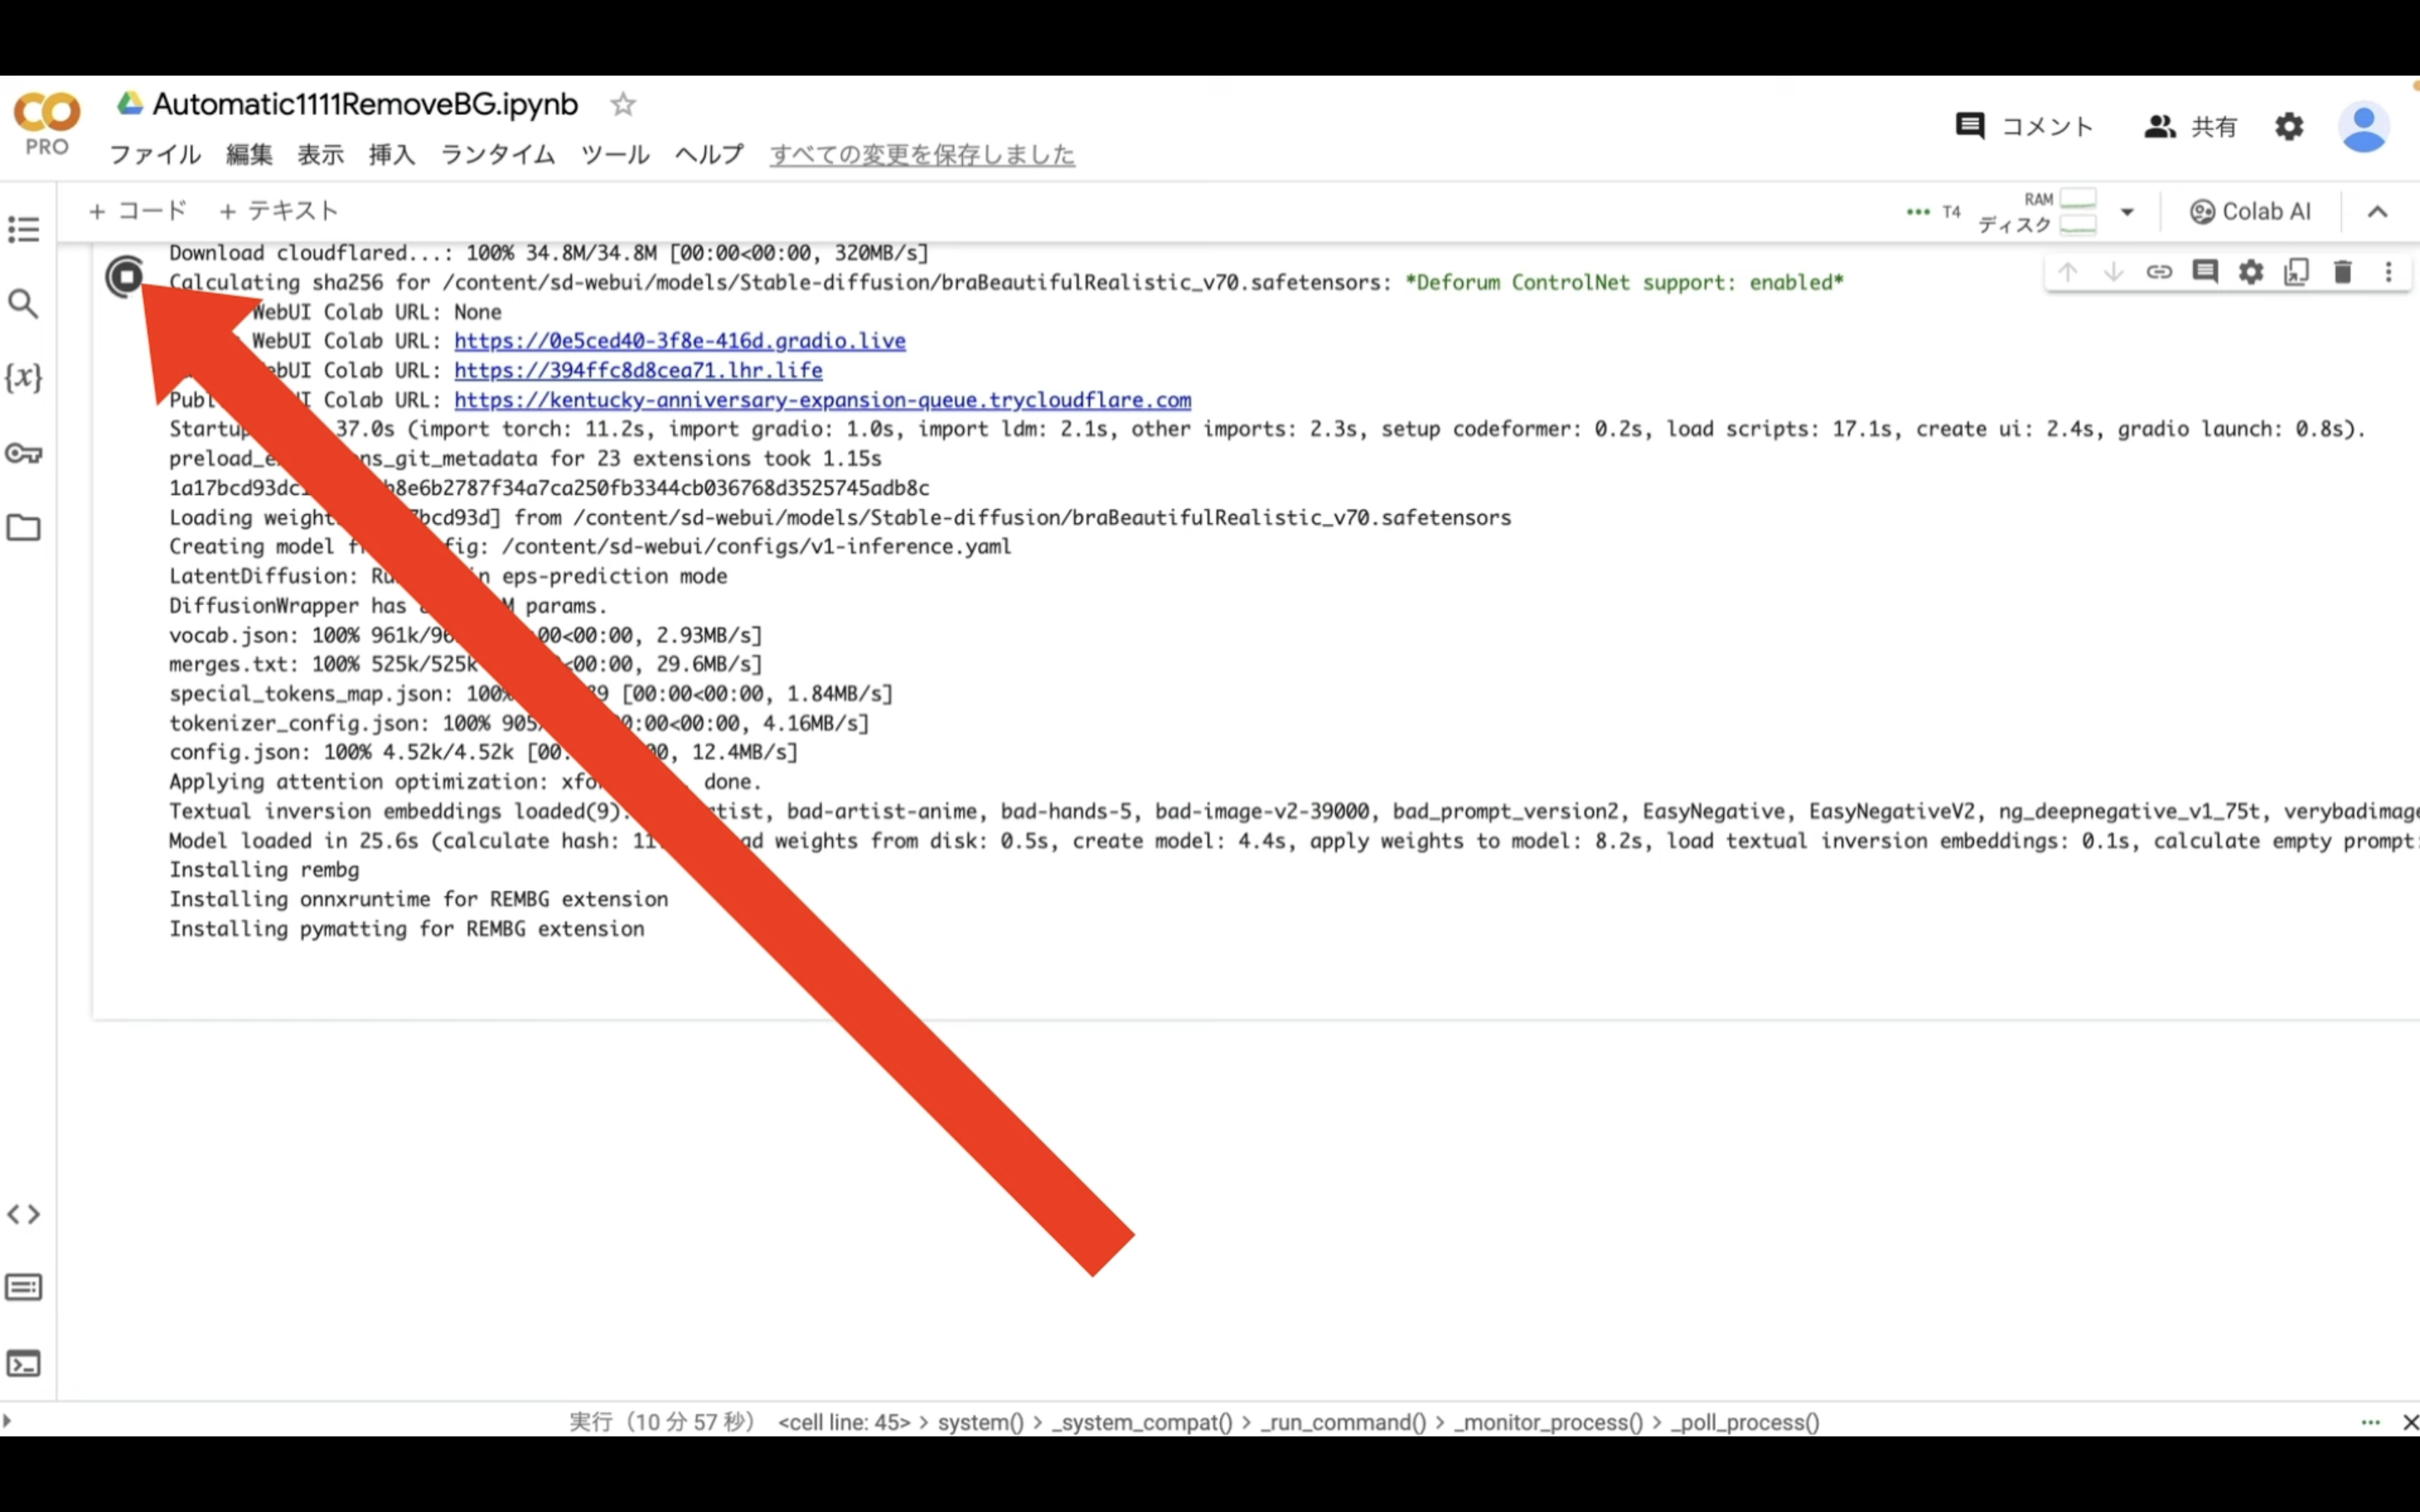
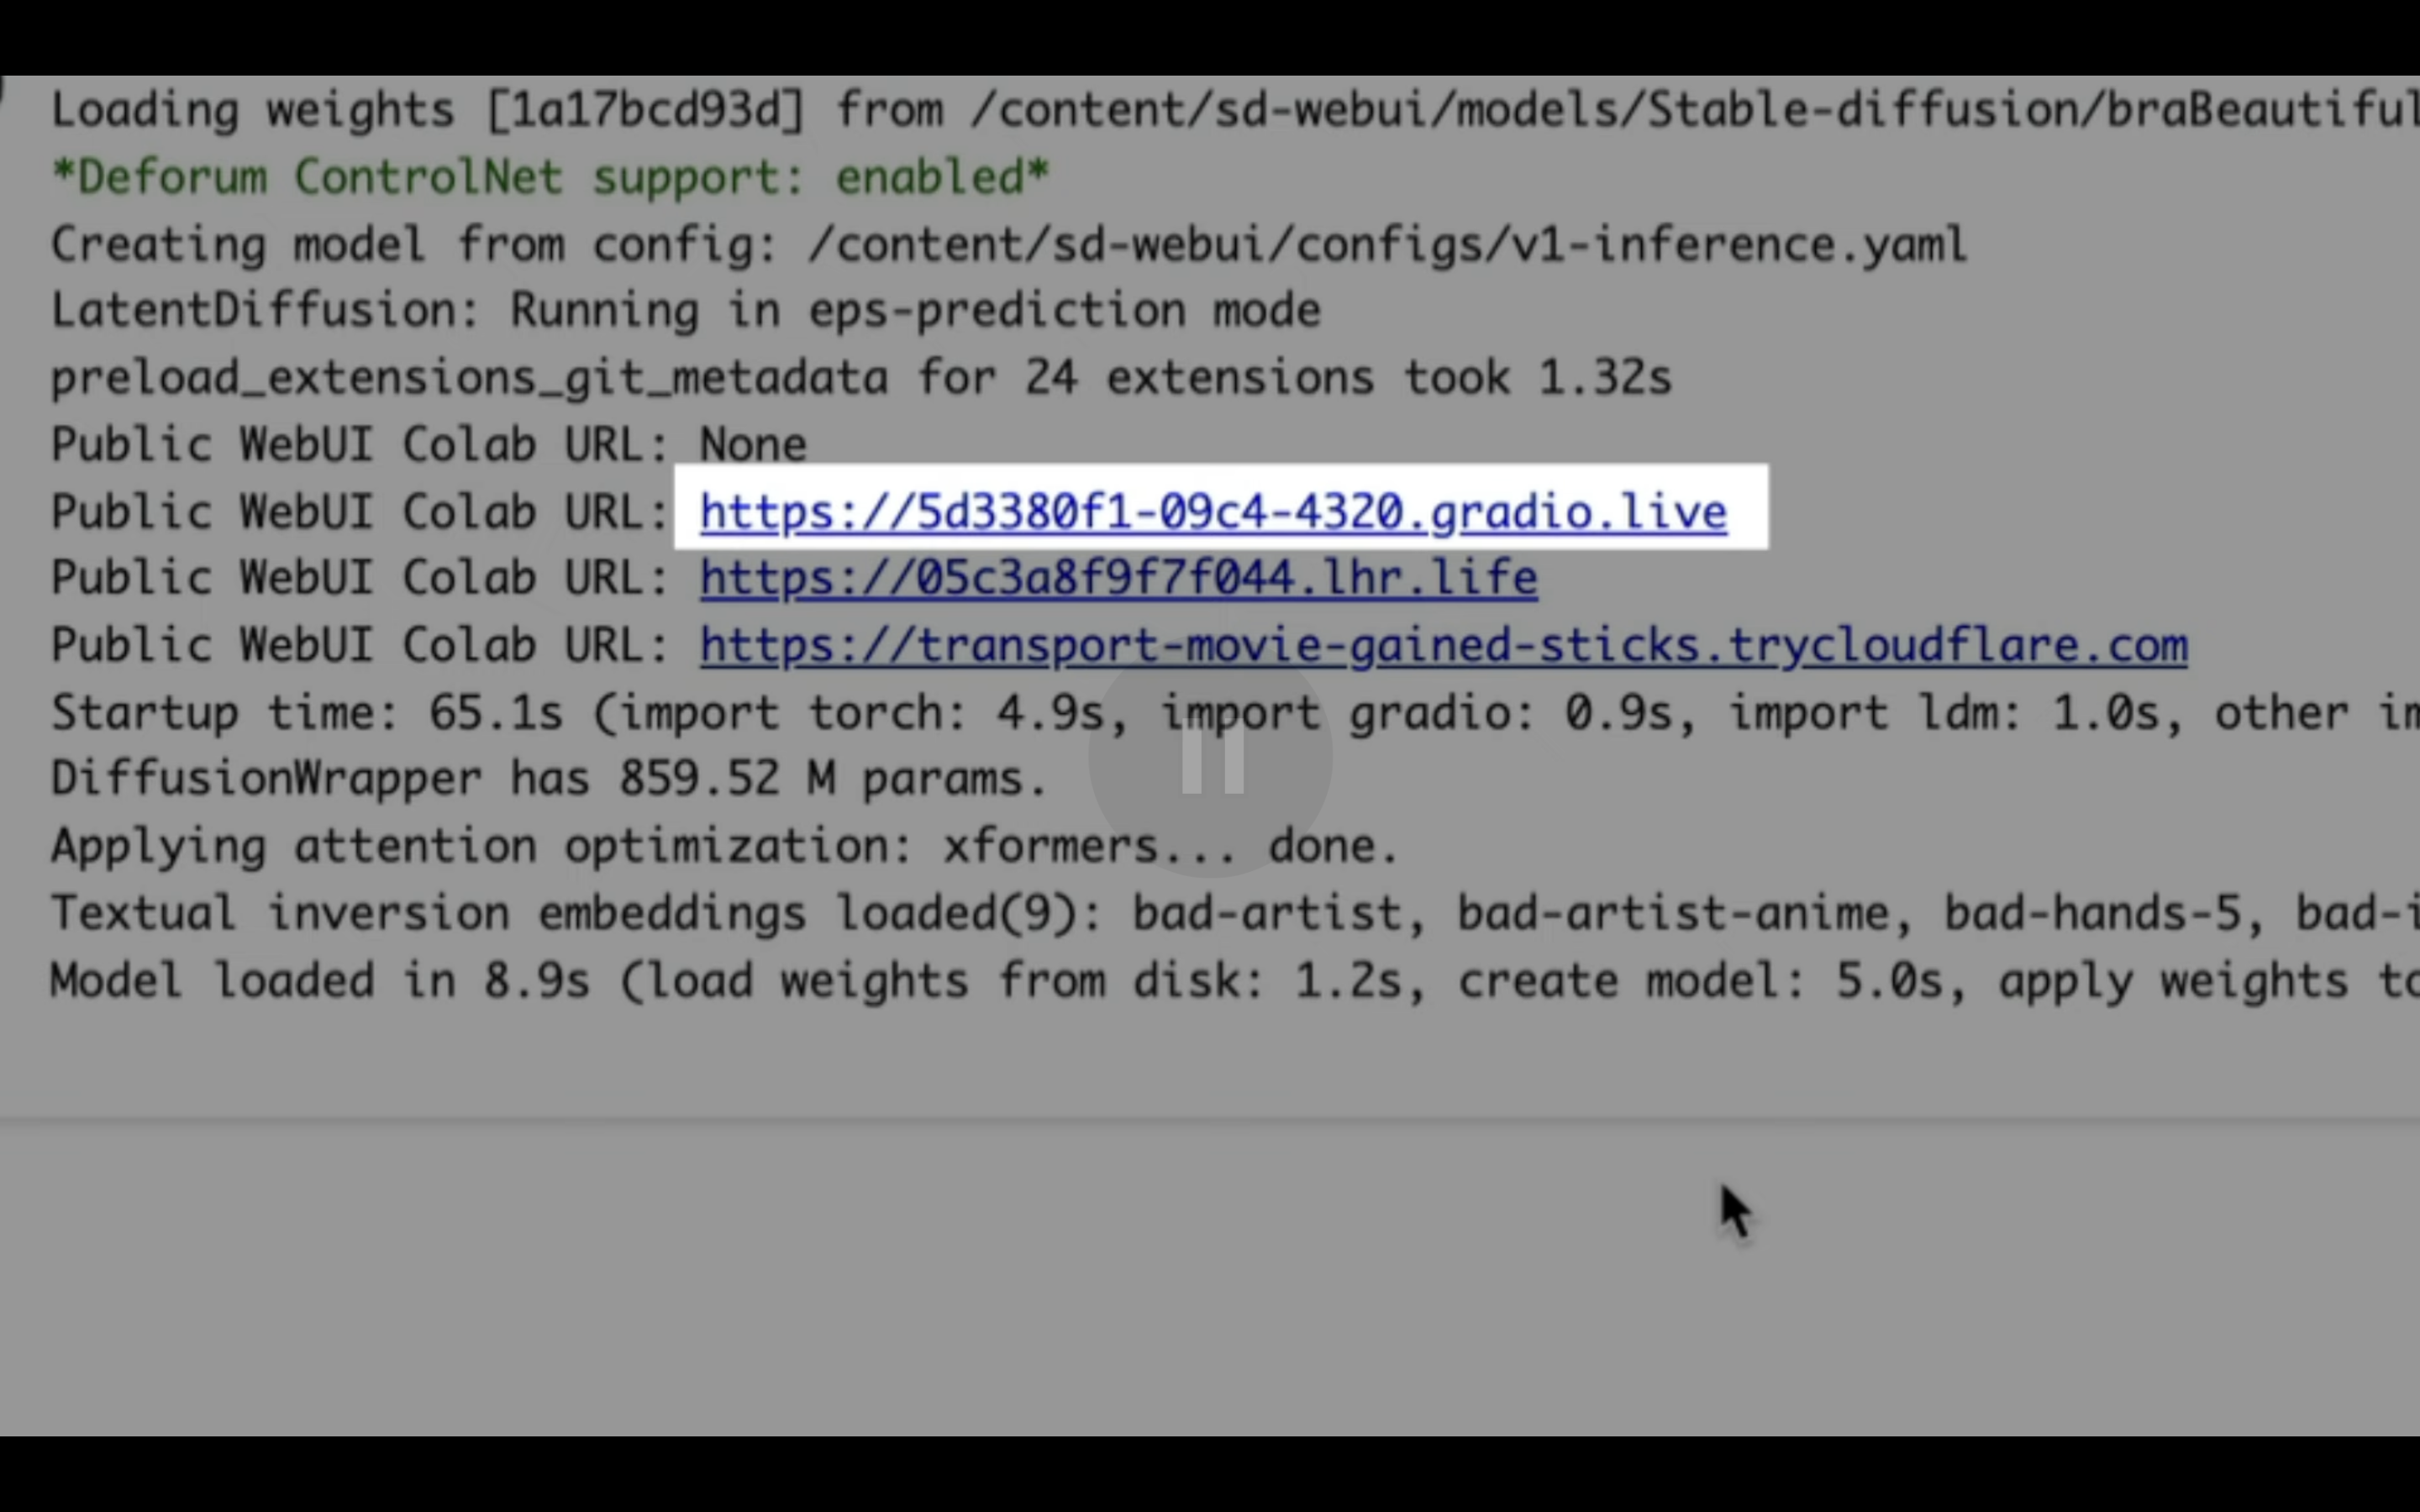
この処理には5分以上かかると思います。
しばらく待っていると、このようなリンクが表示されます。
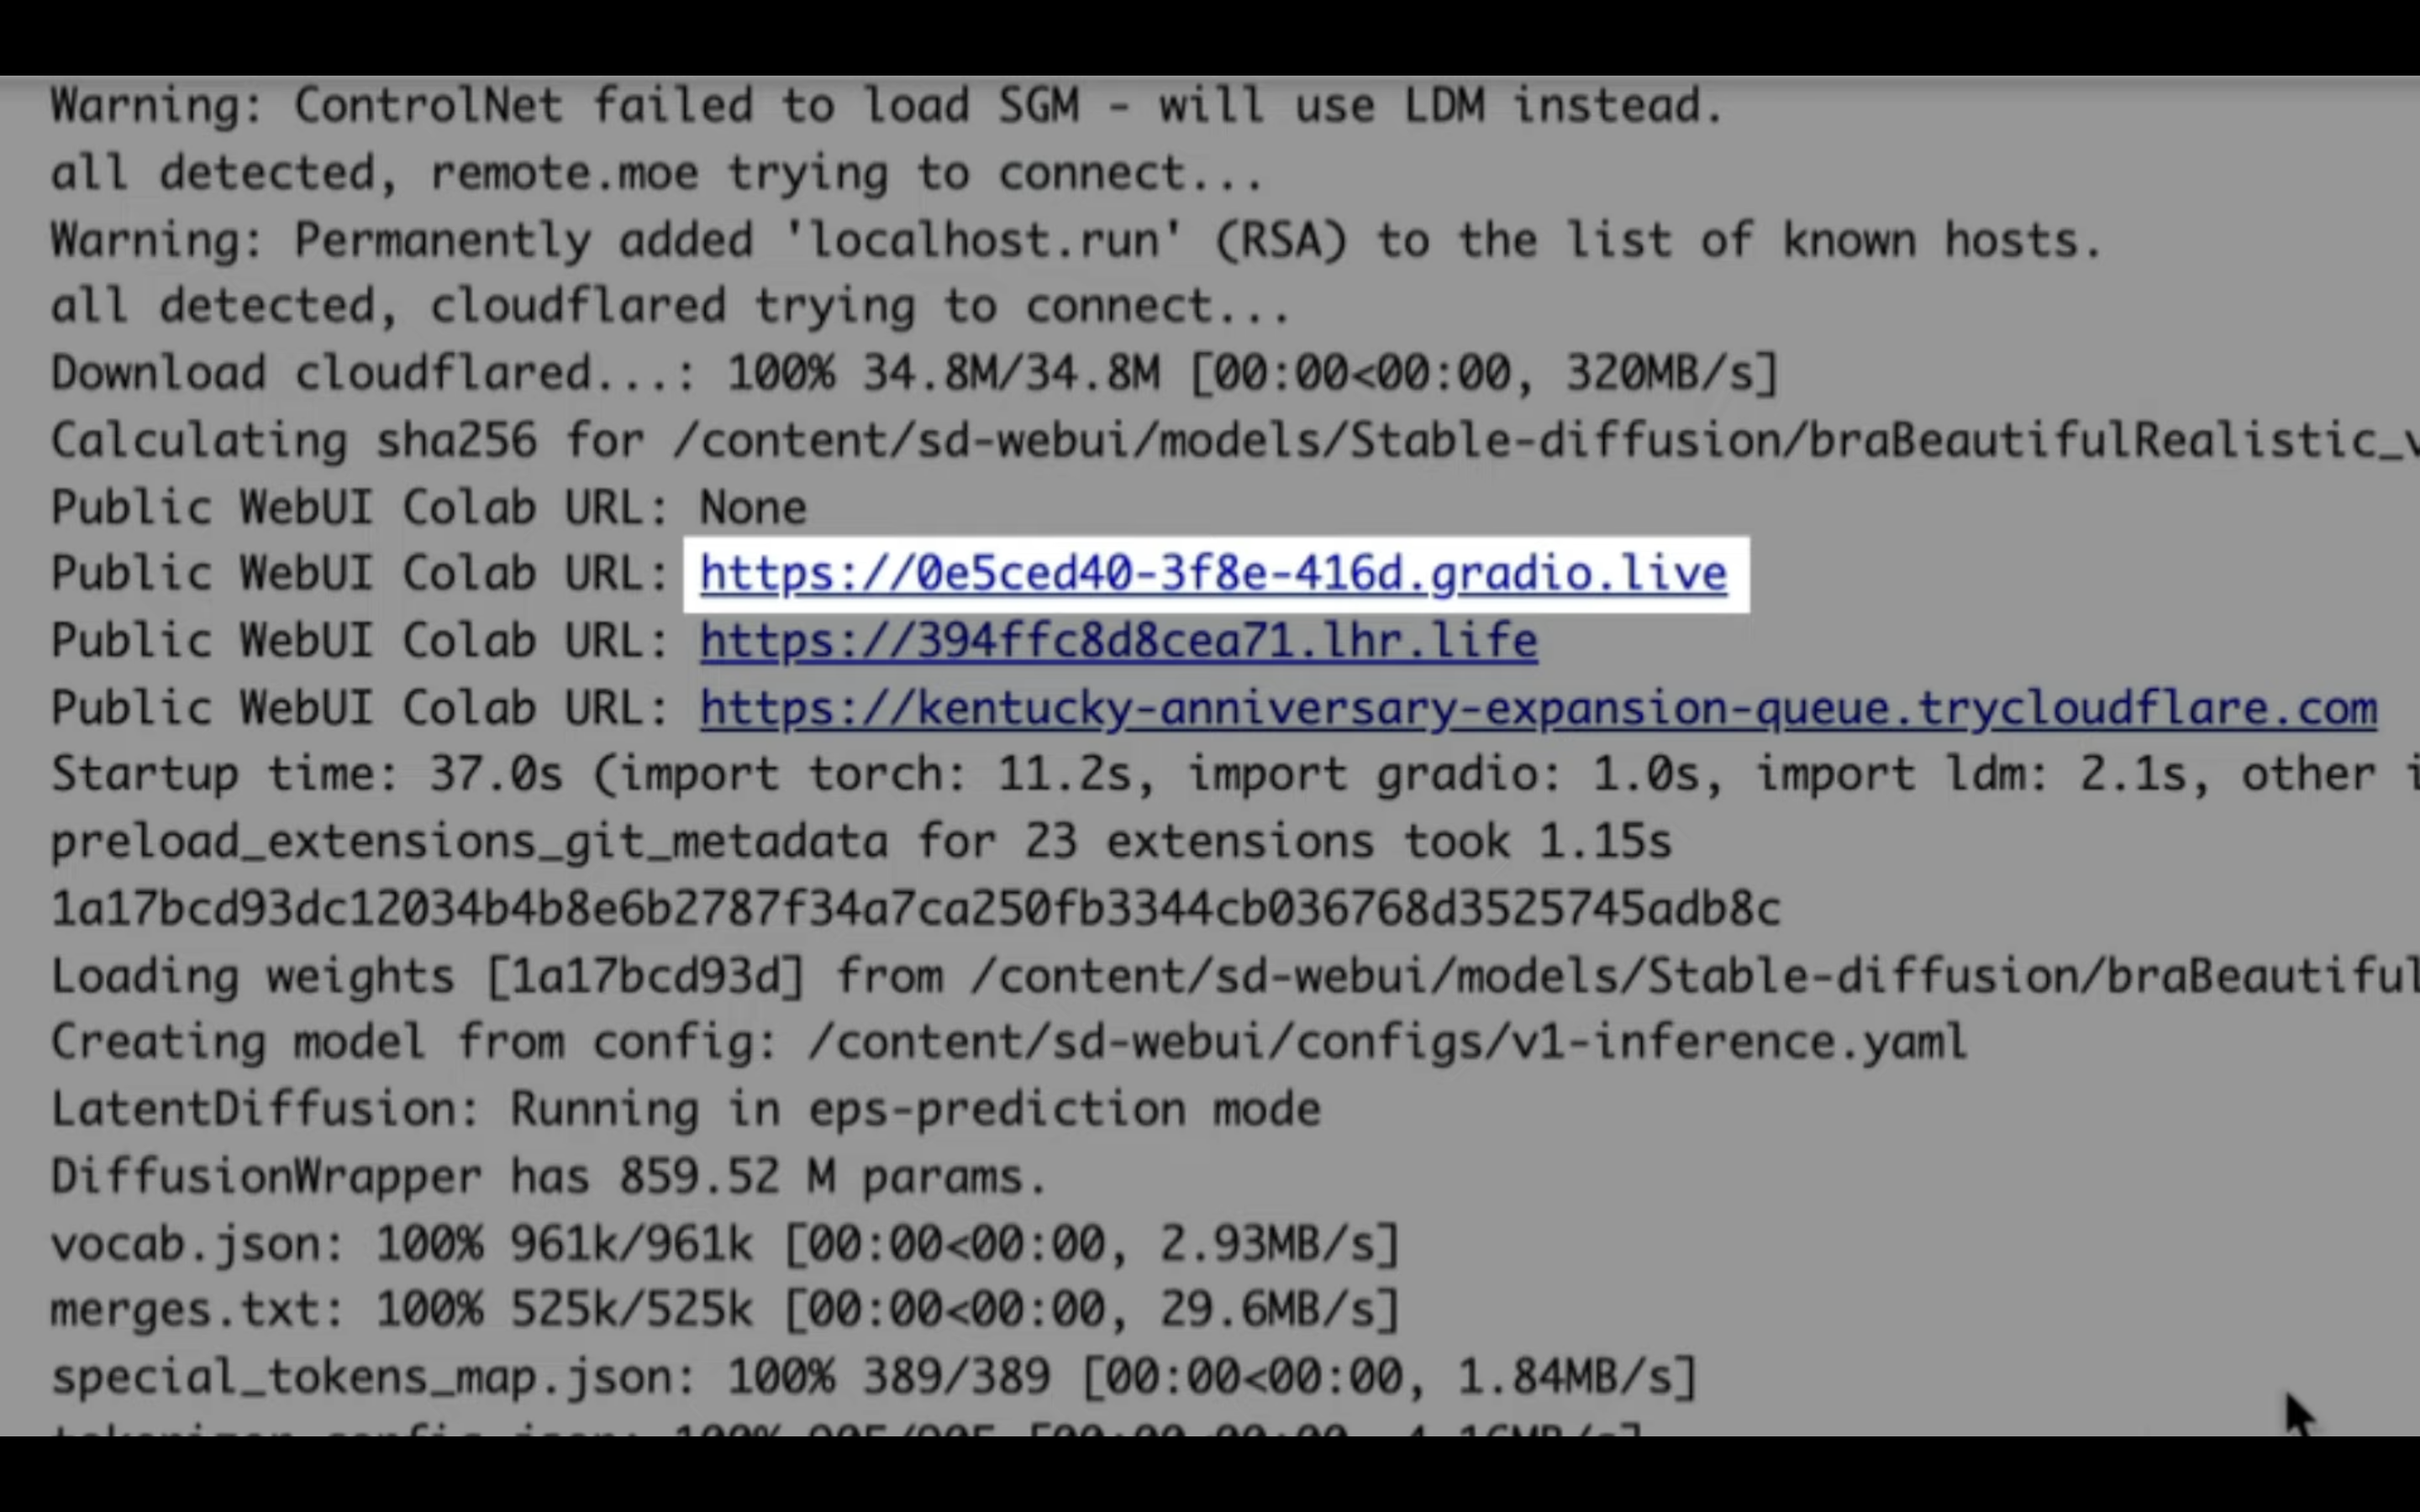
このようなリンクが表示されたら、「gradio」と書かれているリンクをクリックします。
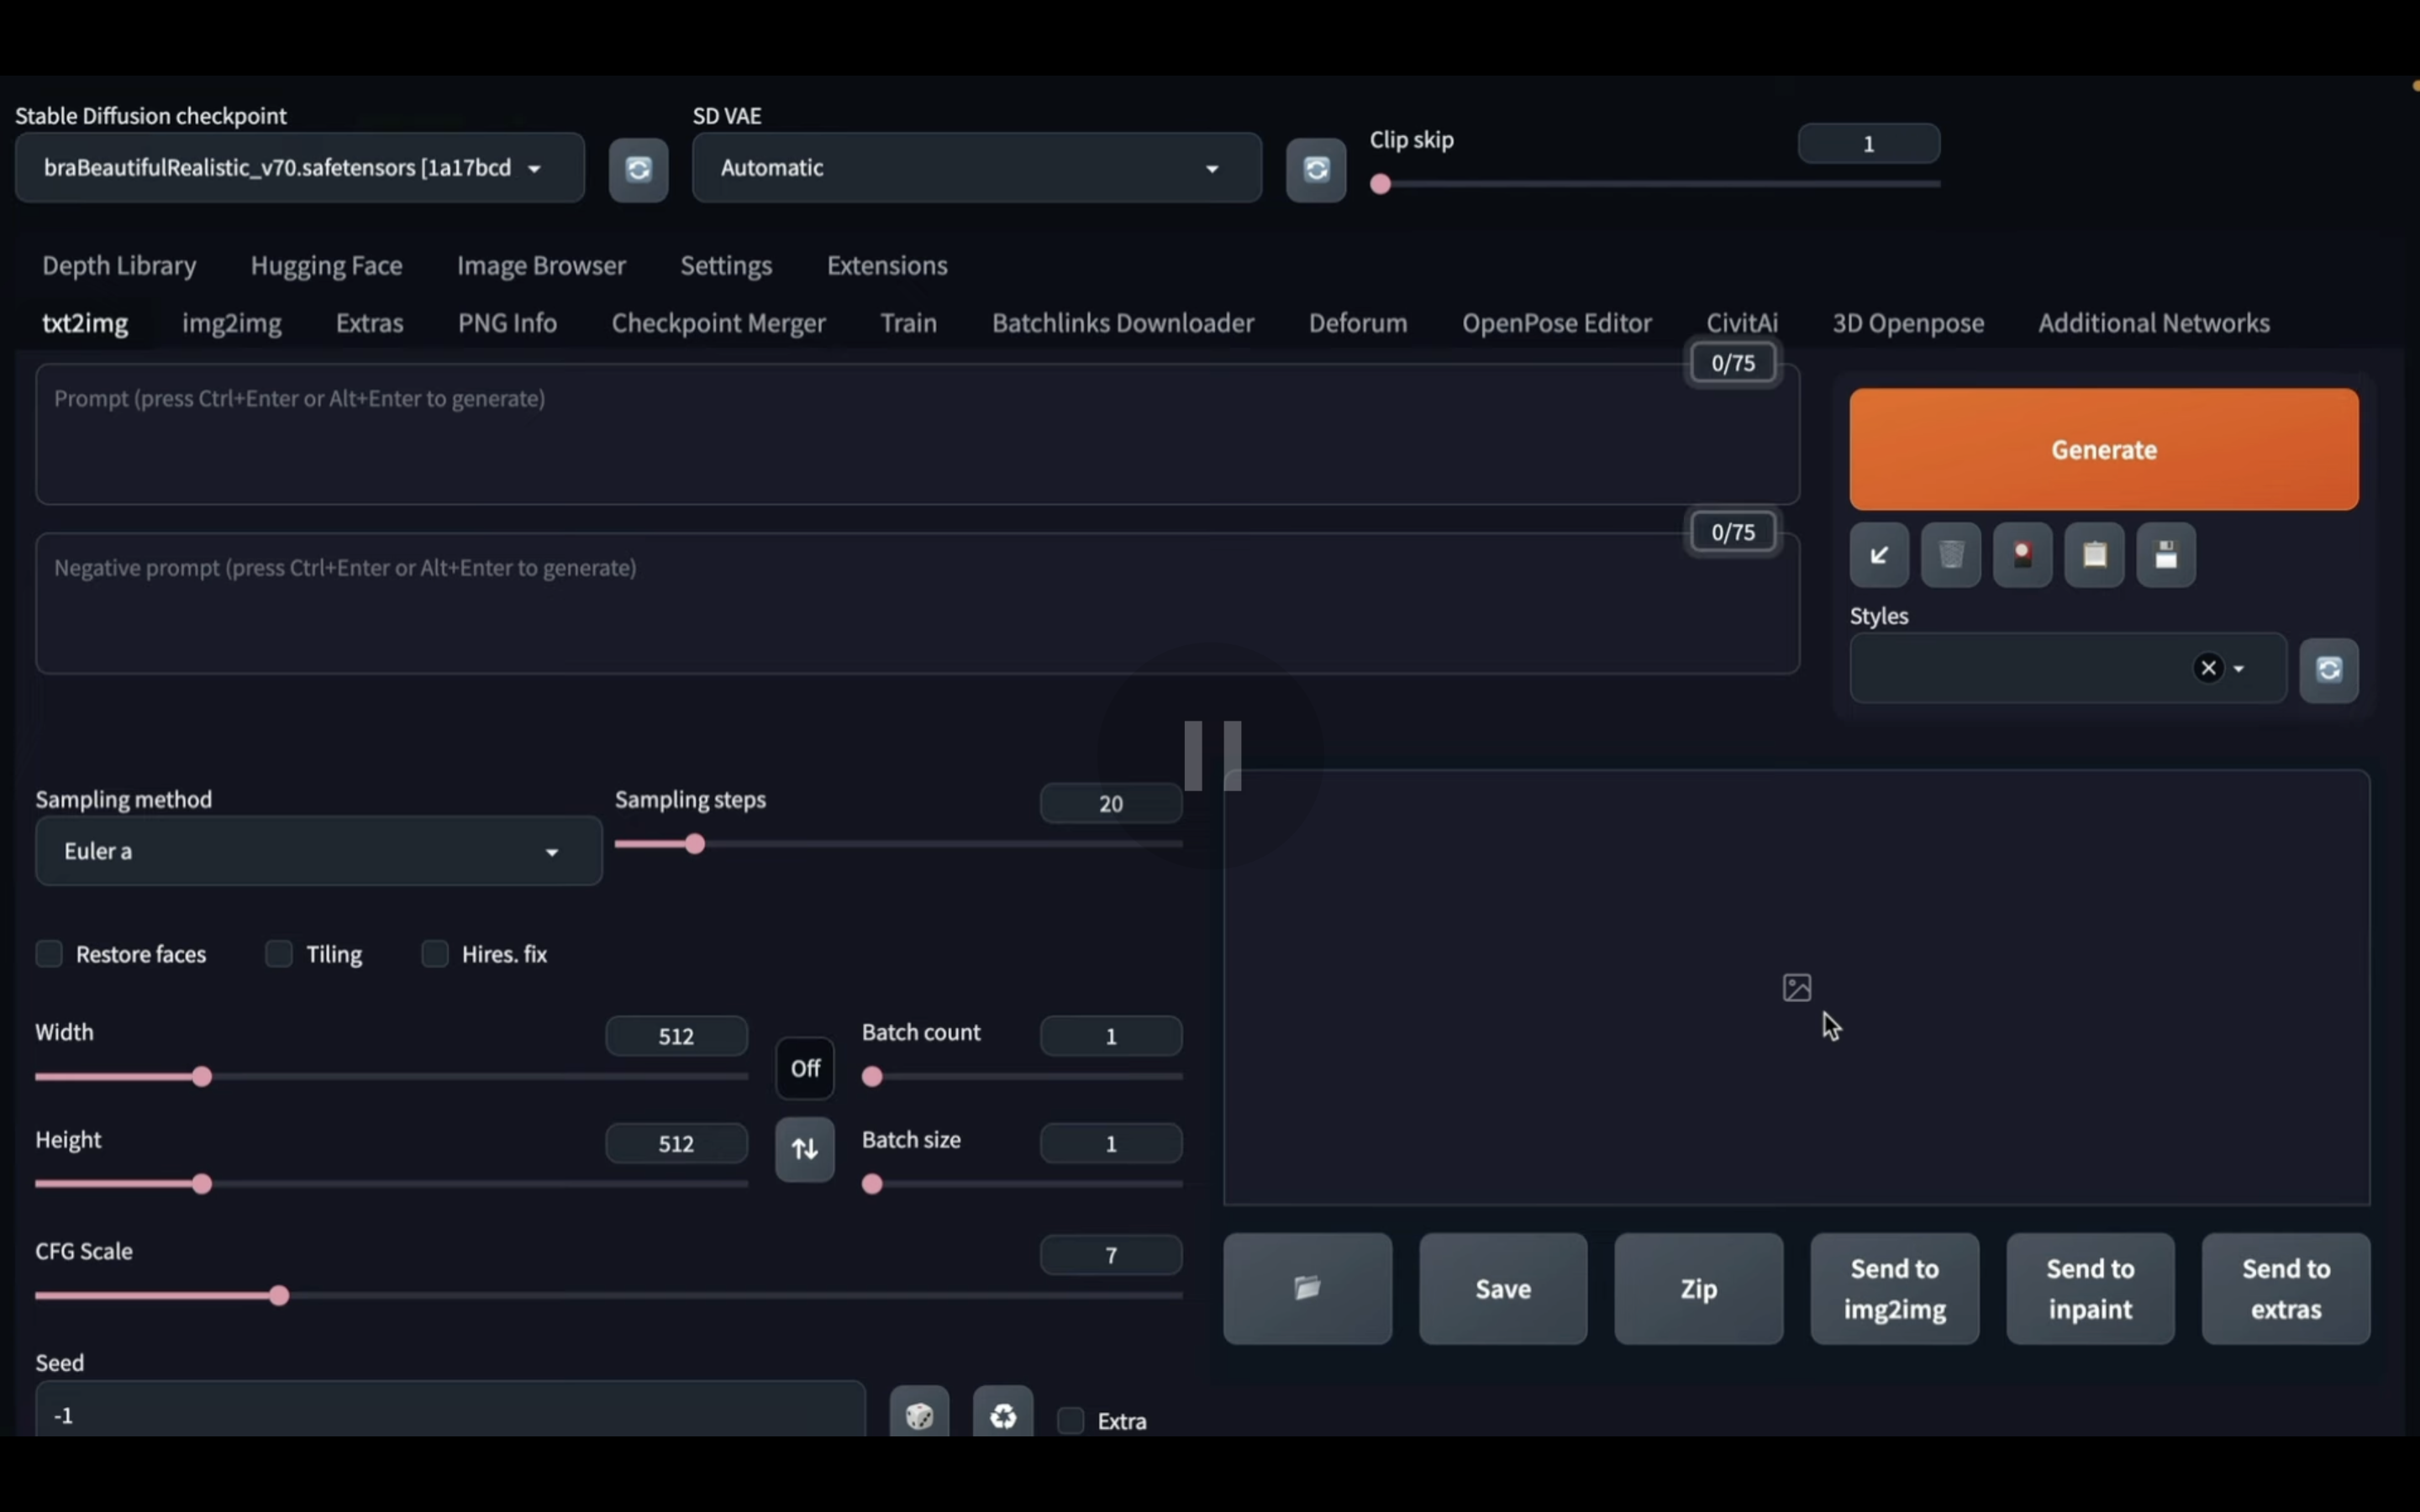
そうするとAutomatic1111の画面が表示されます。
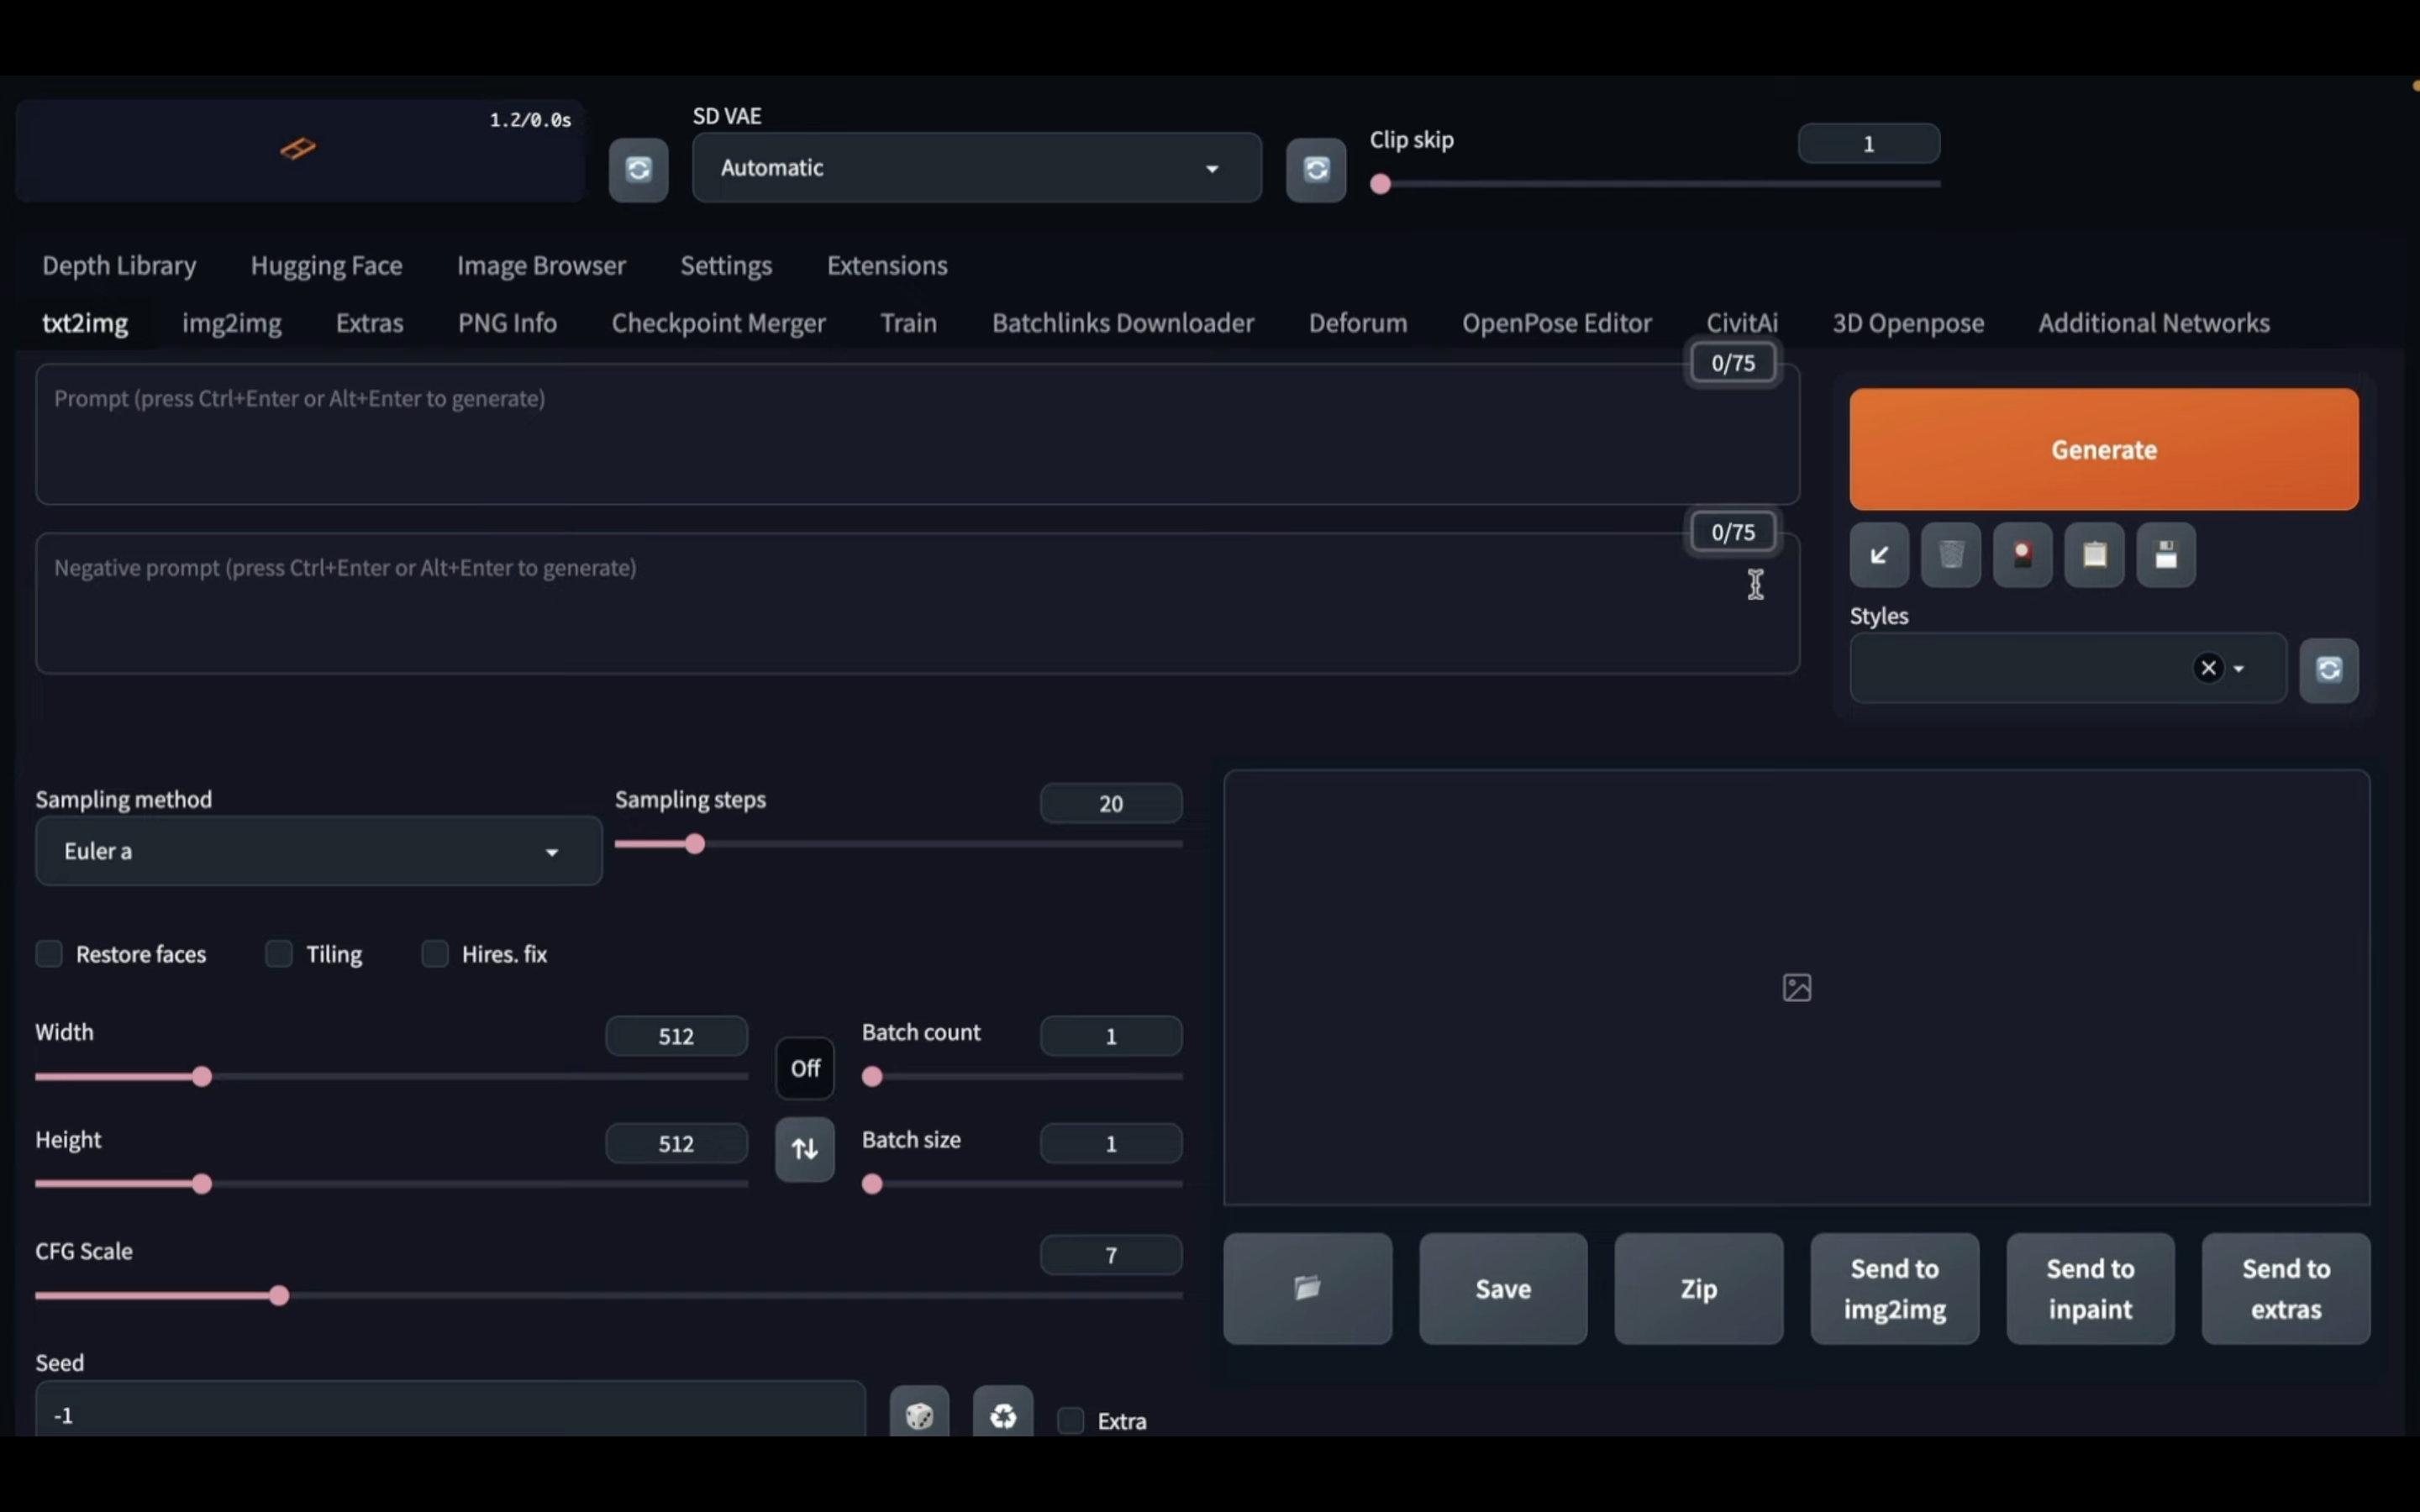
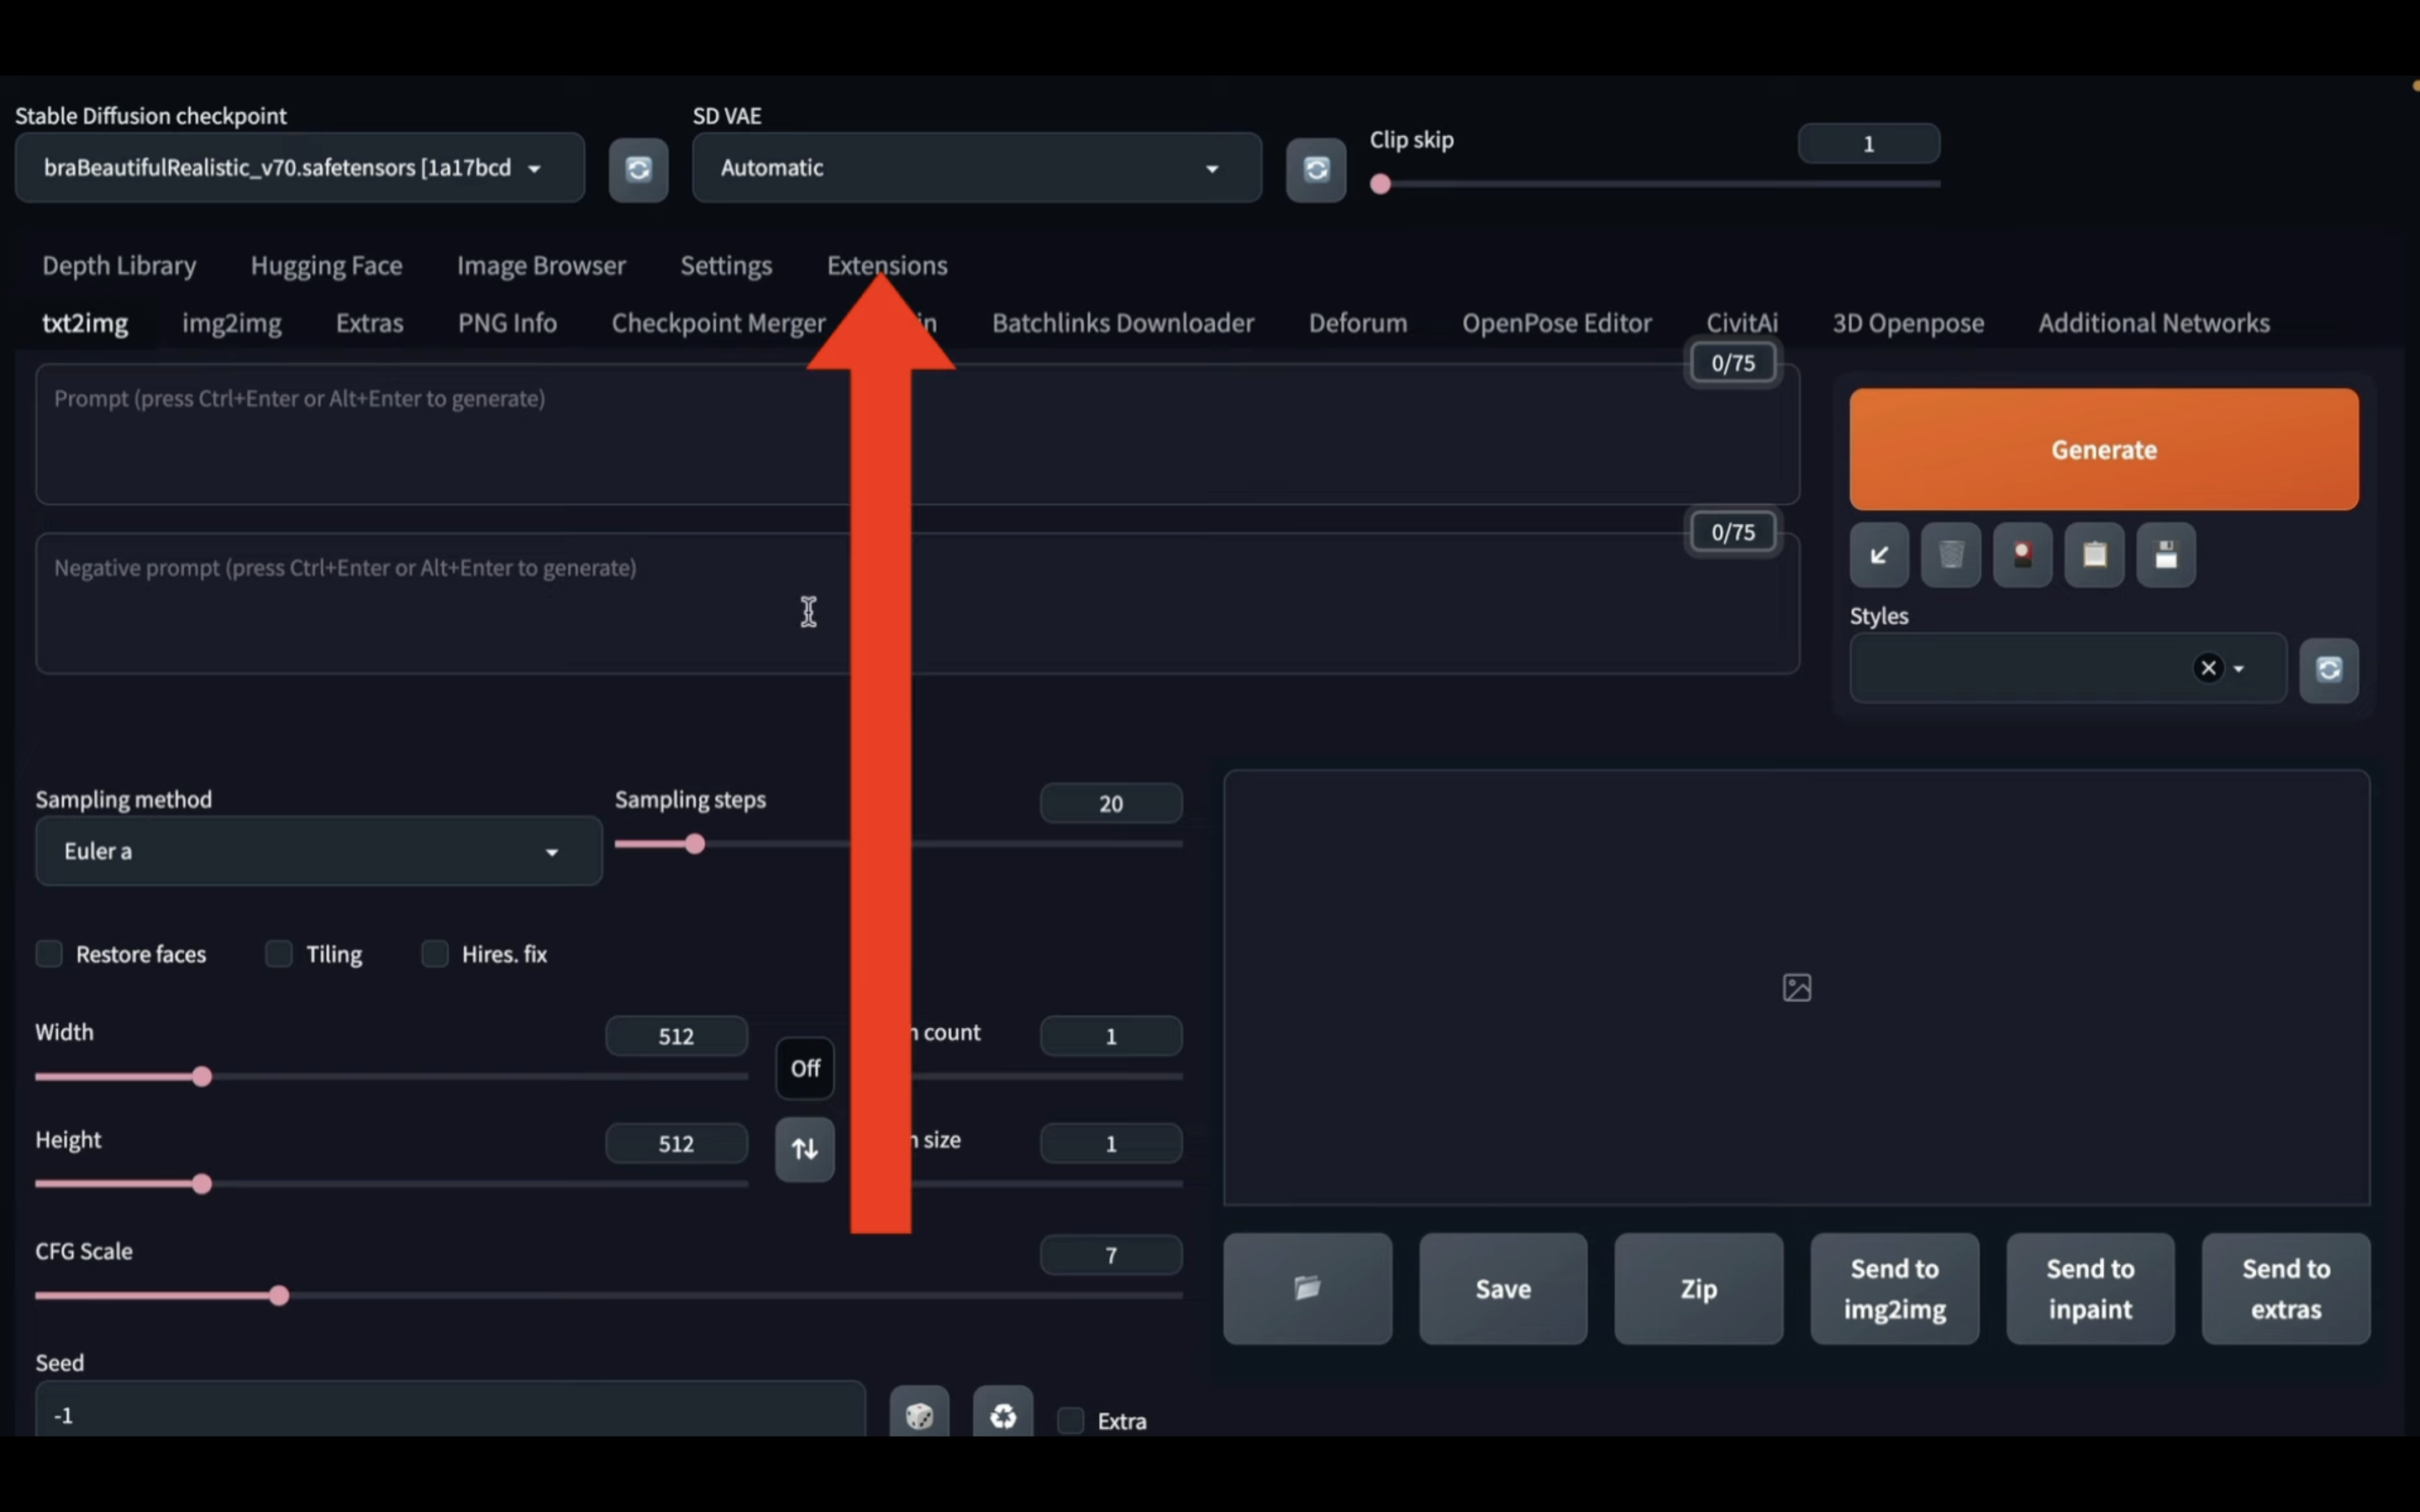
この画面が表示されたら、「Extentions」と書かれているタブをクリックします。
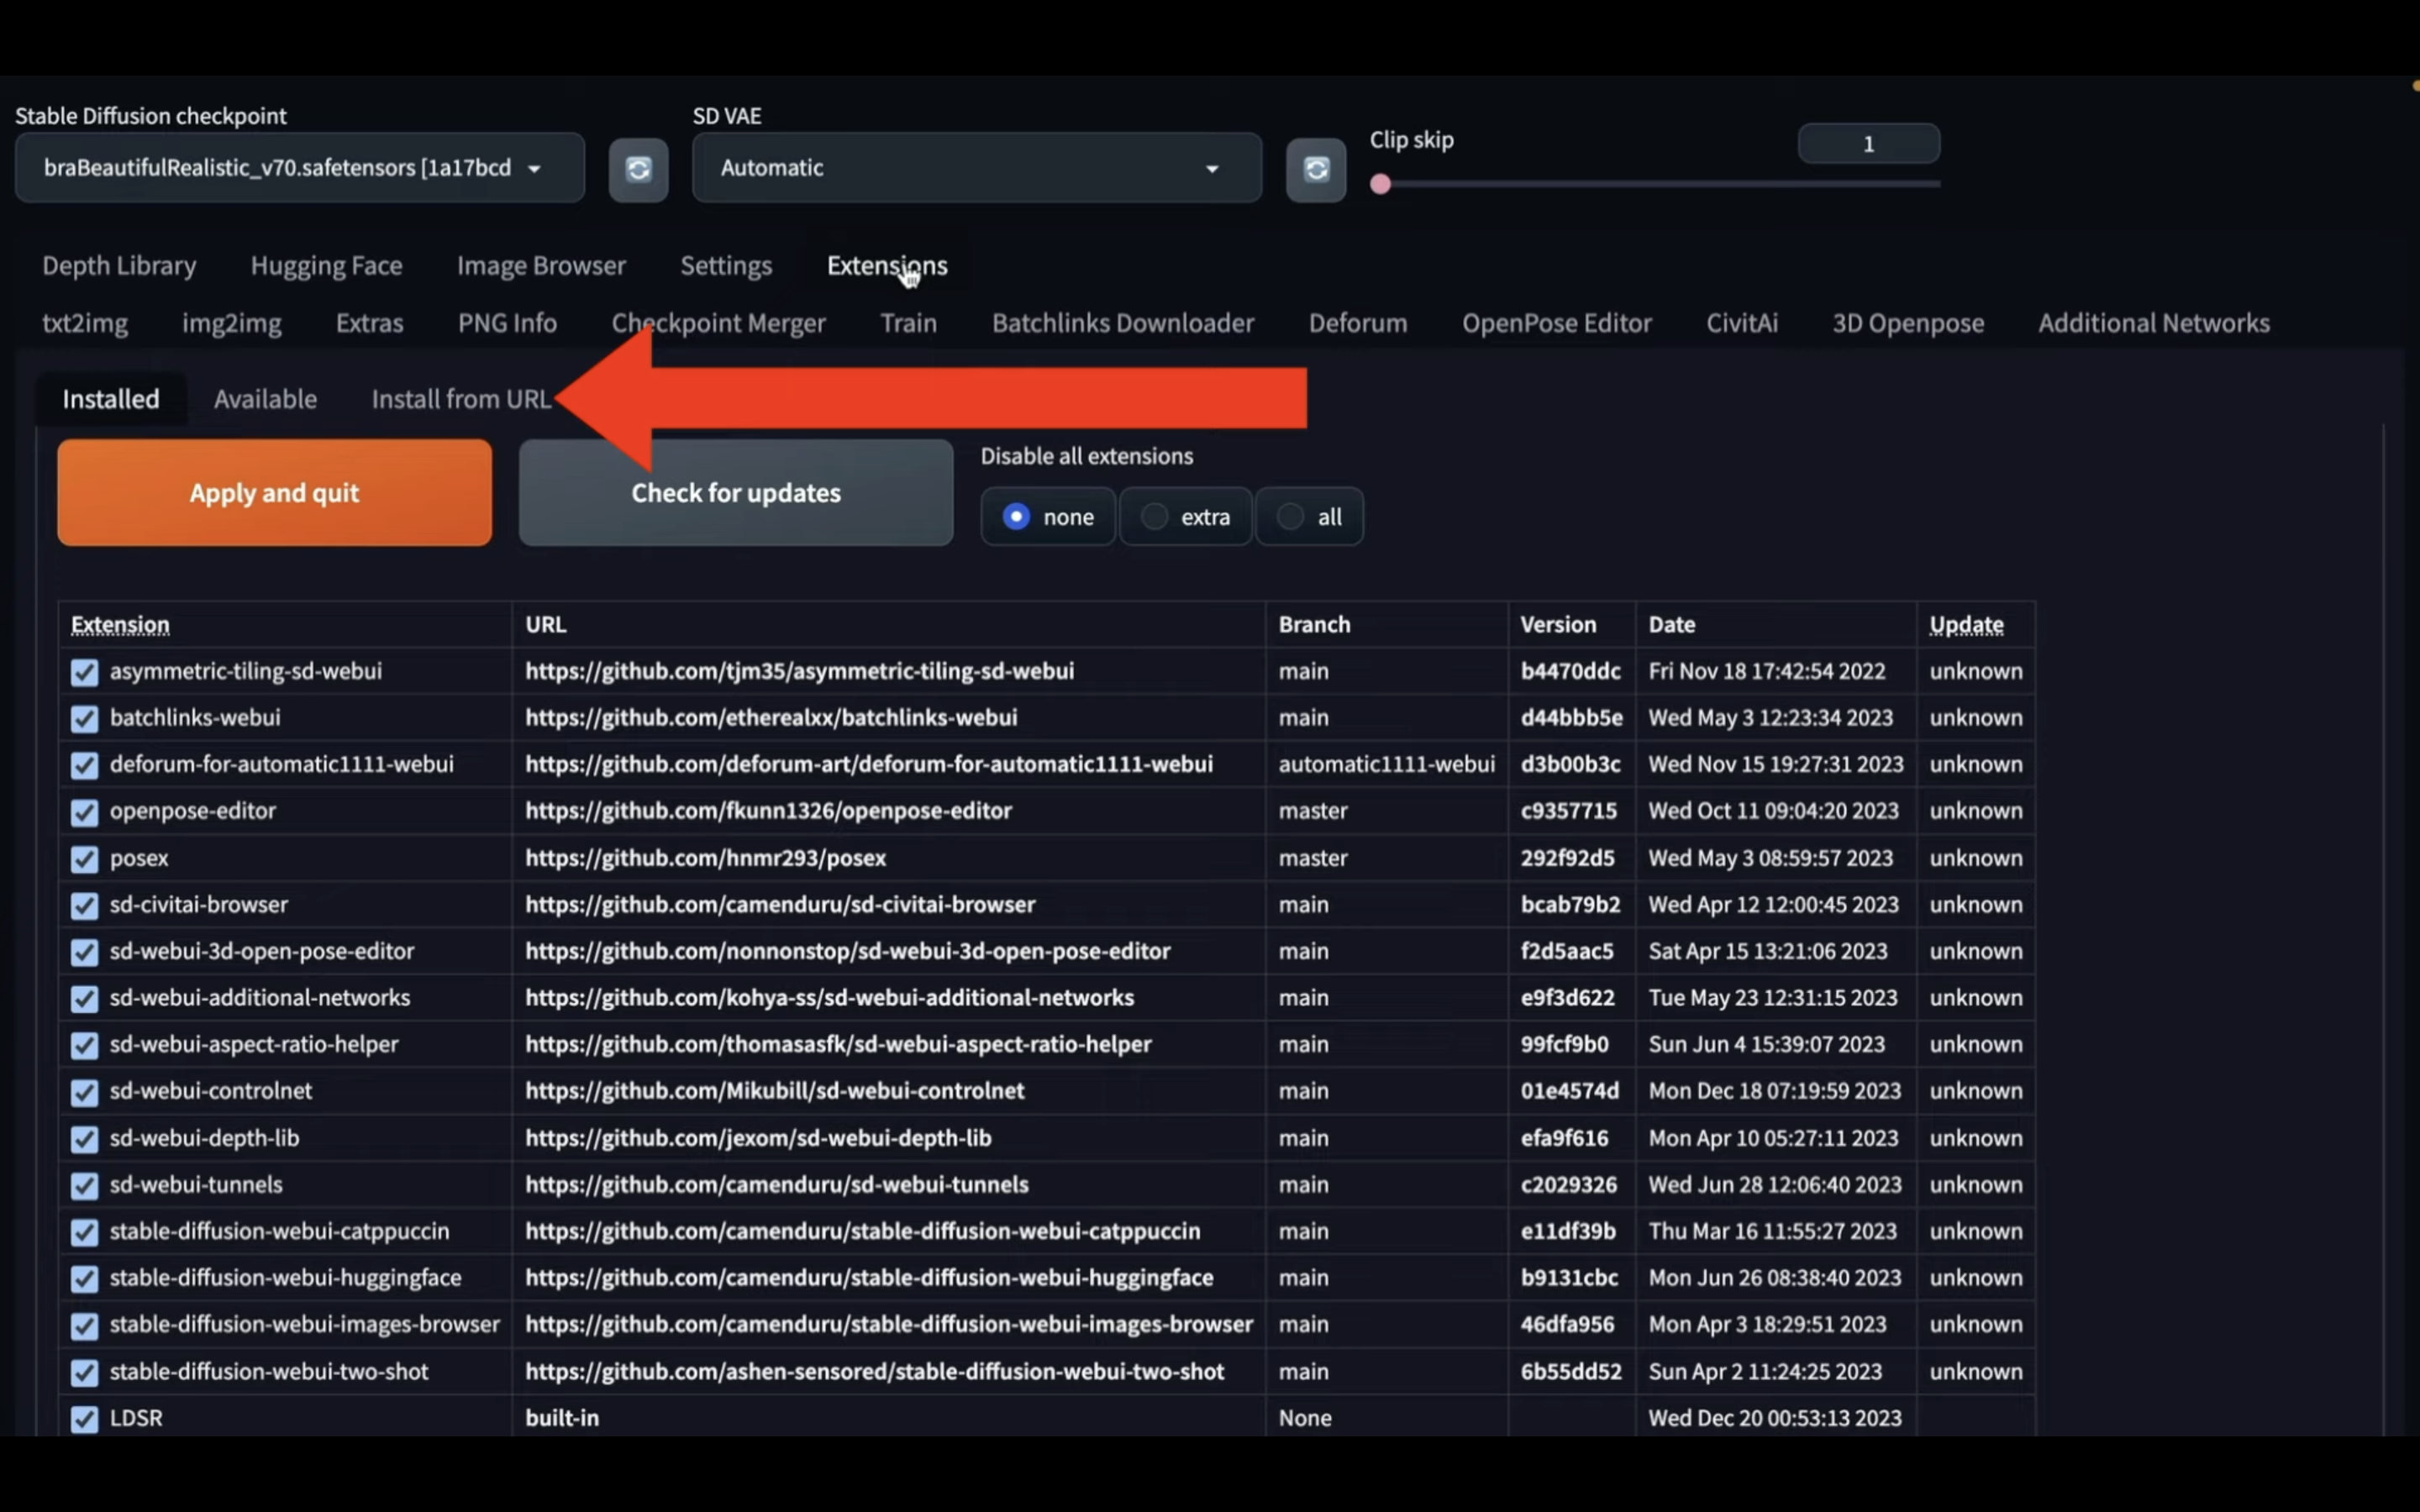
エクステンションの設定画面が表示されたら、「Install from URL」と書かれているタブをクリックします。
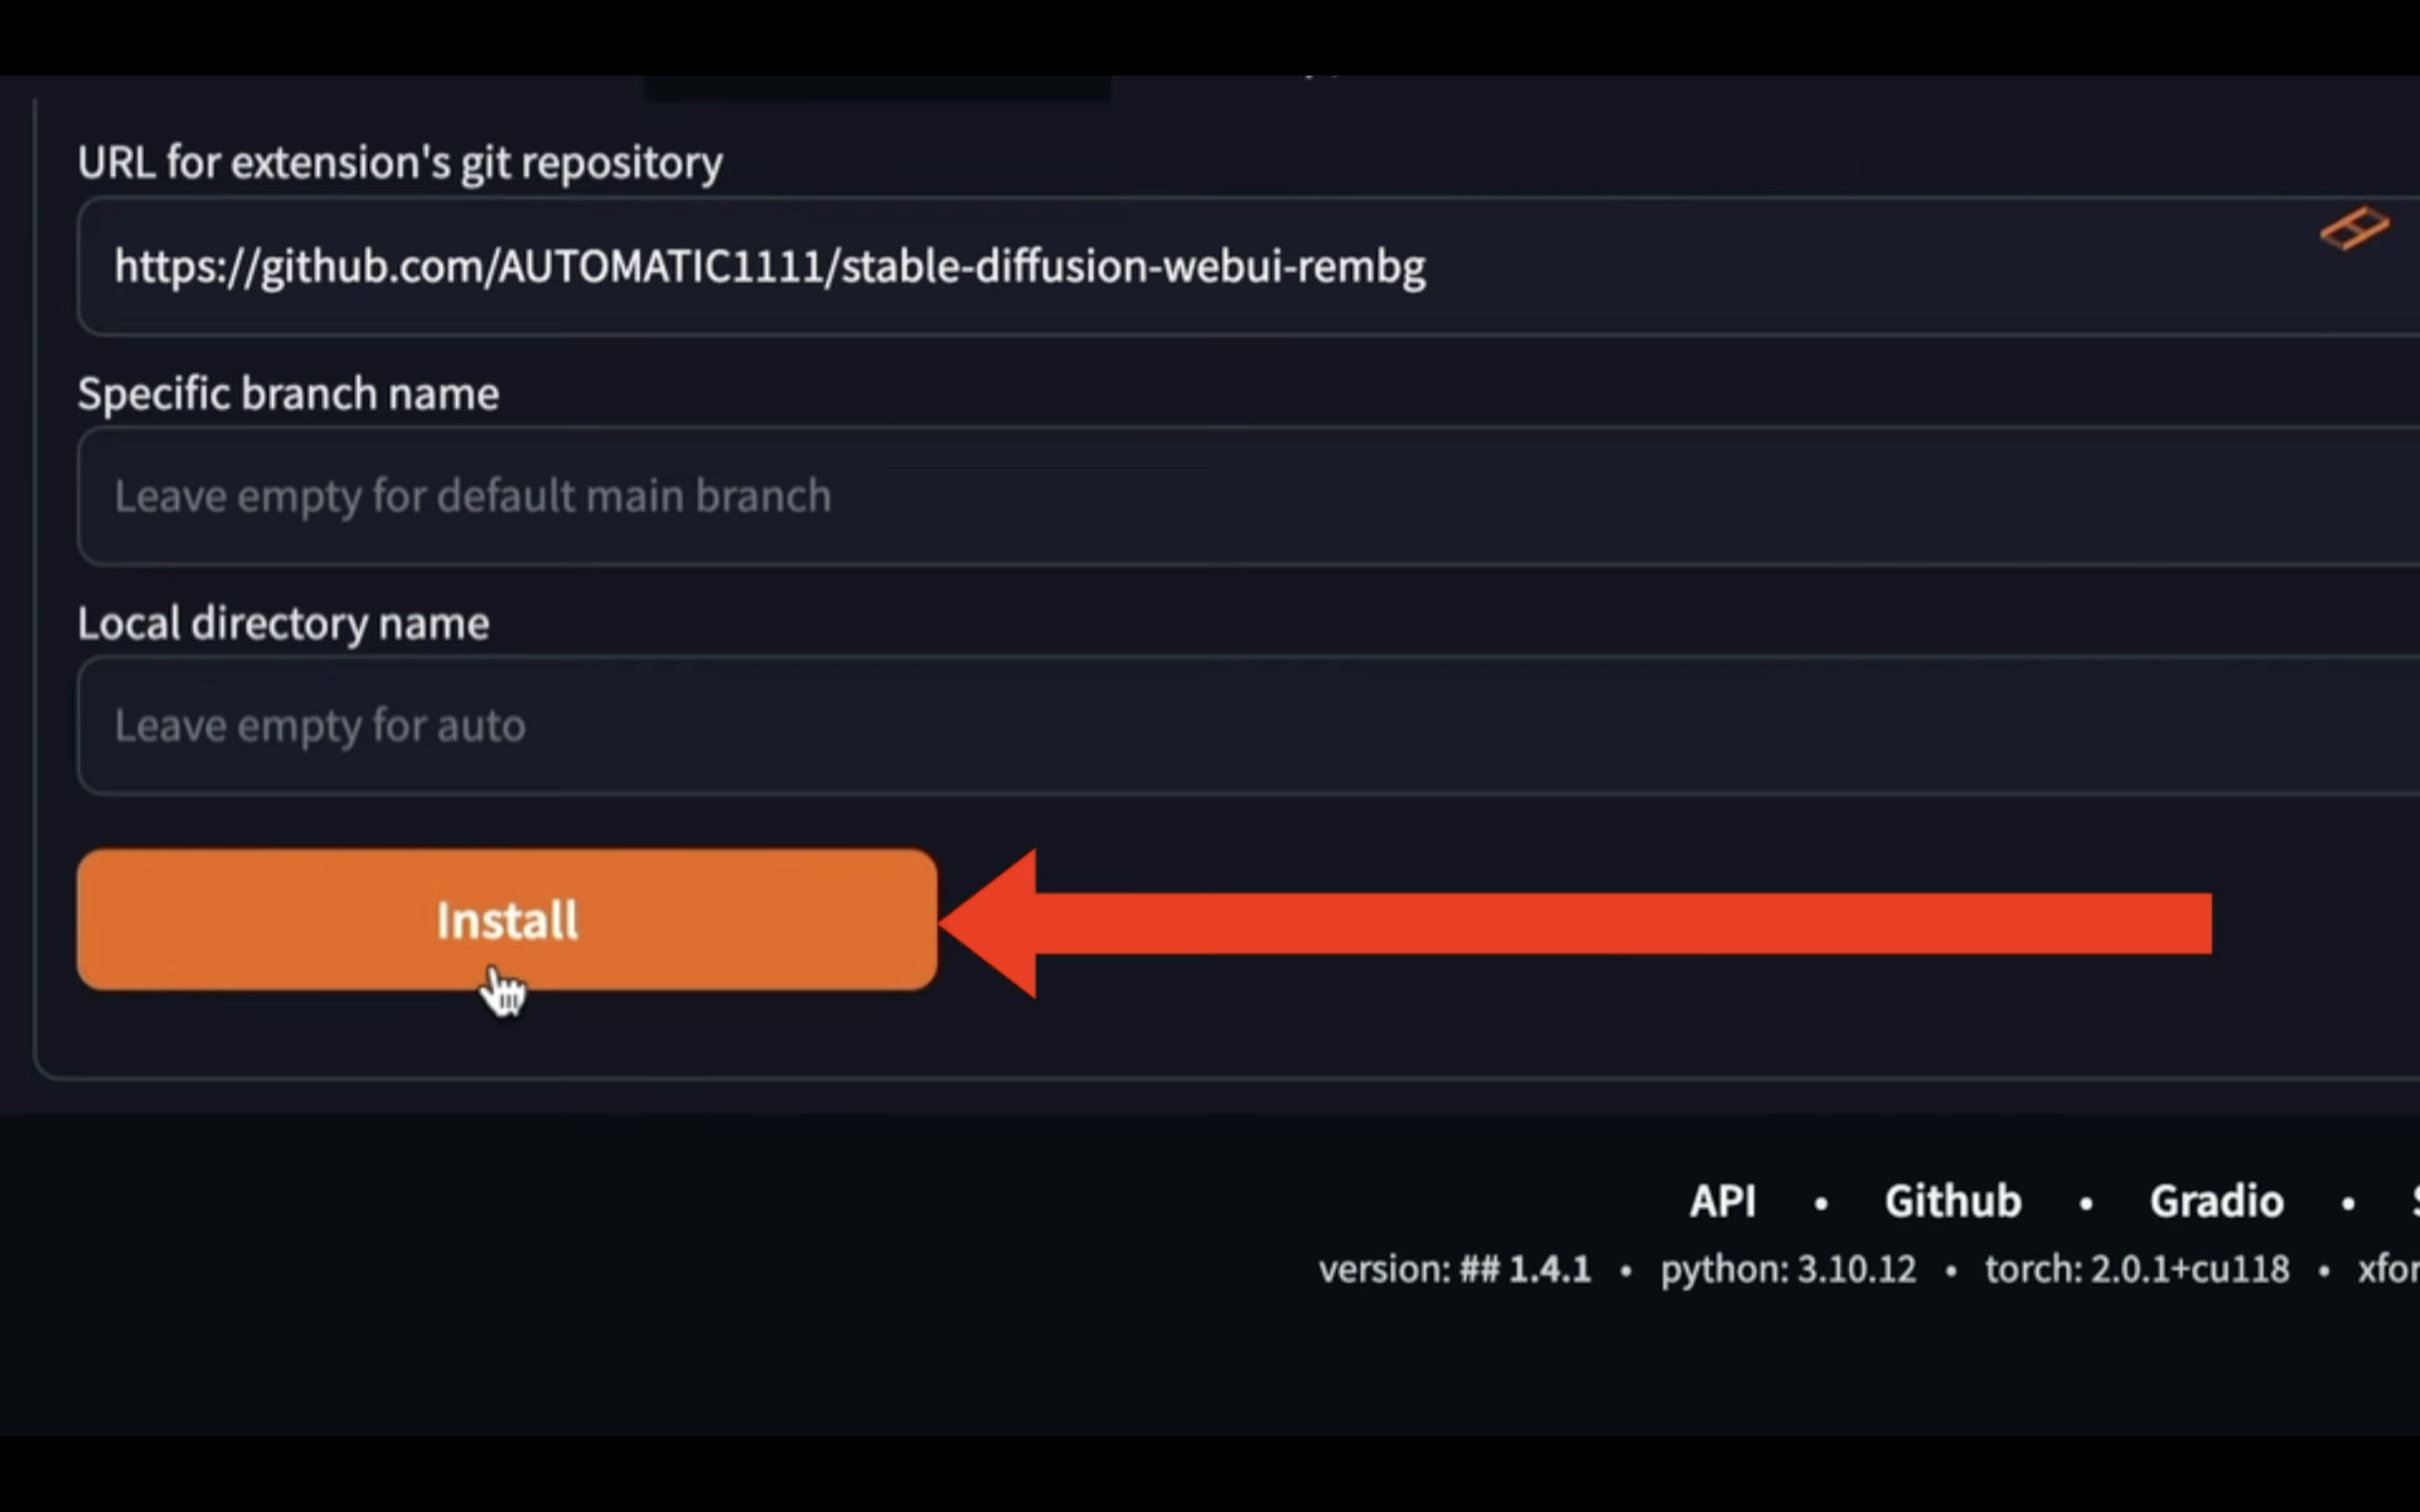
貼り付けるURLは下記のURLです。
https://github.com/AUTOMATIC1111/stable-diffusion-webui-rembg
Automatic1111の画面に戻ります。
そして、このテキストボックスに上記のURLを貼り付けます。

テキストを貼り付けたら、インストールボタンをクリックします。
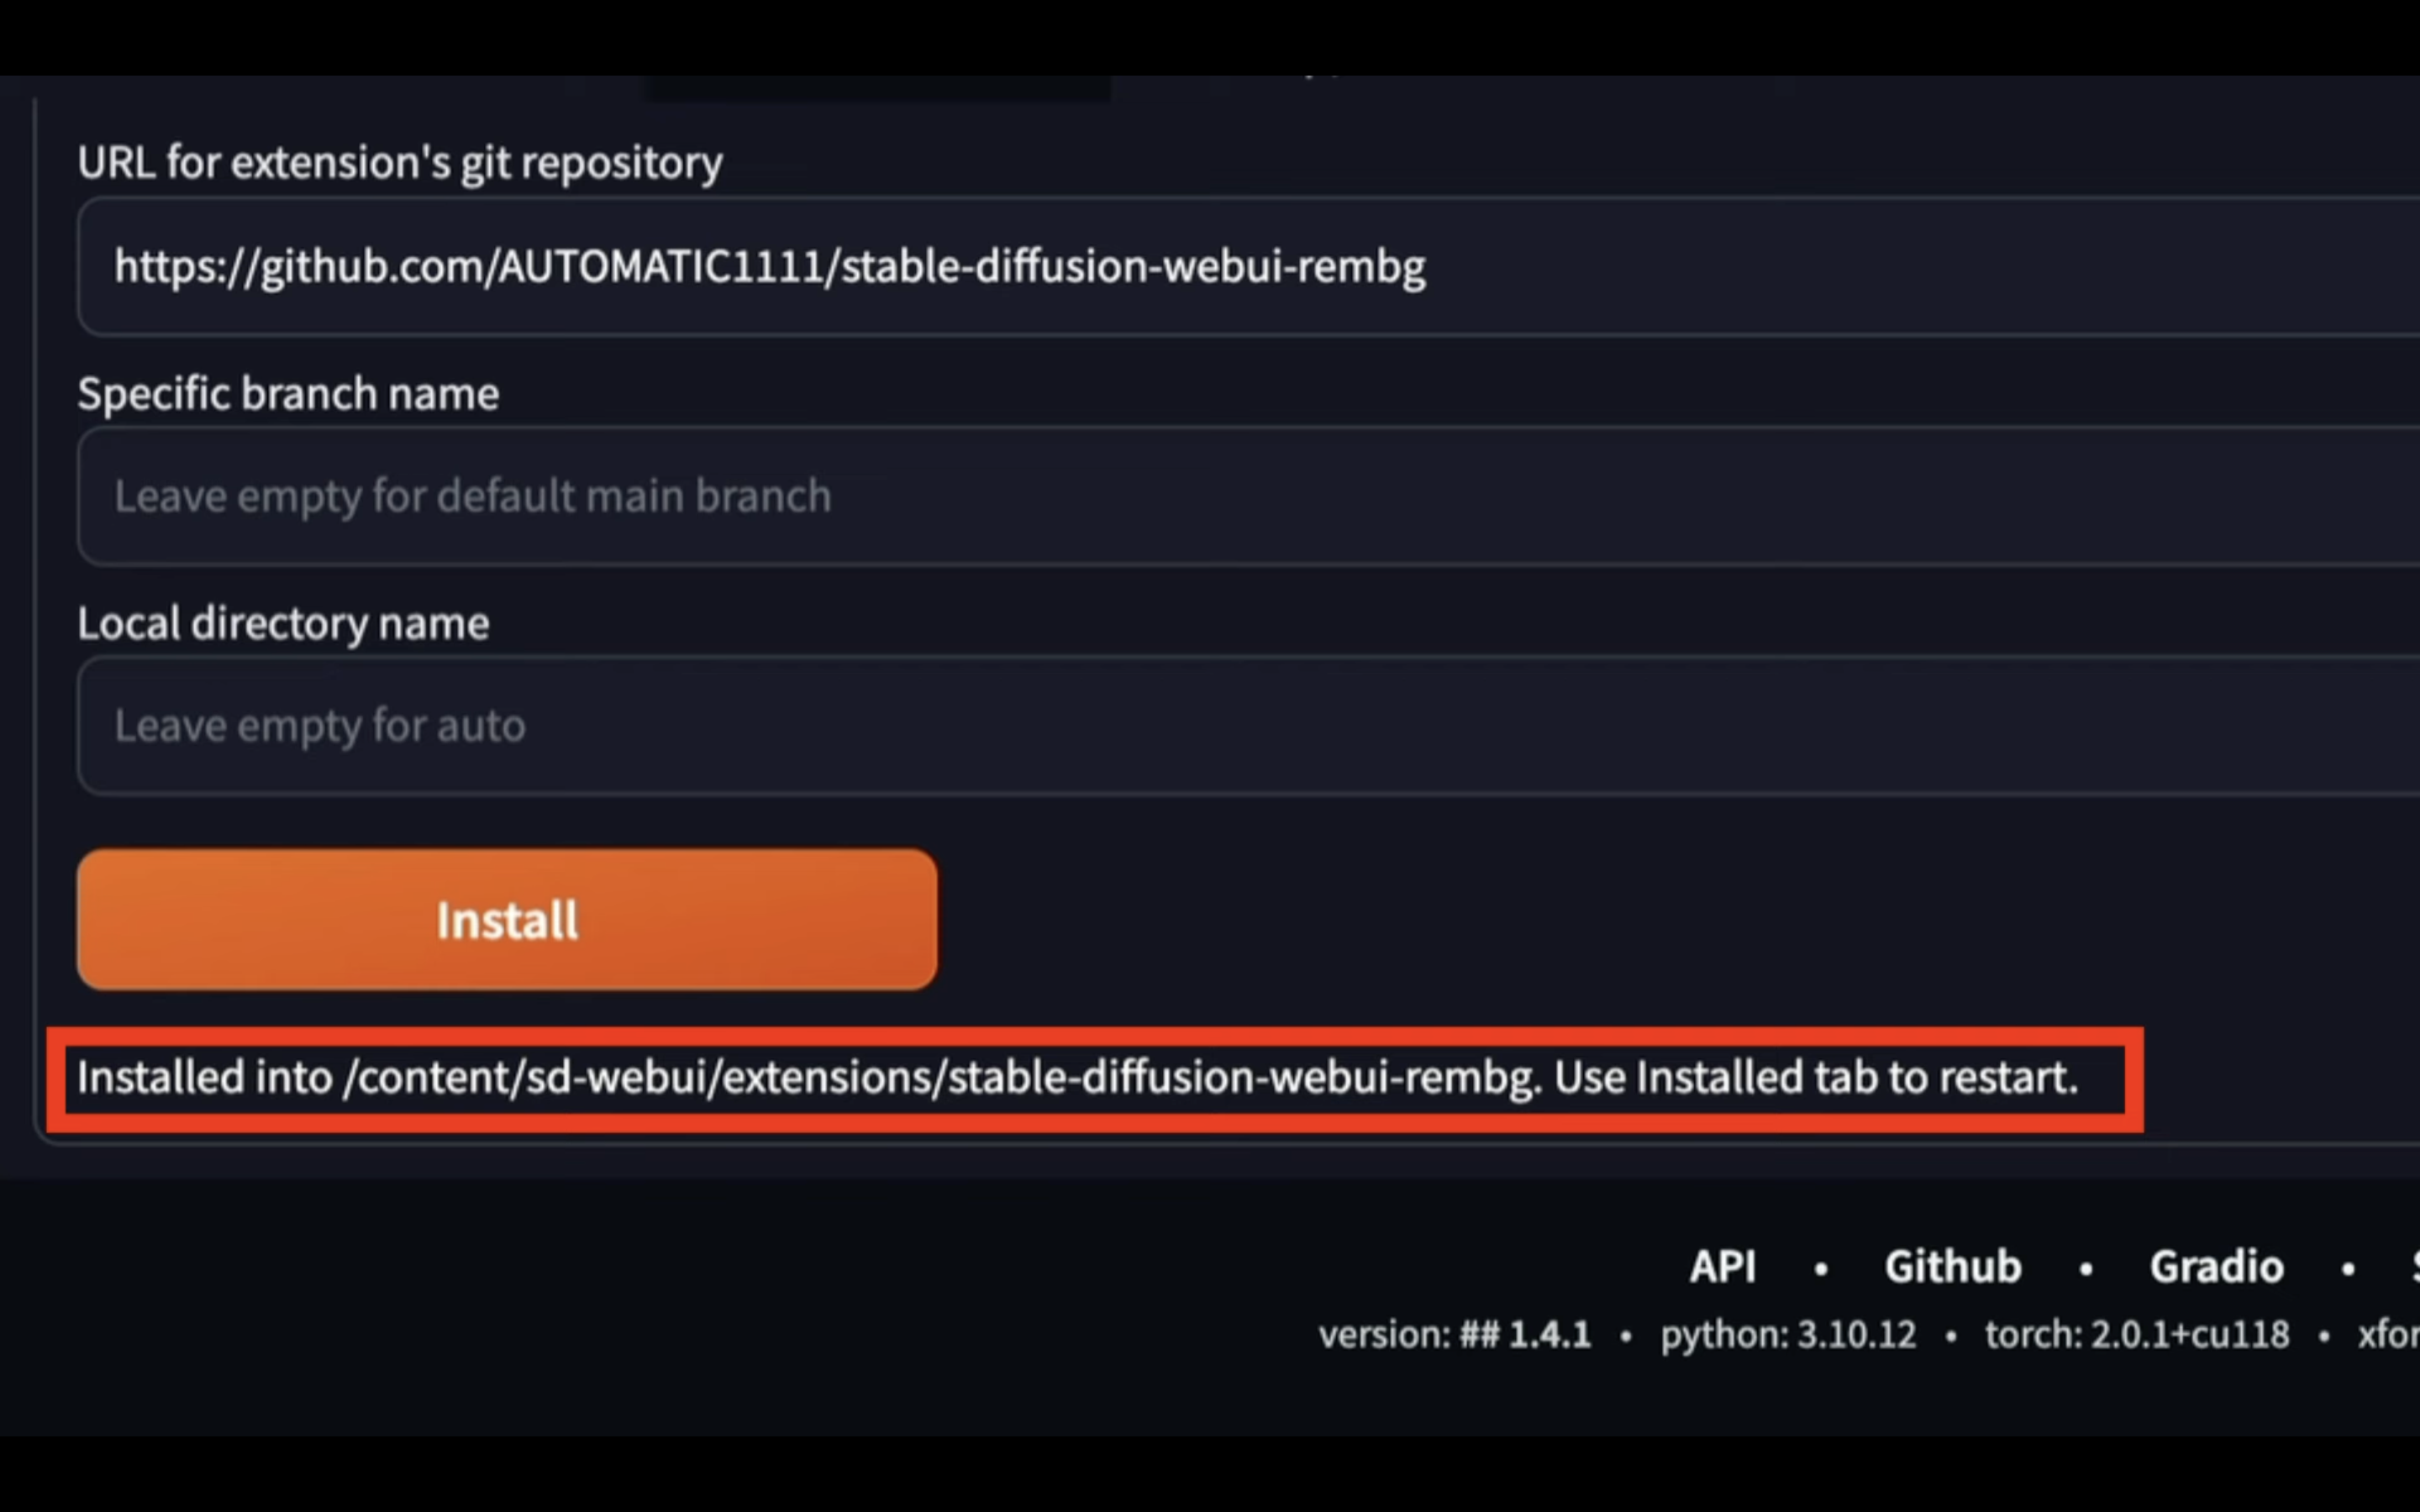
そうすると、先ほど貼り付けたURLのエクステンションがインストールされます。
しばらく待っていると、このようなメッセージが表示されます。
エクステンションを有効化する方法
これでエクステンションのインストールが完了しました。
インストールしたエクステンションを有効にするには、Automatic1111を再起動する必要があります。
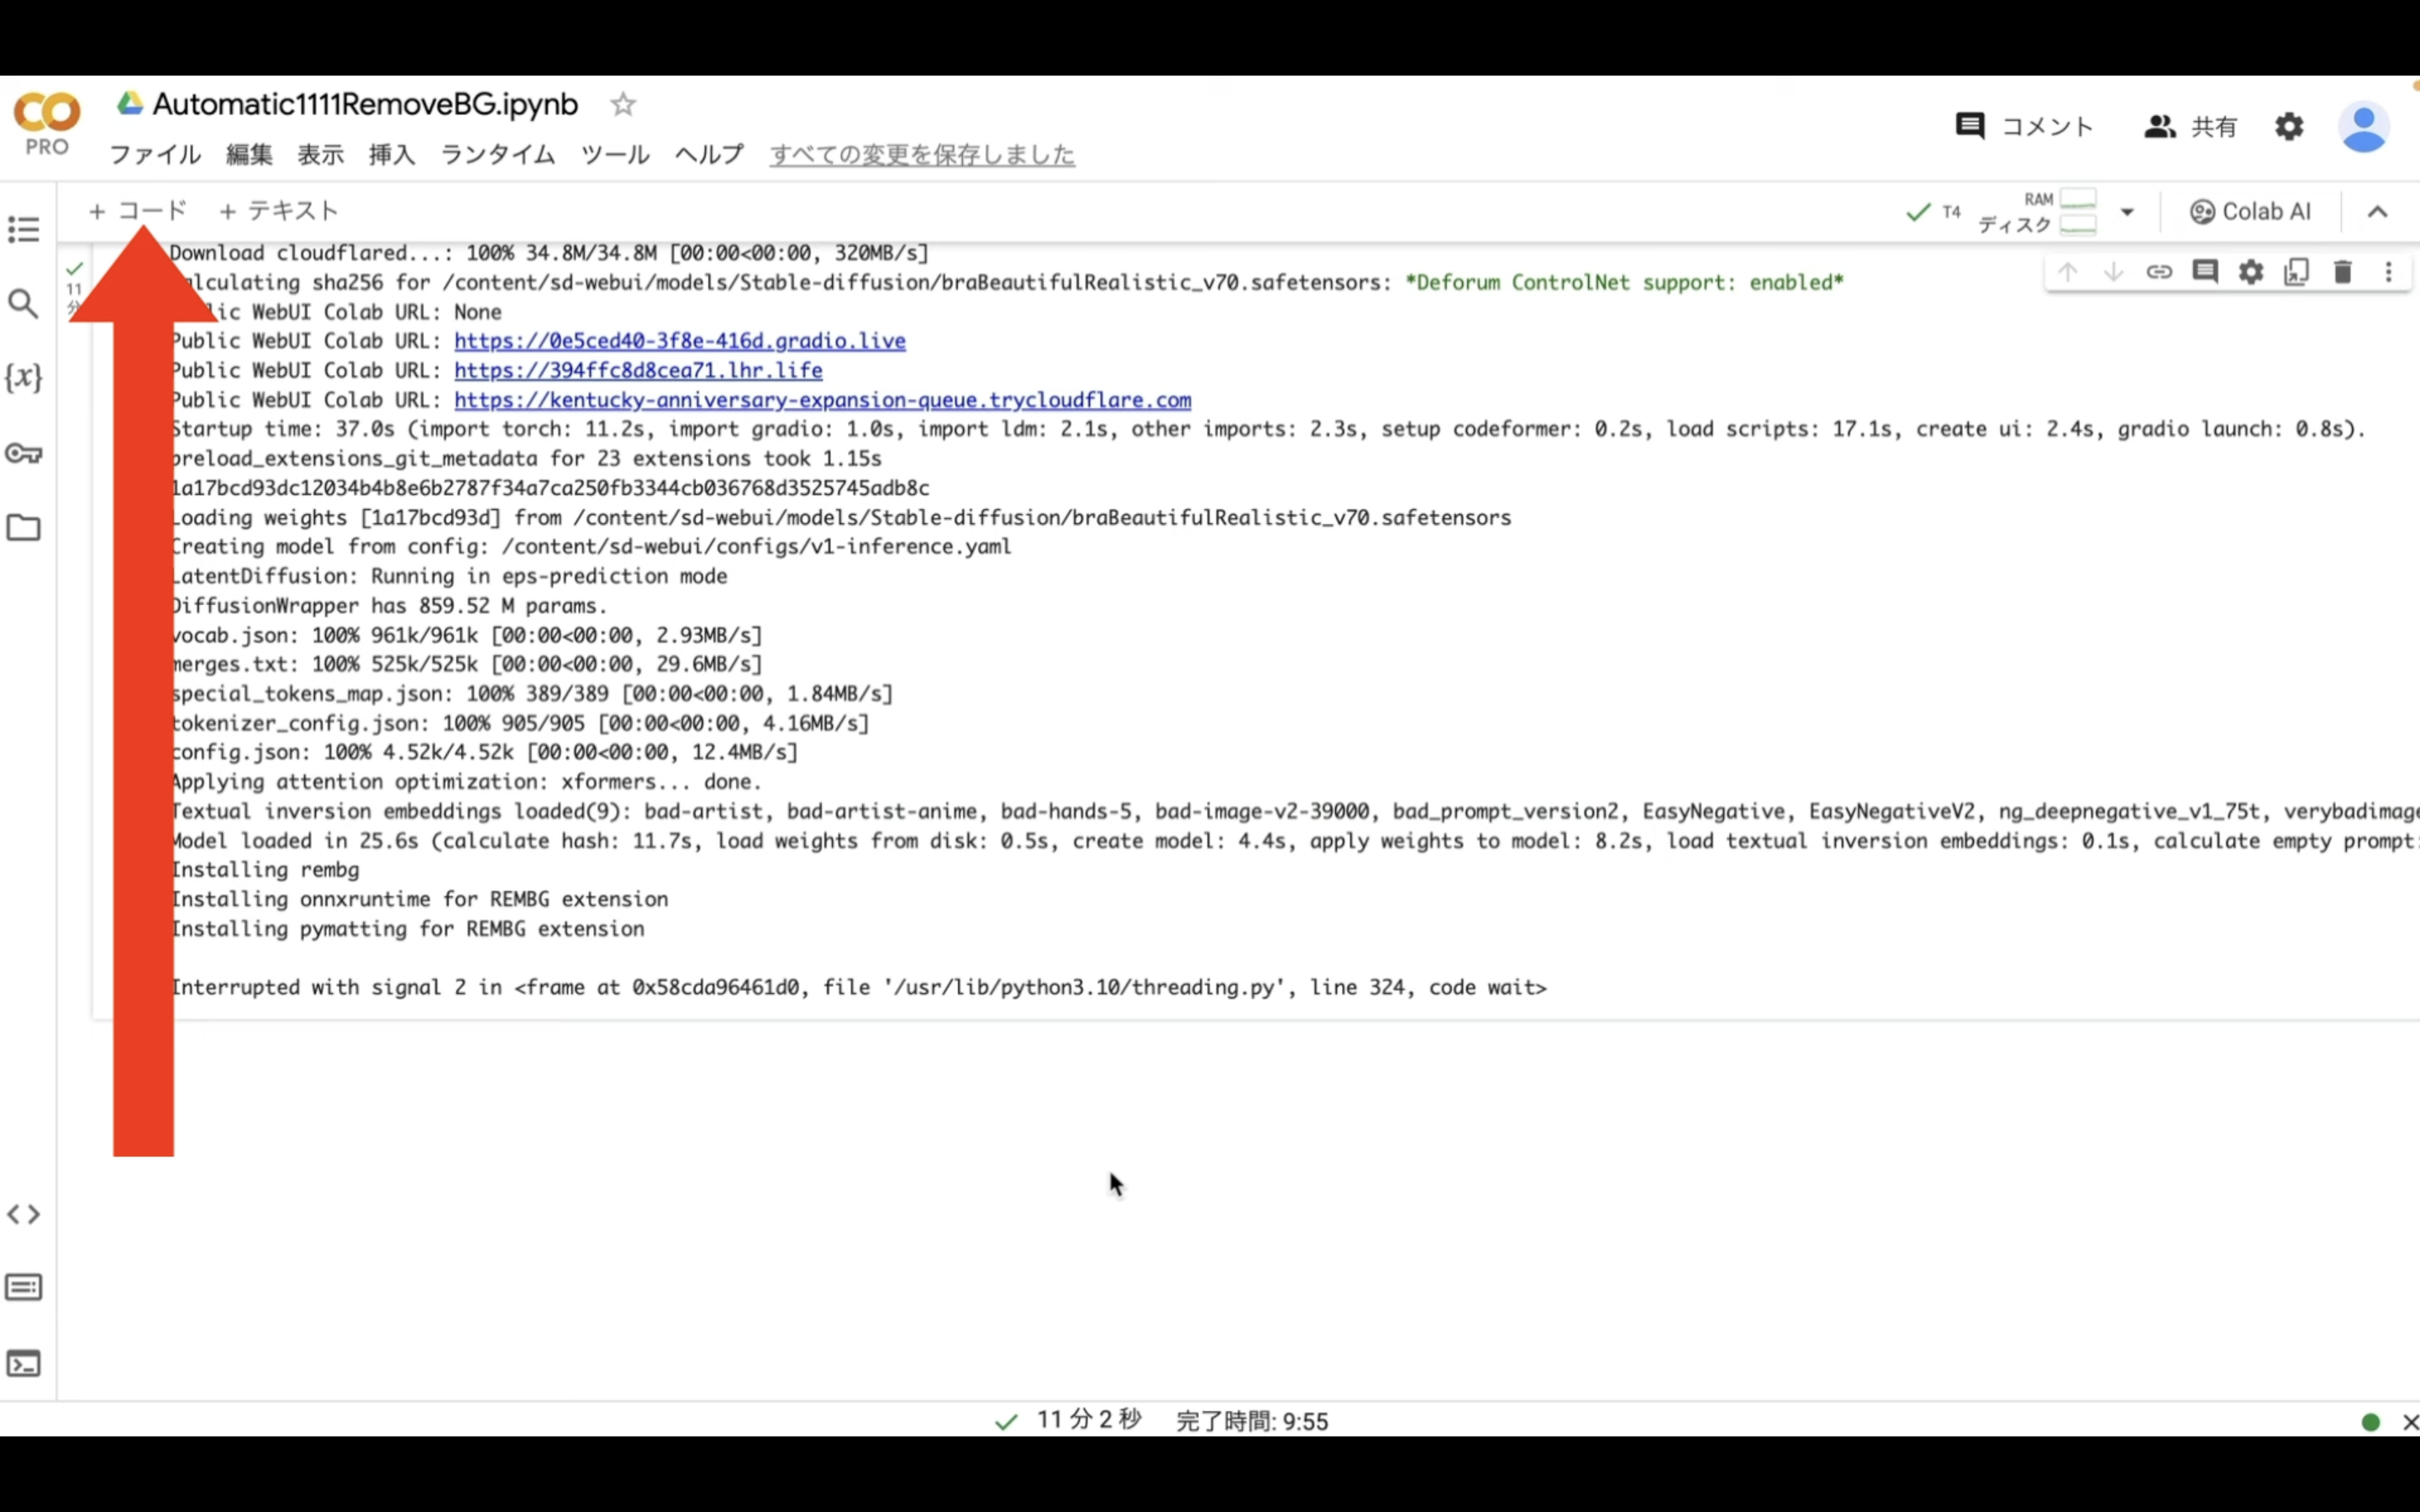
Google Colabの画面に切り替えます。
この画面に切り替えたら、停止ボタンをクリックします。
これでAutomatic1111を停止することができました。
Automatic1111をもう一度起動するためには、下記にある起動コマンドをコピーします。
%cd /content/sd-webui
!python launch.py --listen --xformers --enable-insecure-extension-access  --theme dark --gradio-queue --multiple
テキストをコピーしたら、Google Colabの画面に戻ります。
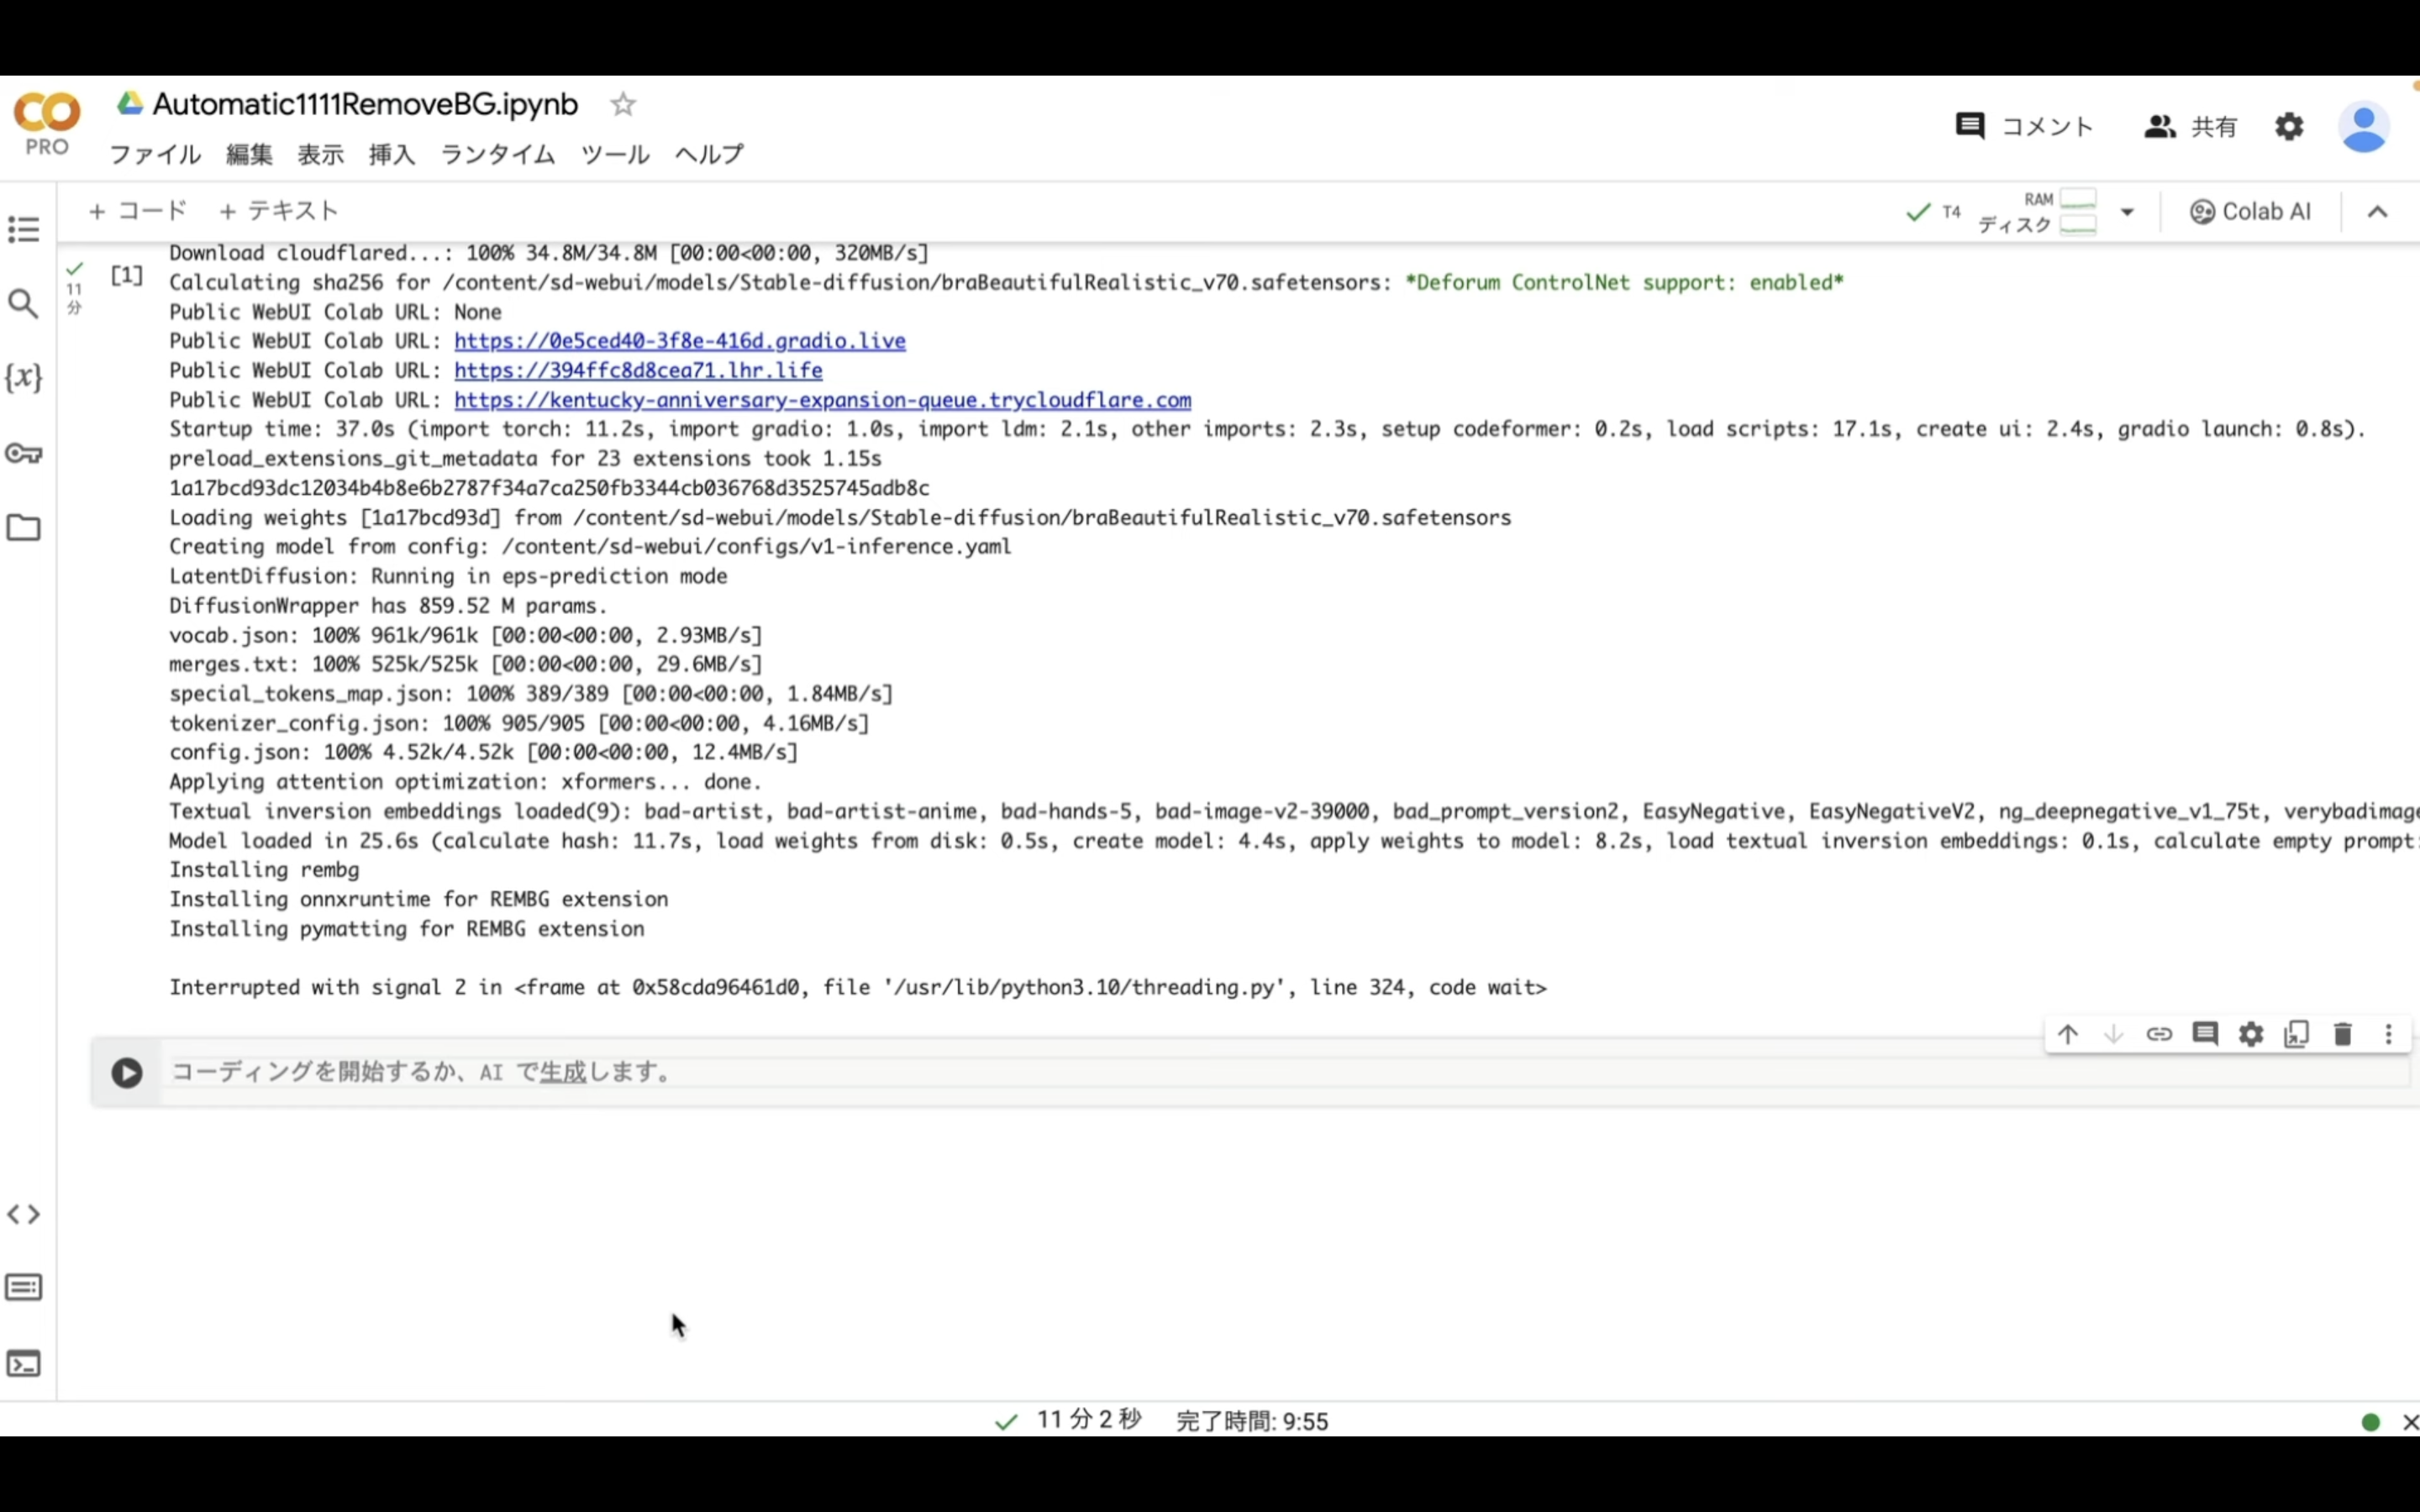
Google Colabの画面に戻ったら、「コード」をクリックします。
そうすると、新しいテキストボックスが追加されます。
この追加されたテキストボックスに、先ほどコピーしたテキストを貼り付けます。
テキストを貼り付けたら、再生ボタンを押します。
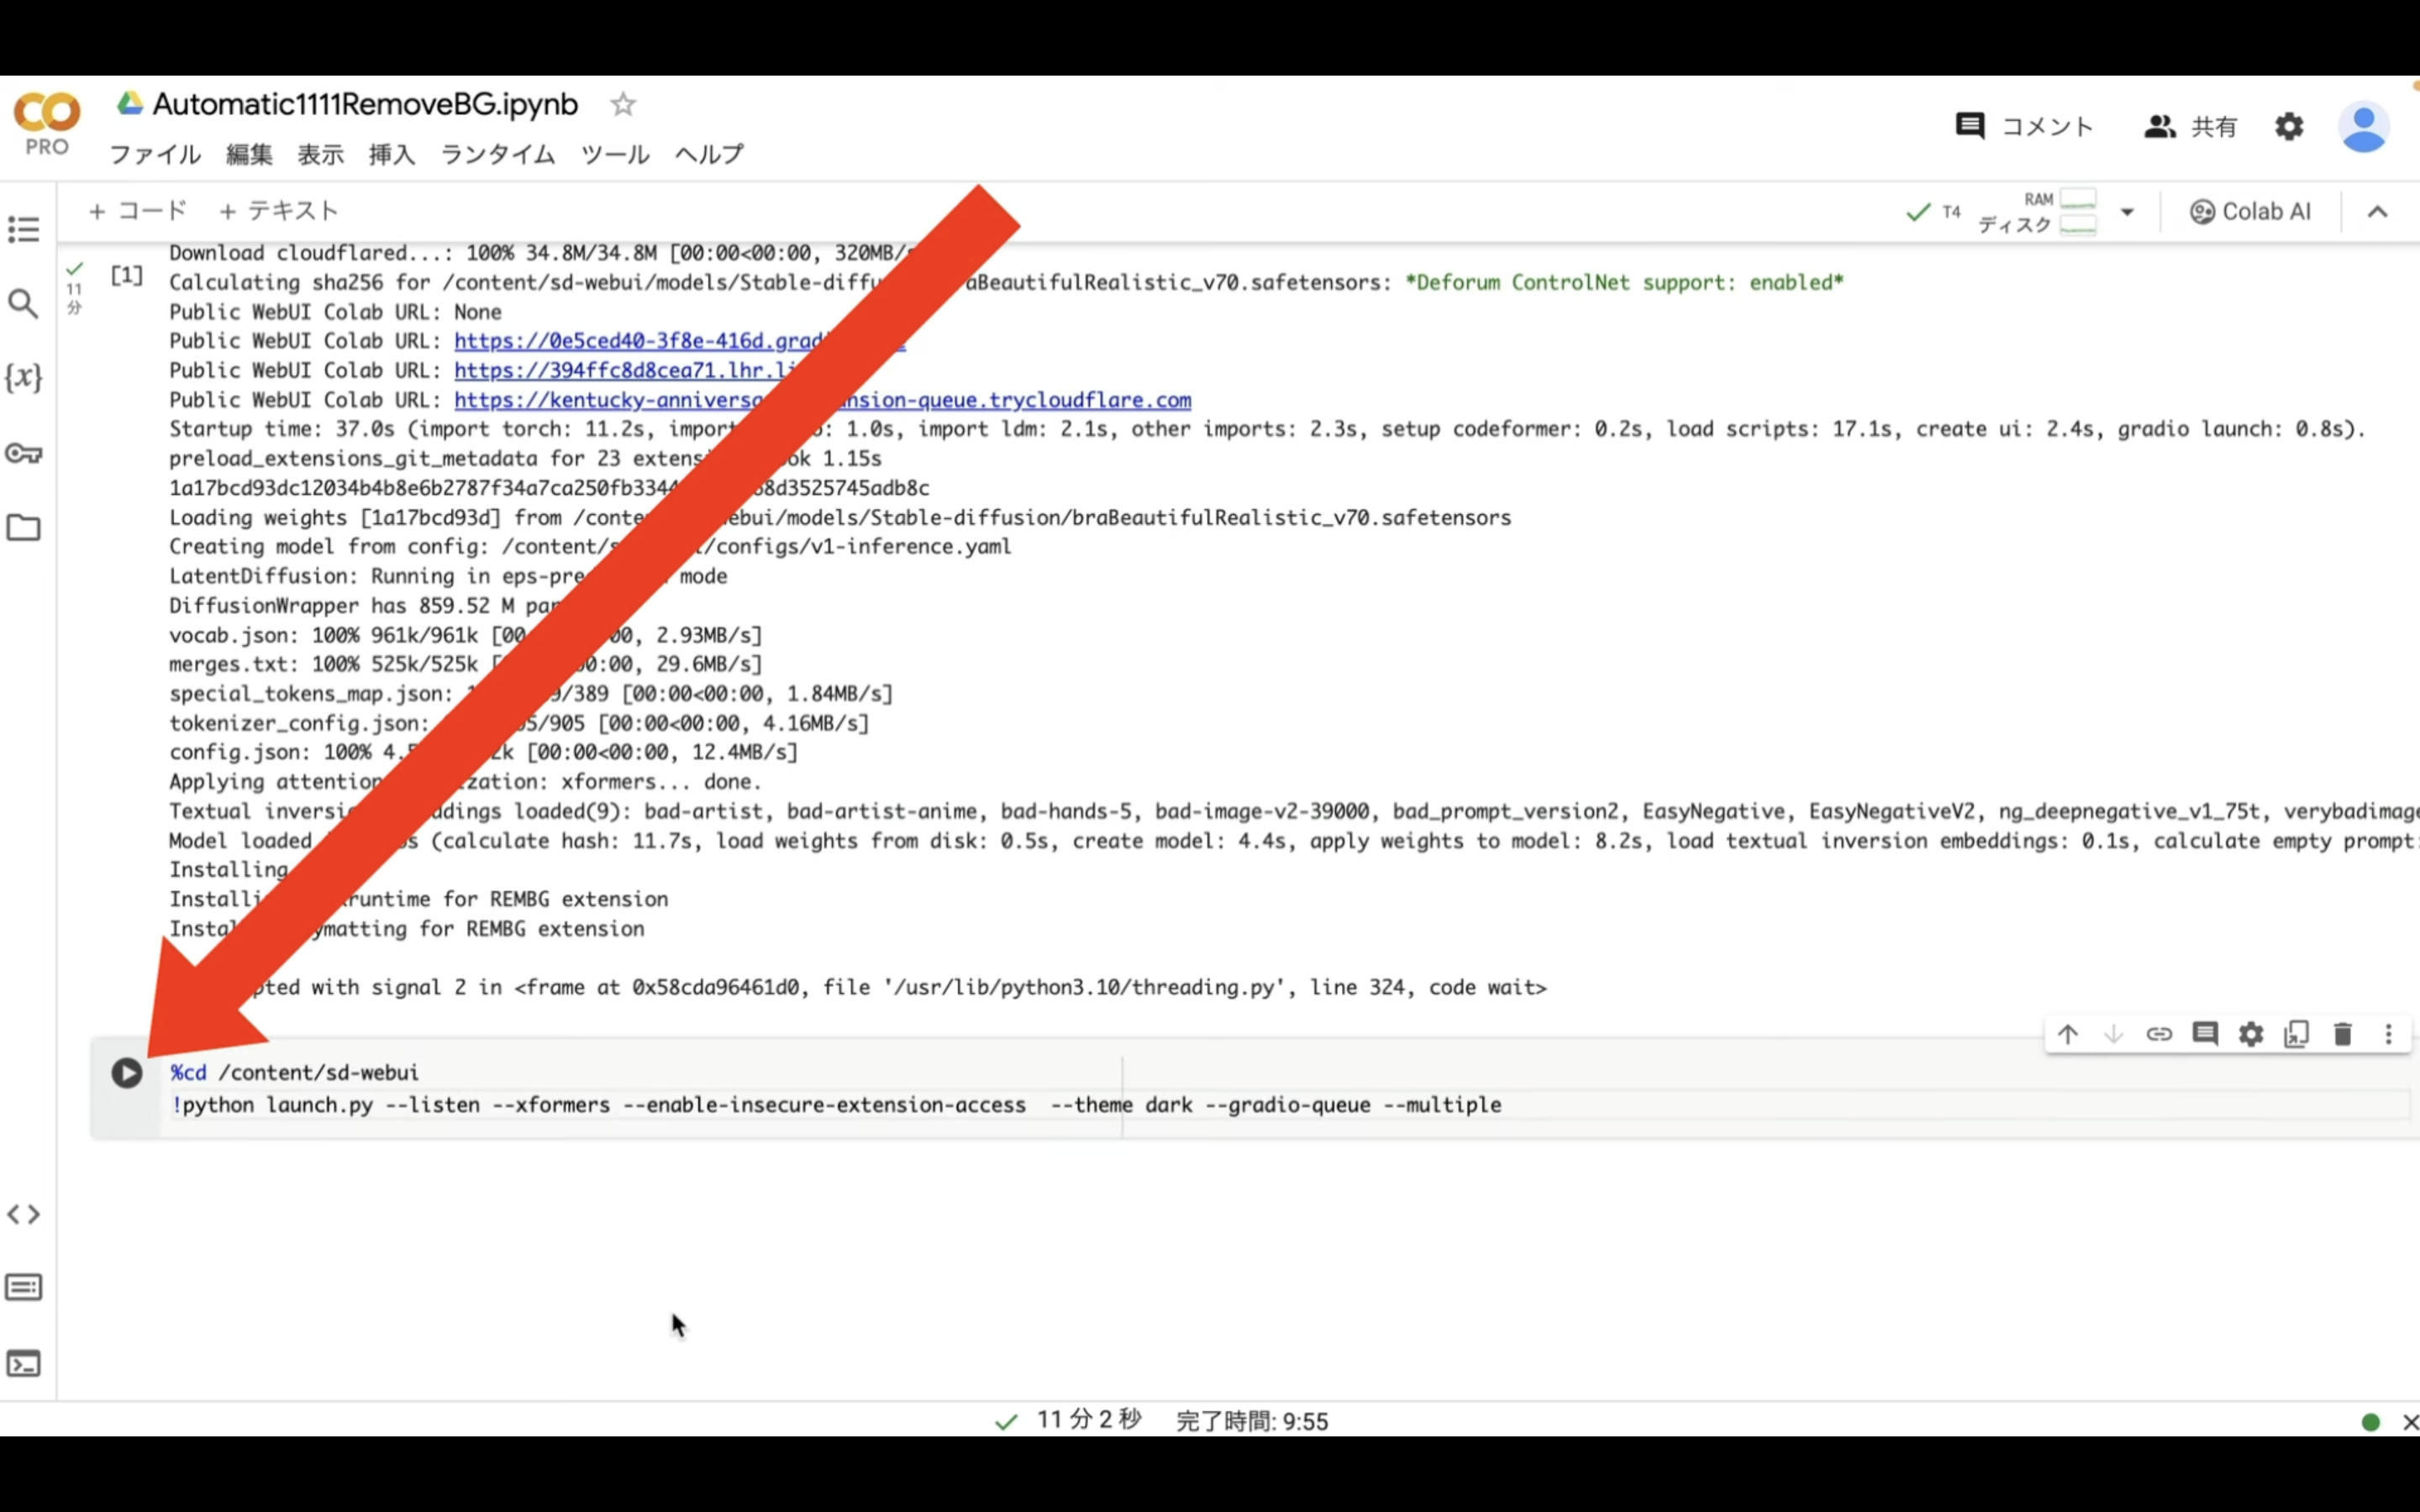
しばらく待っていると、Automatic1111のリンクが表示されます。
このようなリンクが表示されたら、「gradio」と書かれているリンクをクリックします。
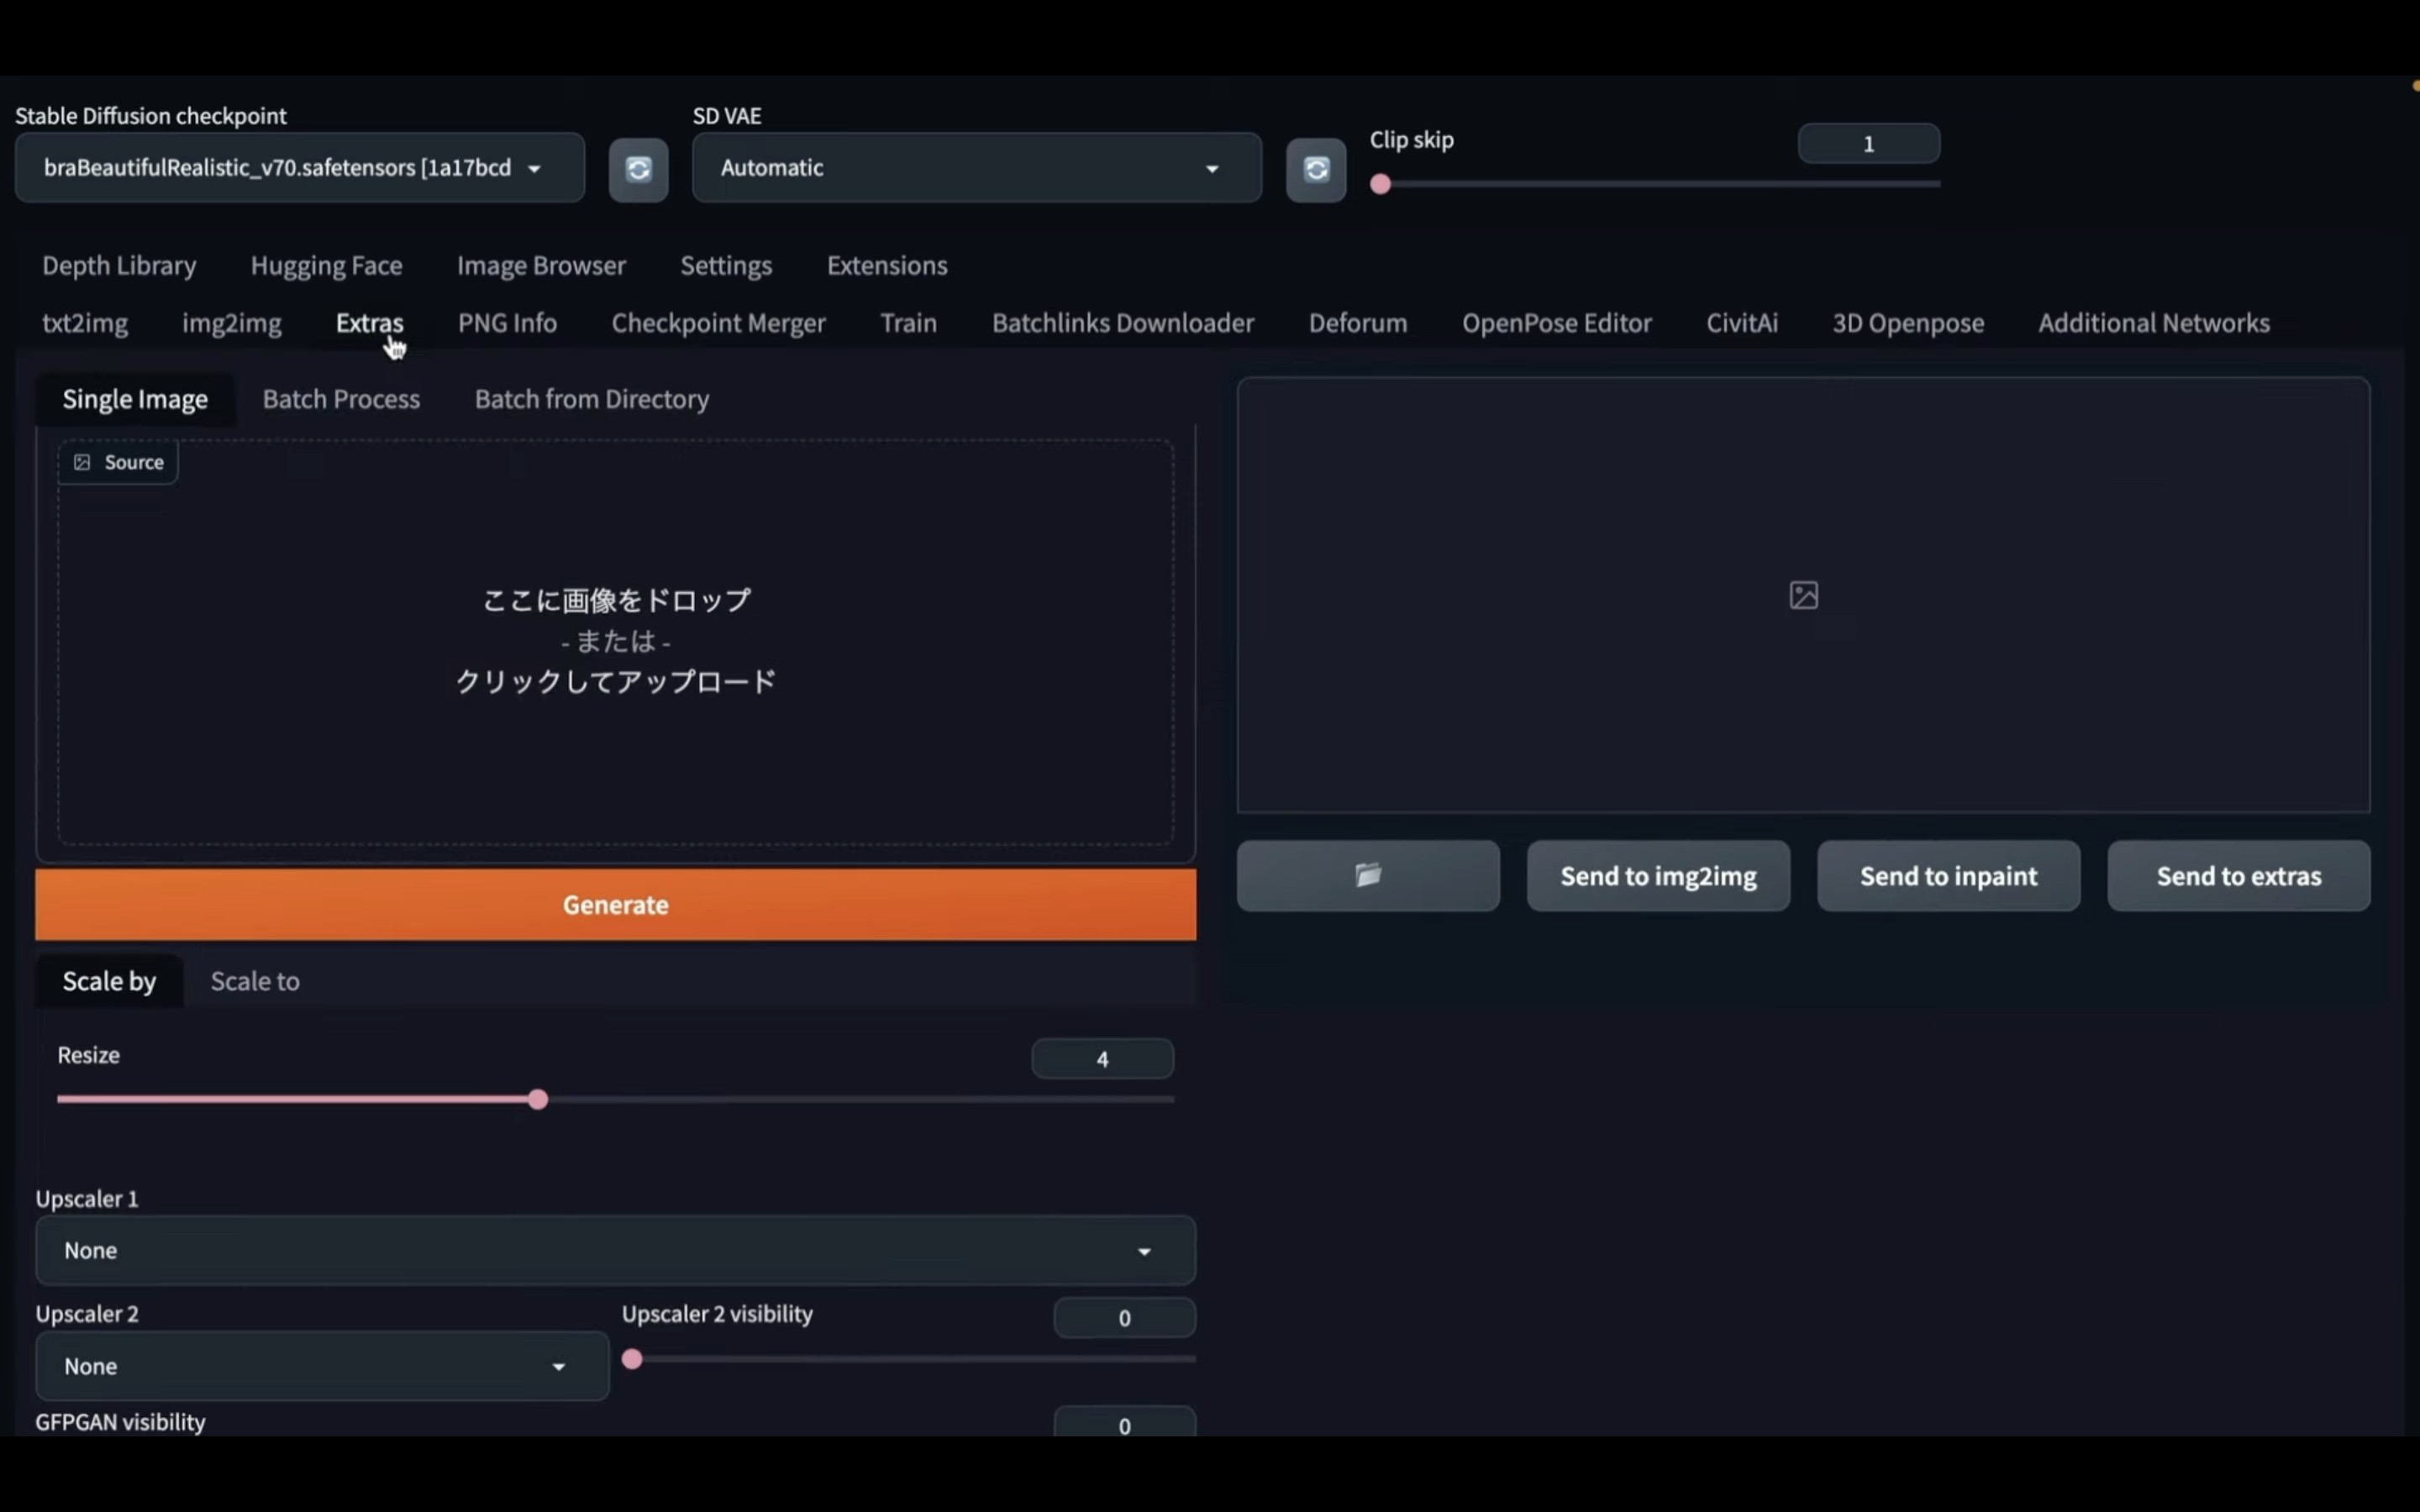
そうすると、Automatic1111の画面が表示されます。
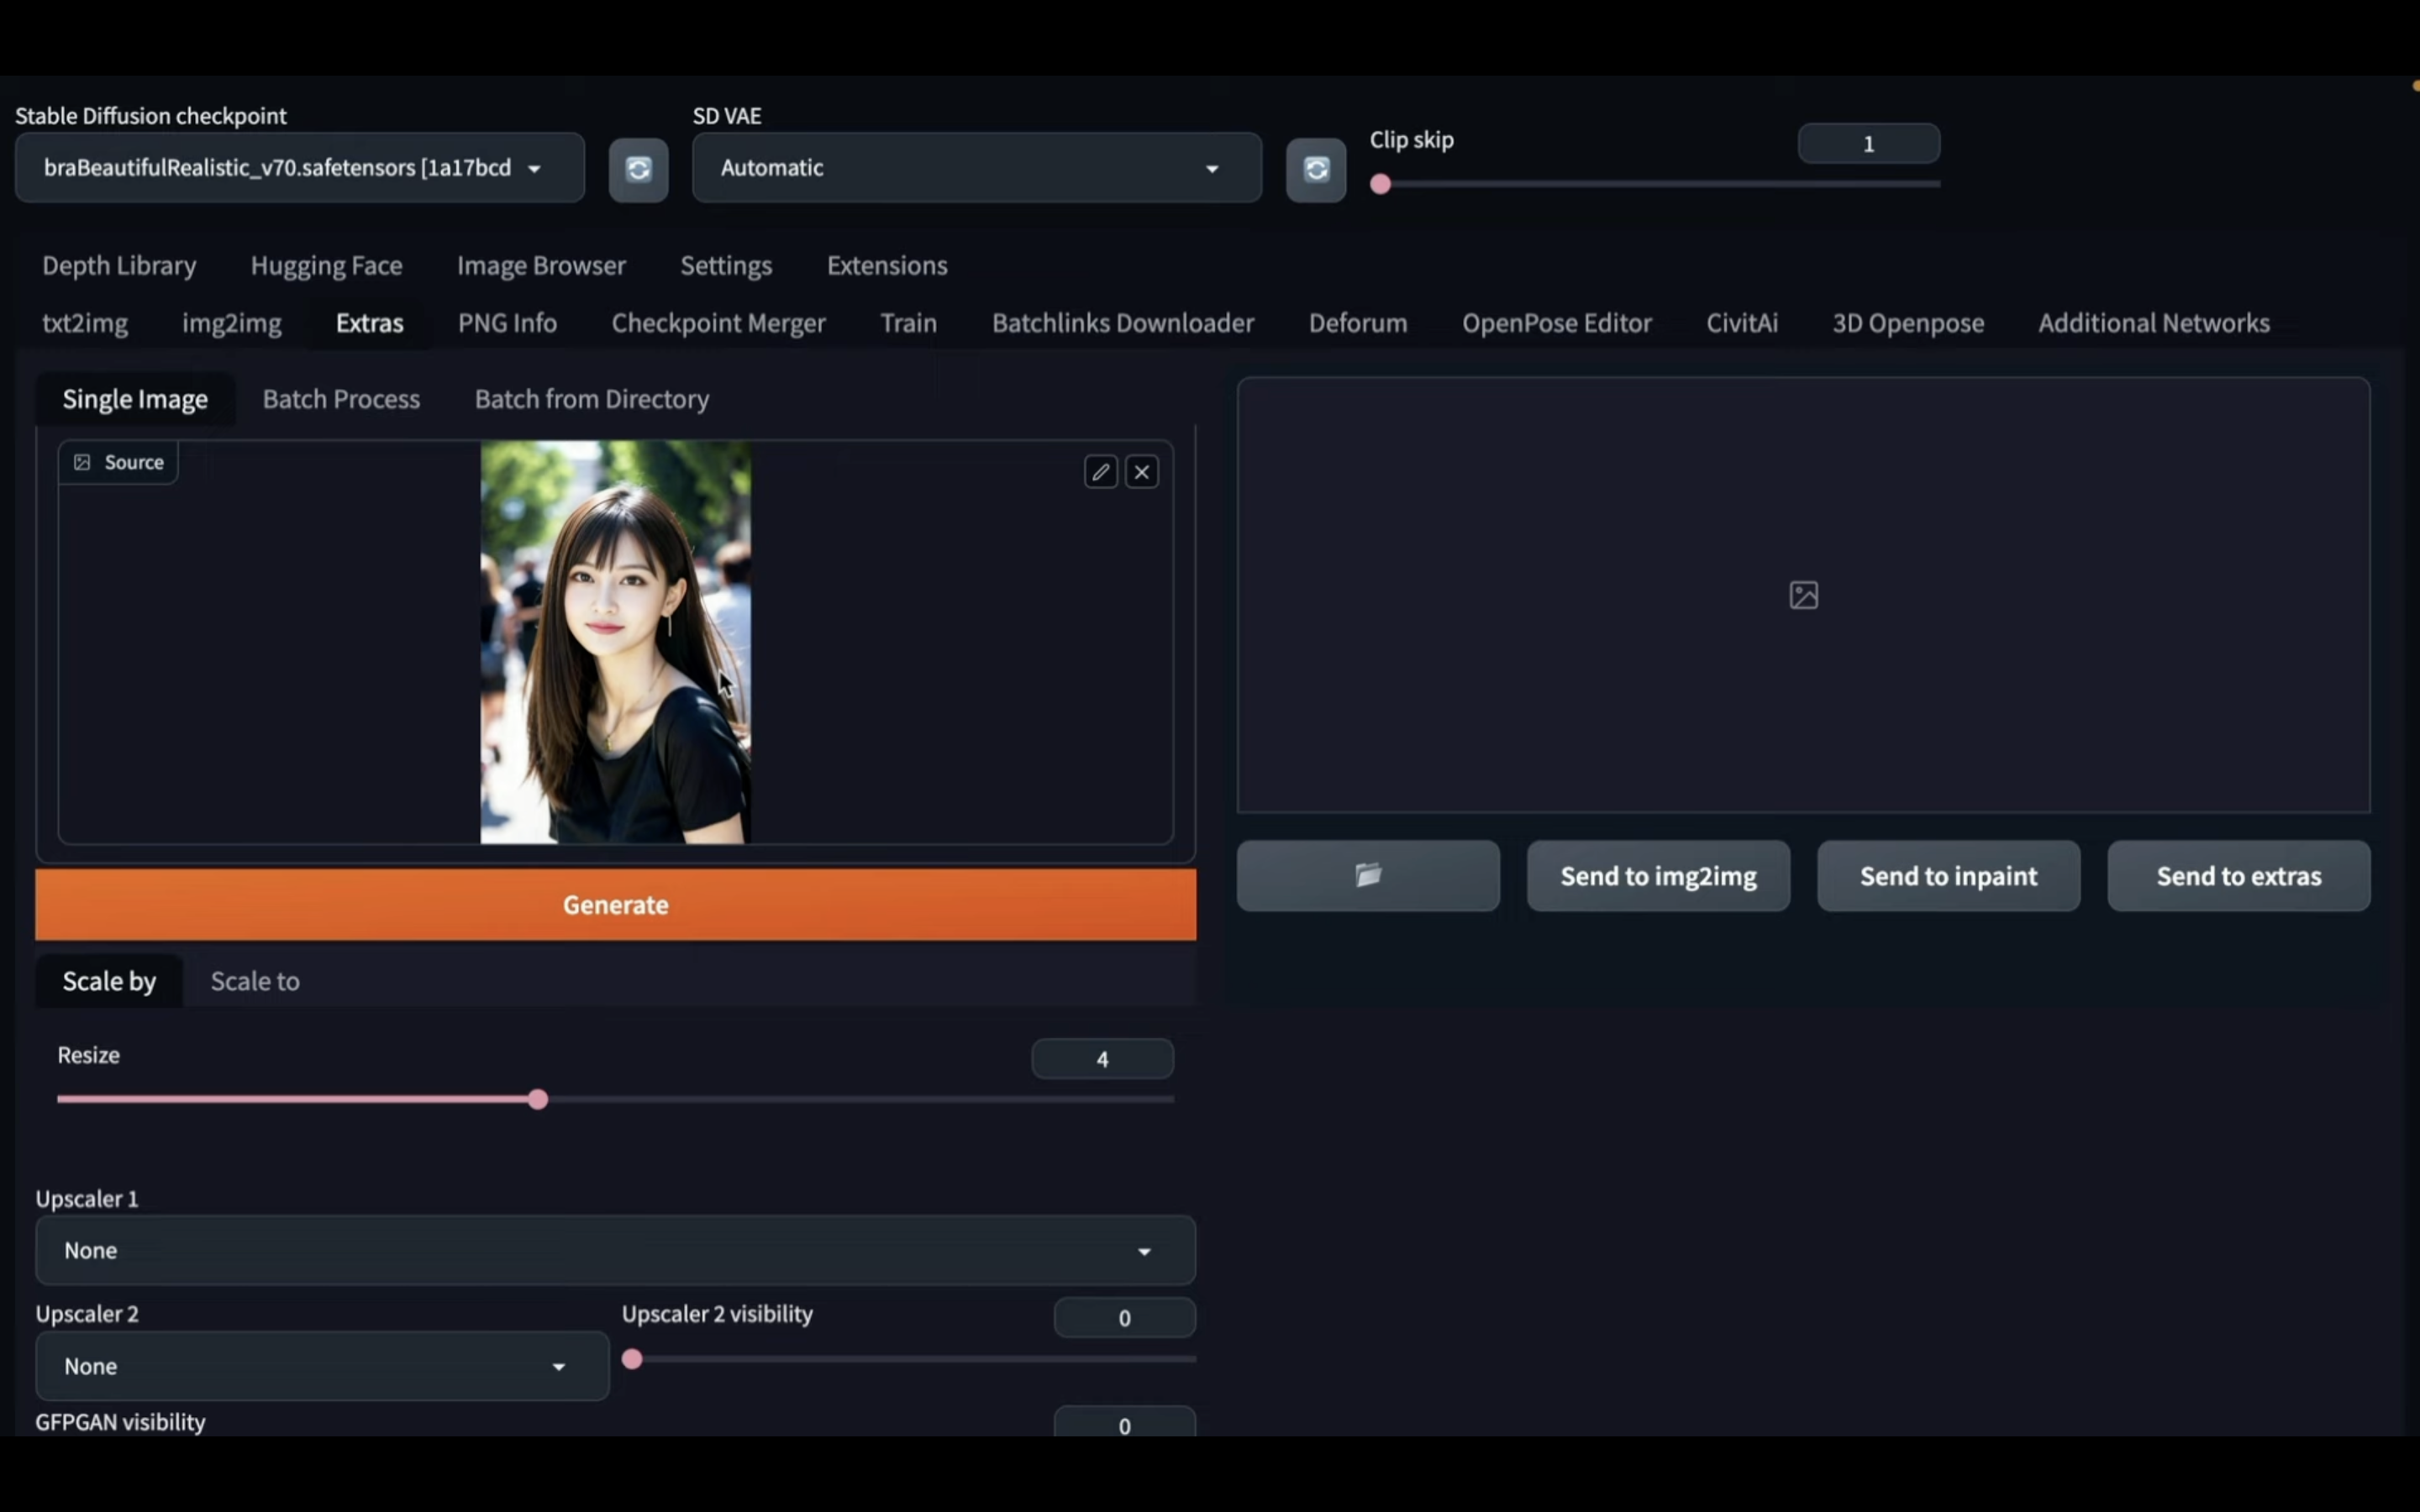
この画面が表示されたら、「Extras」という名前のタブをクリックします。

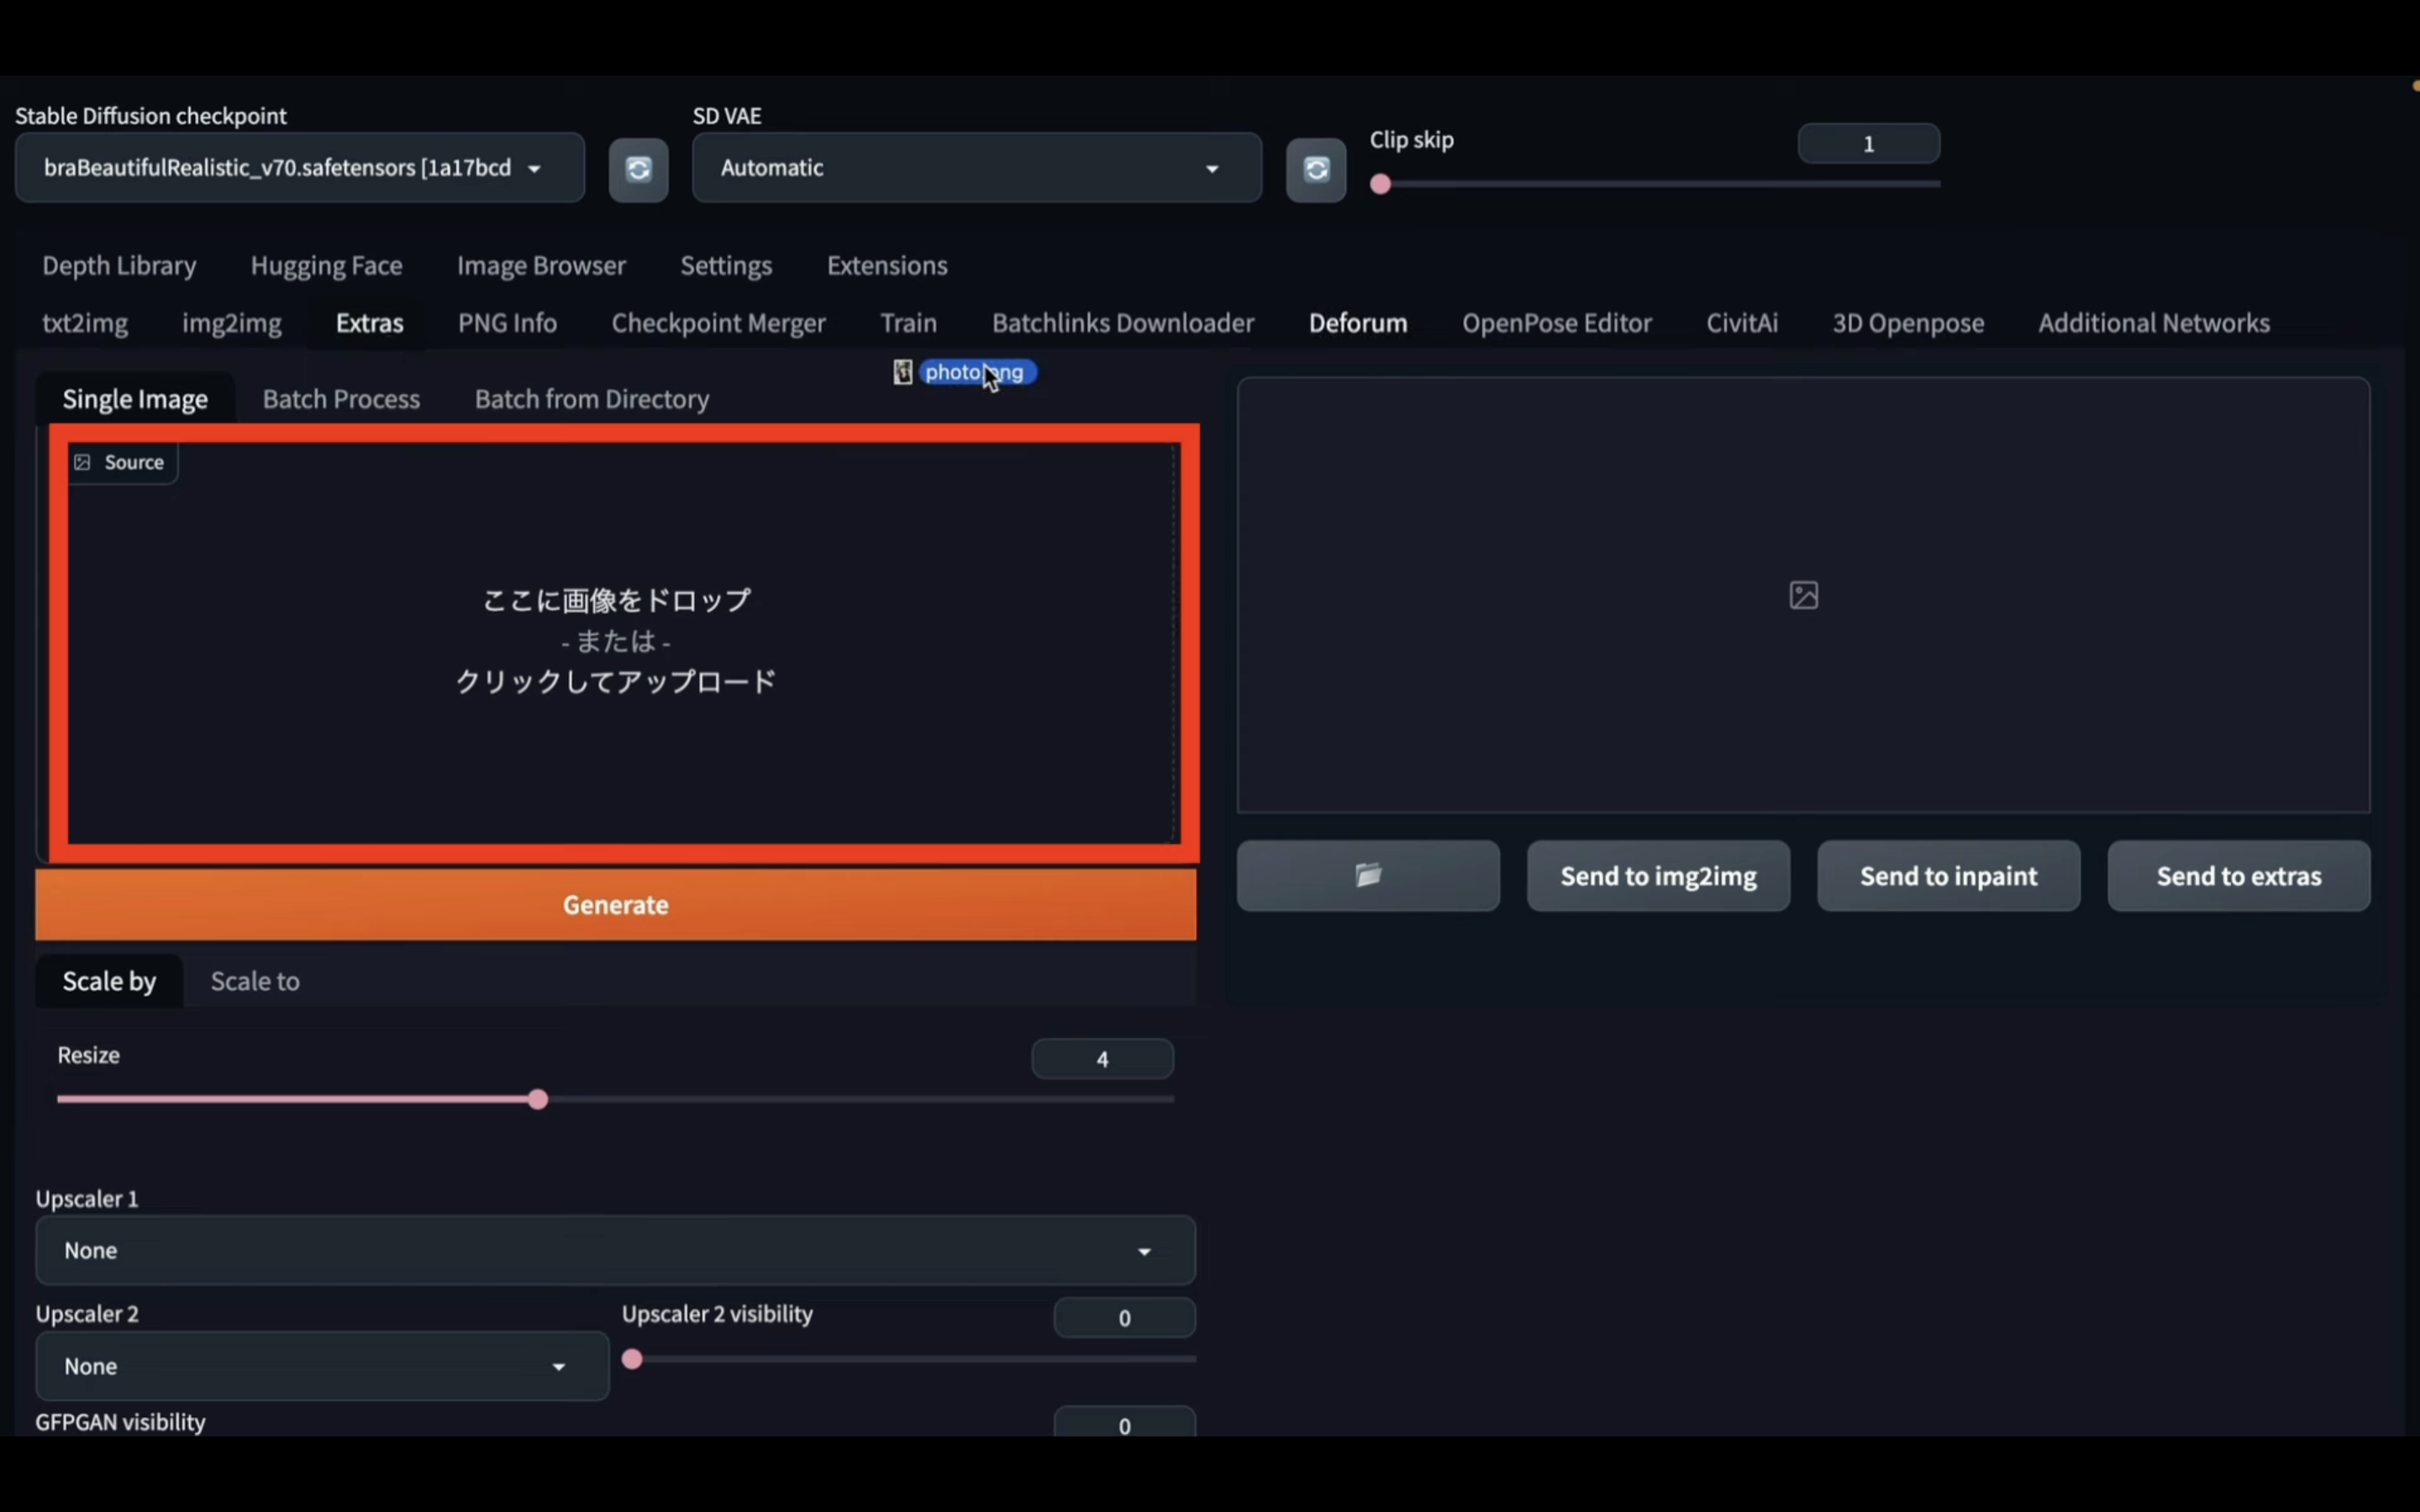
そうすると、エクストラの設定画面が表示されます。
この画面が表示されたら、背景を取り除きたい画像ファイルをこの部分にドラッグアンドドロップします。
これを読めば誰でも簡単にクオリティーの高いAI美女が作れるようになっているので興味がある人は、下のバナーをクリックして購入してみてね🎶
画像を設定する
今回は、このような画像を設定してみました。
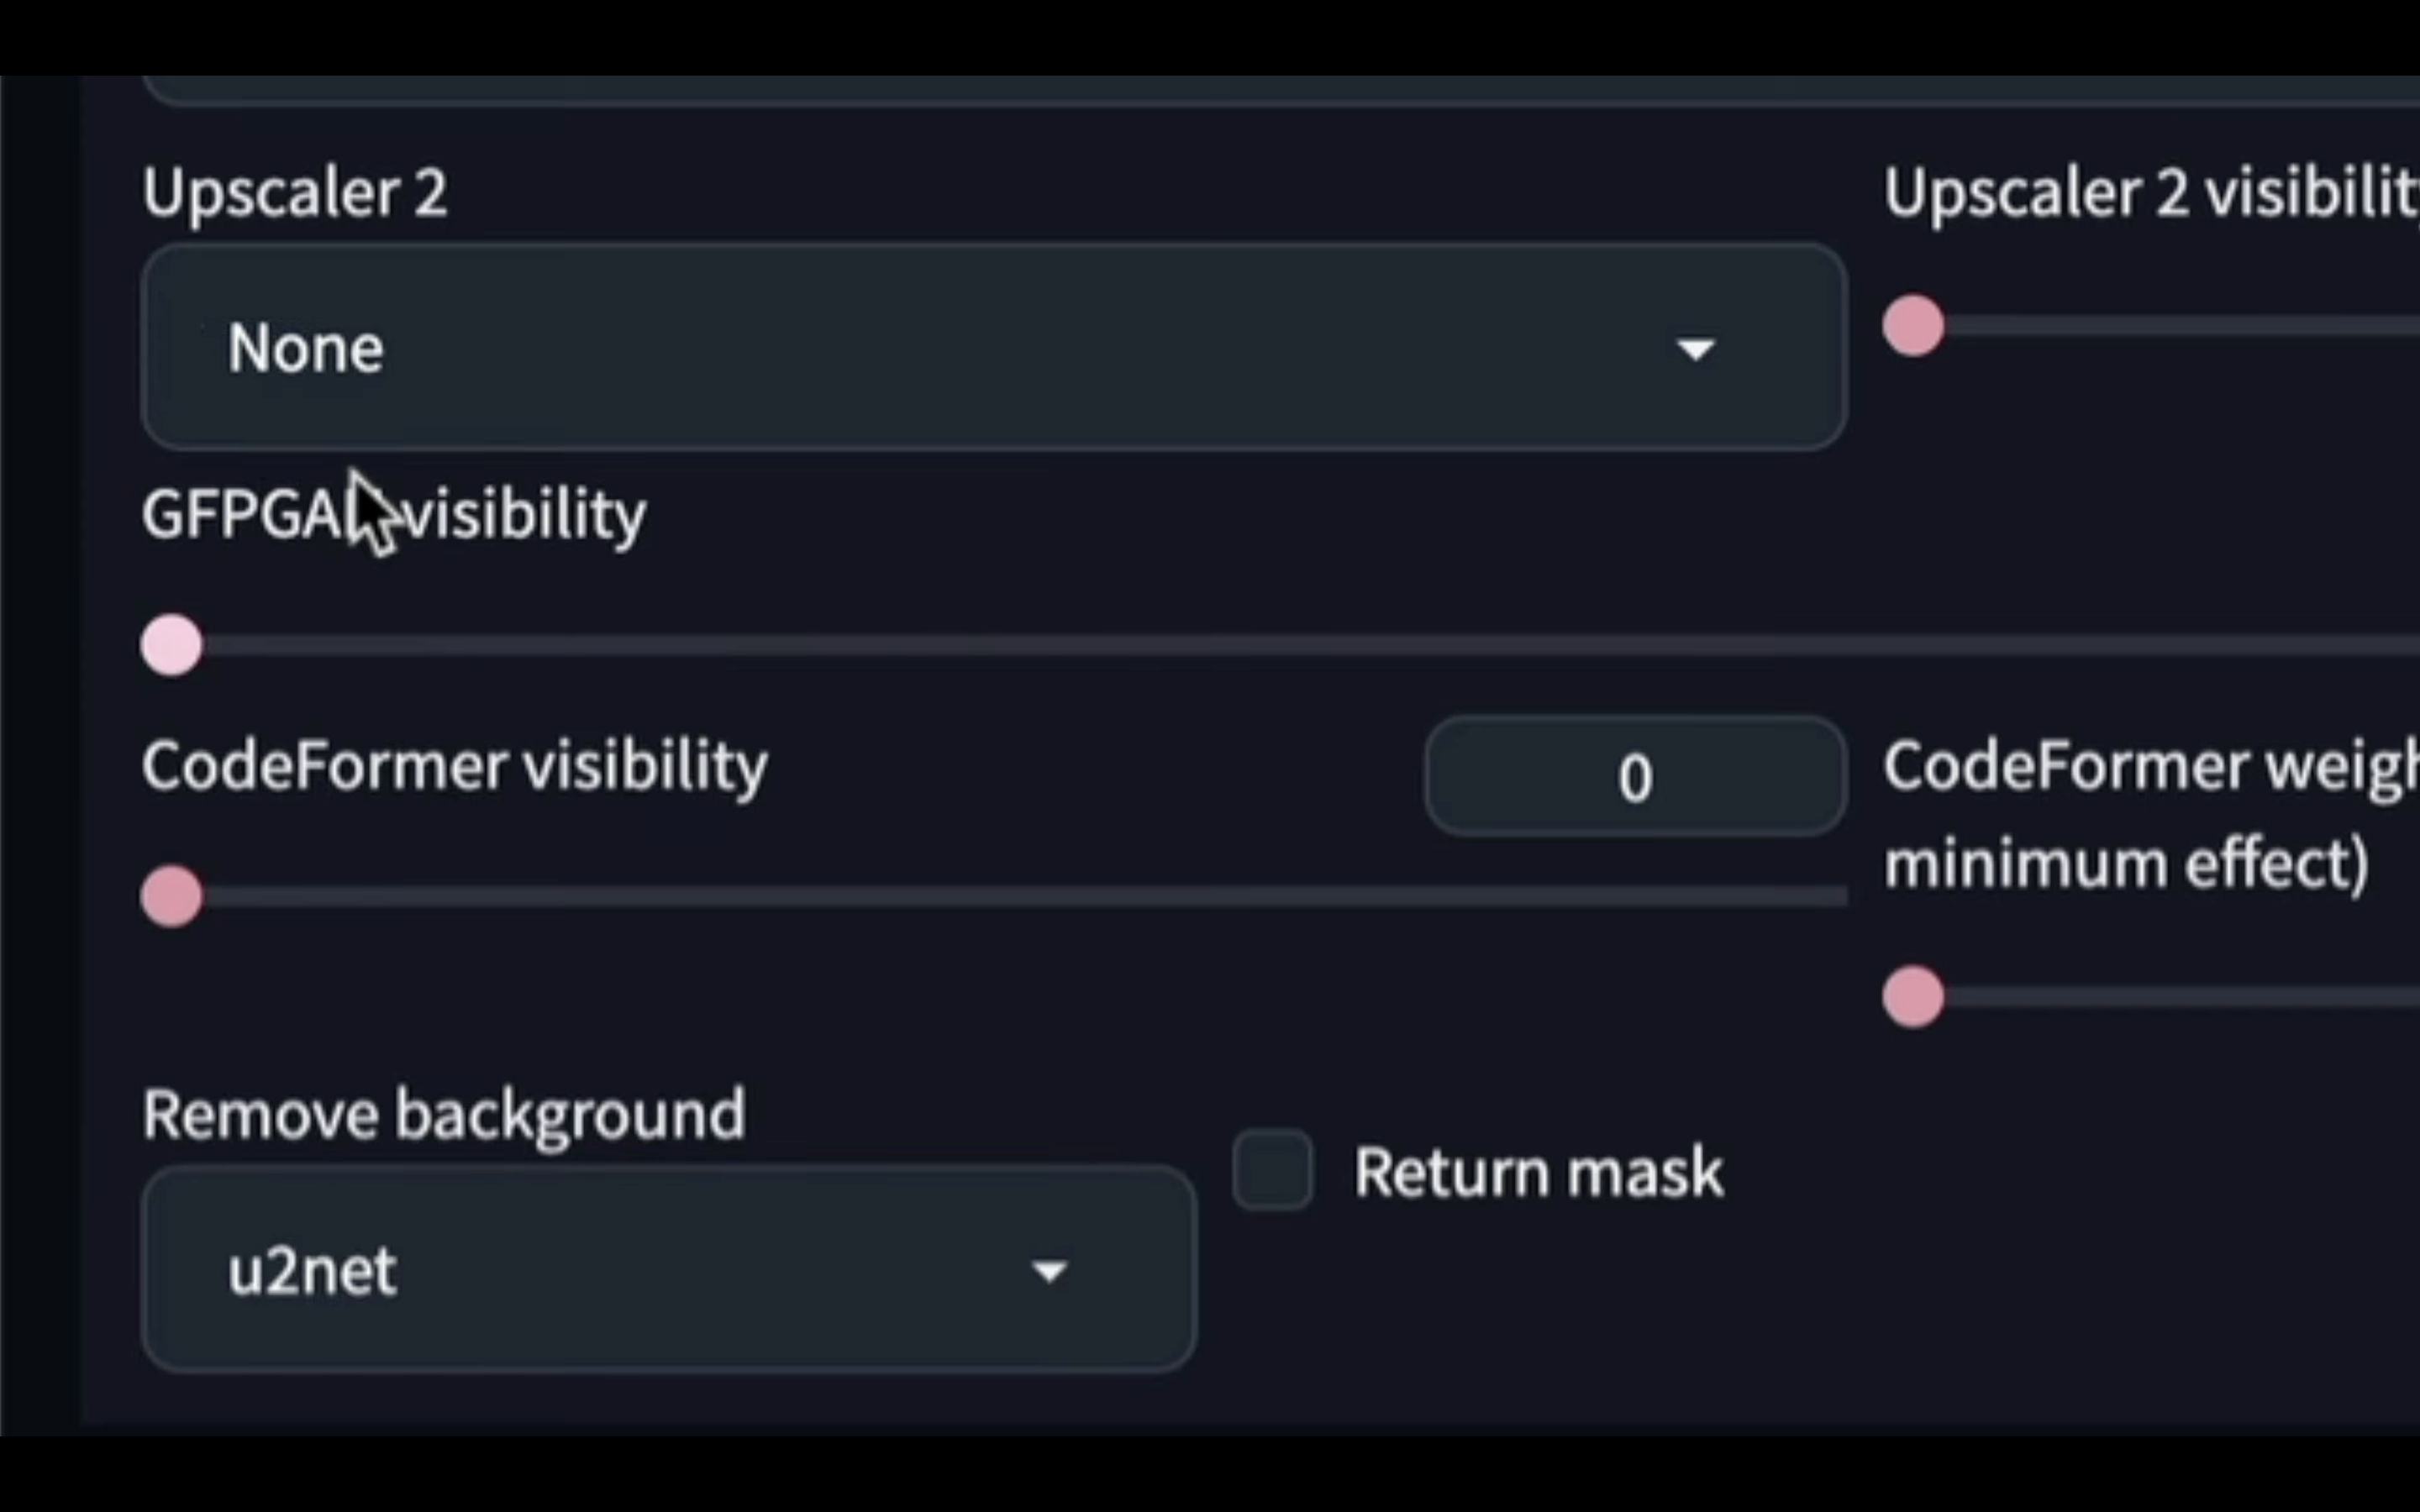
画像を設定したら、「Remove background」というタイトルの下にあるドロップダウンメニューを設定します。
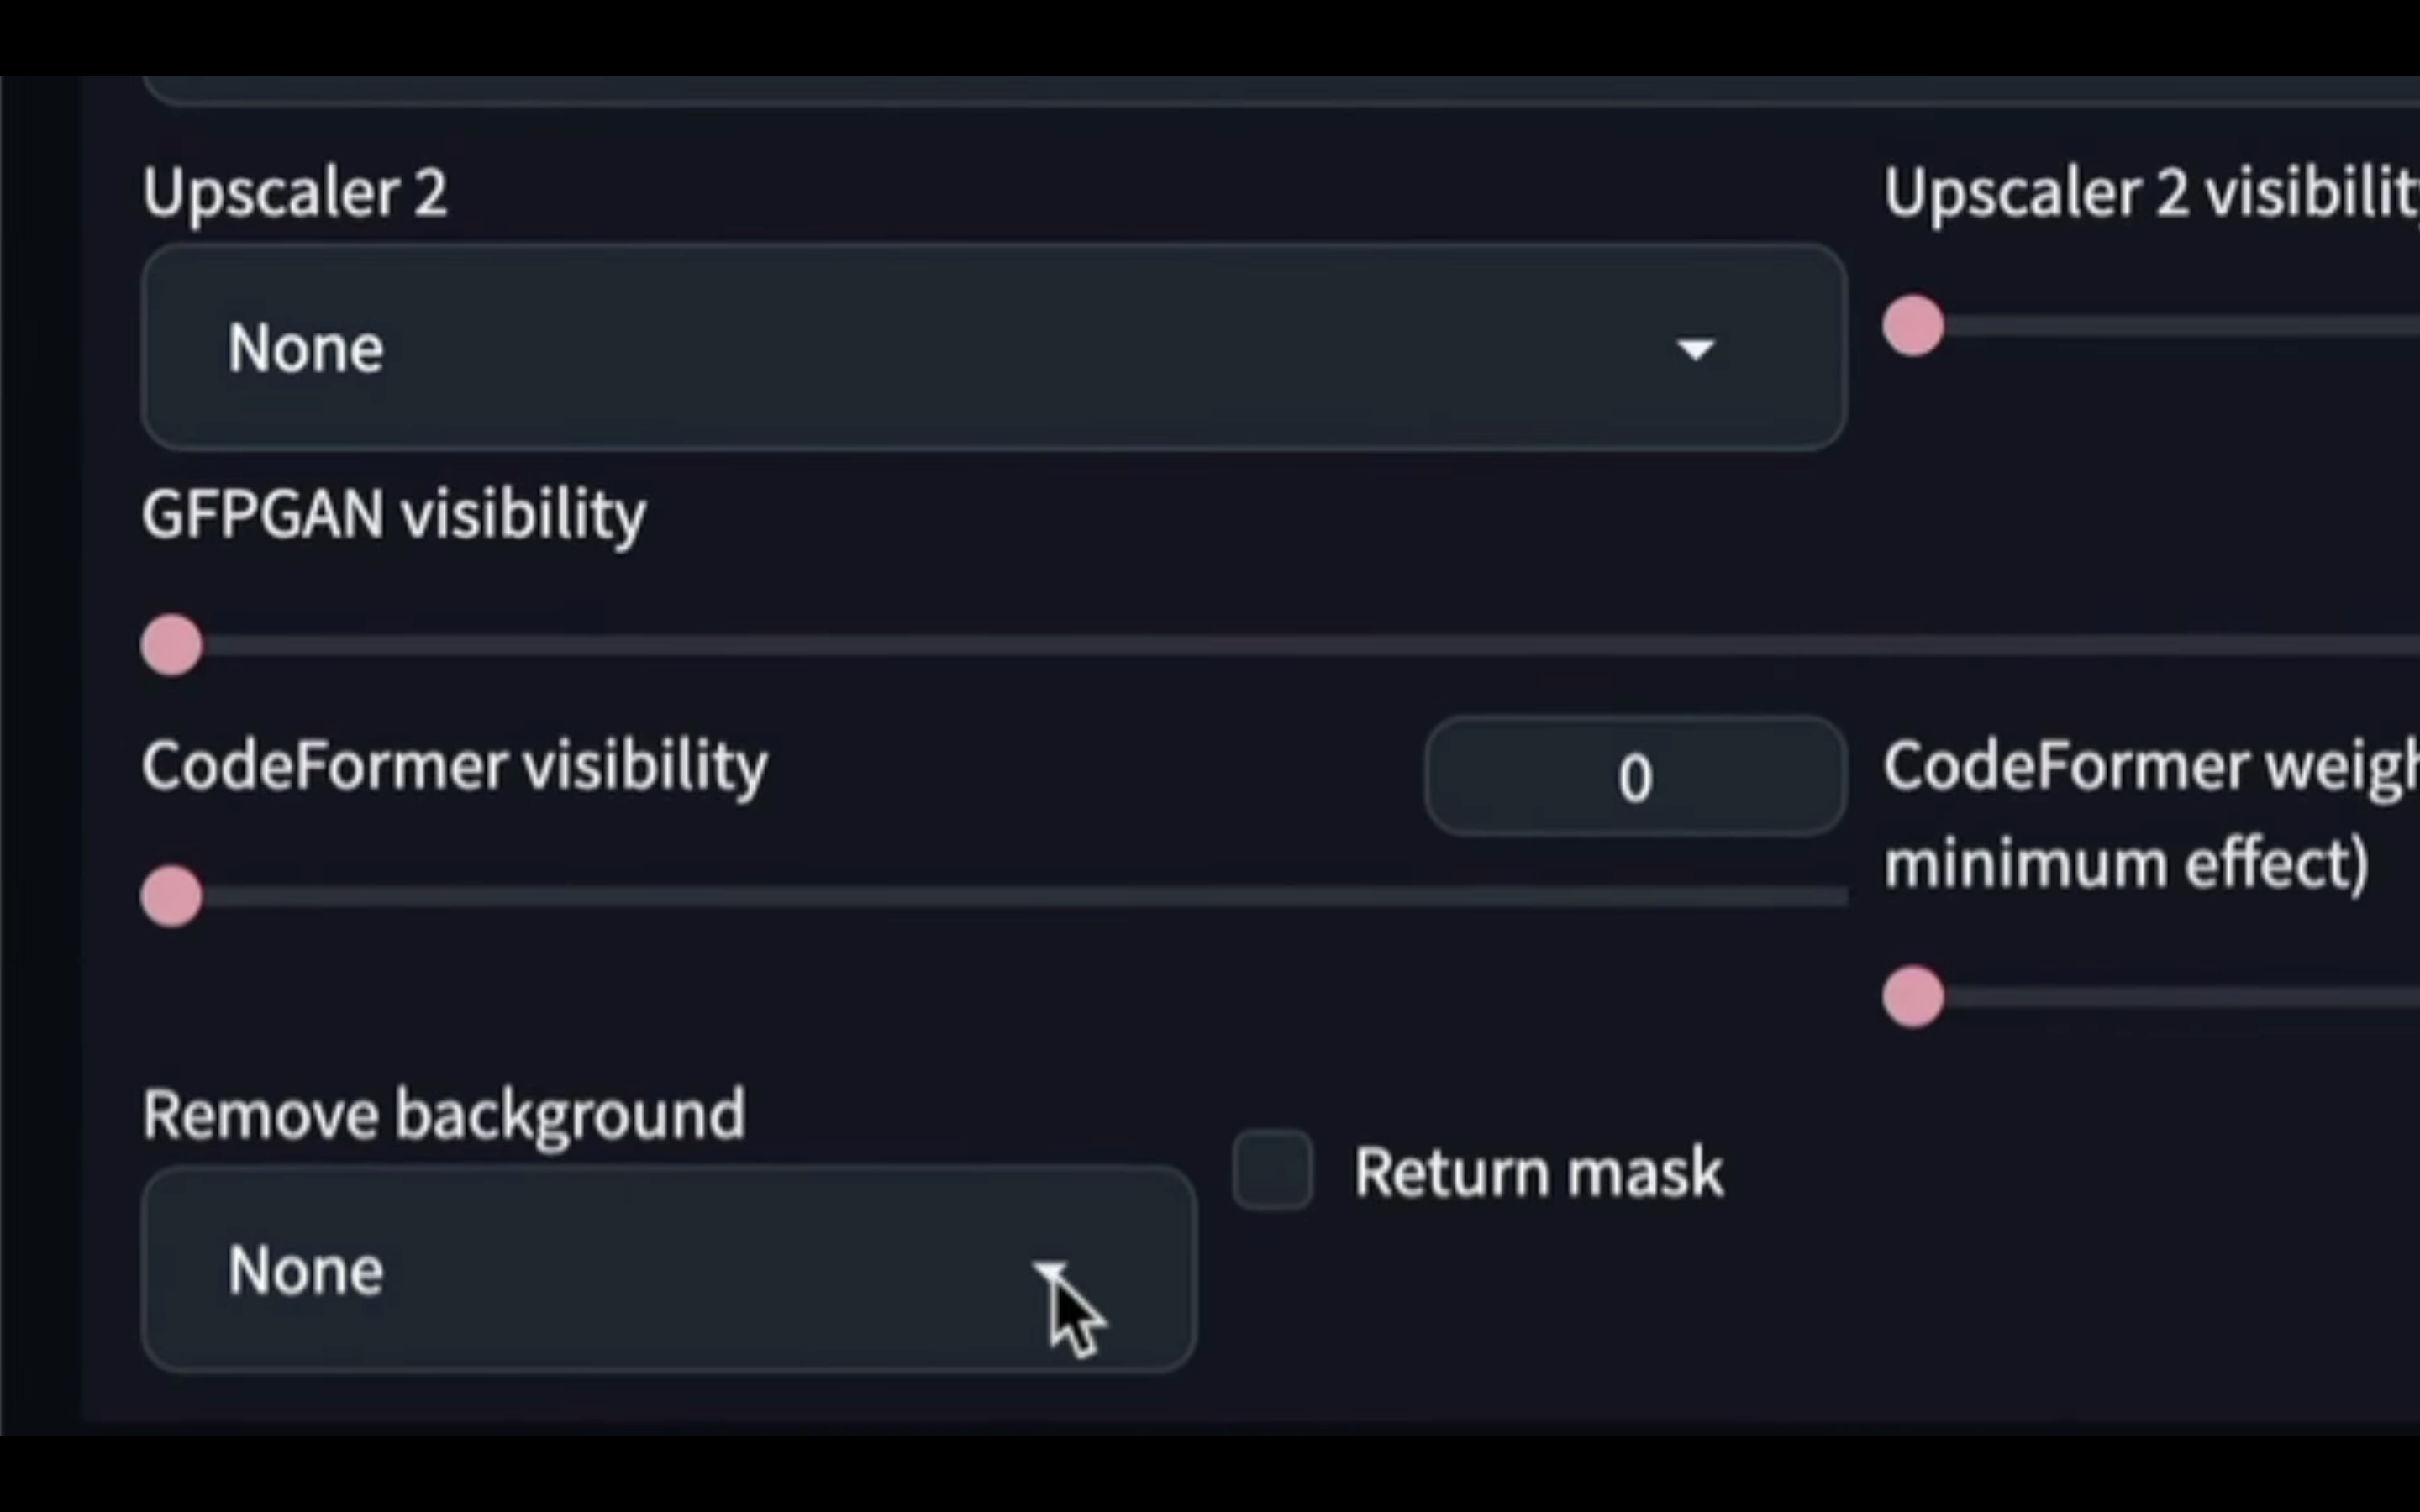
今回は、「u2net」という項目を選択しておきました。
これは、背景を取り除く方法のカテゴリーのようなものを指定していると考えてください。
そのため、背景が期待した通りに取り除かれない場合は、他の項目で試してみてもいいと思います。
Remove backgroundを設定したら、Generateボタンをクリックします。
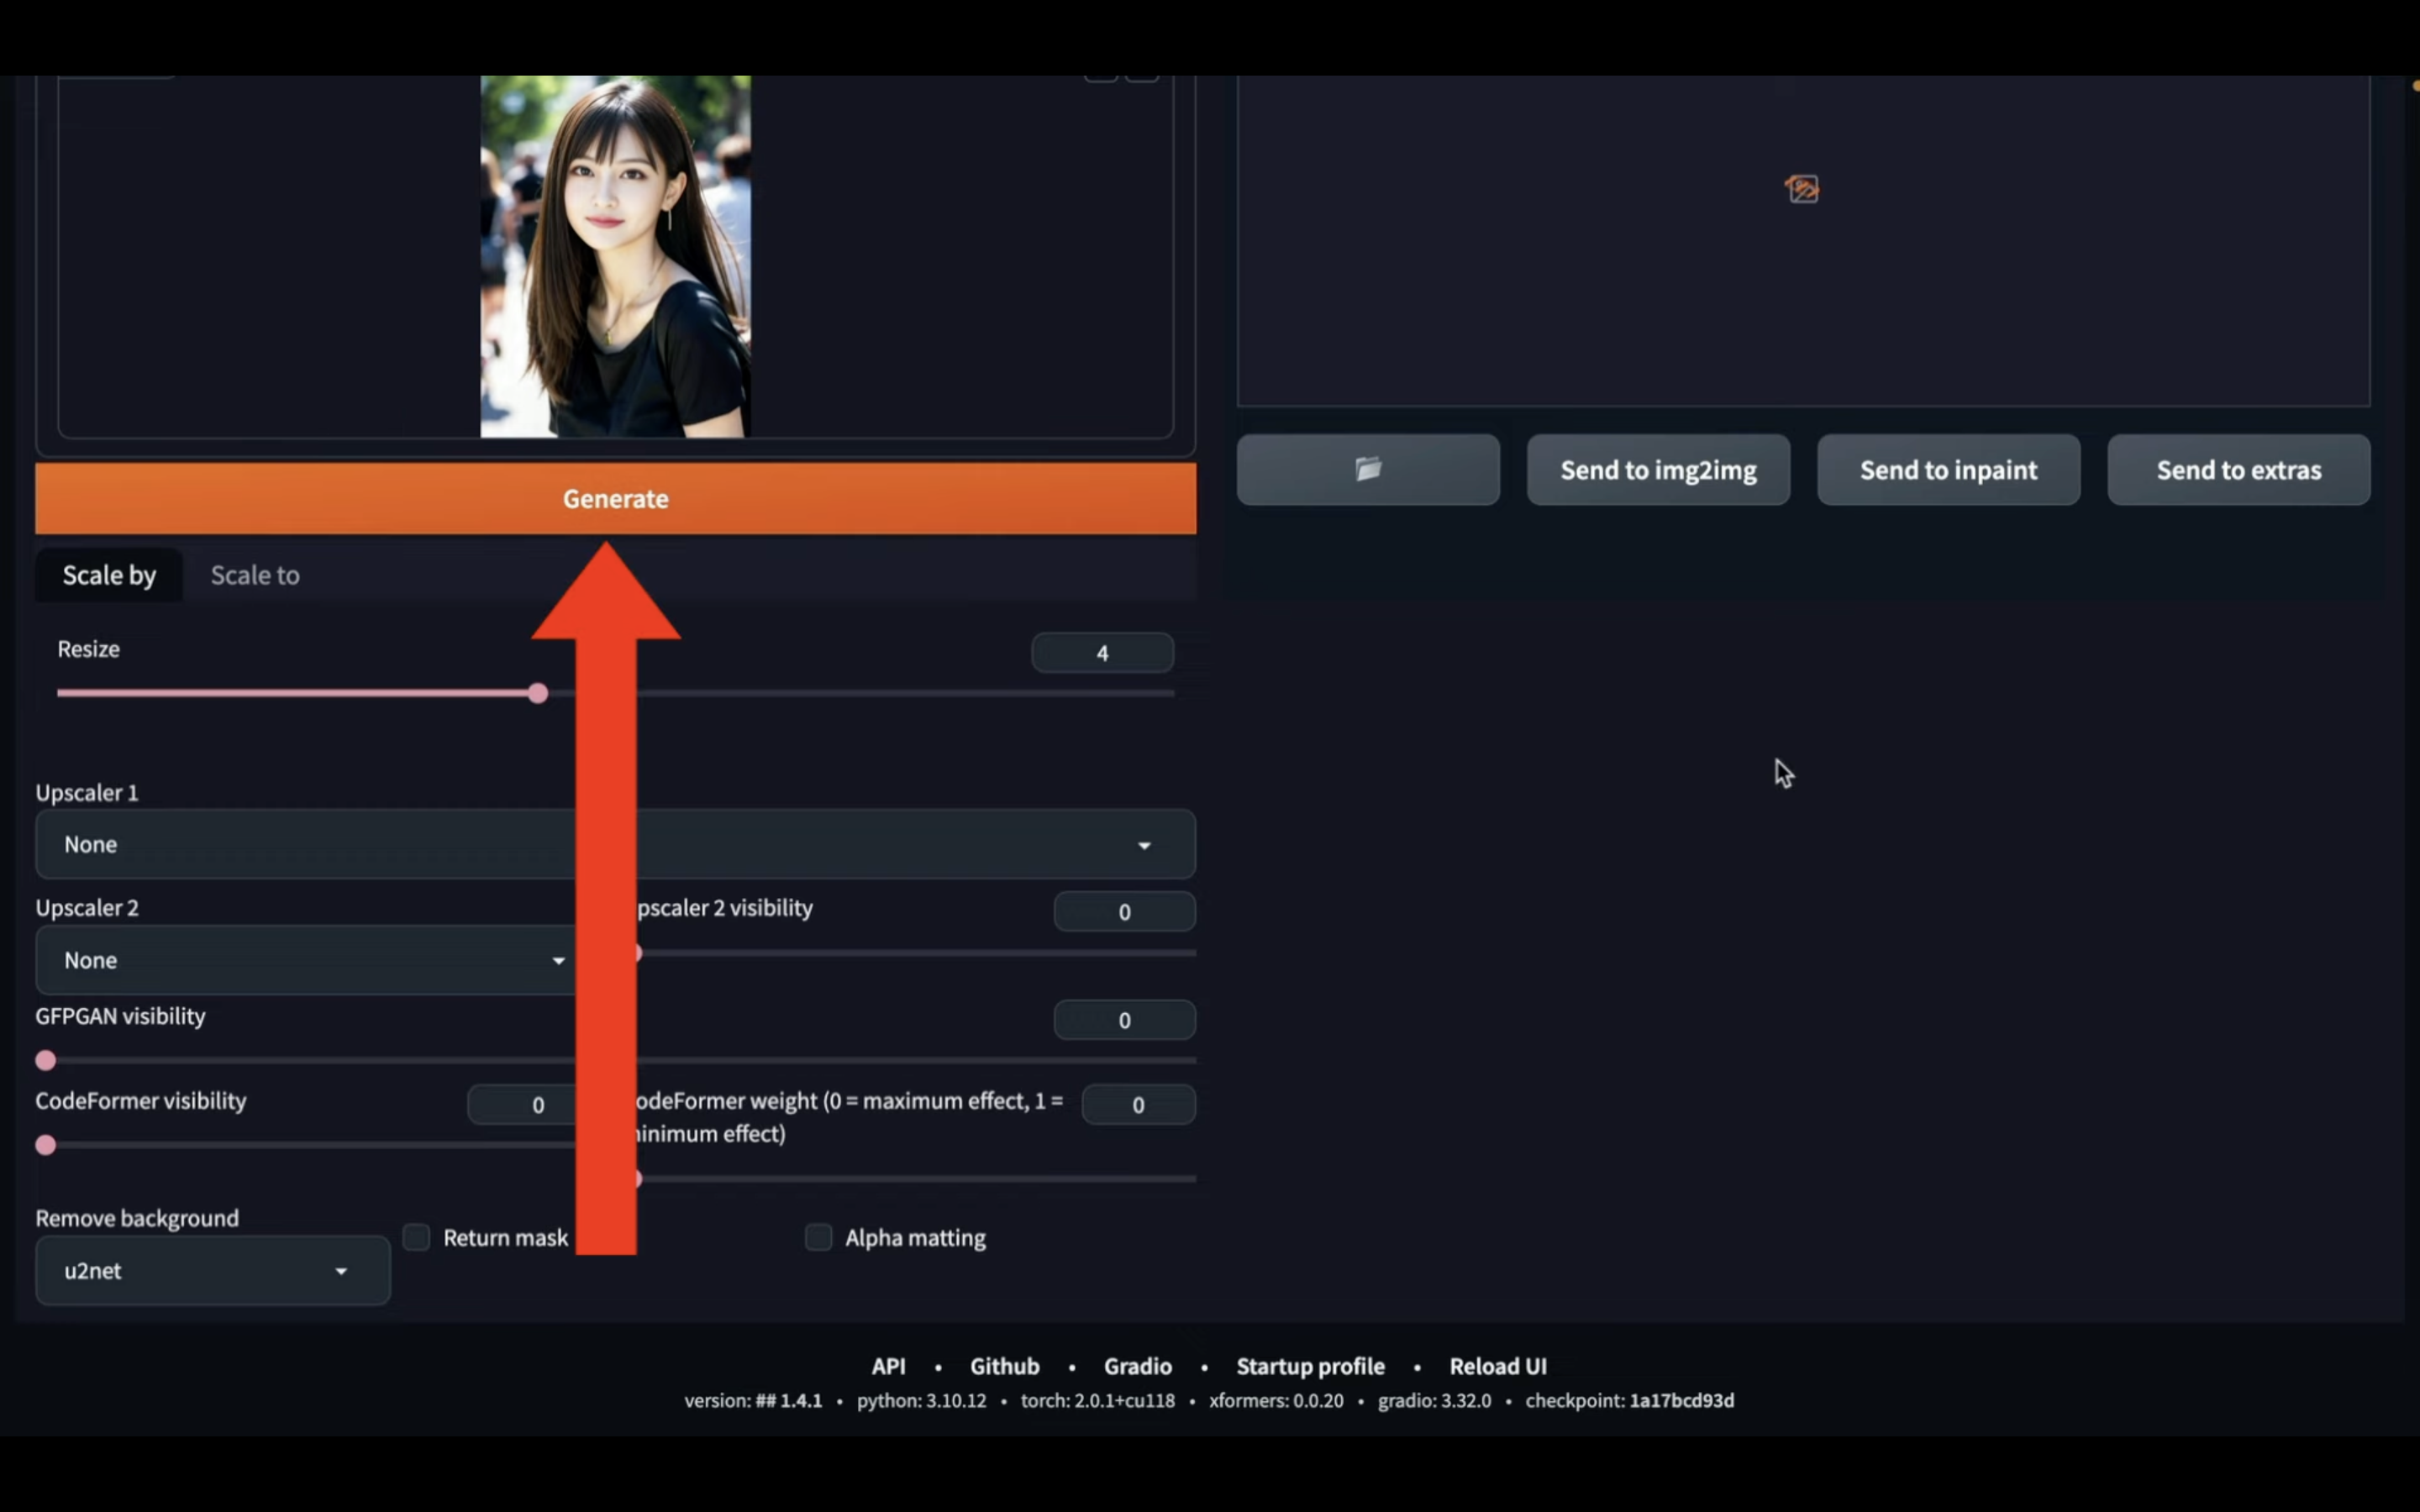
これで、画像から背景を取り除く処理が実行されます。
しばらく待っていると、背景が取り除かれた画像が生成されます。
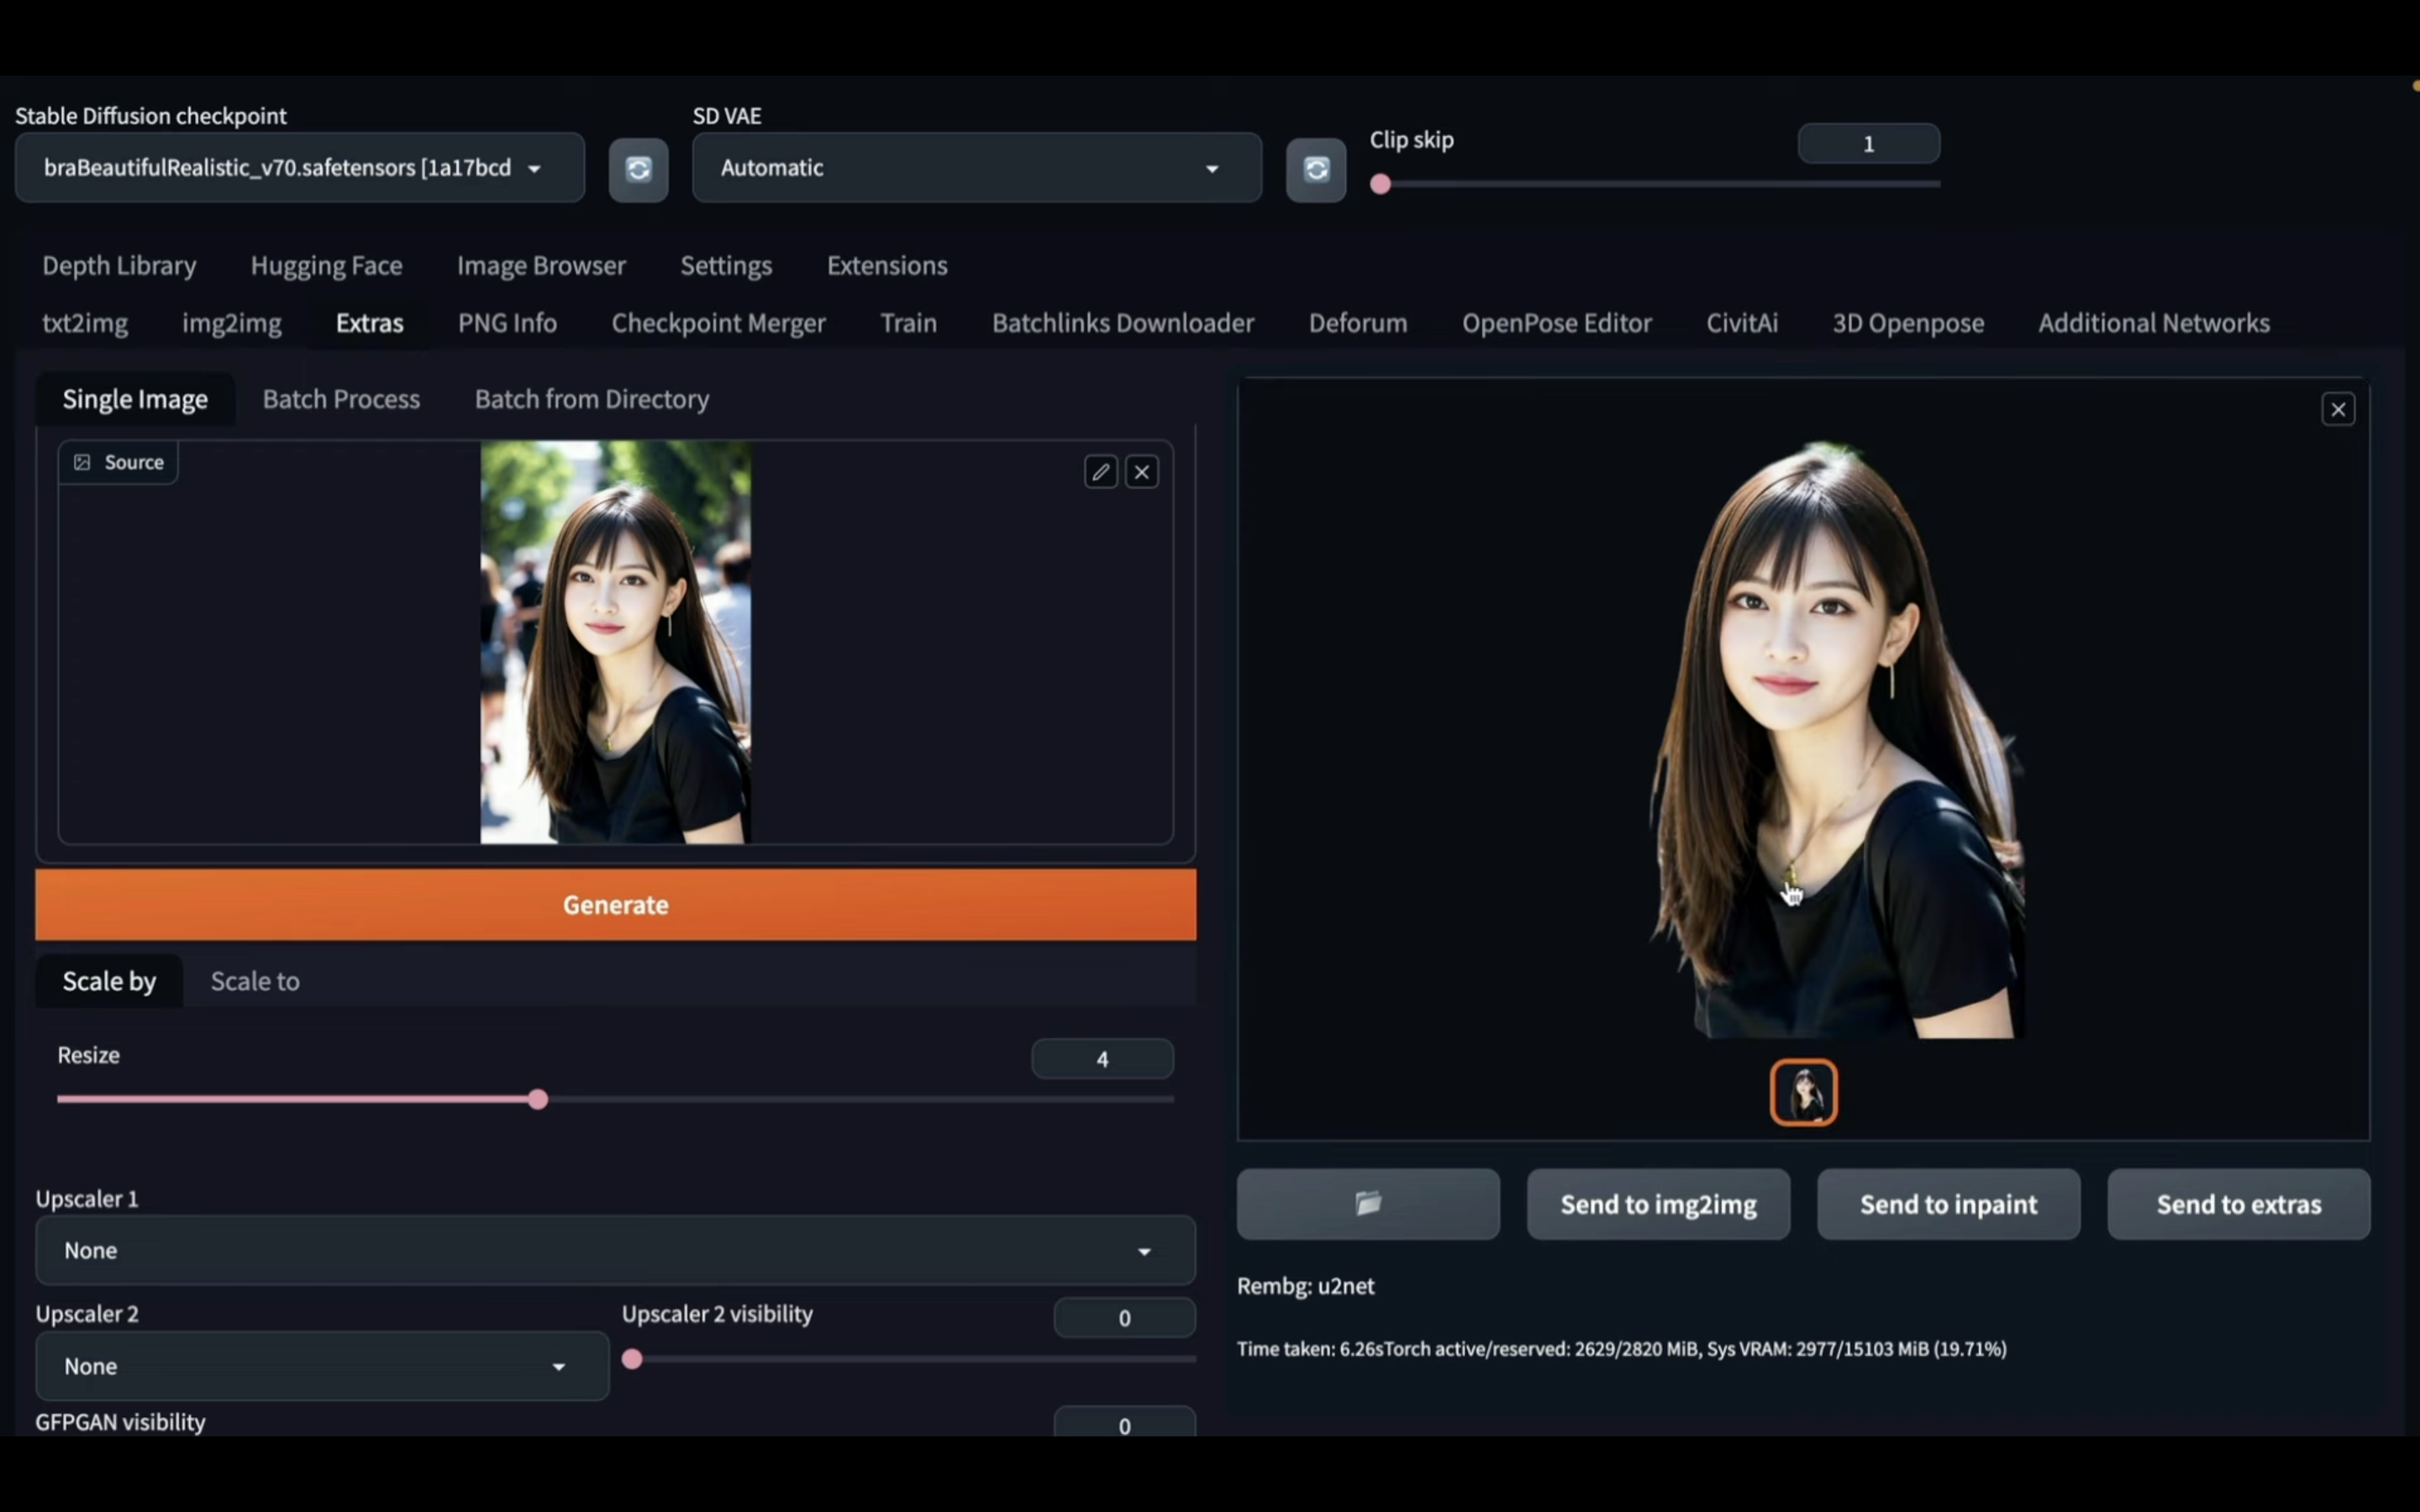
このように、Automatic1111のエクステンションを利用すると、指定の画像の背景を取り除くことができます。
是非お試しください。